Grandma’s Cranberry Chutney

My mother’s mother, Marion, was one of my heroes. She was beautiful, loving, a fabulous seamstress and knitter, a talented cook, and she called me Darling. When I spent the night at her house, I awoke to her sound in the kitchen fixing breakfast and emptying the dishwasher, sounds that indicated all was well in the world. She would set the breakfast table with pink and white china, and in a matching shallow bowl, there would always be a sectioned grapefruit from my grandparents’ grove. It was one of the many ways she used food to express her love for us.

Holidays were her favorite time of the year to cook. Many of the traditional recipes our family shares come from her recipe stash, especially if cranberries or mangoes are involved. Her recipe for cranberry chutney is my all-time favorite.
DSC_0424

It is not Thanksgiving until I have prepared this layered-with-flavor cranberry chutney made with cranberries, apples, pecans, celery, oranges, raisins, and ground ginger.
DSC_0567

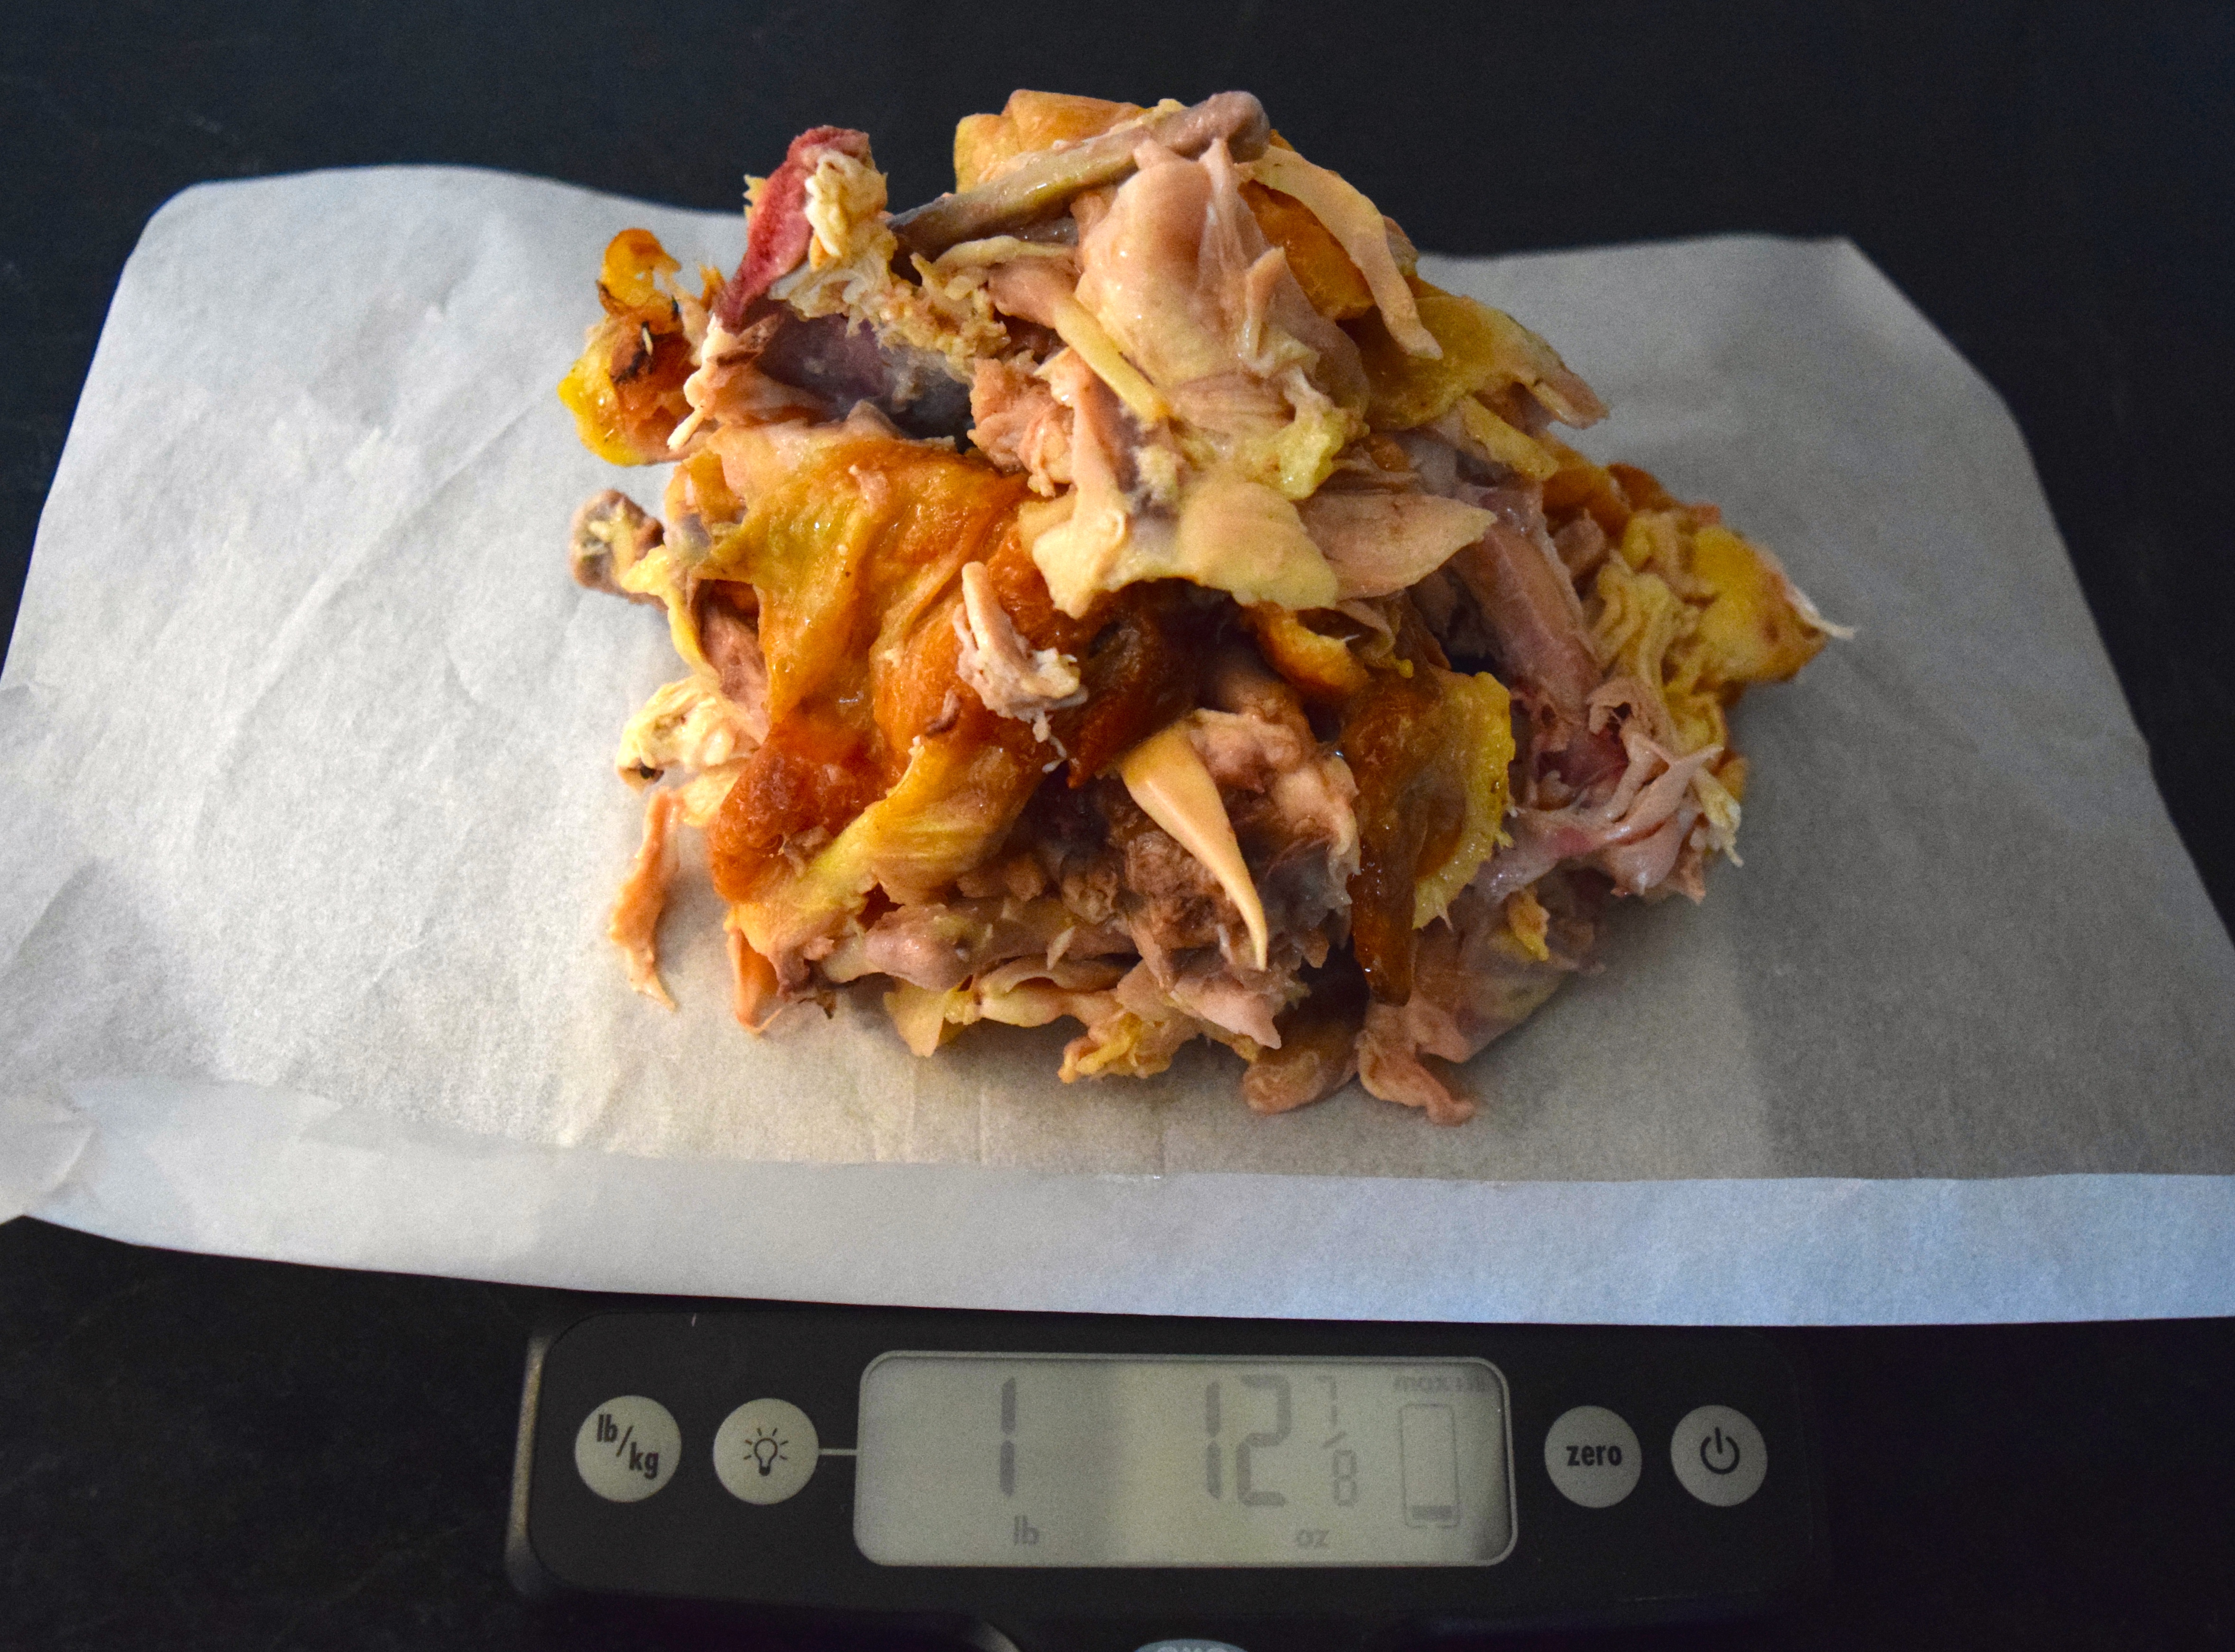
Back when Grandma made it, a bag of cranberries weighed 16 ounces, not the 12 ounces you get today. A representative at Ocean Spray told me they went to 12 ounces in 1980 when there was a shortage of cranberries. This is good info to know if you are using a pre-1980 recipe that says to “add a bag of cranberries.”
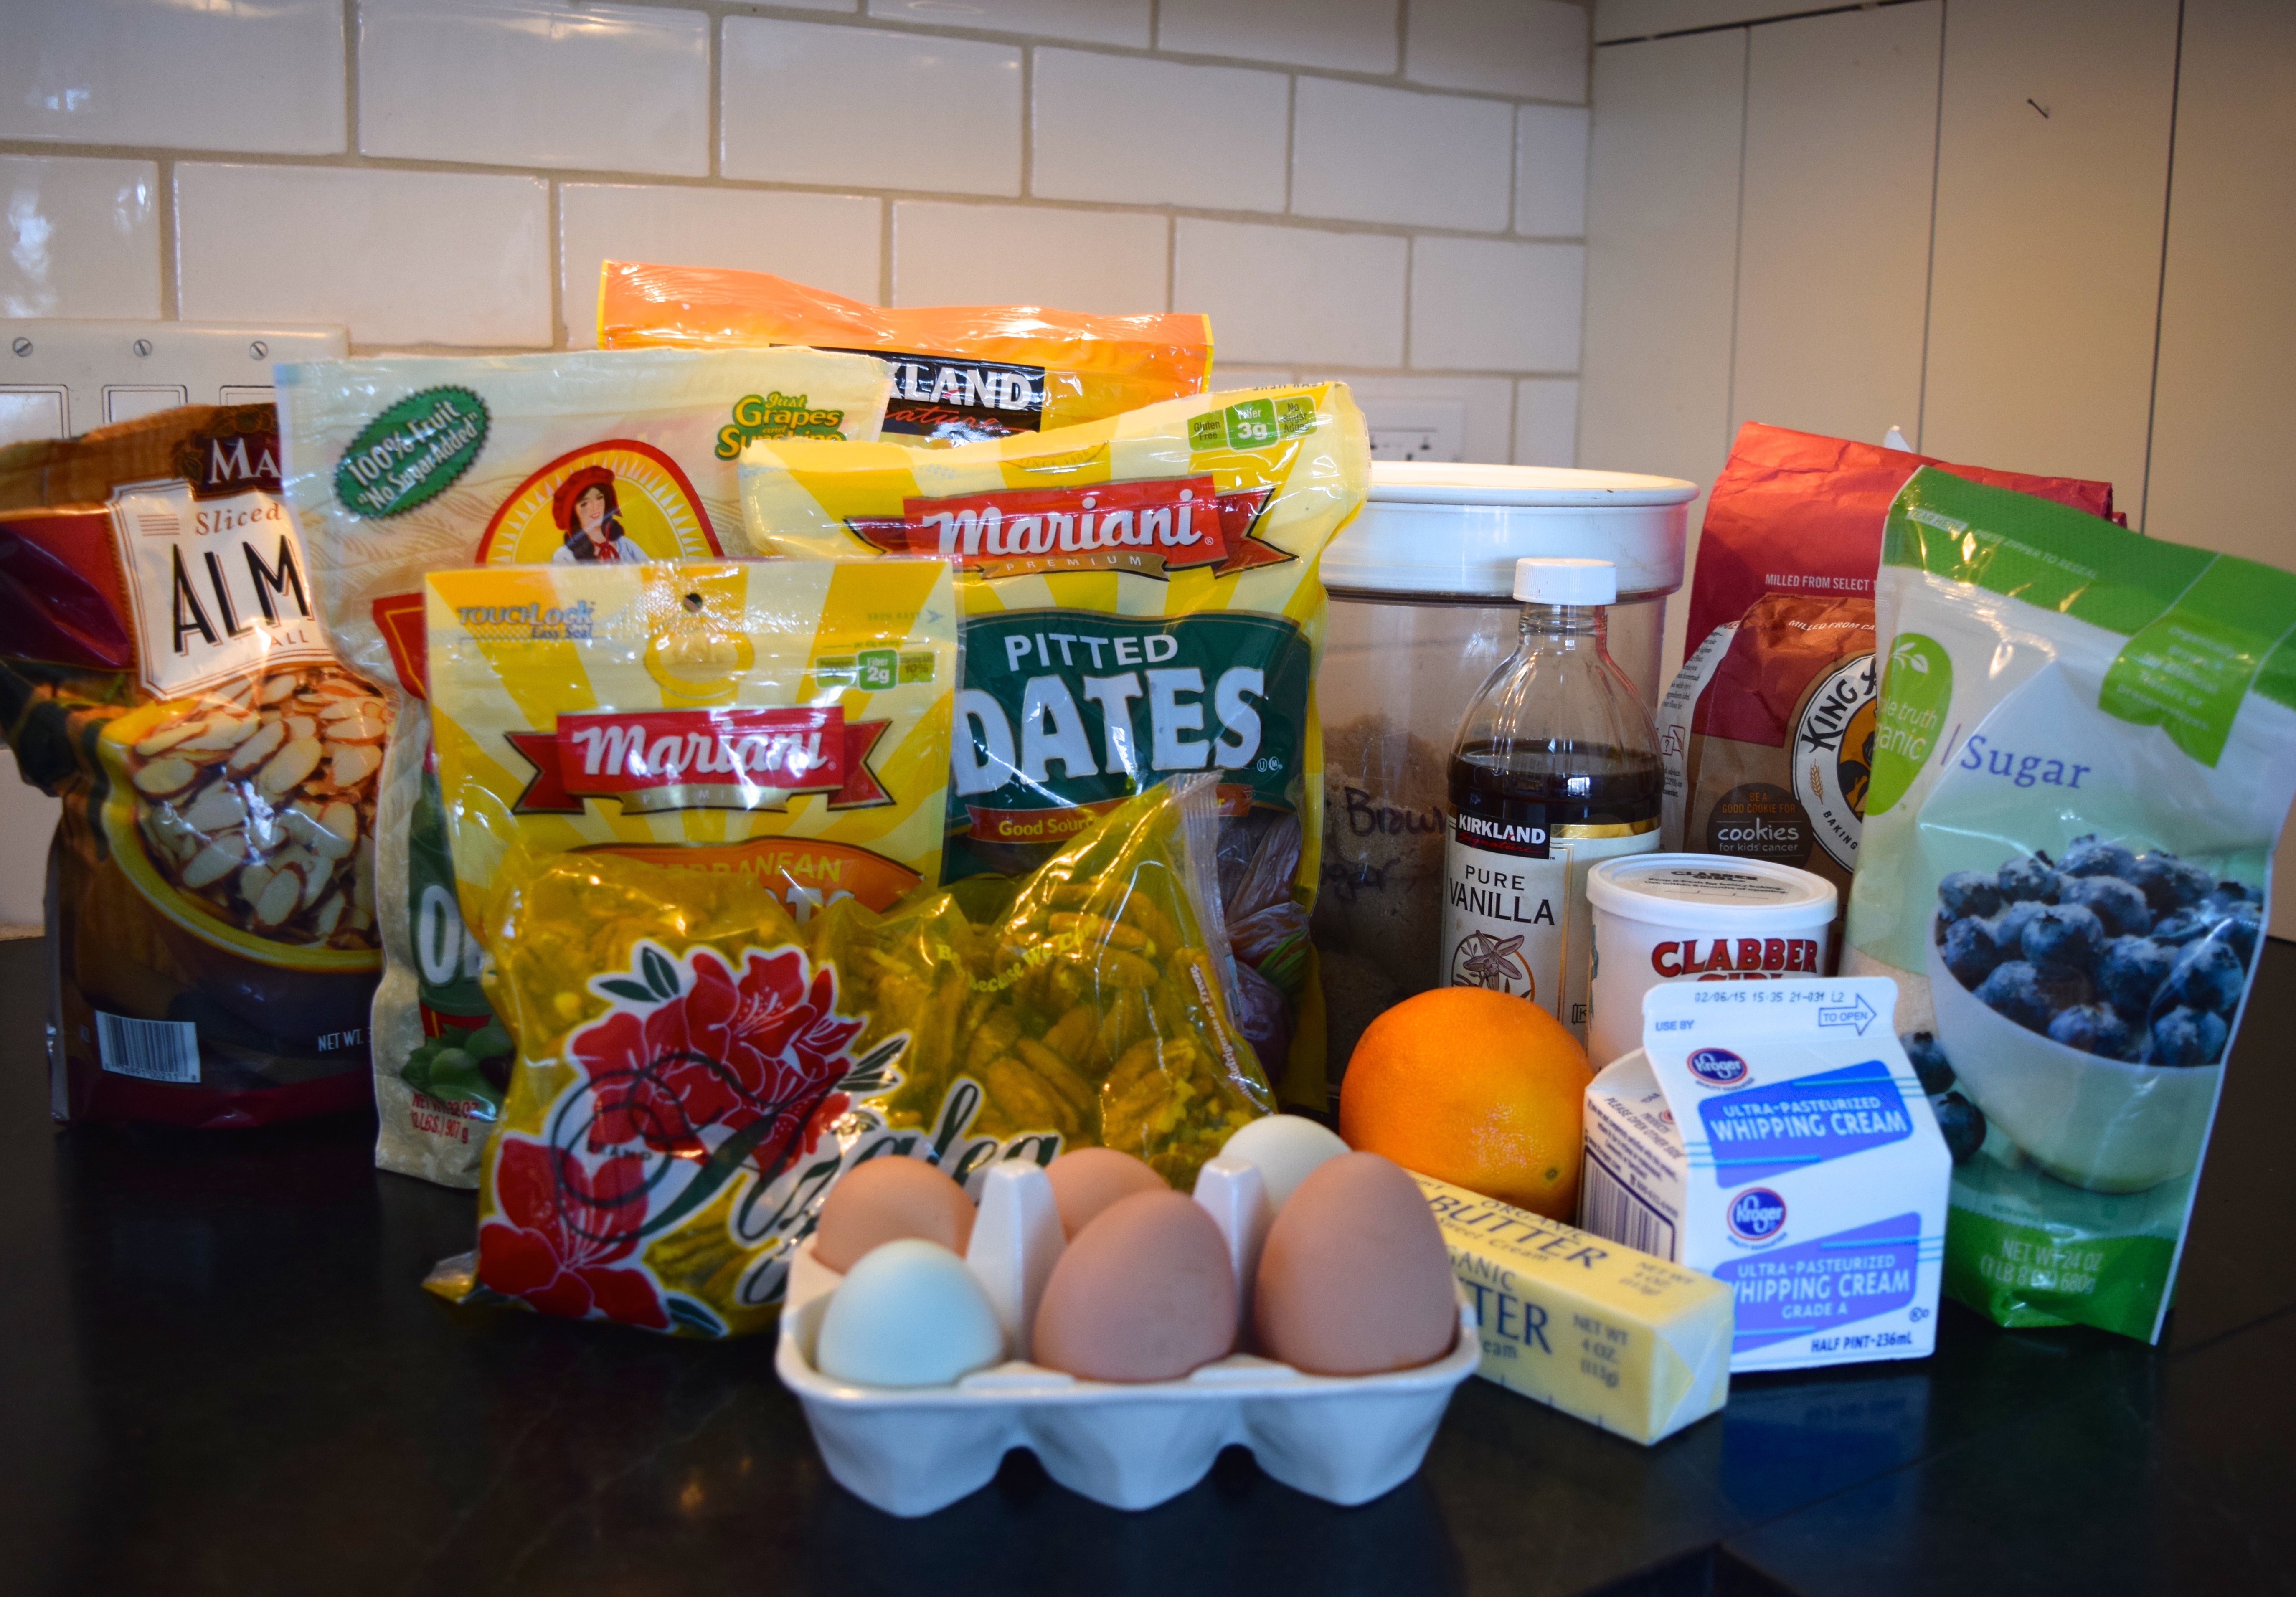
Ingredients:
DSC_0544
1 pound fresh cranberries (4½-5 cups), discard any that are shriveled
2 cups granulated sugar
1 cup water
1 cup orange juice
1 cup golden seedless raisins
1 cup chopped celery (4½ ounces or 2 stalks)
1 cup chopped apple, peeled (4 ounces or 1 medium)
1 tablespoon freshly grated orange peel
1 teaspoon ground ginger
1 cup chopped pecans

Instructions:
Prep all the ingredients.
DSC_0557

Use a box grater or a Microplane to grate the orange. Be sure to wash the orange well first.
DSC_0008

Combine cranberries, sugar, water and orange juice. Listen for the sound of cranberries popping as they heat up and expand in the water. Stir occasionally to help dissolve the sugar. Once cranberries come to a boil, set a timer for 15 minutes and simmer over low heat.
DSC_0589 DSC_0601

Remove the pot from heat. Stir in remaining ingredients and let sit until thickened.
DSC_0570

I can’t express how much I love the sweet and tart tastes in this recipe. Instead, I will show you all the tasting spoons I used to try the chutney while it was cooling down!
DSC_0095

Chill until ready to serve. This will last one week in the refrigerator.

I wrote a story about how cranberries are grown and harvested, here.
img_6101

Other Thanksgiving Day Side Dishes We Love:
Melissa’s Sweet Potato Casserole
Roasted Butternut Squash, Brussels Sprouts, and Cranberries
Amazingly Delicious Sautéed Carrots
Auntie Martha’s Spicy Spinach (aka Spinach Madeleine)

Don’t miss a recipe! Become a subscriber and have every post delivered to your Inbox.

Follow Judy’s Chickens on Instagram and Pinterest @JudysChickens.

Remember to always check this website for updated versions of a recipe.  

© 2014-2020 Judy Wright. All rights reserved. Photos, videos, and text may only be reproduced with the written consent of Judy Wright.

Follow my blog with Bloglovin

50 Ways to Make a Frittata

A few months ago, I was visiting Cleveland and took a cooking class at The Western Reserve School of Cooking. One of the dishes we made with owner and chef Catherine St. John was an oven-baked version of the classic Italian frittata. Frittatas can be served for any meal or as an appetizer. They are firm in texture and easily cut into squares when served at room temperature. They also provide a great way to use up leftovers.

DSC_0977

Chef Catherine taught us to sauté the vegetables, pour them into a baking dish, add the egg and cheese mixtures, and bake for 20 minutes.

DSC_0009

We have many eggs here at Judy’s Chickens, so we make this one-pot meal a lot!

IMG_8581

After making this meal a few times, I developed a foolproof formula for making the dairy mixture of the frittata: 12 large eggs, 1/2 cup whole milk, cream, or ricotta, 1 heaping cup of shredded cheese, and 1/4 cup of Parmesan. Pour this over any medley of cooked vegetables that loosely fills your lasagna pan to about the one-inch mark.

DSC_0747

Here’s a recipe to get you started.

Ingredients:

DSC_0723

The Egg and Cheese Mixture:
12 large eggs
½ cup ricotta, whole milk, or cream
1 tsp salt
½ teaspoon pepper
¼ cup grated Parmesan
1 heaping cup of any cheese, shredded

The Veggie Mixture:
4 cups potatoes (about 4 medium or 1½ pounds), diced or shredded
1½ cups green onions with tops, about 5 sliced
½ red bell pepper, about ½ cup, seeded and diced
1 heaping tablespoon of minced garlic (from the jar is fine)
2 cups cooked leftover vegetables such as zucchini, summer squash, broccoli, or cauliflower, OR any uncooked greens such as spinach, chard, or kale
⅓ cup extra virgin olive oil

Instructions:
Preheat oven to 350º

Chop all the fresh veggies. I used buttery Yukon and red potatoes, sweet red bell pepper, green onions with stalks, and minced garlic.

DSC_0730

Sauté garlic, onion, pepper, and potatoes in olive oil, on medium heat, in a 12-inch non-stick skillet for about 10 minutes or until the potatoes are tender but still firm.

DSC_0738

Stir in drained leftover cooked veggies and heat until warm. I used leftover roasted zucchini and summer squash with green onions and garlic. Spread vegetable medley evenly in a lasagna pan.DSC_0747

Mix eggs, milk, cream or ricotta, Parmesan, salt, and pepper and pour over vegetables.

DSC_0304 DSC_0745

Add shredded cheese and poke it into the vegetables and egg mixture. DSC_0748

Bake for 30 minutes in a preheated oven. Insert the knife tip in the center to test for doneness. If it comes out clean, remove the frittata from the oven. If not, cook for another 5 minutes and check again. Repeat until done.

DSC_0749

Another frittata version: potatoes, kale, green onion, zucchini, and a lone radish

This was one day’s pickings from the garden. I decided, as a trial, to throw all of it into the frittata along with dairy ingredients to see if it would work. I tried fresh kale. It was delicious.

DSC_0257

Here it is, all prepped.

DSC_0293

Here is how I prepped the vegetables:

Green onions
DSC_0266 DSC_0268 DSC_0270

A lone watermelon radish
DSC_0261  DSC_0263 DSC_0274

My first zucchini of the season!
DSC_0284 DSC_0285

Shredded potatoes
DSC_0277 DSC_0280

I trimmed the tough stem off each kale leaf.

DSC_0282

I tore the leaves into 3-inch pieces, added them to the vegetable sauté last, and cooked them for one minute until wilted. Chard, collards, or spinach would also work well here. Be sure to remove the thick stems from the collards or chard.

DSC_0312 DSC_0313

Notice how when the frittata first comes out of the oven, it is like a soufflé, all puffed up and fluffy. It will fall after about 5 minutes. I think the frittata is tastiest when it is still light and fluffy like this, but as I have said, it is still excellent later in the day at room temperature or even cold from the fridge.

DSC_0320

Once, I mixed a bunch of cheeses left over from a cookout and used them for the cheese portion of the recipe. This worked just fine.
DSC_0314

Another frittata version: leftover ditalini pasta and roasted zucchini, summer squash, and leeks, with fresh, chopped mint

I increased the amount of cheese for this version:
12 eggs, 1/2 cup ricotta, 1 teaspoon salt, 1/2 teaspoon pepper, 1 cup Parmesan, 2 cups mozzarella
4 cups cooked pasta, 4 cups roasted zucchini with leeks, 1/2 cup chopped mint

DSC_0984

Prepping the mint

DSC_0993 DSC_0995

Prepping the mozzarella

DSC_0001  DSC_0004  DSC_0005

The four stages of combining and baking the frittata:DSC_0998 DSC_0999    DSC_0006 DSC_0012  

Melty goodness!

Other delicious foods to serve at breakfast
Fruit and Nut Bread
The Biscuit King
Very Berry Clafoutis
Quiche Lorraine with Bacon and Kale
Sorghum, Seeds, and Grains Granola
How to Make Grape Jelly (and Grow the Grapes)

LET’S STAY CONNECTED!

Follow my photos of vegetables growing, backyard chickens hanging out, and dinner preparations on Instagram at JudysChickens.

Never miss a post: sign up to become a follower of the Blog.

© 2014-2021 Judy Wright. All rights reserved. Photos and text may only be used with written consent.

Fruit and Nut Bread

Okay, it’s a fruitcake!

I’ve been trying to figure out another name for this outrageously delicious bread that does not conjure up cross-sections of red and green candied cherries. Instead, these are the beautiful fruits and nuts that go into this bread.

Whenever I serve this bread, almost everyone asks for the recipe. I have been making some variation of it since I first adapted it from The Silver Palate Good Times Cookbook, or “Silver Palate 2” as we called it back in the Eighties.

Every December, around Christmas time, I pull out all the half-used packages of dried fruit and unsalted nuts, weigh out 52 ounces of fruit and 28 ounces of nuts, and make this bread. The only dried fruit that is a must-have in the bunch is the prunes. You could say this is how I clean out my pantry every year.

Yield: Makes 3 loaves or 8 mini loaves

Ingredients:
fruit nut bread

52 ounces dried fruit: prunes, dates, cherries, raisins, and/or apricots
28 ounces nuts: pecans, almonds, and walnuts
½ cup all-purpose flour
6 eggs, room temperature, separated
½ cup granulated sugar
½ cup brown sugar
grated zest of one orange
6 tablespoons butter, melted
5 tablespoons whipping cream
2 tablespoons vanilla extract
½ teaspoon almond extract
1½ cups whole wheat flour
2½ teaspoons baking powder

Instructions:

Prepare oven and pans:
Preheat oven to 325º.

Spray three 9x5x3 loaf pans lightly with cooking spray. Line each pan with aluminum foil. Butter the foil liner. We do this tedious process because the bread needs to cook for a long time at a low temperature. The foil keeps the loaves from drying out and sticking to the pans. As a test, I made two regular loaves and three mini loaves. I didn’t use foil on the mini loaves, and the bread stuck to the pans. I’m a believer. The reason you spray the pan before lining it with foil is for easy release of the foil-lined loaves after they have baked. These steps are all necessary. Believe me, I’m not one for make-work.
fruit nut bread

Measure fruit and nuts:
I keep large bags of dried fruits and nuts in the pantry. When it comes time to make this recipe, I pour a good mix of them into a bowl placed on a digital scale and keep adding more until the scale reads 3 pounds, 4 ounces. Then I pour in the nuts until the scale reads a total of 5 pounds.

Technique Time: Zeroing out a scale
A digital scale is a good tool to have in the kitchen. I recommend this one by OXO because it can weigh items up to 11 pounds. You’ll need to weigh the mixing bowl first and “zero out” that weight before adding the fruits and nuts. To do this, place the large empty bowl on the scale. This bowl weighs 5 pounds and 2.5 ounces. Push the “zero” button. The scale is now ready to show the weight of just the ingredients in the bowl.
fruit nut bread fruit nut bread fruit nut bread

Here is a list of the fruits and nuts I typically use :
16 oz prunes + 5 oz cherries + 6 oz apricots (cut each in half) +
fruit nut bread fruit nut bread fruit nut bread

8 oz raisins + 17 oz pitted dates (cut each in half) = total of 52 oz.
fruit nut bread fruit nut bread

As for the nuts, I typically use 16 oz pecans + 8 oz walnuts + 4 oz slivered almonds = a total of 28 oz.

Next, add ½ cup of all-purpose flour and mix with your hands to break up the fruits that are stuck together. Make sure every morsel of food is dusted with the flour. This helps keep them from sinking to the bottom of the pan while baking.
fruit nut bread

Prepare the batter

Separate the eggs into whites and yolks.

Beat egg whites on high speed in a clean, dry, mixing bowl until the whites puff up and form peaks. Don’t overbeat the egg whites. Use a rubber spatula to gently move the beaten whites to another bowl. Set aside.
fruit nut bread fruit nut bread

Next, add the eggs and sugars to the mixing bowl. There is no need to wash the bowl first. Cream ingredients together for 2 minutes on medium-high speed.
fruit nut bread

Add the grated zest of one orange. To learn more about zesting citrus, go here.
fruit nut bread

Add melted butter, heavy cream, vanilla, and almond extract to the batter and mix for one minute on medium speed.
fruit nut bread

In a separate small bowl, use a whisk to mix the whole wheat flour and baking powder.
fruit nut bread

Add flour mixture to batter and stir gently for 30 seconds until ingredients are well-blended. Do not over mix.

Now you have a bowl of batter and a bowl of stiff egg whites.
fruit nut bread

Fold egg whites gently into the batter and blend until just mixed. This process of “folding in” the fluffed up egg whites makes your batter lighter.
fruit nut bread fruit nut bread

Stir batter into the bowl with the fruits and nuts.
fruit nut bread

Pour batter evenly into three loaf pans. Use your fingers to create a mound down the midline of each loaf pan.
fruit nut bread

Bake loaves covered with a sheet of foil for the first 40 minutes.
fruit nut bread

After 40 minutes, remove foil and bake for another 40 minutes.  Loaves will be medium brown in color when done. Oven temperatures vary, so check the color at 30 minutes. You can’t rely on the knife test to check for doneness because it continues to come out with crumbs on it, even when the loaves are done.
DSC_0059

This bread freezes well. I found one in my freezer that was one and a half years old. When I thawed it, I was prepared to throw it out, but instead, it was perfectly delicious.

For other holiday ideas, check out the Holiday menu on the taskbar.

Other Quick Breads:
Marion’s Crazy Good Pumpkin Bread with Chocolate Chips
Ellen’s Most Moist Zucchini Bread
Cranberry Muffins with Orange Zest and Pecans
The Biscuit King

Follow Judy’s Chickens on Instagram and Pinterest @JudysChickens.

If you enjoyed this post, consider becoming a follower. Be sure to press “confirm” on the follow-up letter sent to your email address.

© 2014-2020 Judy Wright. All rights reserved. Photos, videos, and text may not be reproduced without the written consent of Judy Wright.

Award Winning Buffalo Chicken Chili

The last time I spoke to my brother Sam, he told me he and his family had sat around the kitchen table drooling over my recent blog post, My Favorite Silver Palate Chili, a beef-based chili with many beautiful layers of flavor. After much discussion, one of his children asked, “Yeah, Dad, but who’s gonna make it?” And there the discussion ended. I have to agree, the Silver Palate chili ingredient list is daunting. I promise you, Sam, this chicken chili recipe is a cinch to make, especially if you use store-bought rotisserie chicken for the meat.
lisa's chili

This recipe should be called Now You See It, Now You Don’t Chili because each time I have seen it served, the crockpot bowl has been completely emptied by the end of the night. At the 2nd Annual Vanderbilt Liver Transplant Team Chili Cook-Off this year, this chili, submitted by transplant team member Lisa, took home the top three awards: Best Chili, Spiciest Chili, and Kid’s Choice. I’ve modified Lisa’s version by adding a few more ingredients.

If you want an additional challenge, I’ve provided instructions on how to make your own Ranch Seasoning Mix rather than using the MSG-laden prepackaged mix.

Yield: Makes 4.5 quarts

Ingredients:
Lisa's Chili

⅓ cup olive oil
1 large red onion, chopped
2 or 3 colorful sweet bell peppers, seeded and chopped
2 pounds cooked chicken meat
8 cups chicken broth
2  14.5-ounce cans diced fire-roasted tomatoes
6 15-ounce cans cannellini beans, drained, not rinsed
2  7-ounce cans diced green chilies, drained
½ cup buffalo wing sauce (more if you like it really hot)
2 packages ranch dressing mix, or 6 tablespoons homemade ranch mix*
1 teaspoon onion powder
1 teaspoon garlic powder
1 teaspoon celery salt
½ teaspoon salt
2  8-ounce blocks of cream cheese, cut into small squares for quicker melting

Chili Toppings:
blue cheese crumbles
freshly chopped cilantro.

How much meat does a rotisserie chicken yield?

I spoke to Costco’s butcher, who said all of their rotisserie chickens weigh between three and five pounds. Here is a great tip he shared with me: those that weigh the most are the ones where the top of the chicken is smushed up against the container’s lid. The butcher told me any chicken not sold within two hours or that weighs less than 3 pounds is used to make the pre-made dishes like the chicken salad.

This chicken weighed 4 pounds 7 ounces and cost $5.00. It yielded a whopping 2 pounds 8 ounces of boneless meat.
DSC_0606

There was 1 pound 13 ounces of skin and bones leftover. I placed it all in a bag in the freezer for a future pot of Chicken Stock from Rotisserie Bones.
DSC_0609

Some of the other ingredients:

Fire Roasted Tomatoes add bite to soups. The ingredients include tomatoes, onion, and garlic powder. I like to pulse them in a food processor before using them.
DSC_0597

Buffalo Wing Sauce is a hot sauce with added butter (or natural butter flavor). Folks use it as a condiment and pour it over cooked chicken wings.
lisa's chili

Instructions:

Wash and core peppers and peel the onions. I often cut them into chunks and pulse them together in a food processor.
Lisa's Chili Lisa's Chili

Prep chicken. If using rotisserie chicken, pull the meat off the bones and chop into bite-sized pieces.

Sauté the vegetables for 10 minutes until they are soft and translucent. Add diced chicken and stir.
Lisa's Chili

Add the rest of the ingredients except for the cream cheese and toppings and simmer for about 30 minutes. The hot sauce gives it an orangey color.
Lisa's Chili

Before you are ready to serve, cut the cream cheese into small chunks and add to the chili. Stir the soup as it melts. Add more buffalo sauce if you want more heat.

Wash, dry, and snip the cilantro leaves. Serve in a separate bowl alongside a bowl of blue cheese crumbles.
lisa's chili

Homemade Ranch Seasoning Mix:
I thought it would be a fun challenge to try and make my own Ranch Salad Dressing and Seasoning Mix, so I searched the web for a homemade version and found one over at Gimme Some Love. This mix is excellent, and the advantage is there are no preservatives. The mix has a 3-month shelf life in the refrigerator.

Ingredients:
Ranch seasoning.

1/3 cup dry buttermilk
2 tablespoons dried parsley
1 1/2 teaspoons dried dill weed
2 teaspoons garlic powder
2 teaspoons onion powder
2 teaspoons dried onion flakes
1 teaspoon ground black pepper
1 teaspoon dried chives
1 teaspoon salt

Directions:

Whisk ingredients together until blended. If you want a more finely ground seasoning mix, pulse the mixture in a food processor a few times.

Ranch seasoning.
Homemade on the left, packaged on the right.
Ranch seasoning.
*3 tablespoons of mix = 1 packet of store-bought mix. To test the mix’s flavor, I stirred in ¼ cup of plain Kefir, which is similar to liquid yogurt.
Ranch seasoning.
It was delicious as a salad dressing.
Ranch seasoning.

Always check the website for the most current version of a recipe or pattern.

If you enjoyed this post, become a subscriber! Be sure to confirm the subscription on the follow-up letter sent to your email address.

Follow Judy’s Chickens on Instagram and Pinterest @JudysChickens.

© 2014-2020 Judy Wright. All rights reserved. Photos, videos, and text may only be reproduced with the written consent of Judy Wright.