How to Make Royal Icing and Decorate Cookies

I recently helped host two parties, both for babies. One was an early celebration for my granddaughter’s first birthday. The color scheme was pink and white. All. The. Way.

The other party was a baby shower for the daughter of one of my besties, LouAnn.  The color scheme was sky blue and white, with a few cherished googly eyes thrown in.

Both parties were designed with love and whimsy. For the baby shower, co-host Nan decorated white pumpkins with ribbons. I had never considered bedecking pumpkins, but I was suddenly ALL IN on the party spirit when I saw hers. Nan’s natural enthusiasm for life has a way of doing that to you.

She inspired me to make pretty pumpkins for my baby girl’s party, but when I went to decorate them, I got a heaping case of startitis. I texted Lou Ann to see if she would work her magic on them. She whipped these up on her kitchen counter while her dinner cooked. I love them! They make me smile.

Lou Ann is one of those creatives who get in this peaceful place, and calmly creates beautiful objects. It is as much a pleasure to watch her work as it is to work alongside her. Readers of Judy’s Chickens may remember the post I wrote on how she used greens from my yard to make a stunning winter floral arrangement.

Individually Wrapped Frosted Cookies for Party Favors

One of the tasks I took on for both parties was to make frosted cookies for favors. I invited Nan and Lou Ann to come over for the morning day to help me out. I had never successfully negotiated how to use royal icing and a piping tool to decorate cookies. They were pros.

You will need a disposable piping bag and a #2 or #4 piping tip. A Ziploc bag works fine if you run out of piping bags.

Gel food coloring has more color pigment than regular liquid food coloring, so you need less, and the colors are truer. The girls taught me to poke a hole through the foil lid with a toothpick and use it to add color to the frosting. We made three bowls of icing: white, sky blue, and pink.

They showed me this nifty way of filling a piping bag.

First, they piped an outline onto the cookie to create a nice edge.

After the outline dried, they used a miniature spatula to fill in the interior space with icing. You may need to thin the icing with water first. This filling-in process is called flooding in the icing world.

In addition to piping supplies, Nan brought this awesome adjustable rolling pin that keeps the dough thickness consistent when rolling out cookies. This leads to more even baking. After we were done, I went to The Kitchen Nashville to buy one.

Here is a link to the cookie dough recipe: My Favorite Rollout Butter Cookies

How to Make Royal Icing

Ingredients:

3 ounces (6 T) pasteurized raw egg whites 3 tablespoons meringue powder
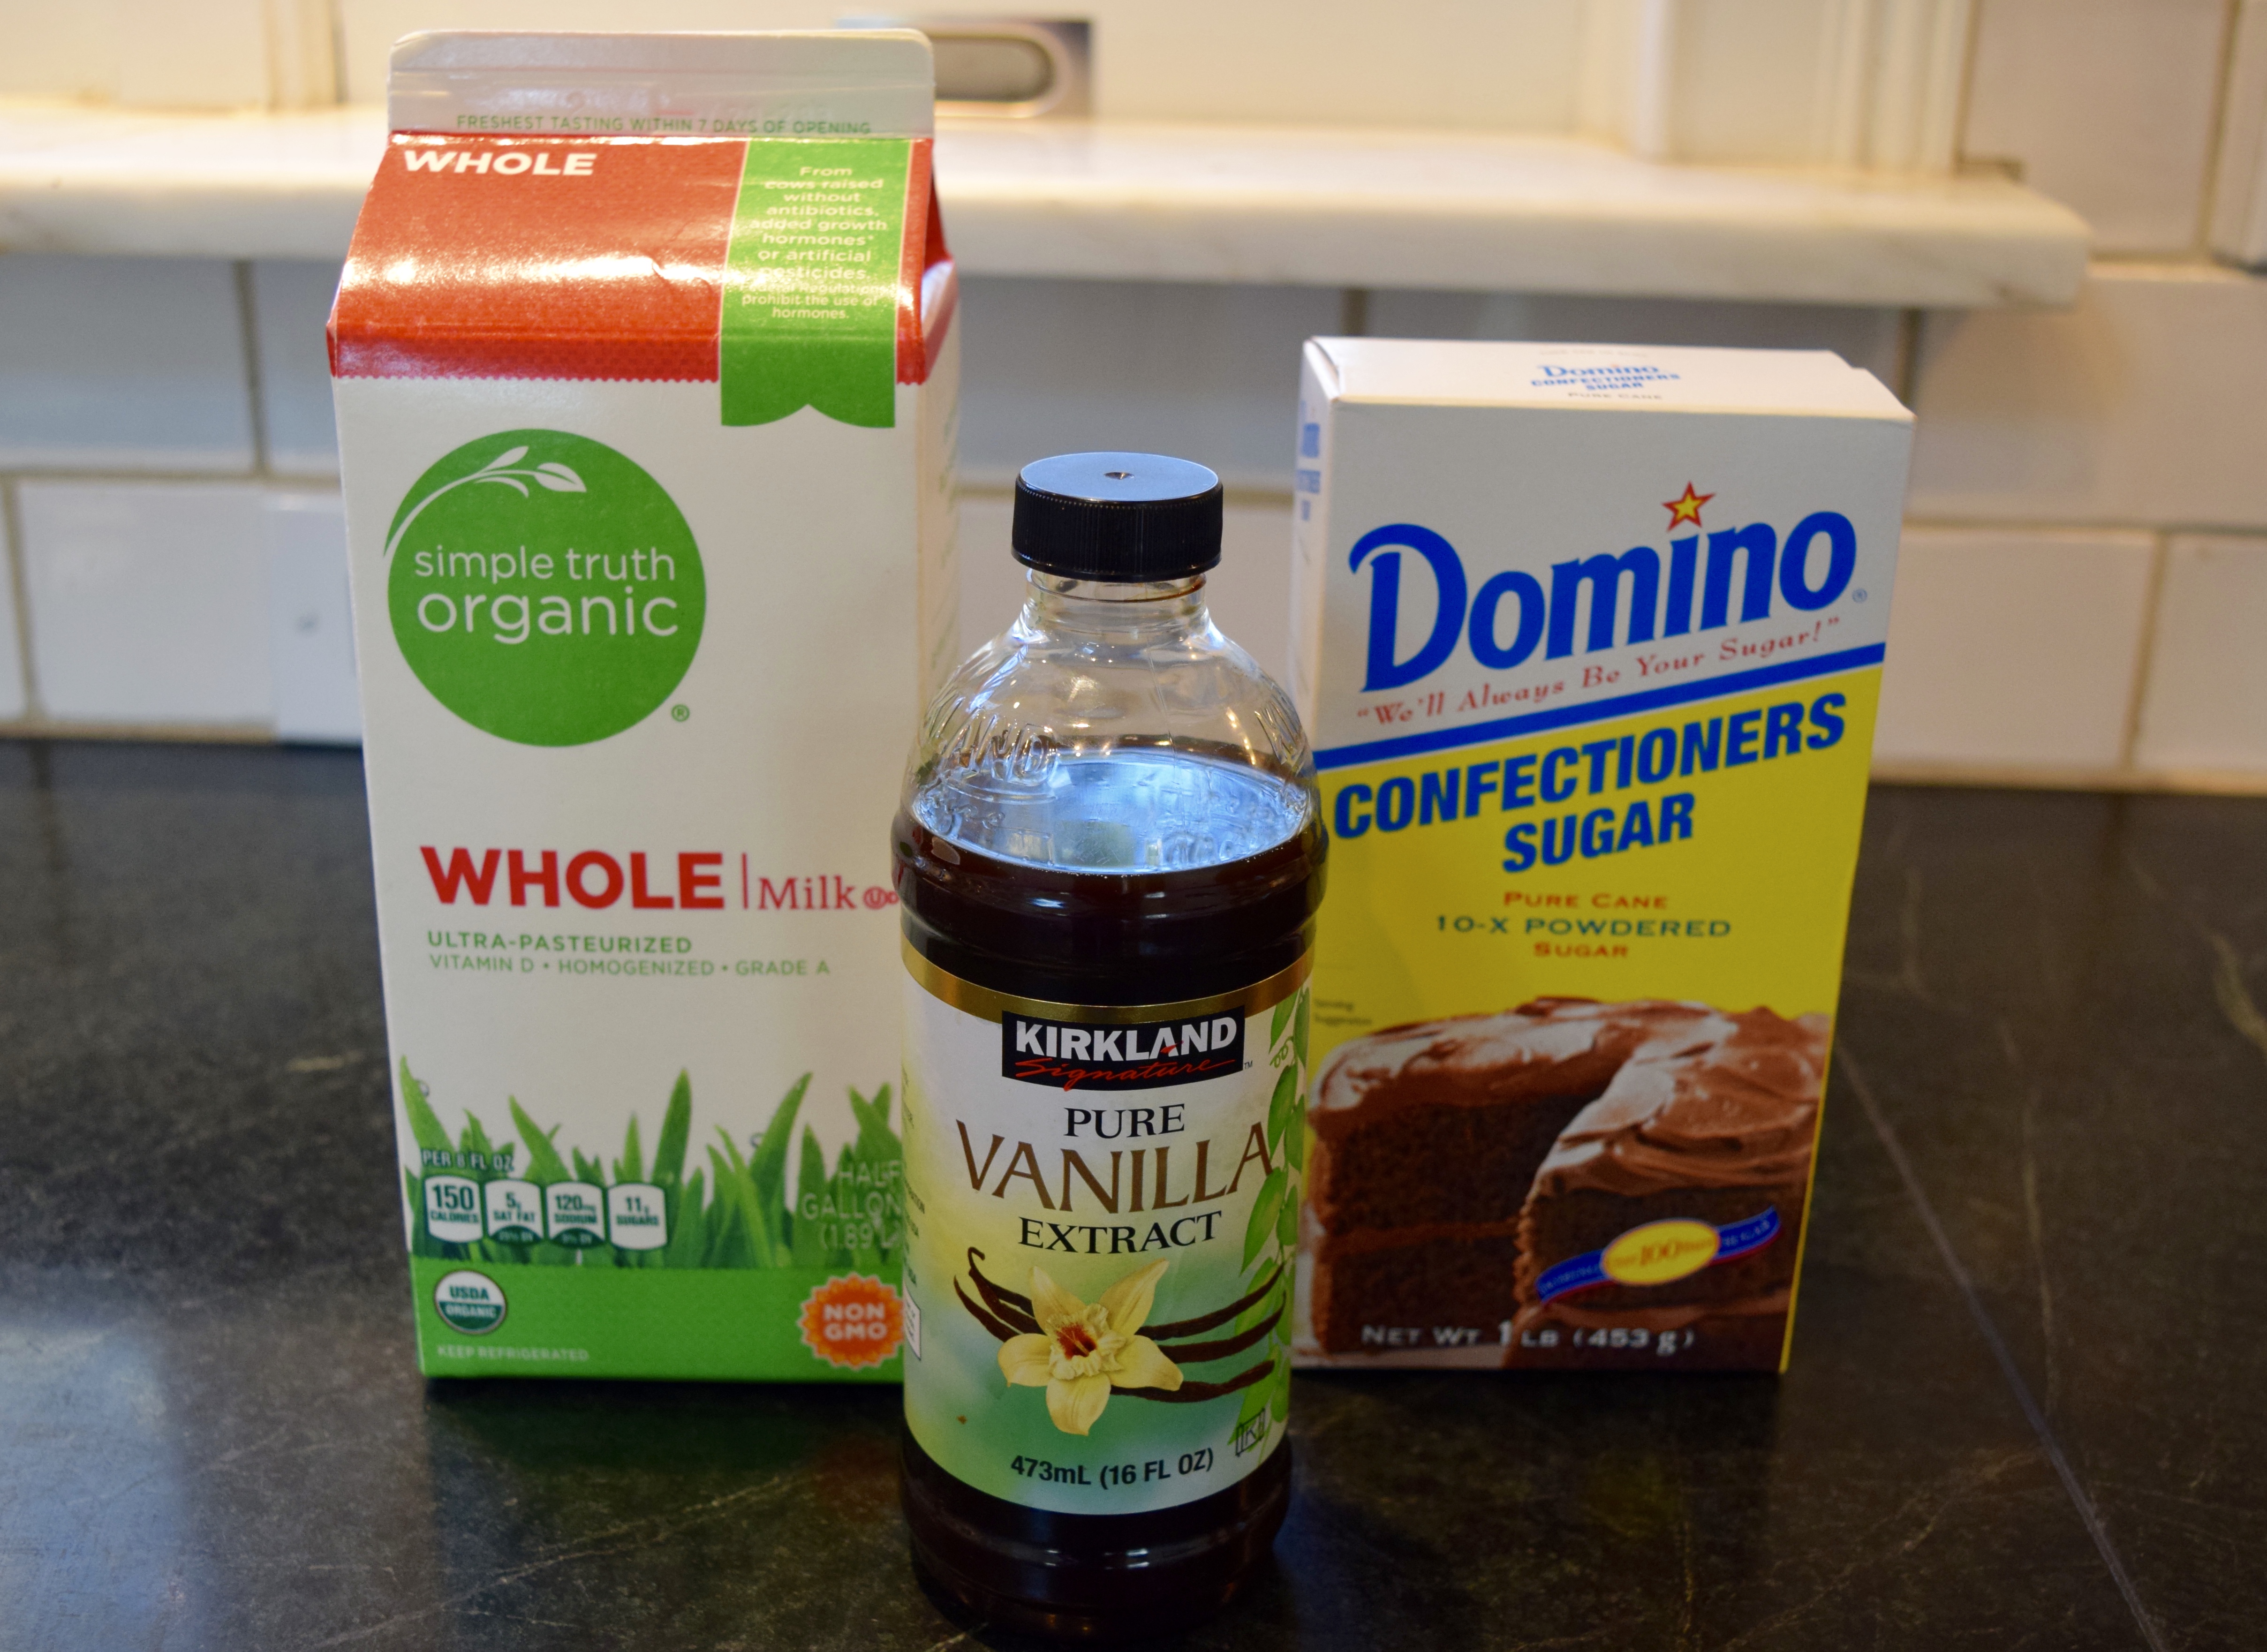
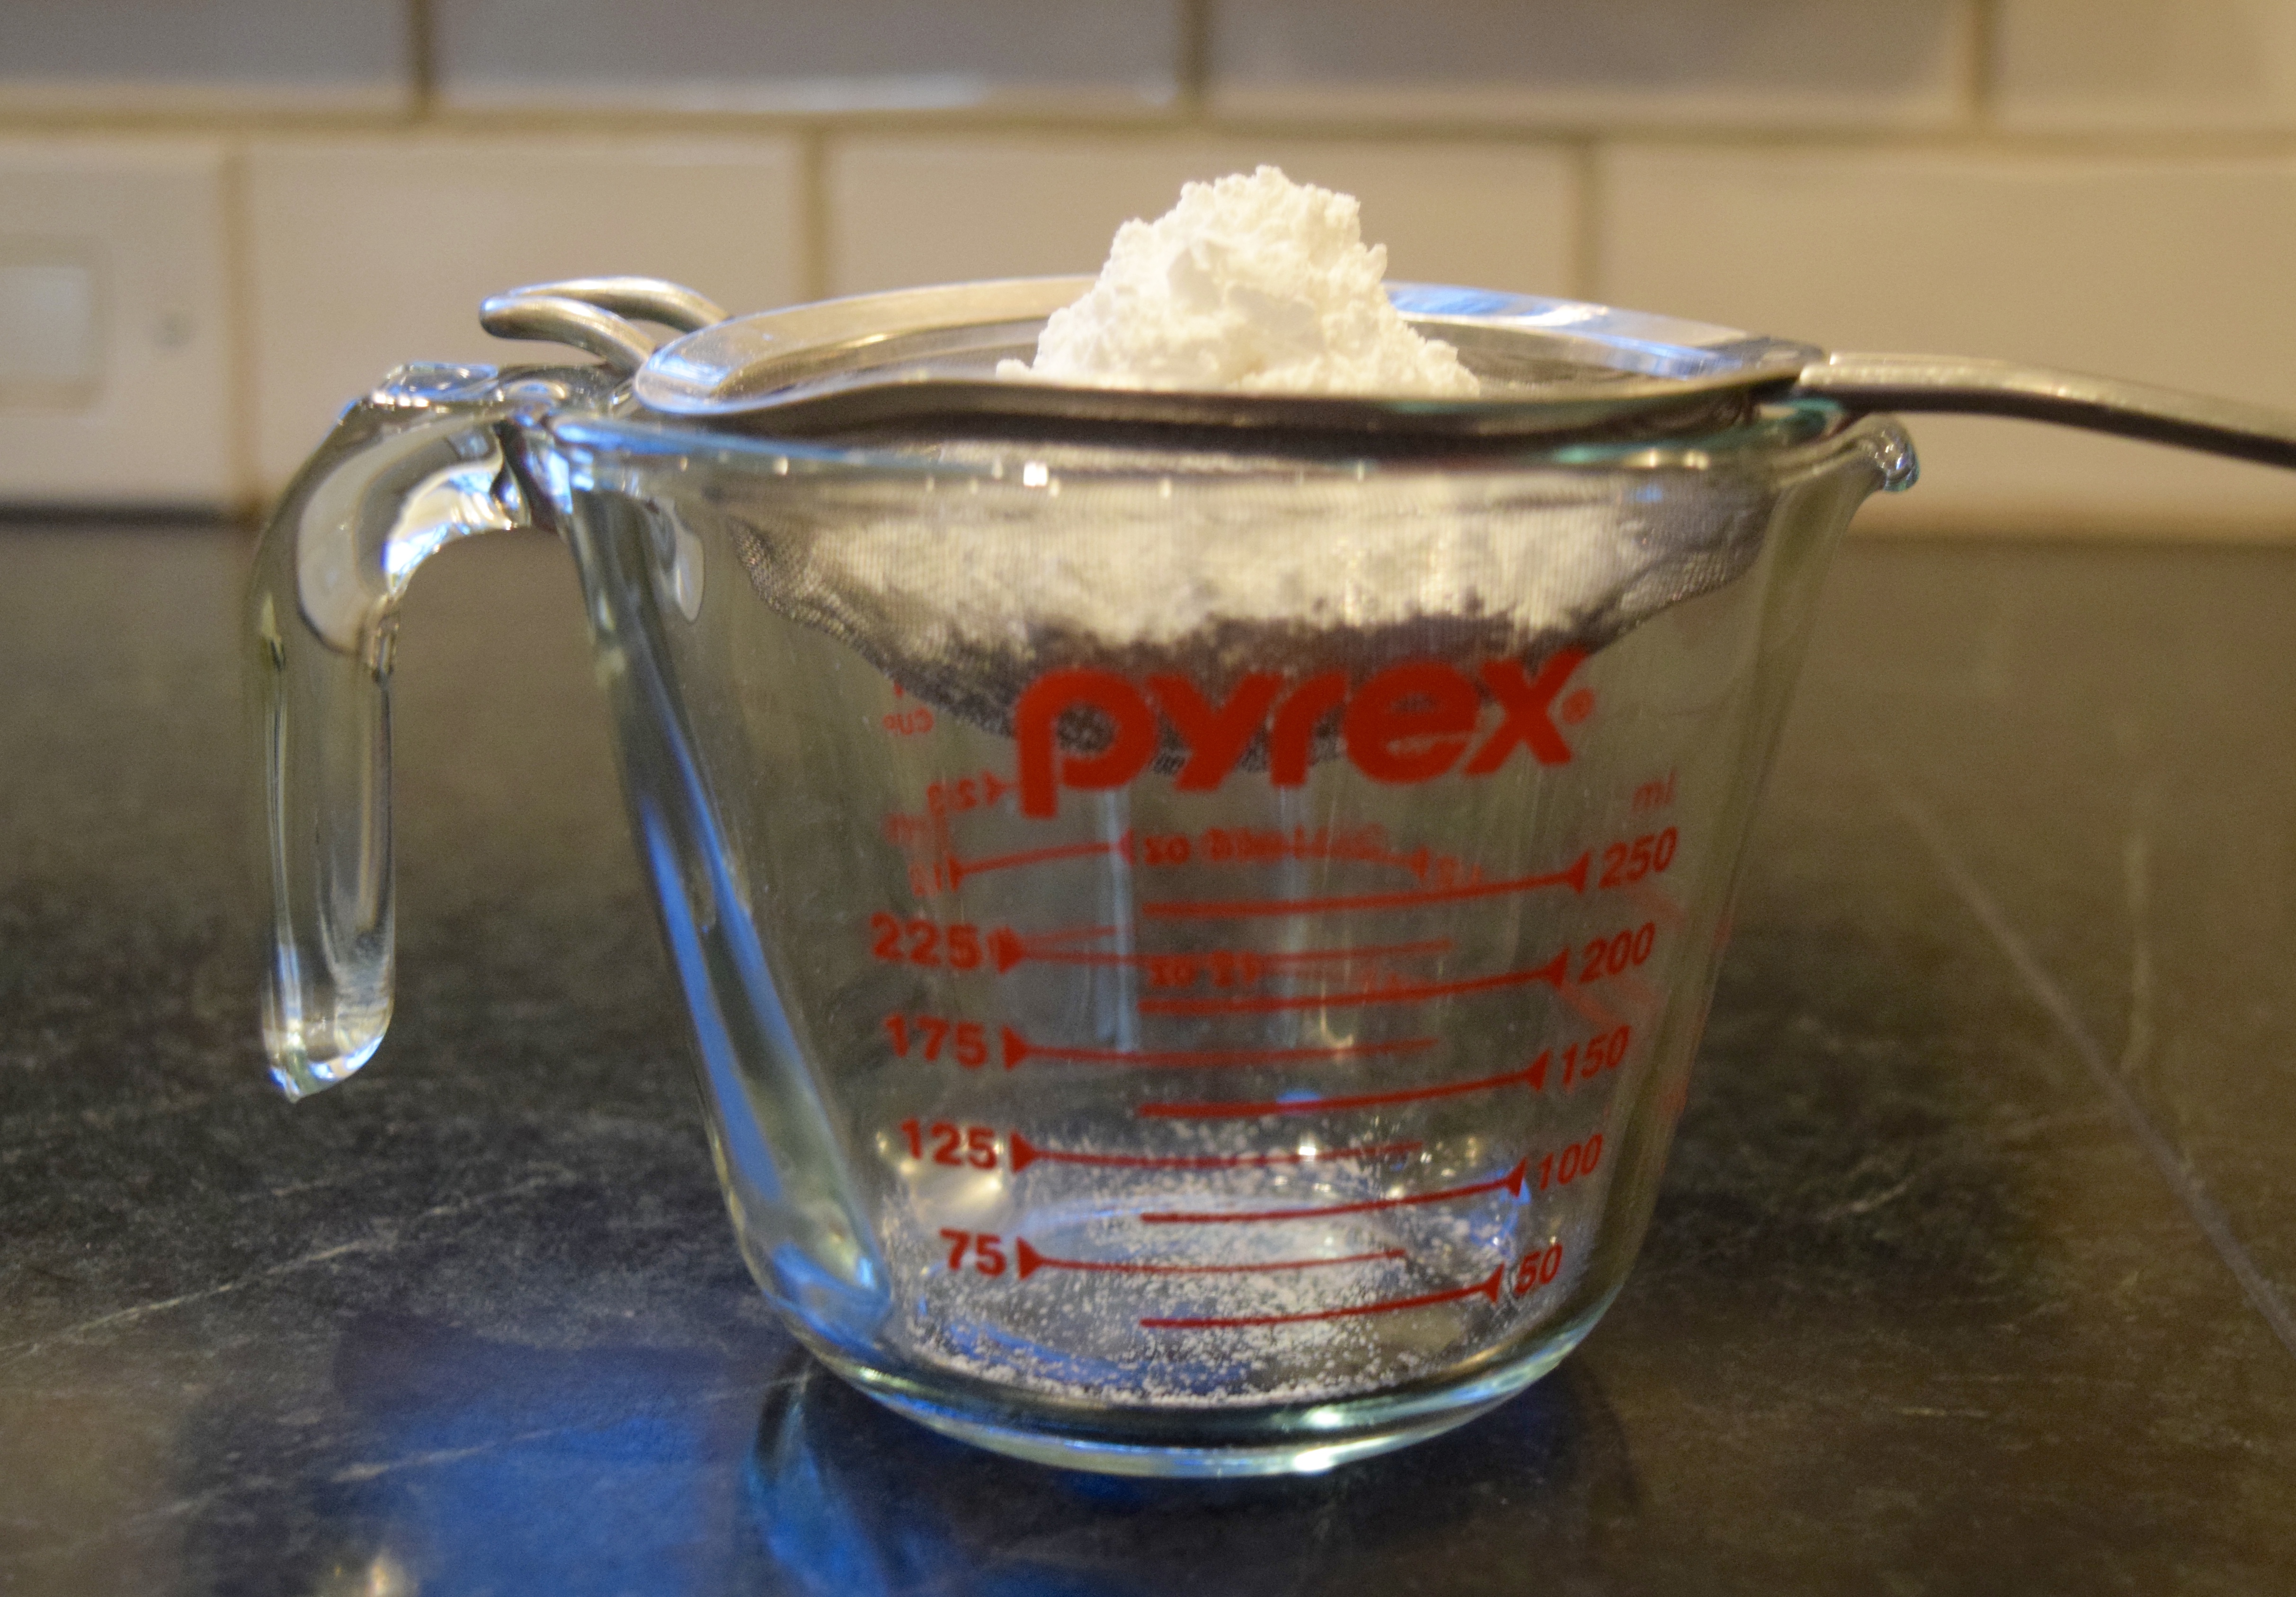
1 pound (4 cups) confectioner’s sugar
1 teaspoon pure vanilla extract or 1 tablespoon freshly grated lemon zest
Water for thinning icing, as needed
Gel Food Coloring
Piping bags and tips

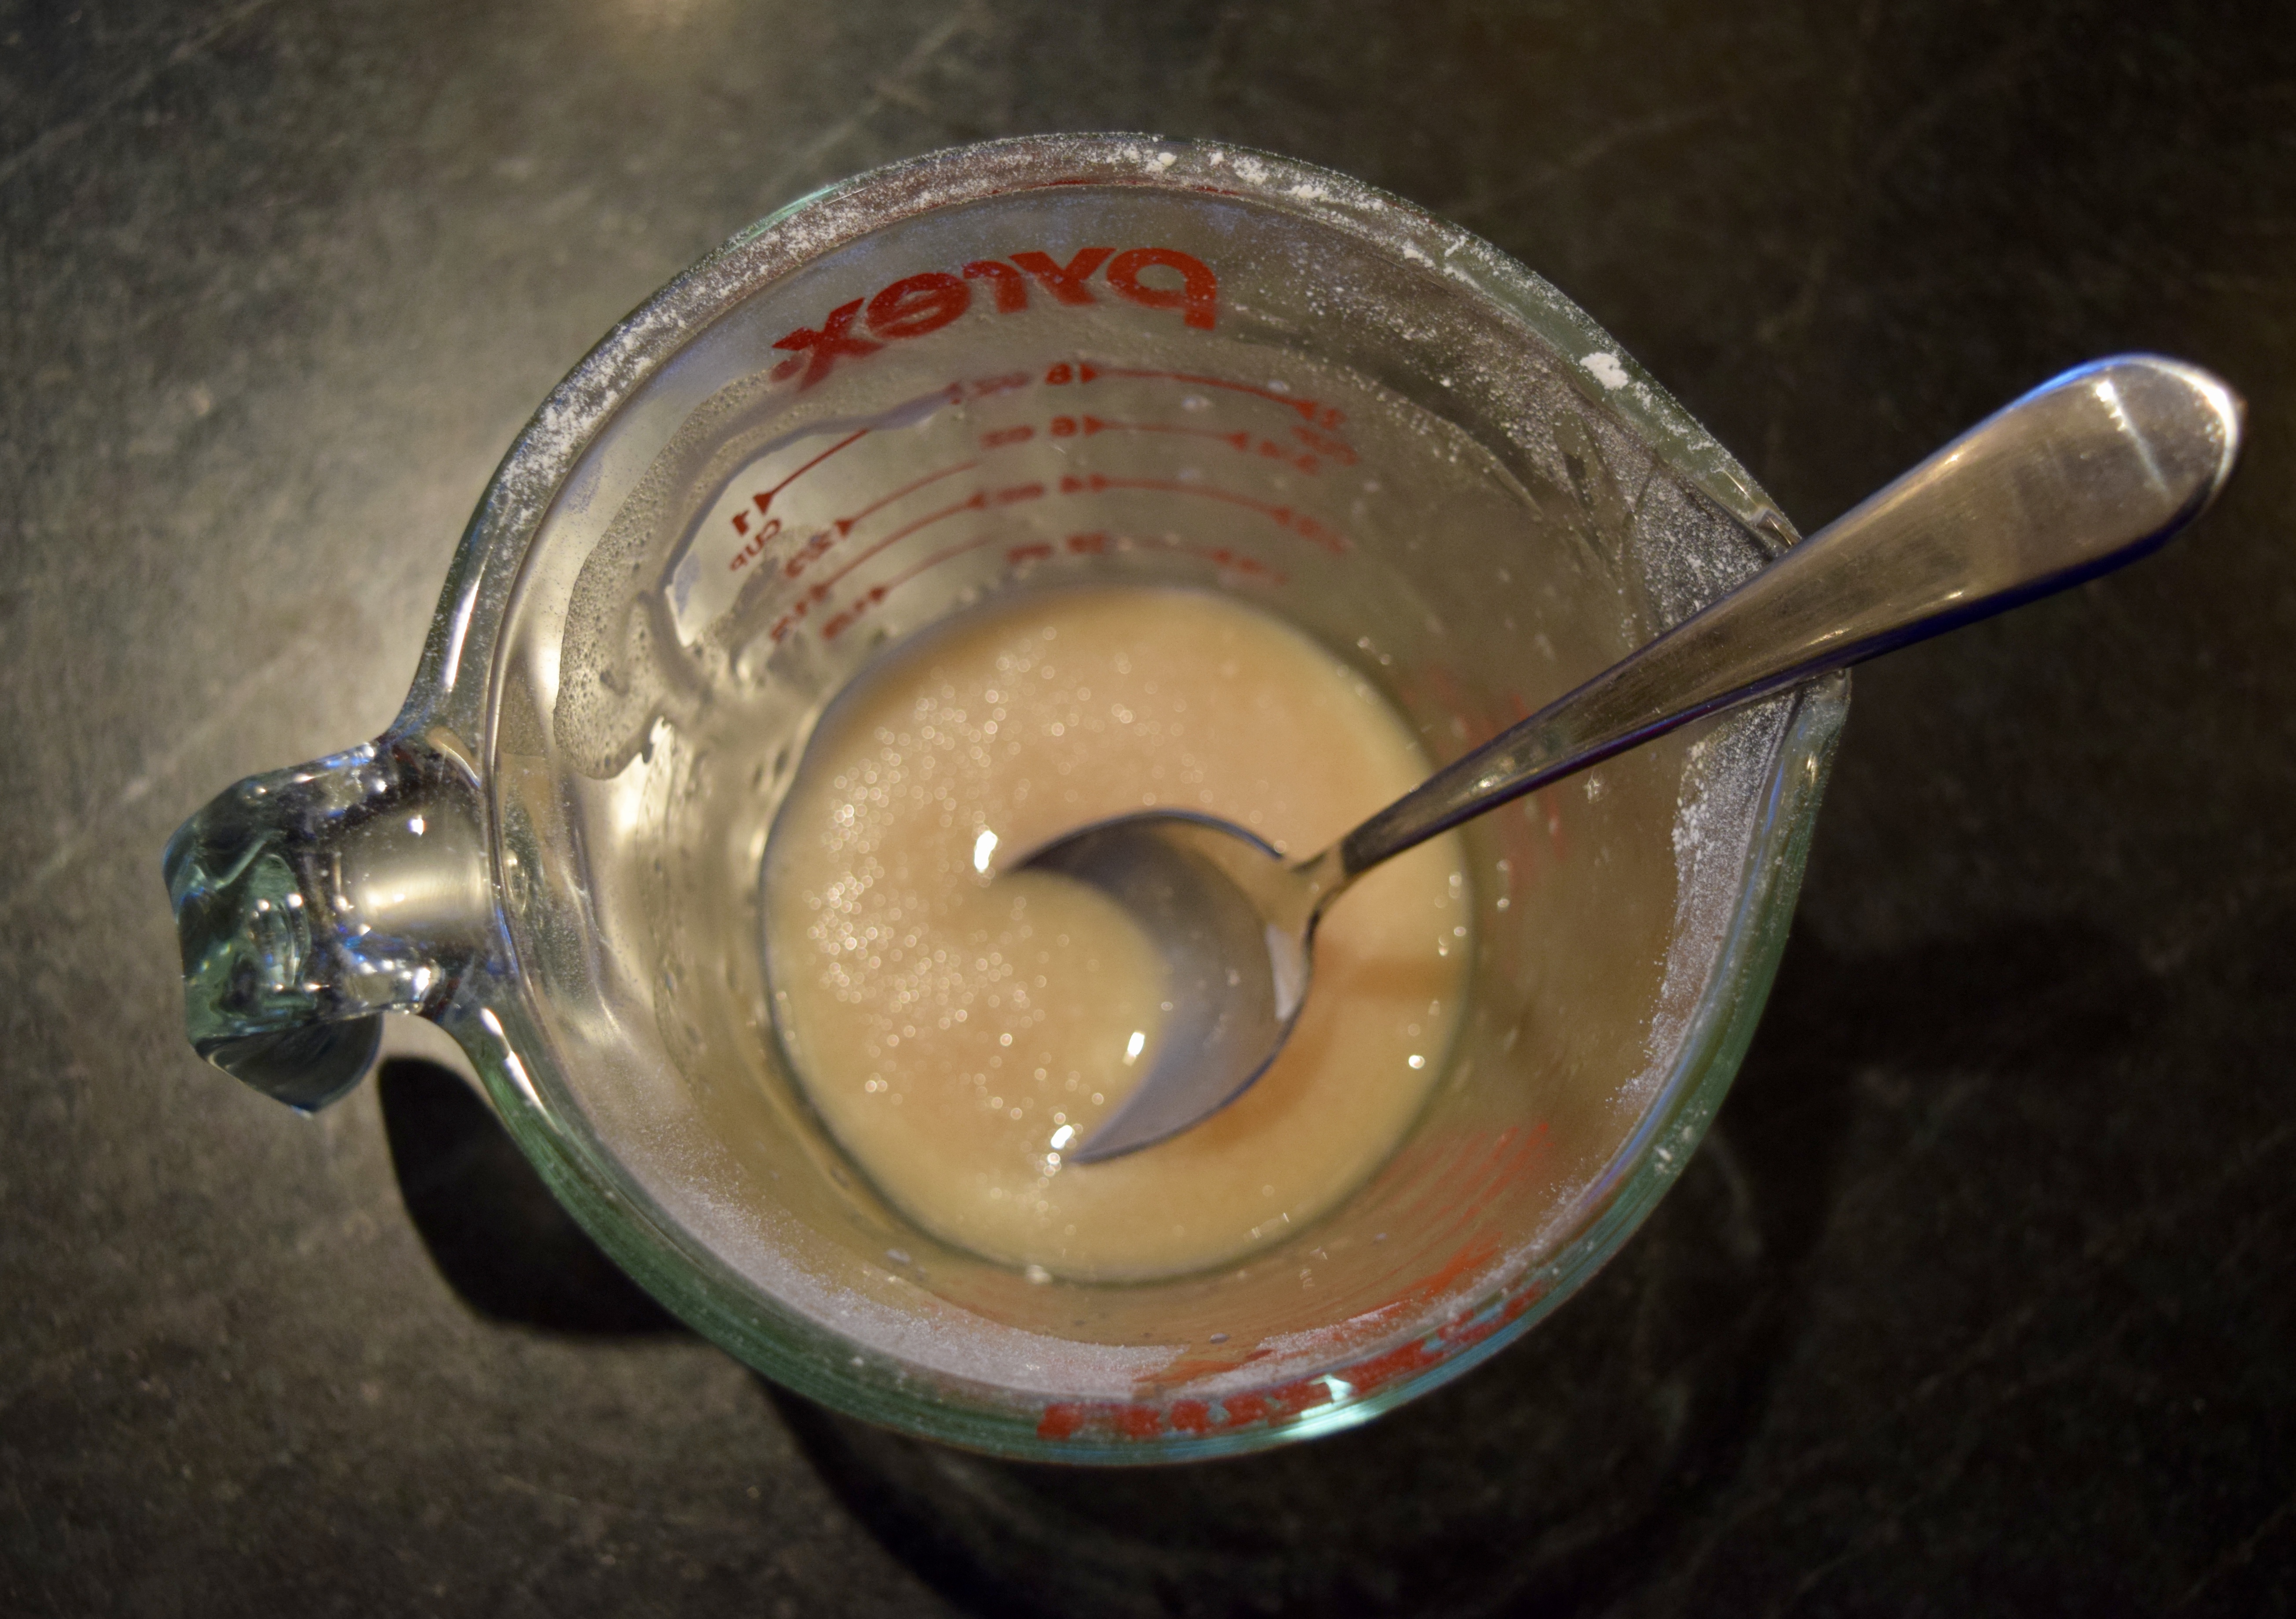
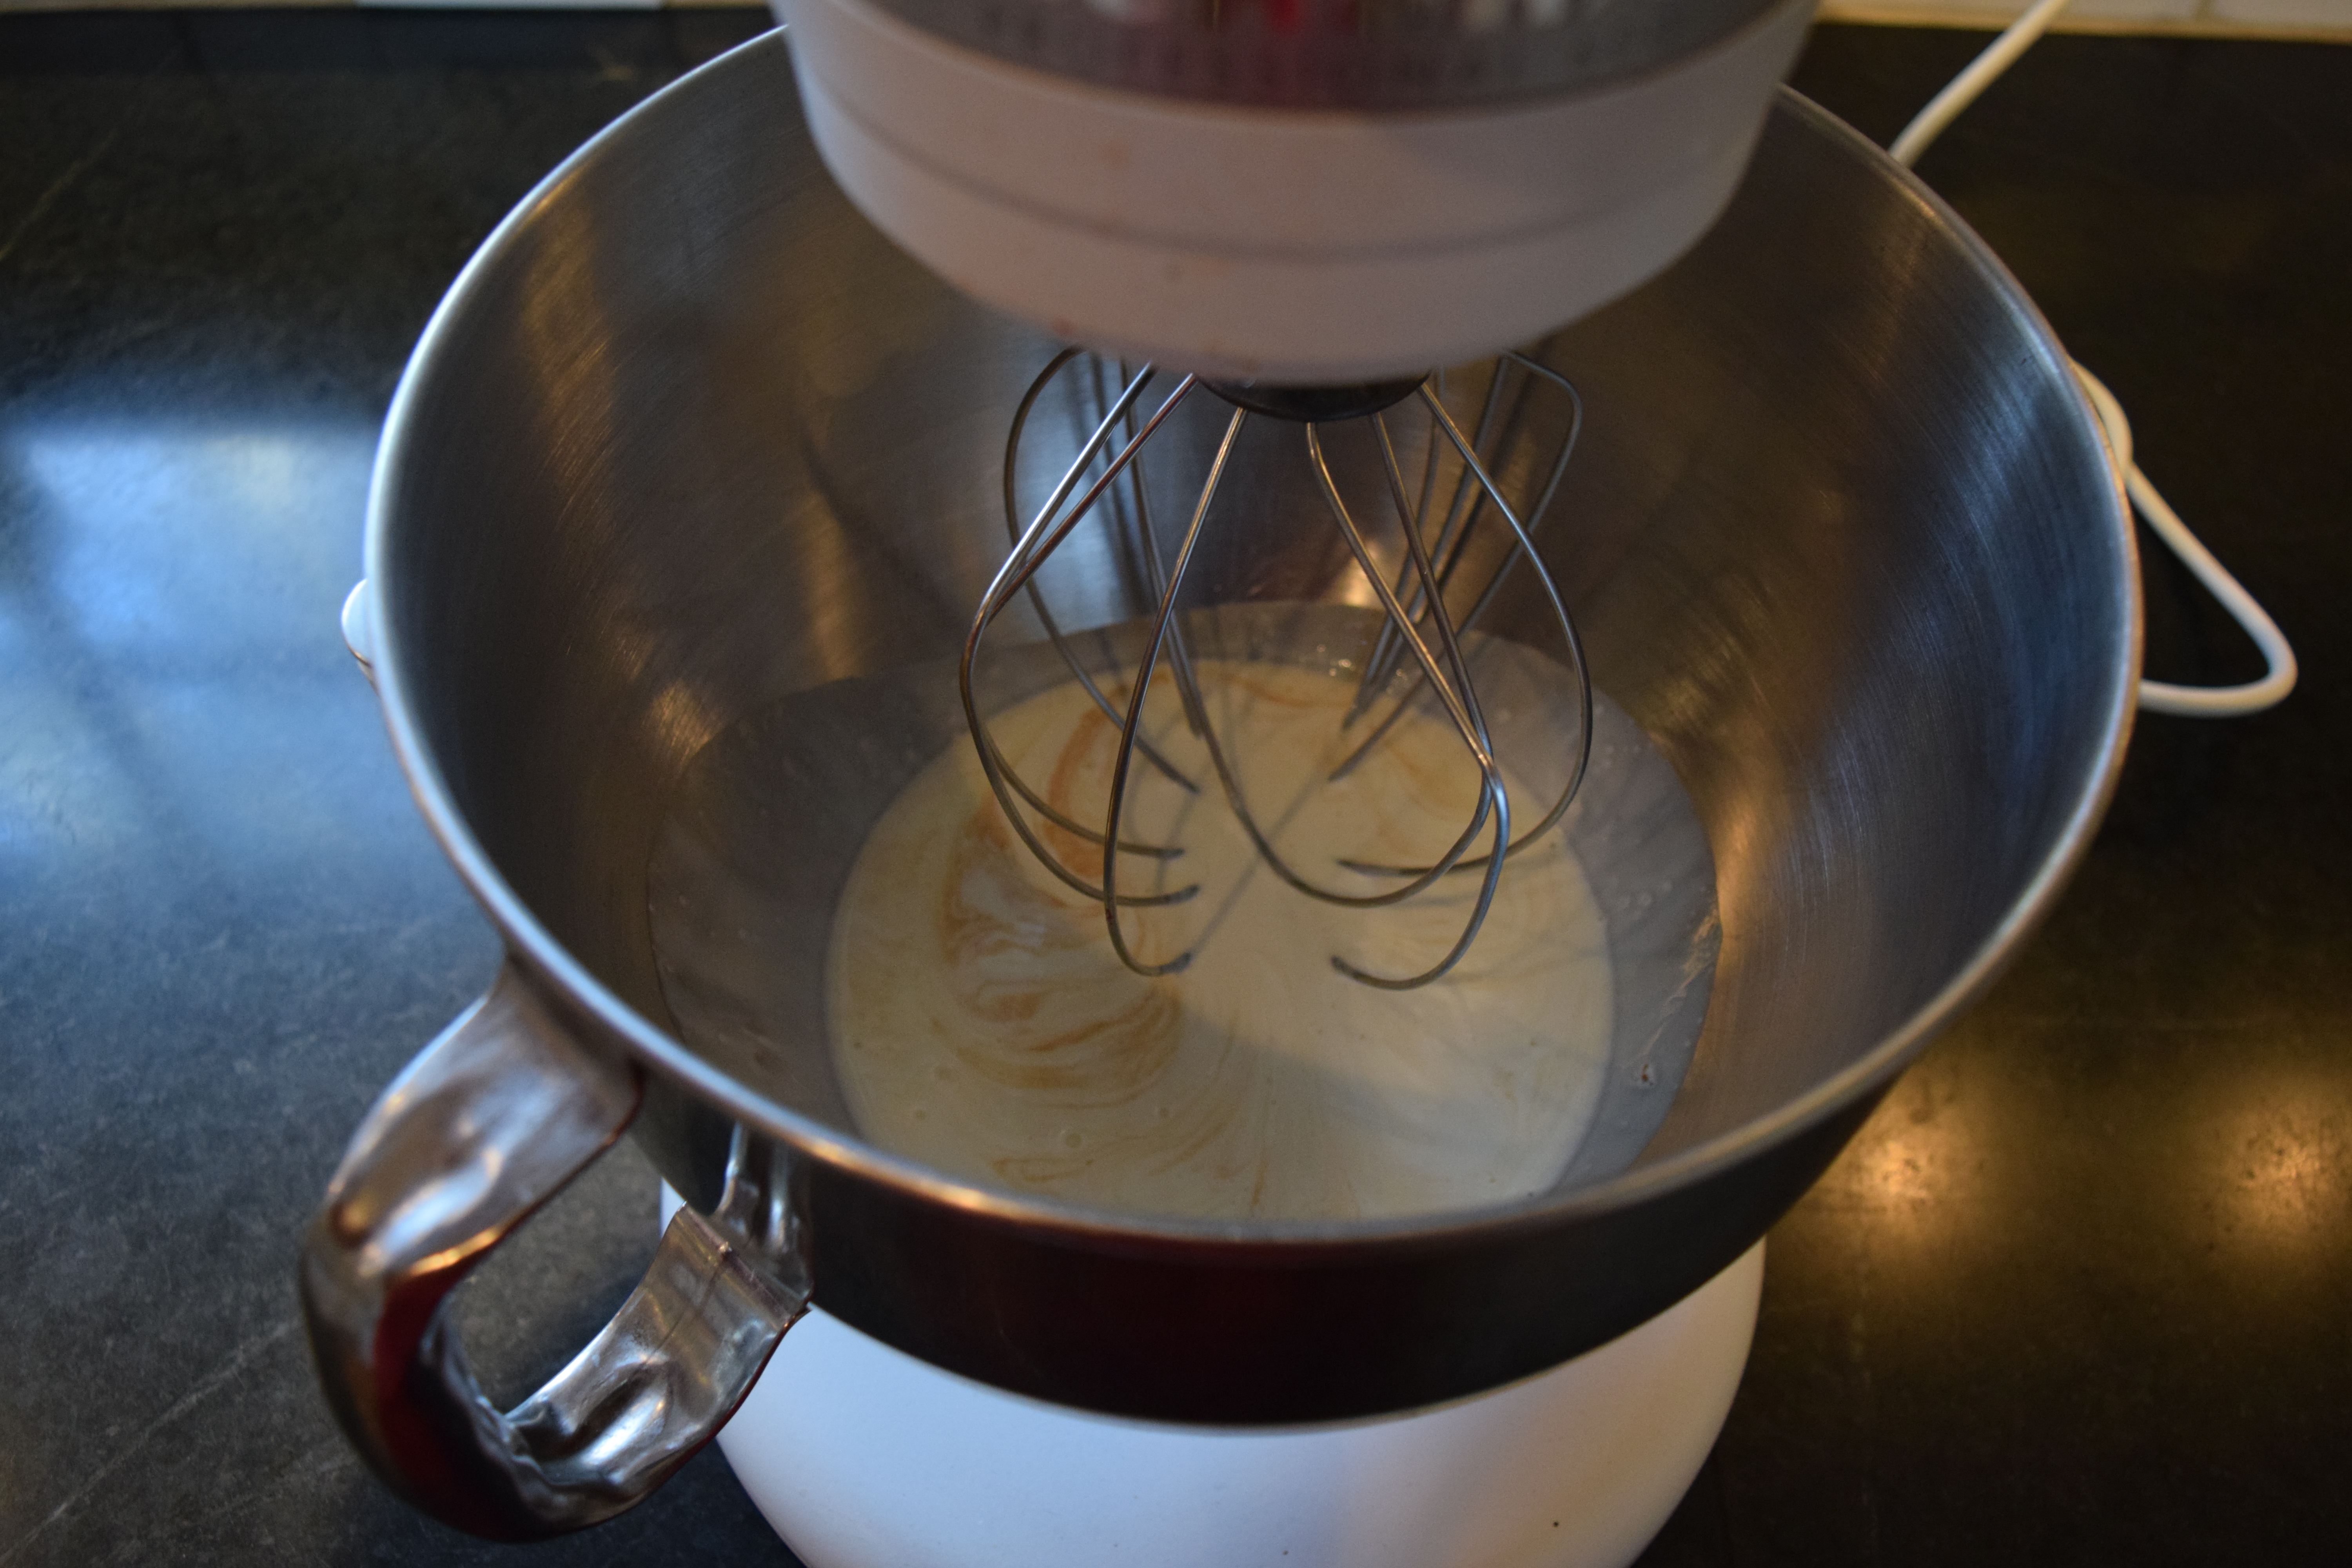
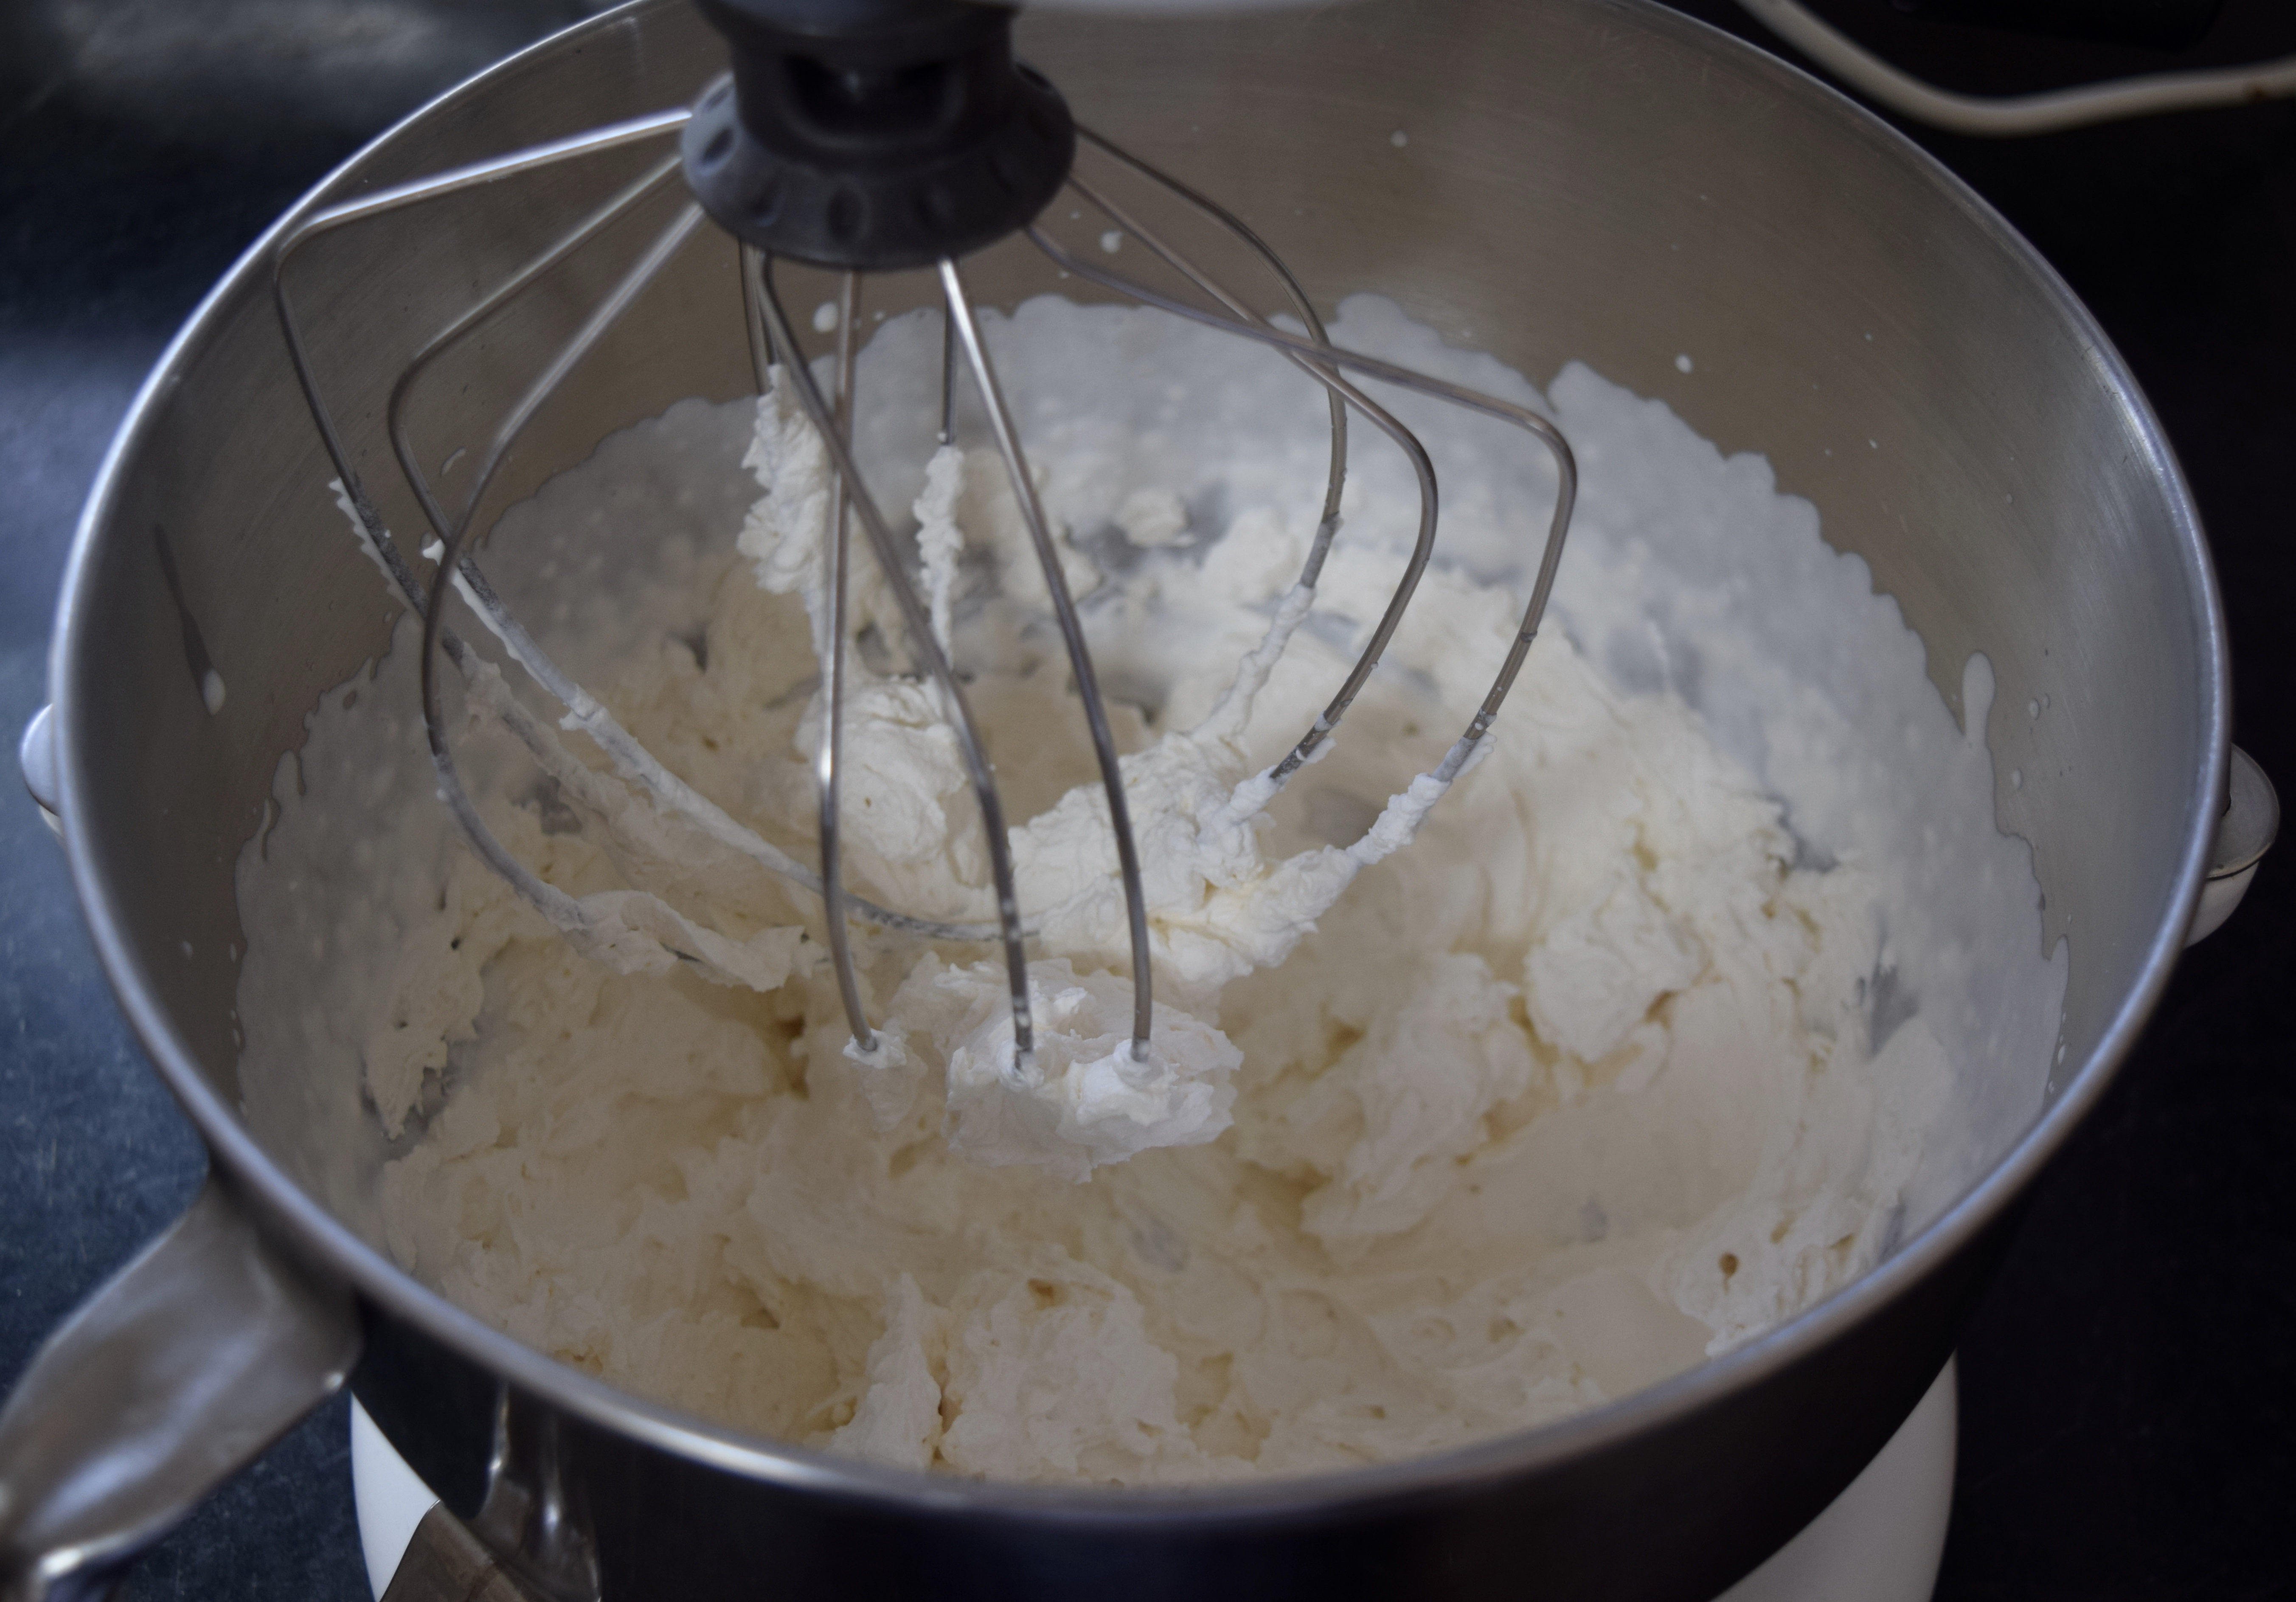
I mixed all the ingredients in a mixing bowl. I made the first batch with vanilla extract and the second batch with lemon zest. Both were good. You can store leftover icing in the freezer.

After we made the blue and white cookies, Lou Ann got busy on the dresses.


When she added the pink, I melted.

After the girls left, I decorated a few cookies for my grandchildren. I pushed the easy button on those and used a pastry brush to simply slather on the frosting. Still cute, especially when I added the fun sprinkles from The Kitchen Nashville.

A Few Other Party Touches:

Leave it to Nan to come up with a specialty drink for a party. She loved this cocktail when she had it in Las Vegas and figured out how to reproduce it.

These asparagus roll-ups were the best I have ever tasted. Liz, another host for the baby shower, created them. She used a combo of Boursin and Parmesan cheese in the spread.

My daughter-in-love, Meera, ordered this delicious and gorgeous strawberry cake from Baked on 8th.

My son’s generation refers to a baby’s first birthday cake as a “smash” cake. Baked on 8th makes those as well. This one has strawberry frosting and was out of this world. The blue high chair was my husband’s father.

My future DIL, Lily, ordered flowers from the Green Hills Kroger. Ever since Lead Floral Designer Liz Blalock joined their staff, the floral department has blossomed with beautiful arrangements.

The two parties were back to back events. Each was very different, but both were filled with many delightful moments, now memories, enhanced by the special touches of all involved in planning and hosting.

Related Posts
My Favorite Rollout Butter Cookies


Winter Floral Arrangements Using Greenery from the Yard


How to Fold A Tree-Shaped Napkin


How to Make Birdhouse Gourds for Fall Decorating


Group Project: A Shibori Dyed Quilt


If you enjoyed this post, please share and become a subscriber! Be sure to confirm the subscription on the follow-up letter sent to your email address.

Follow Judy’s Chickens on Instagram and Pinterest @JudysChickens.

Always check my blog for the latest version of a recipe.

© 2014-2020 Judy Wright. All rights reserved. Photos, videos, and text may only be reproduced with the written consent of Judy Wright.

Sheet Pan Supper: Butternut Squash Soup

A week after Thanksgiving, I was growing weary of looking at the winter squashes that had been staring at me from the windowsill for over a month. I initially put them there to inspire me to make a clever Thanksgiving centerpiece, but instead, they became a constant reminder that I had never gotten around to decorating with them. Or cooking them. I was over squash.

The question was, do I cook them, freeze them, or put them in the compost where my chickens could happily devour them over the winter? That’s one of the nice things about having chickens, they are the ultimate assuagers of guilt. If you don’t get around to eating food, the chickens are ready to step in — and they give you eggs for the trouble.

In the end, I roasted a variety of squashes, scooped out the flesh, and froze it.

Recently, I had a marvelous lunch with a few girlfriends. Each of them ordered butternut squash soup. I took a taste. It was delicious. I decided I would make butternut squash soup with the frozen squash. I had a rich homemade Chicken Stock from Rotisserie Chicken Bones in the freezer to use for the broth.

Yield: 12 cups of a hearty soup. You could have more volume by thinning the soup with extra chicken broth.

Ingredients
3 tablespoons extra virgin olive oil
1 large onion, roughly diced (3 cups or 1 pound)
4 cloves of garlic, peeled, smashed, and chopped
4 pounds (7 cups) roasted winter squash (see directions below)
2 quarts (8 cups) no salt added chicken broth.
Salt and pepper to taste

Mise en Place

To Roast Squash:
To make this soup, you will need to roast the winter squash first. Cut the squash in half and scoop out the seeds and fibrous pulp. I used acorn, butternut and Seminole pumpkin squashes. As described in this post, microwave the butternut squash to make it easier to slice.
 

Use a silicone basting brush to swab the squash halves with olive oil, sprinkle with sea salt, garlic pepper, and“Trader Joe’s Everything But The Bagel Sesame Seasoning Blend.

Place on a parchment-lined baking sheet in a 425º oven. Cook for one hour.

Let cool for another hour and remove the skin and any remaining stringy pulp. I packed and froze the cooked squash.
.

To Make Soup:
I had never made squash soup before but started by doing what I always did when making soup, I sautéed onion and garlic in olive oil over medium-low heat until they became soft and translucent – about 15 minutes.

Next, I added the mushy roasted veggies. If you desire a hearty soup, as I did, there is no need to puree the squash first. If you are looking for a daintier soup, or one with a more uniform consistency, purée the squash.

Stir in the broth and bring the soup to a boil. Simmer for 20 minutes. Season to taste before serving. I only needed to add one teaspoon of salt and no pepper because the roasted vegetables I used had already been well-seasoned.

Serve with a sprinkle of chopped parsley. You could add curry or ginger powder if you want to add more flavor, but I love the robust taste of roasted veggies.

My new seasonal windowsill.

Related Posts
Chicken Stock from Rotisserie Chicken Bones
Rotisserie Chicken Soup, Revisited
Sick Soup, Sometimes Known as Snow Day Soup
Aunt Bridget’s Chicken Soup with Little Meatballs
Lisa’s Award Winning Buffalo Chicken Chili
Kelly’s Duck Stew
Bruce’s Turkey and Sausage Gumbo
Mrs. Lombard’s Portuguese Kale Soup (aka Caldo Verde)
Pasta e Fagioli, aka Pasta and Bean Soup

Always check the website for the most current version of a recipe.

Follow me on Instagram and Pinterest at JudysChickens.

If you enjoyed this post, please sign up to be a subscriber! Once you sign up, be sure to confirm the subscription on the confirmation letter sent to your email address.

© 2014-2017 Judy Wright. All rights reserved. Photos and text may only be used with written consent.

Pumpkin Cheesecake Pie

This is a Thanksgiving Day favorite. It was given to my mother by Mickey Kohn, a fabulous cook and old family friend. Because our family was so large and for the sake of variety, we usually made two different pumpkin pies every Thanksgiving, Mom’s Pumpkin Pie and this pumpkin cheesecake.

DSC_0399
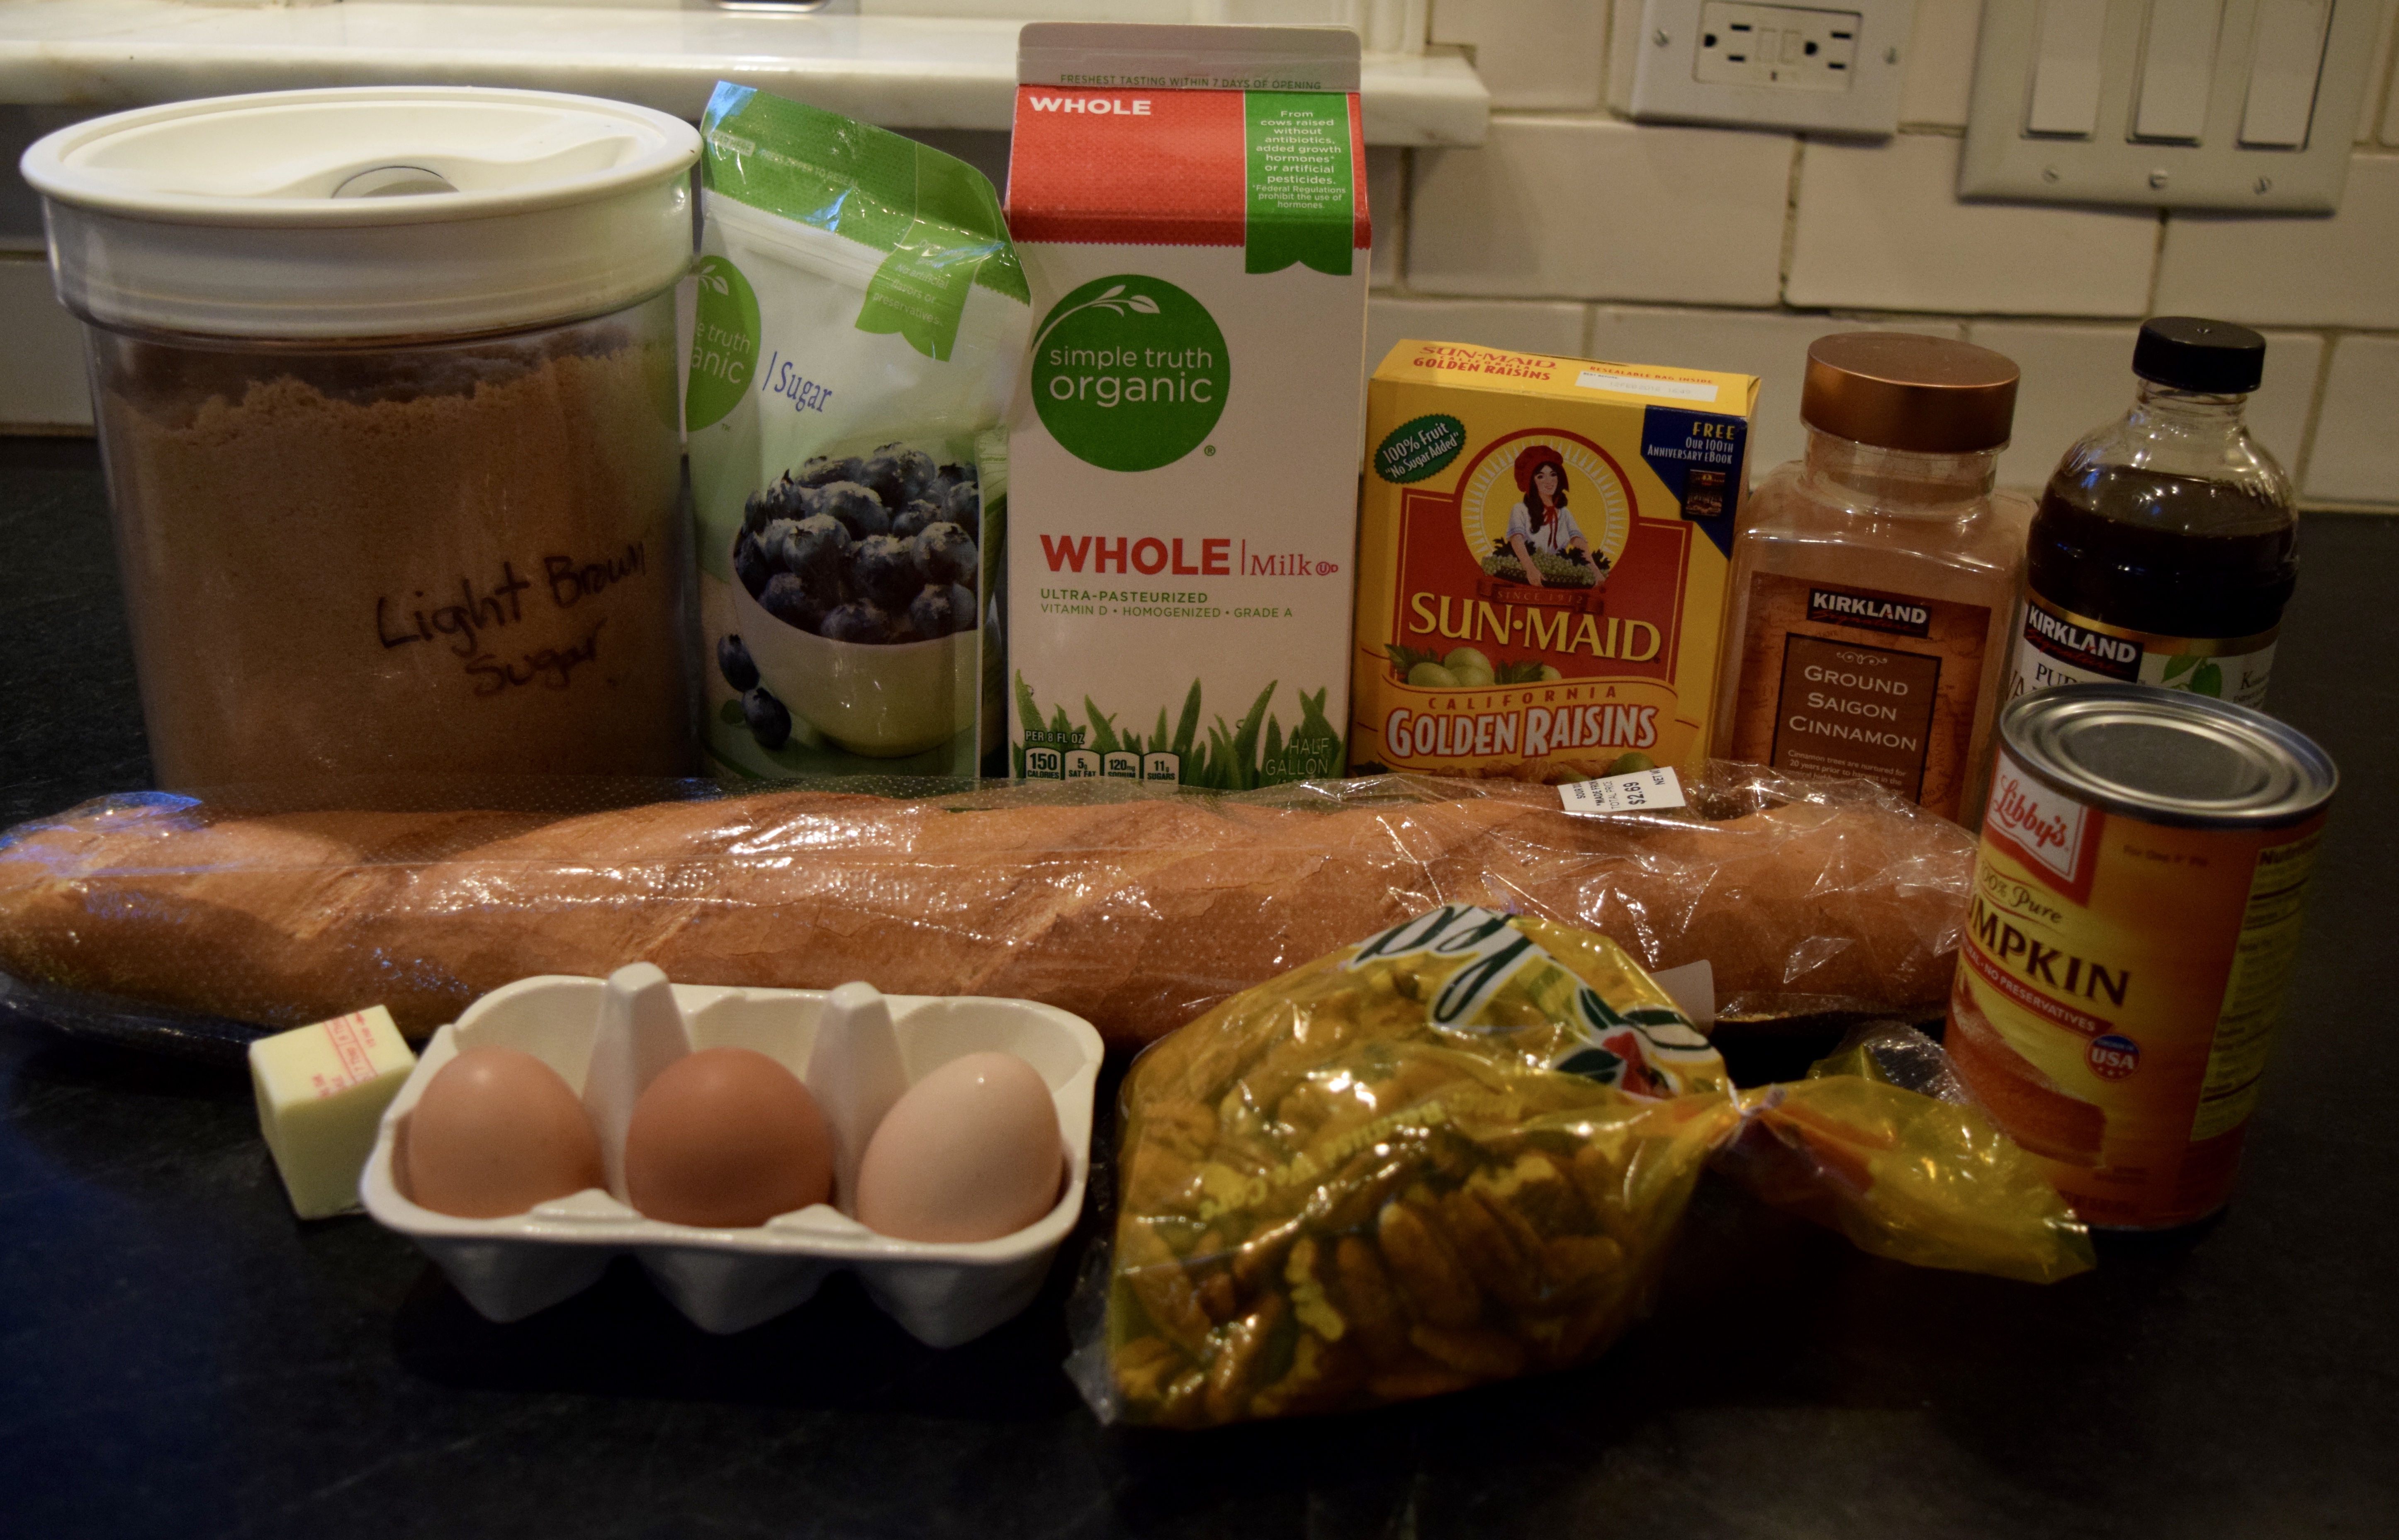
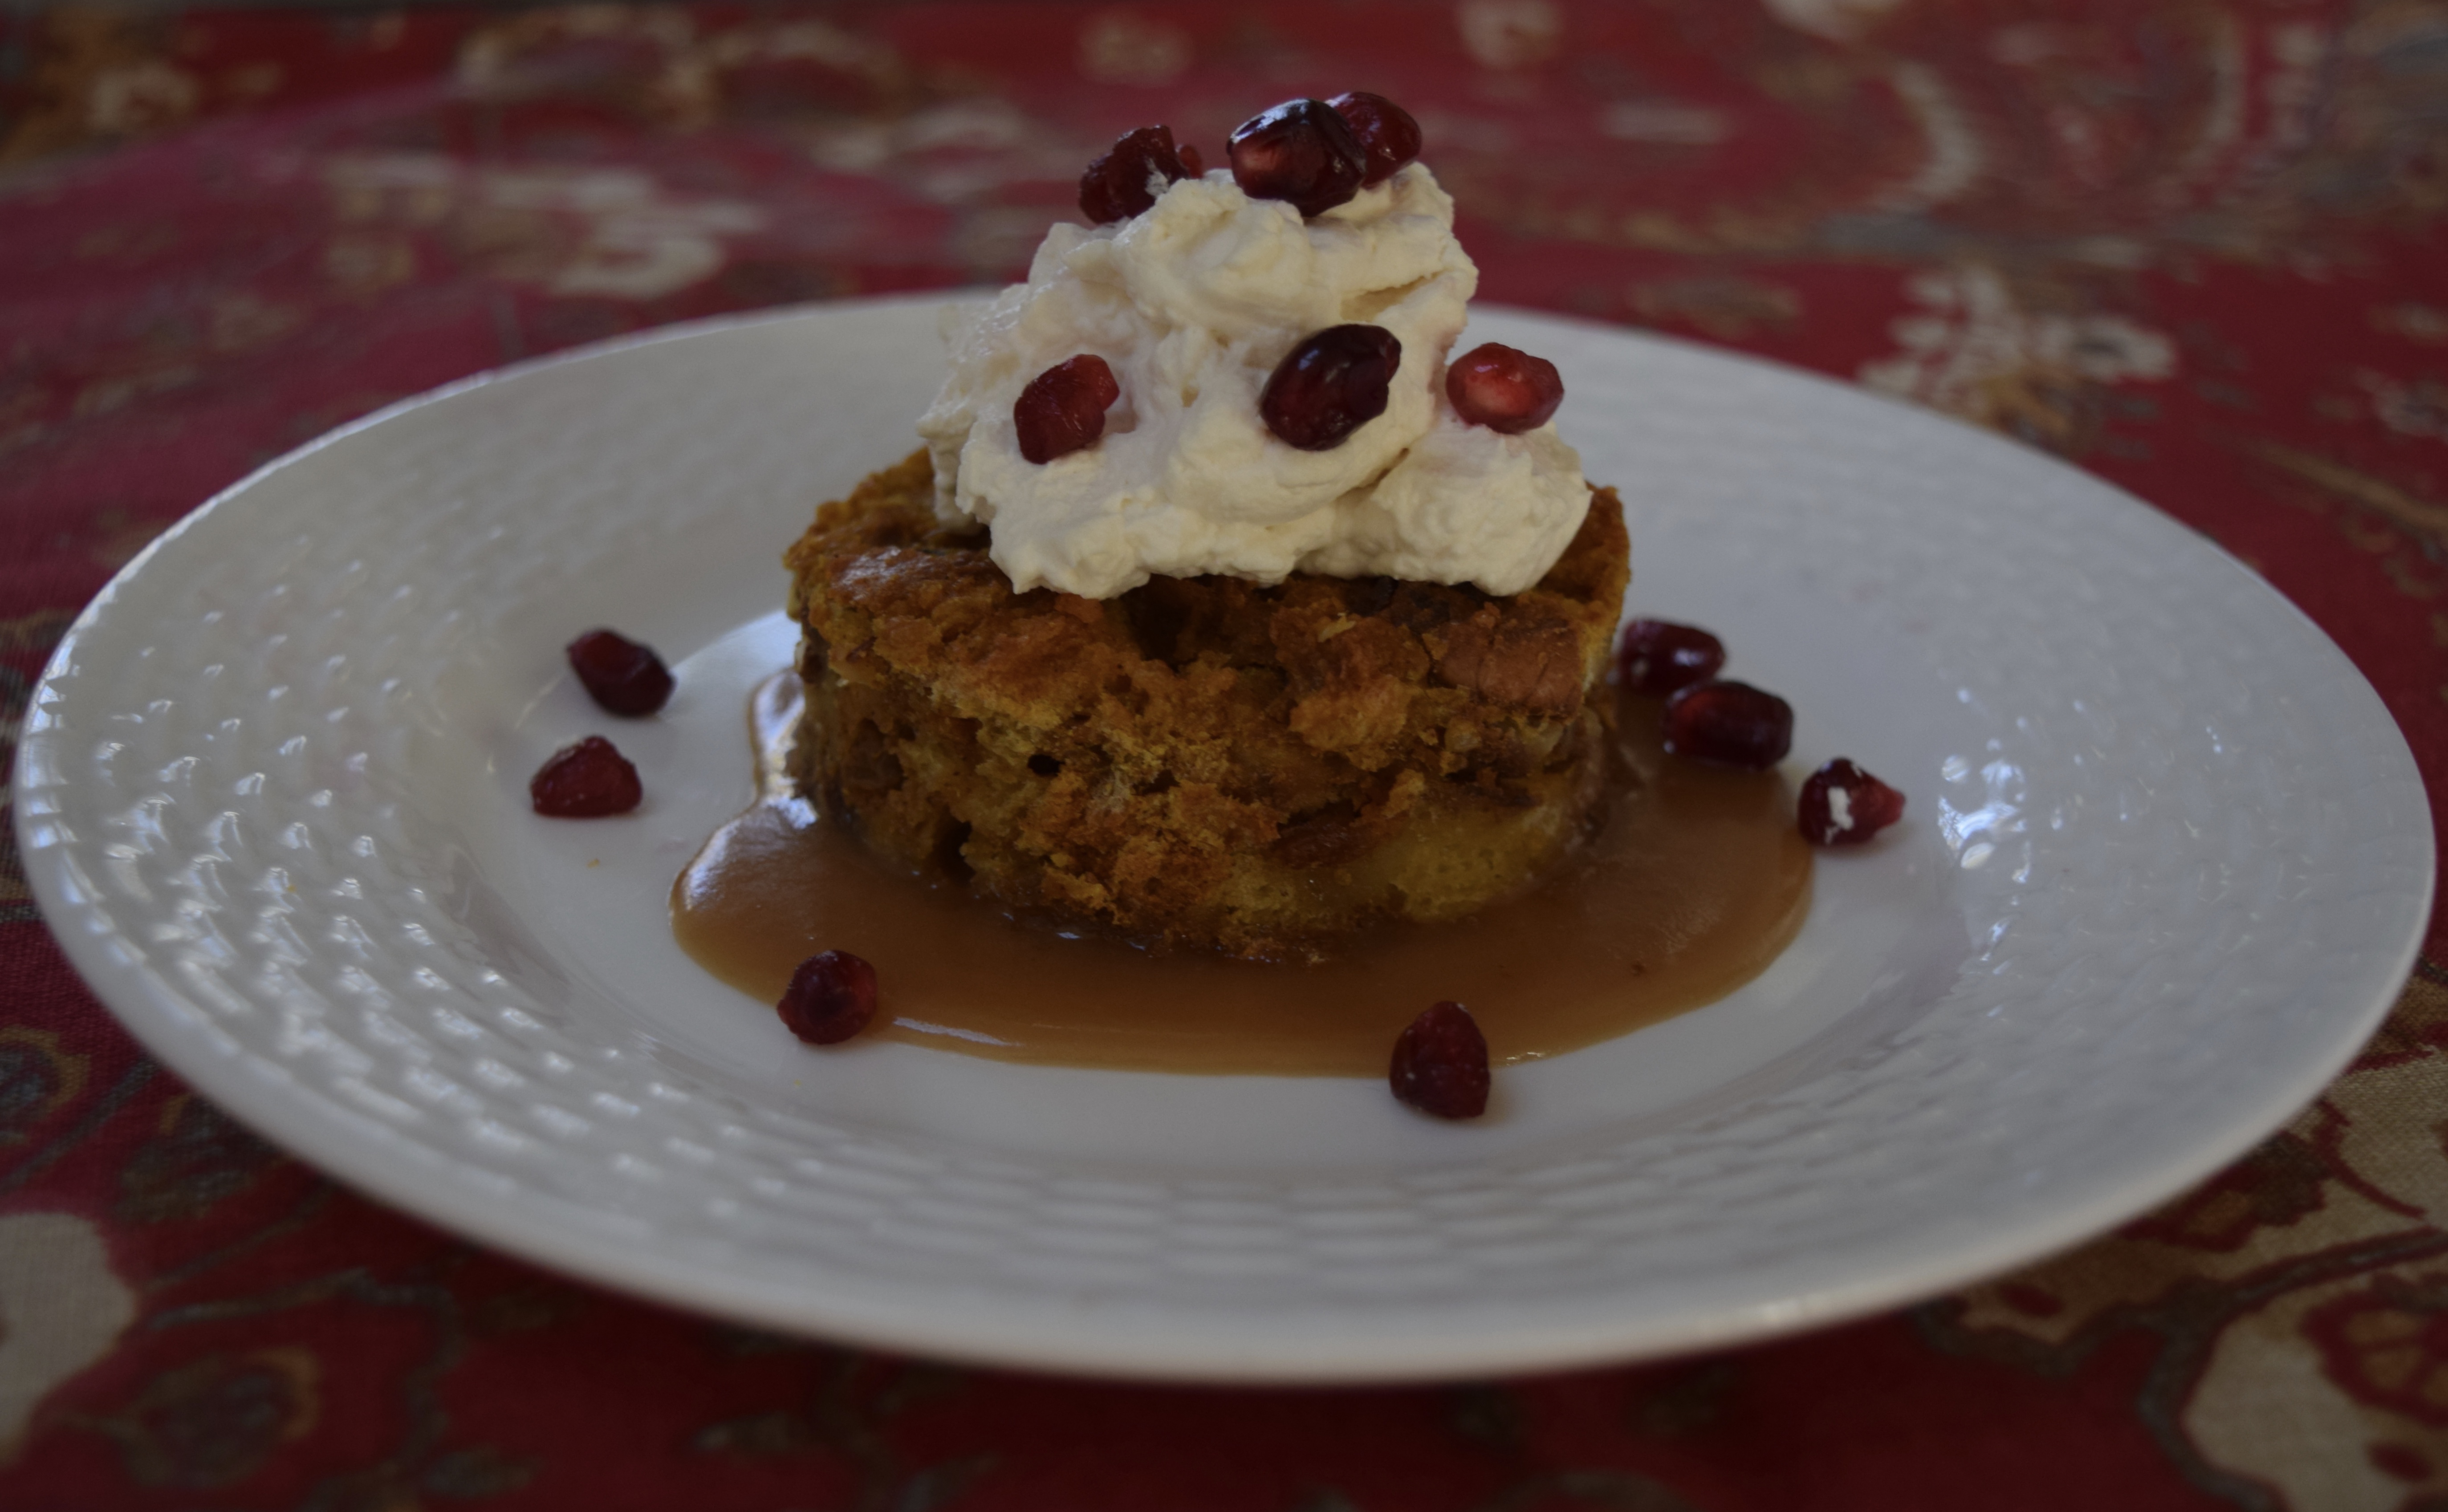
In this pumpkin dessert, we add ginger, cloves, salt, cinnamon and vanilla extract for flavoring. As we’ve seen in other recipes where pumpkin purée is the main ingredient, it takes a lot of spice to get pumpkin to taste like the pumpkin we know and love in our favorite desserts.
DSC_0252

Yield: One 9-inch deep dish pie, or one 10-inch regular depth pie

Ingredients:

Pie Filling:
1  9-inch pie crust, uncooked
1  8-ounce package cream cheese, softened
¾ cup packed brown sugar
1 teaspoon ground cinnamon
¼ teaspoon ground cloves
½ teaspoon ground ginger
½ teaspoon salt
3 large eggs
1¾ cups pumpkin purée (one 15 ounce can)
1 cup whole milk, at room temperature
1 teaspoon vanilla extract

Topping:
1 cup sour cream
2 tablespoons granulated sugar

DSC_0244

Mise en Place:

DSC_0249

Directions:
1) Preheat oven to 375º

2) Arrange homemade or store-bought pie crust in a pie pan:
Unroll dough. Use a rolling pin to lightly roll the dough. This helps to even it out.

DSC_0261

Remove the top layer of plastic liner from the dough. Gently flip dough over the pie pan. Center dough over the pan and then gently push it into the bottom crevices of the pie pan.

DSC_0263 DSC_0264

Remove second plastic liner. Tuck overhanging dough underneath itself.

DSC_0266

Flute dough edges for a pretty and finished look: place the index finger of your writing hand against the inside edge of the dough. Use the thumb and index finger on your other hand to gently press the dough around that index finger. Continue all the way around the circle.

DSC_0267

3) Prepare Pie Filling:
Cream together cream cheese, brown sugar, cinnamon, cloves, ginger, salt for one minute at medium speed.

DSC_0255

Slowly add beaten eggs. Mix well. Blend in pumpkin purée, milk, and vanilla. Mix at a slow speed for one minute.

DSC_0257

Pour filling into the pie shell and bake for 45-50 minutes until a knife inserted in the center comes out clean.

DSC_0270

After the pie had baked for 35 minutes, I noticed the pie crust was starting to get brown while the center was still not cooked, so I added a pie crust shield over the rim to slow down the browning process. If you don’t have a shield, cut three 4-inch strips of foil and crimp them over the crust’s edges. Leave them there until the pie is finished baking.

Note to self: use a thinner lipped pie crust shield the next time. Pumpkin pie rises like a soufflé as it cooks and this wide shield impeded that expansion. It turned out okay in the end because the marks left from the shield were covered up by the topping.

DSC_0272 DSC_0286

4) Prepare Topping:
Spoon one cup of sour cream into a container. Add sugar to sour cream and stir until smooth.

DSC_0277 DSC_0279
Scoop the topping onto the cooked pie and spread evenly almost to the crust.

DSC_0288 DSC_0289

Bake for 3-5 more minutes until topping is set.

DSC_0292

Let cool on a wire rack. Serve chilled.

LET’S STAY CONNECTED!

Follow my photos of vegetables growing, backyard chickens hanging out, and dinner preparations on Instagram at JudysChickens.

Never miss a post: sign up to become a follower of the Blog.

© 2014-2017 Judy Wright. All rights reserved. Photos and text may only be used with written consent.


Pumpkin Bread Pudding

The first time I had warm pumpkin bread pudding was at The Nashville Food Project. The bread pudding had just come out of the oven, and one of the staff members had spooned some of it into a bowl for us volunteers to taste. We all stood around the stainless steel countertop sinking our spoons into the warm bowl of dessert and gushed about how delicious it was. I mean it was warm, and the vanilla glaze was dripping down the sides. You can find TNFP’s recipe for bread pudding along with many other crowd-pleasing recipes in the Cook for a Crowd section of their website.

The title of the recipe on the website is Banana Bread Pudding, but you can substitute almost any fruit for the bananas. In addition to making it with pumpkin purée, I’ve made it with fresh-cut peaches, with chopped apples, and with mixed berries. They all work. I’ve made it to serve 12 people for a dinner party, 25 people for a summer cookout and 50 students for a school gathering. I’ve served bread pudding with a simple vanilla glaze drizzled over the top of cut squares, and I’ve served it all dolled up with caramel sauce and whipped cream for a special family dinner. You can’t go wrong with this dessert once you get comfortable making it.

DSC_0401

A note on bread choices. Some people like to use sweet bread like stale croissants or challah, but I prefer a more chewy texture, so I use a crusty white bread. I would stay away from soft “Italian” loaves like this one from a local grocery store:

DSC_0041

It looked to be a crusty Italian loaf, but it was very soft,and light and the bread pudding I made with it looked soupy before I cooked it. Once baked, it was flat and rubbery. I fed it to the chickens.

At the end of this recipe, I have provided recipes for three different toppings for your bread pudding: Vanilla Glaze, Caramel Sauce, and Homemade Whipped Cream

Yield: Serves 12-15

Ingredients:

DSC_0083

Mise en Place:

DSC_0054

8-9 cups crusty, stale bread, roughly chopped or cubed into 1-inch squares
3 large eggs
2½ cups whole milk, at room temperature
½ cup granulated sugar
½ cup brown sugar
2 tablespoons butter, melted
2 teaspoons vanilla extract
2 teaspoons ground cinnamon
1¾ cups pumpkin purée (one 15 oz can or purée from a small pie pumpkin)
1 cup golden raisins
1 cup pecans, roughly chopped

Directions:
Preheat oven to 350º.

Butter a 9 x 12-inch baking pan or a similarly sized ceramic casserole dish.

Prepare bread crumbs and arrange in baking pan.

DSC_0440 DSC_0442 DSC_0444

Add raisins and chopped nuts to and mix well.

DSC_0469 DSC_0470

Add eggs to mixing bowl and beat on medium speed until blended.DSC_0055

Add milk, sugars, butter, vanilla, cinnamon, and pumpkin purée. Mix well for about 30 seconds.

DSC_0474

Pour pudding on top of bread and let liquid seep into the breadcrumb mixture. Lightly press down, so all the bread is submerged in the custard. Let set for about 20 minutes. Use a fork to check that all the breadcrumbs are moist.

DSC_0476

The overall consistency should be like that of thick oatmeal. If it appears to be soupy, add more diced bread.

DSC_0482

Bake for about 50-60 minutes on the middle shelf of the oven. It’s ready when the crust just starts to turn color to a light brown.

DSC_0088

To Serve:

How to Make Vanilla Glaze:

DSC_0264

1 cup powdered confectioner’s sugar (aka 10x sugar), sifted
1 tablespoons milk
1/2 teaspoon vanilla extract

Be sure to sift the sugar, so it isn’t lumpy. Mix ingredients together. Usually, when using this glaze, I pour it over the whole dessert and then cut squares and place them on plates to serve.

DSC_0338 DSC_0342

I had some bread pudding leftovers in the refrigerator and decided to play around with it. After cutting out the leaf shape with a cookie cutter, I warmed it in the microwave and then drizzled the Vanilla Glaze over it. It was good.

DSC_0350 DSC_0413

How to Make Caramel Sauce:

DSC_0100 DSC_0102

1¼ cups packed brown sugar
½ cup (1 stick) butter
½ cup whipping cream or heavy cream
Add brown sugar and butter into a small heavy skillet and cook over medium-high heat.
DSC_0104

Whisk until butter is melted and the mixture is smooth.DSC_0107  DSC_0109

Add cream and whisk until well blended. Set your timer for three minutes and continue to cook and whisk until sugar dissolves. The caramel will come to a nice rolling boil and darken in color.
Note: the handle of the first wire whisk got very hot while I was stirring, so I switched to one with a tubular handle and it stayed cool. Something to think about when buying whisks.
DSC_0111 DSC_0113 DSC_0114 DSC_0152
For this version of the dessert, I used a large round biscuit cutter to cut circular portions of bread pudding.
DSC_0090 DSC_0074 DSC_0076
To plate the dessert: I poured a small amount of warm caramel sauce on a  dessert plate. Next, I placed the round disc of warm bread pudding onto the caramel sauce and then lightly pressed it into the sauce and topped it whipped cream.
fullsizeoutput_1ce6
How to Make Whipped Cream:
Pumpkin bread pudding DSC_0124
 1 cup whipping cream or heavy cream
1 teaspoon vanilla extract
1 teaspoon granulated sugar (optional)
Add cream, vanilla, and sugar to the chilled bowl of the mixer. Beat cream for one minute on medium high and then increase speed to high once the cream starts to thicken, otherwise, the cream will spray all over the kitchen. It took four minutes for the cream to whip.
DSC_0134 DSC_0140
  DSC_0348 DSC_0346
I had to channel my inner Mary Carter, my food stylist friend who I featured in the post, Playing with your Food to bump this dessert up a notch.
DSC_0423
My friend, Corabel Shofner, made this dessert for our Thanksgiving Dinner and told everyone she felt like a “real chef” making something so tasty and beautiful. That’s the fun part of tackling a new recipe and watching people delight in what you have prepared.
 Add some bling for the next big holiday!
DSC_0435

To have recipes delivered right to your inbox sign up to become a subscriber!

LET’S STAY CONNECTED!

Follow my photos of vegetables growing, backyard chickens hanging out, and dinner preparations on Instagram at JudysChickens.

Never miss a post: sign up to become a follower of the Blog.

© 2014-2017 Judy Wright. All rights reserved. Photos and text may only be used with written consent.