
I’ve often wondered what my friend, Mary Carter, did when she went out on food styling jobs, so I was more than happy when she invited me to be her assistant while she arranged new menu items for a photo shoot at Las Palmas. She was hired by Rose Bruce, a graphic designer and the owner of Rose Bruce Marketing. As the project coordinator, Rose hired Mary to style the food, and Richard Suter Photography to photograph it. It was very important to the client that the photographs on the new menu match exactly what the customer was going to be served by his waiter. It had been their experience that if the entree served didn’t look just like the photo on the menu, there would be complaints by the customers. Mary was charged with adding only the embellishments provided by the chef. By the time we finished with the photo shoot, the staff was affectionately referring to Mary as the “Cilantro Lady.” By the smiles on the staff’s faces, they liked how appetizing Mary had made their food look and wasn’t that the whole point?
Mary has been a food stylist for thirty years. She says she loves her job because she gets to play with food and get paid for it. She says every job presents new challenges. Mary is also an artist, writer, and recipe tester. Most of her work involves both testing/preparing and stylizing the food that the photographer then shoots.
Mary often makes me laugh until my cheeks hurt. When her children were young, she used to drive by the school’s crossing guard with different Halloween masks on just to make the safety lady laugh. Her sense of humor always keeps the mood around her light. That is one of Mary’s many gifts.

The tools of Mary’s trade:
Cooking oil and a pastry brush – to make baked and fried foods glisten again as they cool off.
A spray bottle filled with water- to make wilted vegetables perk up
Q-tips – to wipe food off the sides of bowls and plates.
Scissors – to shape and trim food.
A piping bag – to apply toppings in a decorative way
Food coloring – to deepen the colors of some foods.
Toothpicks – to dig out flecks of distracting food.
Next to having the proper tools and an artist’s eye for making every dish look like a masterpiece, the next most important thing is to determine the angle of vision from which the photographer is going to shoot the dish. As Mary finished each entree, she would hand it to me and instruct me, “Tell him to shoot from this side.”
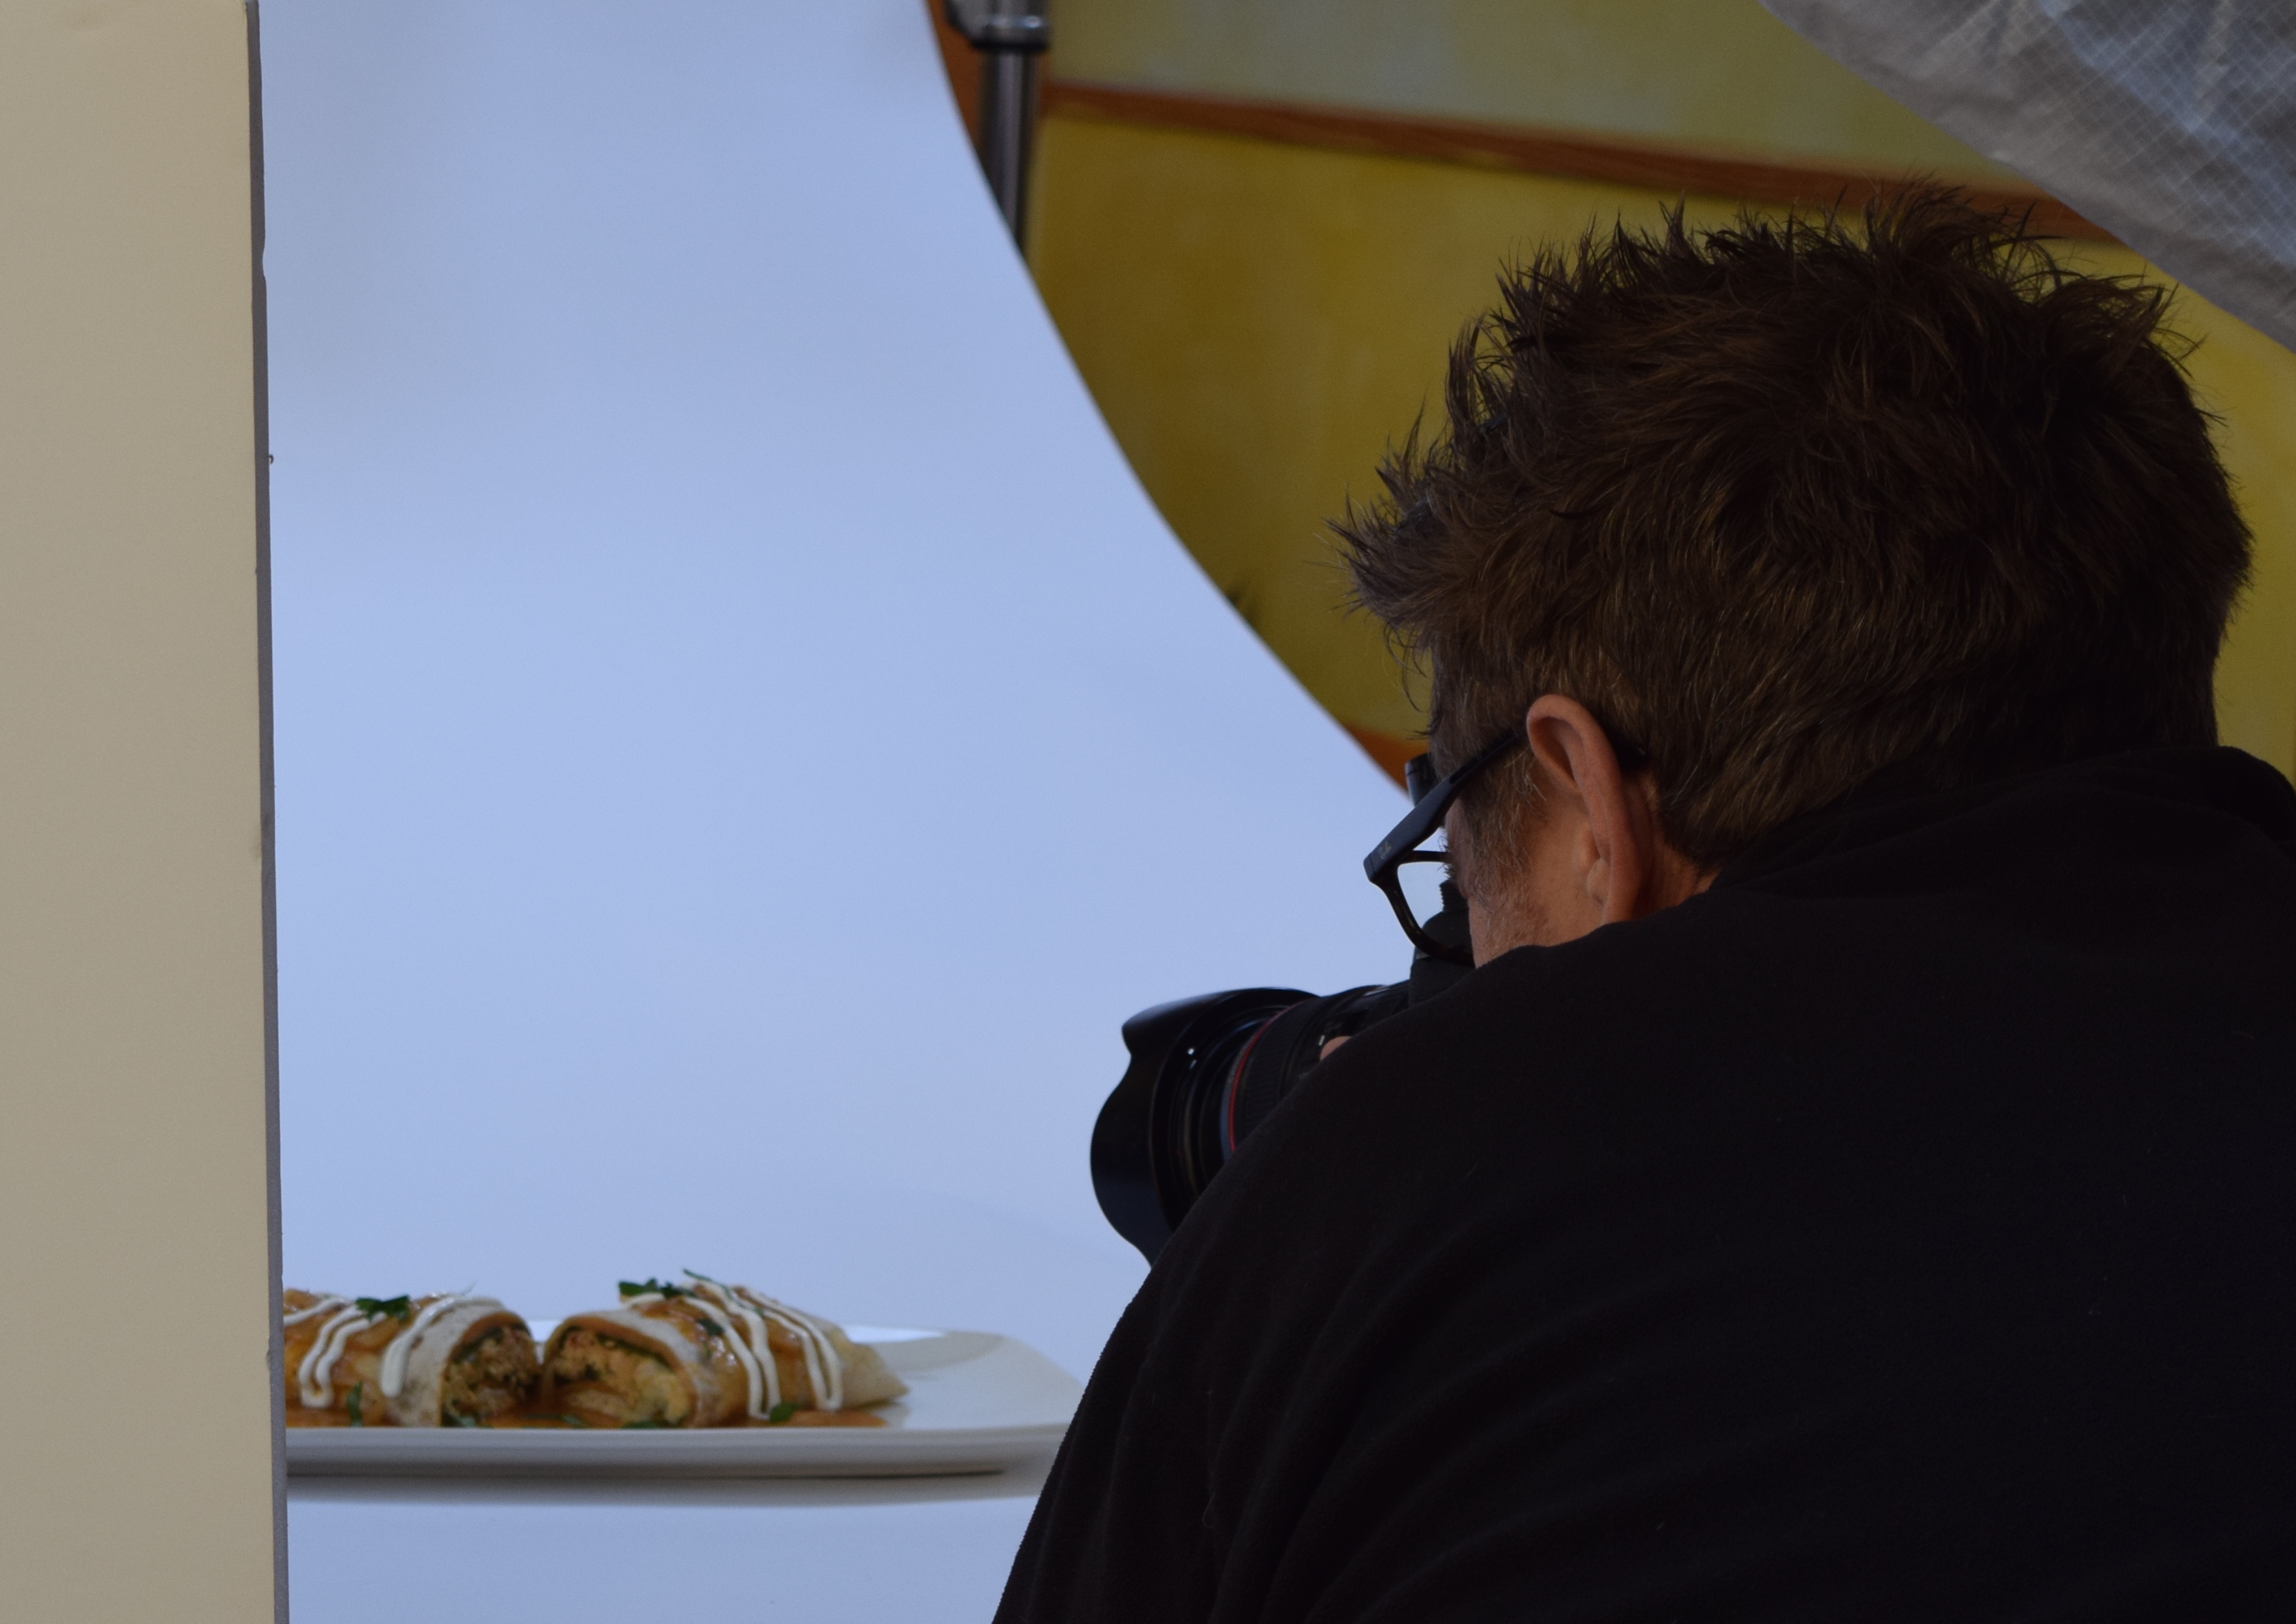
Richard, the photographer, has a little tool called a Hoodloupe which he uses to view photo images glare-free right after he shoots a picture. Otherwise, you would have to wait until you got back to a bigger screen, on your computer, to check if the photo was perfectly focused. While this may be fine for novices like me, it is not useful for a professional who doesn’t get a second chance after the moment has passed. Here is Richard looking through his Hoodloupe to inspect the image on his camera’s screen.

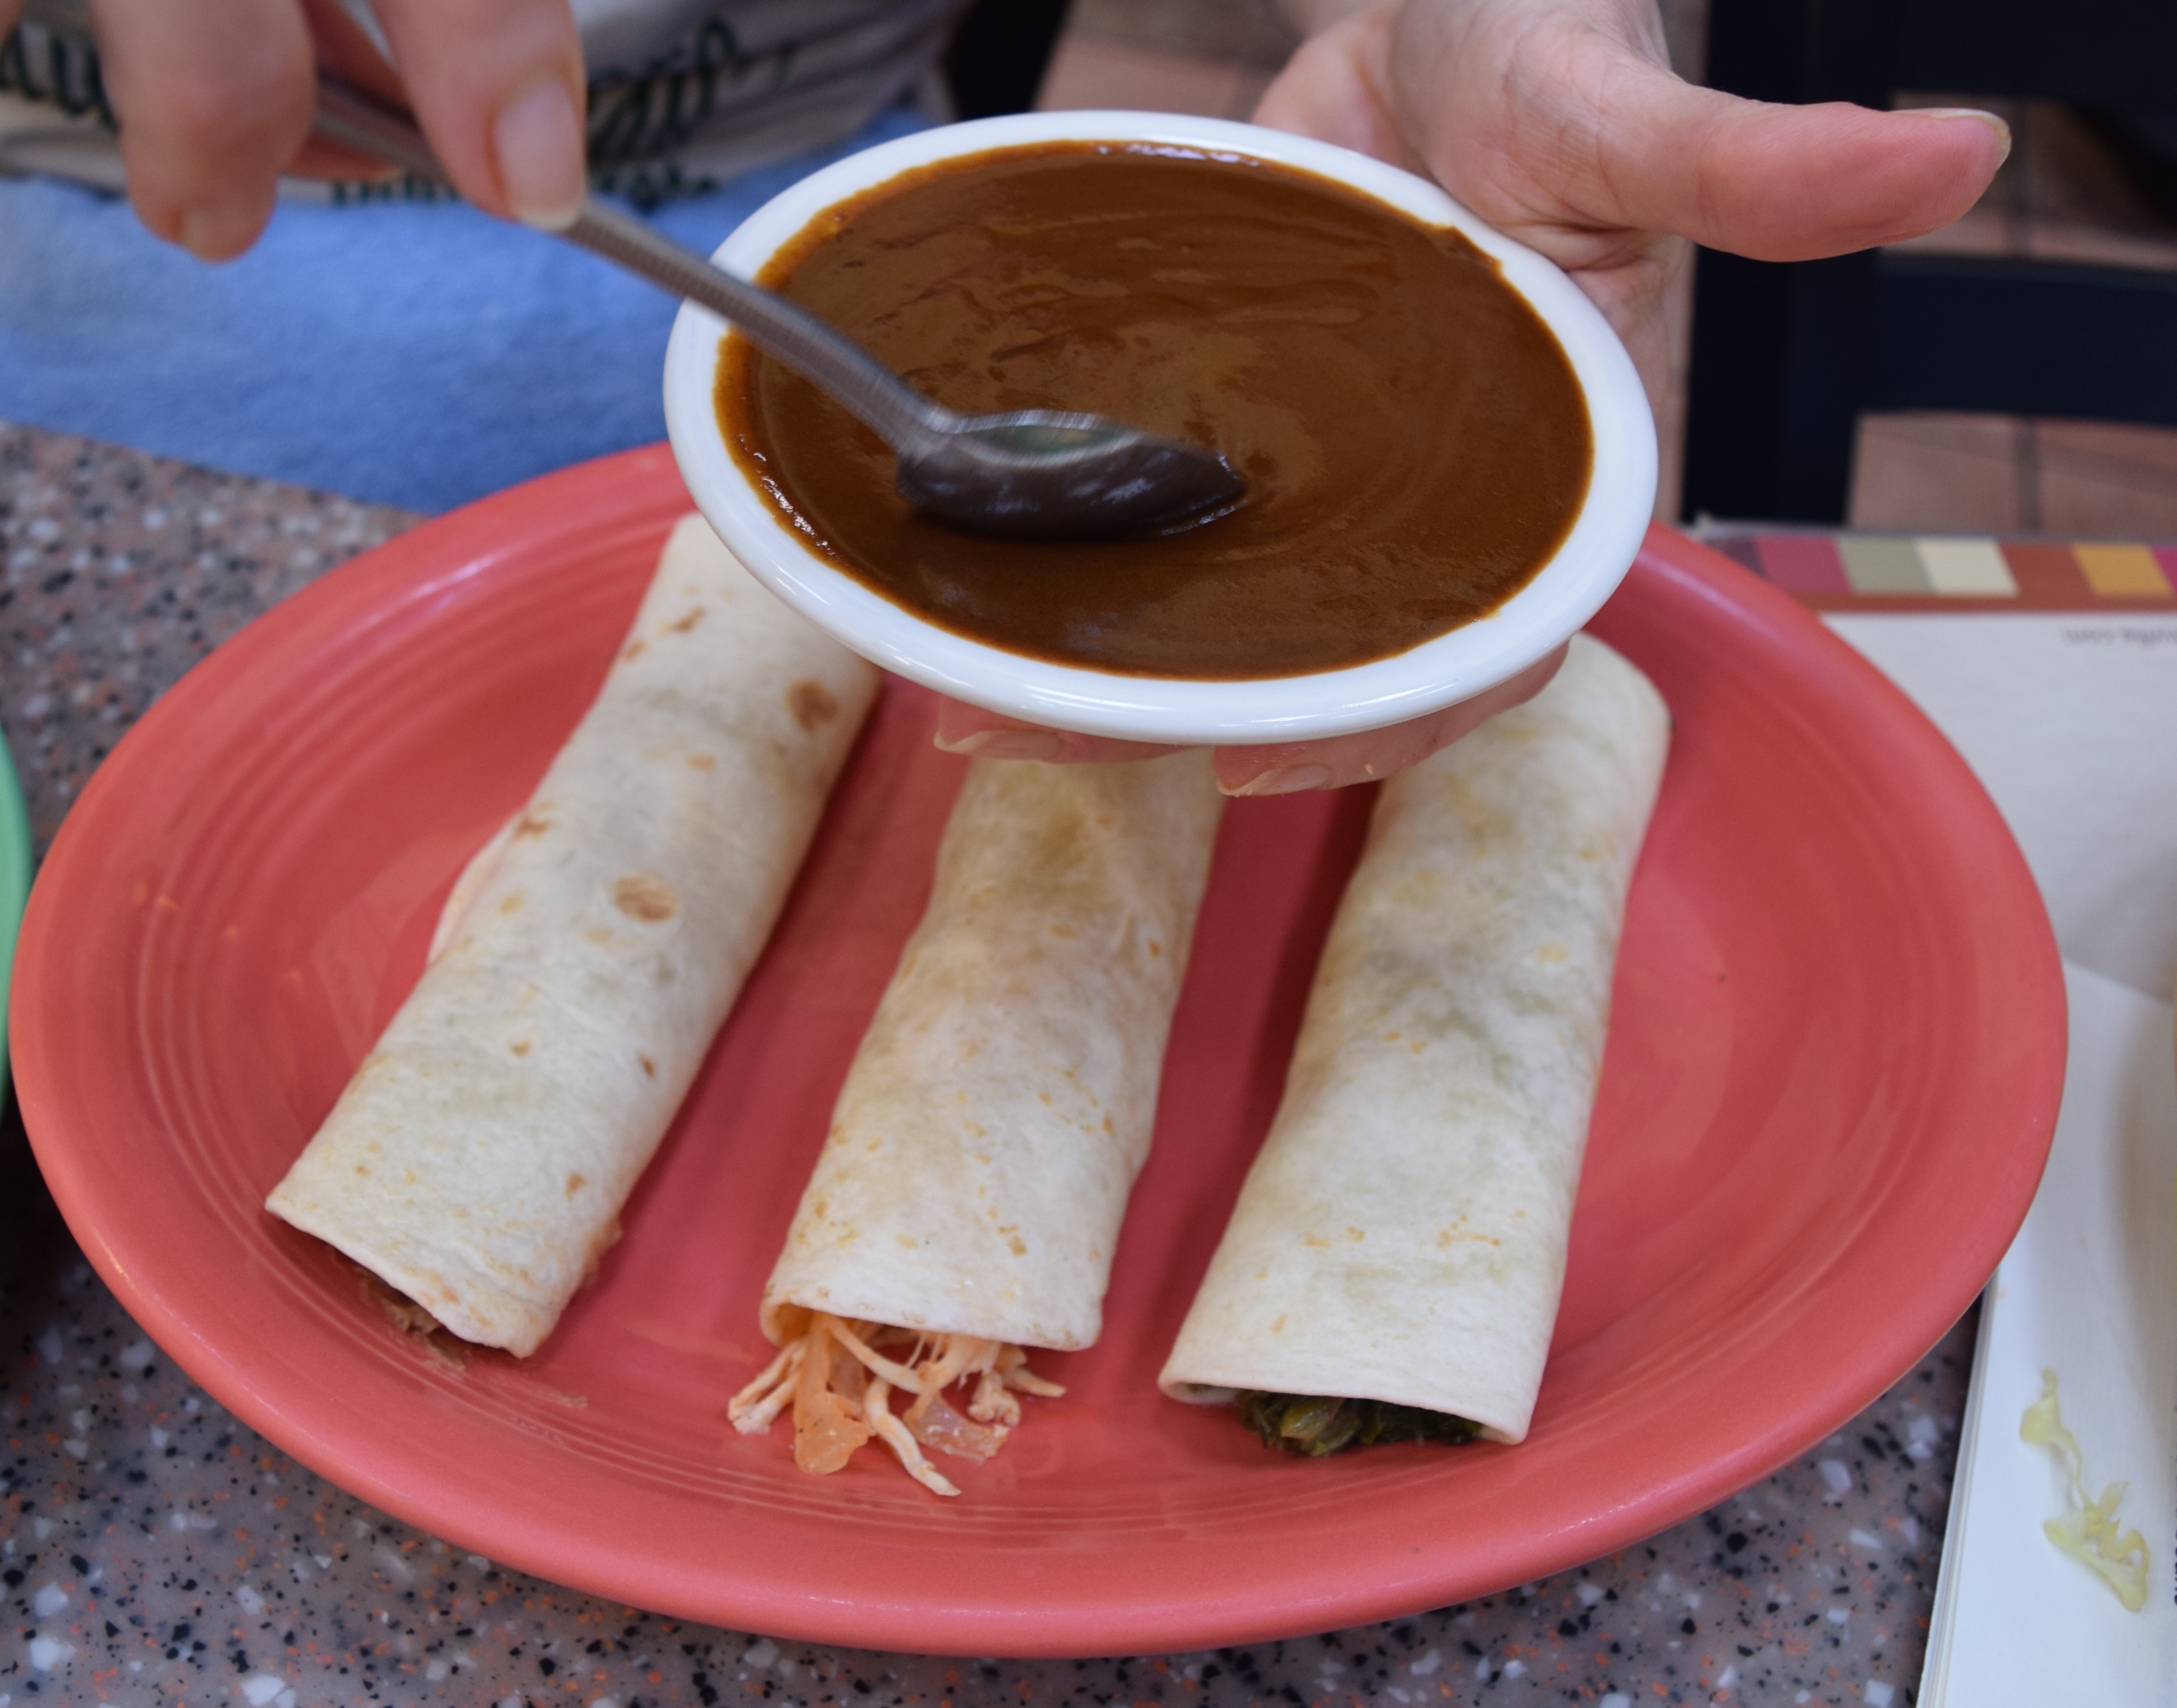
These are a few images of Mary working her food magic. She asked the chef to bring her the food items unadorned or deconstructed, so she could arrange them in mouth-watering ways.
Some of Mary’s tips–
For this fried ice cream, she adorned it with a dollop of whip cream and tilted the stem of the fruit to a jaunty angle instead of having the stem point straight up.


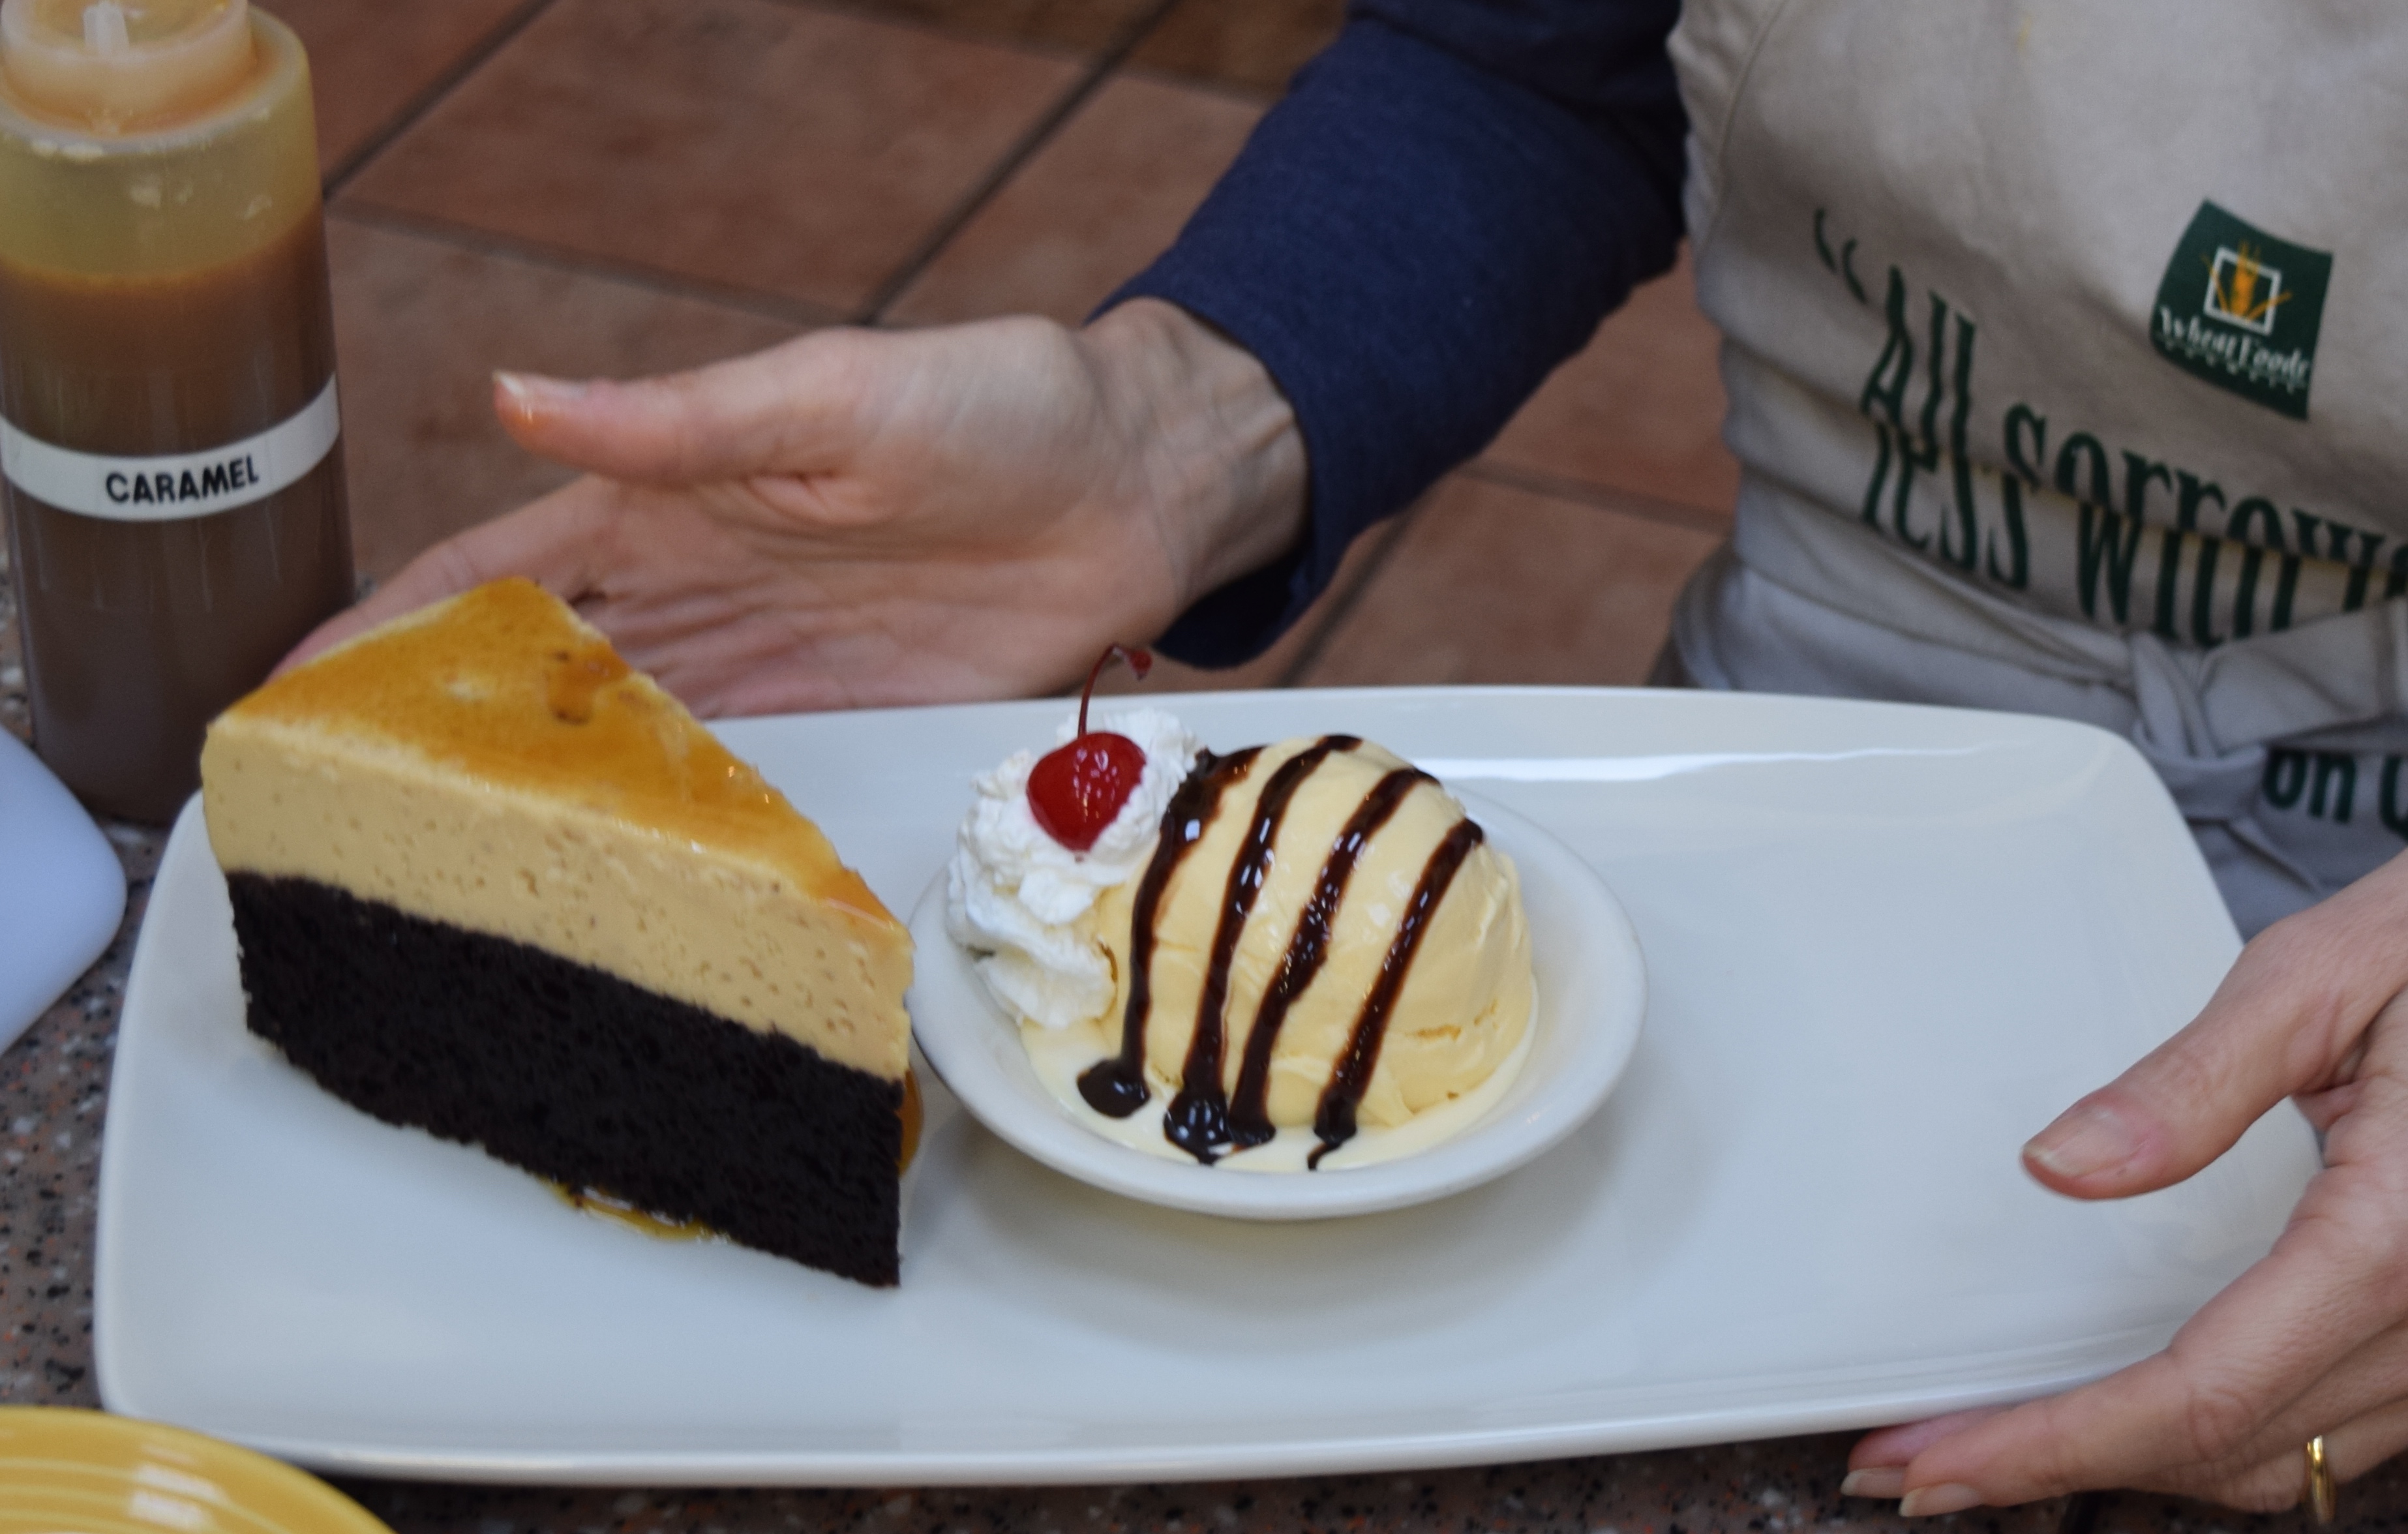
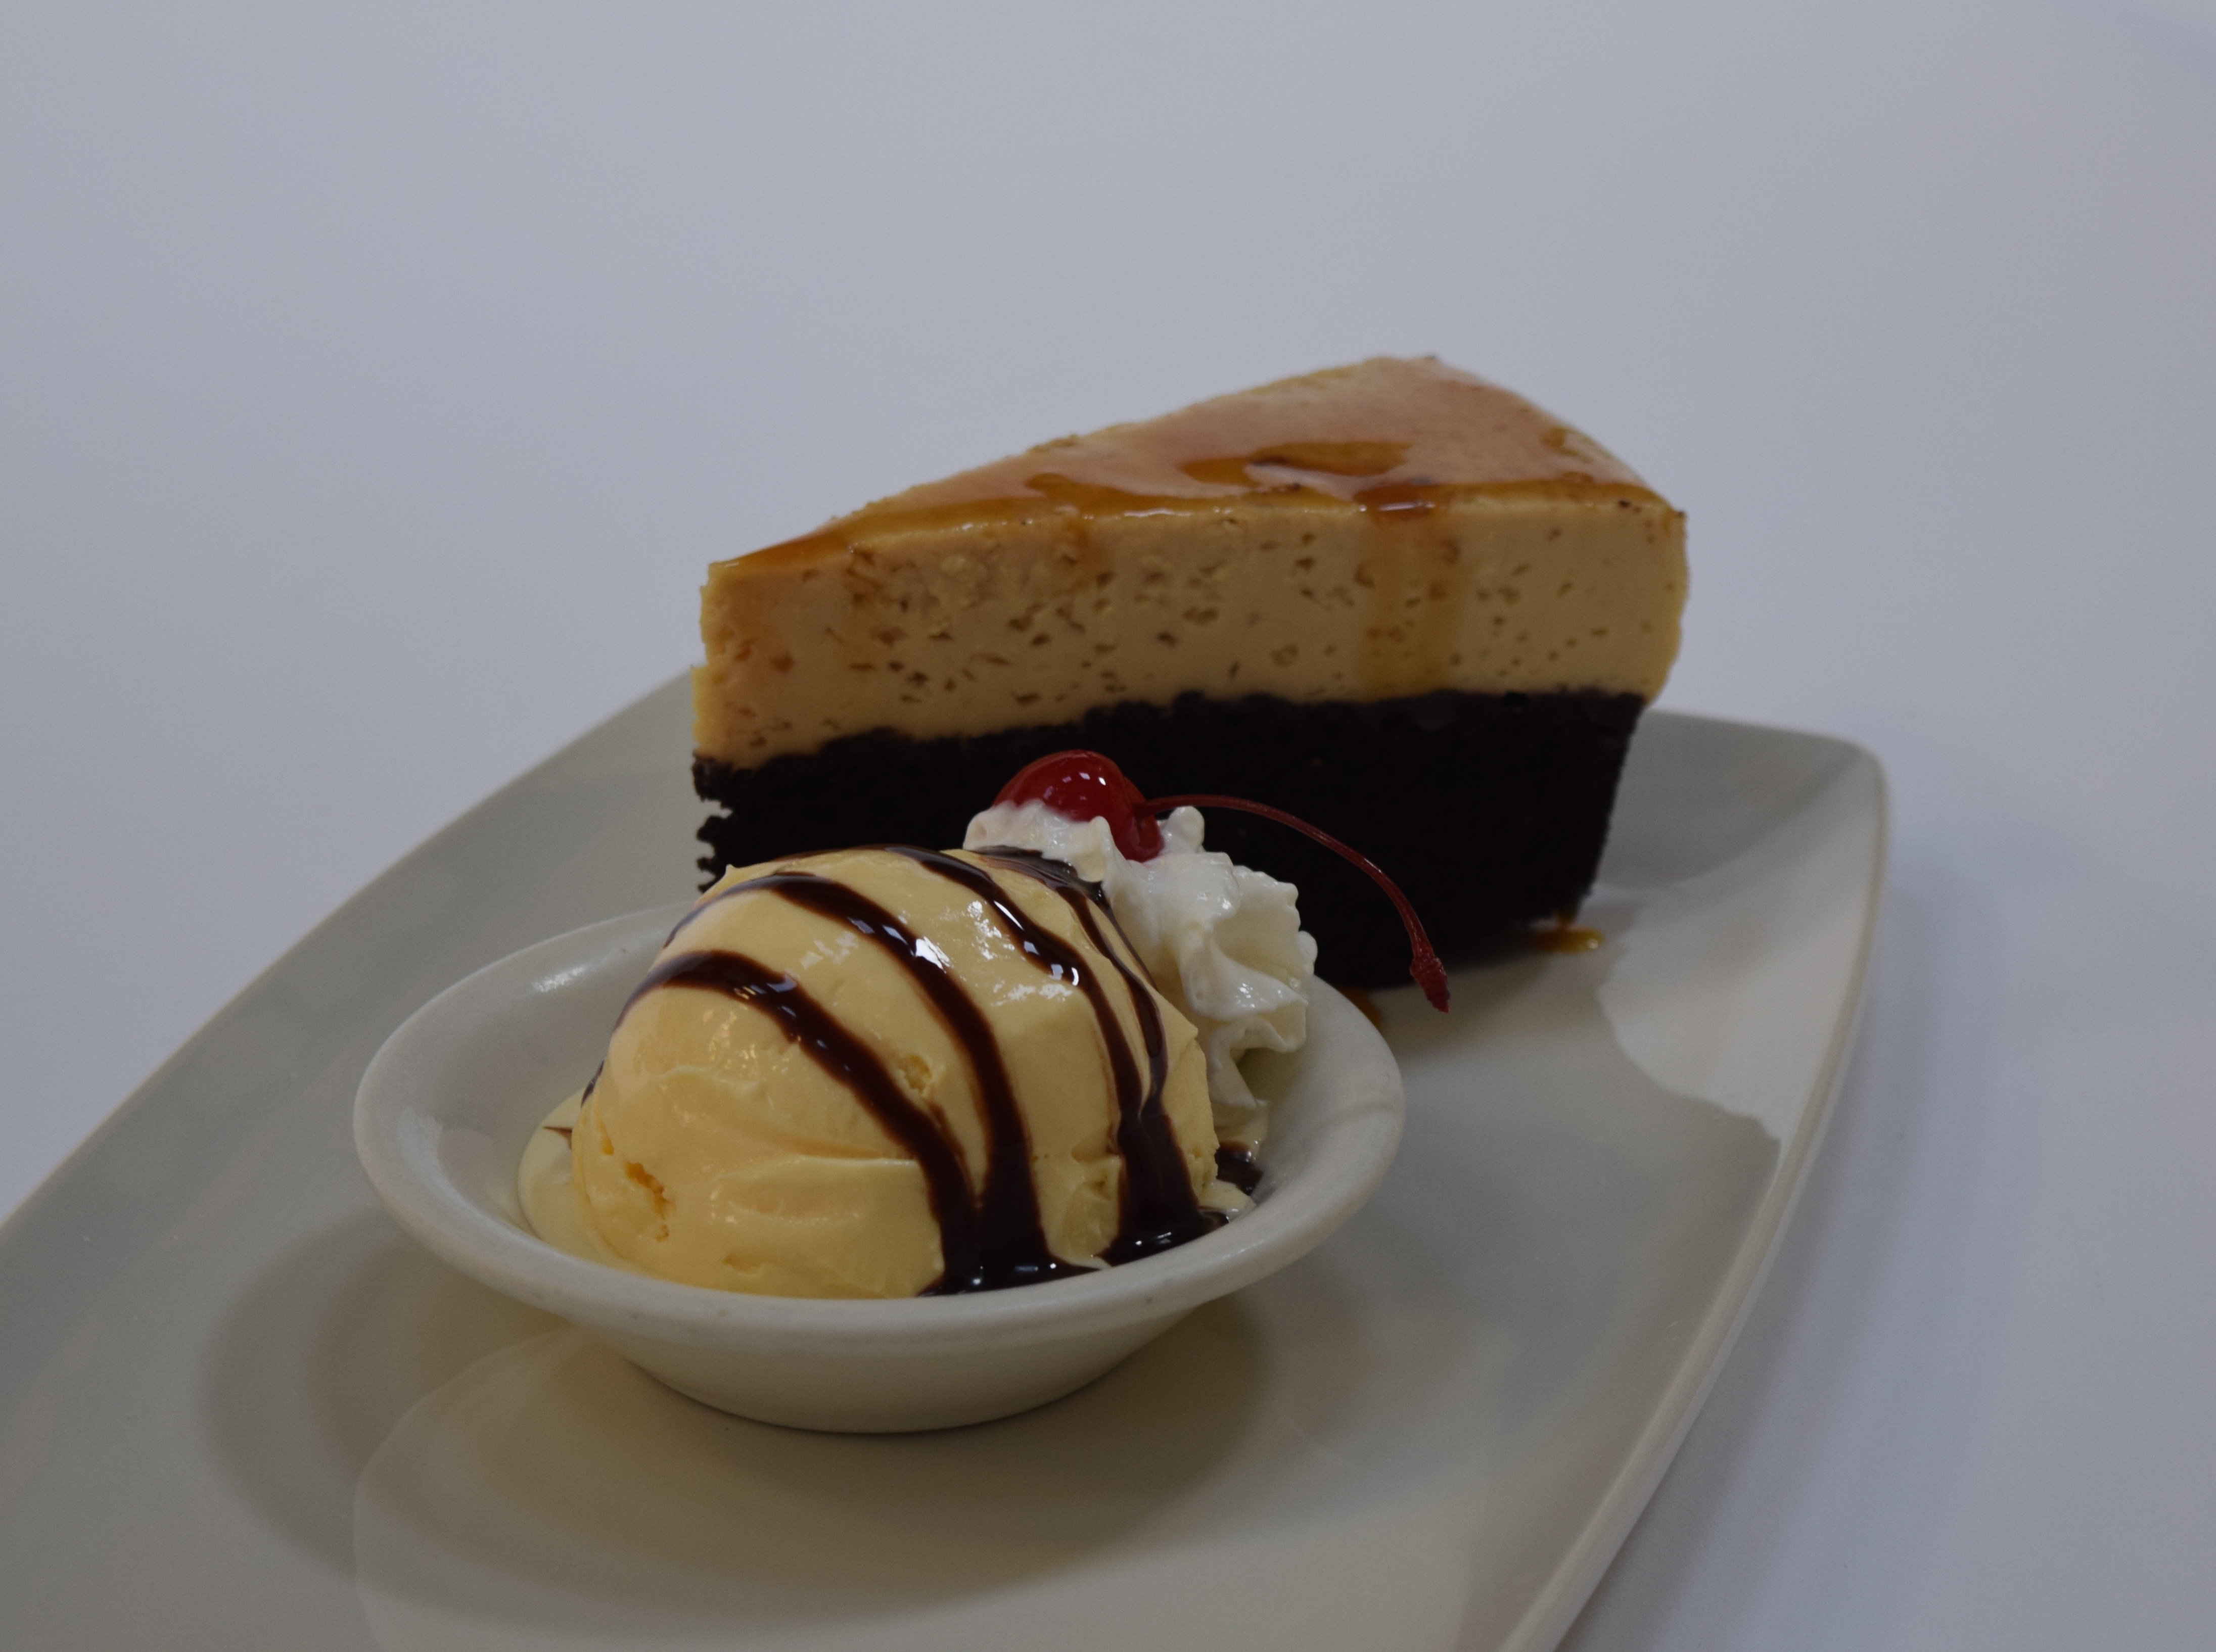
With the fried donuts in the photos below, Mary angled the donut sticks around the ice cream and carefully squiggled the chocolate sauce.


Mary asked if she could place the cake on a white plate instead of the blue one they usually use because there was no contrast between the chocolate bottom layer of the cake and the dark plate. One of the men said, with a big grin on his face, as he got her a white plate, “They won’t care what color plate it’s on once they taste it!” Notice how the angle of view is so lovely. Can’t wait to see the photographer’s proofs.

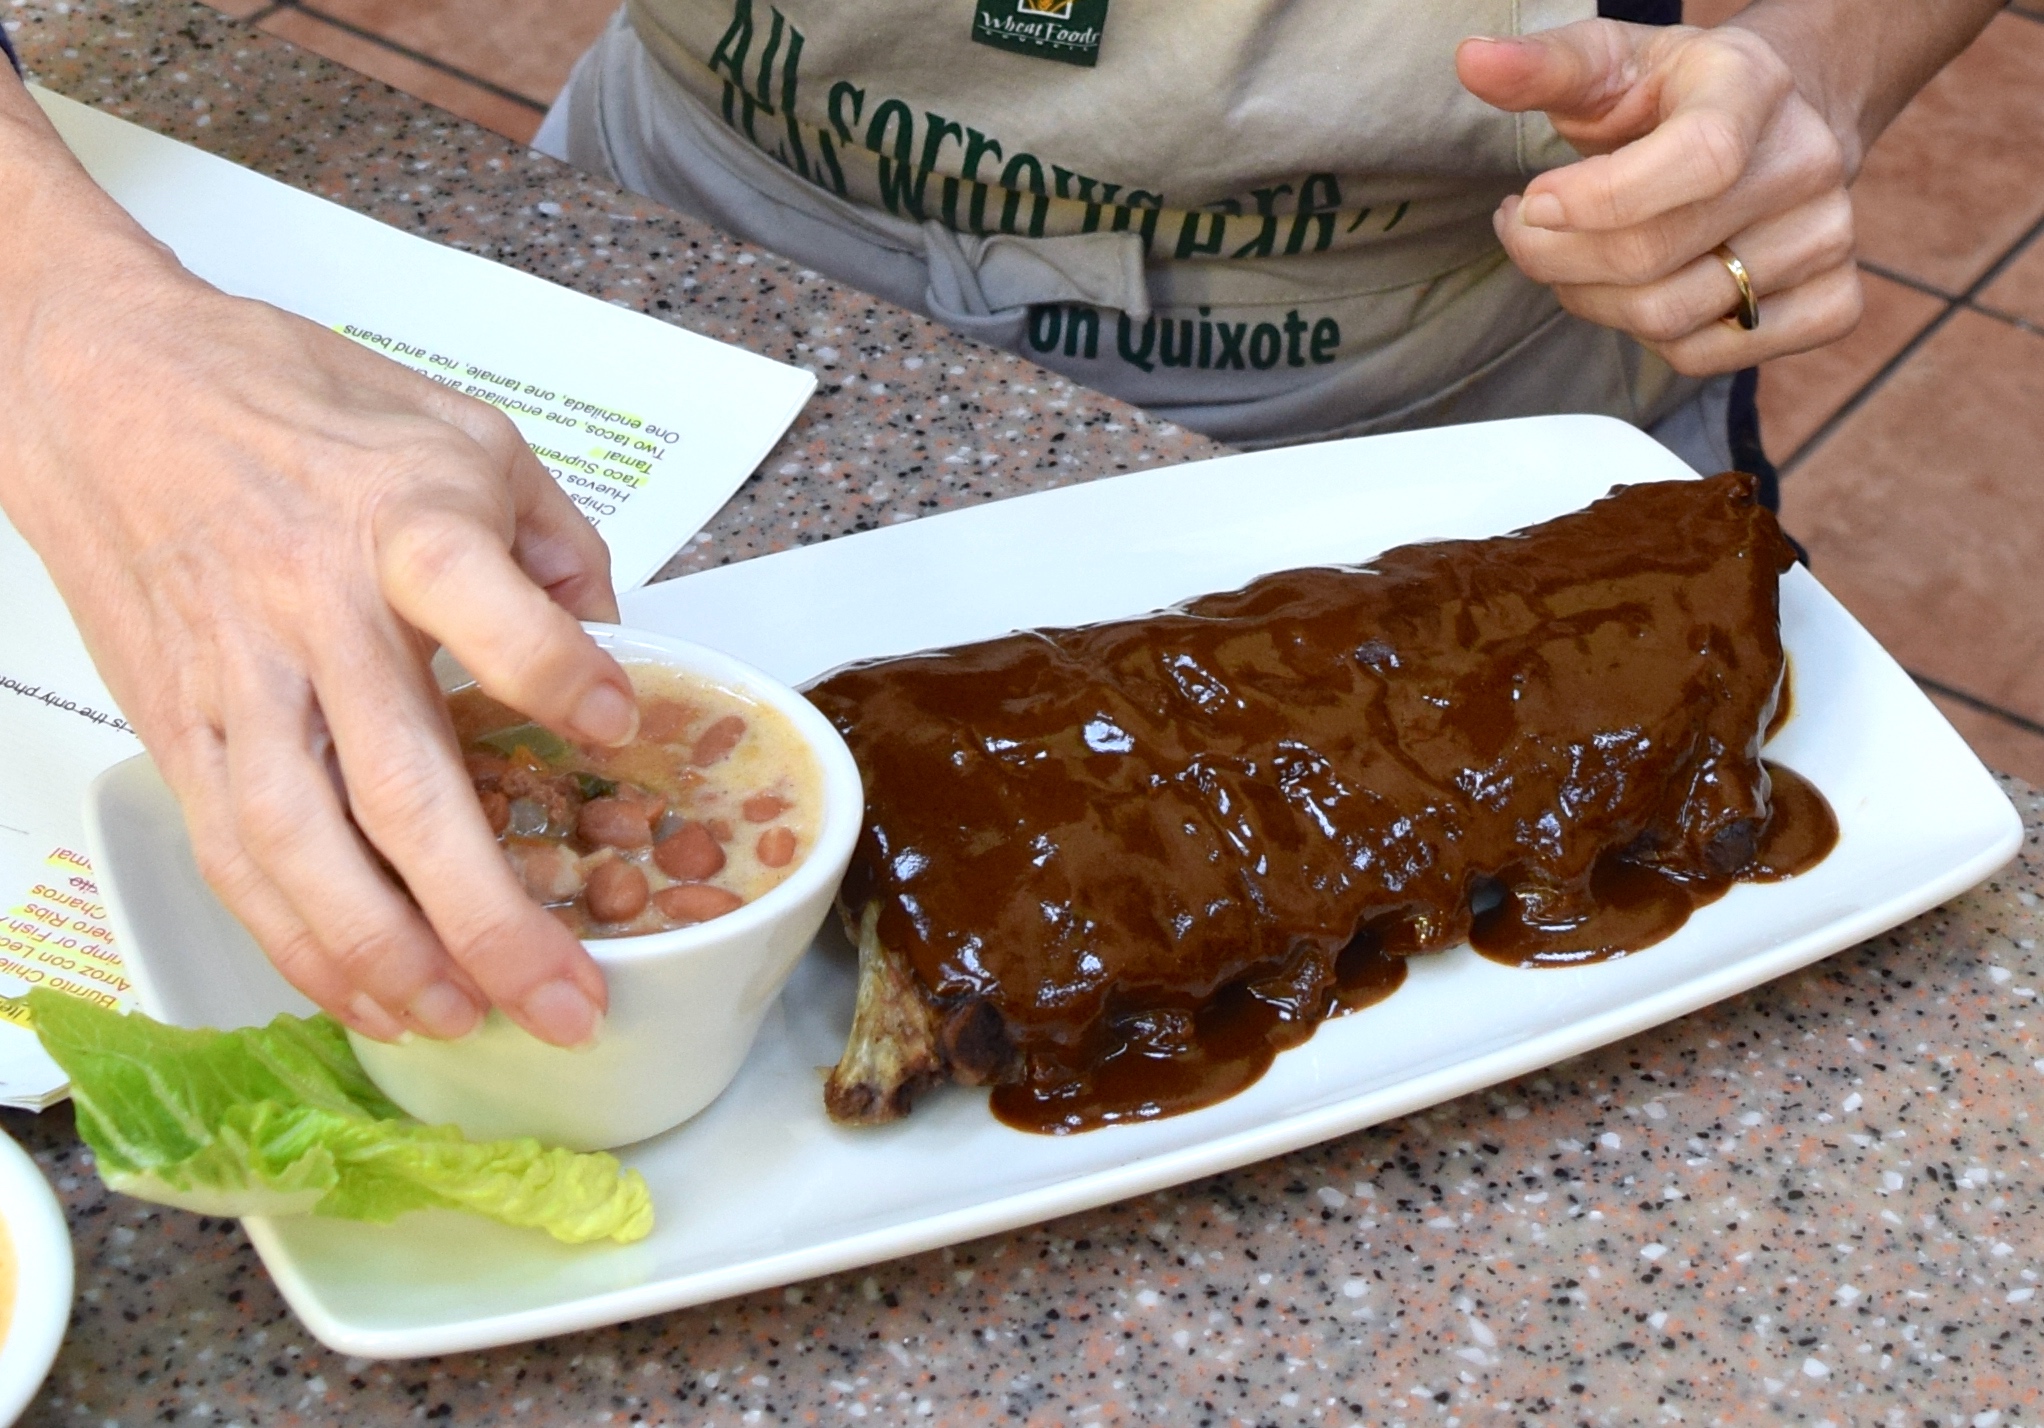
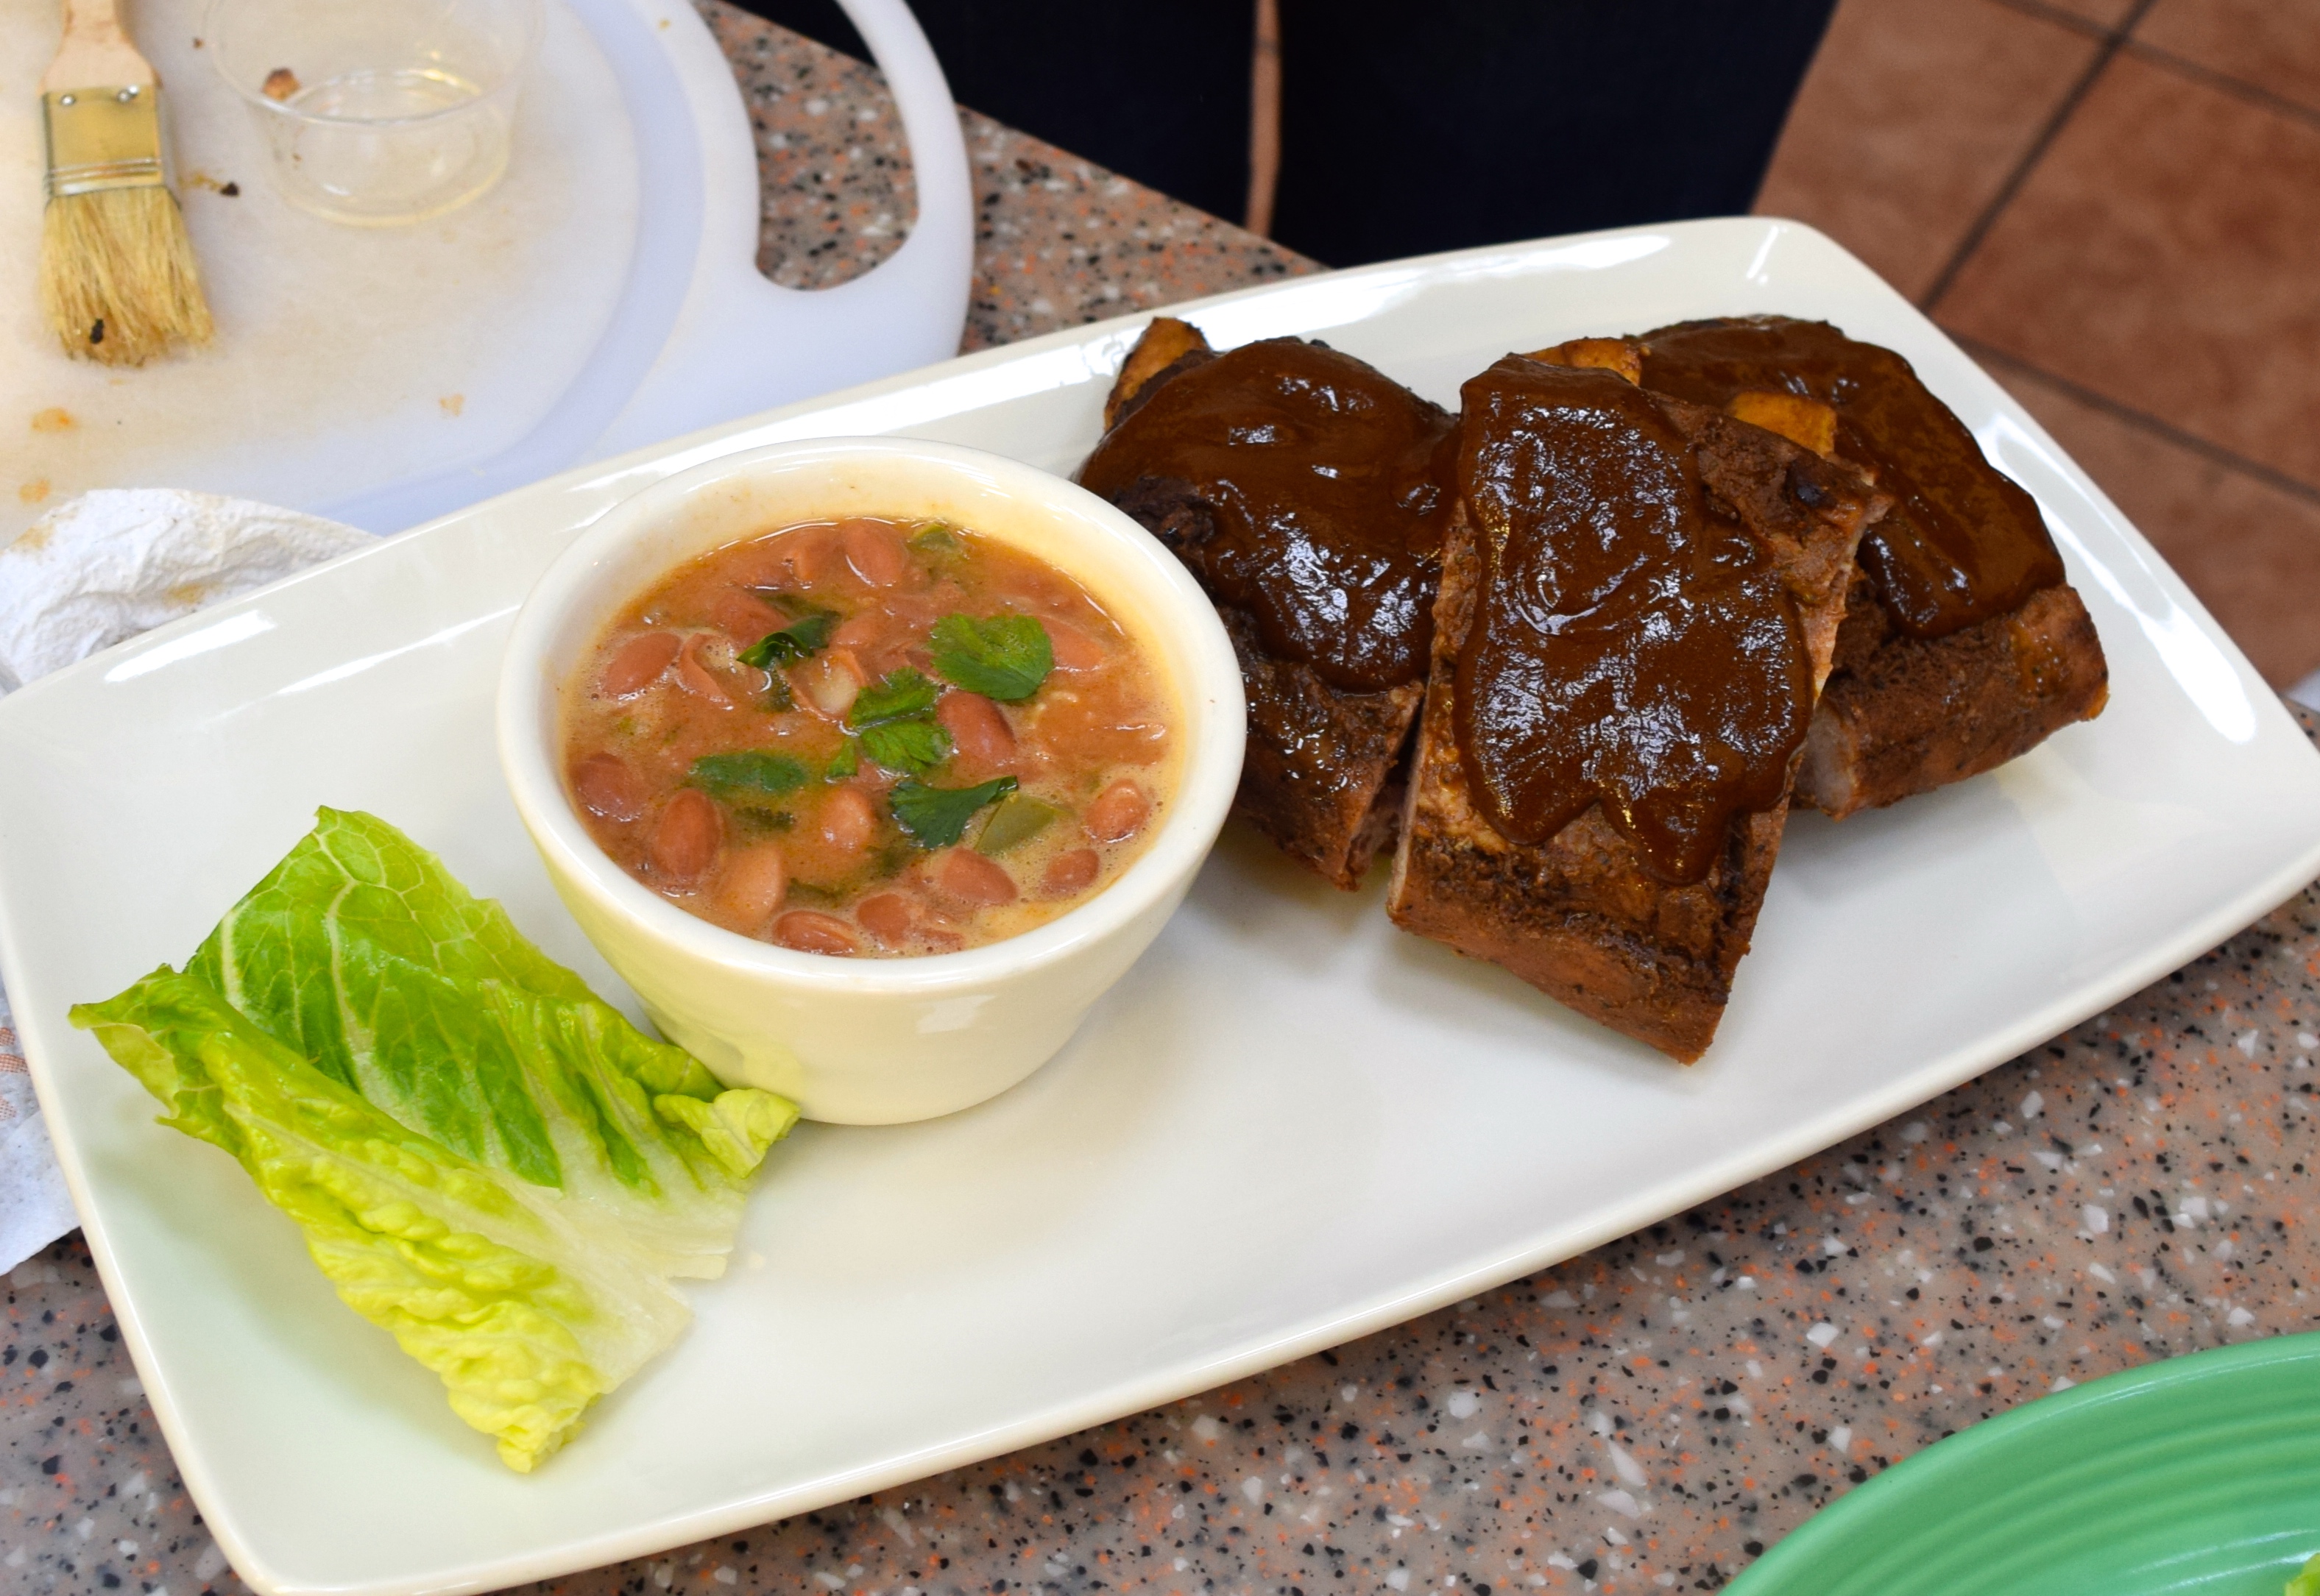
Mary asked the owners if she could cut the rack of ribs into three pieces and stack them instead of keeping the presentation as one long slab, as they had always done. The staff liked it much better the way Mary presented it. “OOH, it looks like more meat is on the plate,” the manager was quick to point out, with a big smile.

Mary cut this tamale entree in half and then carefully placed the beans and gravy around the plate. This is another example of keeping your angle of view in mind as you stylize food.


Here she uses the spray bottle of water to moisten the lettuce that was starting to wilt.

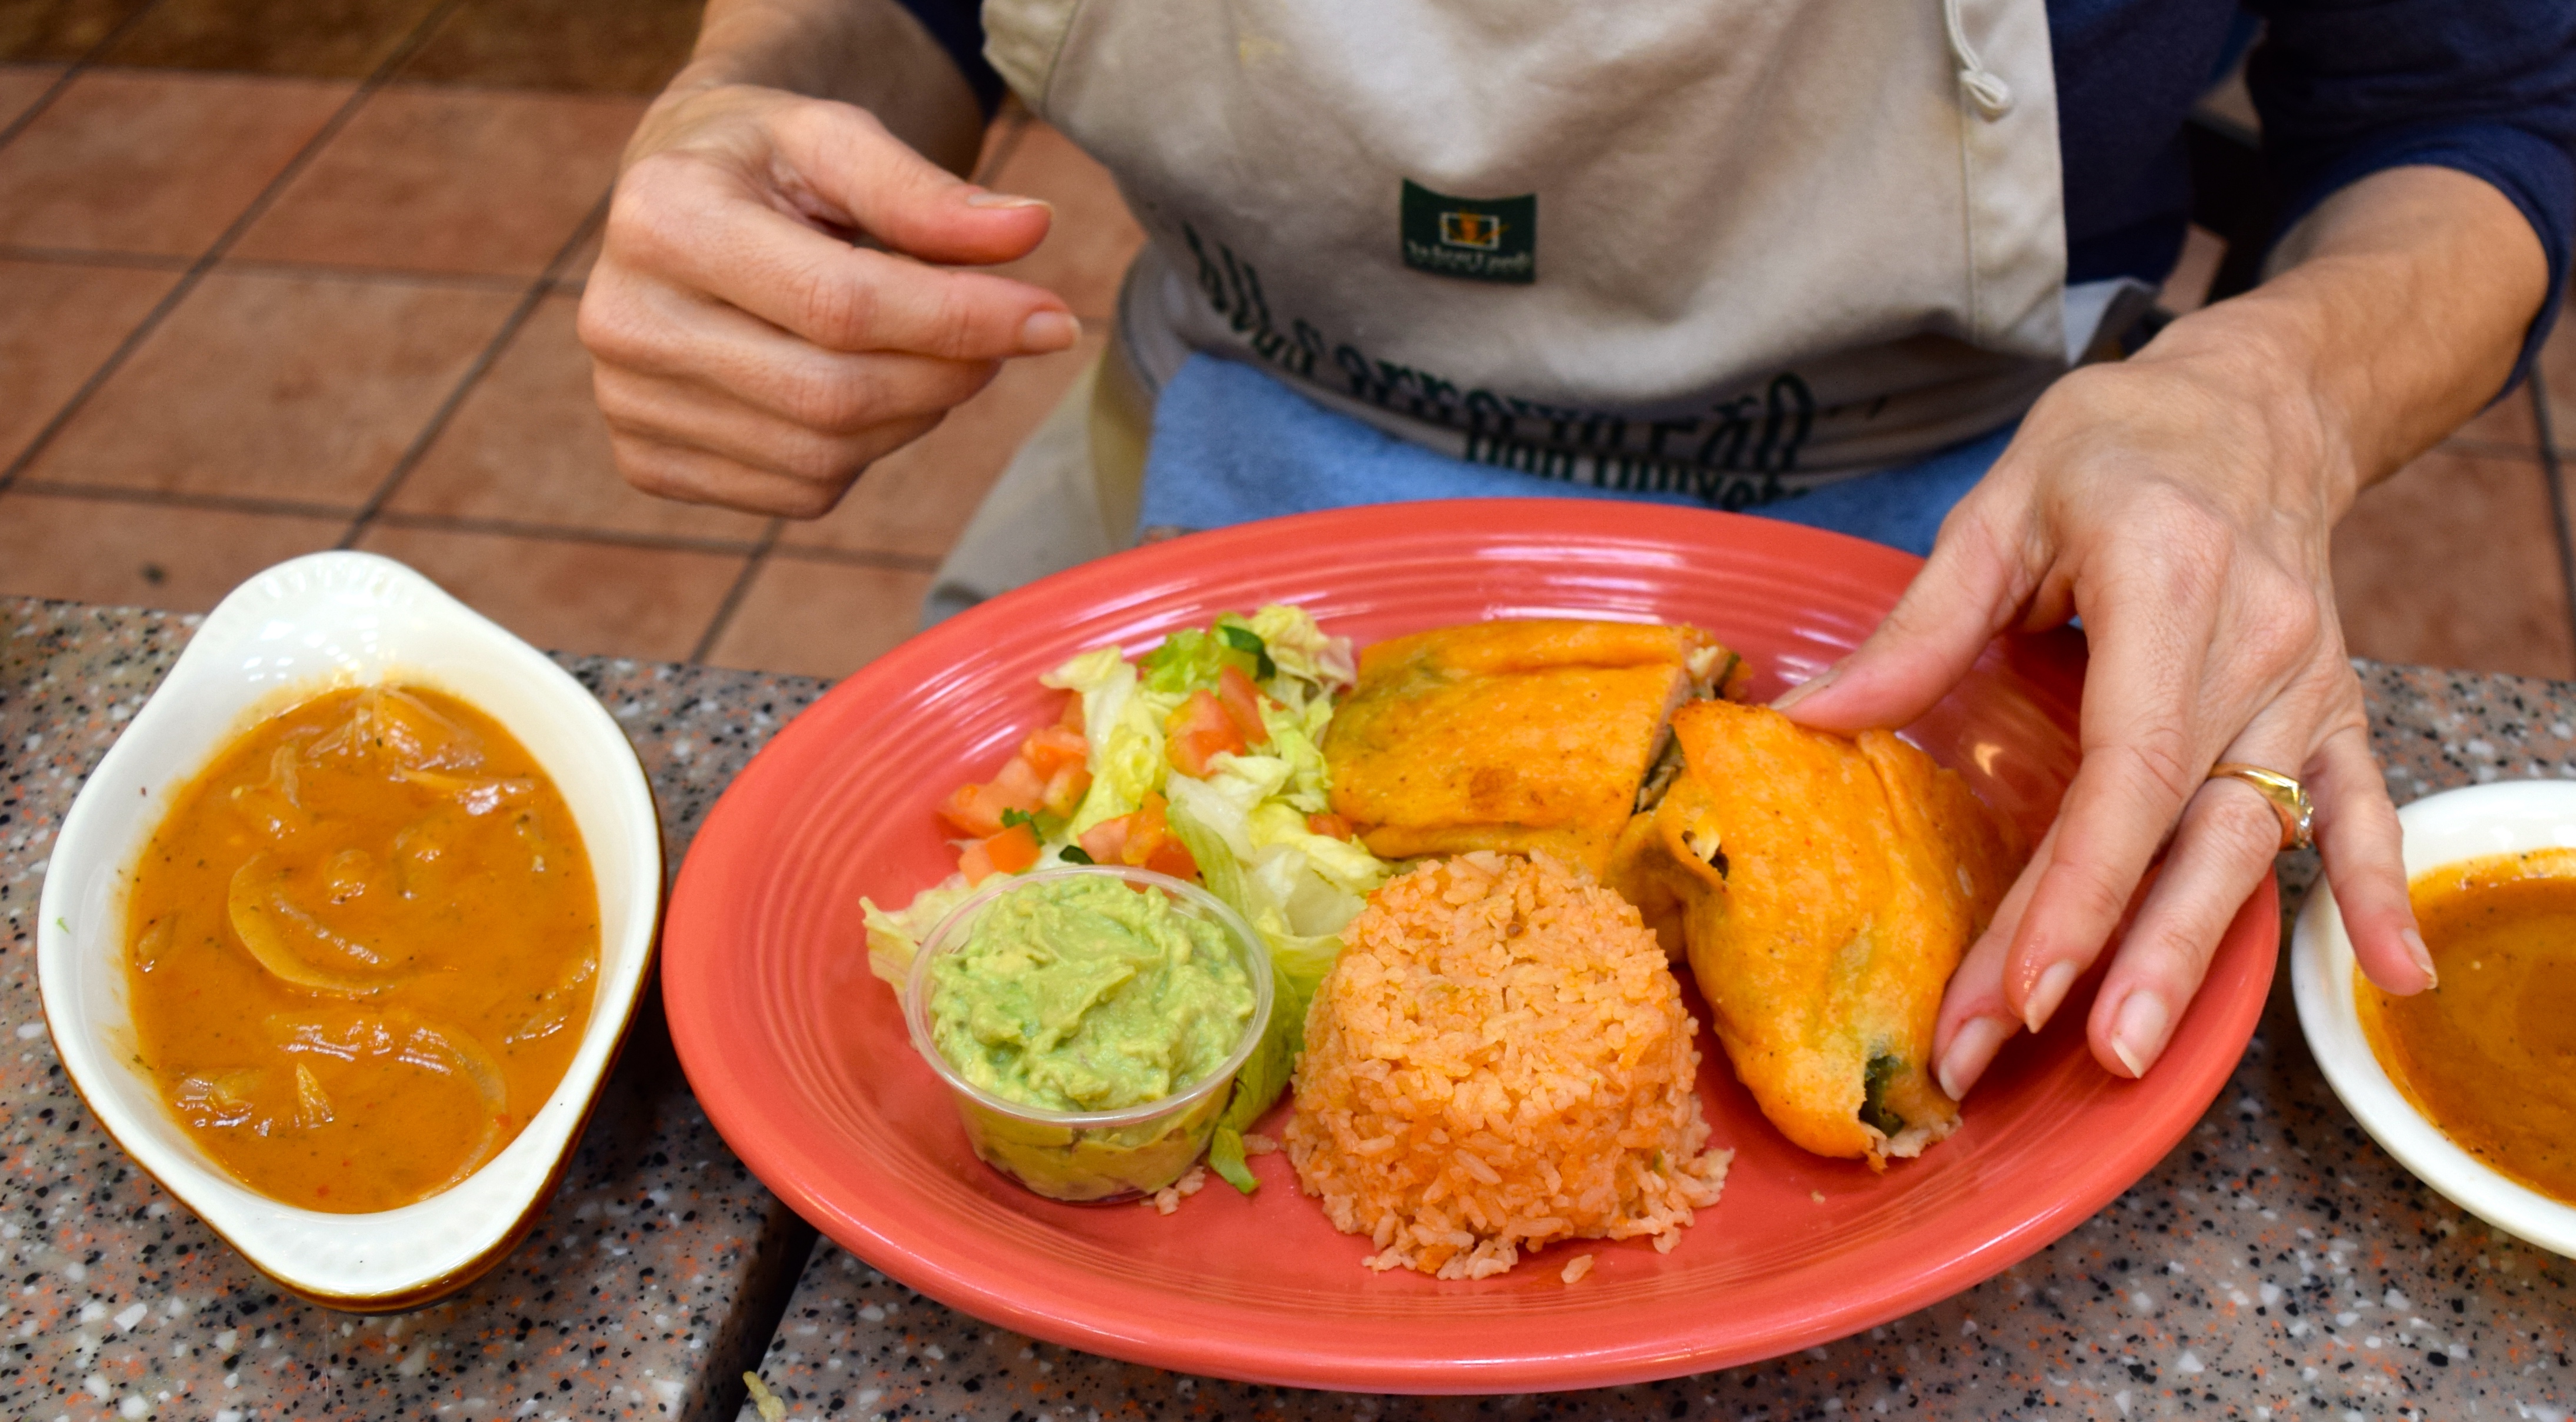
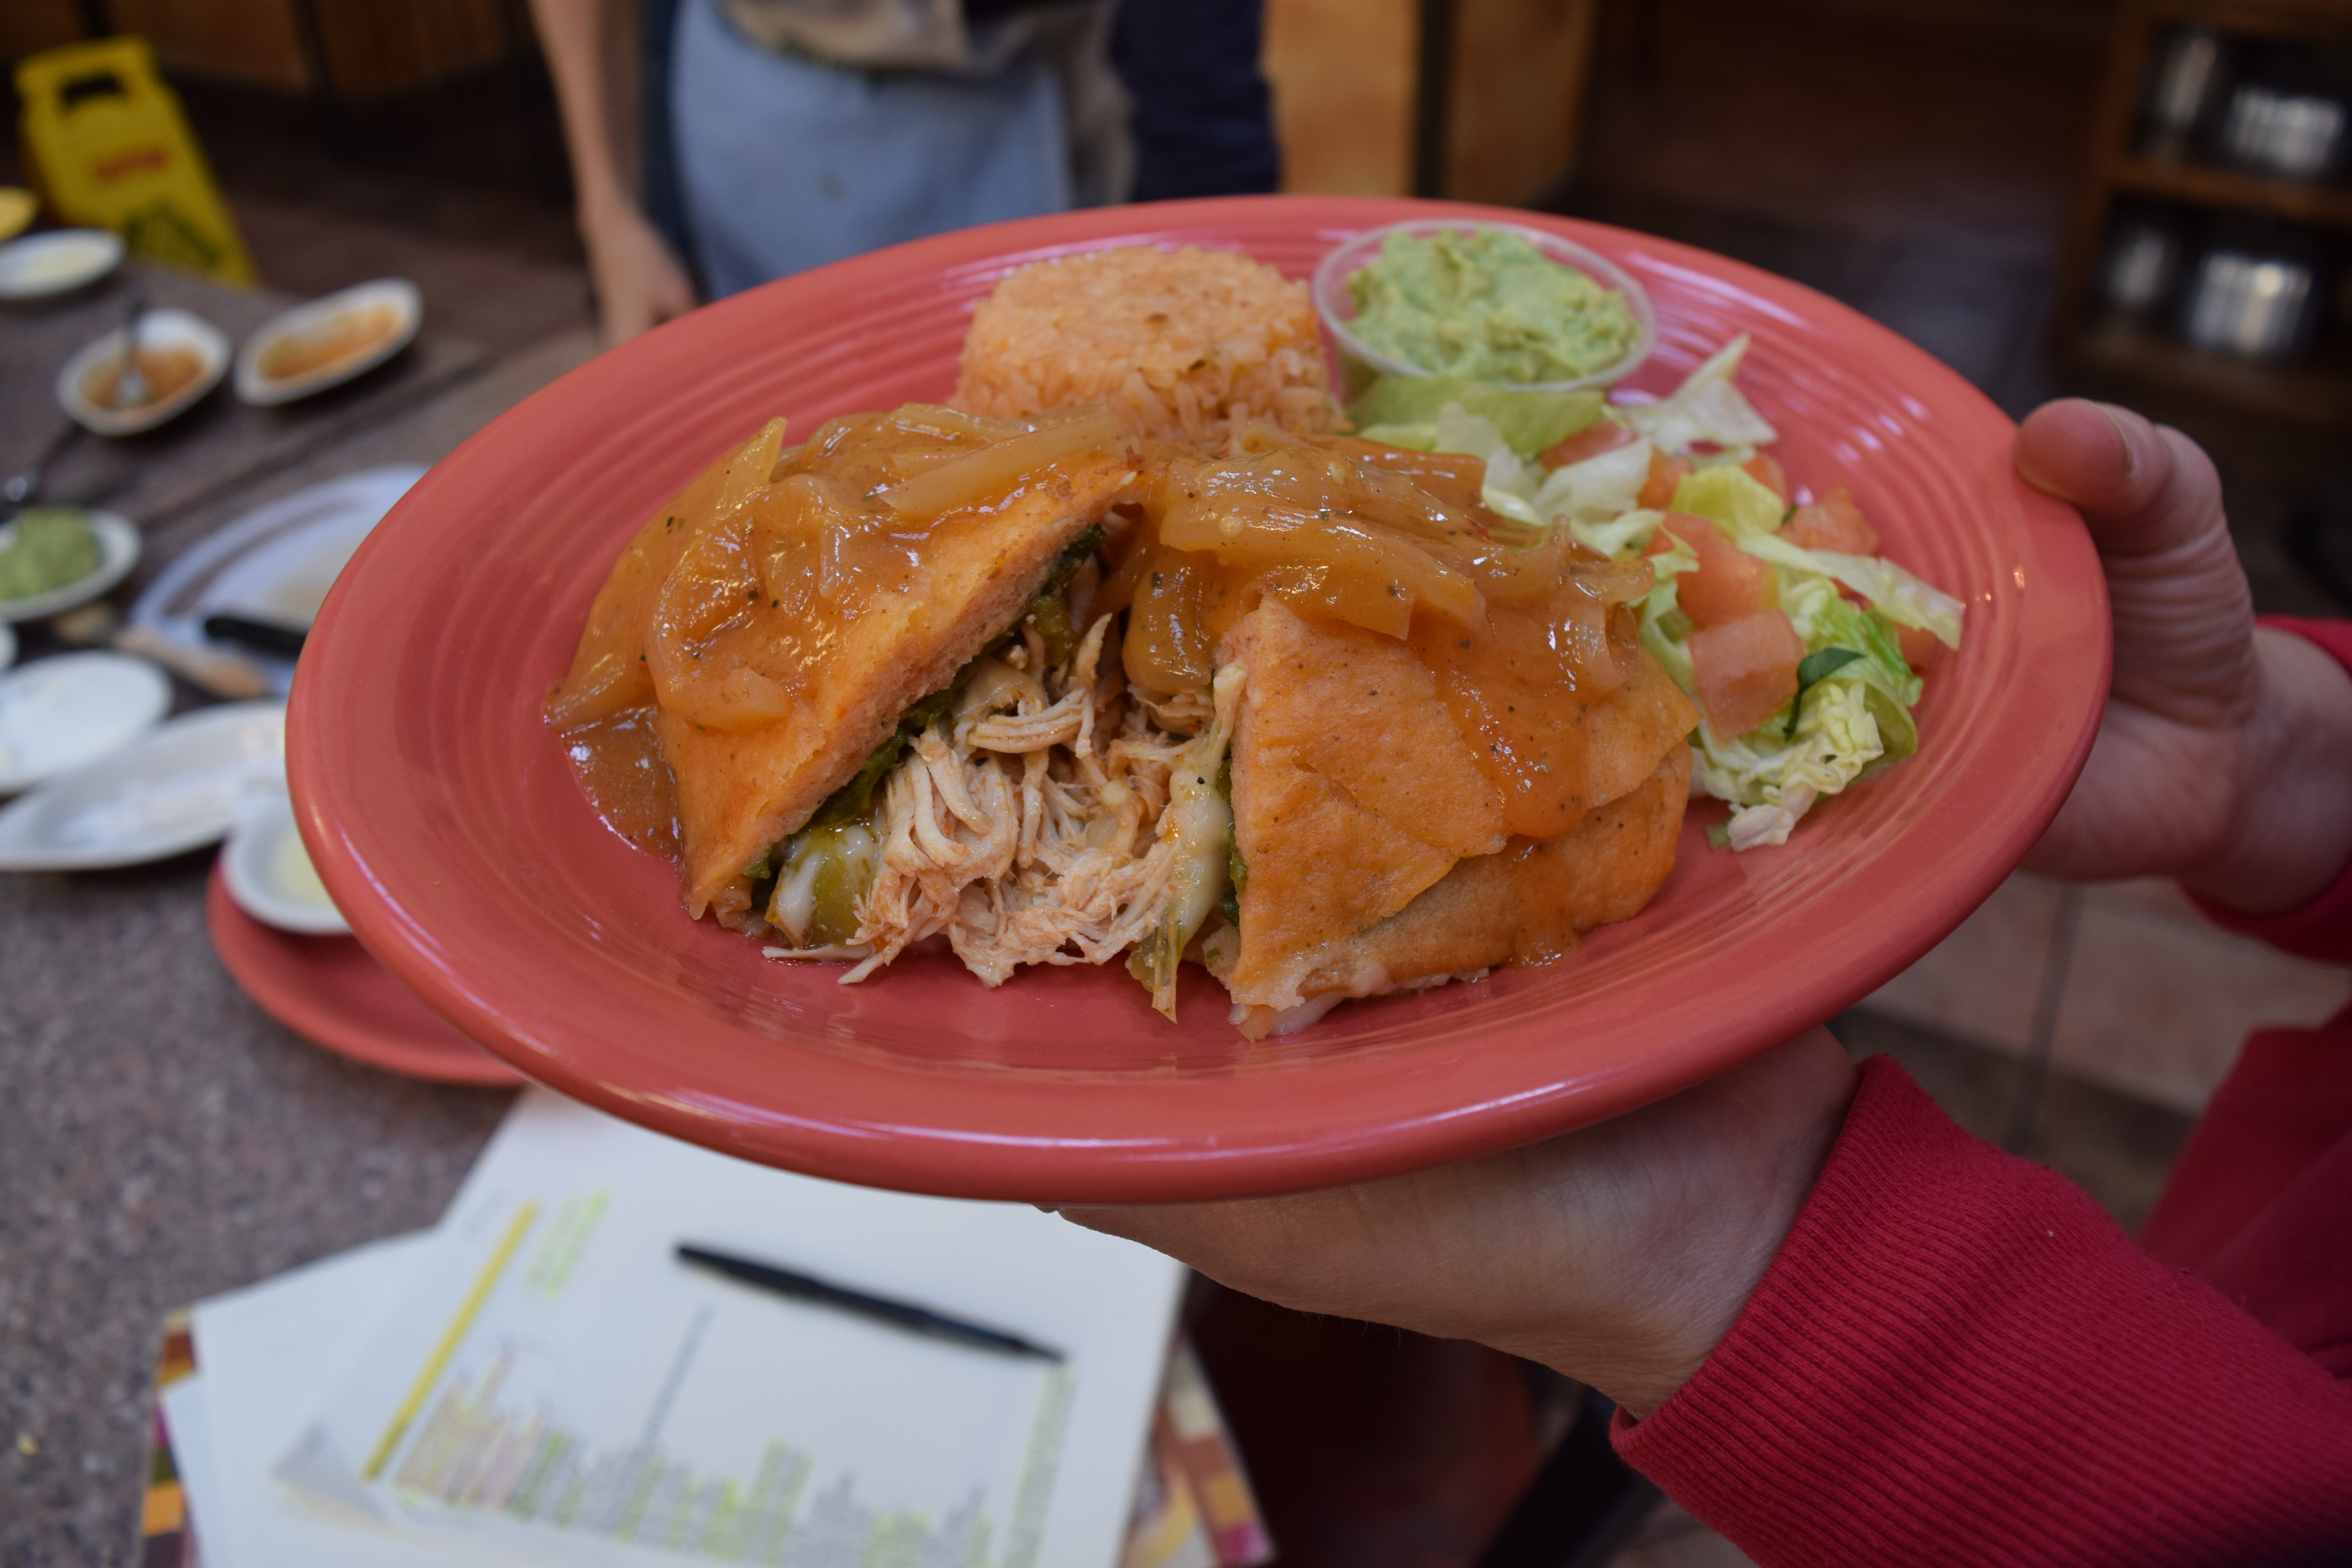
Mary put the rice in a timbale to add a different shape to the presentation- just for visual interest. This was an easy change, at no cost, and made the food presentation look so much more appealing.


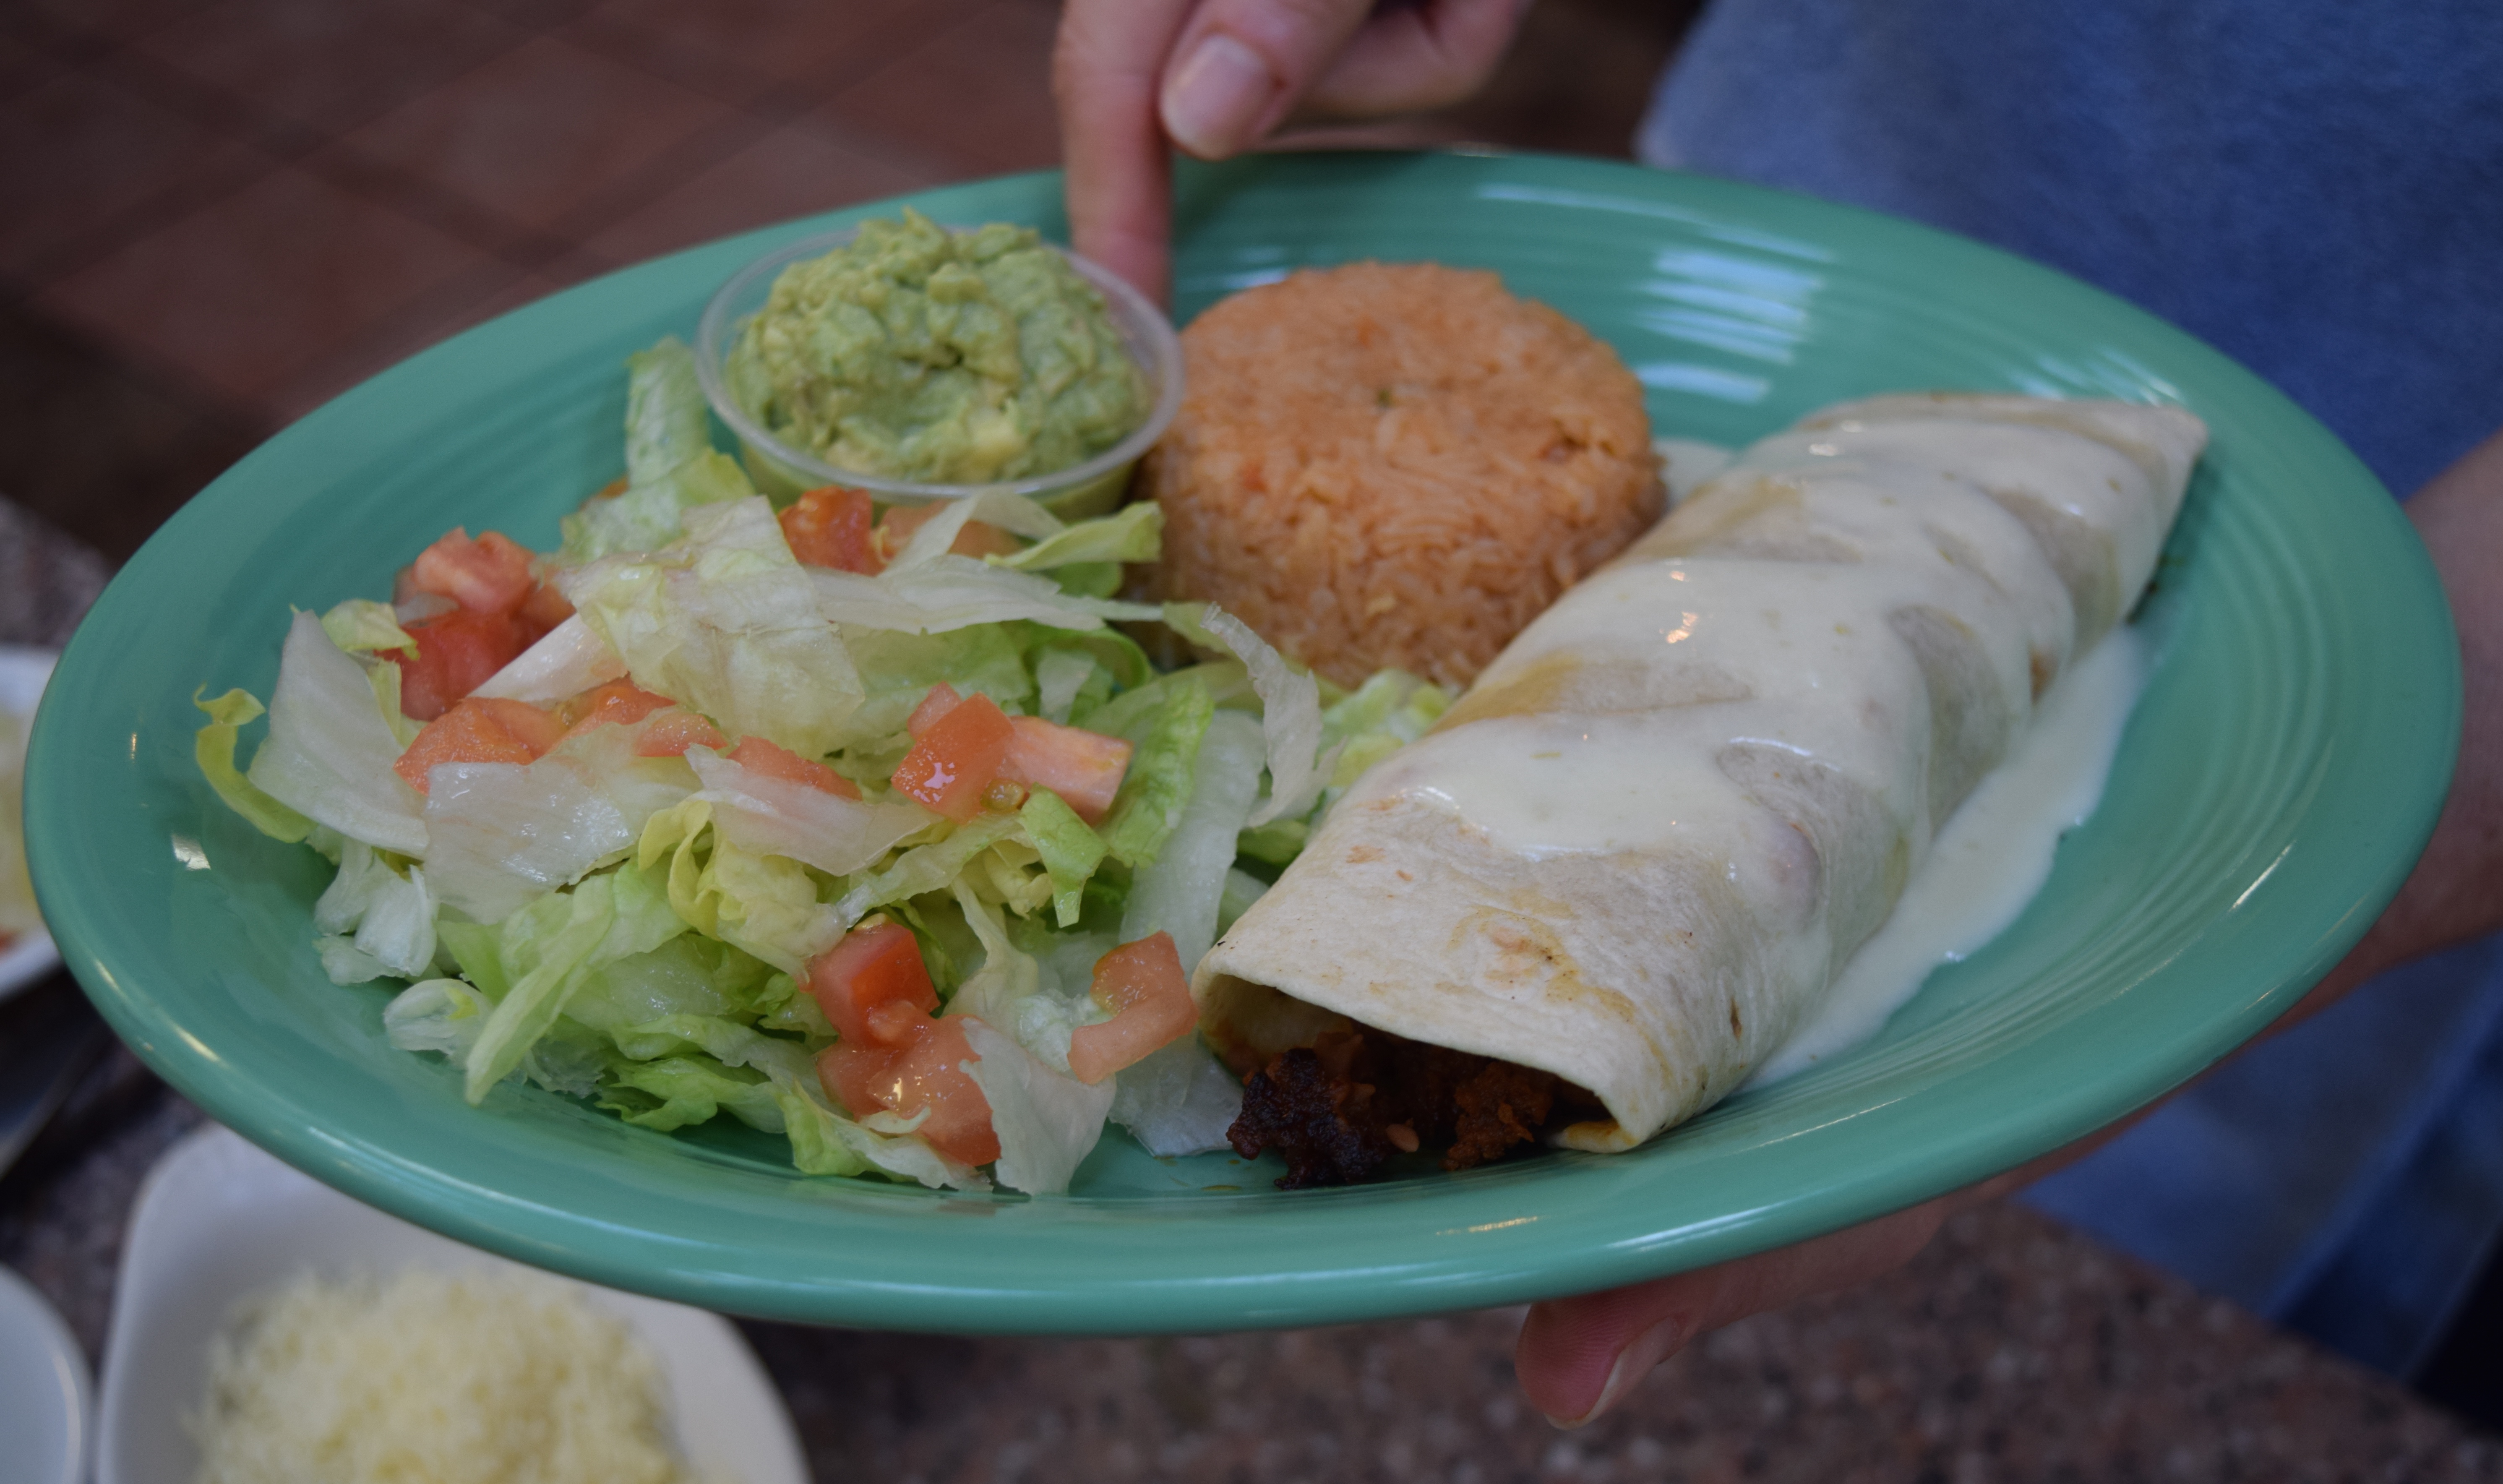
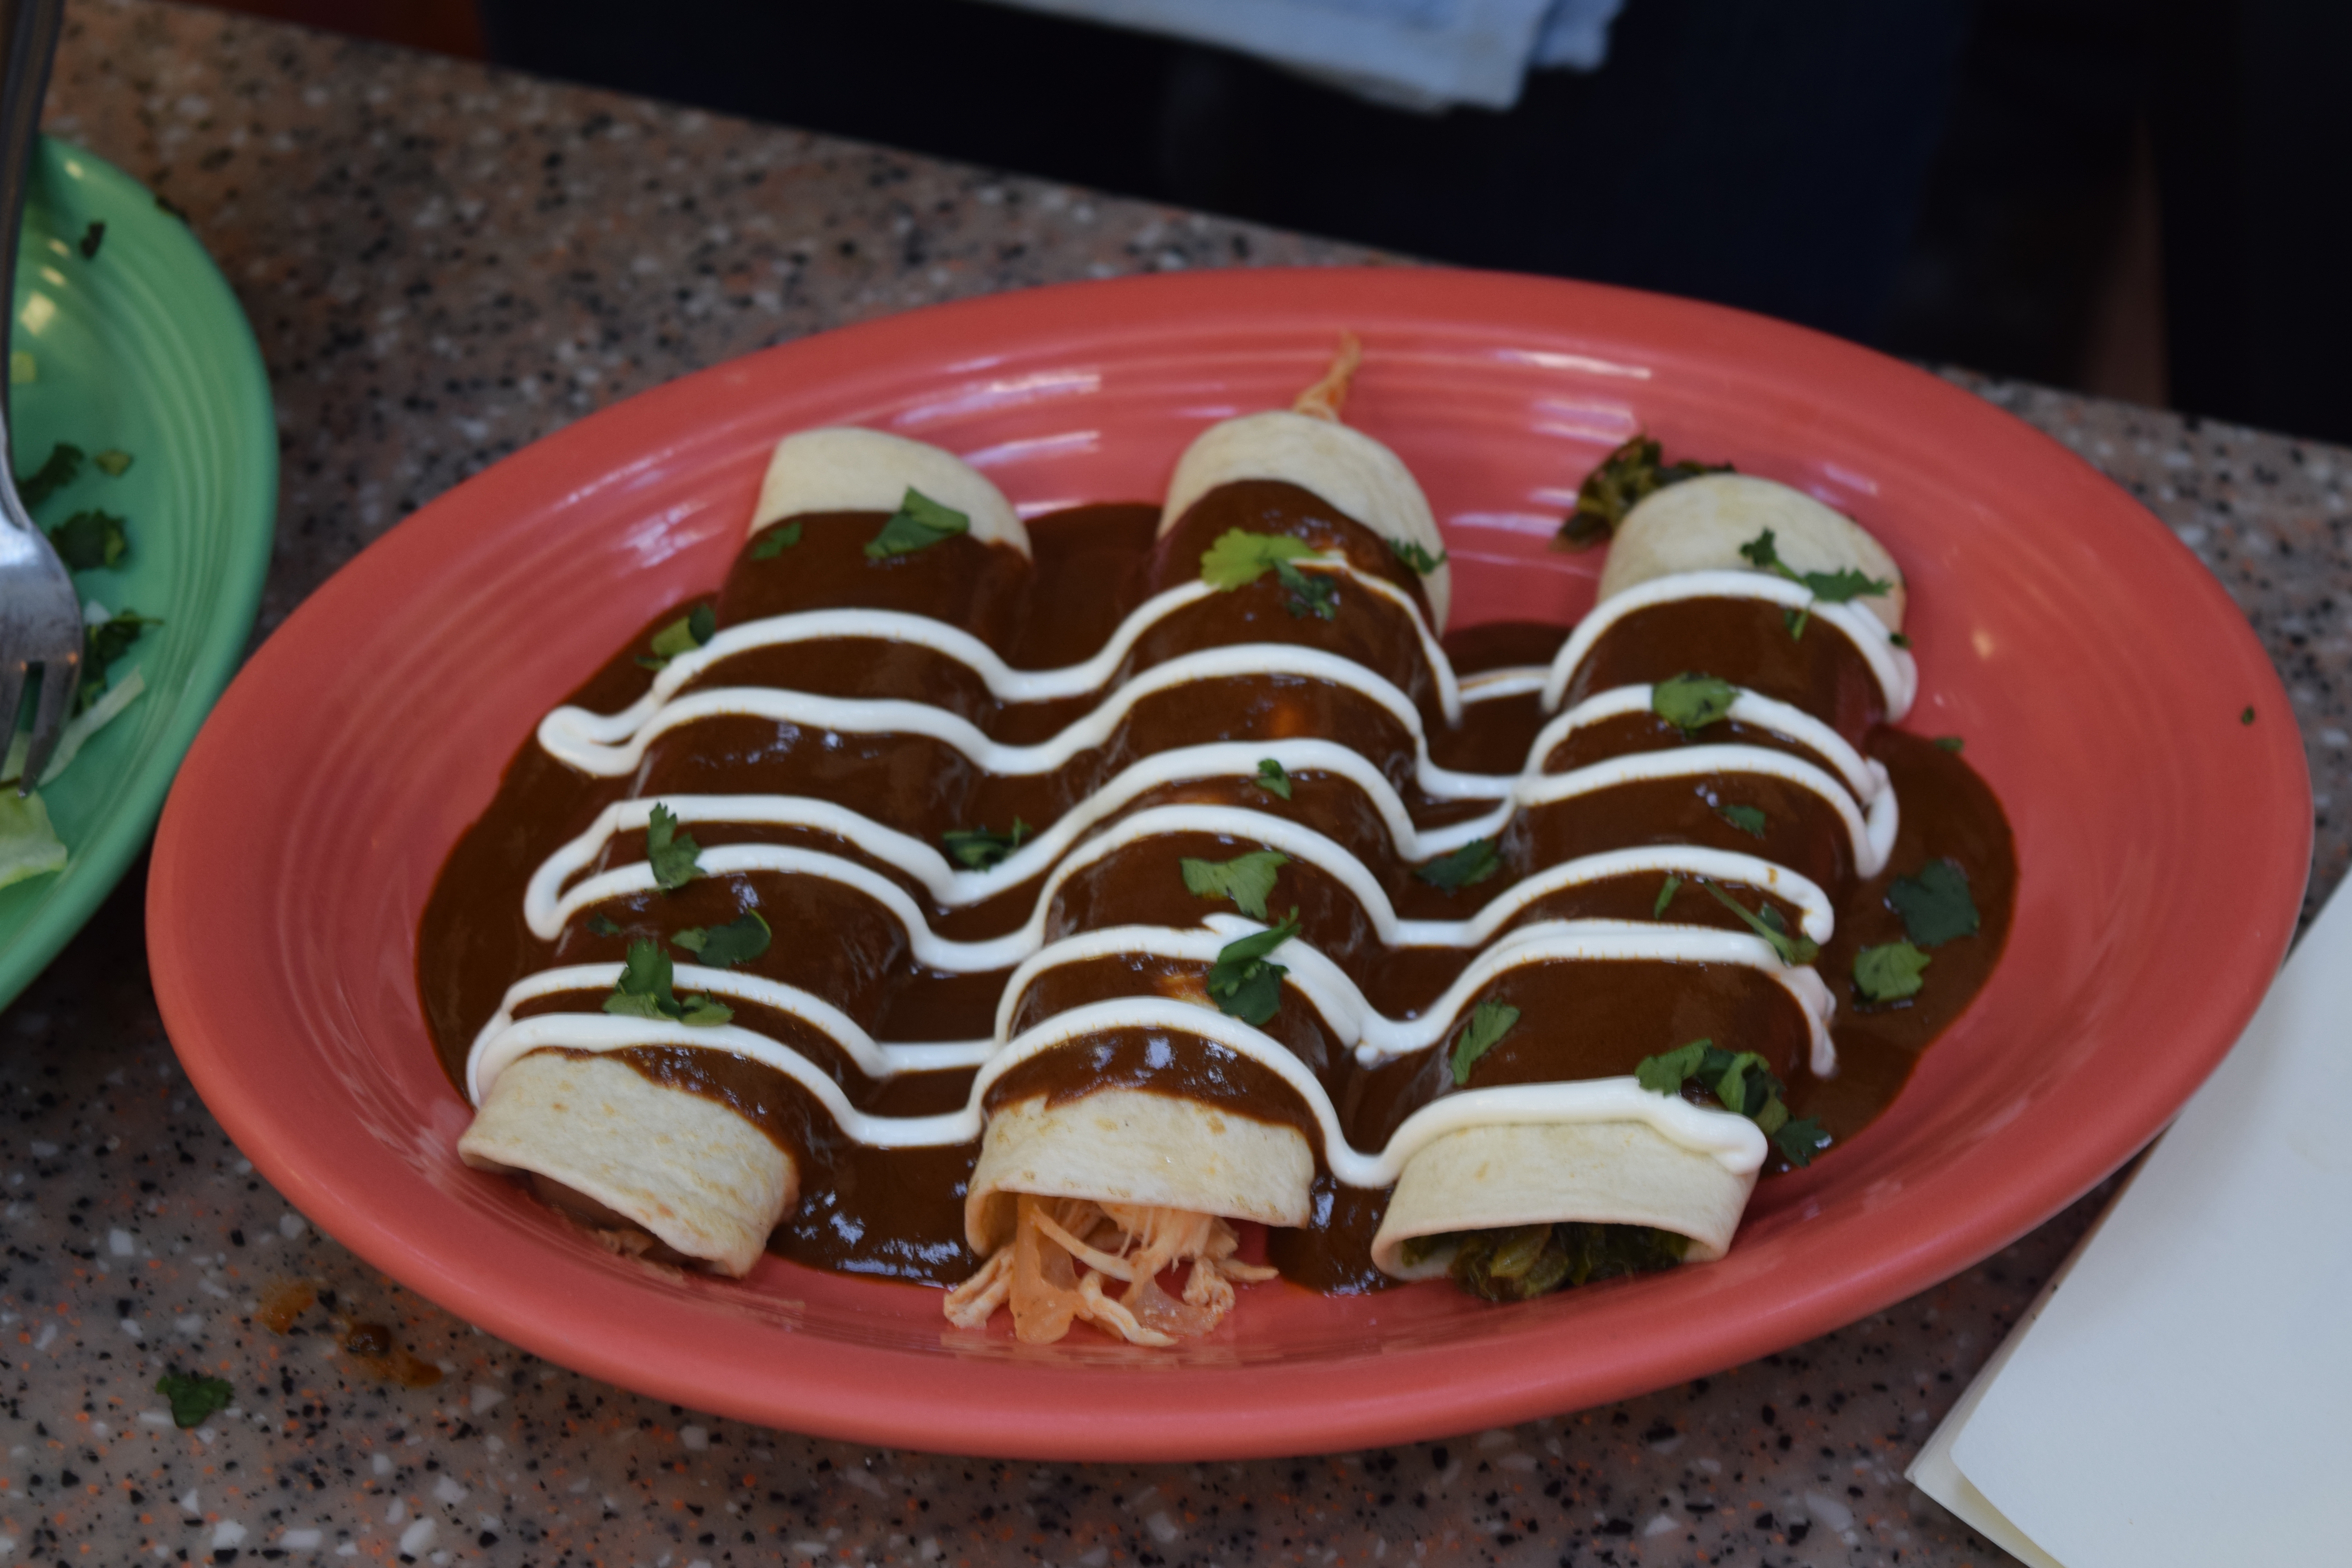
Mary used a piping bag, filled with sour cream, to decorate the enchiladas.

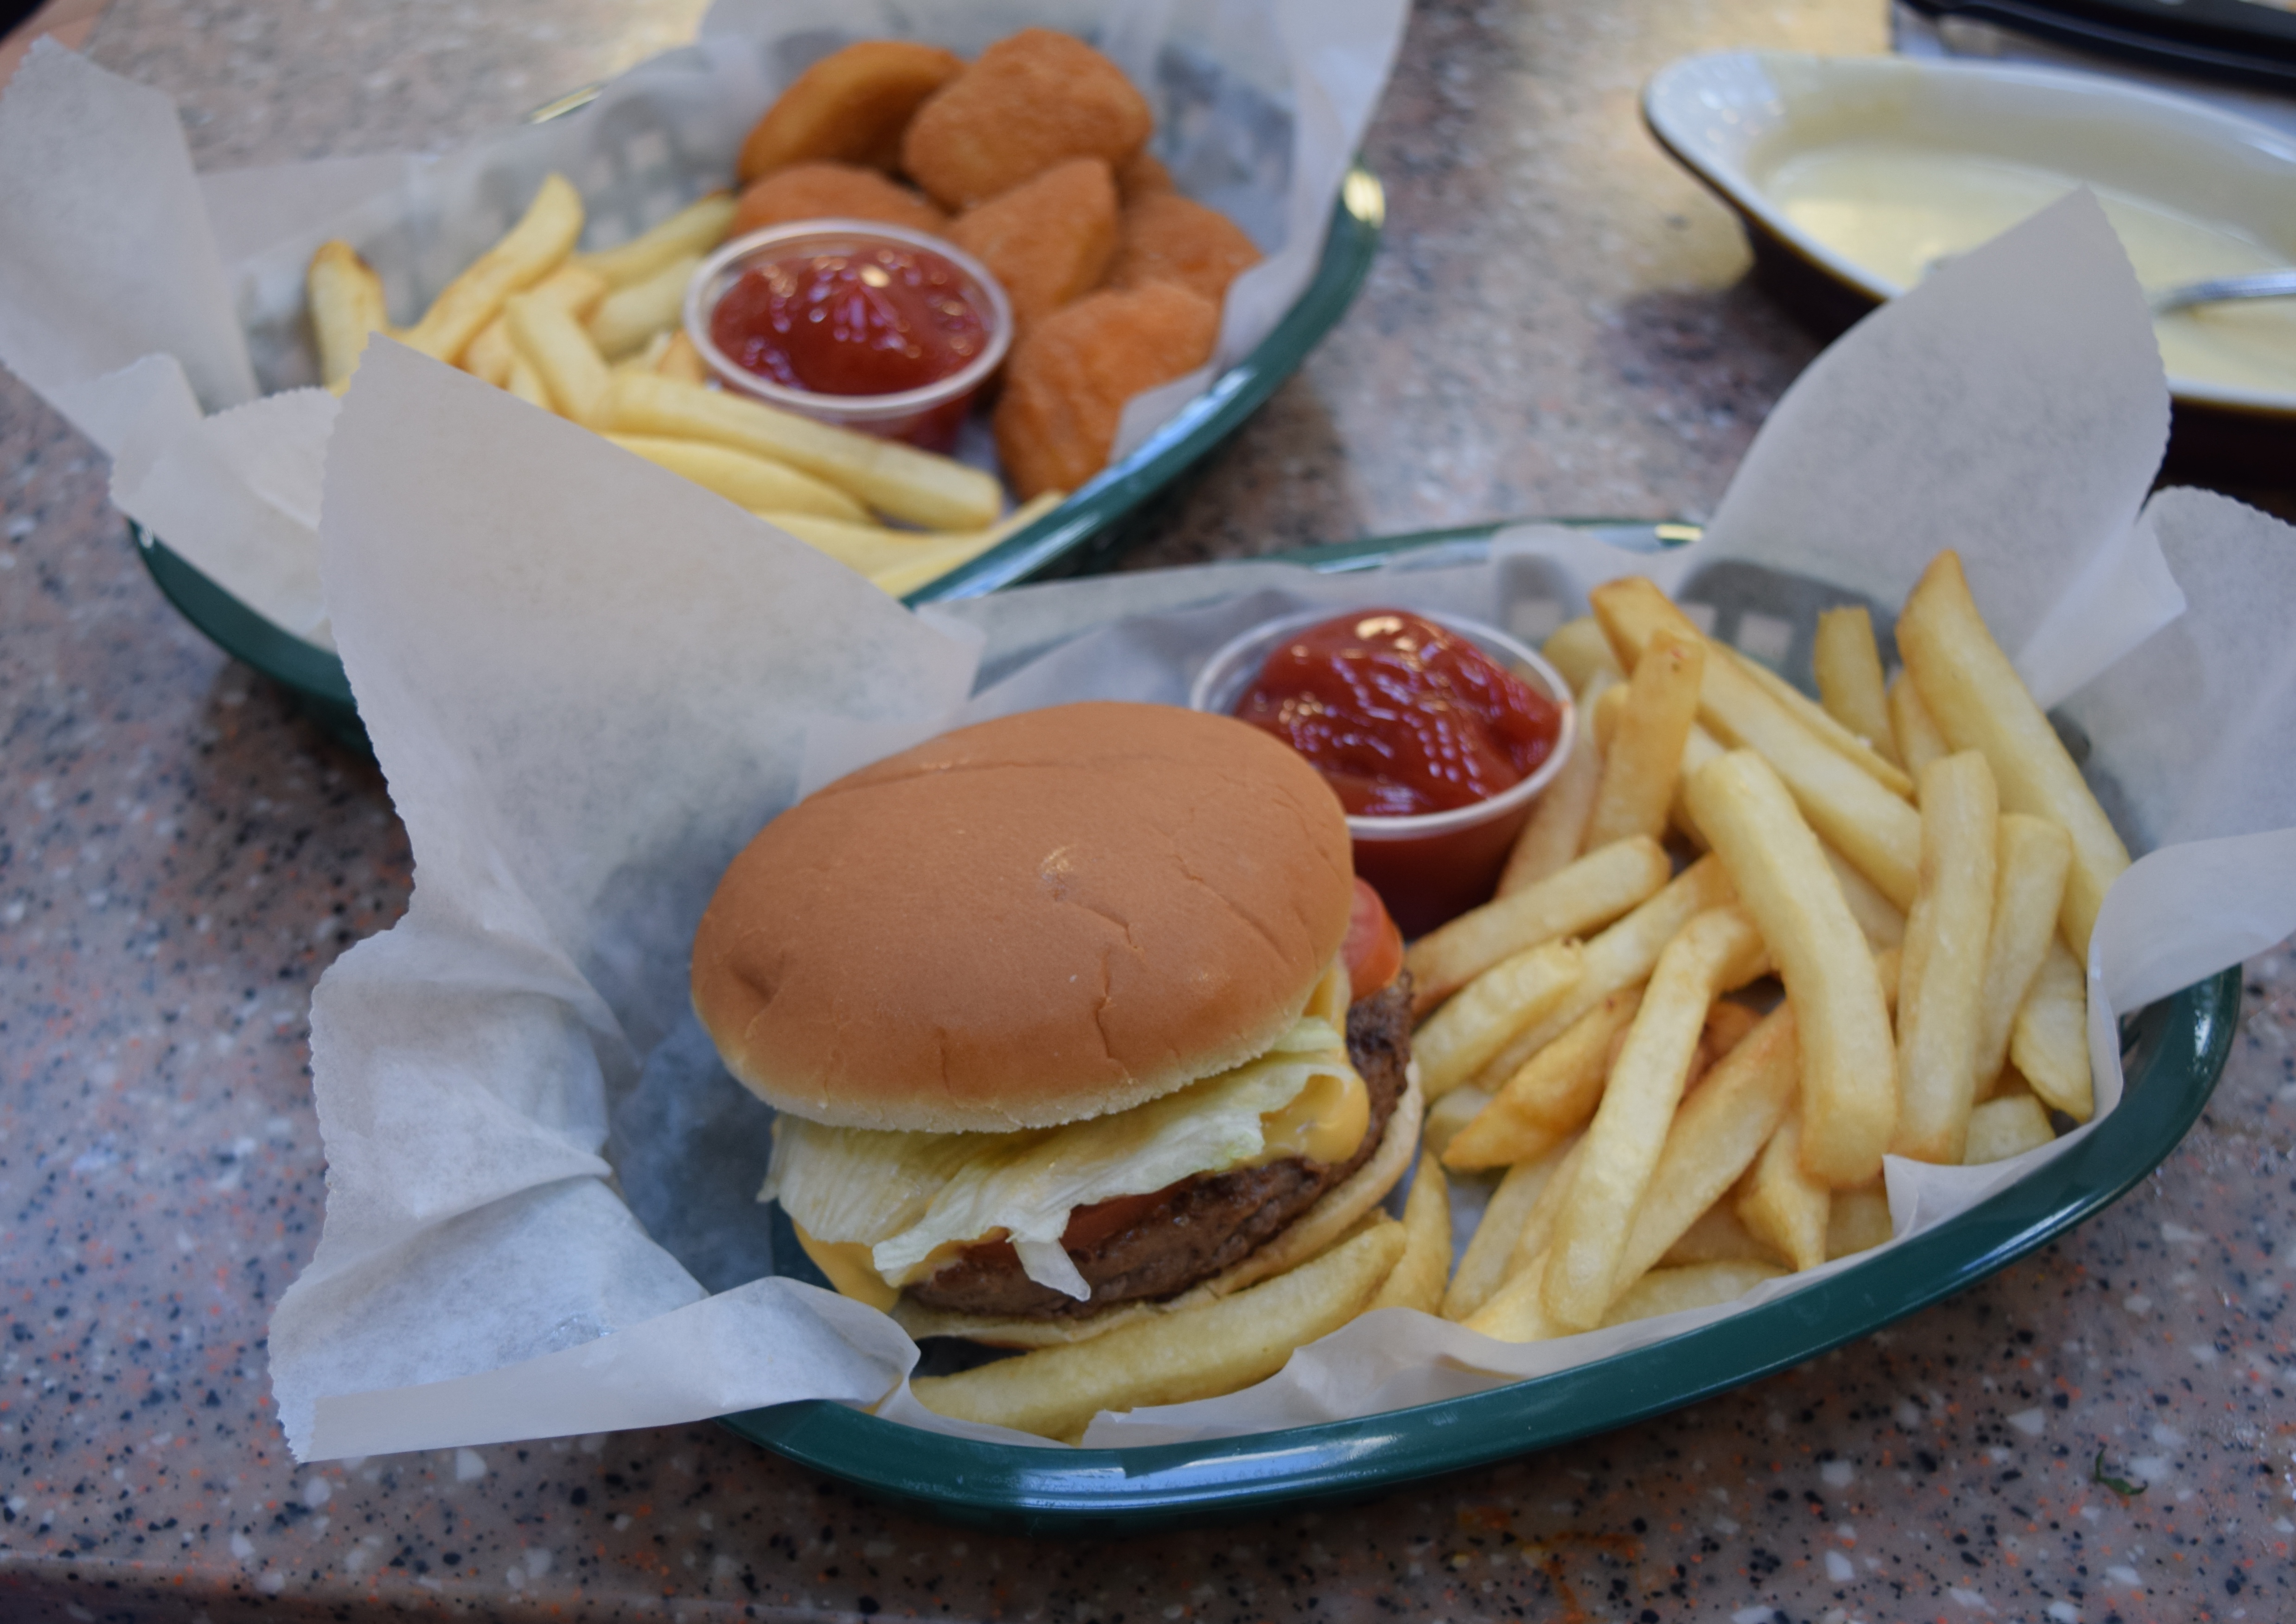
She used scissors to trim the bun and shape the lettuce inside the sandwich. She brushed oil on the chicken tenders to make them glisten for the camera.


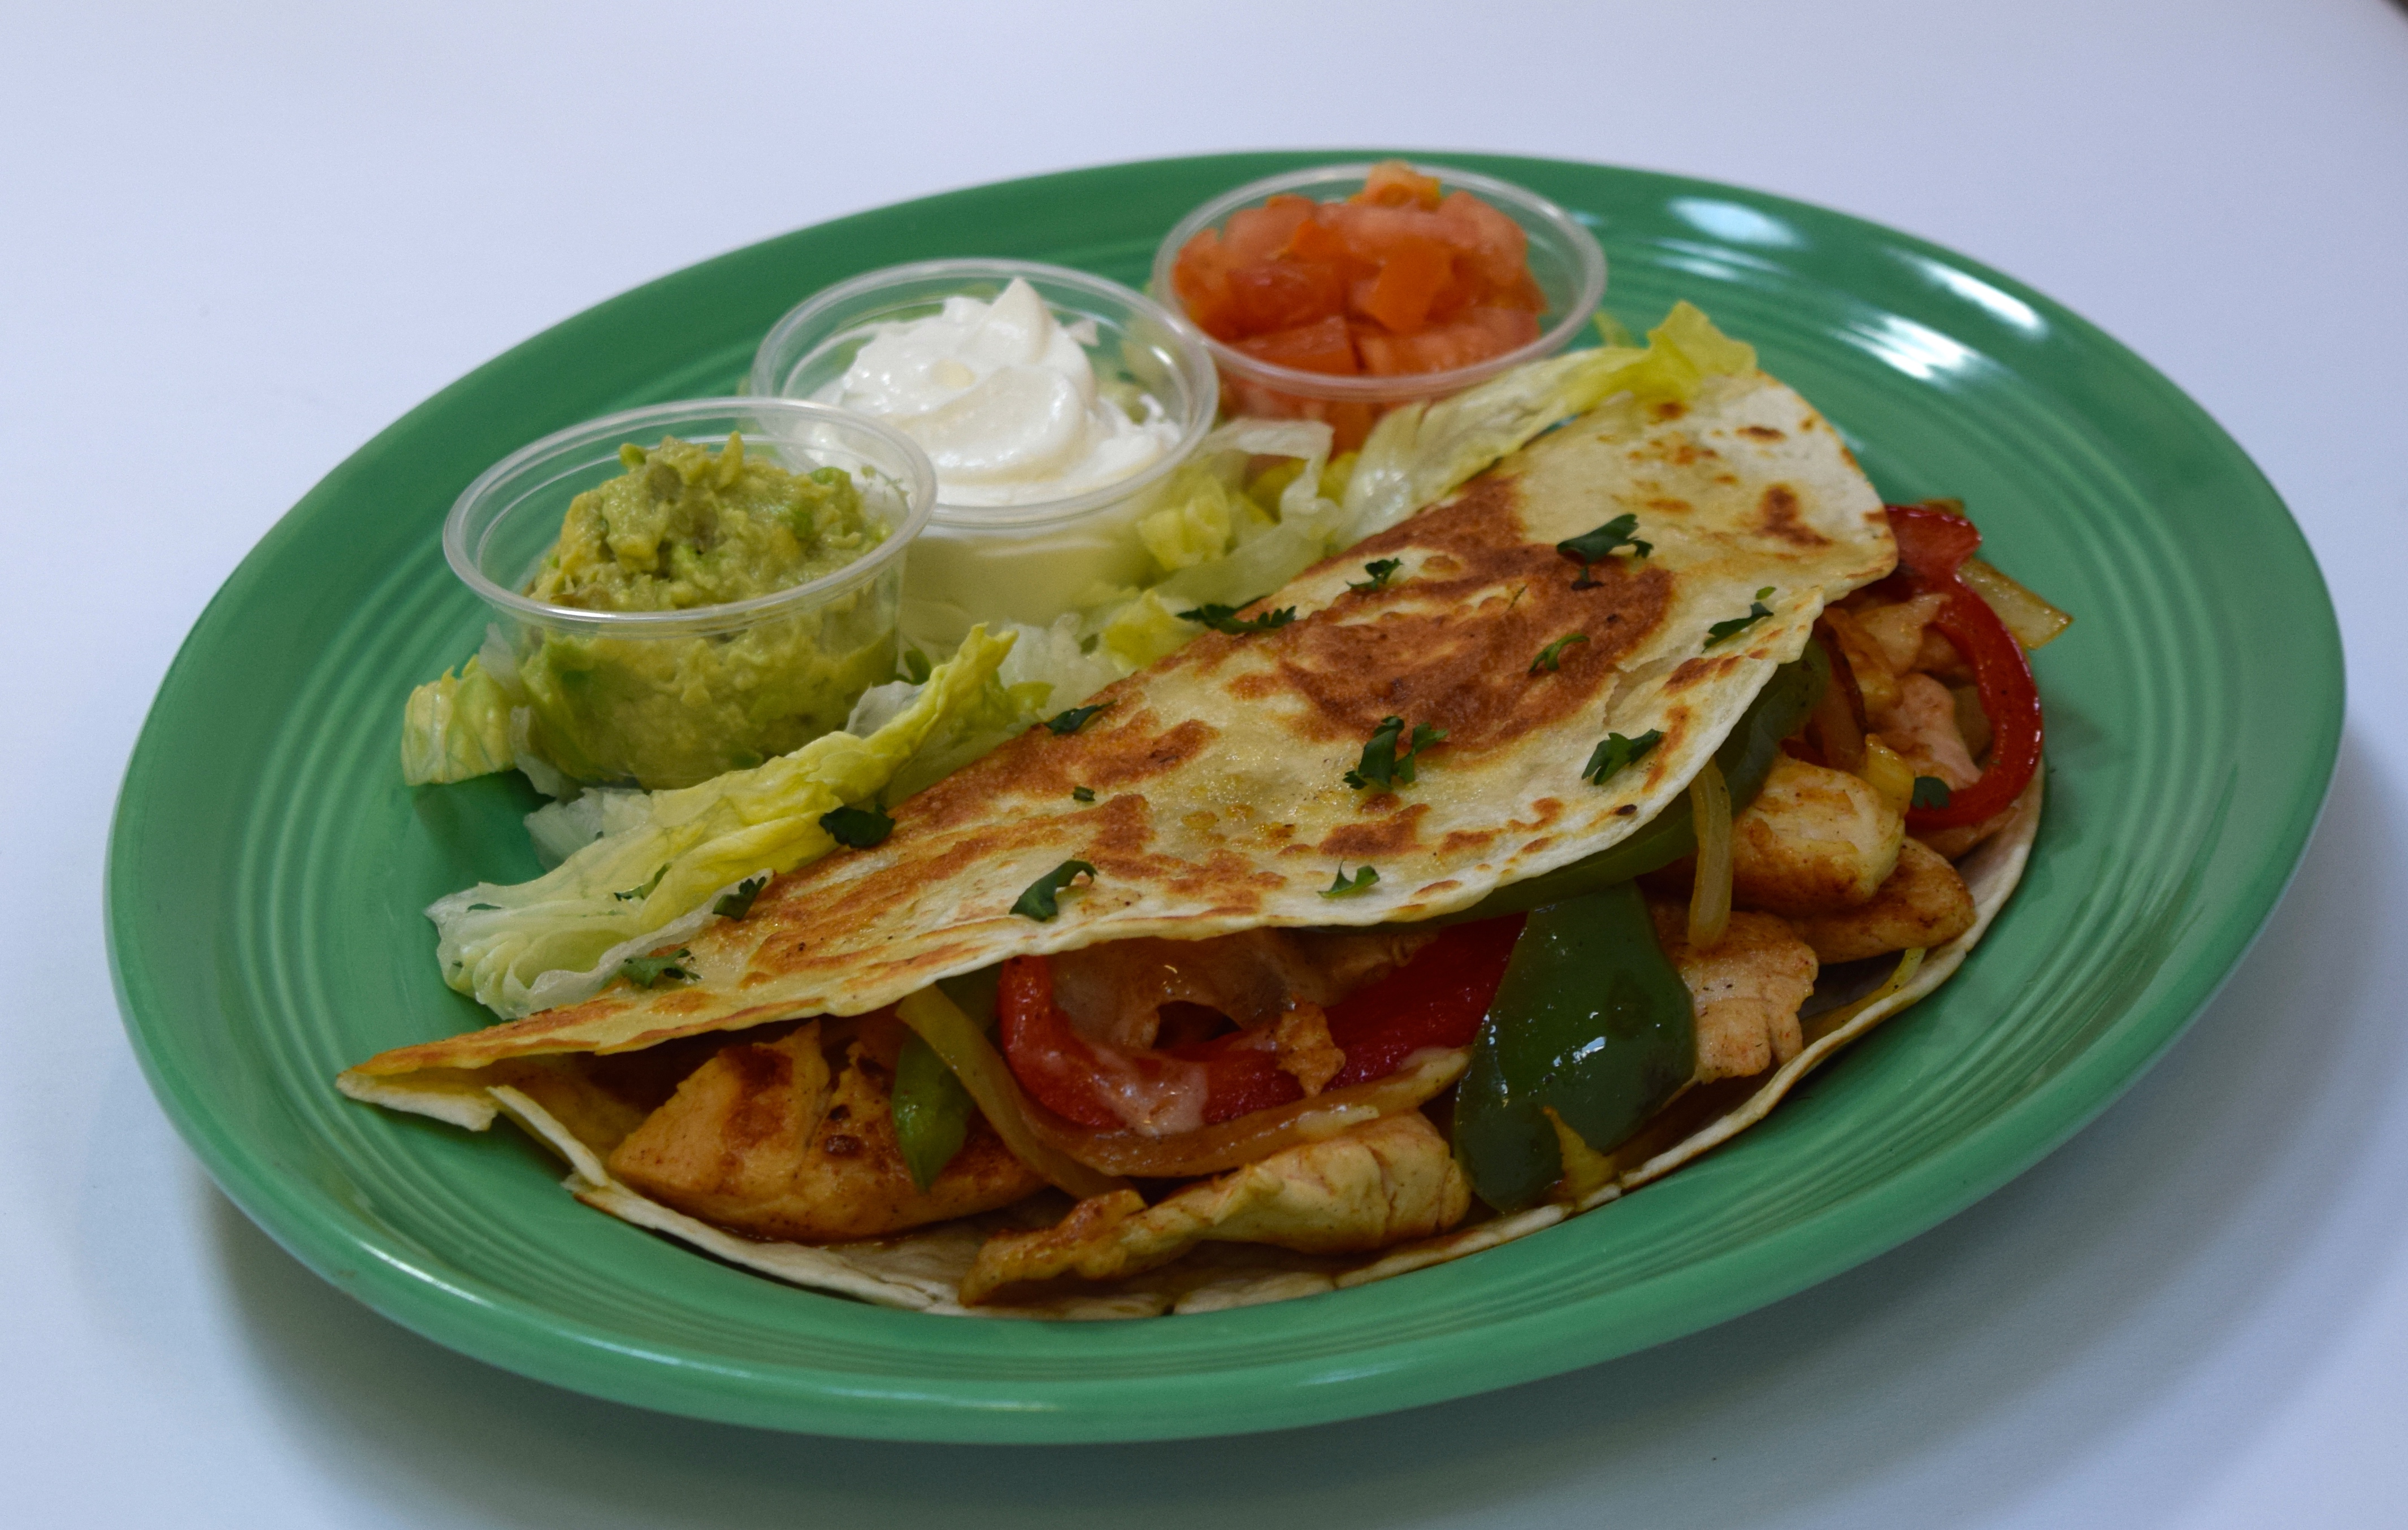
Mary used Q-tips to clean the sides of the condiment containers and to wipe away spots on the plate. Much easier than using a bulky paper towel for this task.


As a food blogger, I found Mary’s tips to be so helpful. The first “tool” I brought into my own kitchen when I got home, was a bag of Q-tips!
What a fun day with my friend, Mary!

LET’S STAY CONNECTED!
Follow my photos of vegetables growing, backyard chickens hanging out, and dinner preparations on Instagram at JudysChickens.
Never miss a post: sign up to become a follower of the Blog.
© 2014-2017 Judy Wright. All rights reserved. Photos and text may only be used with written consent.


It’s always cool to see how food stylists work – they’re so important to a successful shoot! Thanks for sharing 🙂
Thanks for commenting, Charles! Thanks for signing up to follow my blog, too!
Great Article!! Love reading about you and Mary Carter. I worked with Mary years ago and I am proud to call her friend!!
Thank you, Donna! Yup, Mary is a wonderful friend and a great cook! Thanks for writing!