The Soil Your Undies Challenge- A Simple Home DIY Test for Soil Health

A few weeks ago, I sent my grandchildren a package with two pairs of new XL men’s cotton briefs and a batch of their favorite Italian cookies. After the box arrived, their mom Facetimed so the kids could say, “Thank You.” My grandchildren, who have been gardening with me for years, asked why I had sent them such huge undies. In my most enthusiastic voice, I explained that we were going to plant them in their new garden, and it was going to be a science experiment! My six-year-old grandson brought the phone close to his face, looked me in the eye, and in a serious yet tender voice said, “YaYa, you can’t grow underwear.”

The Soil Your Undies Challenge


Last fall, I participated in a whimsical citizen science experiment called the Soil Your Undies Challenge. I “planted” new cotton briefs in one of my raised garden beds on Labor Day and “harvested” them sixty days later. The Challenge is simple: if your soil is healthy, soil-dwelling organisms will dine on the cotton until it is gone. The degree of cotton deterioration is directly related to how much microbial activity is going on. The more activity, the more “alive” and healthy your soil and the healthier your plants will be. Healthy plants resist the stress caused by drought, pests, and disease.

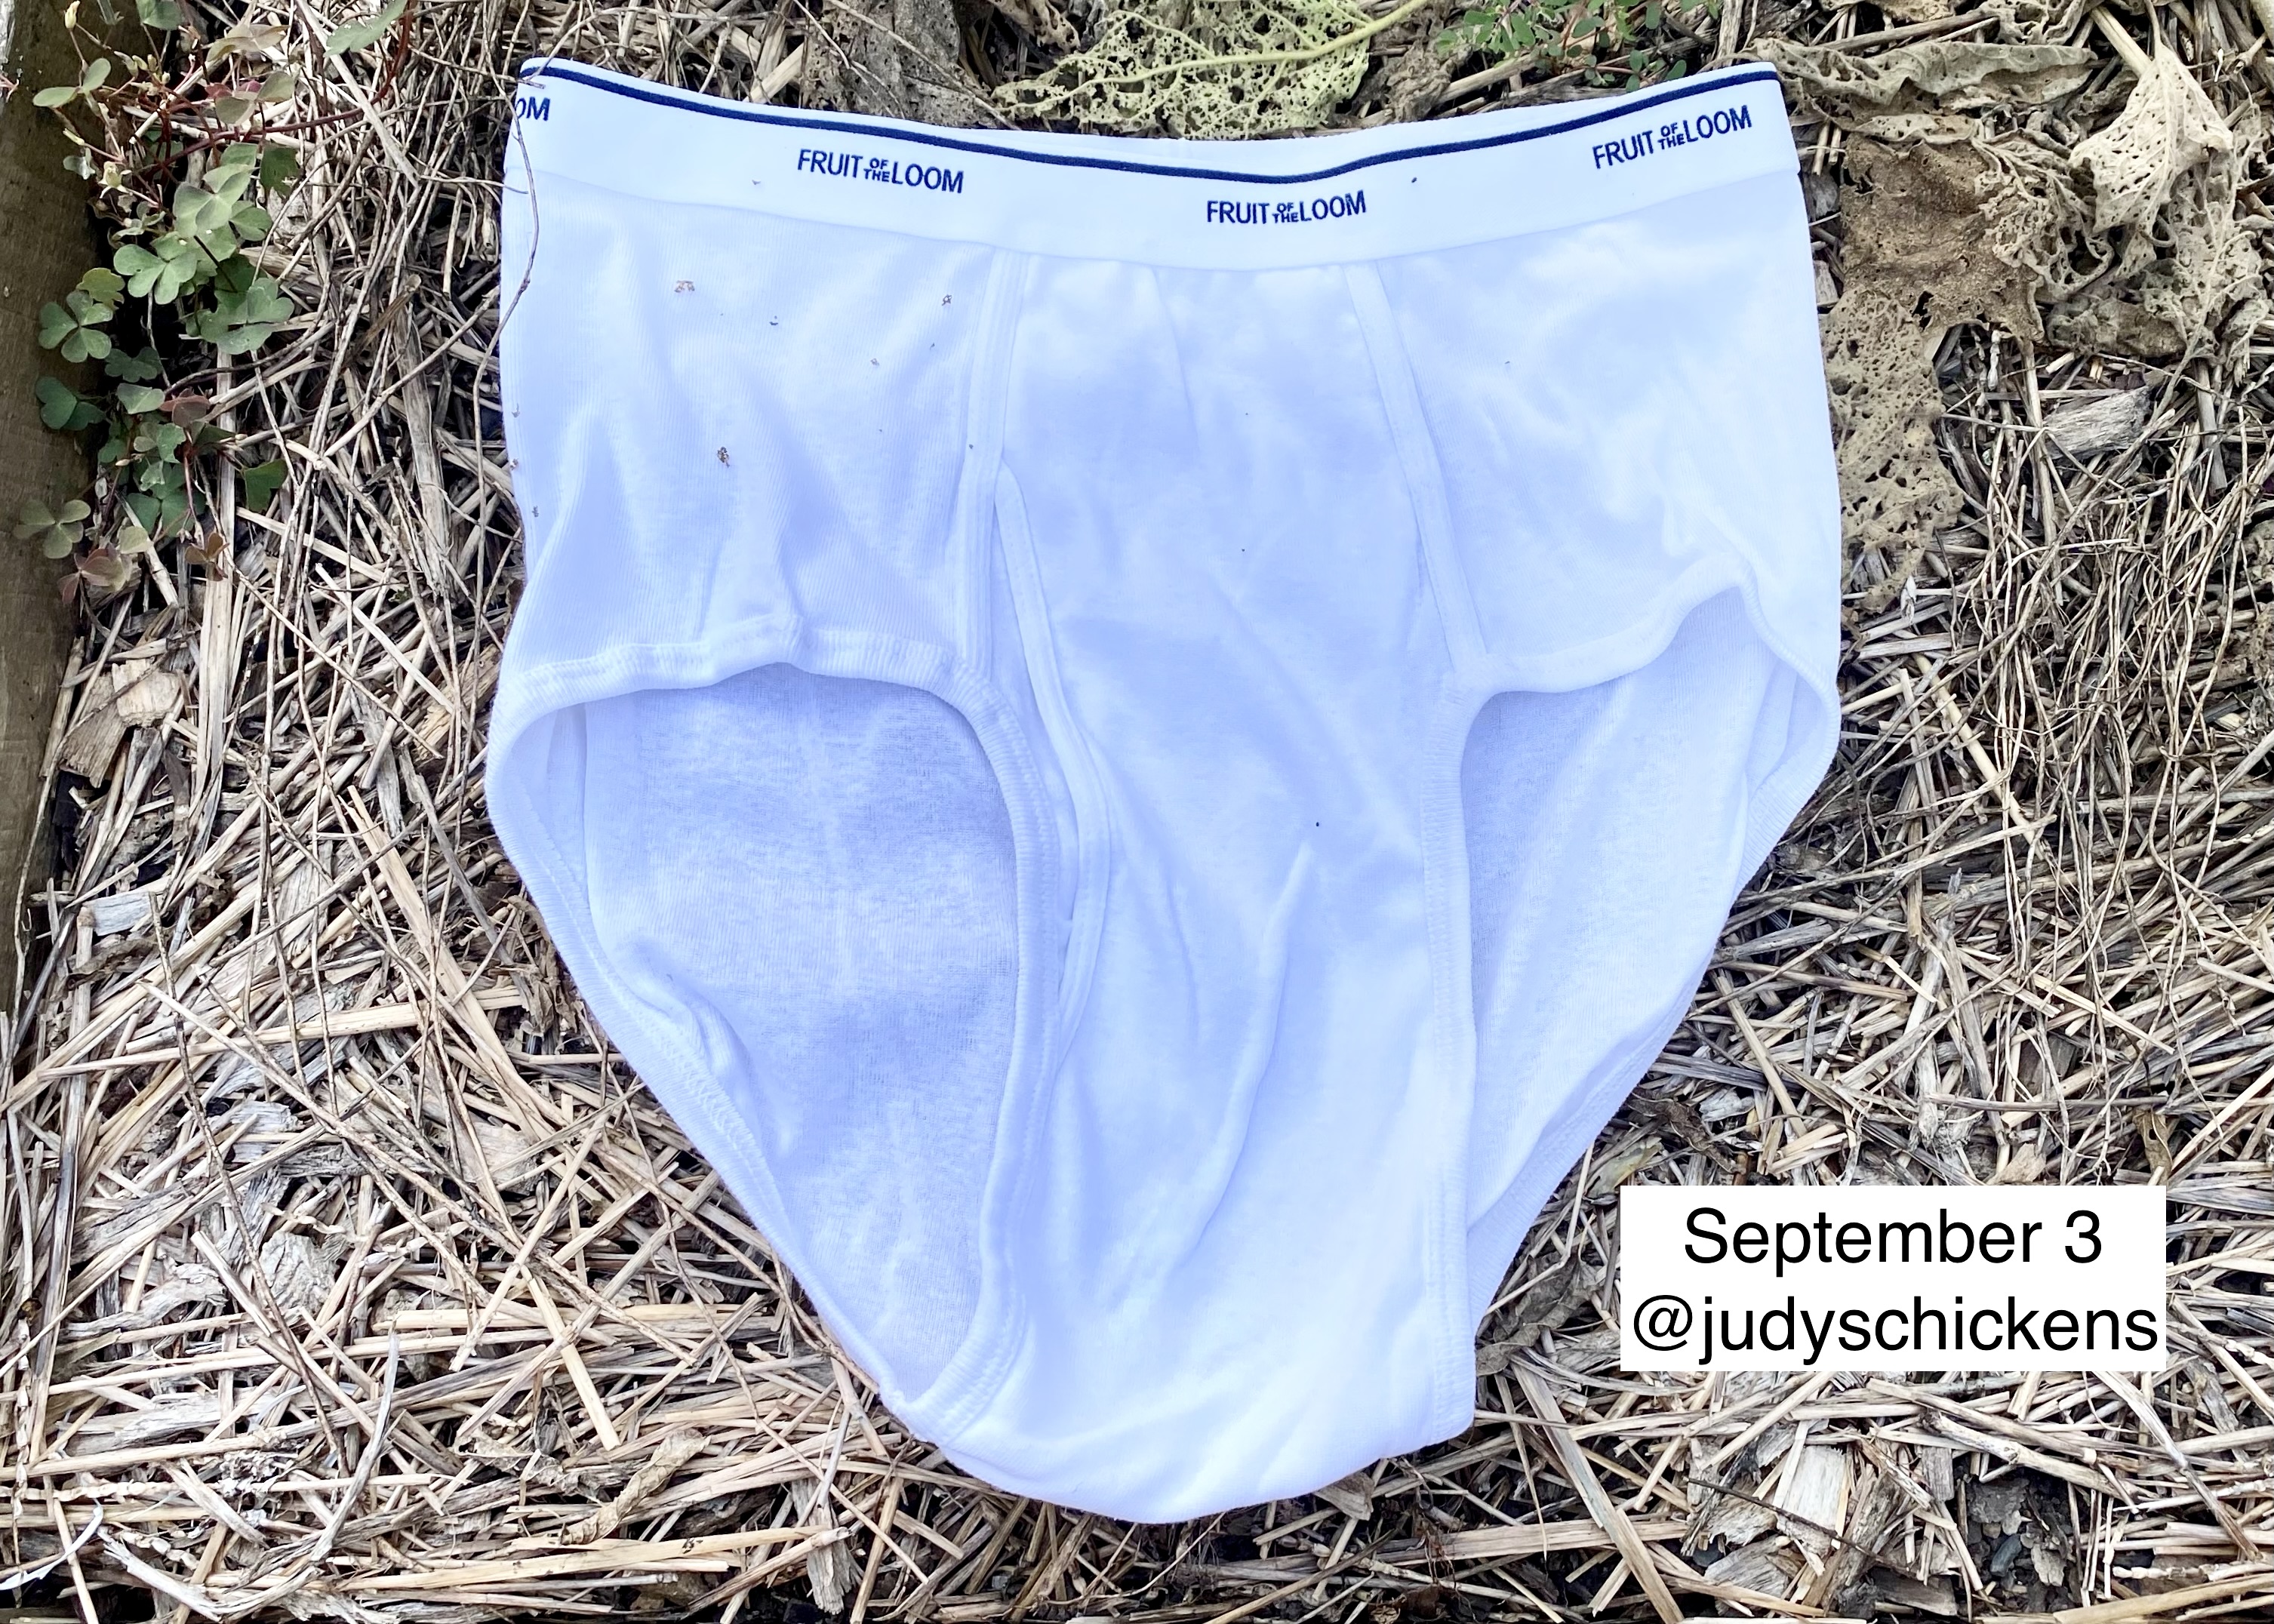
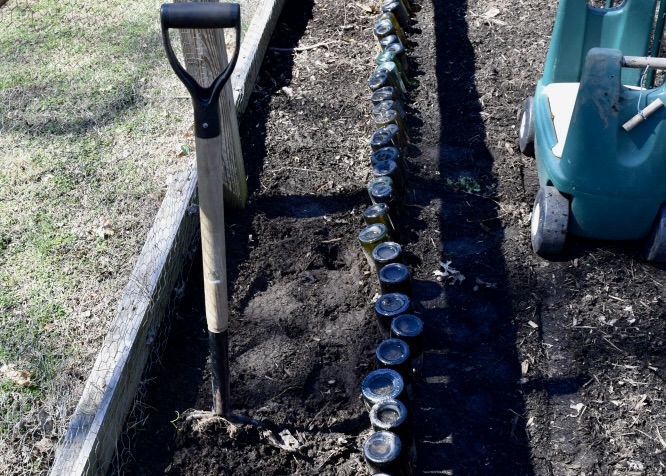
Here is the BEFORE photo:

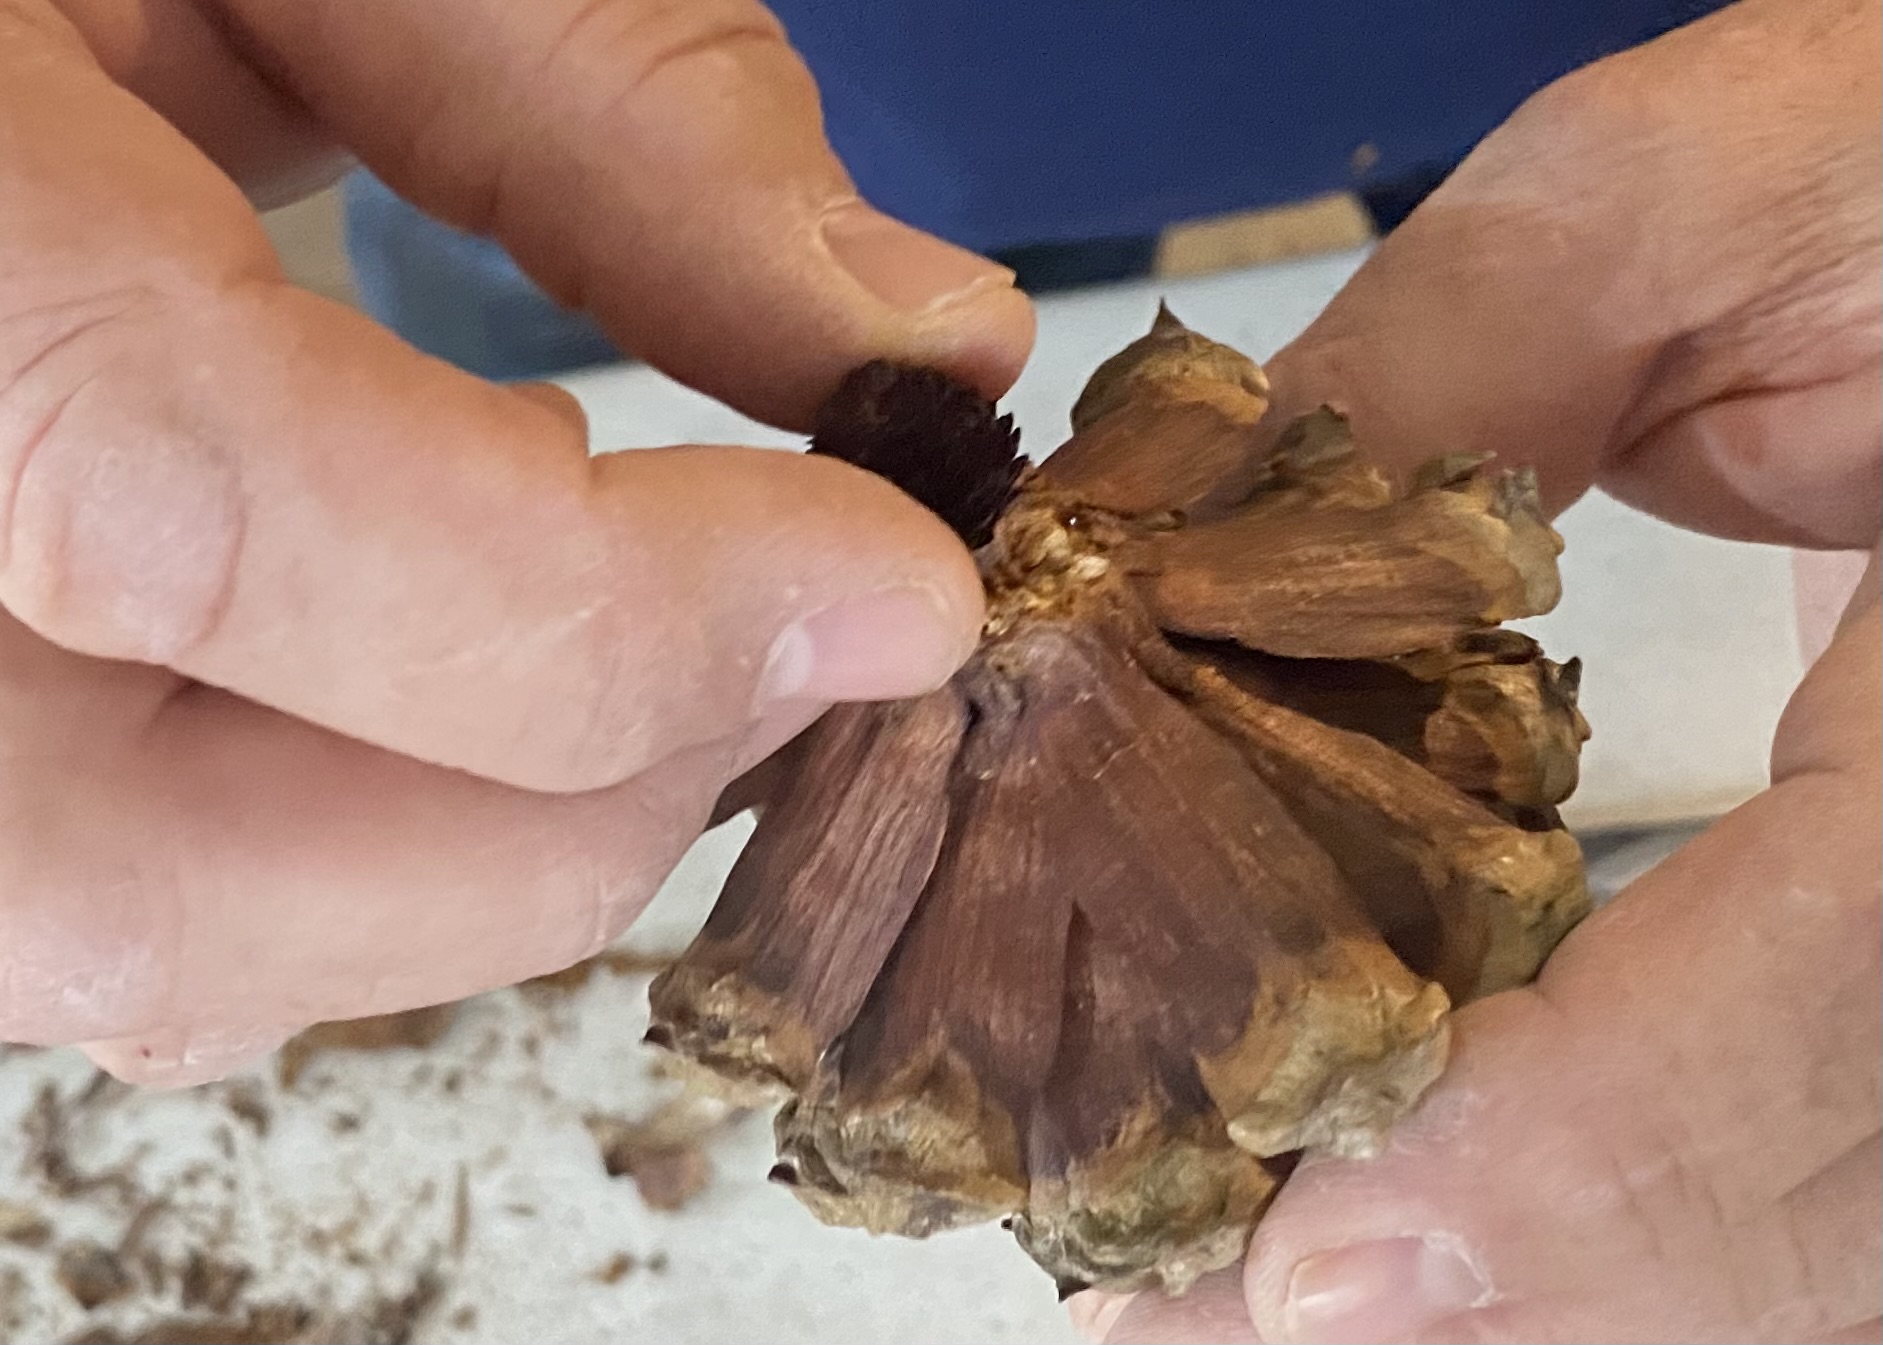
Here is the AFTER photo:

You can imagine my astonishment when I found the cotton had fully disappeared! Only the polycotton seams and waistband remained.

What is Soil Health?

Healthy soil is dark and crumbly, is full of nutrients, and has macroorganisms you can see like earthworms and insects, and billions of microorganisms (aka microbes) like bacteria and fungi that can only be seen under a microscope. These organisms feast on organic material like mulched leaves, grass clippings, dead plants, food scraps from the compost bucket, and sometimes buried cotton undies. Microbes rule the soil. They constantly break down organic matter creating a biological environment that allows for the absorption of nutrients by a plant’s roots. Microbial activity helps make soil porous and better able to retain water, air, and nutrients. 

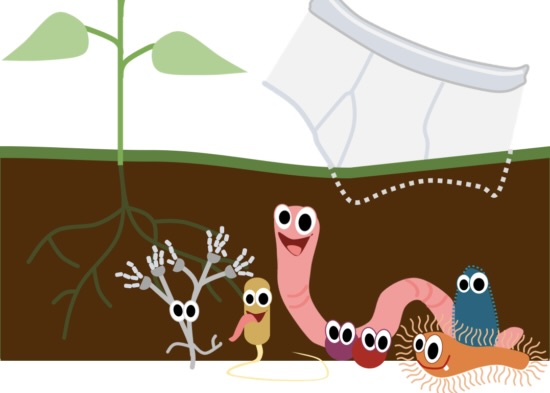
The Soil Your Undies Challenge was created by a group of Oregon farmers as a way to build public awareness of how farming practices such as tillage affect soil health. Tillage disturbs soil microbes. The no-till strategy allows organisms to do their work to create more nutrient-dense soil and keeps sequestered carbon in the ground, which is healthier for the environment. Carbon that is released into the atmosphere contributes to climate change.

Nashville’s version of the Challenge was coordinated by Jeff Barrie, CEO of the Tennessee Environmental Council, and Dr. Chris Vanags, a soil scientist in the ASCEND Initiative at Vanderbilt University. They aim to help people make informed decisions when purchasing lawn and garden products like insecticides and herbicides or when performing common land management practices like mowing a lawn perhaps too frequently or tilling a garden bed.

Methodology

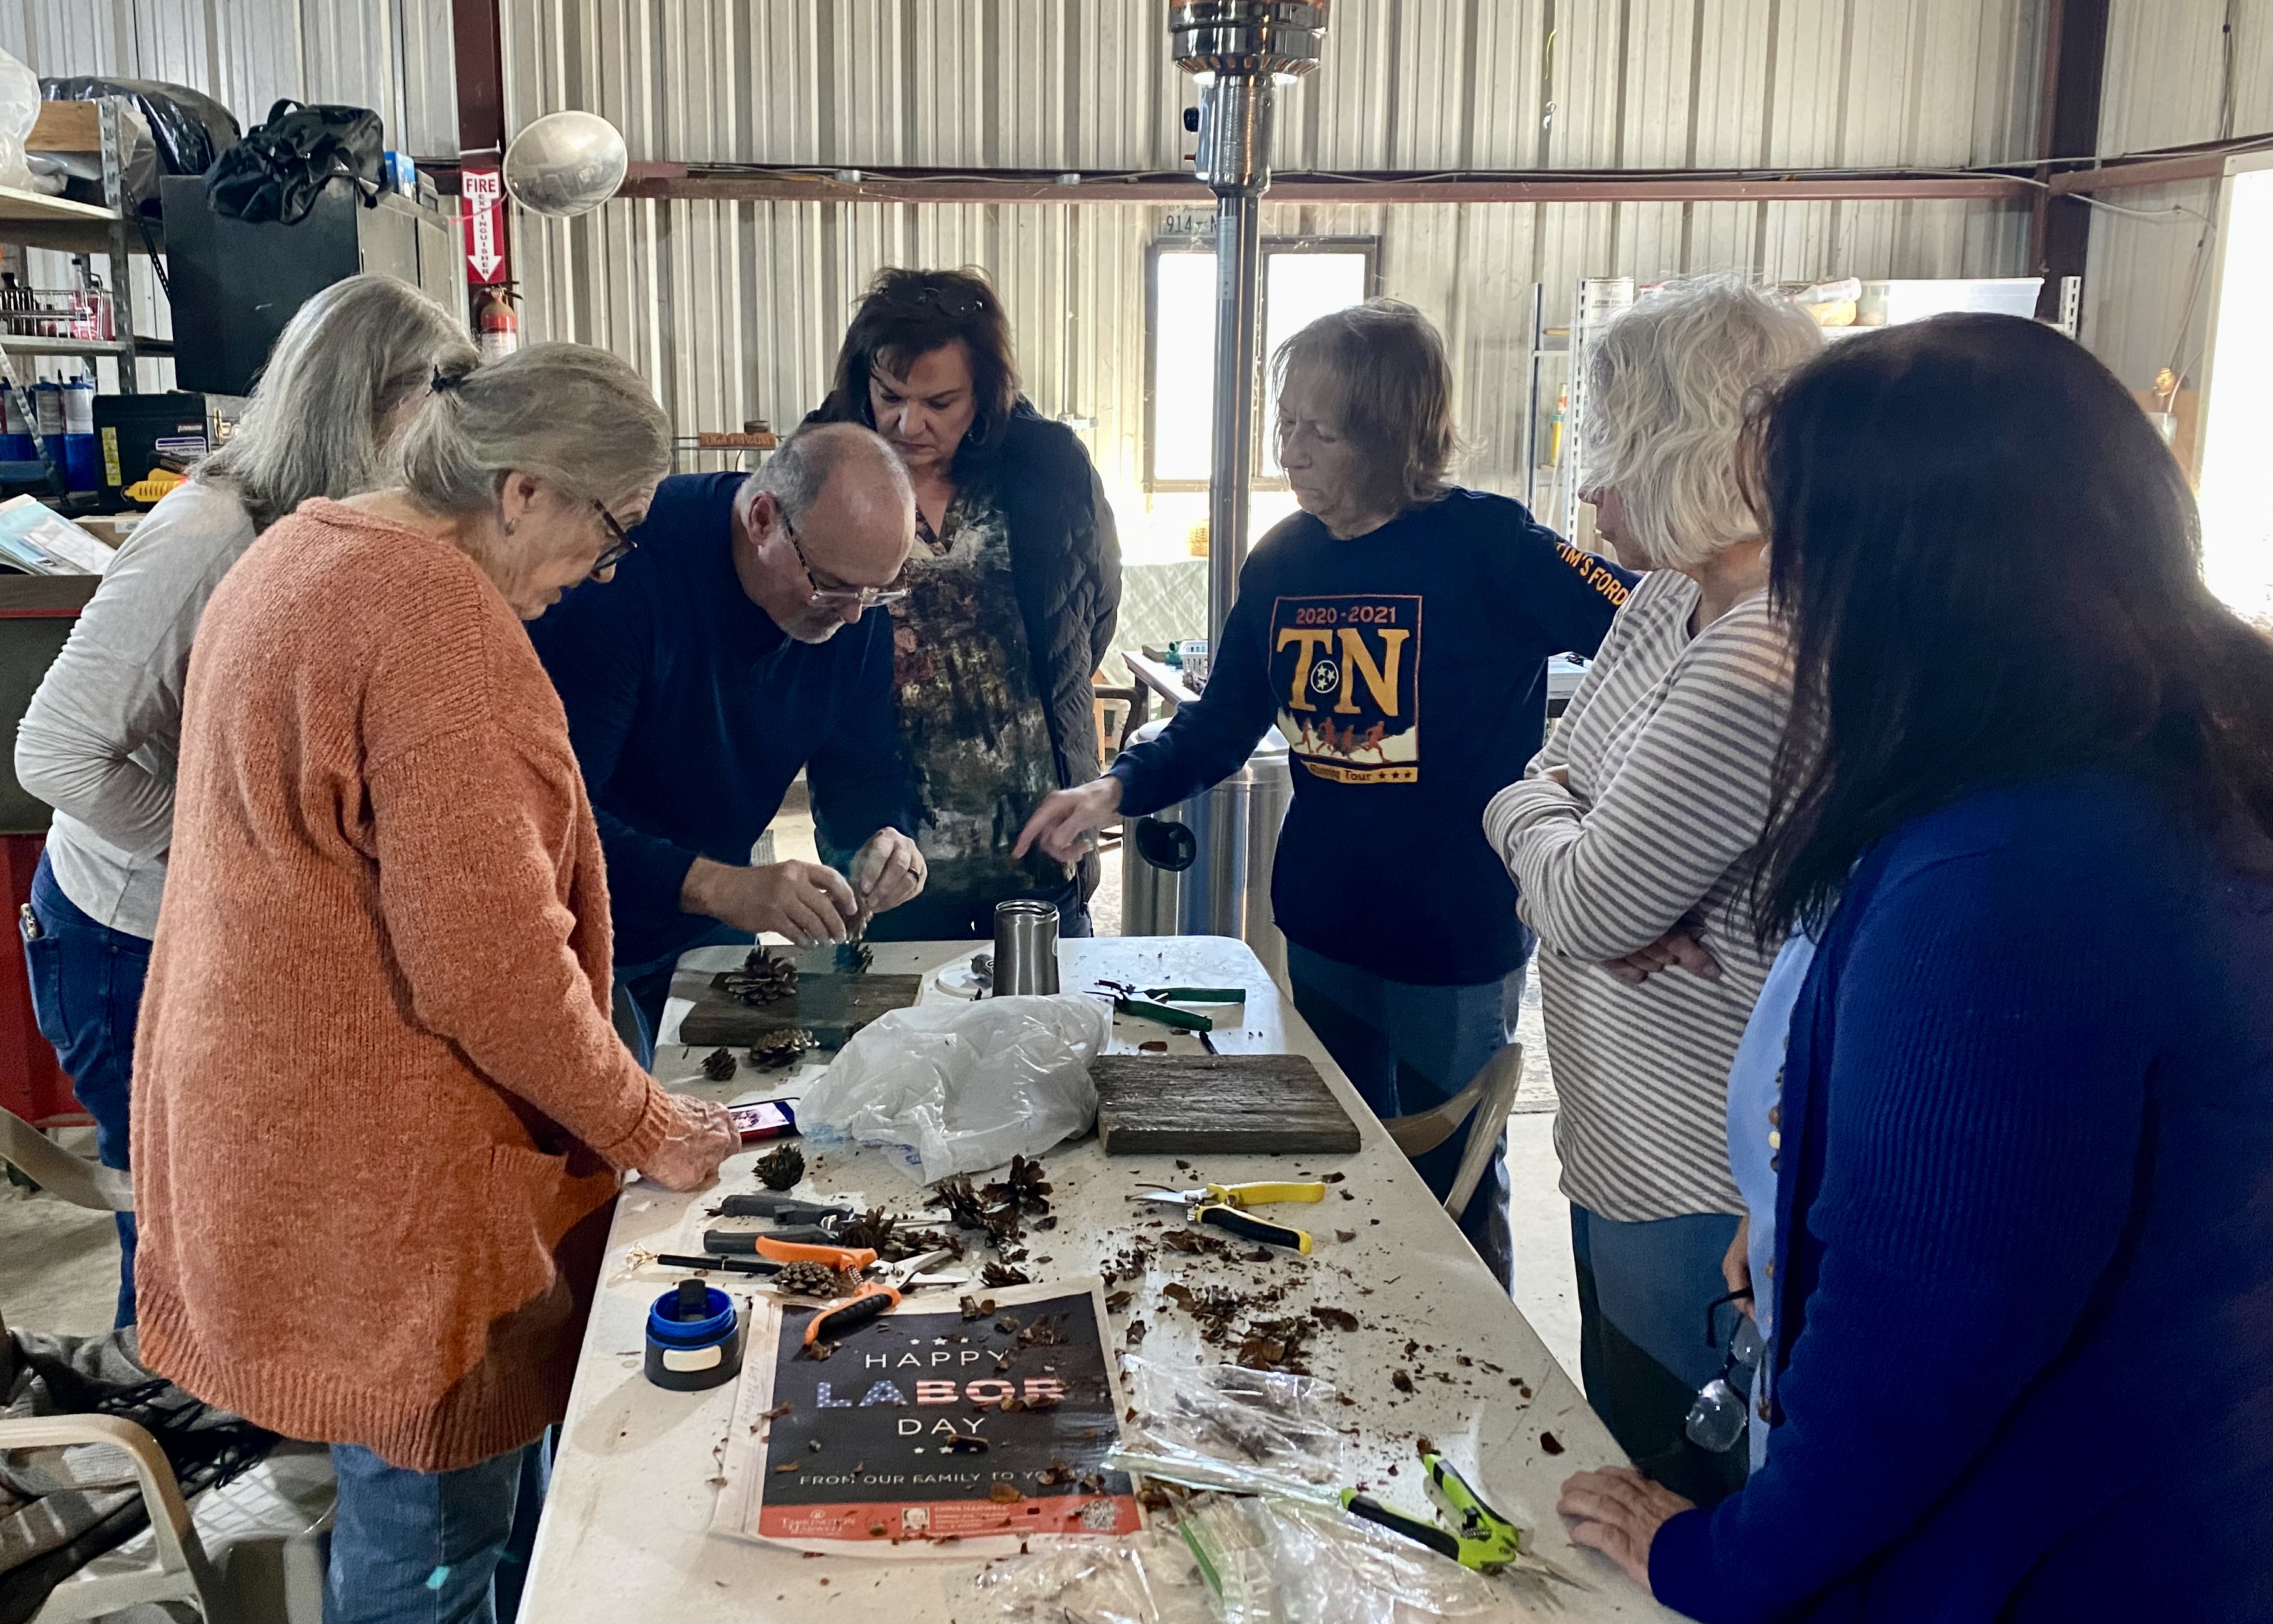
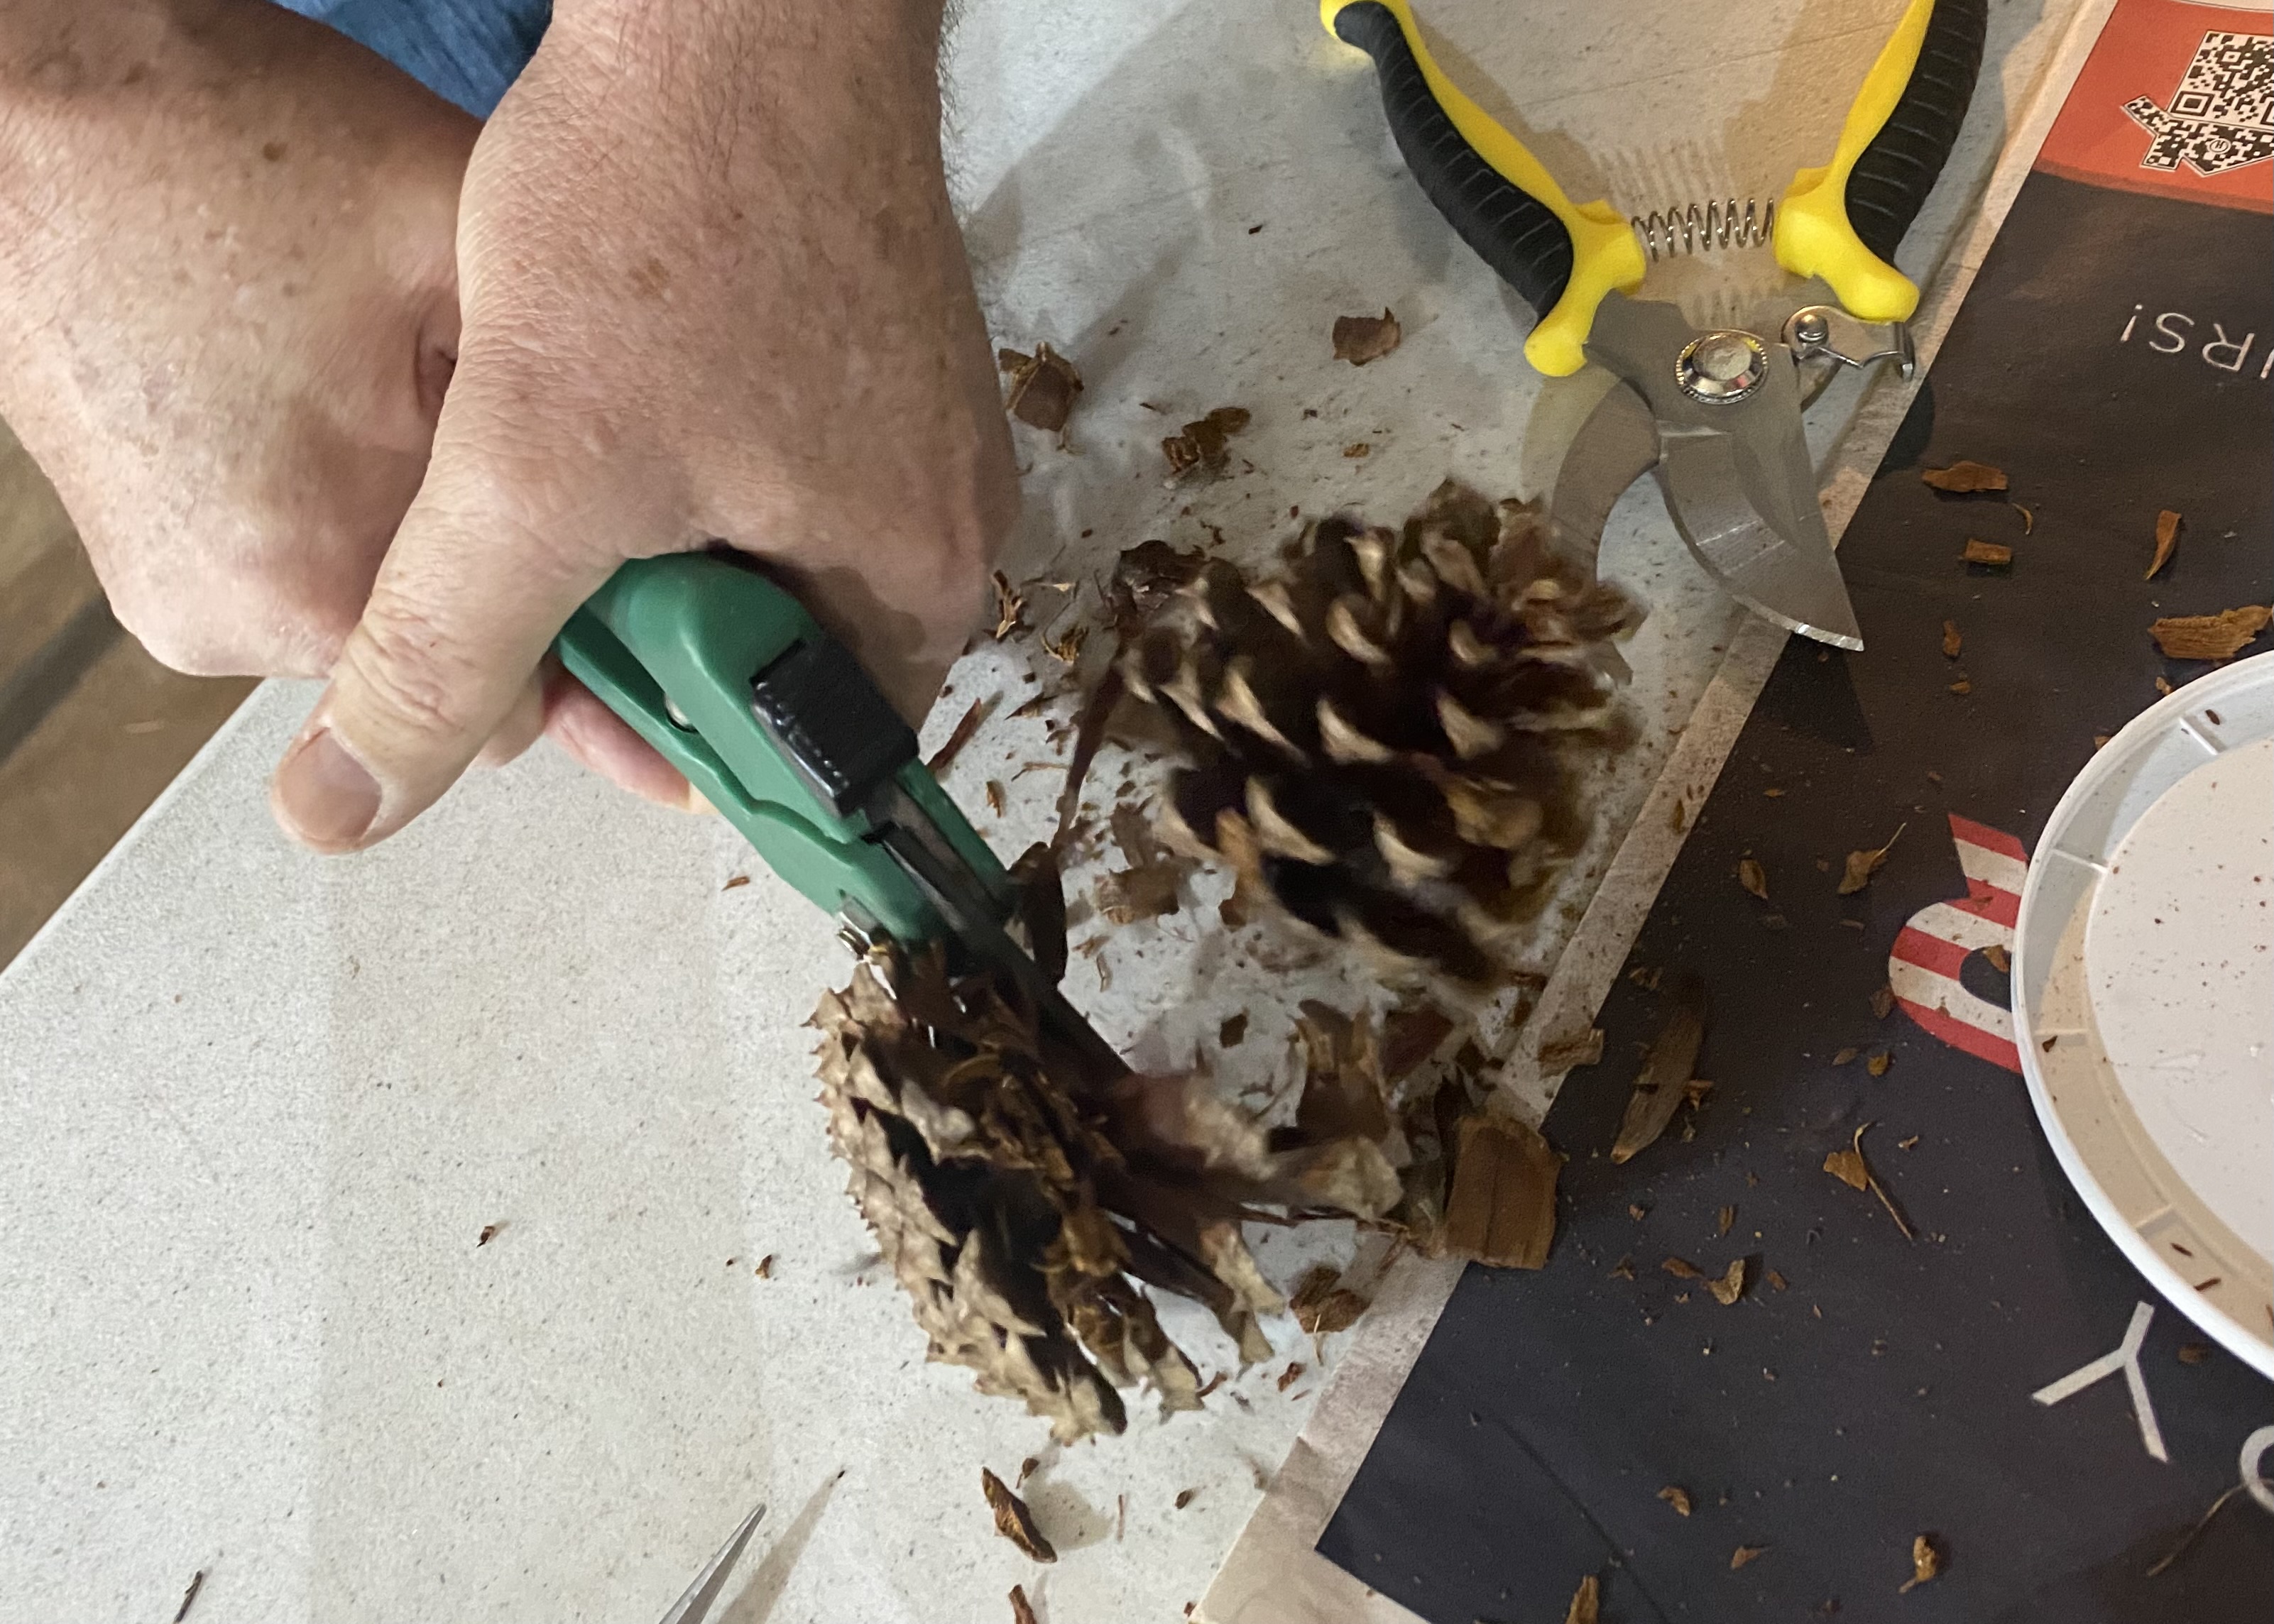
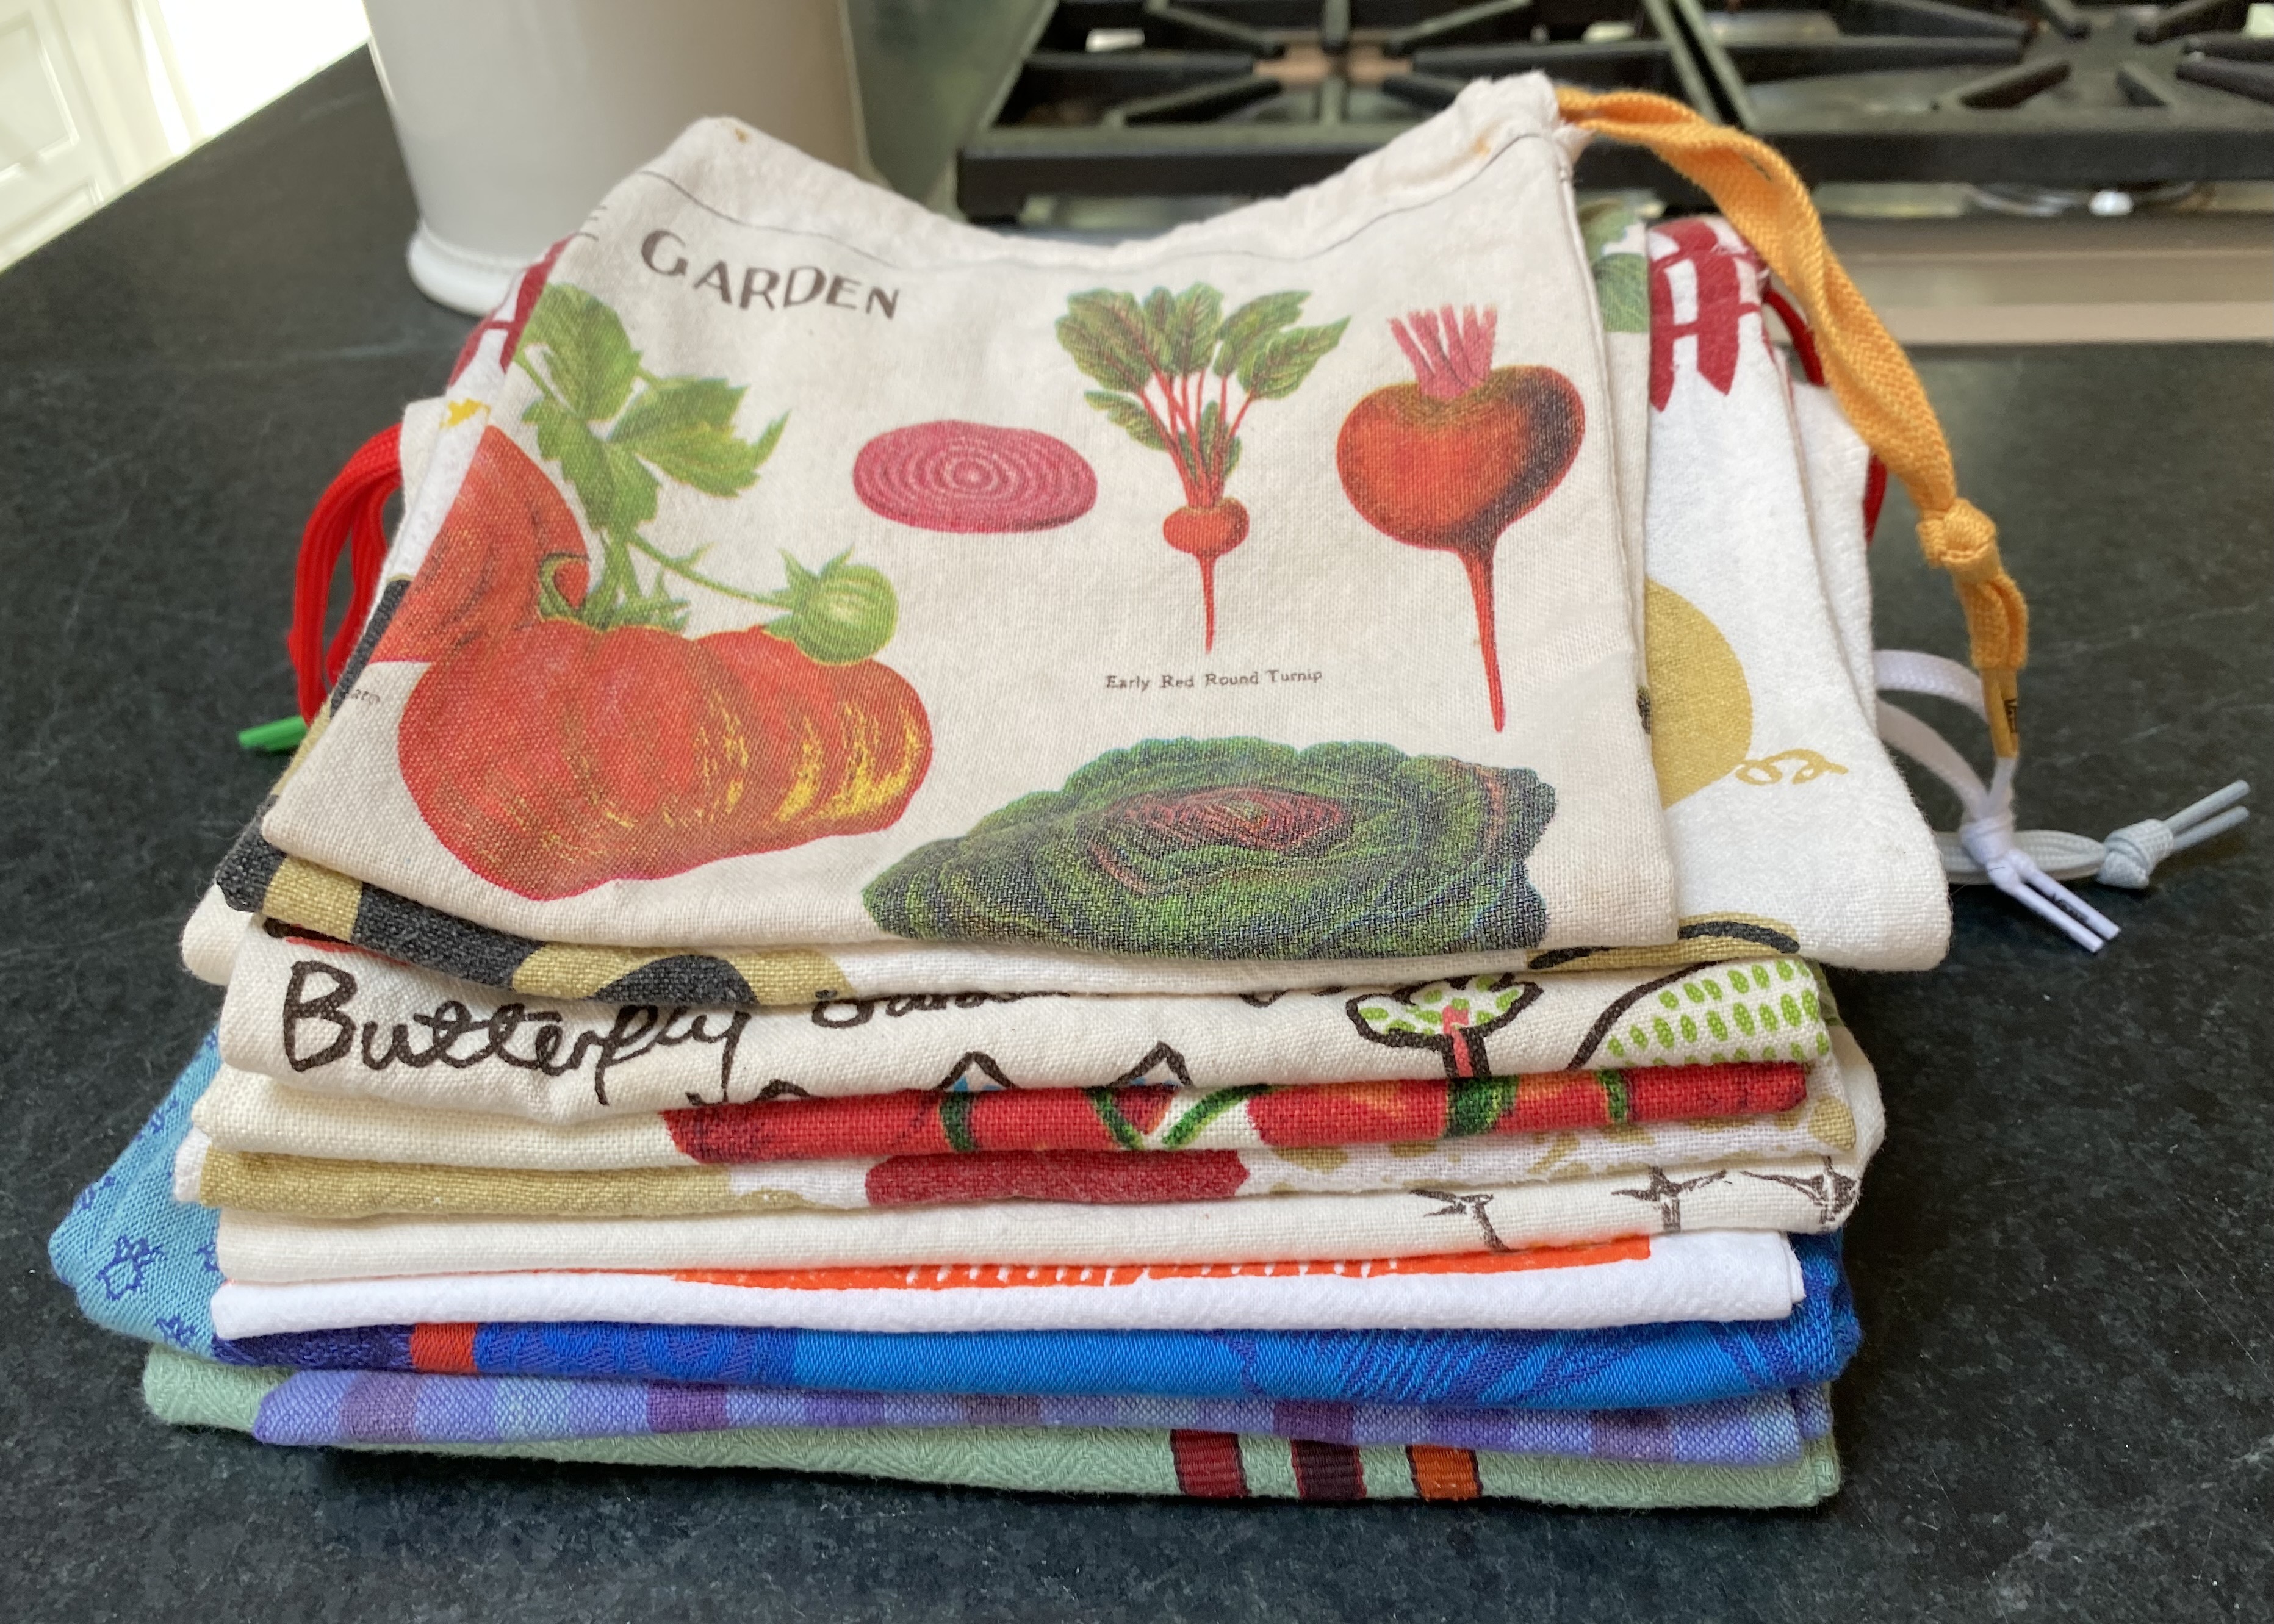
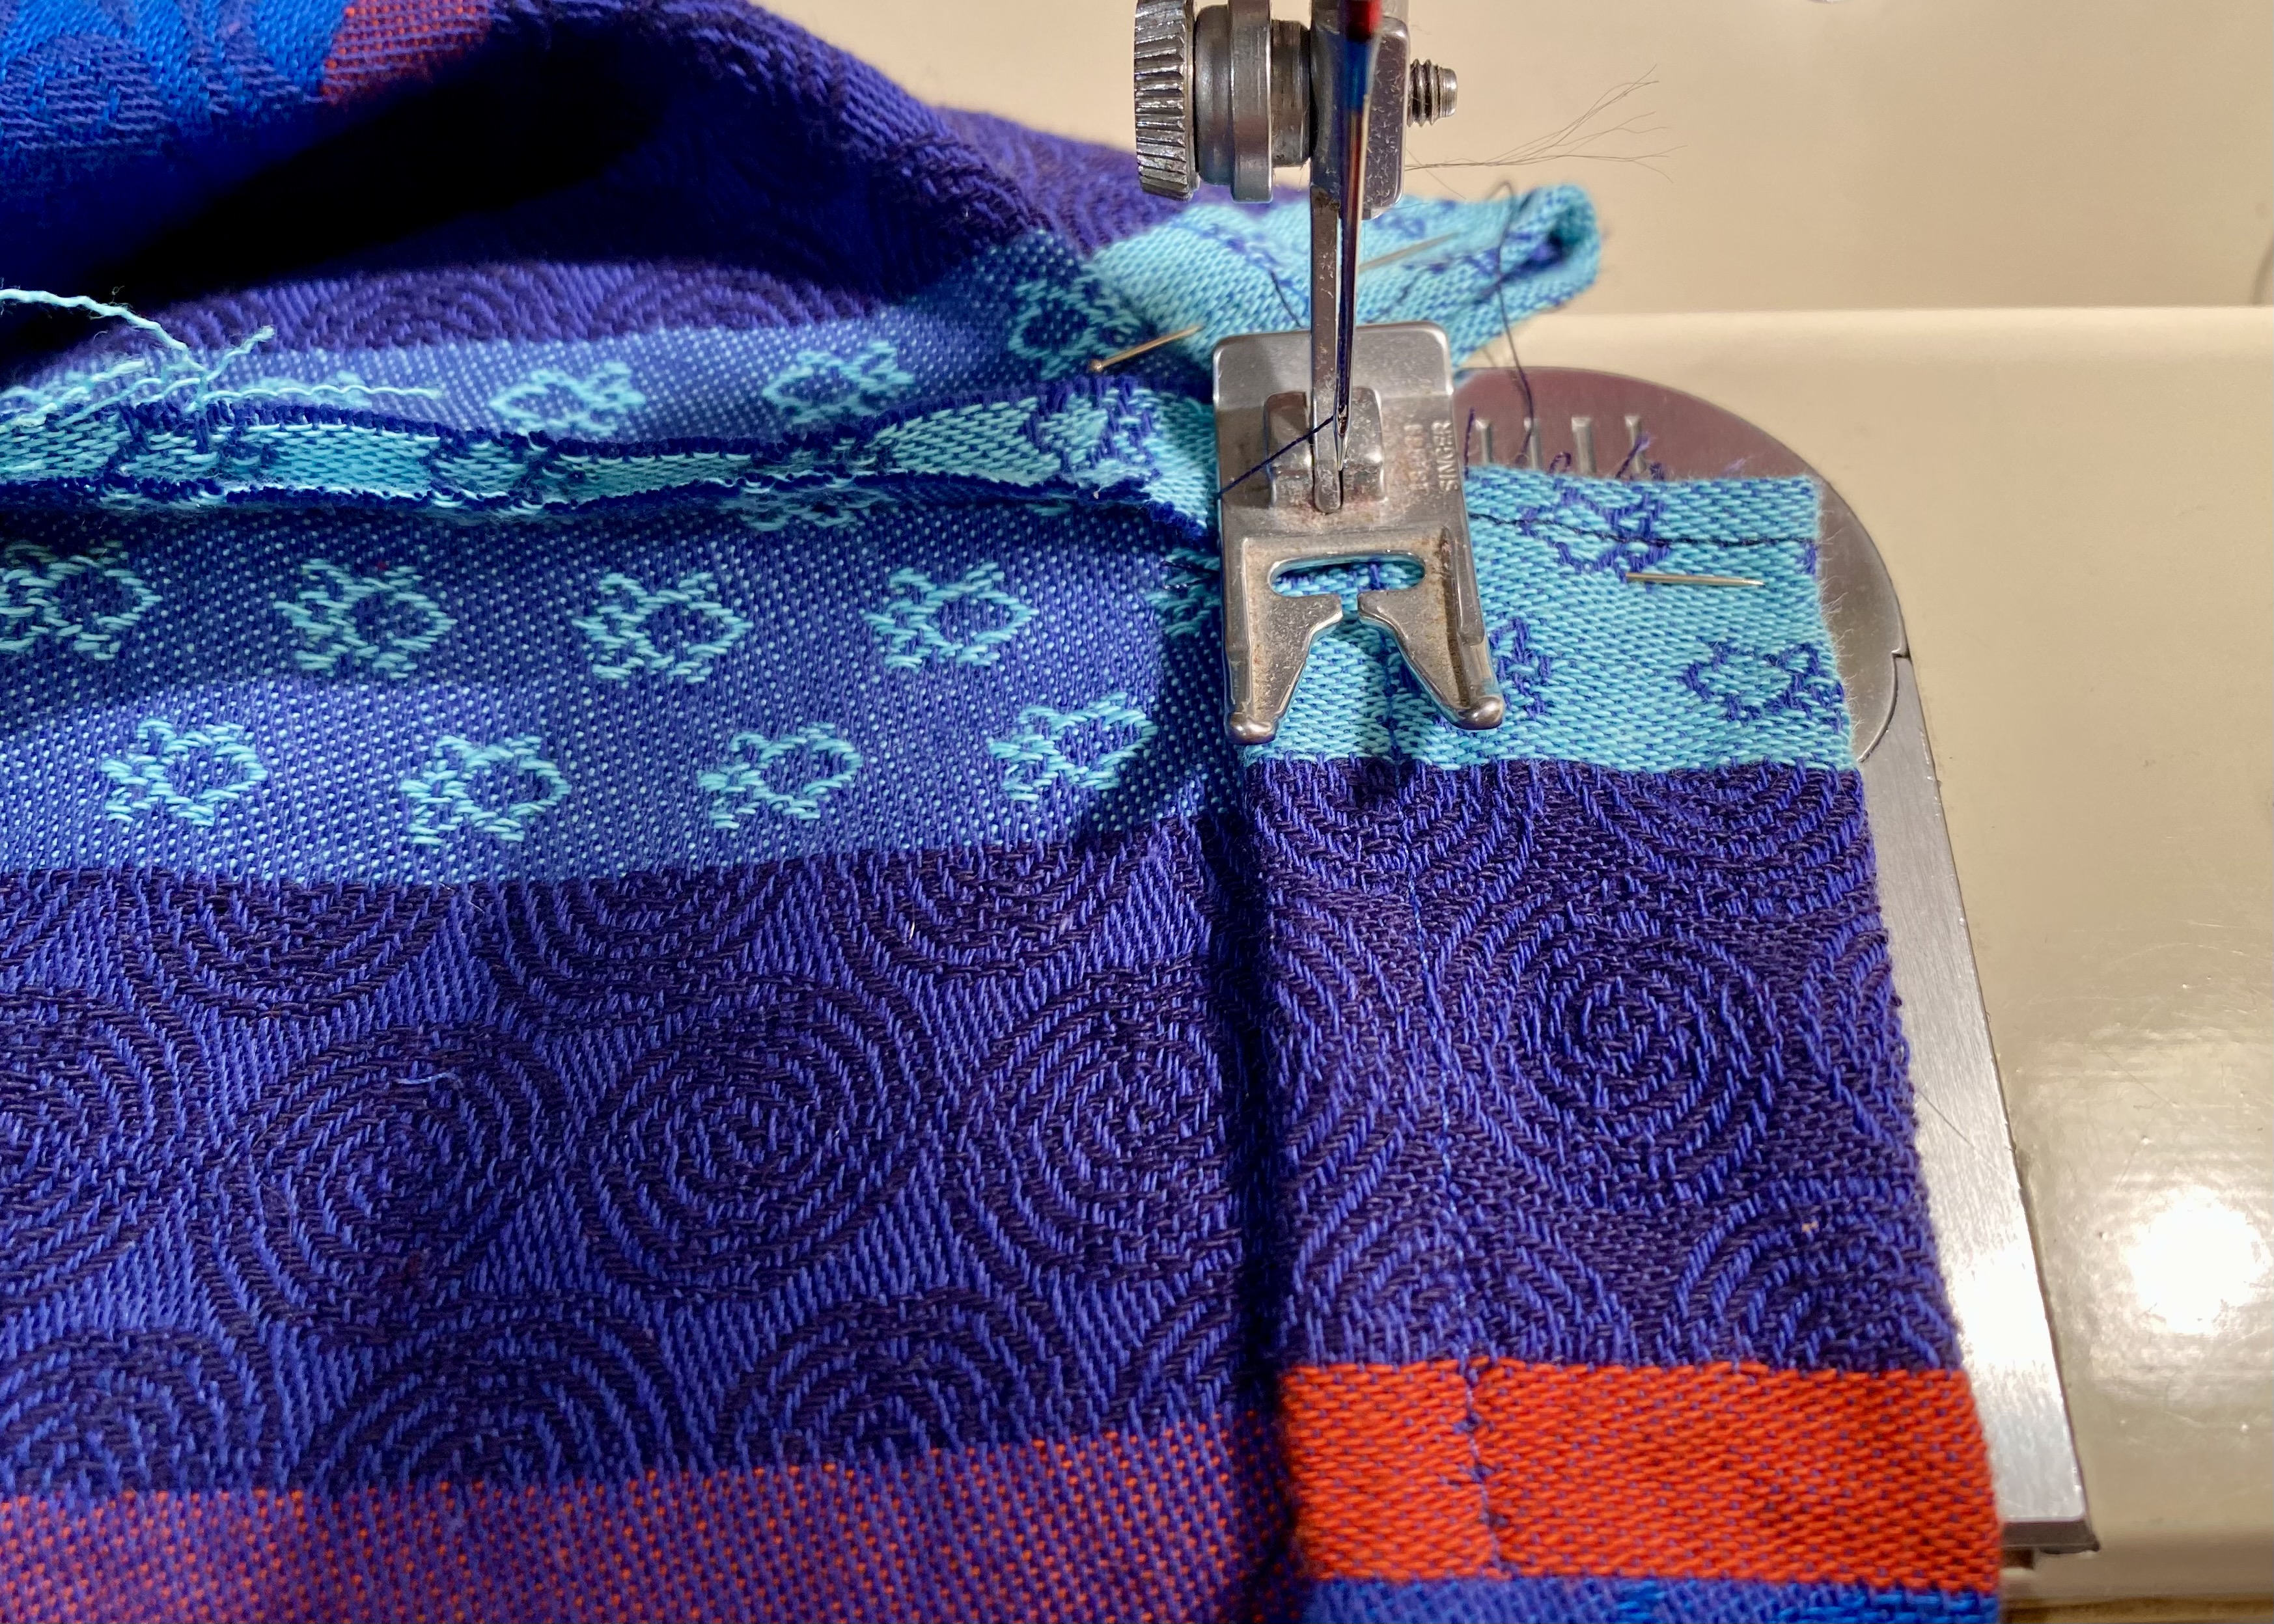
For standardized data comparisons, the coordinators mailed participants the same-size briefs and a video link on how to plant them. We planted undies vertically with the waistband exposed so we could locate them two months later. We mailed before and after photos to the researchers.

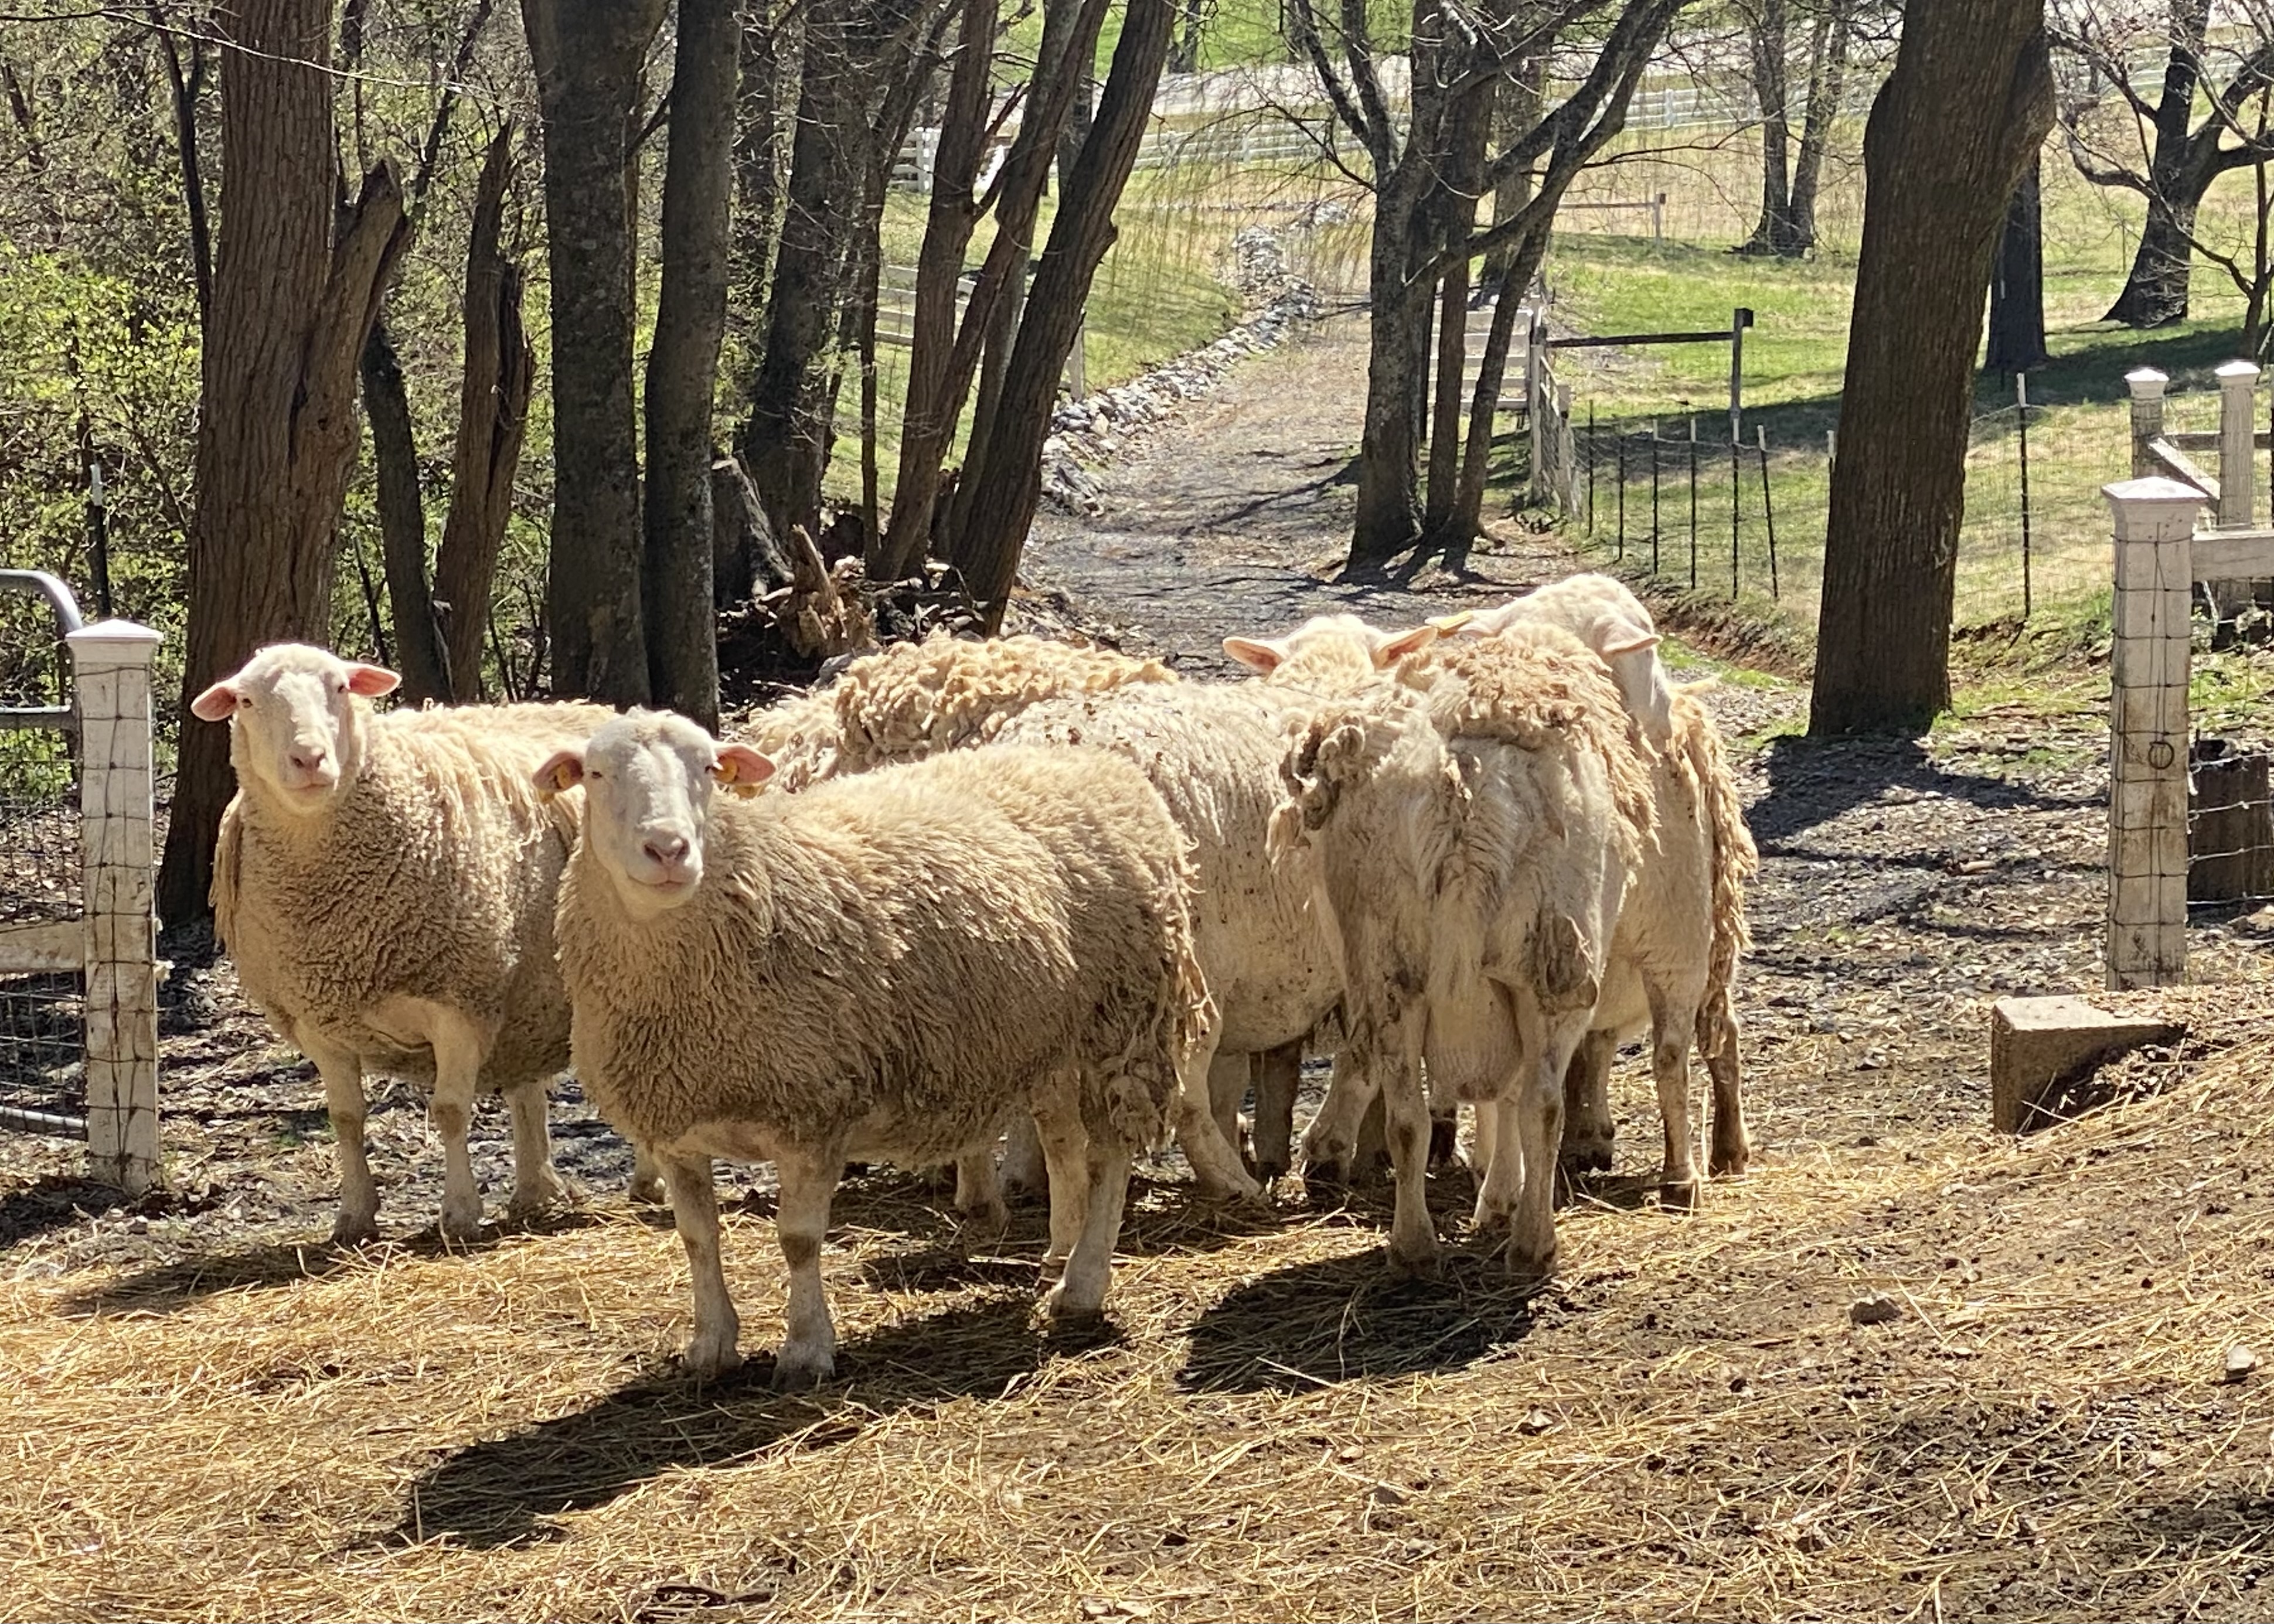
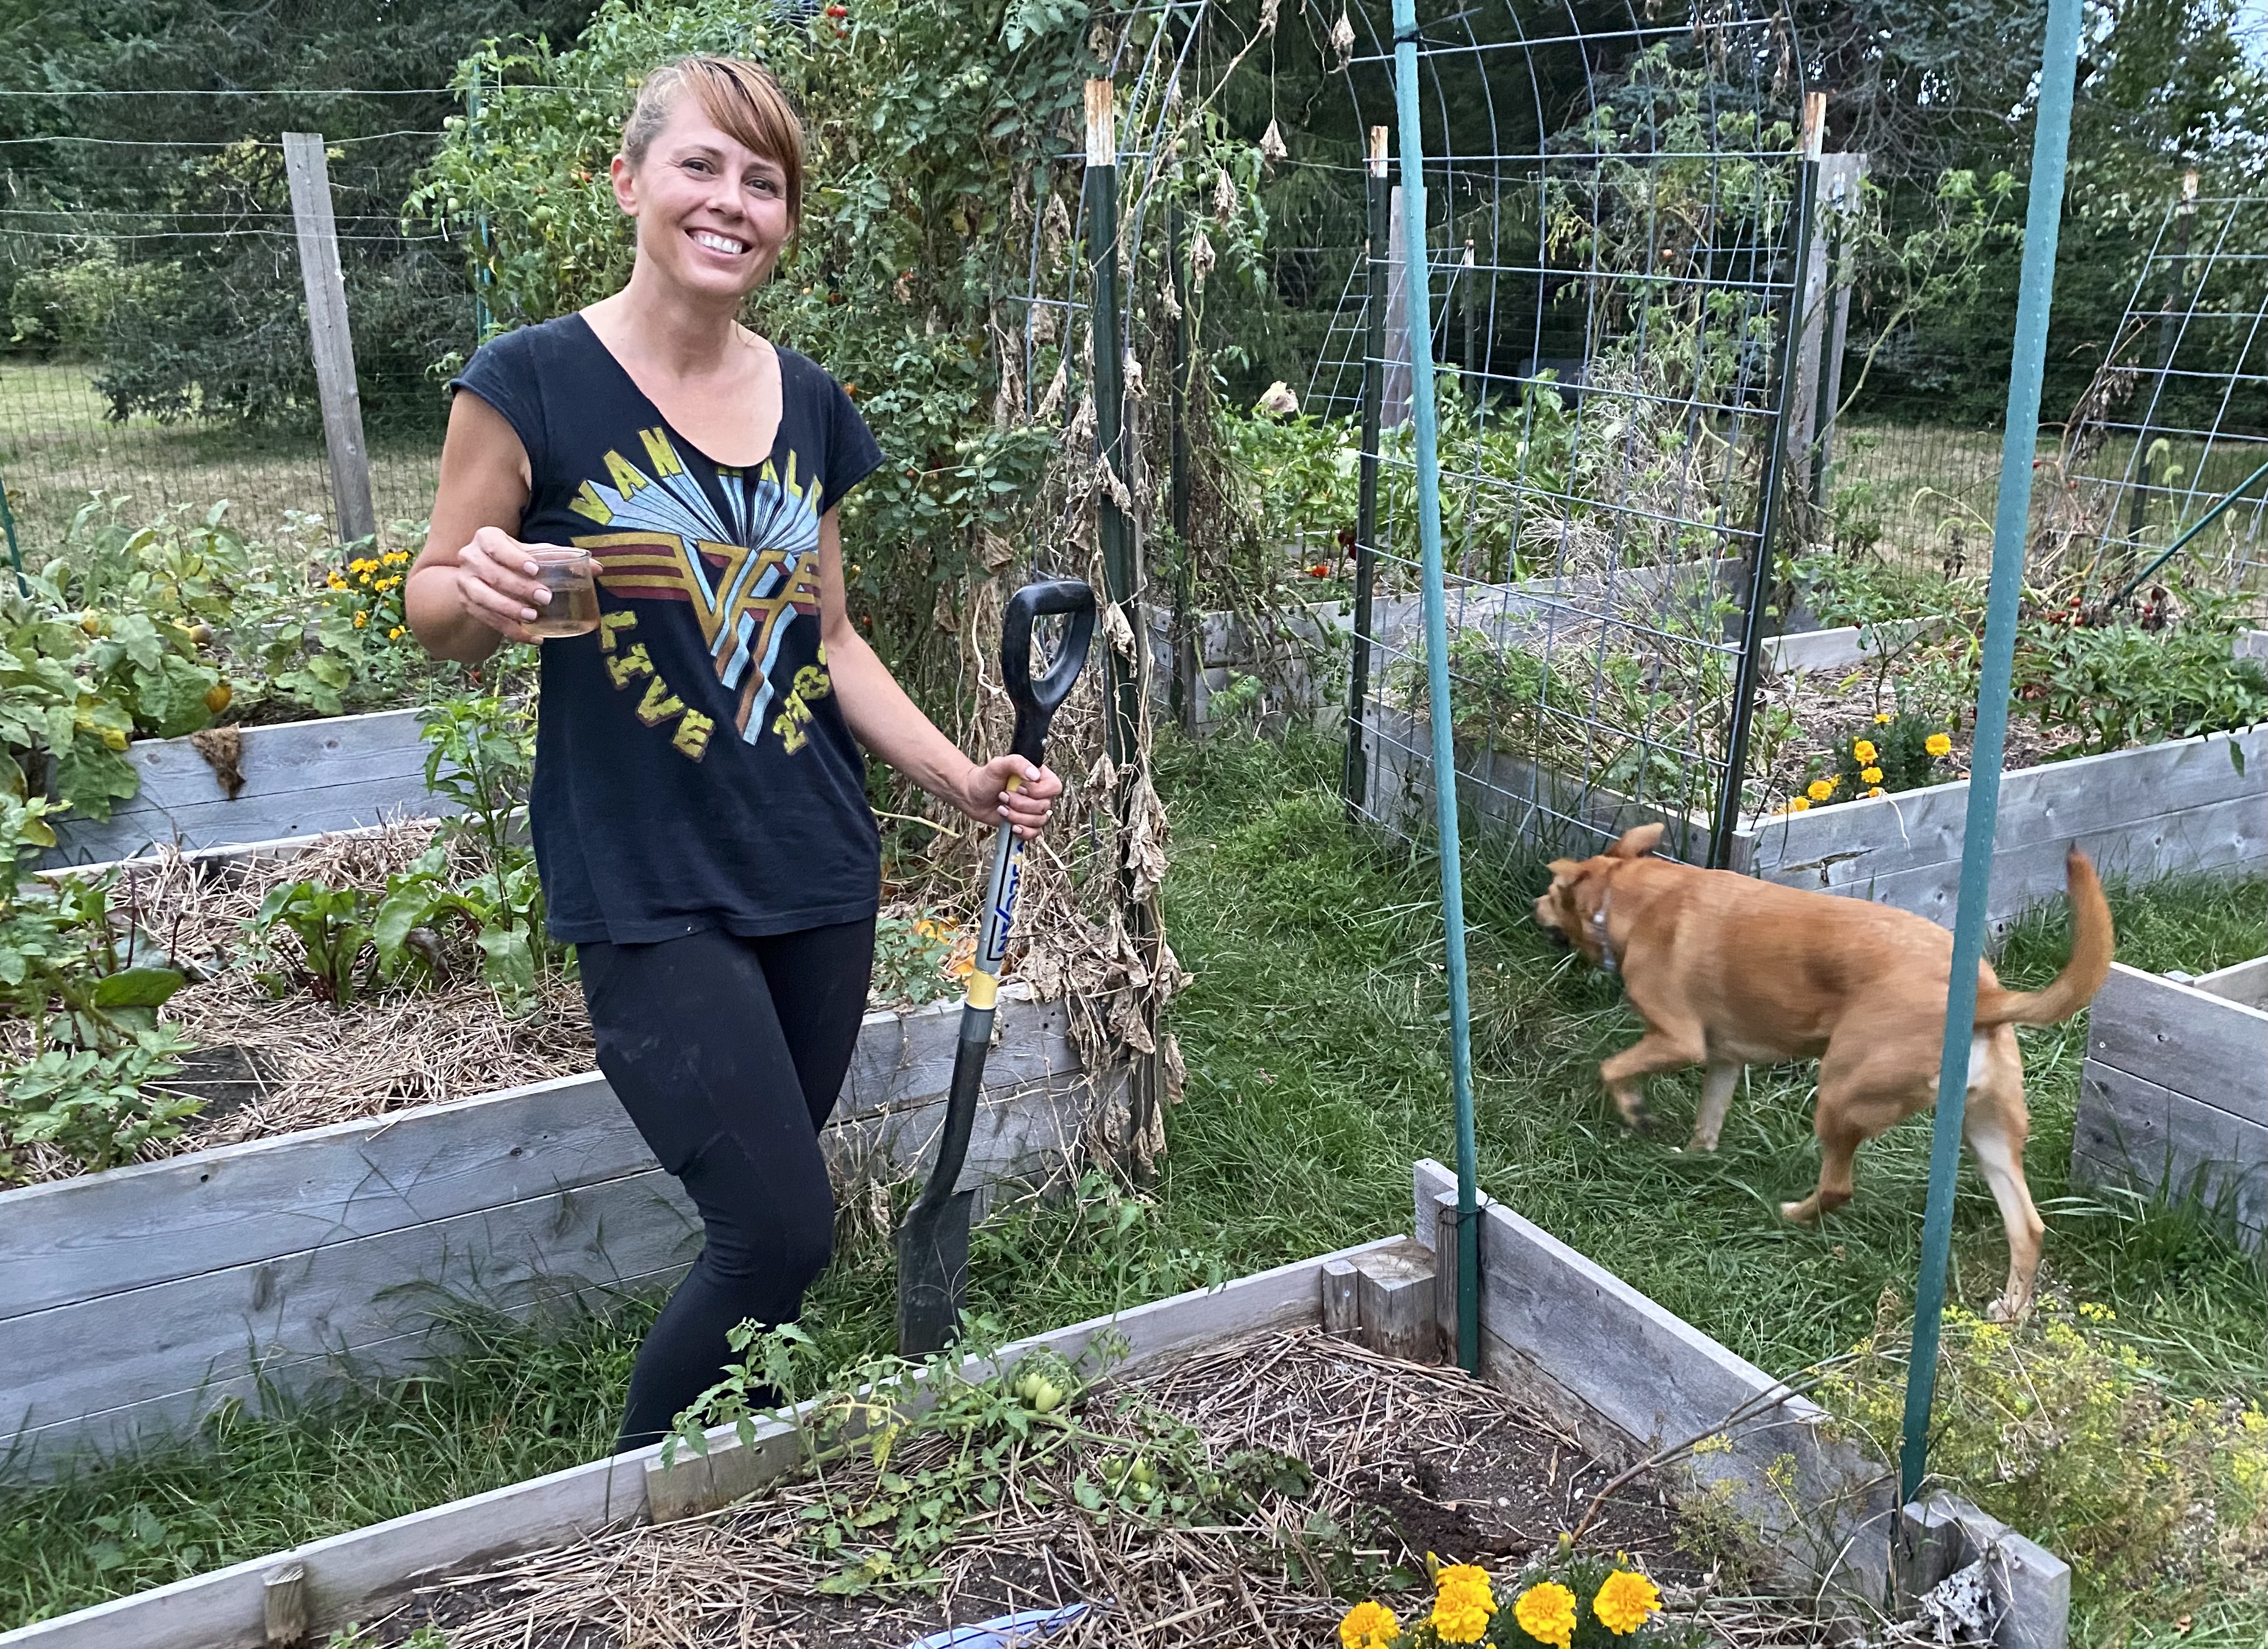
Below are photos of my adorable sister-in-law, Lesley, modeling for me how to plant undies. She and my brother started their raised beds with logs, sticks, and plant debris, a type of gardening known as hugelkultur. Their soil is gorgeous.

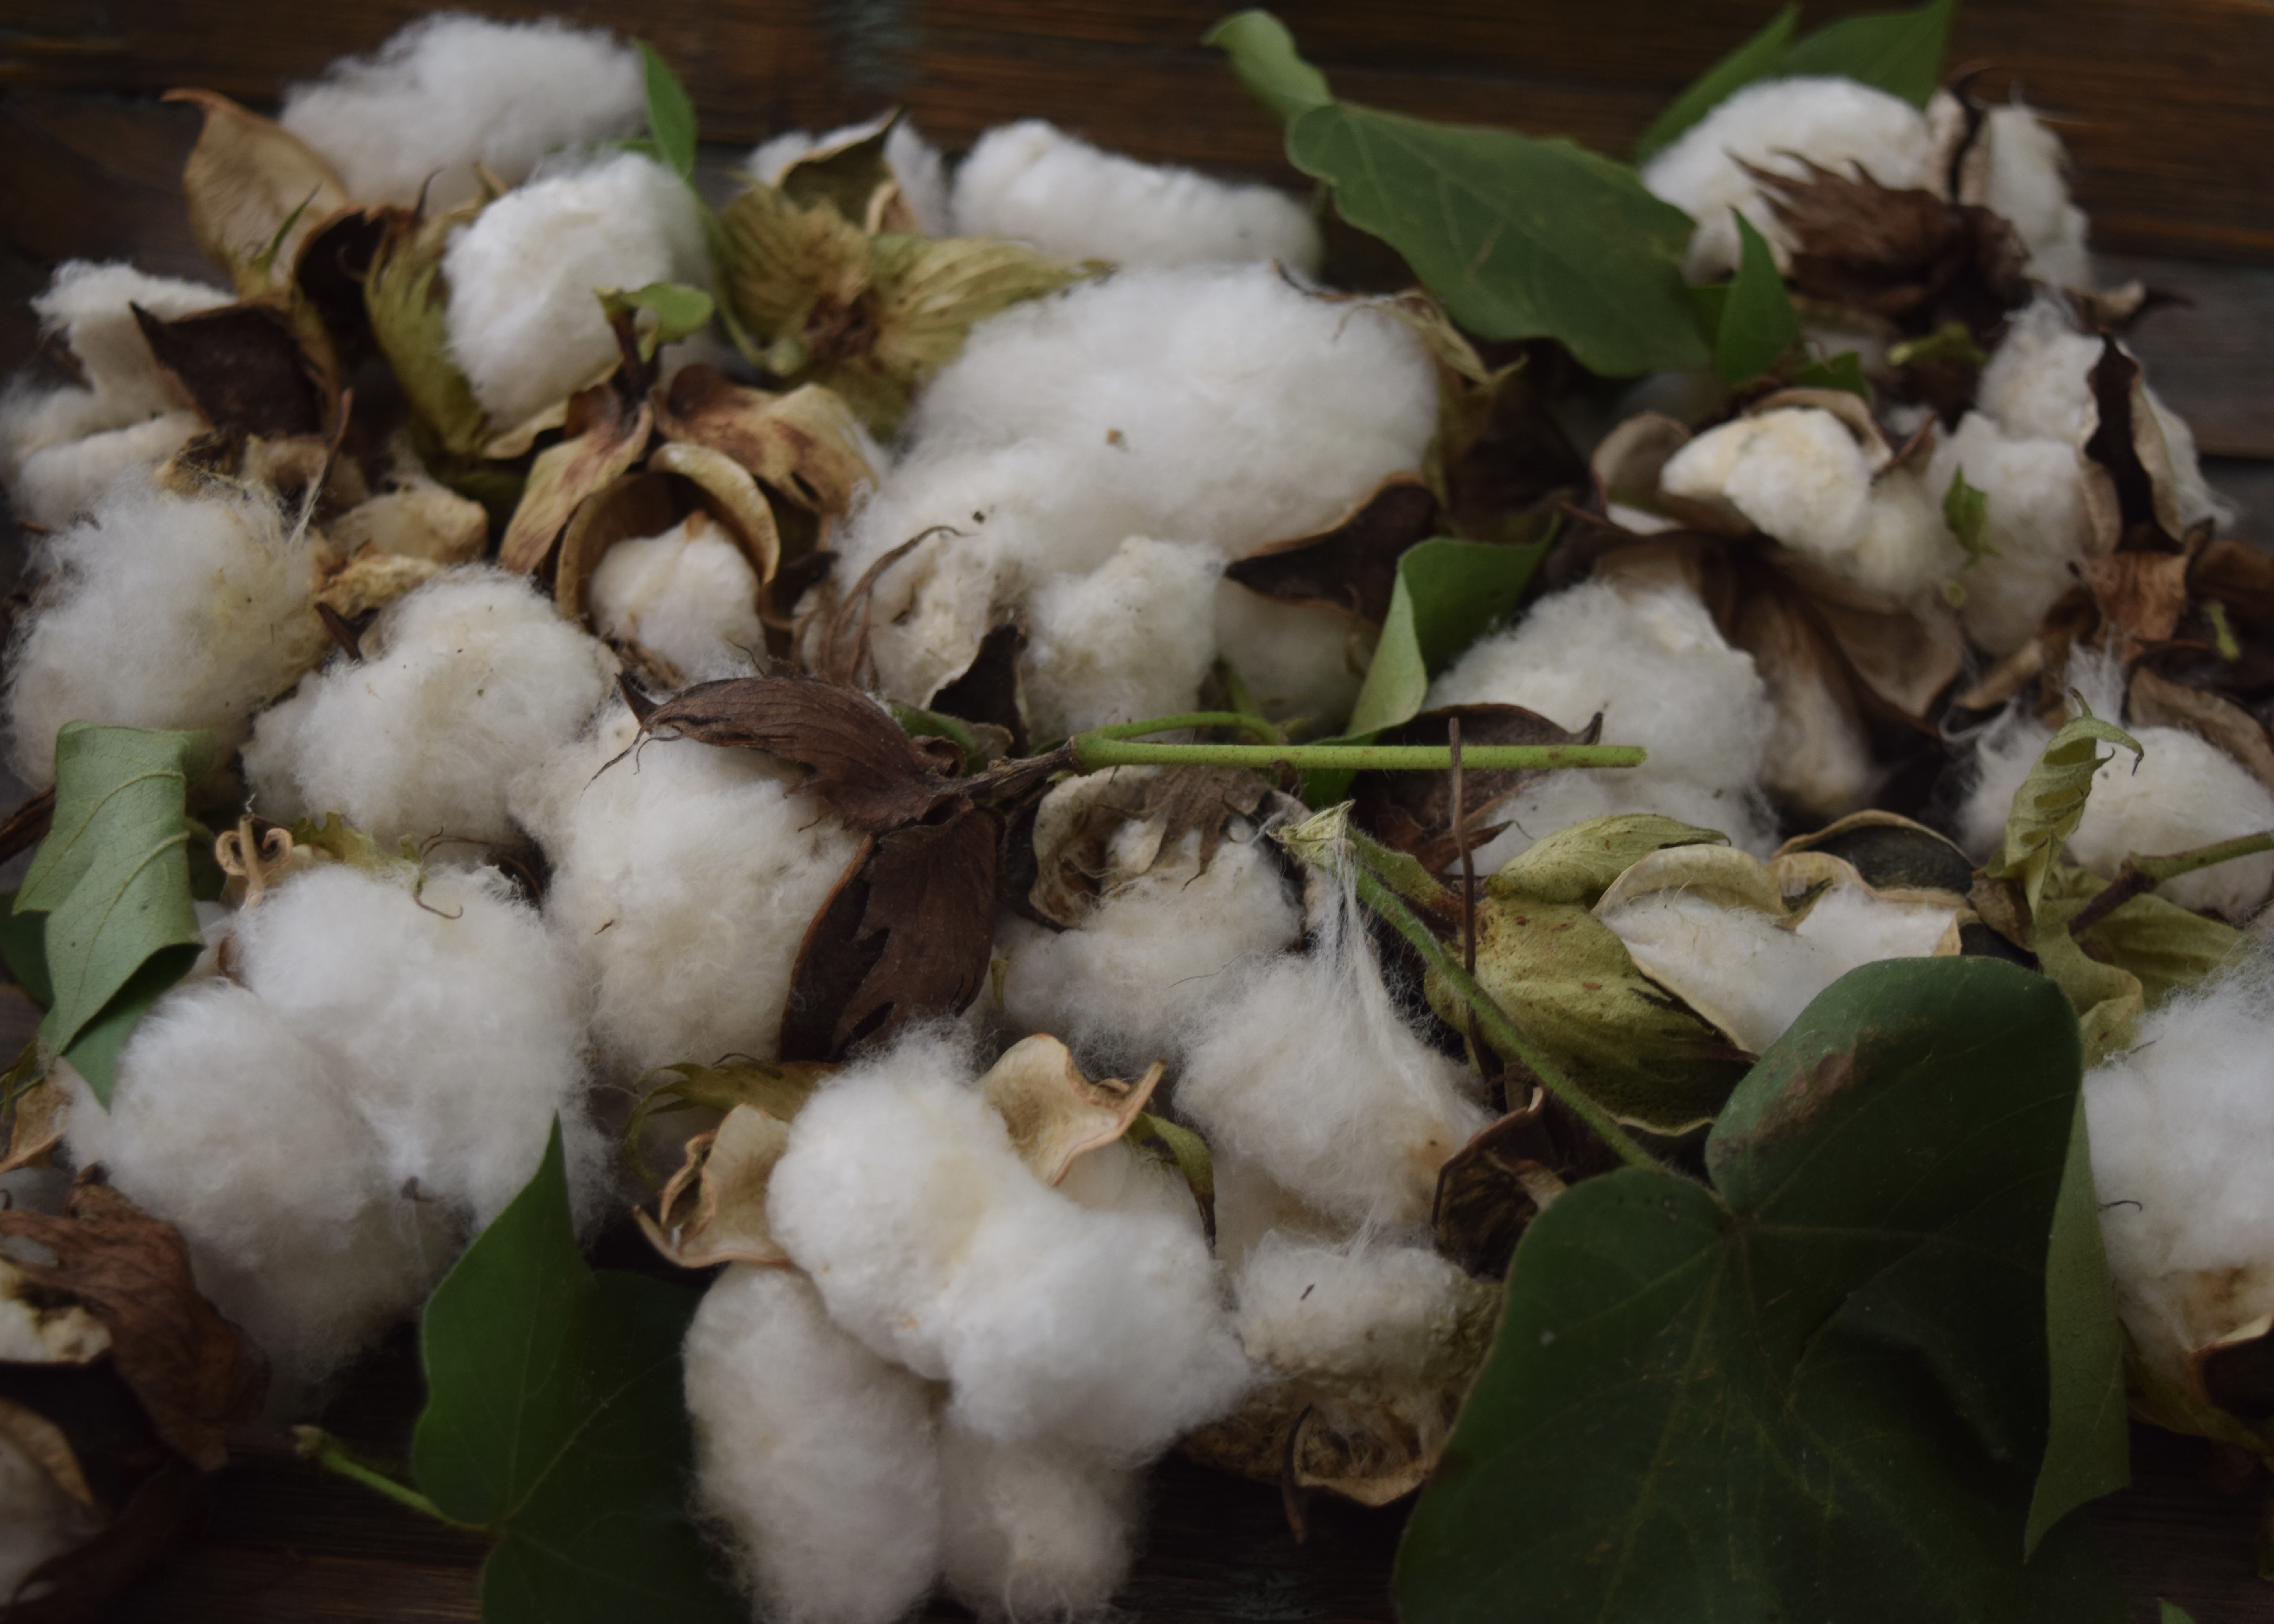
Why Use Cotton Fabric?

Cotton fibers are comprised of tens of thousands of seed hairs made of tasty carbohydrates (cellulose) that grow off of the seed coat. These hairs are present to facilitate wind dispersal of the seed for the purpose of reproduction.
 

Results

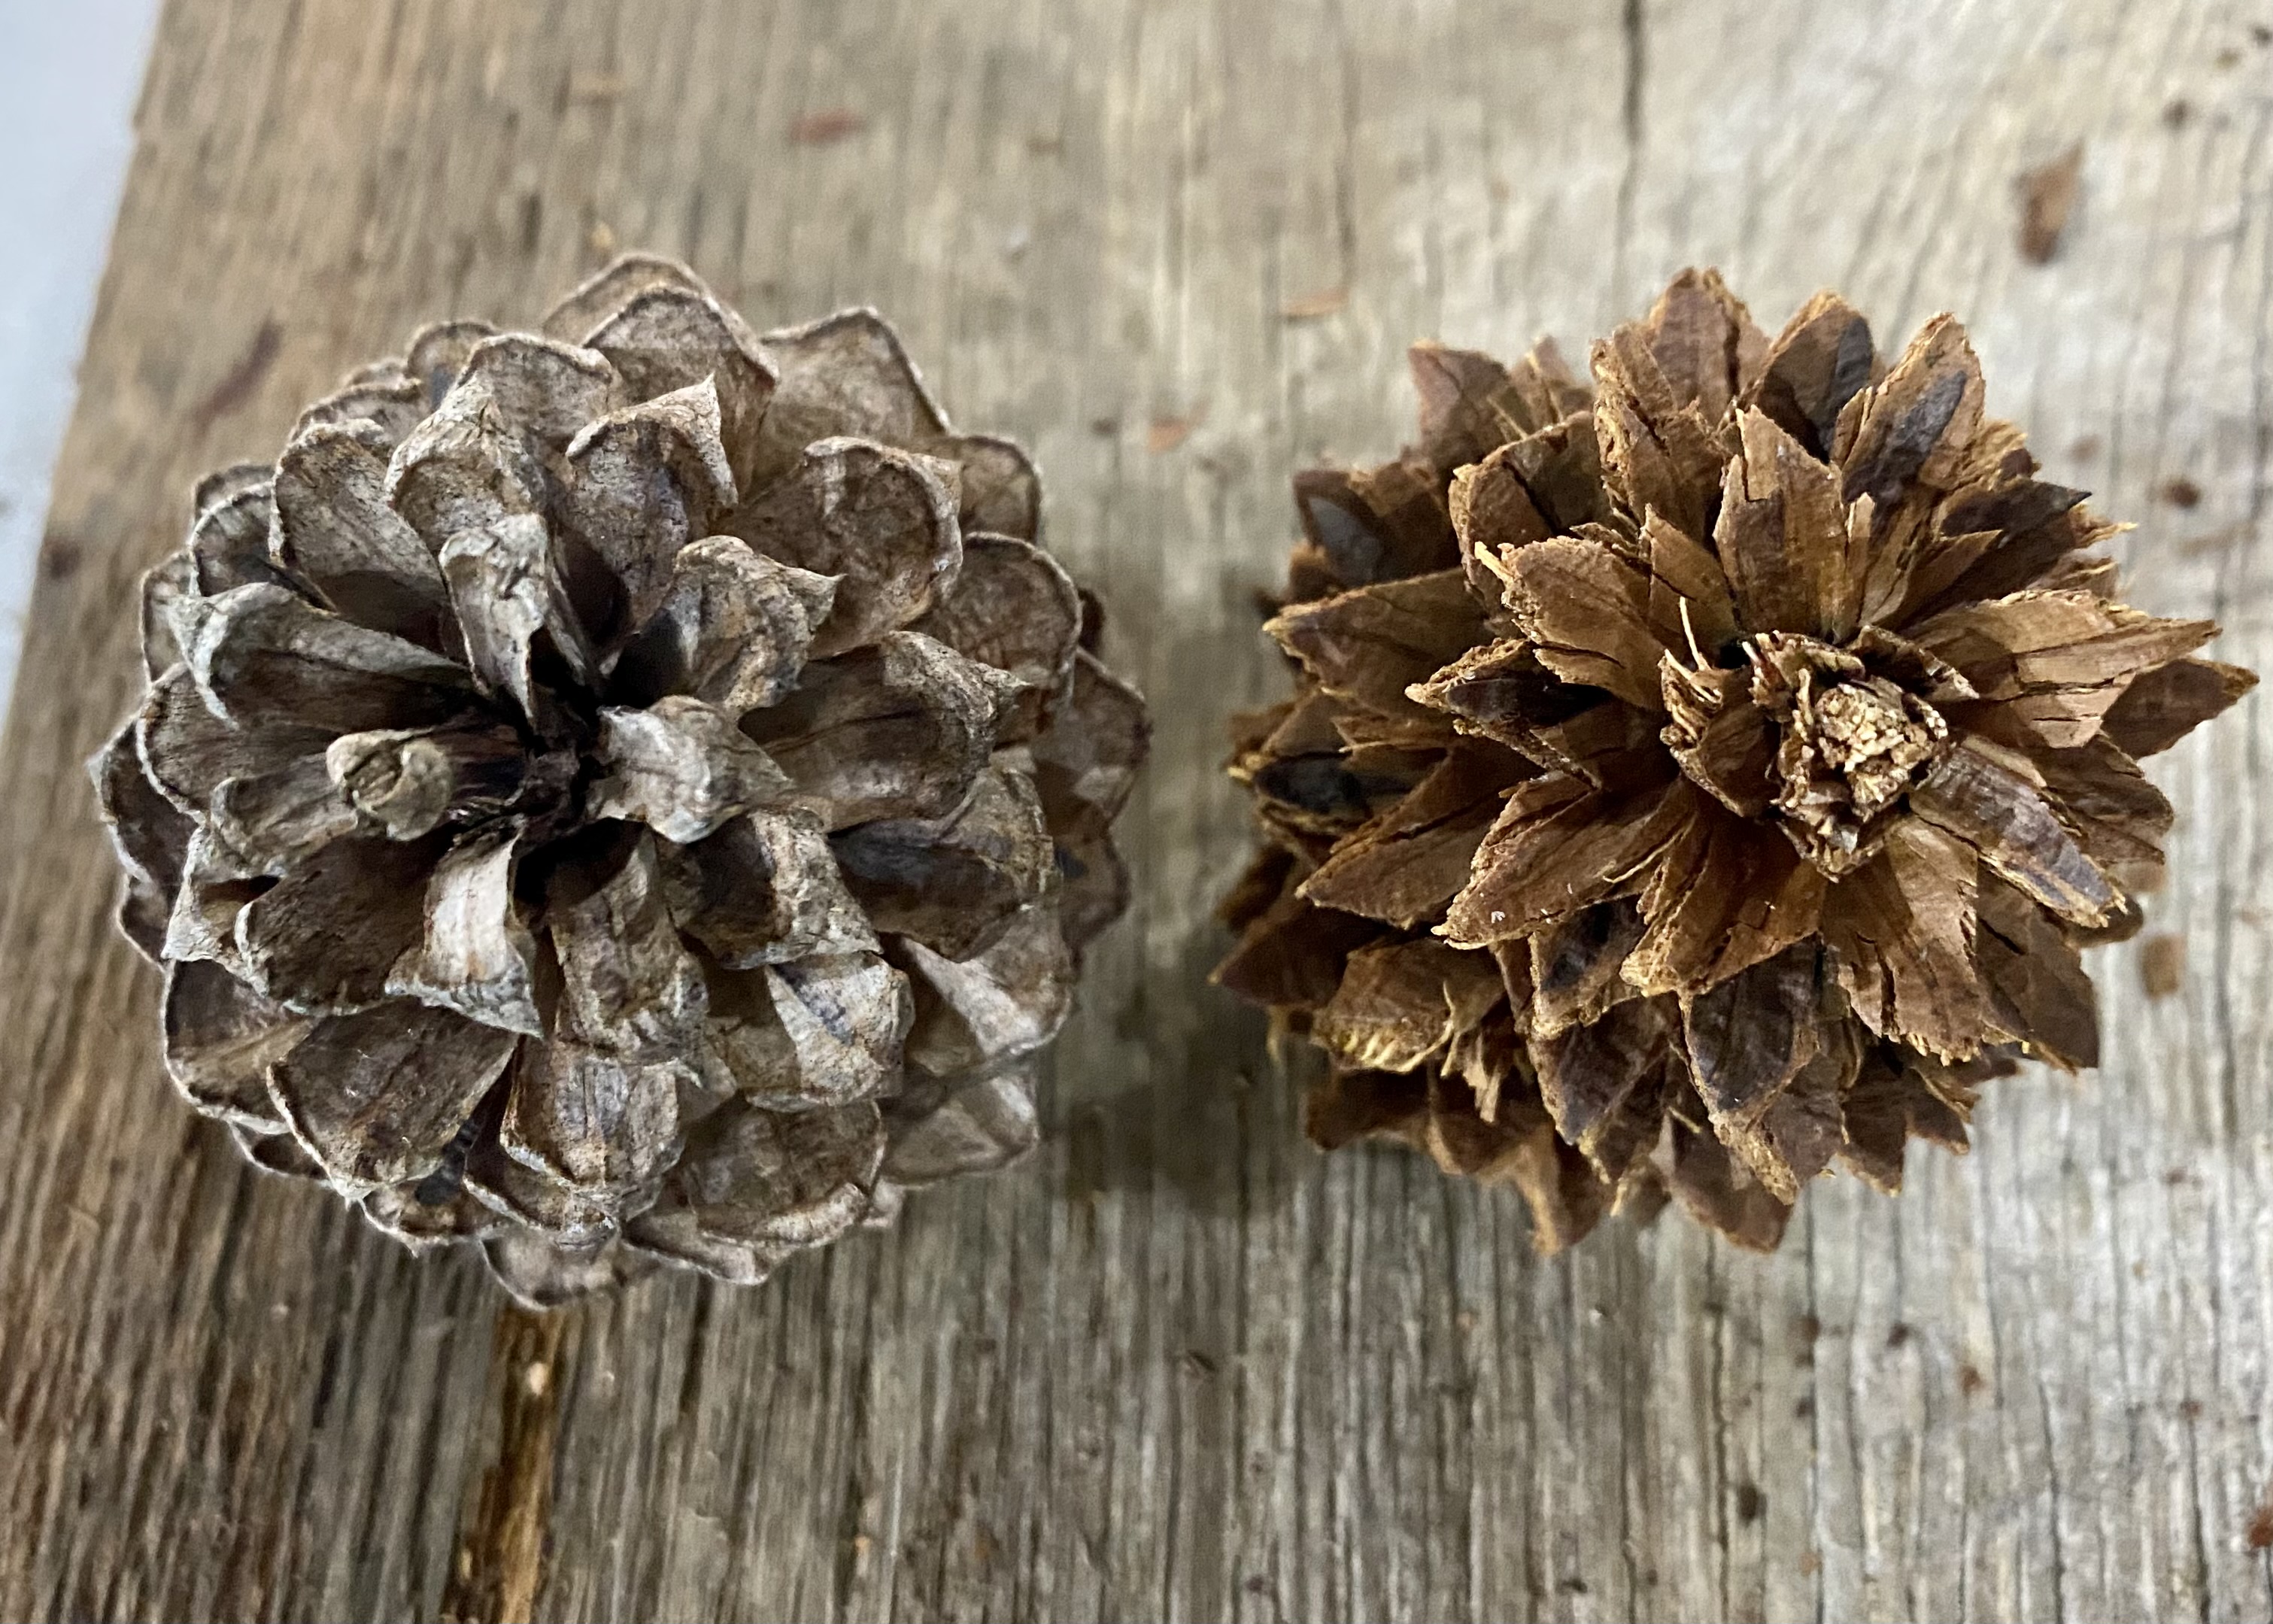
One week after we unearthed the undies and sent in our photos, we met the study coordinators, Jeff and Chris, in a Facebook Live presentation. They divided the 120 “after” pictures of undies into ten categories based on the degree of degradation.

I took this screenshot of the results. It turns out my undies fell in the number ten category. I’ll admit to a momentary feeling of pride in my hard work to keep my garden beds healthy.

Land management practices that contribute to soil health:

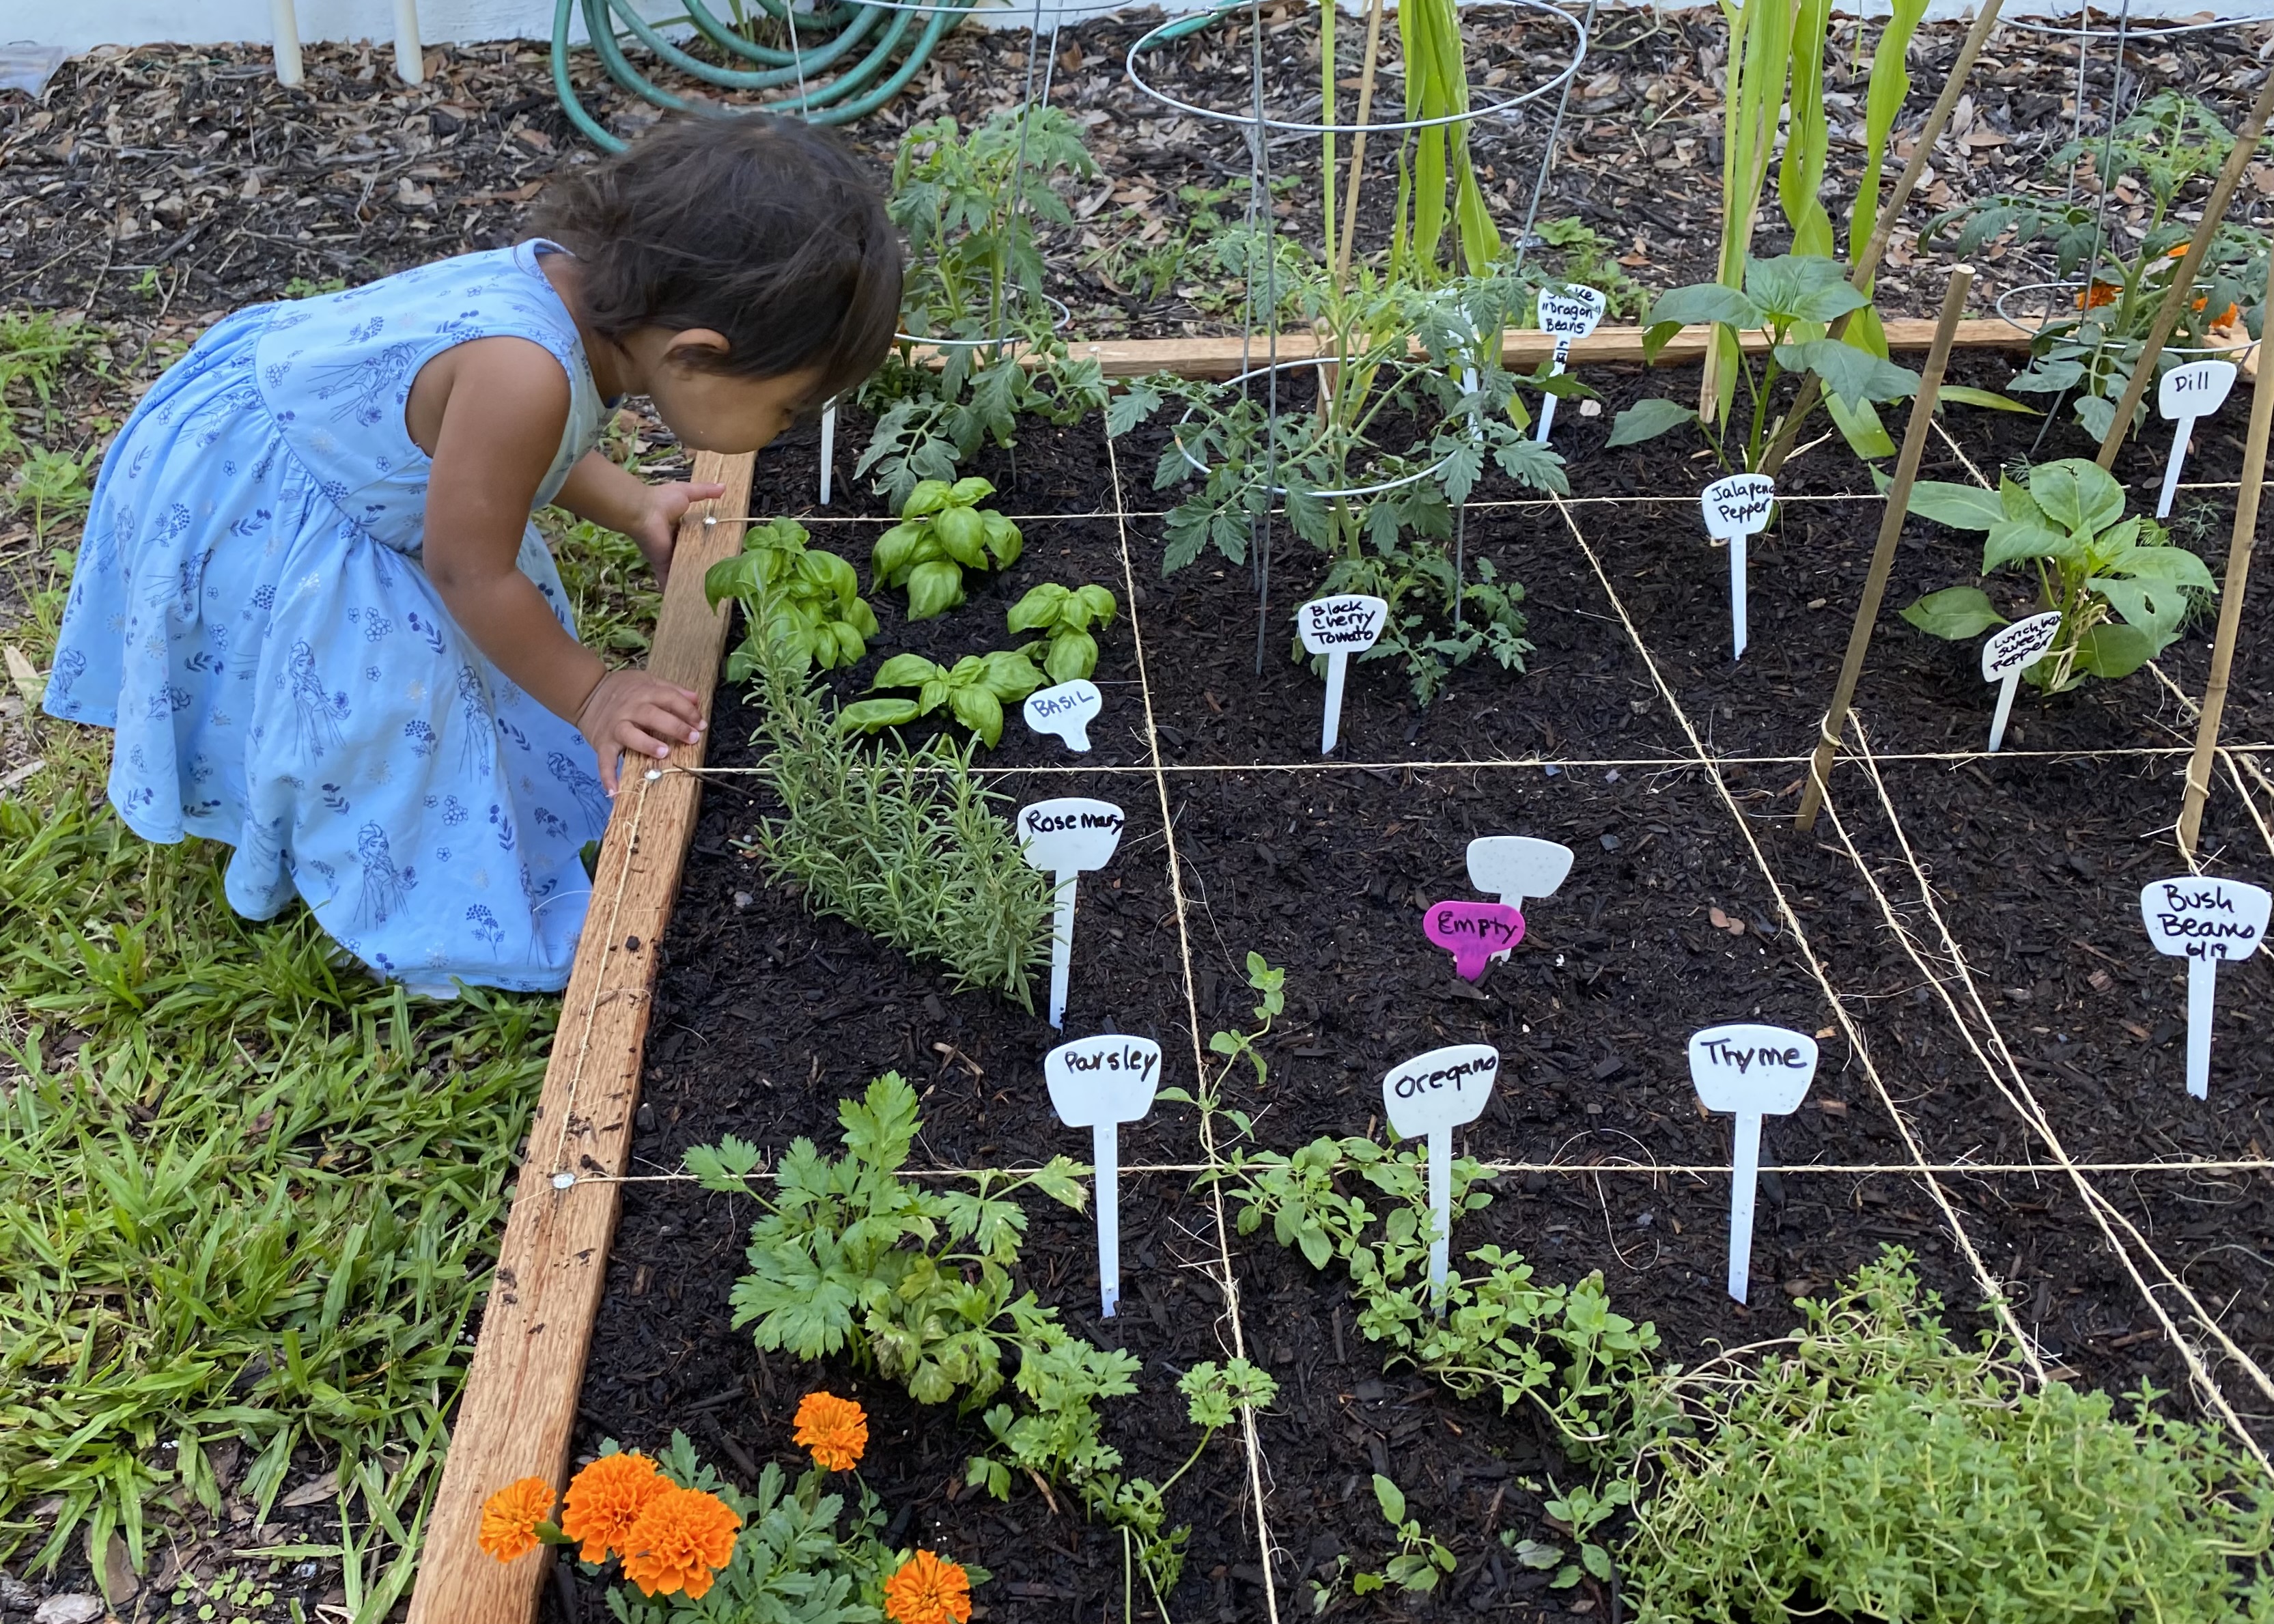
Grow cover crops:  Keep something growing in the garden year-round by planting cover crops between seasons. Cover crops nourish microbes and prevent soil erosion in the off-season. I plant a combination of buckwheat which suppresses weeds and whose blooms attract beneficial insects, a brassica like daikon radish or turnips whose roots drill down into the soil naturally breaking it up, and crimson clover, a legume that adds nitrogen to the ground through nitrogen fixation and whose red blossoms attract bees.

Start a compost pile. We throw food scraps, old bread and pasta, leaf litter, chicken poop, dead plants, and coffee grounds into our compost pile. We don’t add cooked food that might attract rodents. We spread composted mulch in our garden during the summer to keep moisture in and weeds out and to add nutrients to the soil,

Stop tilling in established beds. Tilling disrupts a garden’s microbial population. It exposes microorganisms to the elements where they dry out and die; it releases nutrients to rain run-off; and it releases sequestered carbon (in the form of carbon dioxide) into the atmosphere. Instead, jiggle a pitchfork or broadfork in the ground to aerate soil. I only use a tiller when creating a new bed and even then, only when the ground is too hard to break up on my own. When removing dead plants, I cut the stems at the ground level allowing the roots to decompose in situ. Check out this post to read more.

Create garden paths in your garden to discourage compaction by foot traffic. This will help keep the nooks and crannies in soil open to air and water in the garden beds. Check out How to Build a Raised Garden Bed

I don’t use herbicides or insecticides. I know it’s pathetic, but I only stopped using them in 2010 when I became a hen keeper — I didn’t want my free-ranging chickens to eat anything that had chemicals on it! Back then, I would joke that the chickens kept me honest.

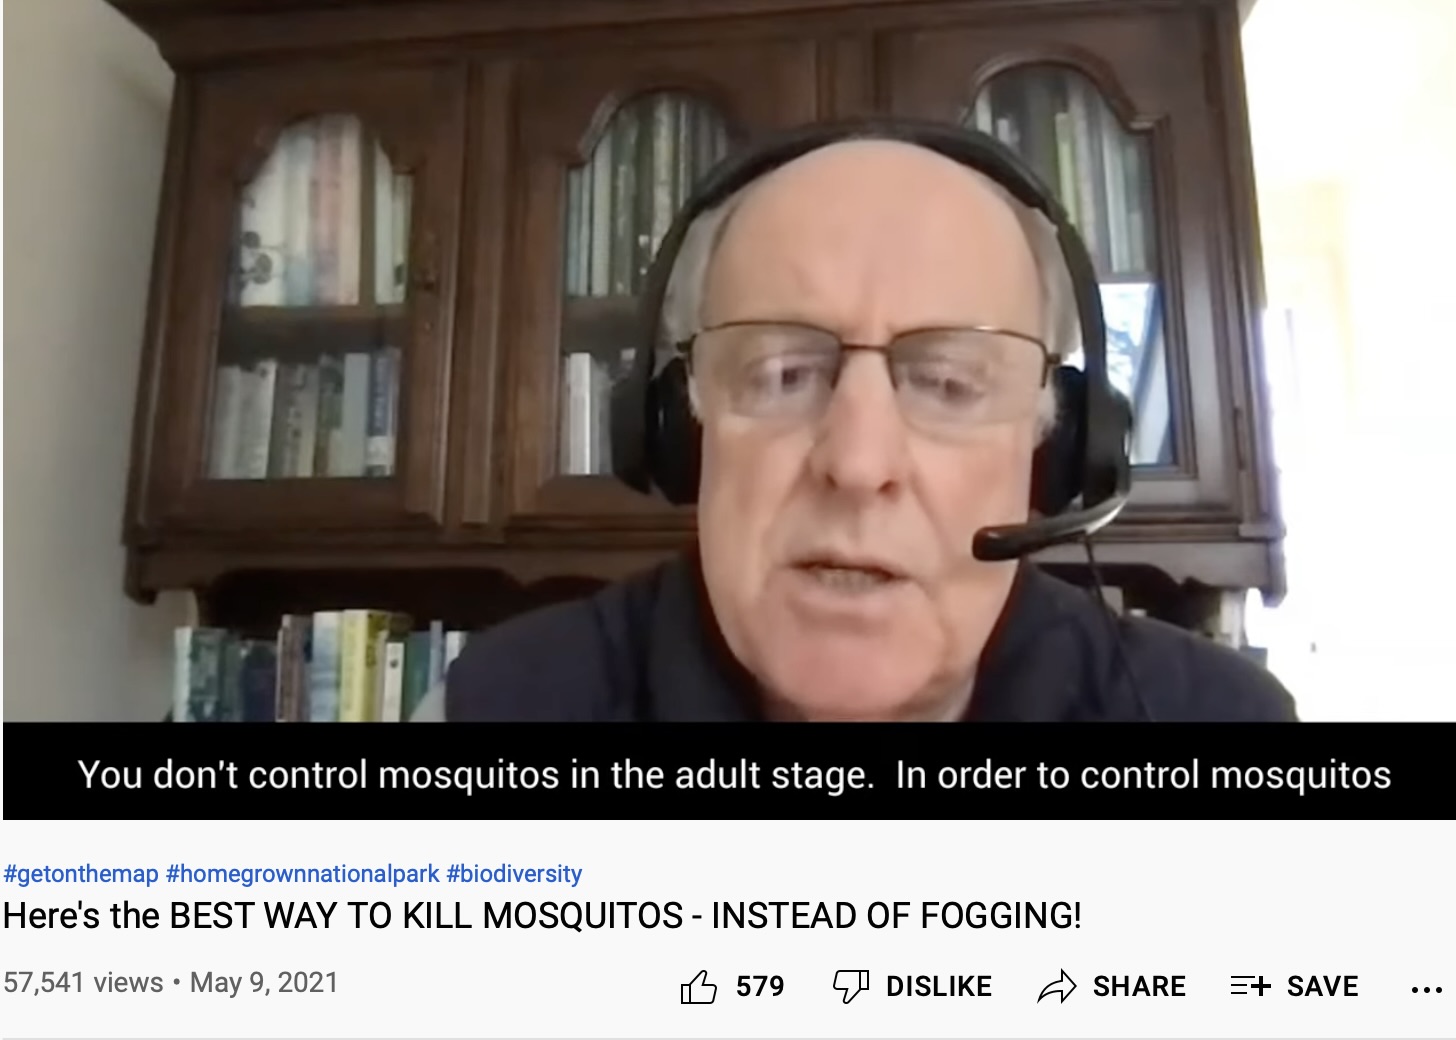
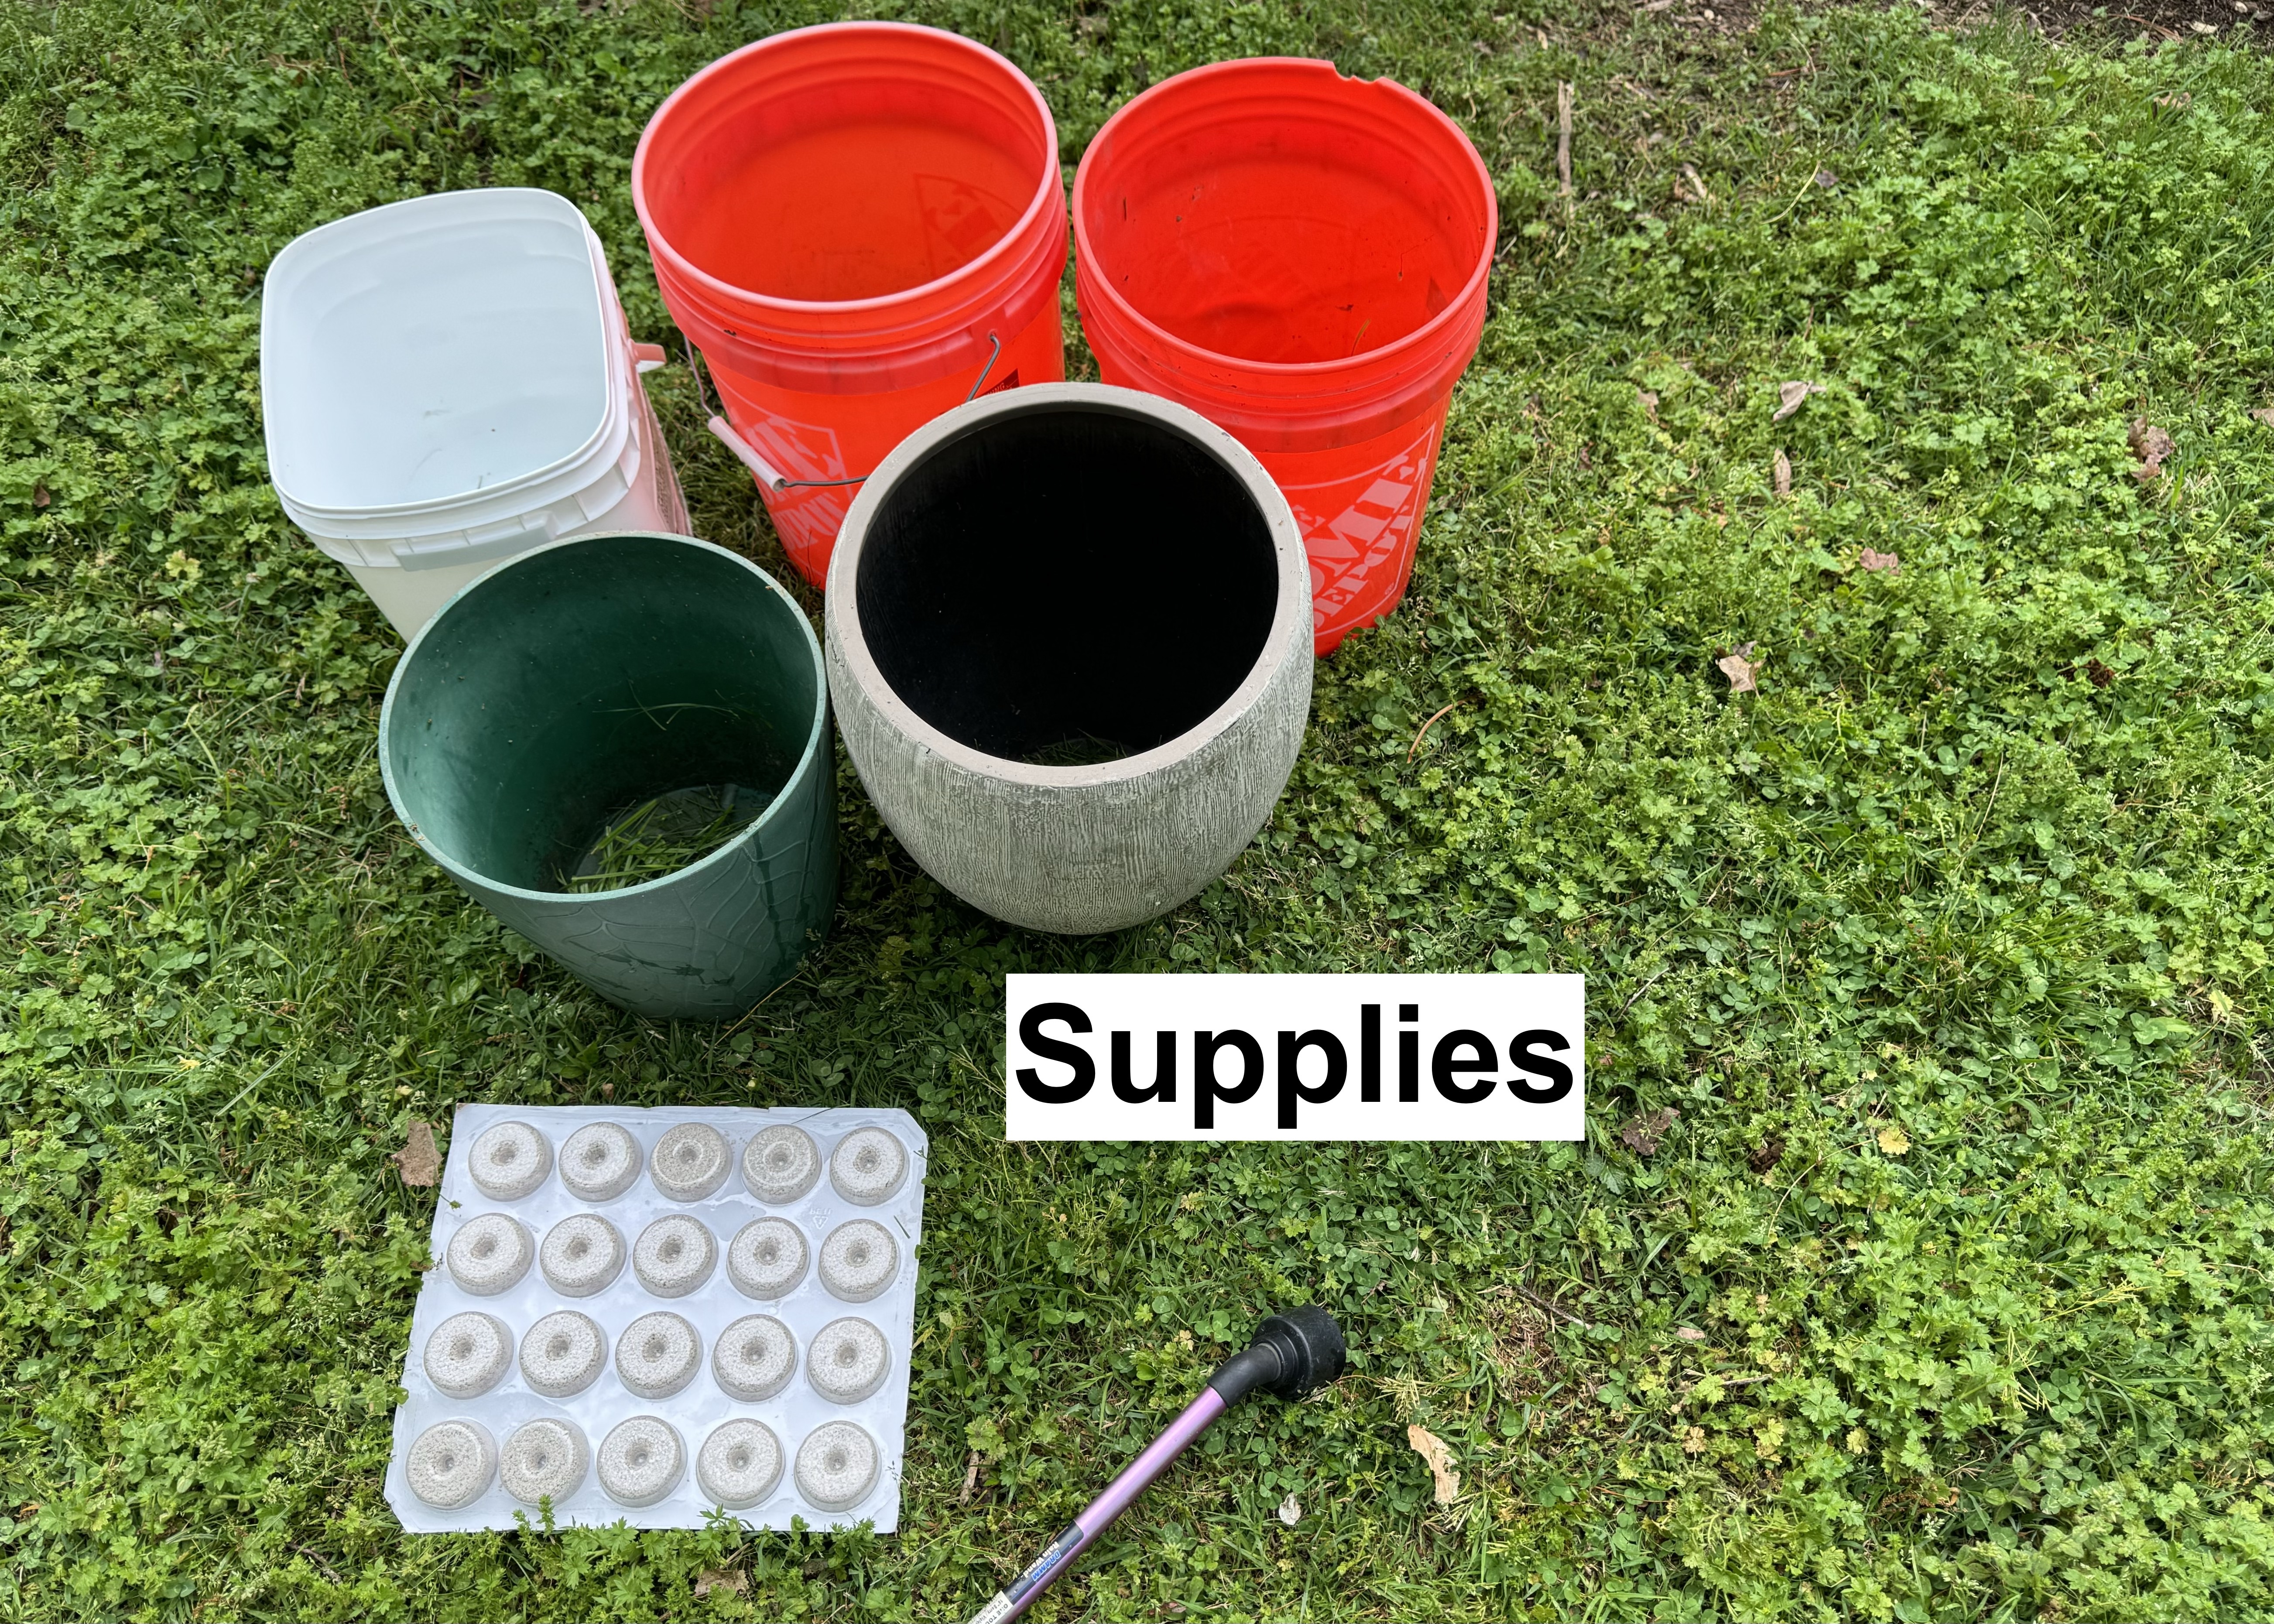
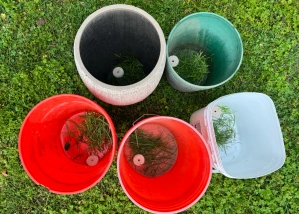
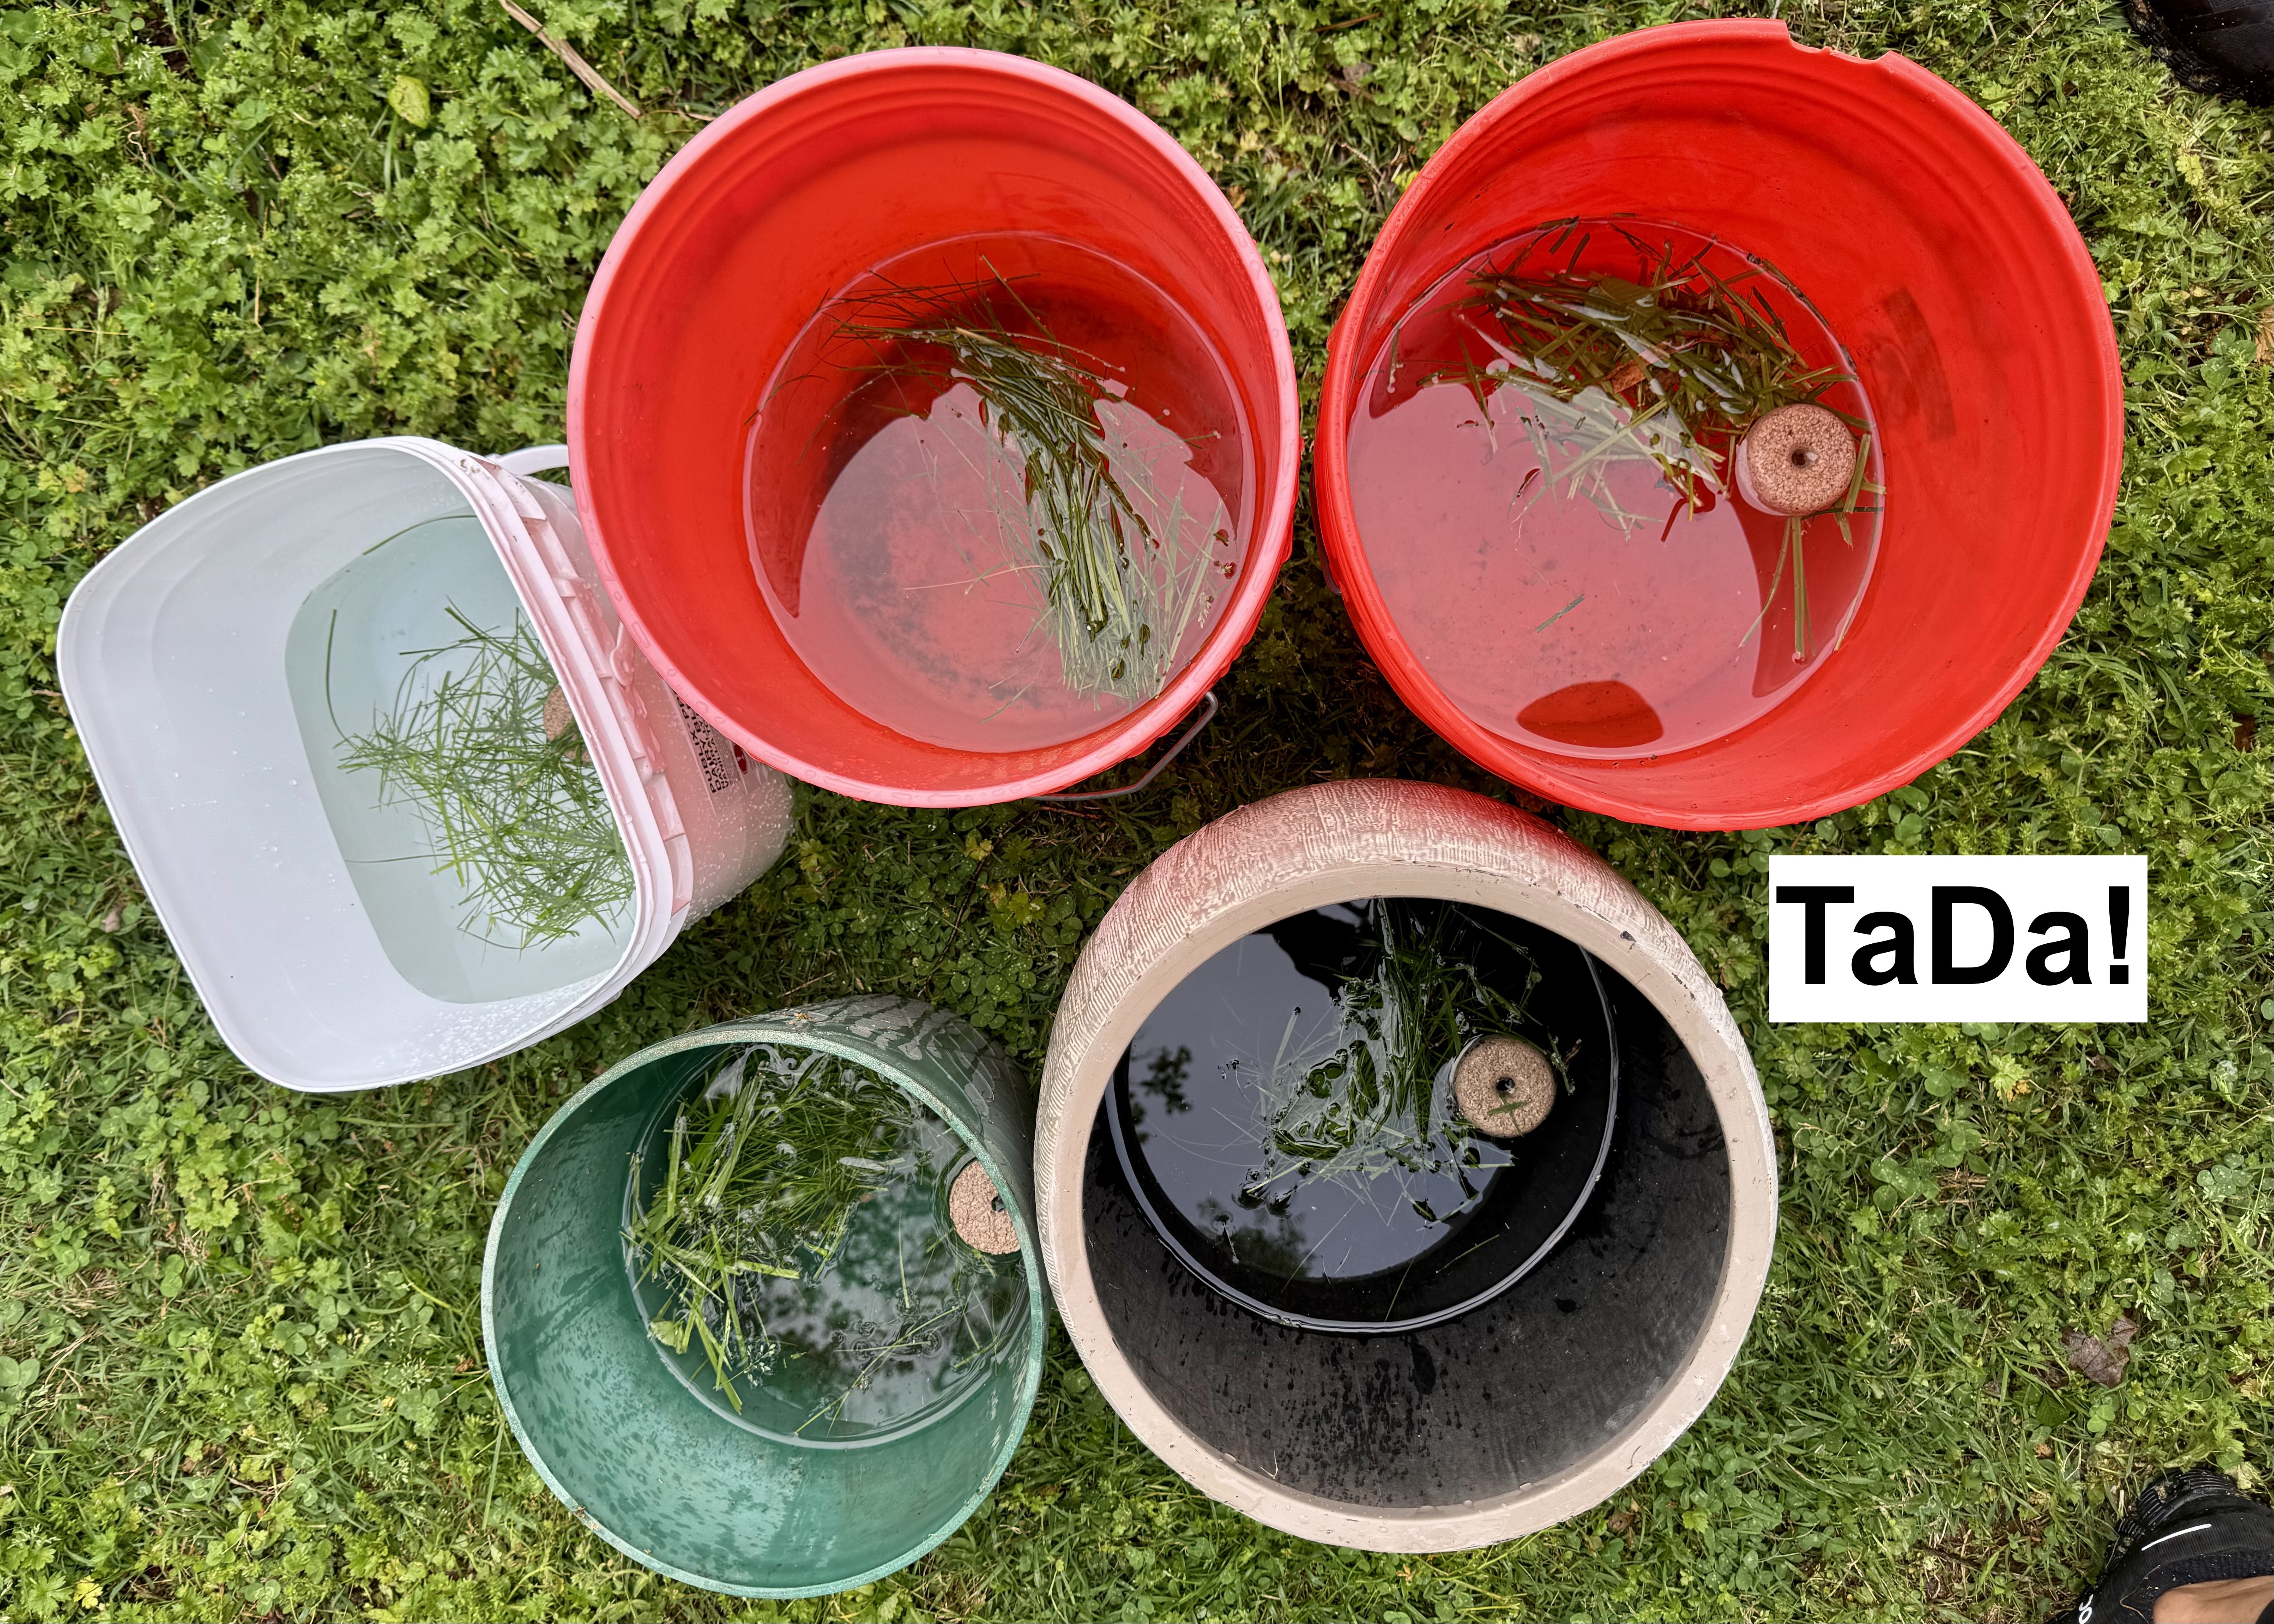
I do not spray for mosquitos. Instead, I make mosquito bucket traps that contain a bacterium found in soil that acts as a larvacide for mosquitos.

Conclusion

This study has had a profound impact on the way I think about soil. I now imagine all the microbial activity going on underground, and I am more conscious of how my chosen garden practices affect my soil. Additionally, when I give a garden tour or teach people how to start a garden, I begin with a discussion about soil health, and then I pull out my scrappy undies…

For the past year, I have volunteered at a non-profit, teaching women how to grow food. I enrolled the ladies in this year’s Soil Your Undies Challenge. They planted undies in two garden beds. As they planted the undies vertically, they quickly learned that while the topsoil was loose, the deeper soil was hard and compacted. It took a lot of work to make a slit in the ground. We’ll need to use a broadfork or pitchfork to break that soil up once the fall crops are harvested.

I am grateful to my friend Maureen May, founder of the Second Sunday Gardeners, who created a place for curious gardeners to come together to learn sustainable land management practices. She and another member, Heidi, encouraged twenty people in our group to participate in this study.

Related Stories:

Watch this excellent Nashville Public Television Volunteer Gardener clip: Soil Your Undies: How Healthy is Your Soilhosted by Julie Birbiglia, the education specialist for Metro Water Services. She and Dr. Chris Vanags dig up undies on the Vanderbilt campus and discuss the results.

Julie also did two stories for NPT’s Volunteer Gardener about gardening and raising chickens in my backyard. We talked about chicken coops, what chickens eat, keeping chickens safe, composting and cover crops. One video was a Volunteer Gardener episode called Chicken Chat and the other was a FaceTime live production.

Follow Judy’s Chickens on Instagram and Pinterest @JudysChickens.
If you enjoyed this post, sign up to become a follower. If you do sign-up, press “confirm” on the follow-up letter sent to your email address. And feel free to share!!

© 2014-2022 Judy Wright. All rights reserved. Photos, videos, and text may not be reproduced without the written consent of Judy Wright.

The Mosquito Bucket Hack That Works

These are mosquito buckets. The white, donut-shaped discs floating in them are called MosquitoDunks®.

MosquitoDunks® contain a mosquito-specific toxin, B.t.i. (Bacillus thuringiensis subspecies israelensis), a naturally occurring bacterium found in soil and known to kill mosquito larvae. B.t.i. will not kill adult mosquitos or their eggs; it stops mosquito reproduction only in the larval stage. The mosquito bucket system is a bee-friendly, vegetable garden-friendly, and pet-friendly way to eliminate mosquitos.

This post is for you IF:

  • You hate using Mosquito Joe-type fogger sprays to manage these pests because you suspect there is collateral damage to beneficial insects, but you hate mosquitoes more.
  • You hate to wear bug spray and socks, a long-sleeve shirt, and pants in the middle of a hot summer day when you weed your garden.
  • You worry about diseases spread by mosquitoes.
  • Mosquitoes love you.

I am very thankful for the day my naturalist friend, Joanna Brichetto, posted a story called The Mosquito Bucket of Doom on her blog, Sidewalk Nature. Joanna learned about the bucket system from famed etymologist Dr. Doug Tallamy.

Here is a link to Dr Tallamy’s explanation. He says companies that spray for mosquito removal kill 10% of adult mosquitoes and many beneficial insects.

I have four mosquito buckets spread around my half-acre backyard: one industrial-looking bucket in each vegetable garden and one attractive fiberglass bucket on our patio.

I’ve just added a fifth bucket to cover the area around our herb garden in the side yard.

HOW TO MAKE MOSQUITO BUCKETS

Supplies:

-Use a  3-5-gallon bucket, planter, or any container with a wide top
-ONE handful of grass clippings
-Water
-ONE Mosquito Dunks® (a larvicide)
-If you are concerned about wildlife falling in the bucket, Dr. Tallamy suggests placing a chicken wire screen over the top

Instructions:
Add a handful of greens and a Dunk® into each tall, wide-topped container.
.

Half-fill the container with water. As the organic matter decomposes, it produces carbon dioxide, an attractant for female mosquitoes.

Place buckets near your seating and work areas. Thirty days later, add a new Dunk® to each bucket. Pro Tip: take a photo of the bucket when you add a new Dunk to help remember the date! For convenience, I purchase packages of 20 Dunks from an online source.

You do not need to change the water each month. You want swampy water, but it shouldn’t be smelly. Add more water to keep the buckets half full and pour off water after a heavy rain.

Testimonials:
We hosted my son’s rehearsal dinner in our backyard in the middle of July with just four buckets for mosquito control. We never saw a mosquito.

I volunteer at a community garden near a floodplain inhabited by many mosquitoes. I  showed the local residents how to set up mosquito buckets, and within two weeks, the mosquitoes were gone.

My friend, who lives in Sewanee, TN, known for having so many mosquitos people can’t sit and visit on their porches, now uses four buckets around the perimeter of her house and five more around an ephemeral pond on her property. She reports they now sit comfortably outside. I believe they will work for most residences if she says they work.

How Do Mosquito Buckets Work?

MosquitoDunks® work by killing mosquito larvae, not adult mosquitos; it is a larvicide.

It takes a few days for mosquito eggs to hatch into the little swimmers (larvae) seen in Joanna’s container, shown below.

Mosquitoes need ¼-inch of standing water to lay eggs. With that in mind, inspecting your property for hidden bodies of standing water and turning unused containers upside-down is essential for successfully using this system.

I want readers to succeed when using the buckets, so please comment if you have a question or feel the buckets are not working.

Related Stories:
How to Start Seeds in a Recycled Milk Jug
The Soil Your Undies Challenge- A Simple DIY Test for Soil Health
How to Build a Raised Garden Bed
The Asteraceae Family of Primo Pollinator Plants

Unrelated Stories:
Pistachio, Lemon, and Basil Butter Cookies
Award-Winning Chocolate Chip Cookies
Homemade Grape Jelly
A Birthday Tribute for My Mother: Knitting with Mom’s Stash
How to Knit Fingerless Mittens on Straight Needles

Follow Judy’s Chickens on Instagram and Pinterest @JudysChickens.
If you enjoyed this post, share it and sign up to become a follower. If you sign up, press “confirm” on the follow-up letter sent to your email address. 

© 2014-2024 Judy Wright. All rights reserved. Photos, videos, and text may not be reproduced without the written consent of Judy Wright.

How to Make Pine Cone Flowers

I love a project that involves a group of folks sitting around the table chitchatting the time away while working with their hands to create something new and lovely. It feels good and hugely satisfying to make something that didn’t exist before.

Such was the creative environment when Herb Society of Nashville member, Larry Banner, gave fellow “Herbies” a workshop on making flowers out of dried pine cones. We worked in the barn of an HSN member. The barn doors were wide open and sheep were grazing in the field. It was a beautiful day.

When I arrived at the farm, I would not have imagined that this pile of dried pine cones and seed pods sitting on the table

would reveal delicate flowers from within through focused whittling.

Larry graciously showed us how to sculpt flowers using two tools, pointy cultivation scissors and ratcheting pruning shears.

We learned to make zinnias out of the large round pine cones on the table by cutting horizontally across the cone’s midsection and then snipping off a few scales (aka pine cone “leaves”) from the core to create a central disc similar to flowers found in the Asteraceae Family.

By the way, if you turn the zinnia over, you have a coneflower!

Larry glued a tiny seed head to the coneflower’s center for the finishing touch.

Next, we used short squatty pine cones to make roses. Larry had us cut off the tip of the cone and then snip each scale twice to create pointy rose petals.

He used the bottom portion of that cone to make button zinnias.

Larry painted his rose pink. He said there are hundreds of pine cone flower how-to videos online.

I found this pretty pine cone arrangement for sale here on Etsy.

We used the long thin cones to make the two-toned flowers. I love the variety of patterns, colors, and textures on the scales. Had I not taken this workshop, I doubt I would ever have paid attention to these subtleties of nature.

We cut a magnolia seed pod in half to make these flowers.

This is a video of how Larry cut the pod:

Larry began the workshop by showing us how to cut into pine cones. It takes work. Some pine cone artists, for ease, choose to use a grinder saw to cut off the bases.

Larry rotated the cone as he cut deeper and deeper into its core until the bottom finally fell off. It looks like you are butchering it, but the flowers come out fine.

Here is a video of Larry cutting a cone:

Create a Flower Arrangement
Once we had created our flowers, we arranged them on a base. To help us remember our position of flowers before gluing them down, Larry had us photograph our work. He likes to use the E6000 brand of quick-drying glue because it has a very thin nozzle.

Once the arrangement is set, spray with polyurethane (satin or gloss) to protect the flowers from moisture and make the colors pop.

Here are some of the pine cone varieties we used:

The Herb Society of Nashville is hosting the 2022 Herb Society of Nashville Plant Sale at the Nashville Fairgrounds, Expo Building 3, on Saturday, April 30. Doors open at 9:00 A.M.

Anyone interested in growing, using, or studying herbs is encouraged to apply for membership in The Herb Society of Nashville. The Membership Committee accepts applications year-round. Here is a link to an application.

Other Crafty Posts on Judy’s Chickens:
How to Make Plant-Based Dyes
How to Make Gorgeous Birdhouse Gourds
How to Make Indigo Blue Dye
How to Make Cork Bulletin Boards

How to Build a 4 x 4 Raised Garden Bed

Follow Judy’s Chickens on Instagram and Pinterest @JudysChickens.
If you enjoyed this post, sign up to become a follower. If you do sign-up, press “confirm” on the follow-up letter sent to your email address. And, feel free to share!!

© 2014-2022 Judy Wright. All rights reserved. Photos, videos, and text may not be reproduced without the written consent of Judy Wright.

How to Make Dishtowel Vegetable Storage Bags

My dishtowel drawer is a hot mess smorgasbord of fruits, vegetables, flowers, chickens, funny sayings, and colorfully striped images, all printed on cotton rectangles. The super-absorbent among them, often dingy and stained, are the workhorses of my kitchen. The others, those with high sentimental value or less absorbency, have been smushed up in the back of the drawer for eons. They are the ones now being repurposed into vegetable storage bags.

I use the storage bags as I harvest food from the garden.

I use them to store veggies in the fridge after they have been washed.

I use them to hold electronics when I travel.

The idea came to me while harvesting greens in my backyard. I didn’t want to mix the kale, lettuce, and spinach leaves together yet didn’t have enough containers to keep them separate, so I decided to repurpose my stash of dishtowels to make harvest containers.

I started with my favorite towel, one my mother bought me from France while on one of her annual painting trips with artist friends. Talk about high sentimental value.

This painting of my mom was created by one of her friends on that trip. It captures a moment in time when she was happy and healthy.

This towel was from a pair that fell into the category of loved but not absorbent enough. I ended up making two bags with them, one for my sister-in-law, Lesley, and the other for my friend, Jennifer, both of whom garden.

I am a scrappy seamstress, but I don’t let that stop me, and I hope you won’t let it stop you. I had to finish this one by hand because my sewing machine died.

I used the trimmed remnants from this first bag to make the drawstring.

My husband gave me the idea to use shoelaces instead. I ordered an assortment of 54″ laces from Amazon.

How to Make Dishtowel Storage Bags:

Supplies:
Clean dish towels, any size works
54″ shoelaces

Instructions

Fold dishtowel in half with right sides facing. If the towel is too wide for your intended use, trim off some of the width.

Pin side seams together. On the bag opening side, leave a two-inch gap. This is where the tunnel for the drawstring will be. Sew the side seams and trim off the edges to reduce bulk.

Sew the tunnel opening. You can do this the quick way, which leaves you with an unfinished edge,

or you can unfurl the original seams, fold the frayed edges under, pin them, and create a more finished edge.

Next, fold over the top one-inch edge of the fabric, pin it down, and sew the drawstring tunnel.

Run your shoelace through the tunnel, and you are ready for business.

One dishtowel will stay in my collection forever, and there is a story about it here. RIP to my dear and funny friend, Carol, who died two years ago from breast cancer.

.

Some other Fun How-Tos:
How to Make a Heart Tree
How to Make Cork Bulletin Boards
How to Build a 4 x 4 Raised Garden Bed
How to Make Whole Milk Ricotta
How to Peel an Orange or Grapefruit Quickly

Follow Judy’s Chickens on Instagram and Pinterest @JudysChickens.
If you enjoyed this post, consider becoming a follower. Be sure to press “confirm” on the follow-up letter sent to your email address.

© 2014-2021 Judy Wright. All rights reserved. Photos, videos, and text may not be reproduced without the written consent of Judy Wright.