Shepherd’s Pie (made with lamb) and Cottage Pie (made with beef) are meat and vegetable casseroles topped with mashed potato crusts. Cookbooks from the early 1800s show these pies were common fare in the U.K. and Irish countryside long ago.
It was also a staple of my diet while growing up in the 70s. What could be easier for a young working mother than sautéing onions and ground beef, adding a few packages of perfectly-shaped frozen vegetables, and topping the whole thing off with a layer of instant mashed potatoes? Mom cooked her pie in a round, white, Corningware dish. The interior of the pie looked very similar to this one from Betty Crocker.

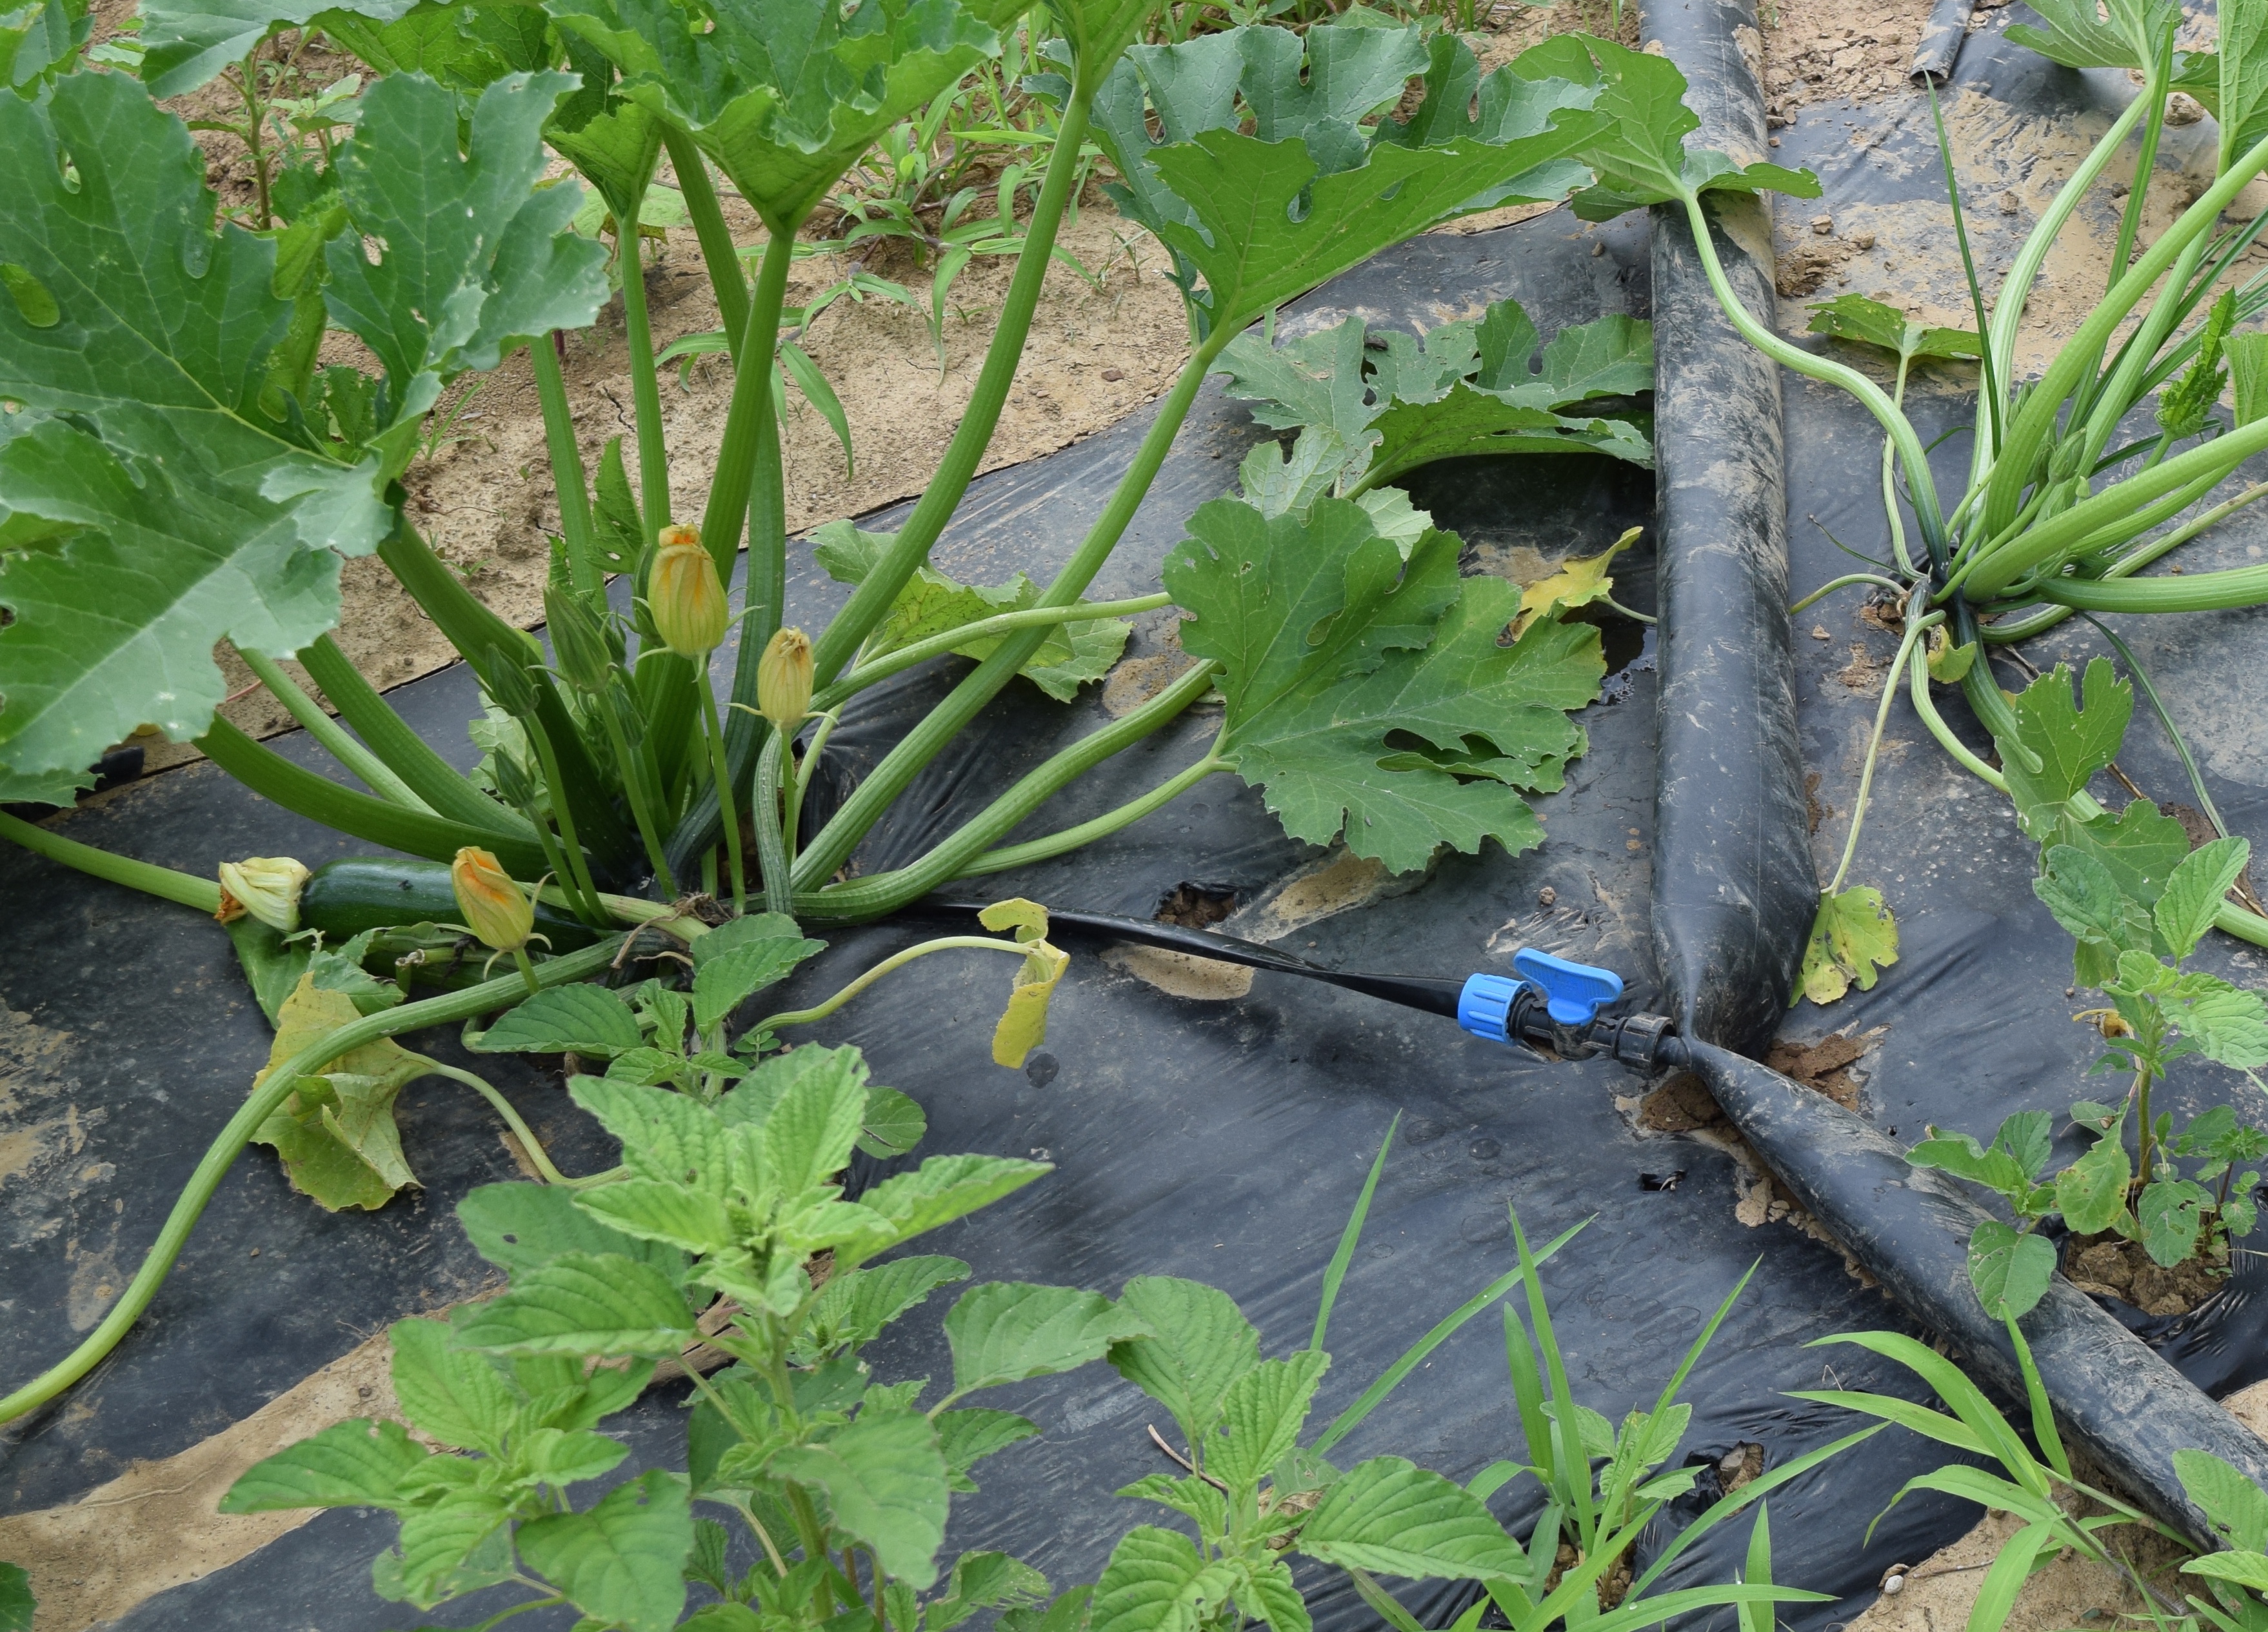
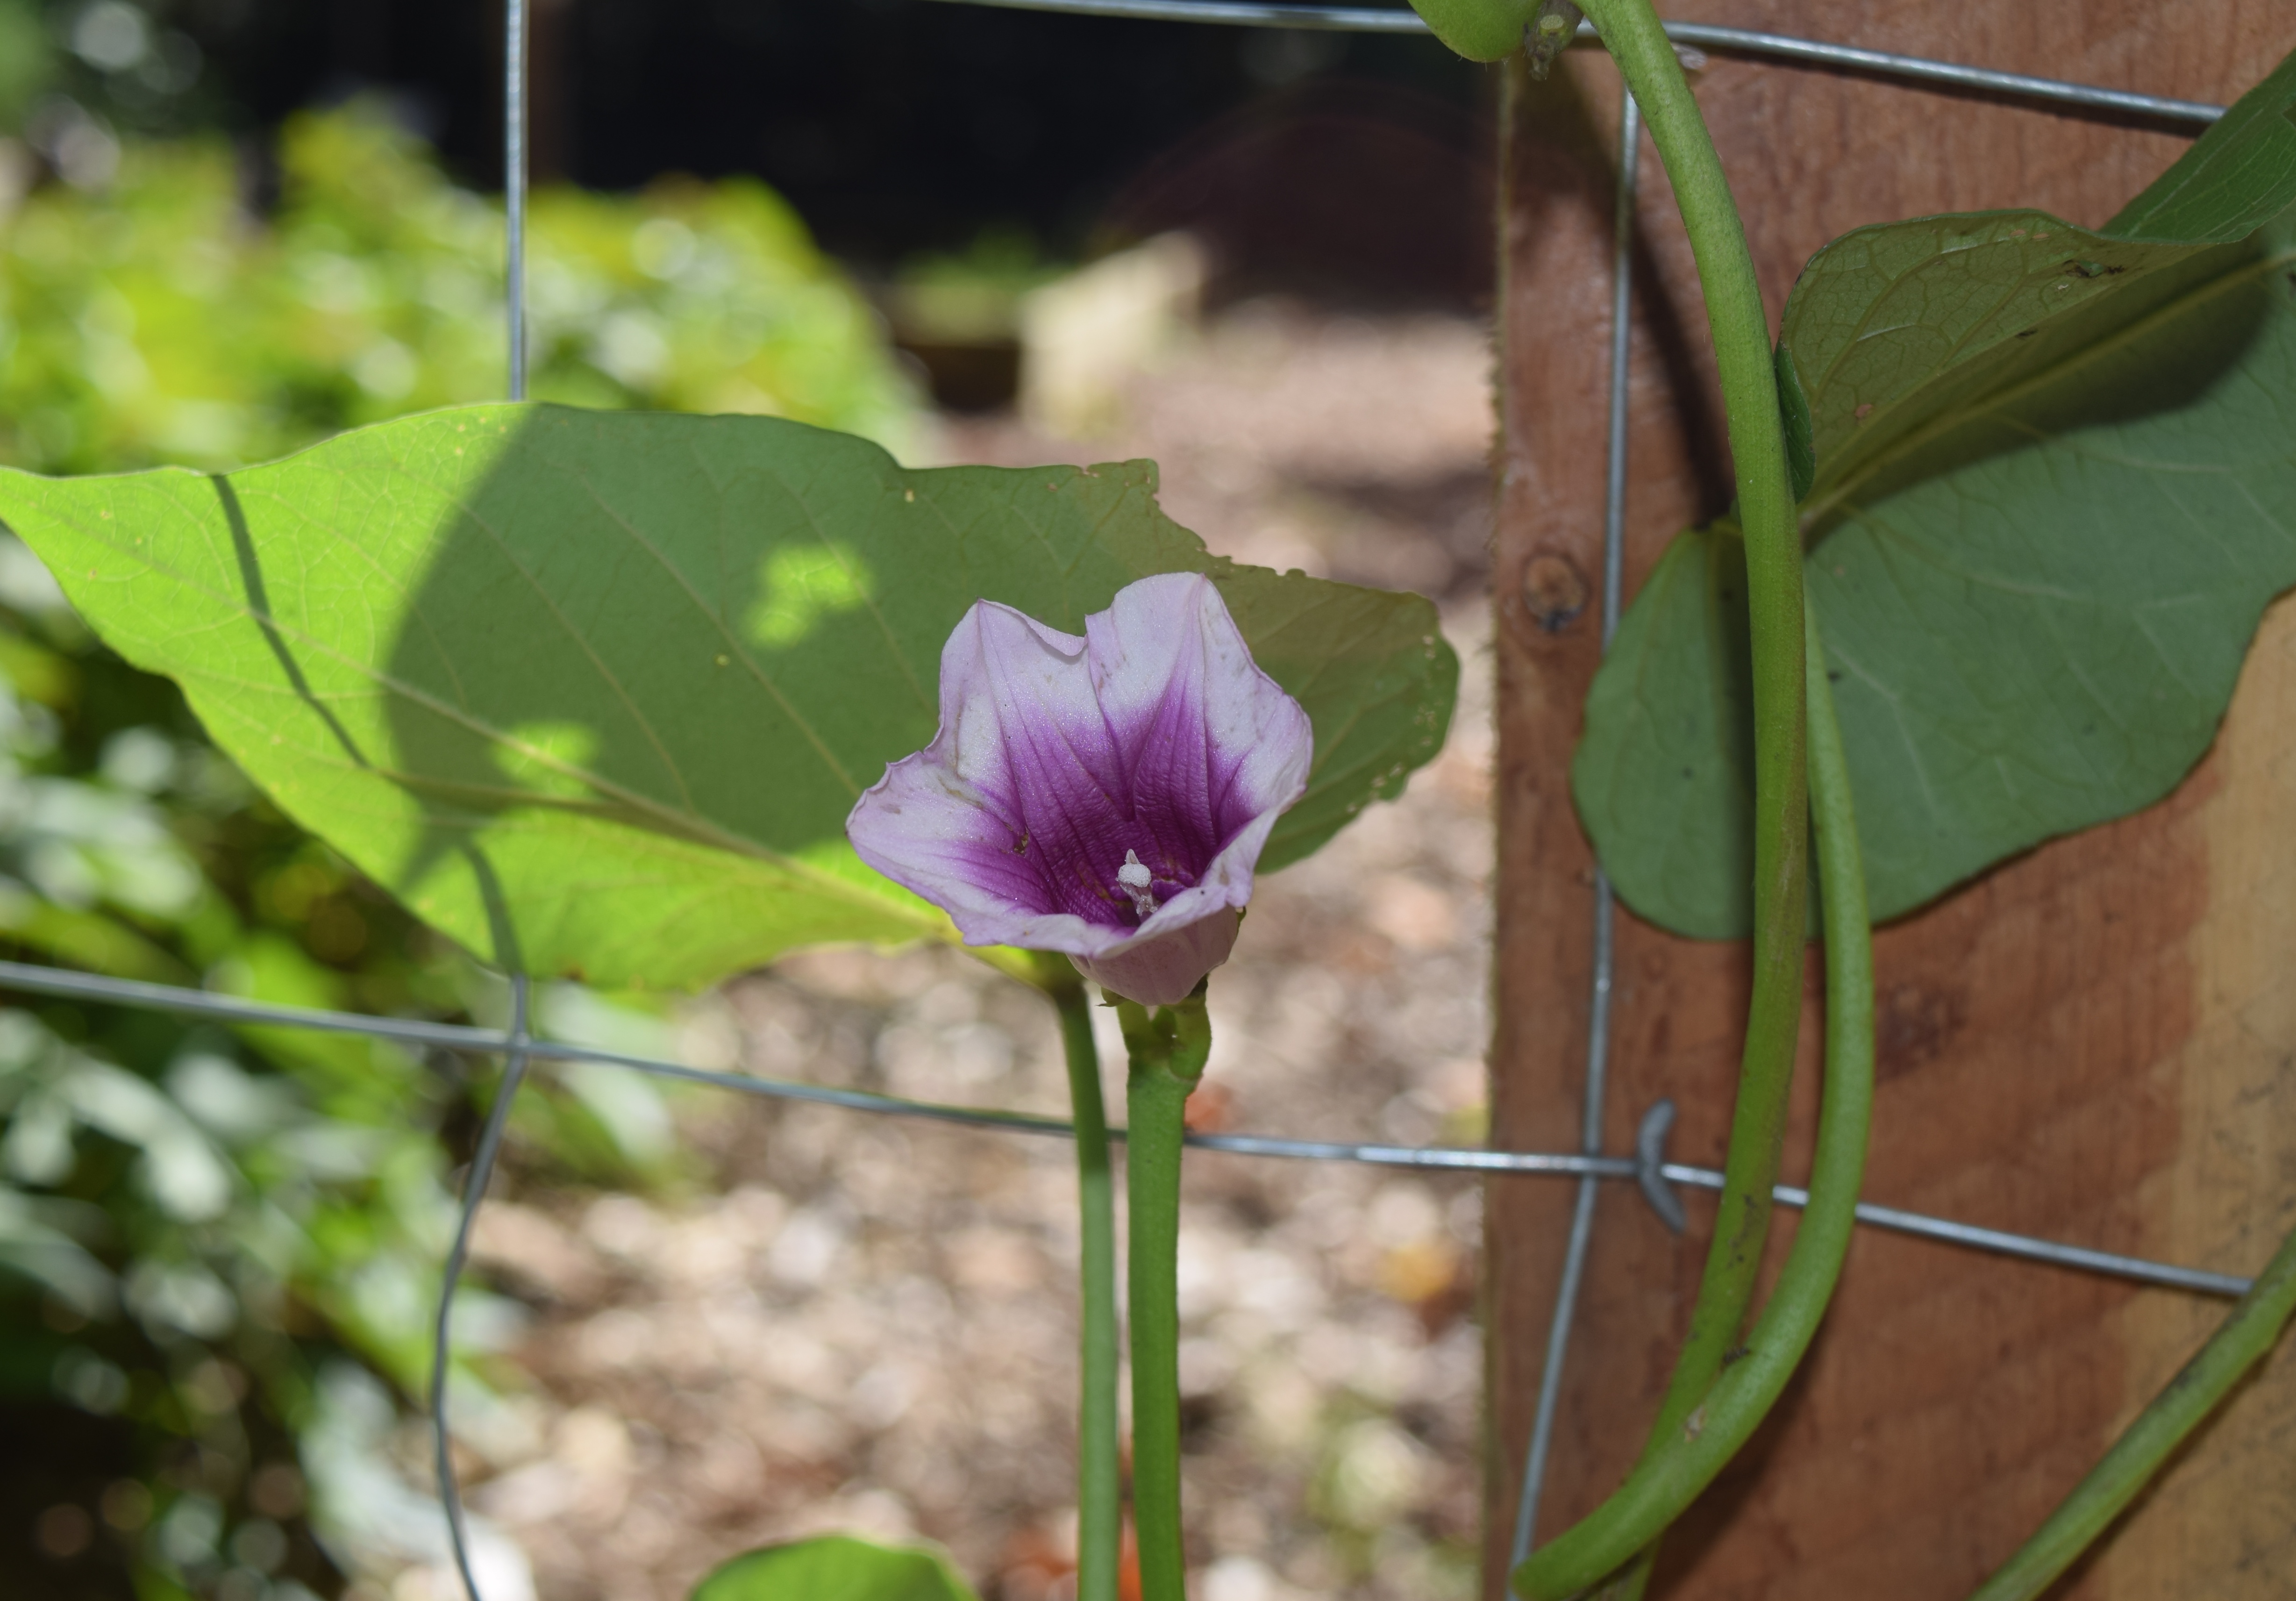
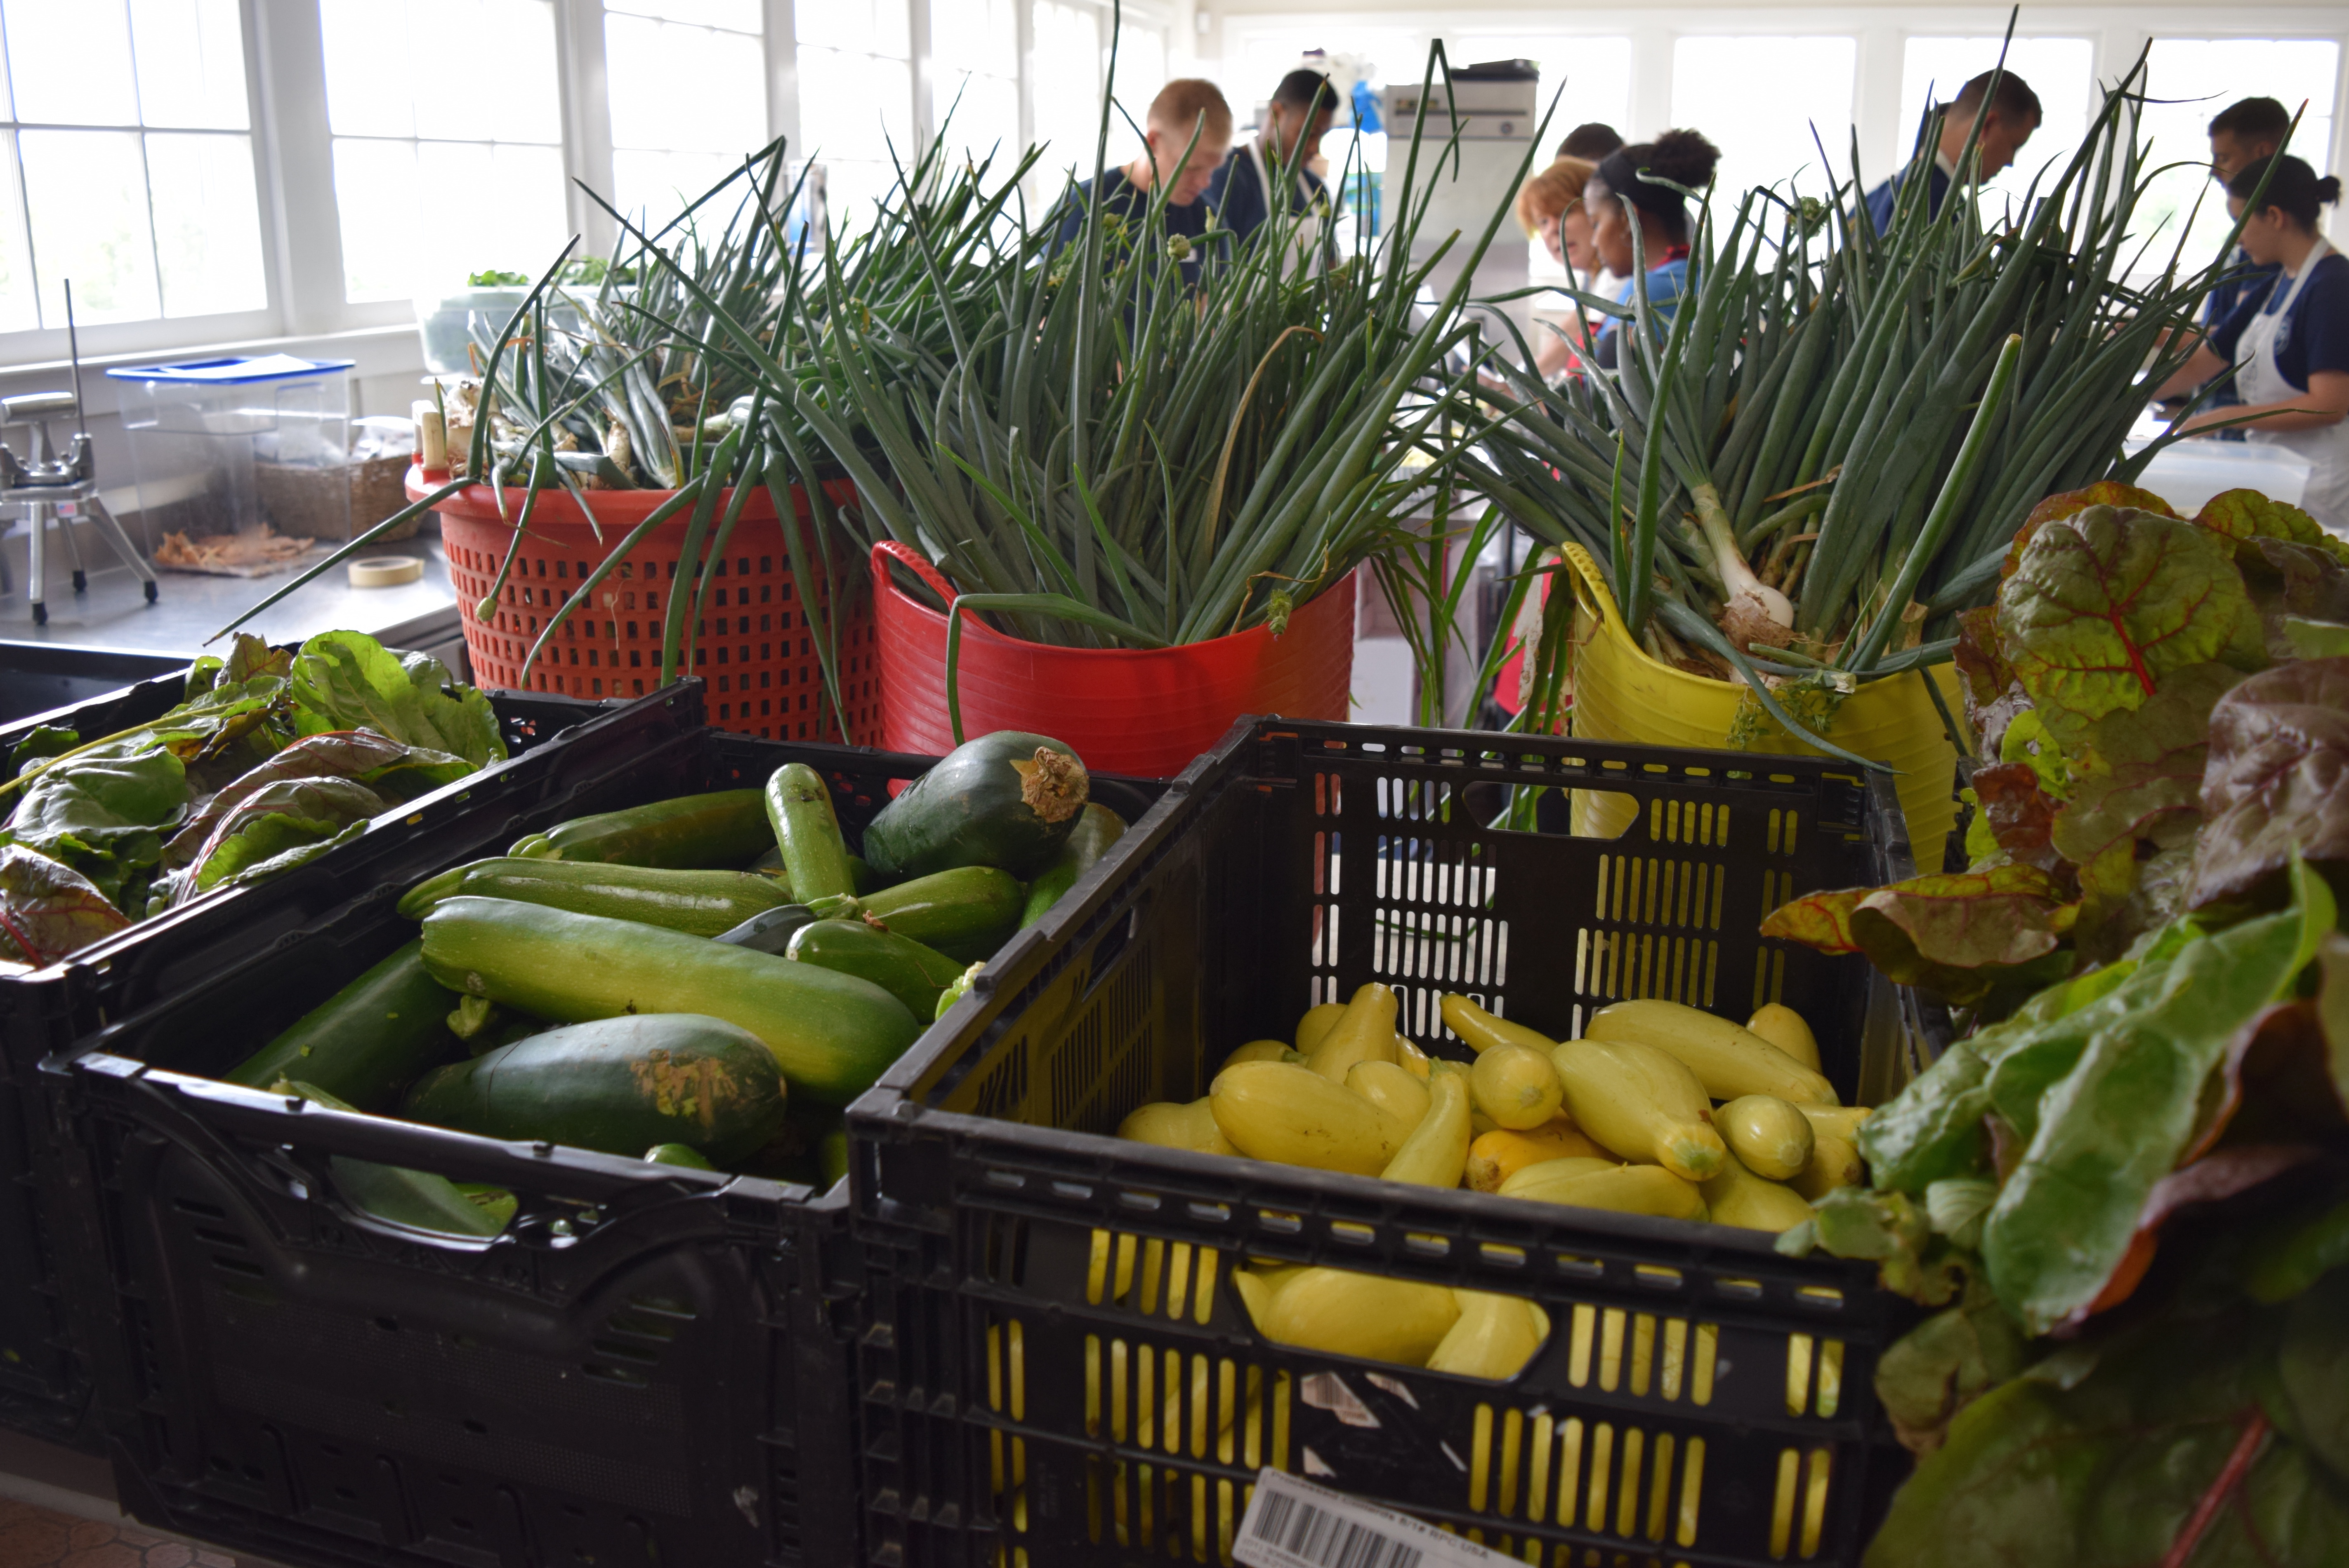
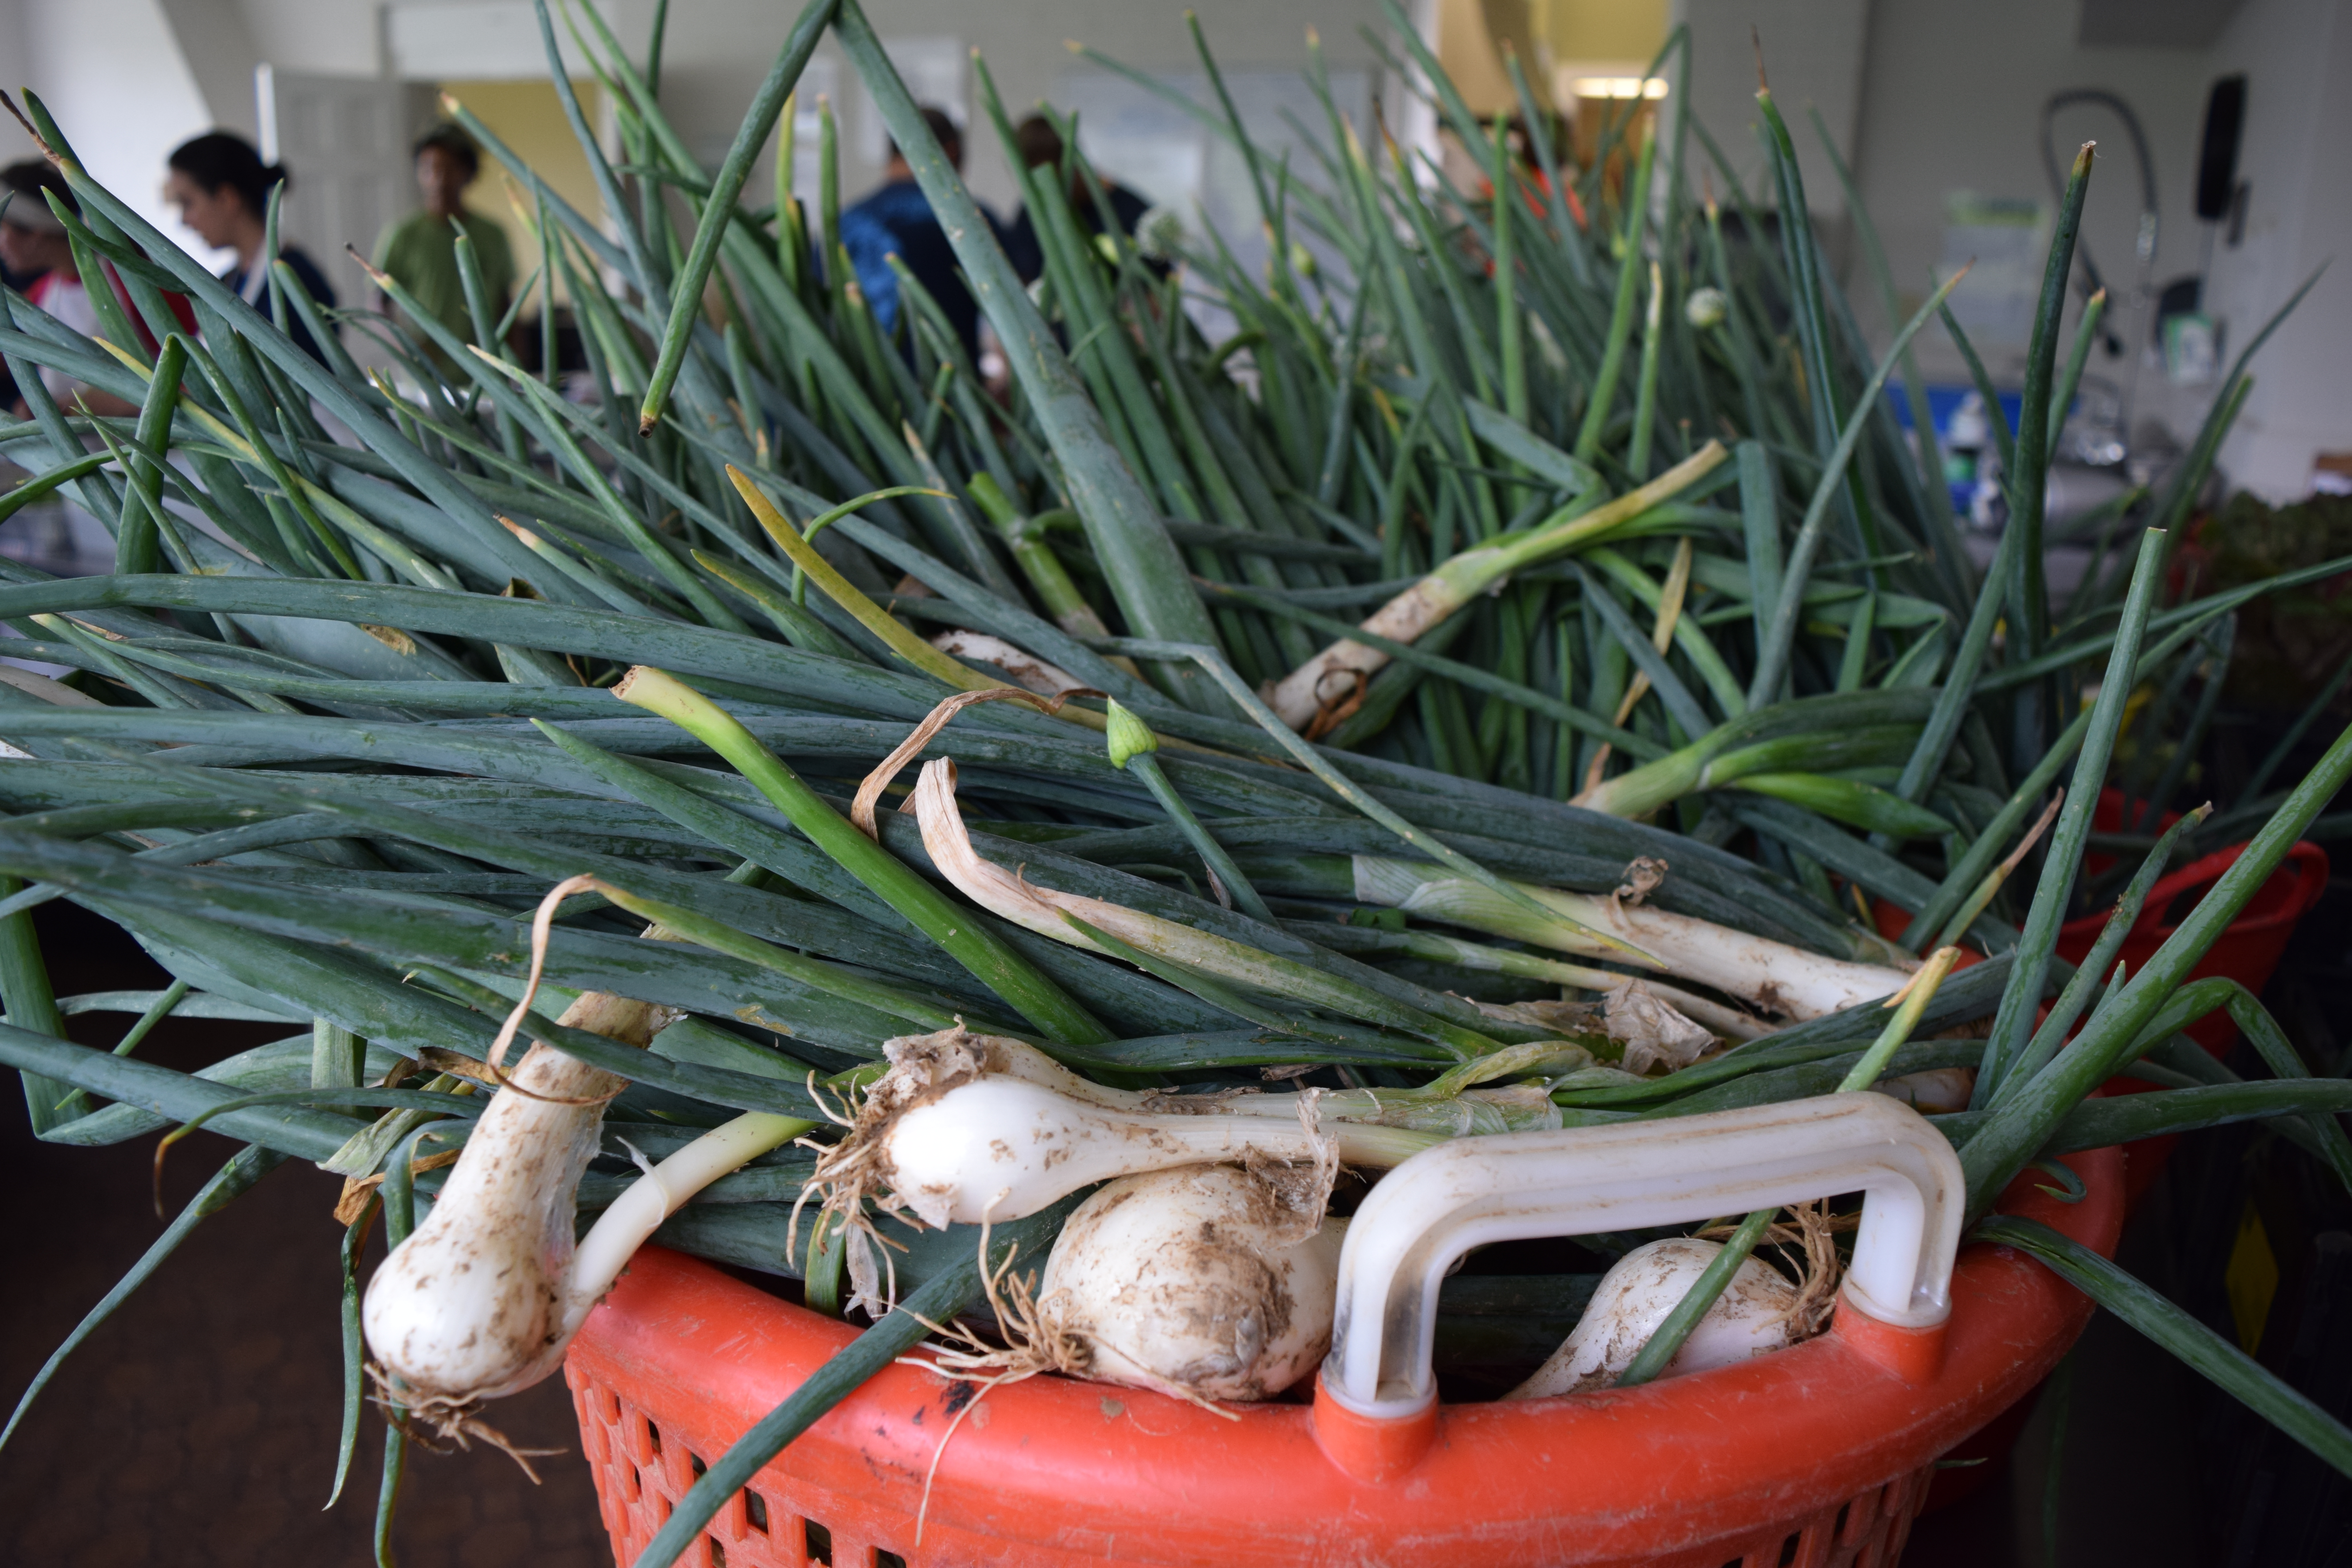
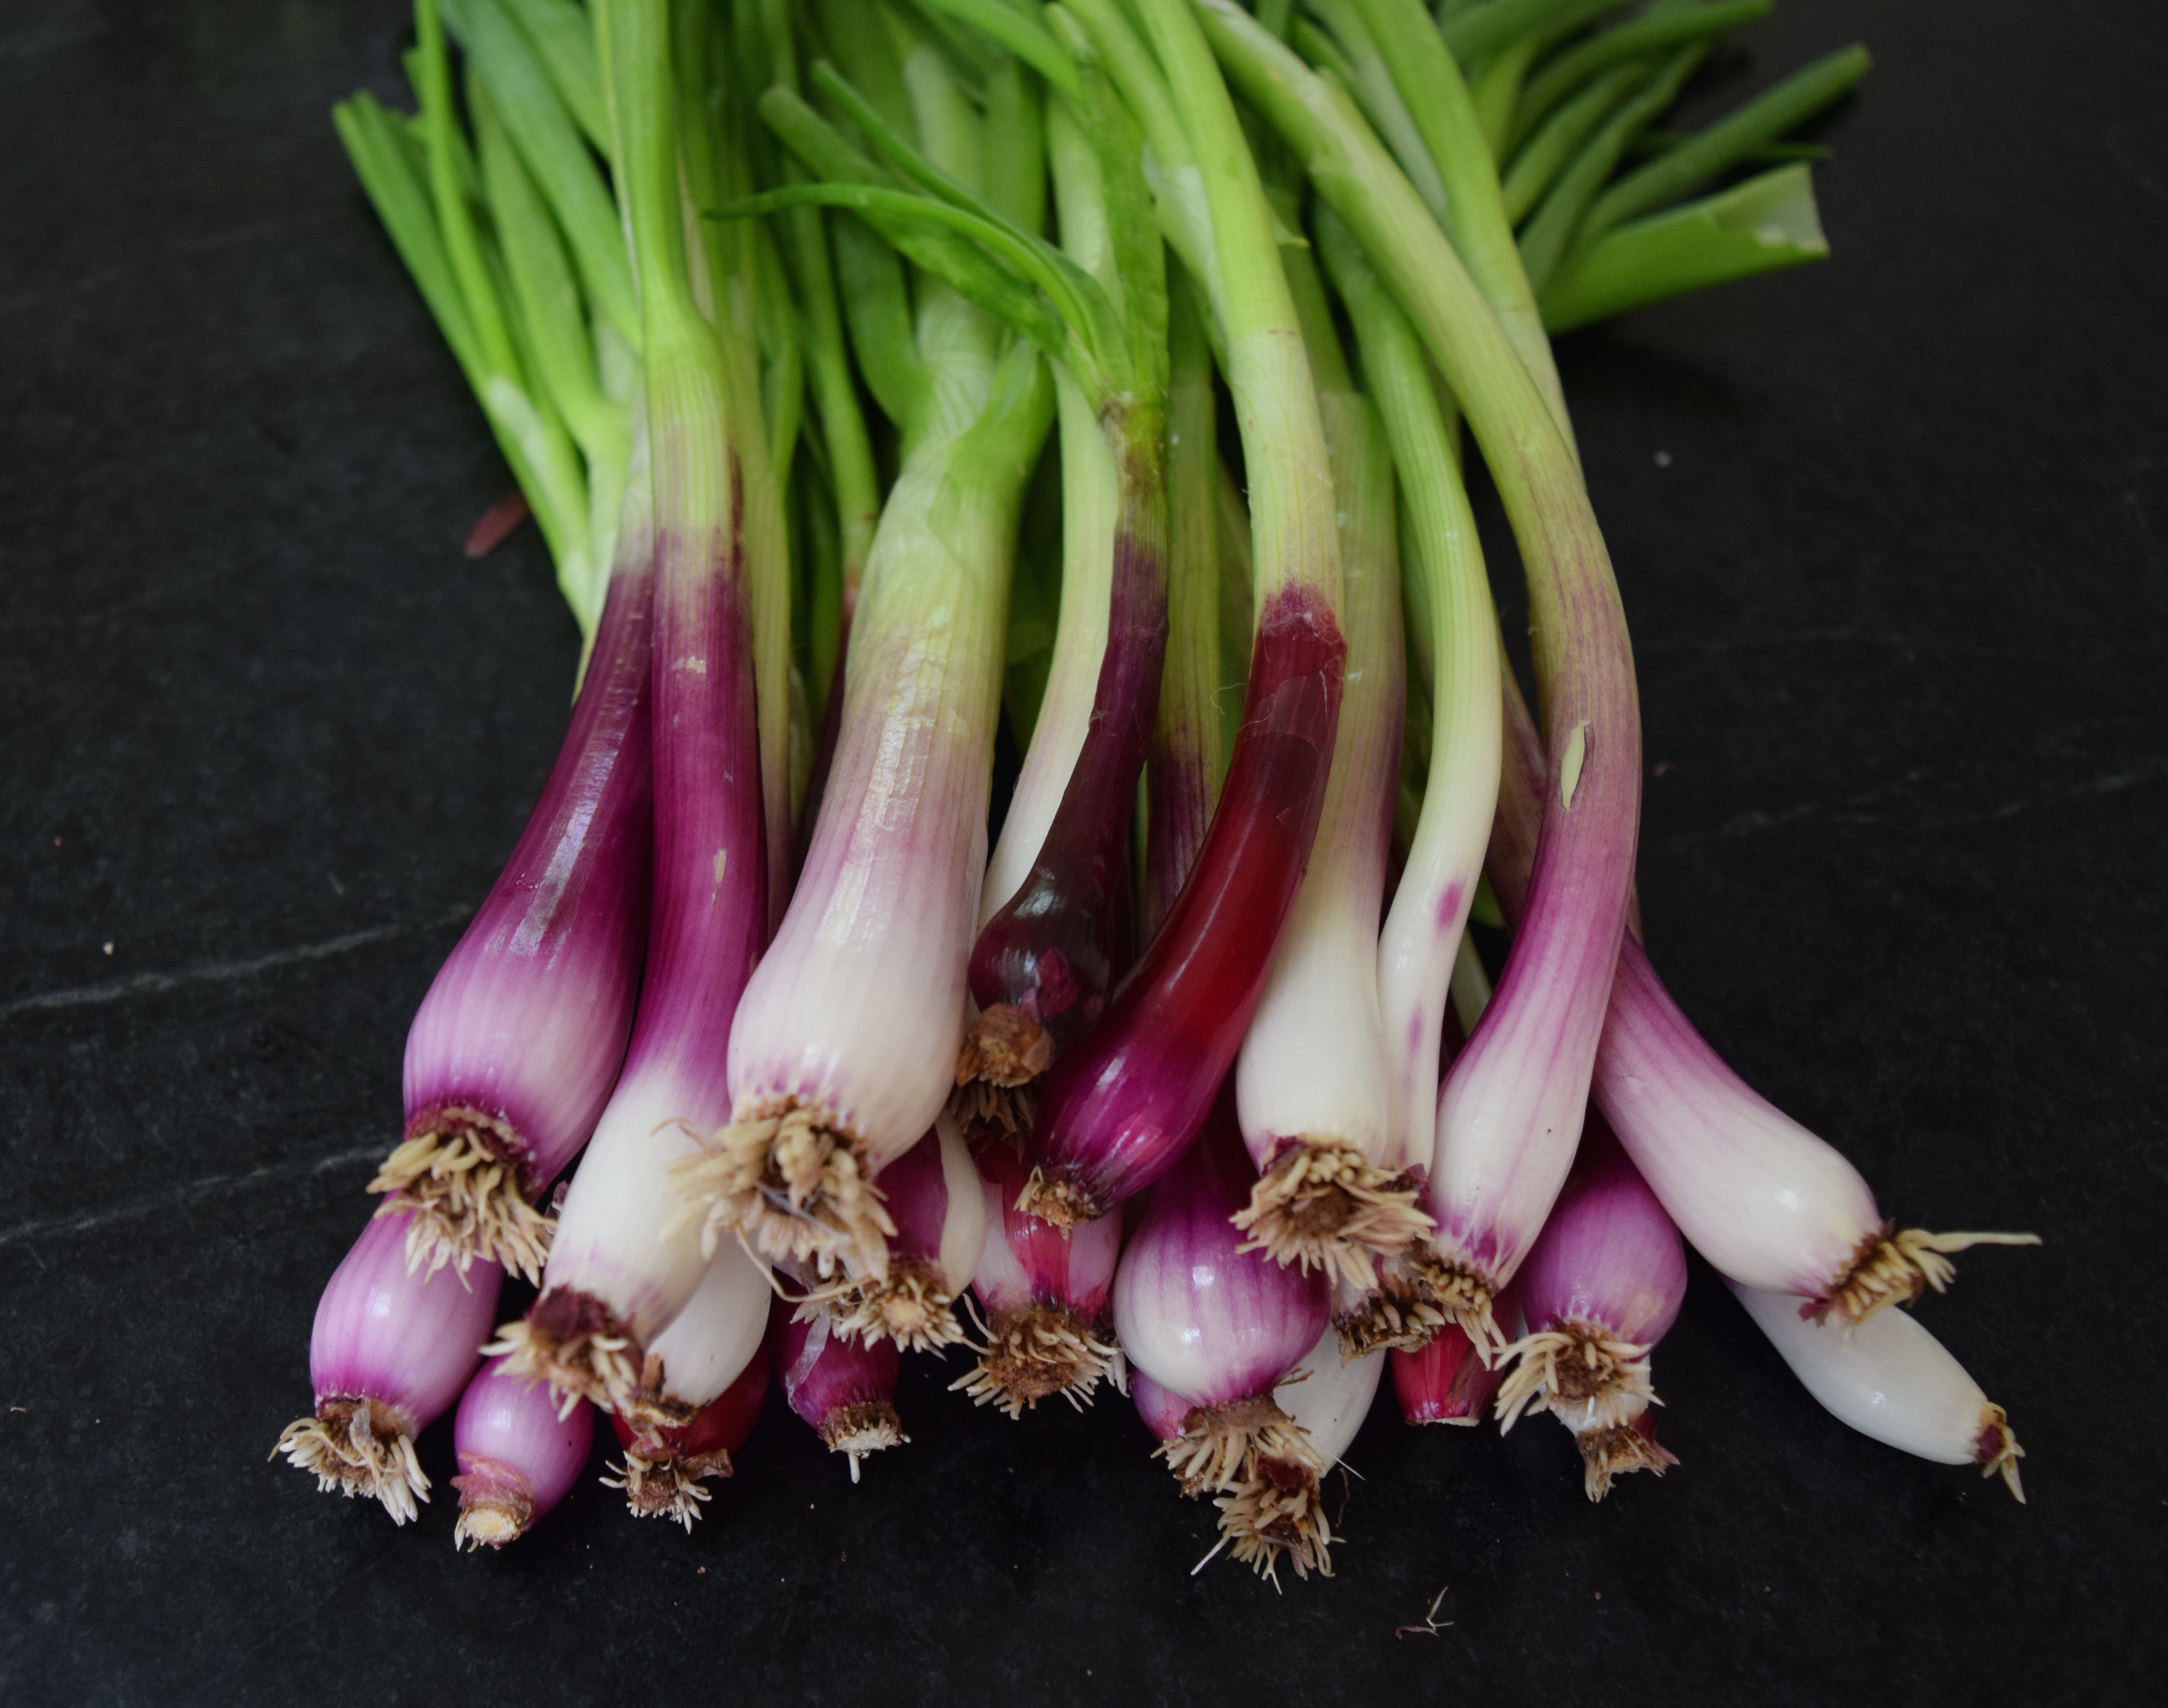
A few months ago, our team of volunteer chefs at The Nashville Food Project was tasked with making shepherd’s pie for 150. It was not Betty Crocker’s version. Noooo. This version included just-picked onions, carrots, chard ribs (instead of celery), garlic, and herbs — all vegetables found in the summer kitchen garden. The pies turned out so well I started making them for my family using whatever vegetables were growing in the garden.
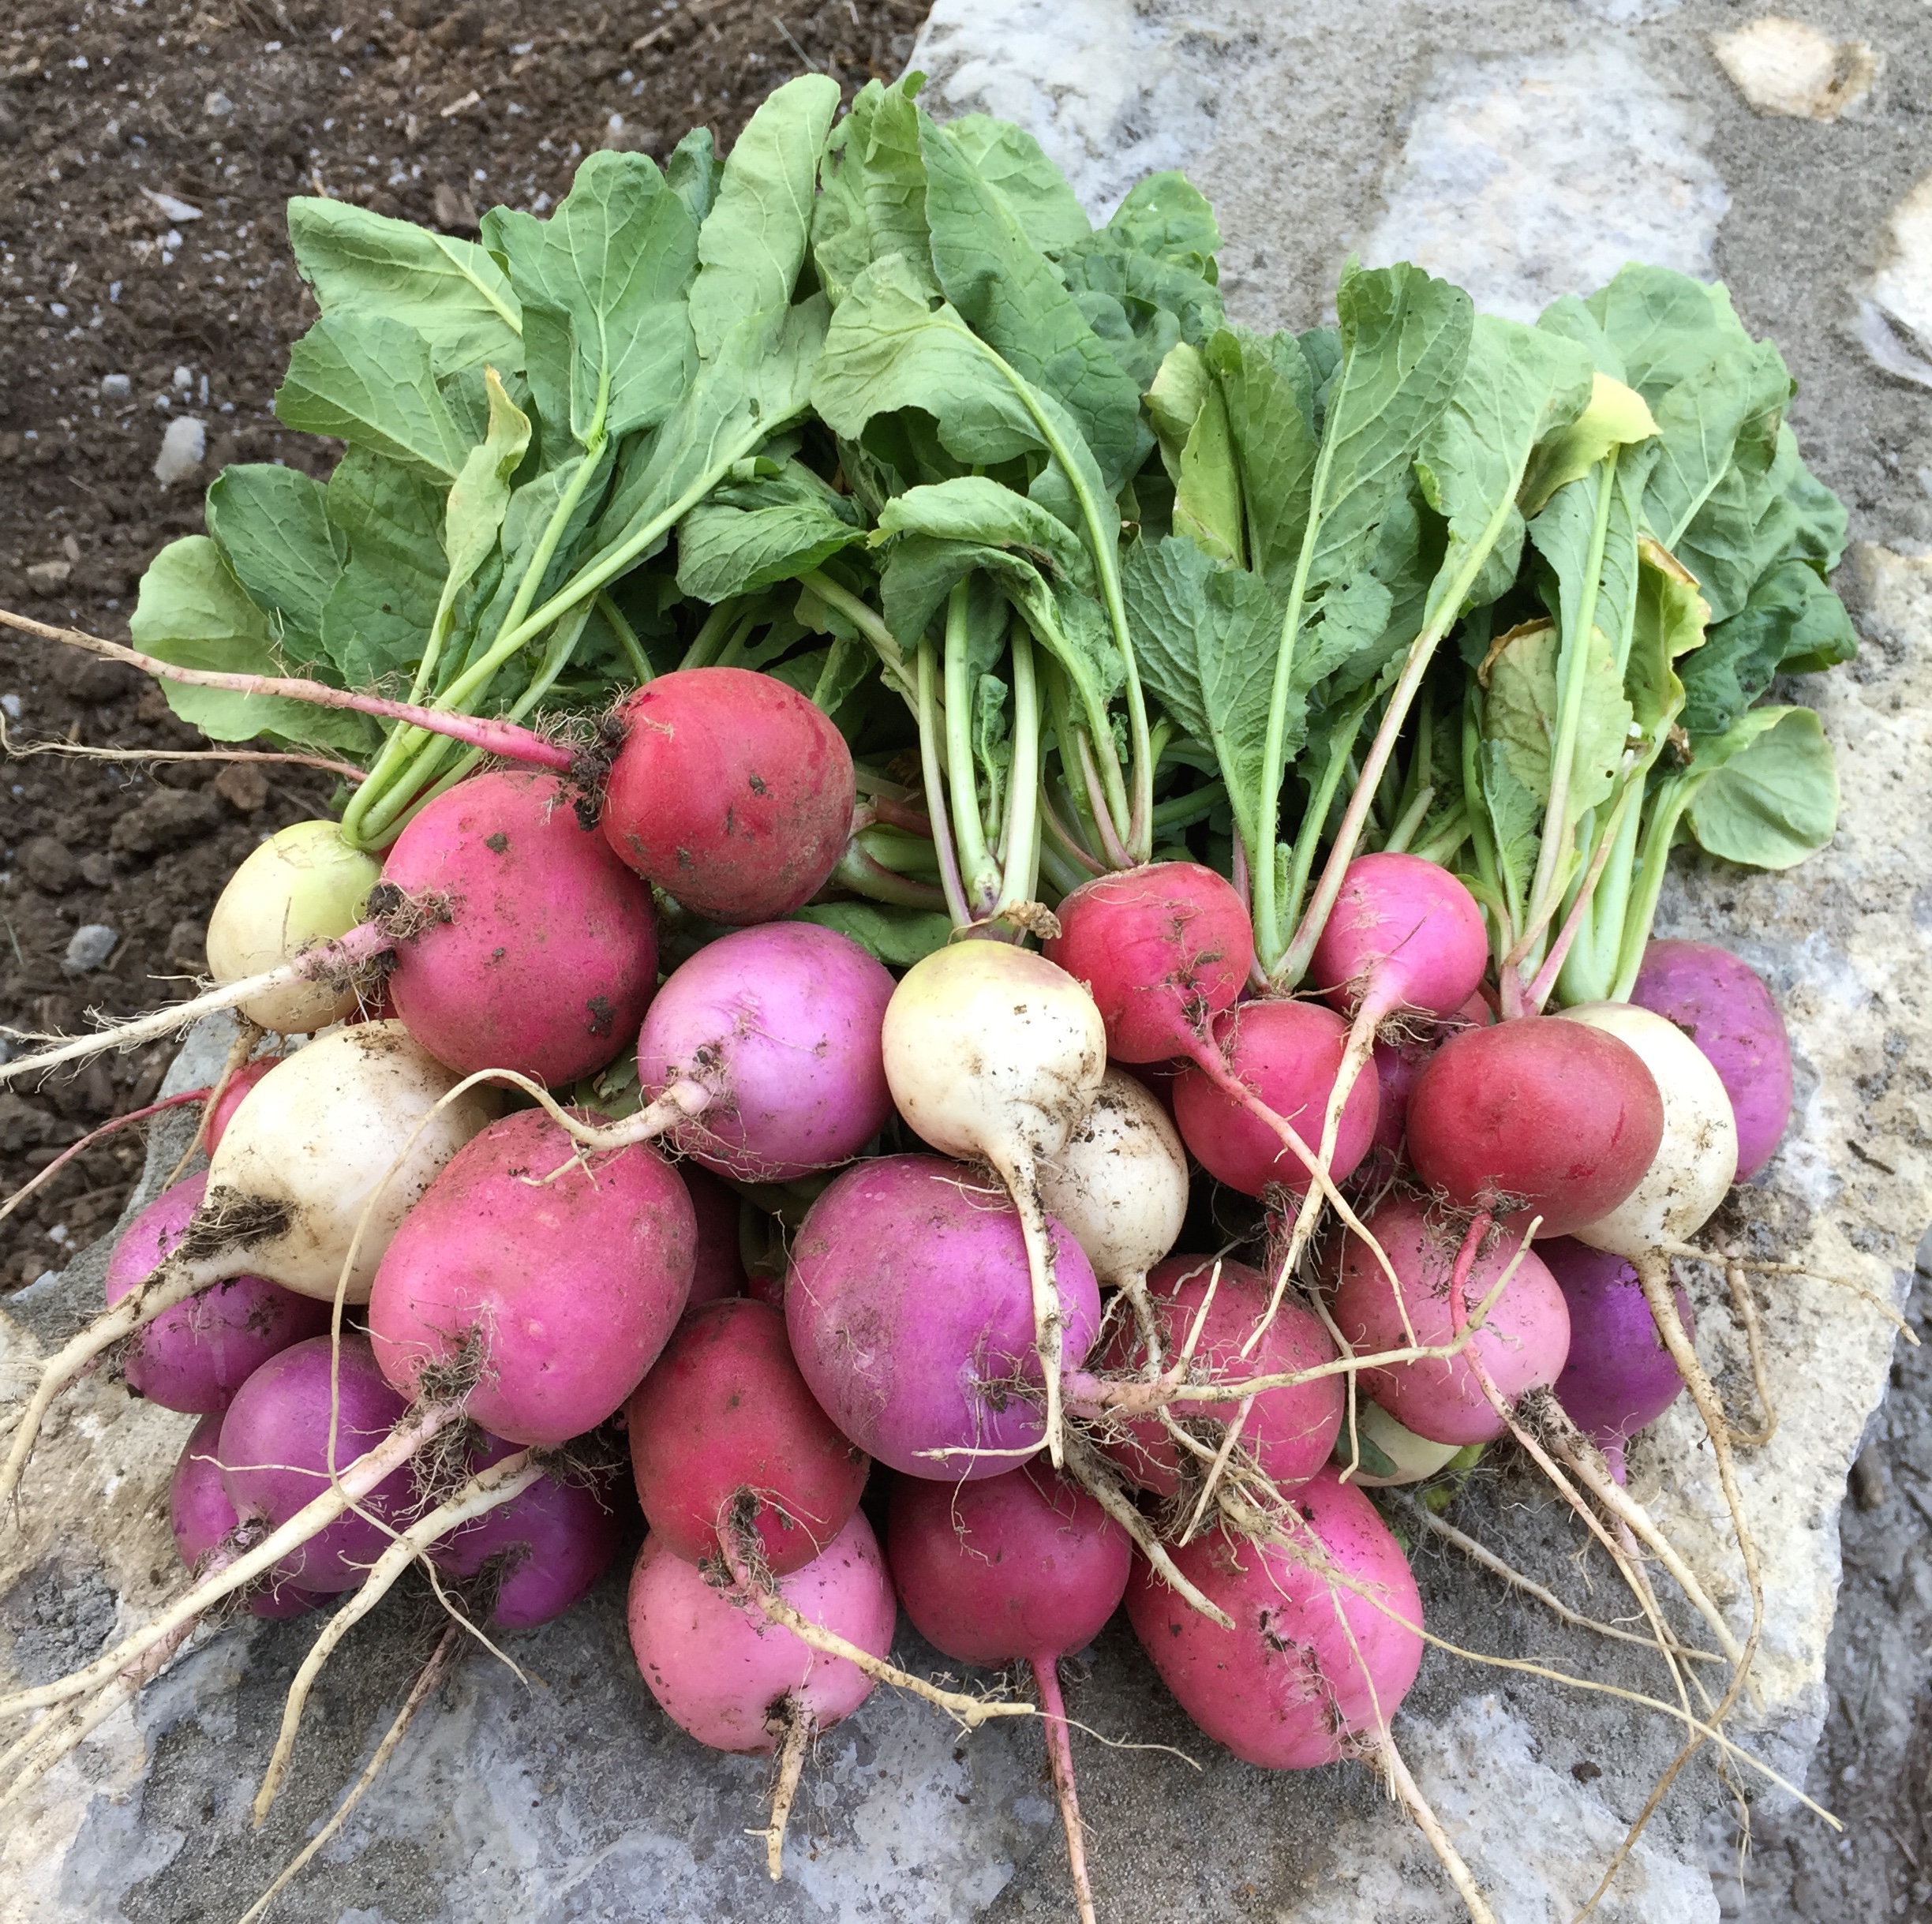
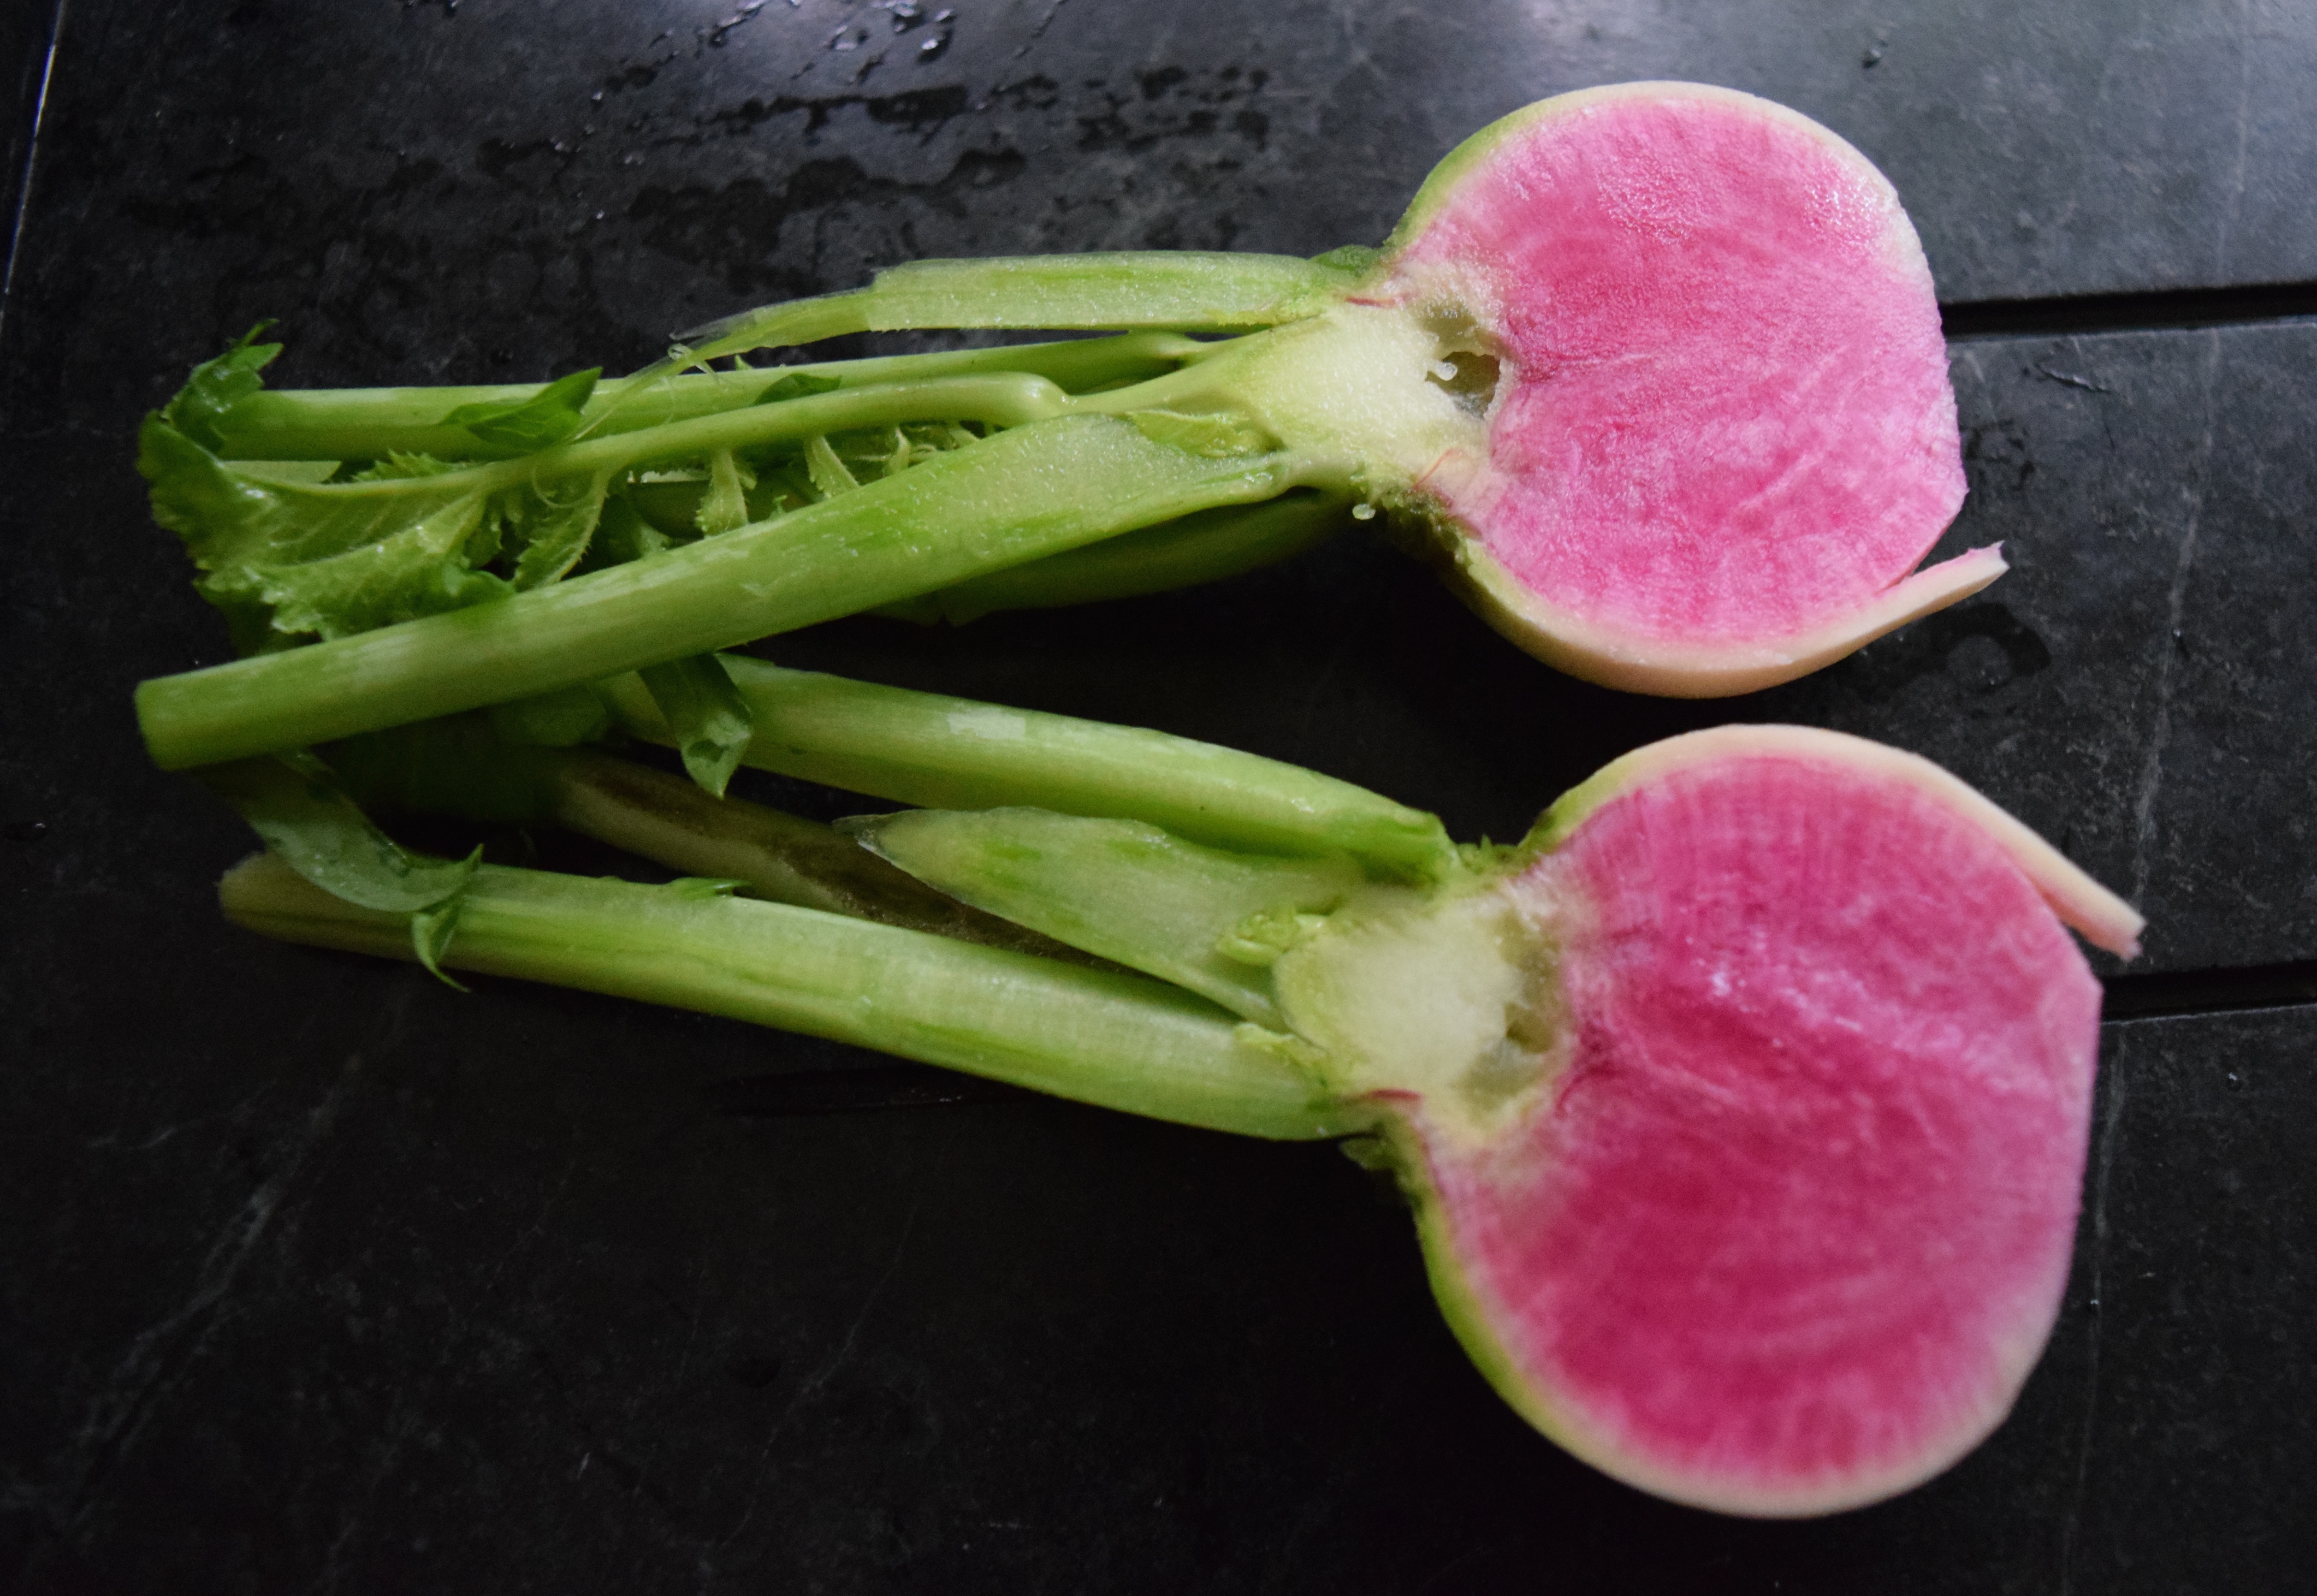
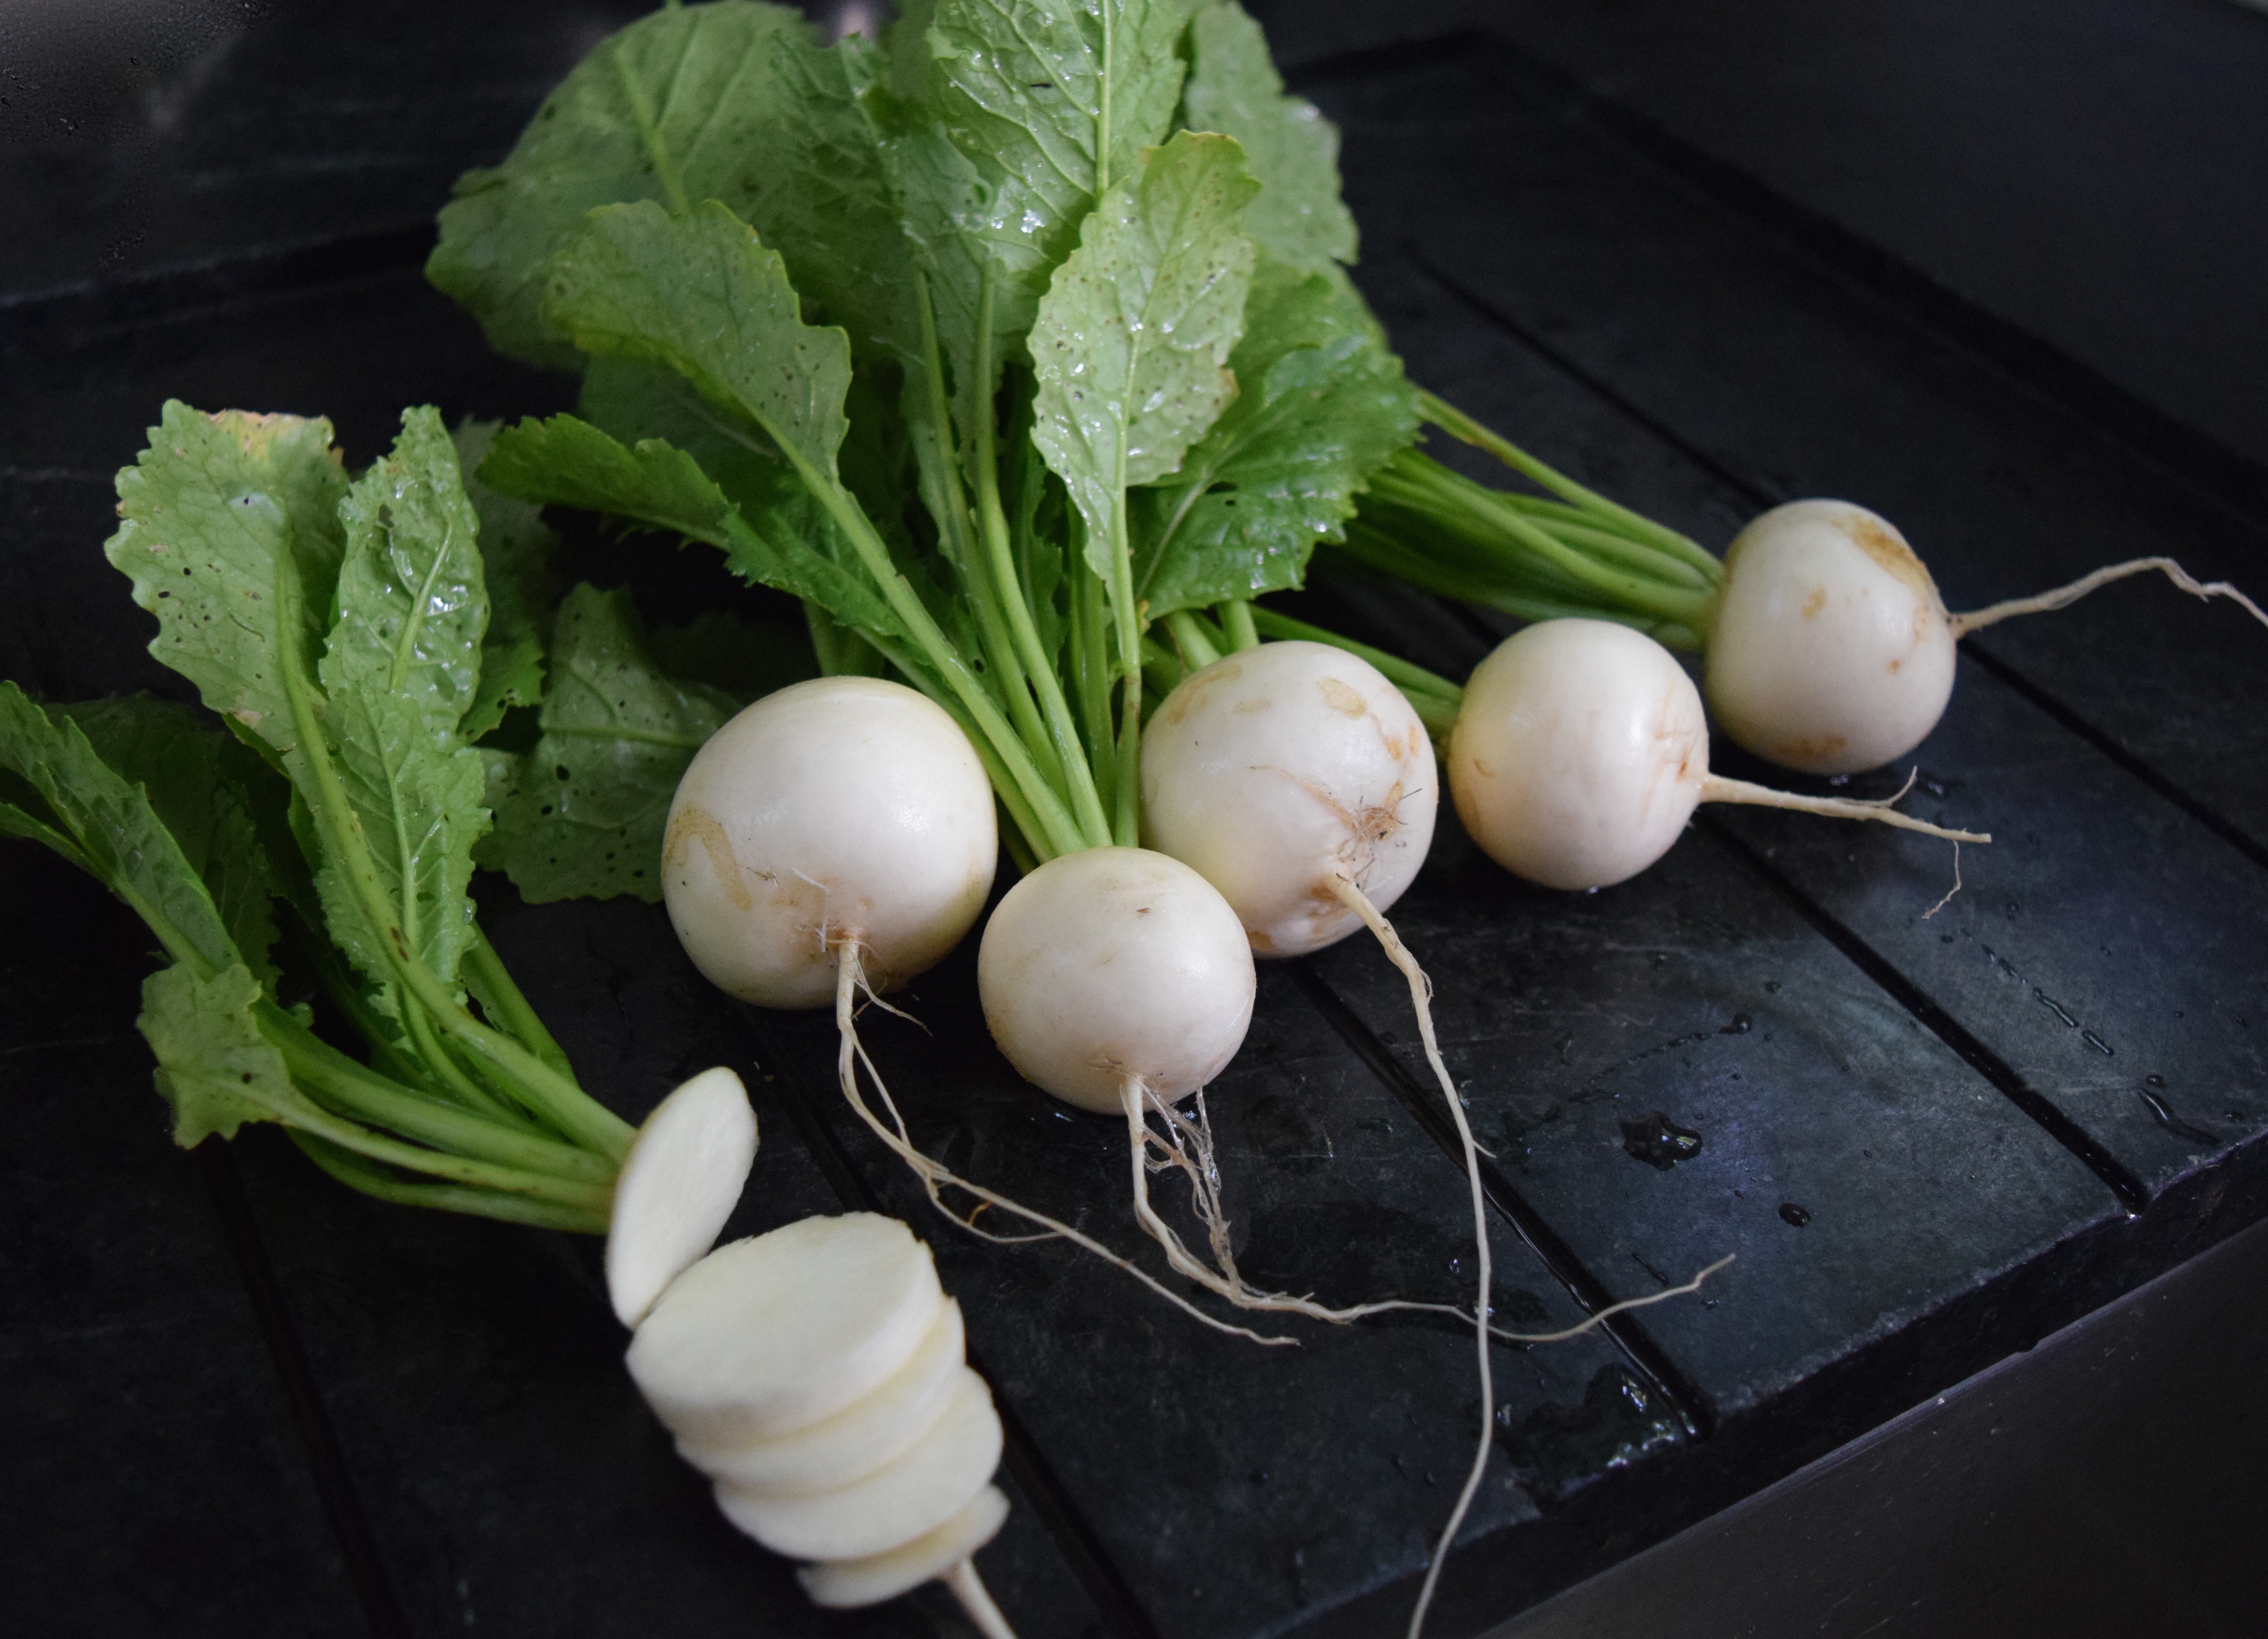
A word about ingredients: as long as you use onions and garlic as your base, you can add any vegetables from the garden, CSA box, or fridge. I added okra this time, and it was delicious. I have also been known to throw in a lone zucchini, eggplant, beet, or radishes from the fridge. They all work. Sometimes, I add turnips to the mashed potatoes; that works, too.
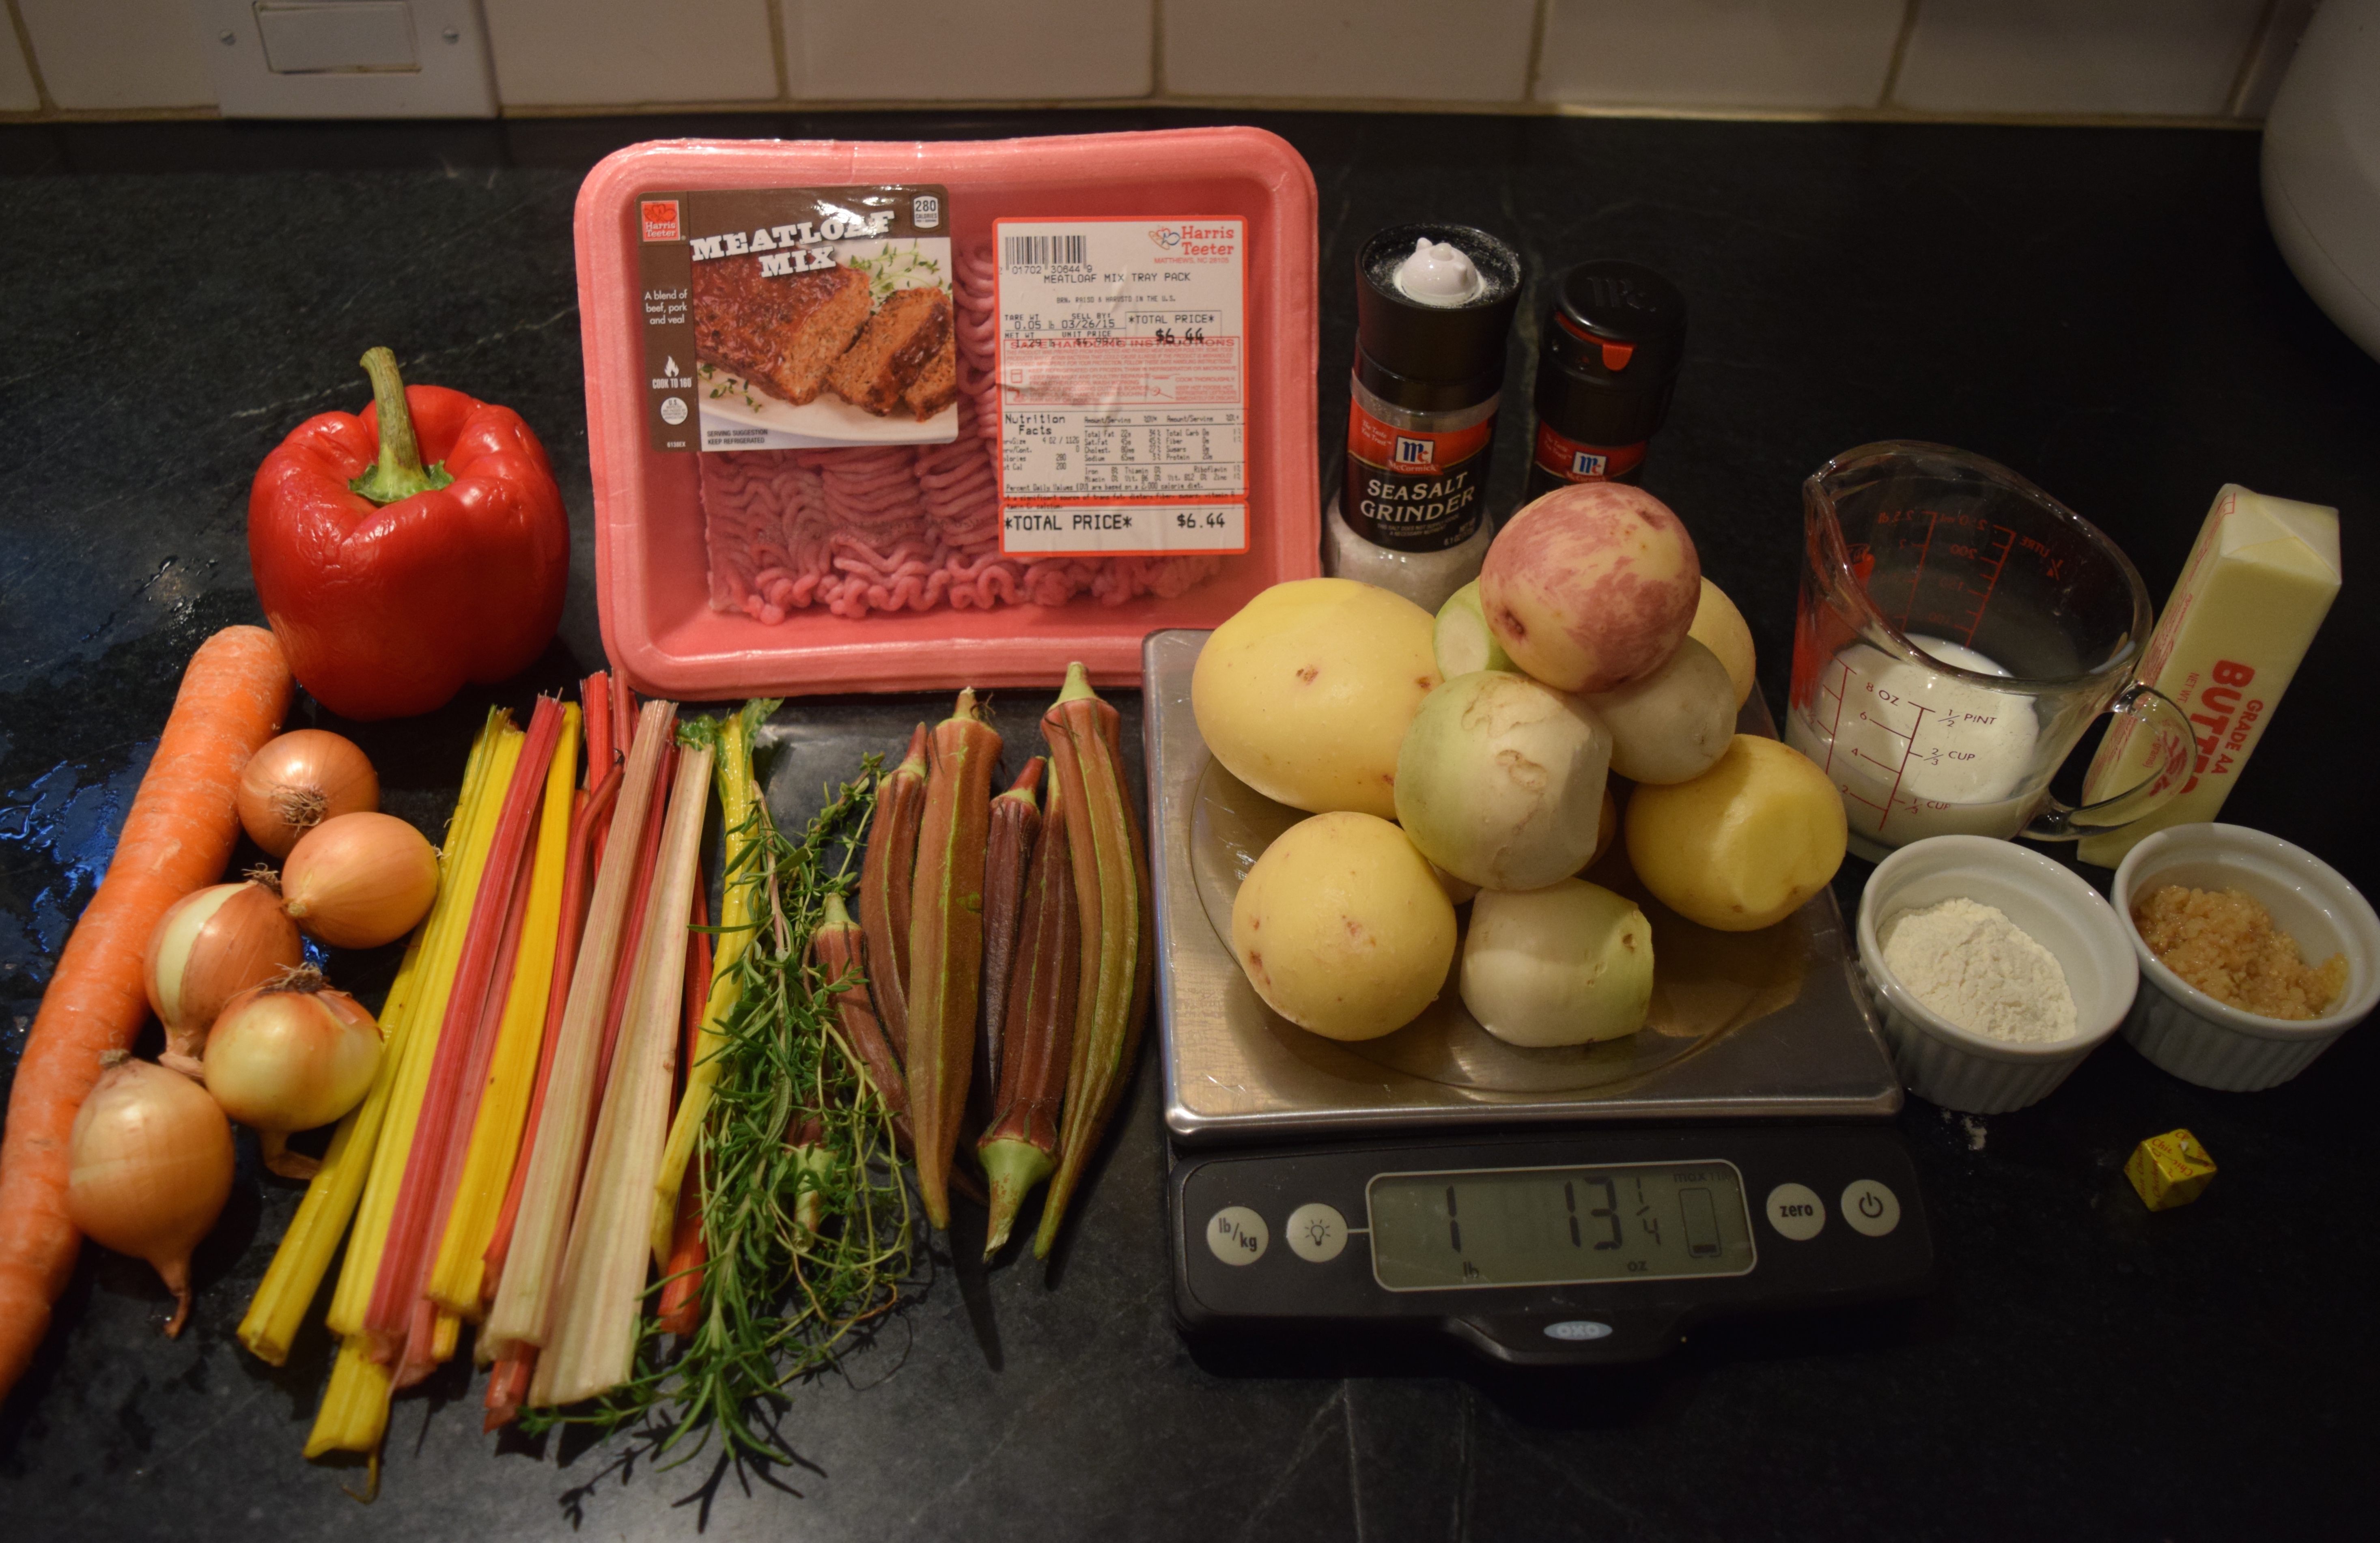
Ingredients:
Yield: serves 4-5
Mashed Potato Topping:
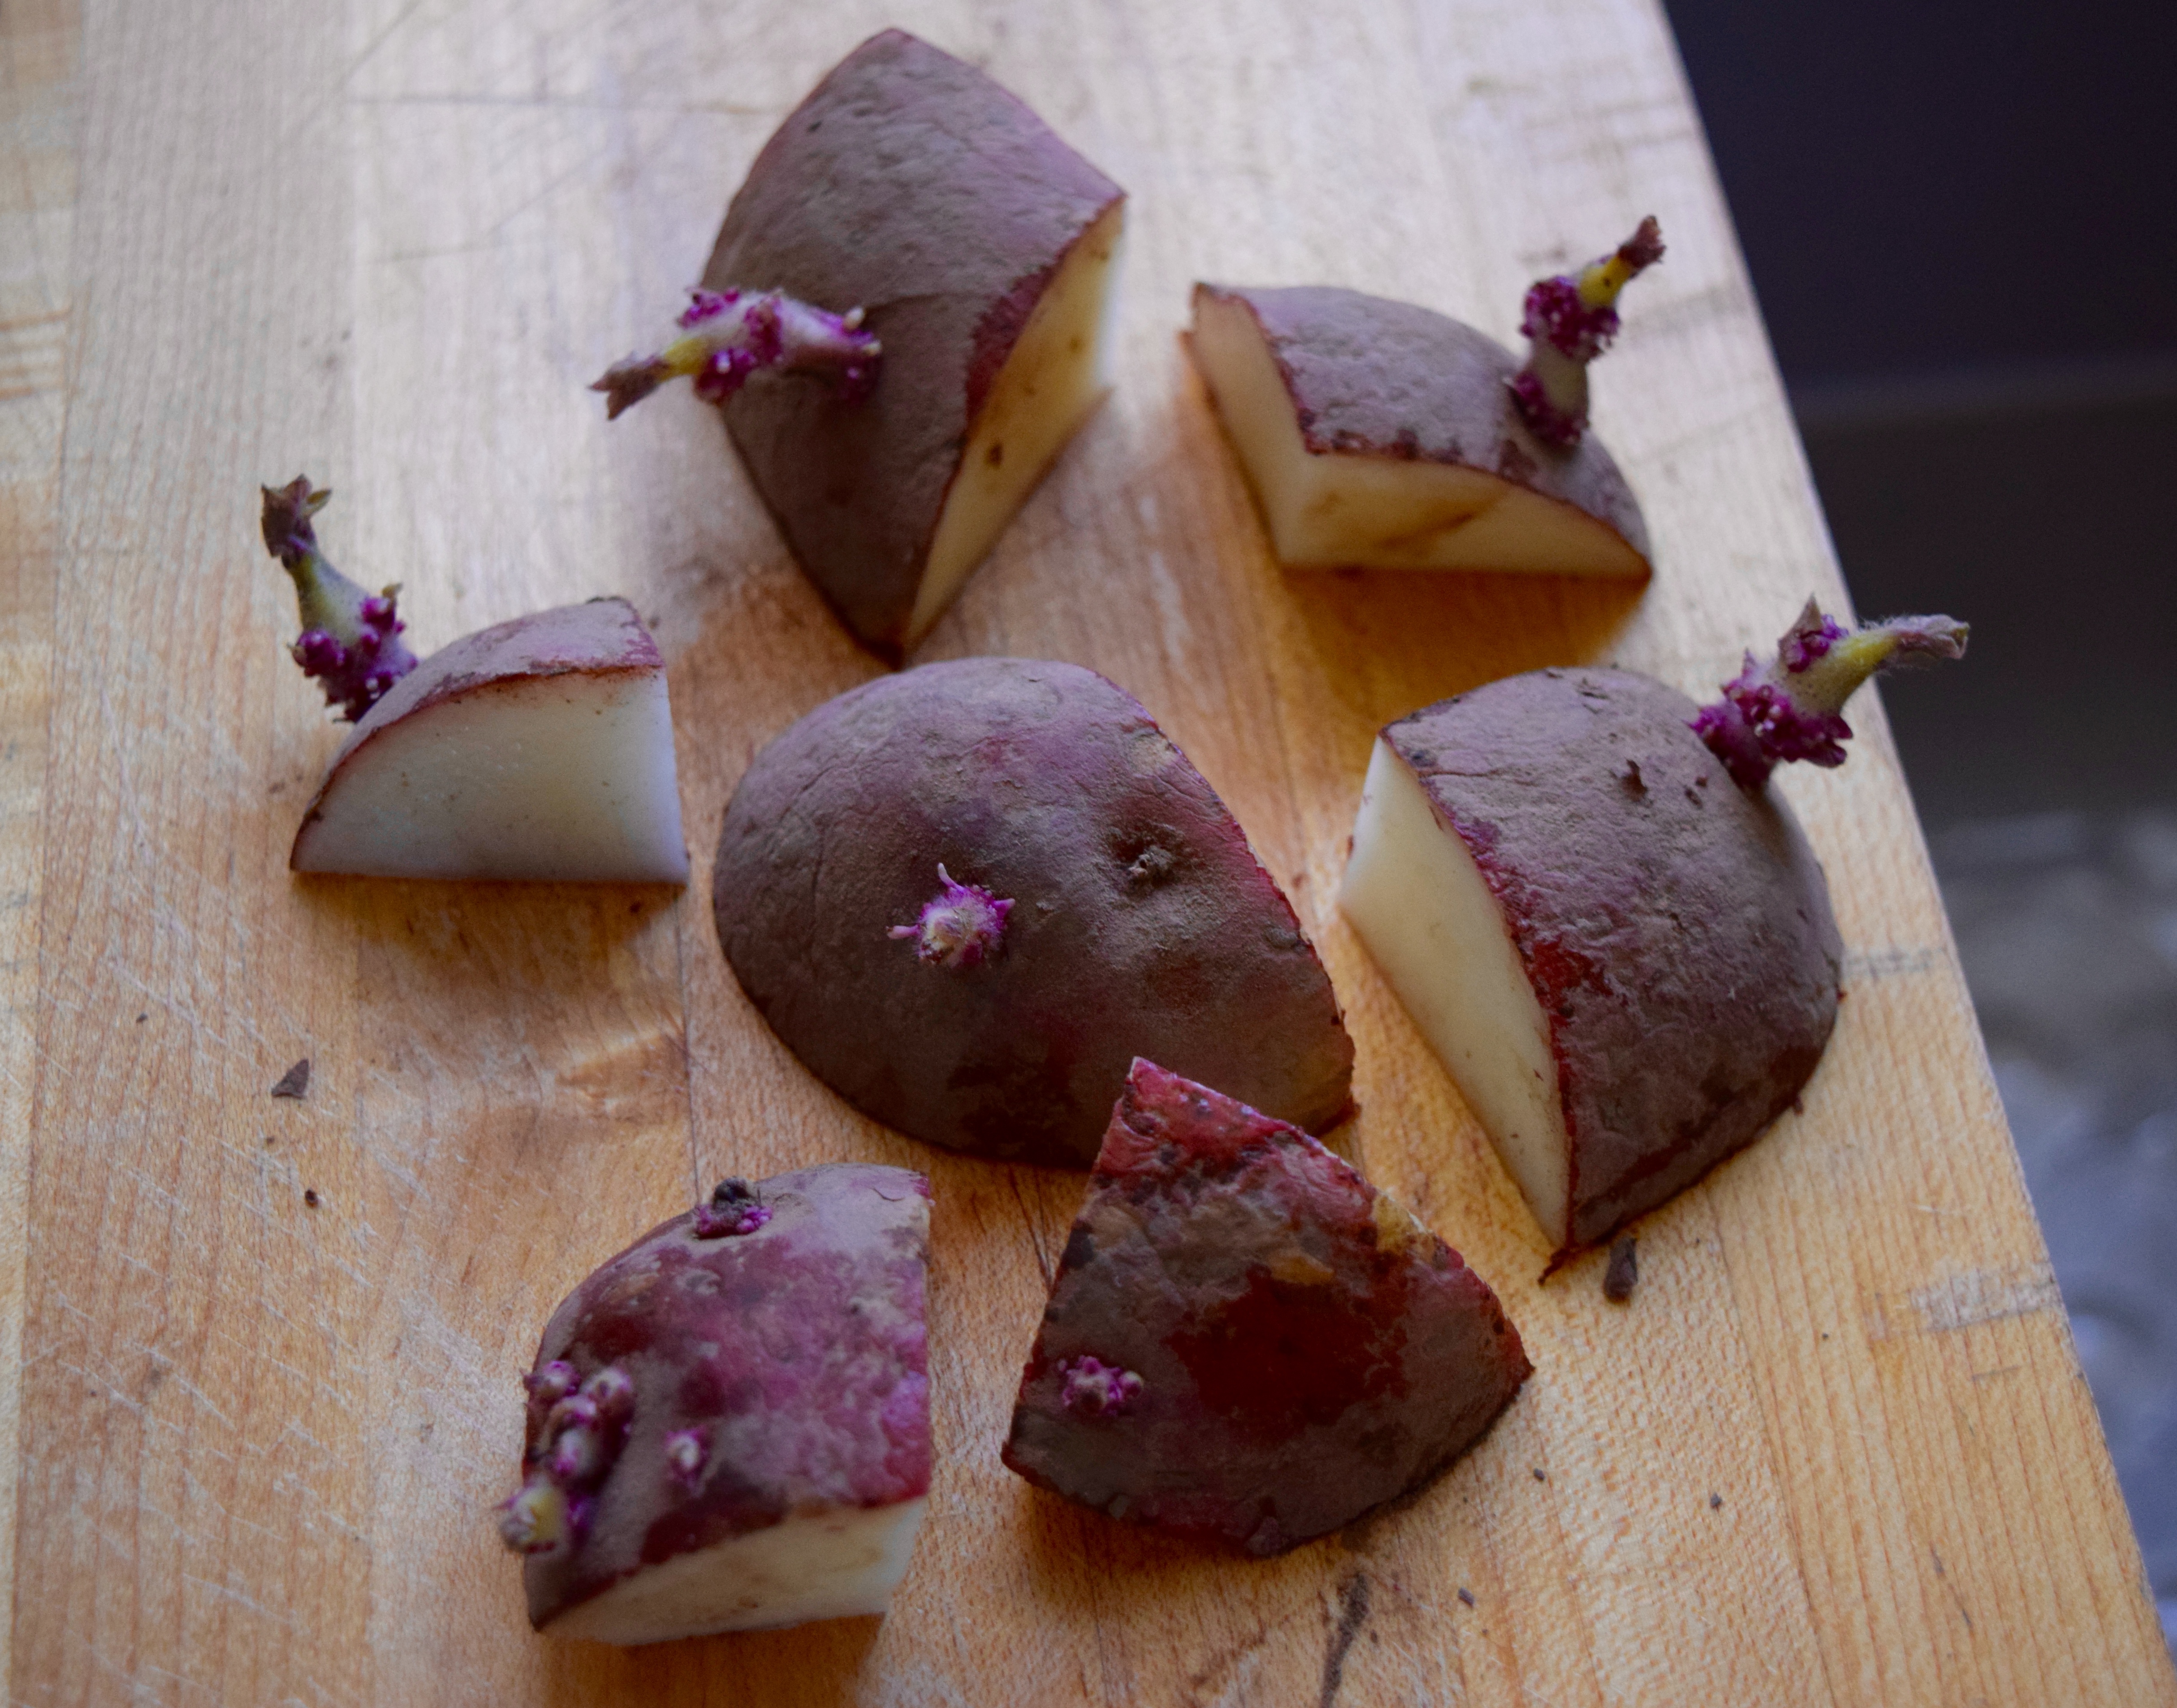
1¾ pounds potatoes, scrubbed and unpeeled (I used some turnips, too)
2 tablespoons butter
¼ cup milk
1 teaspoon salt
Vegetable Filling:
¼ cup olive oil
1 medium onion
1 large carrot, scrubbed
2 large stalks of celery, or 6-8 thin ribs of chard
6 okra pods (optional)
1 sweet red pepper, cored and seeded
2 tablespoons minced garlic
salt and pepper, to taste
Meat Filling:
1⅓ pounds of ground meat: beef, pork, veal, lamb, or venison
salt and pepper, to taste
1 tablespoon minced garlic
1 long sprig rosemary, leaves snipped and chopped
4 sprigs thyme, leaves snipped
5 sprigs parsley, leaves snipped and chopped
Instructions:
Preheat oven to 350º.
One 9-inch square or round pan or ceramic casserole dish.
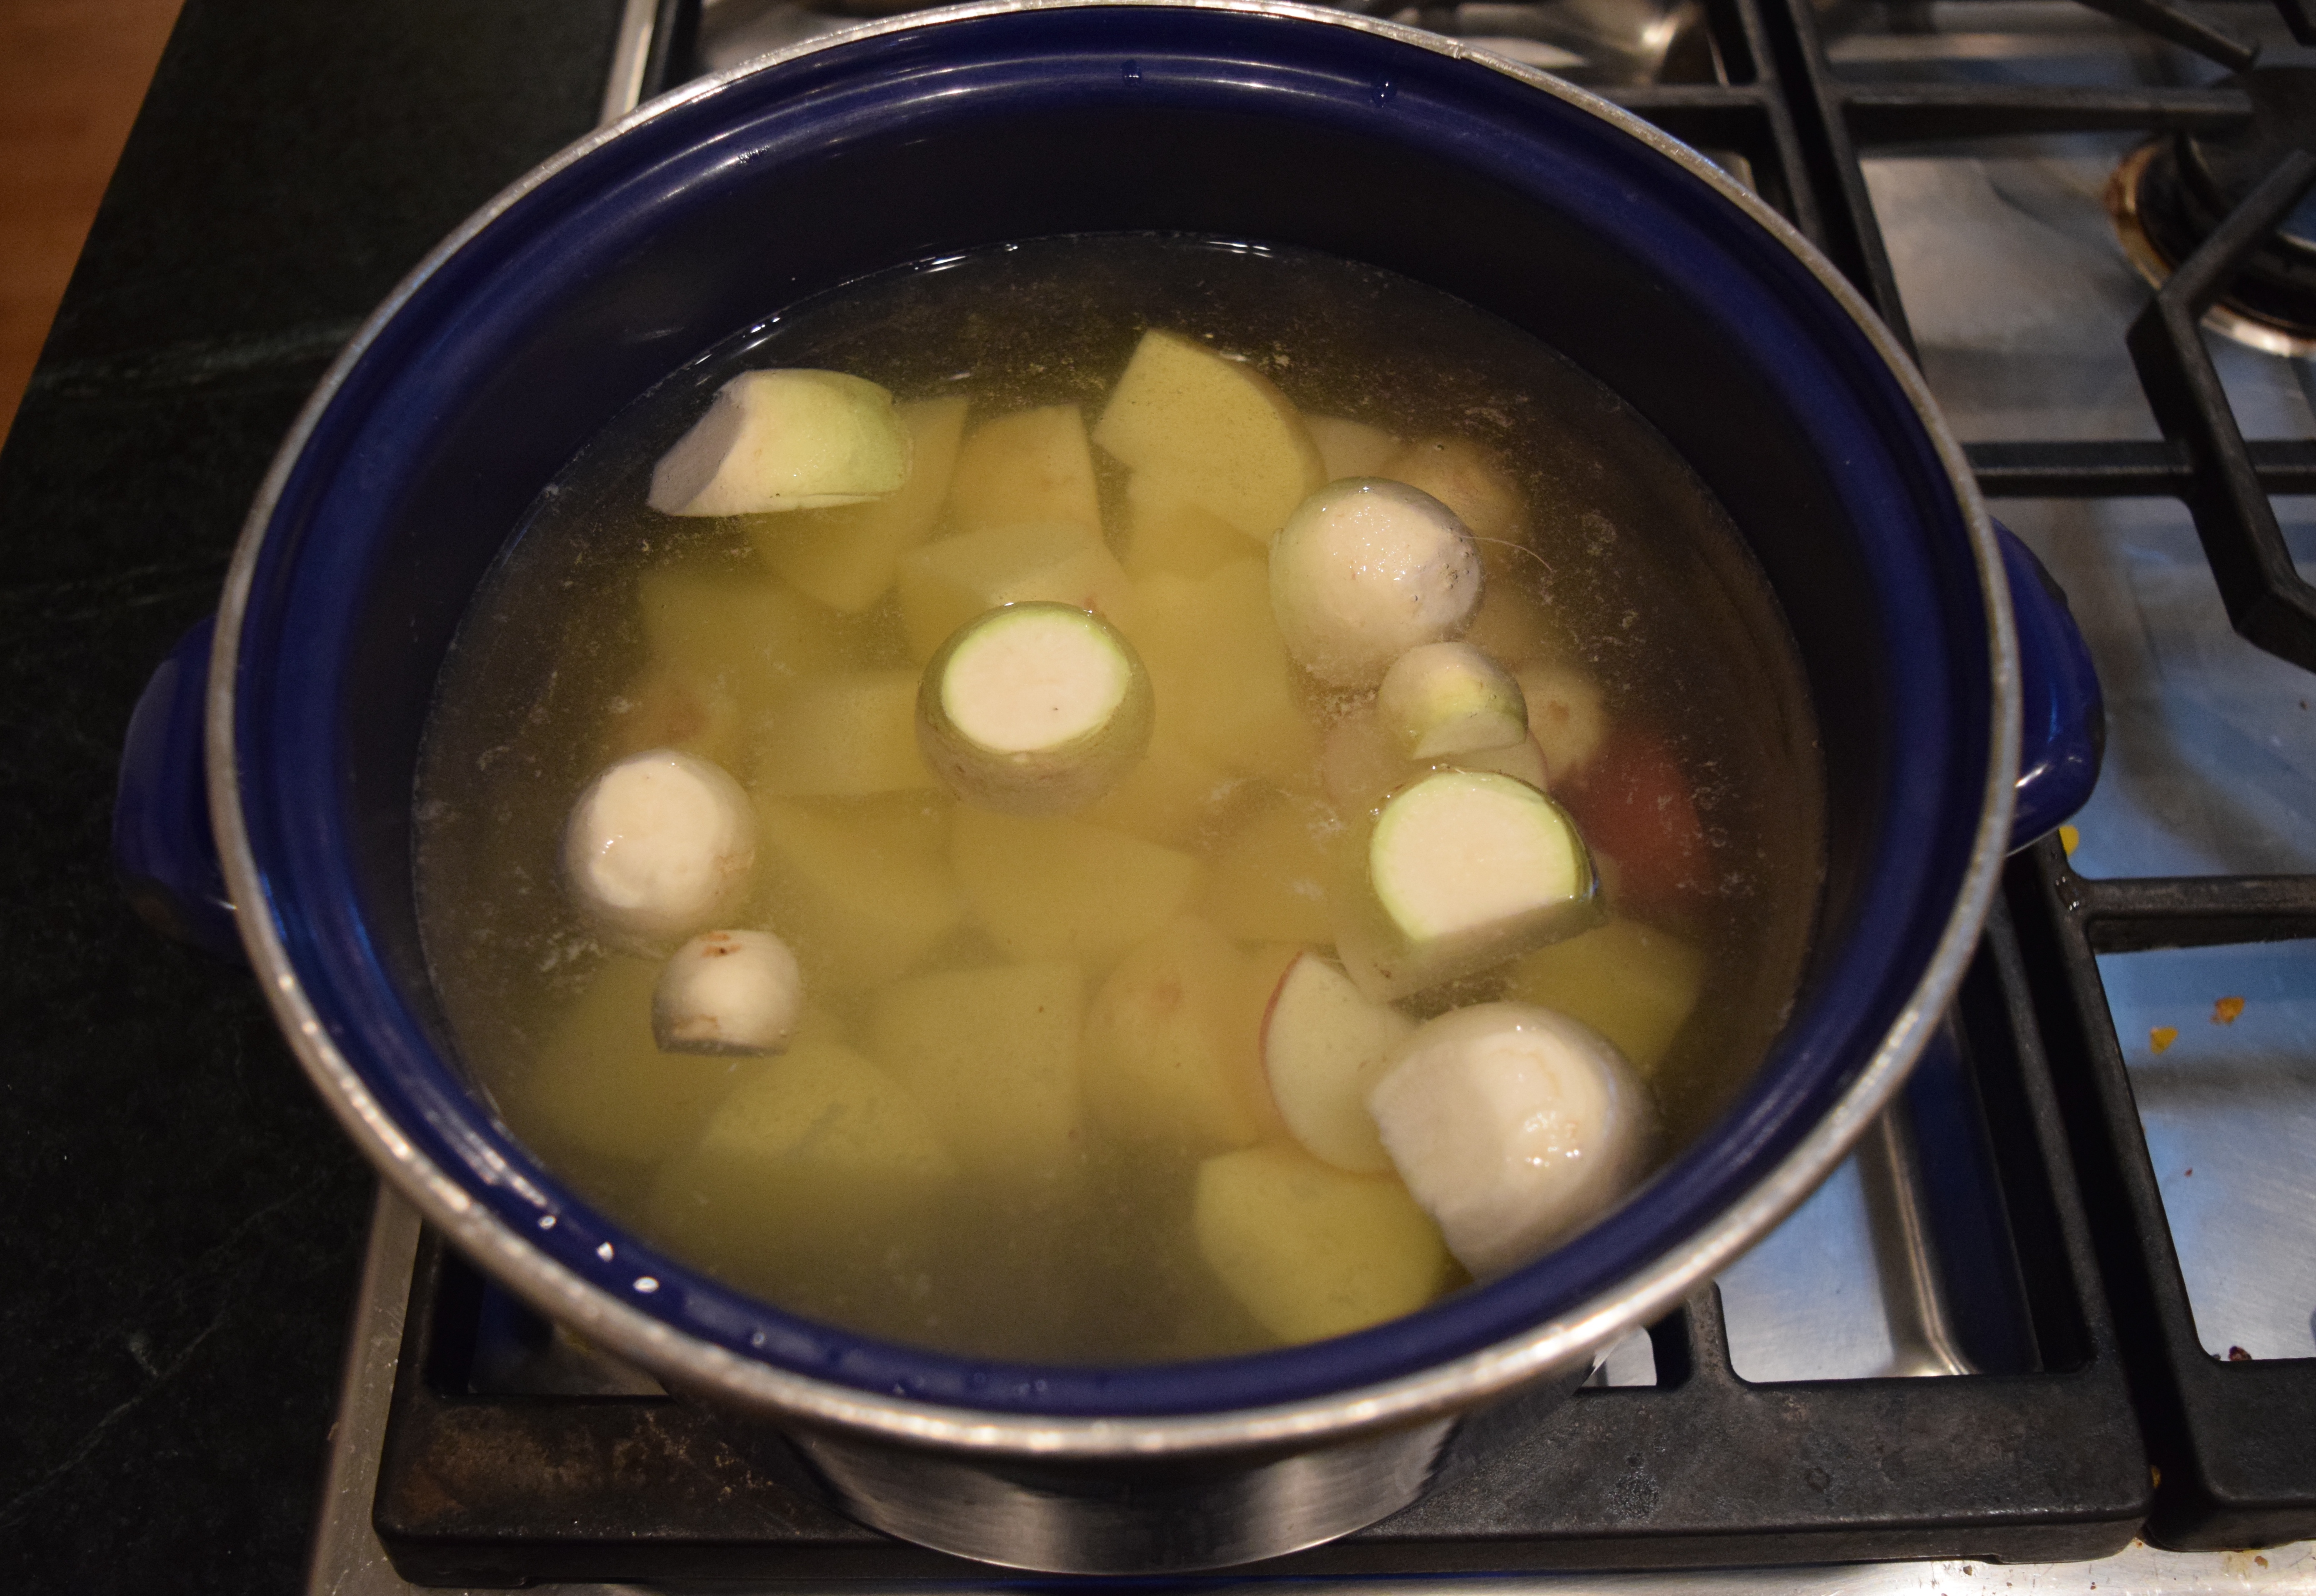
Cook potatoes for the mashed potato topping:
Scrub potatoes, chop into 2-inch chunks. Add to a pot of cold water. Bring to a boil and simmer for 10-15 minutes. Insert a fork into a potato to test for doneness. If the potato is too firm, cook 5 more minutes. Do not overcook; you do not want the potatoes to become waterlogged and break apart when you test them. If that happens, drain well and use and next time cook the potatoes for less time.
Prep vegetables for the food processor:
-Onions: peel the outer skin and quarter.
-Carrots: scrub the skin and chop into 3-inch chunks.
-Sweet Red Pepper: remove the stem, core, and seeds, and chop into 3-inch chunks.
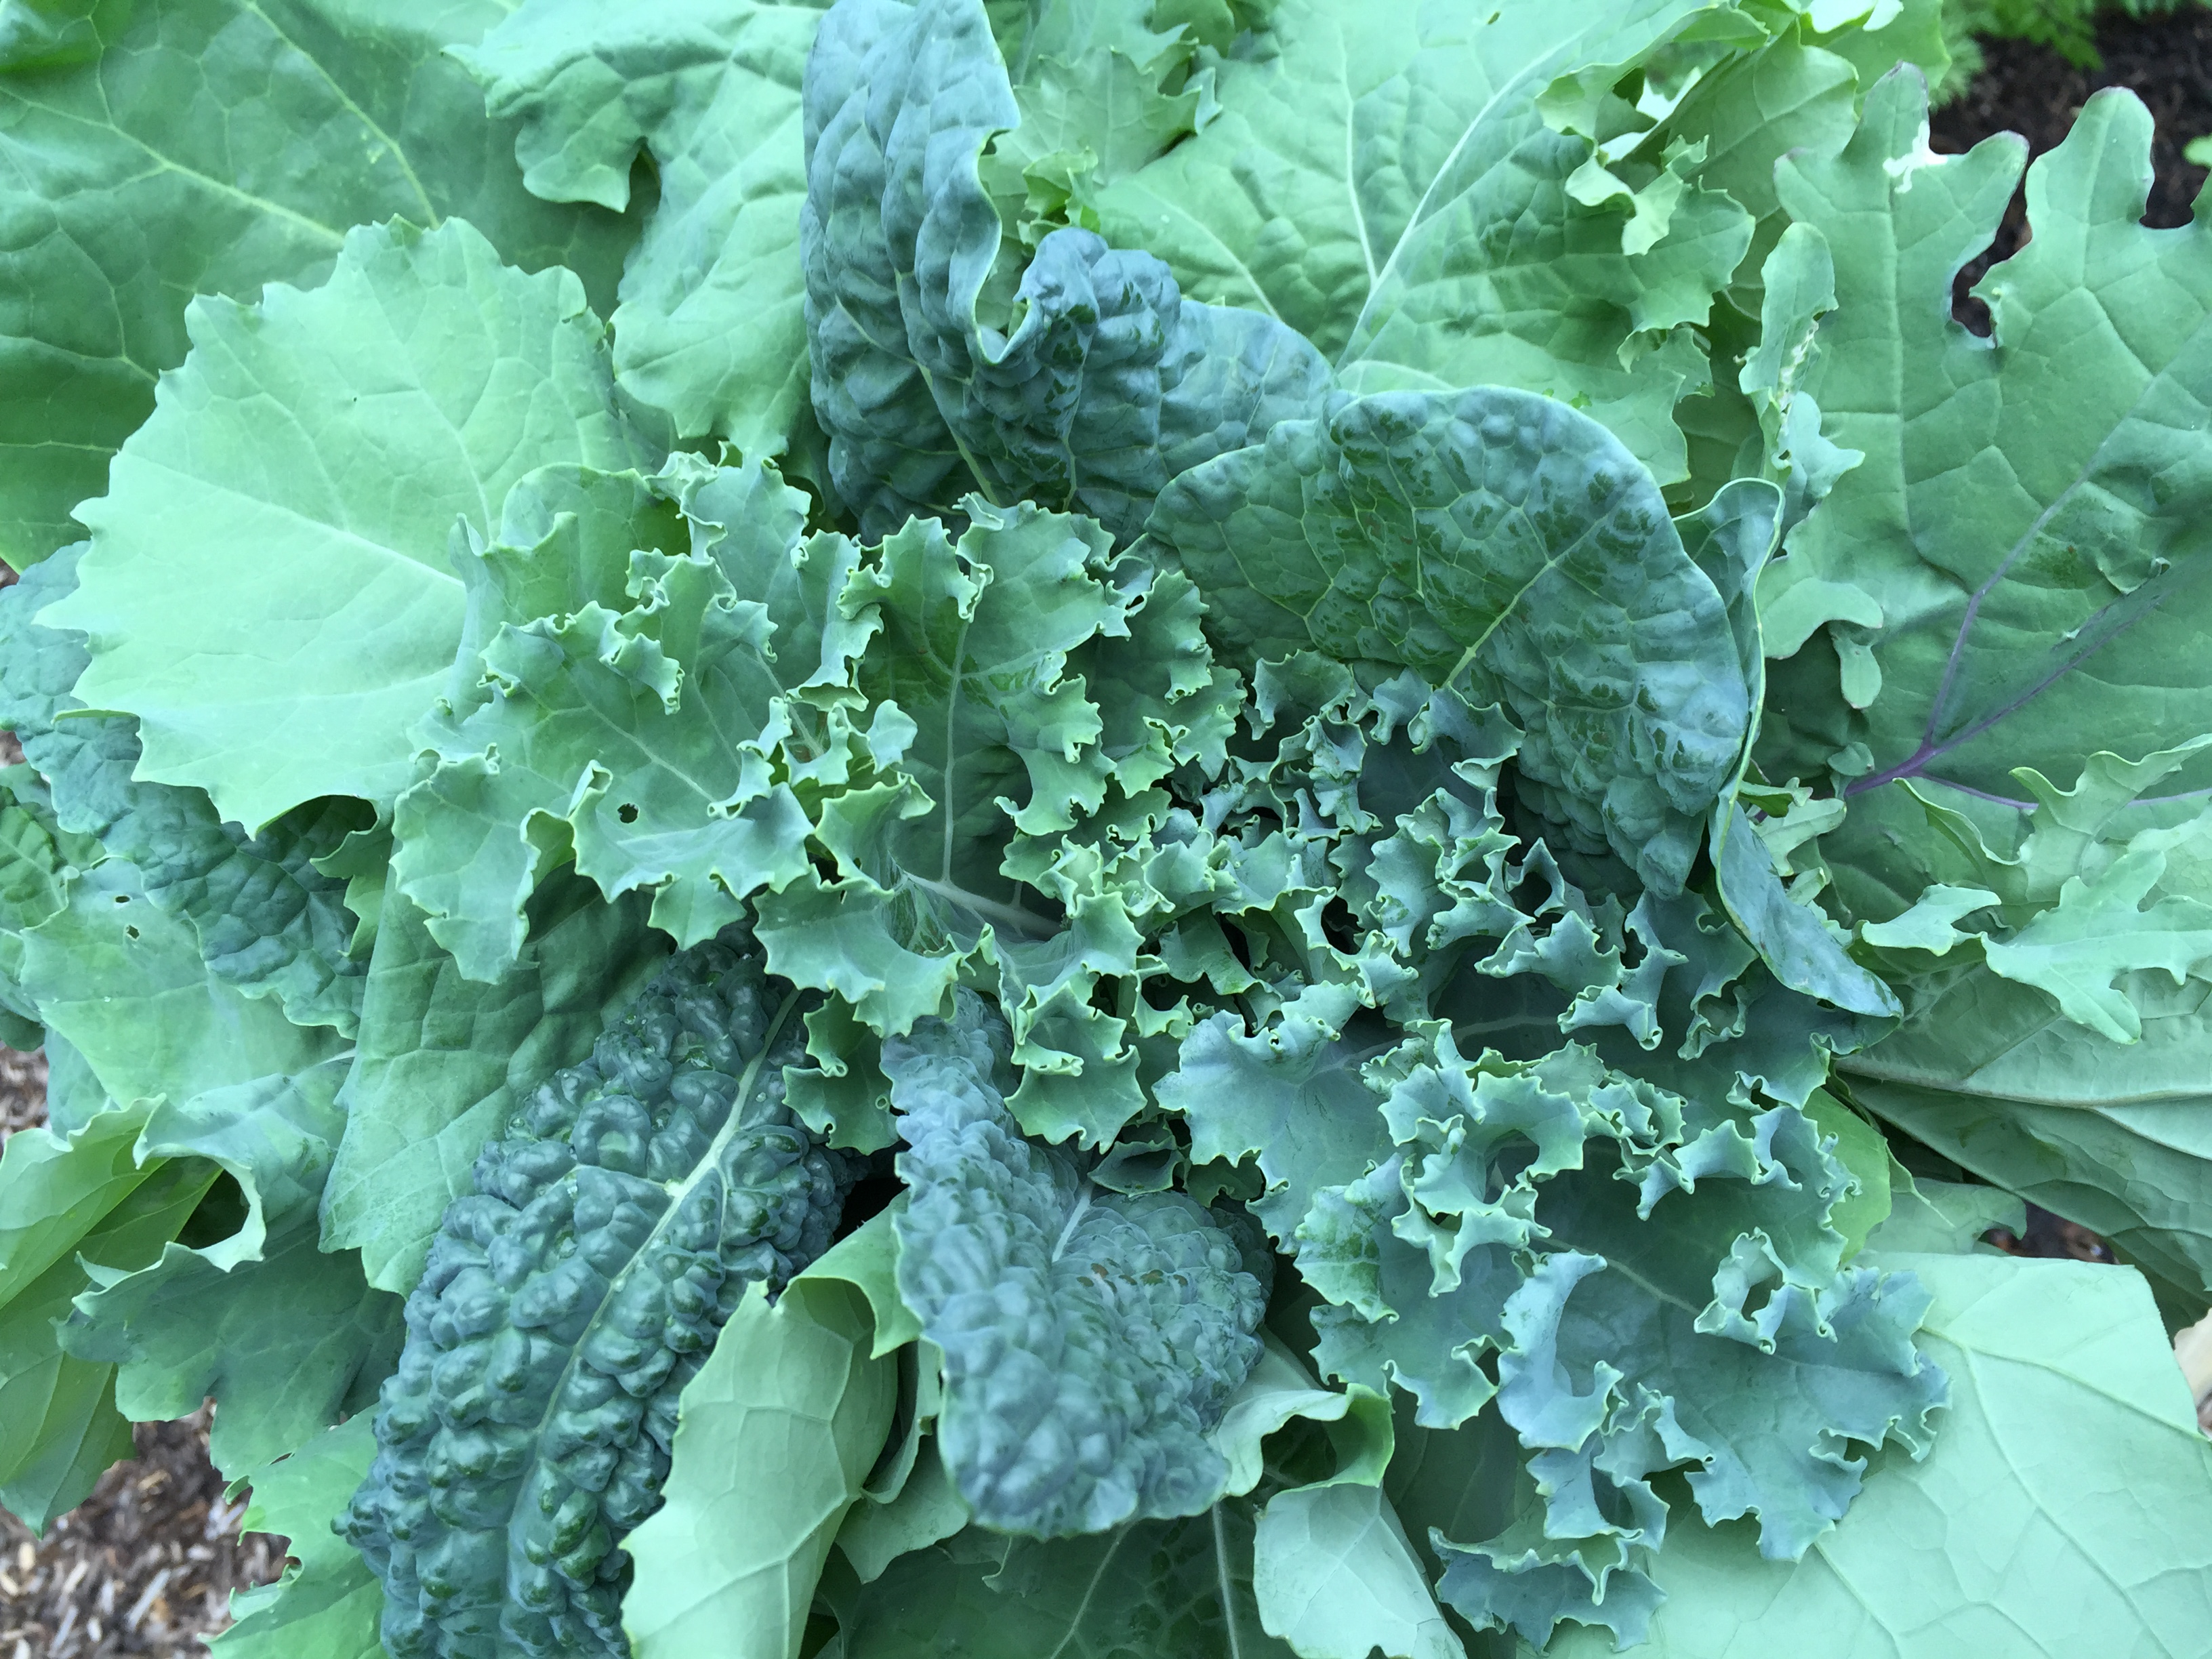
-Celery or chard ribs: I didn’t have celery, so I picked rainbow chard from my vegetable garden. To prep the ribs, chop off leaves and cut stalks into 4-inch segments. (Save the leaves for something else.)

Okra: I’m growing a gorgeous red variety of okra. Red okra’s long pods are generally tender enough to eat, unlike green okra where a long pod is too fibrous to cook. To prep okra: cut off the stem and chop into 3-inch segments.

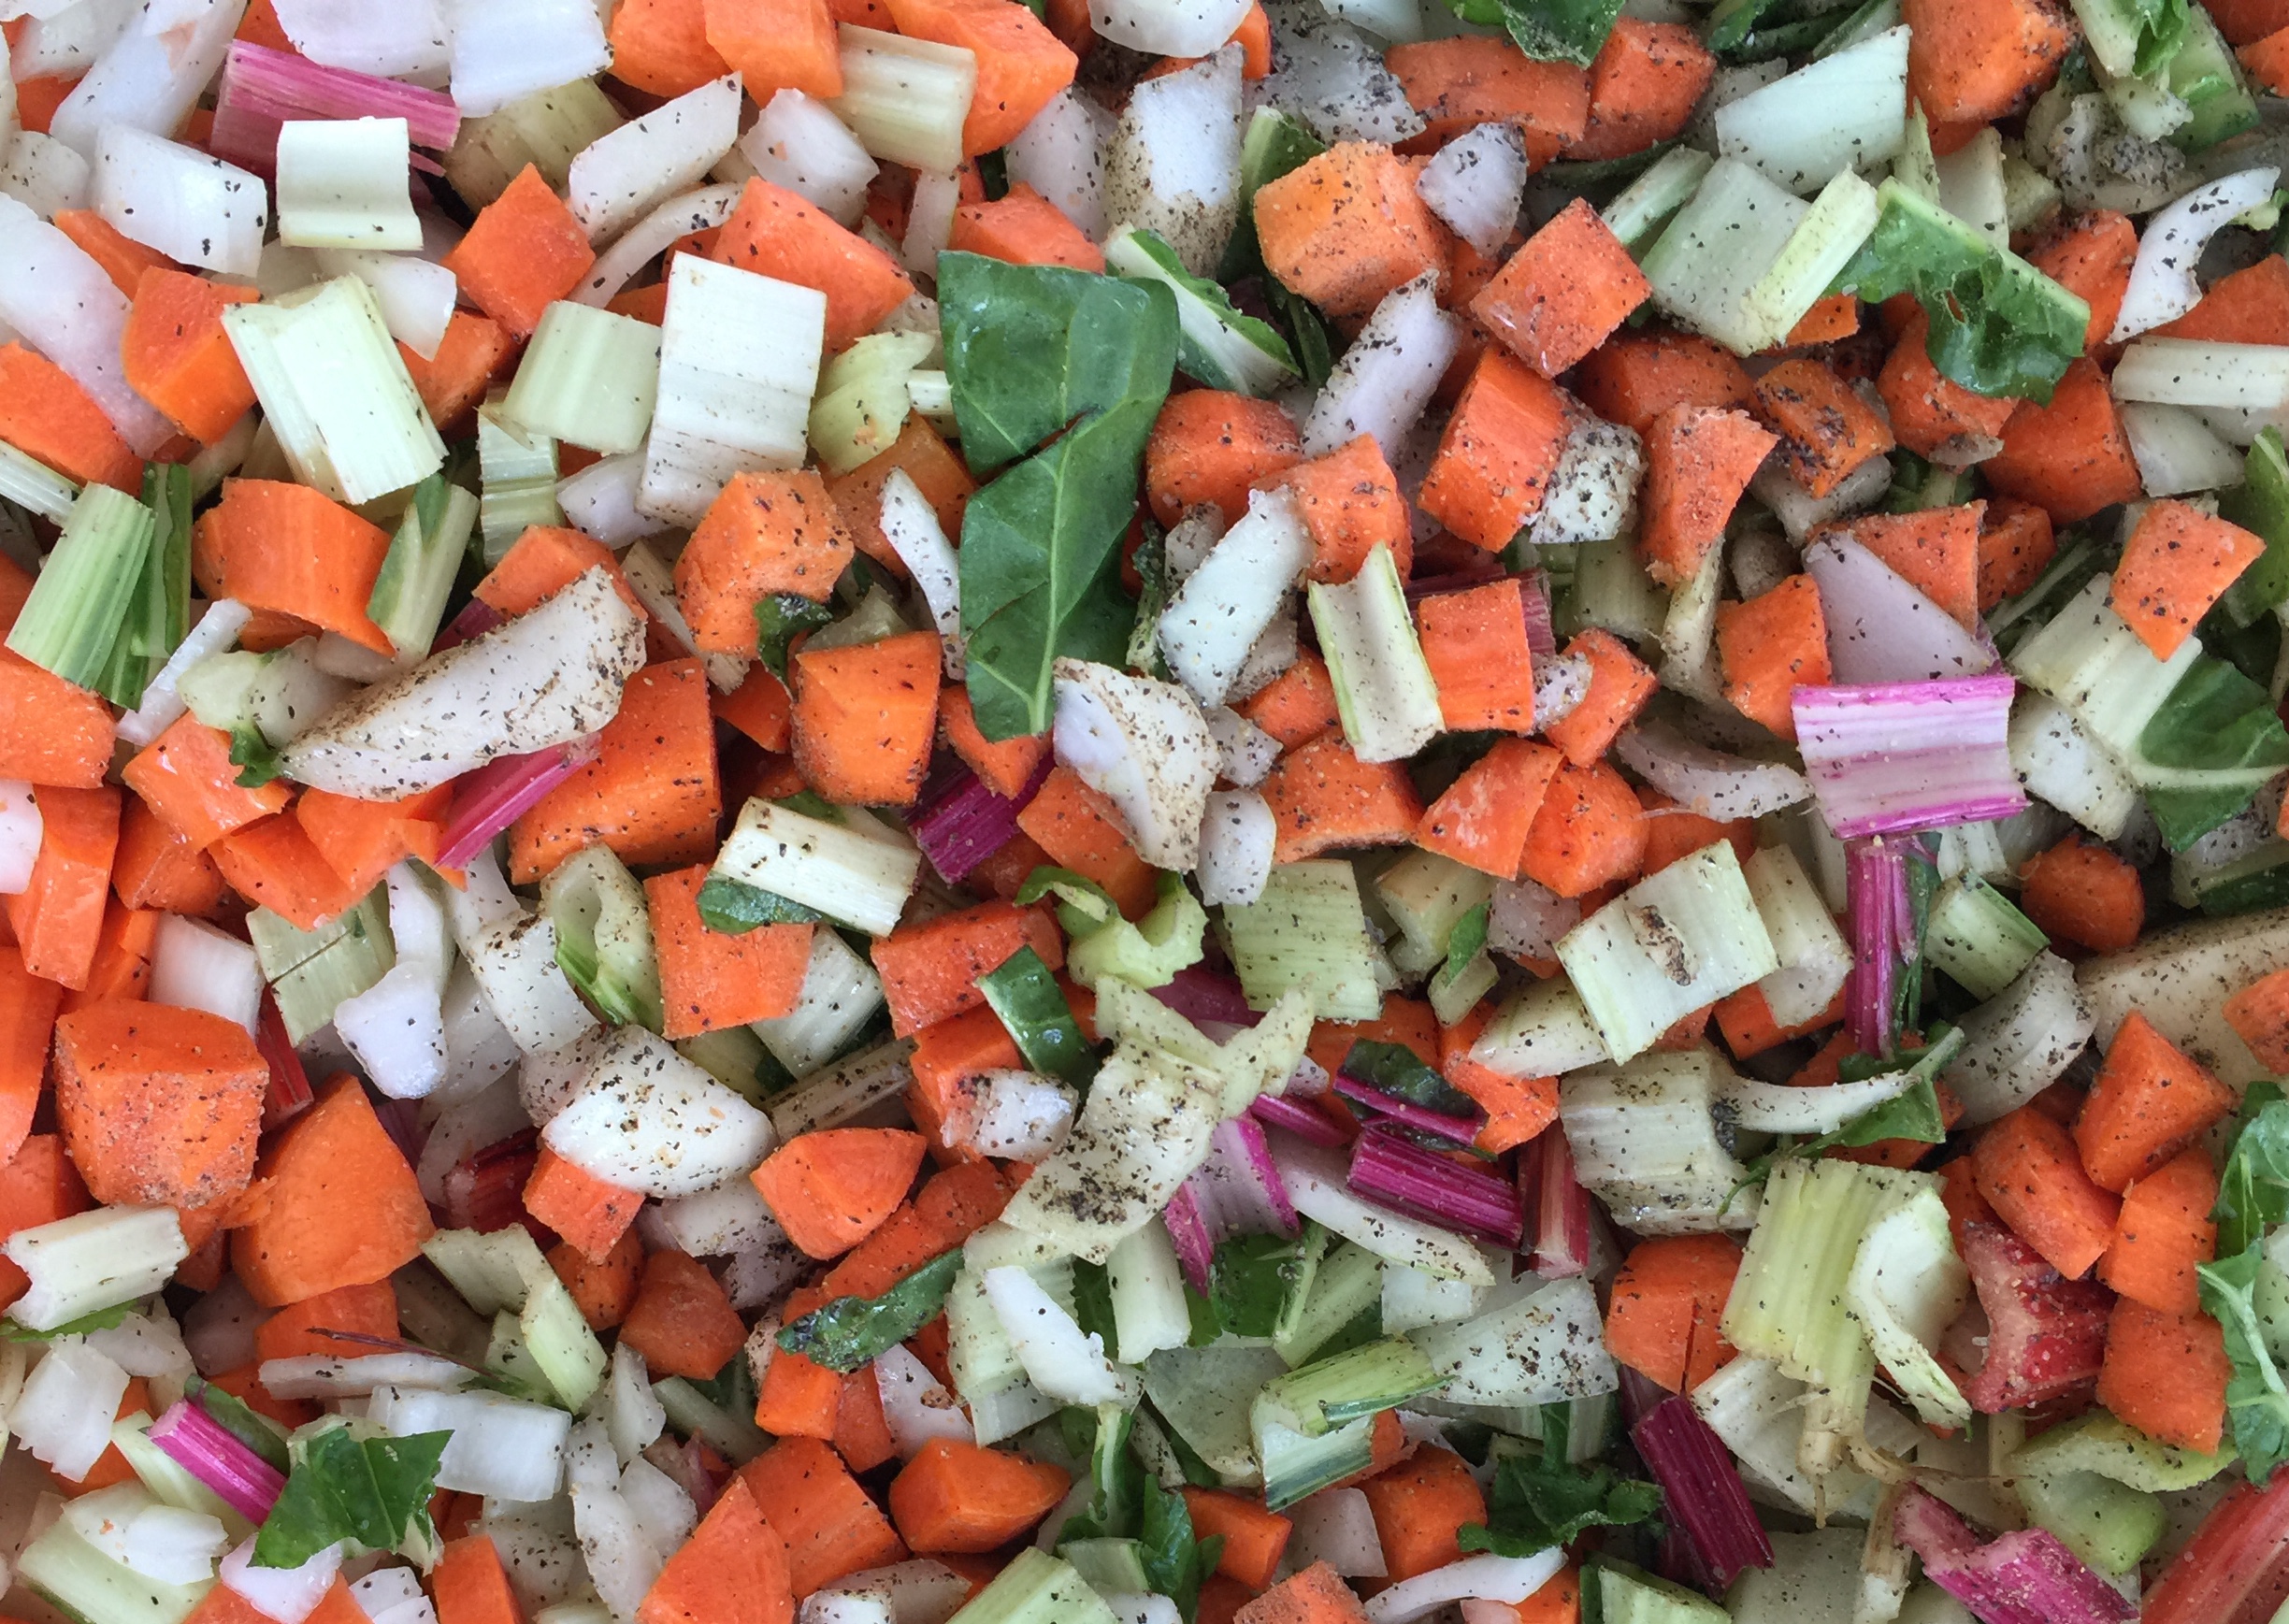
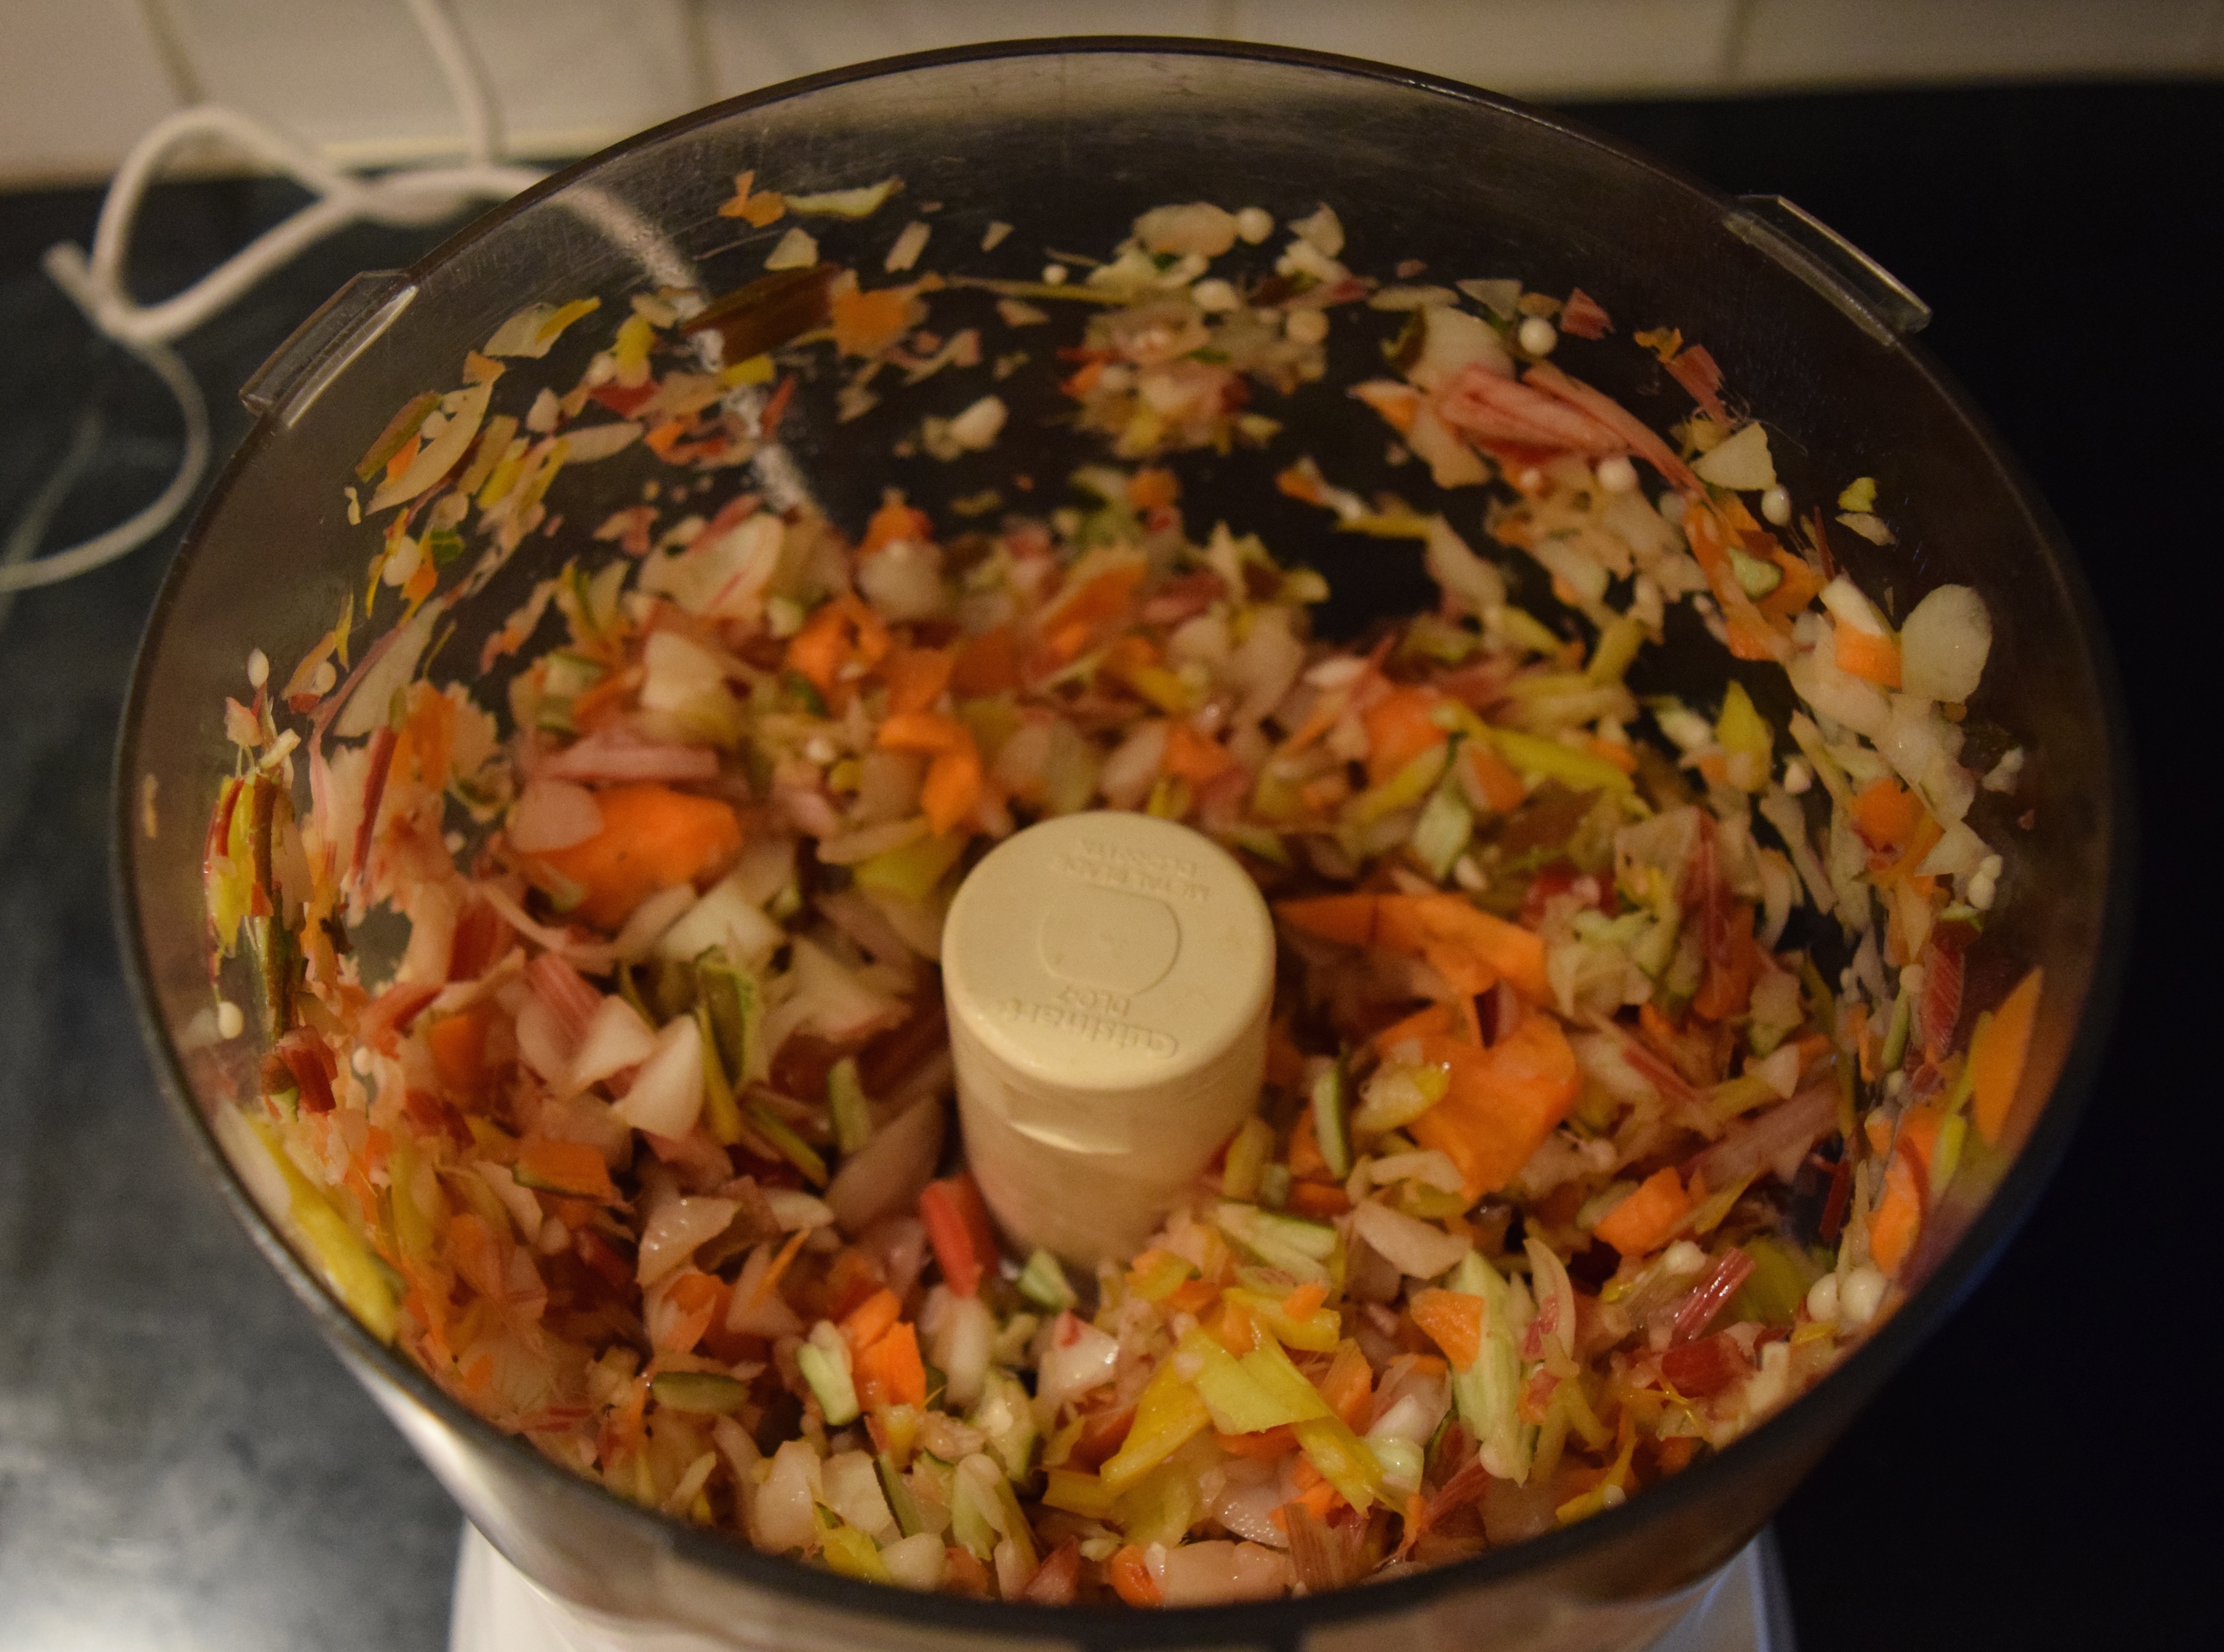
Process the vegetables:
Take all the vegetables, except the herbs, and pulse in a food processor.

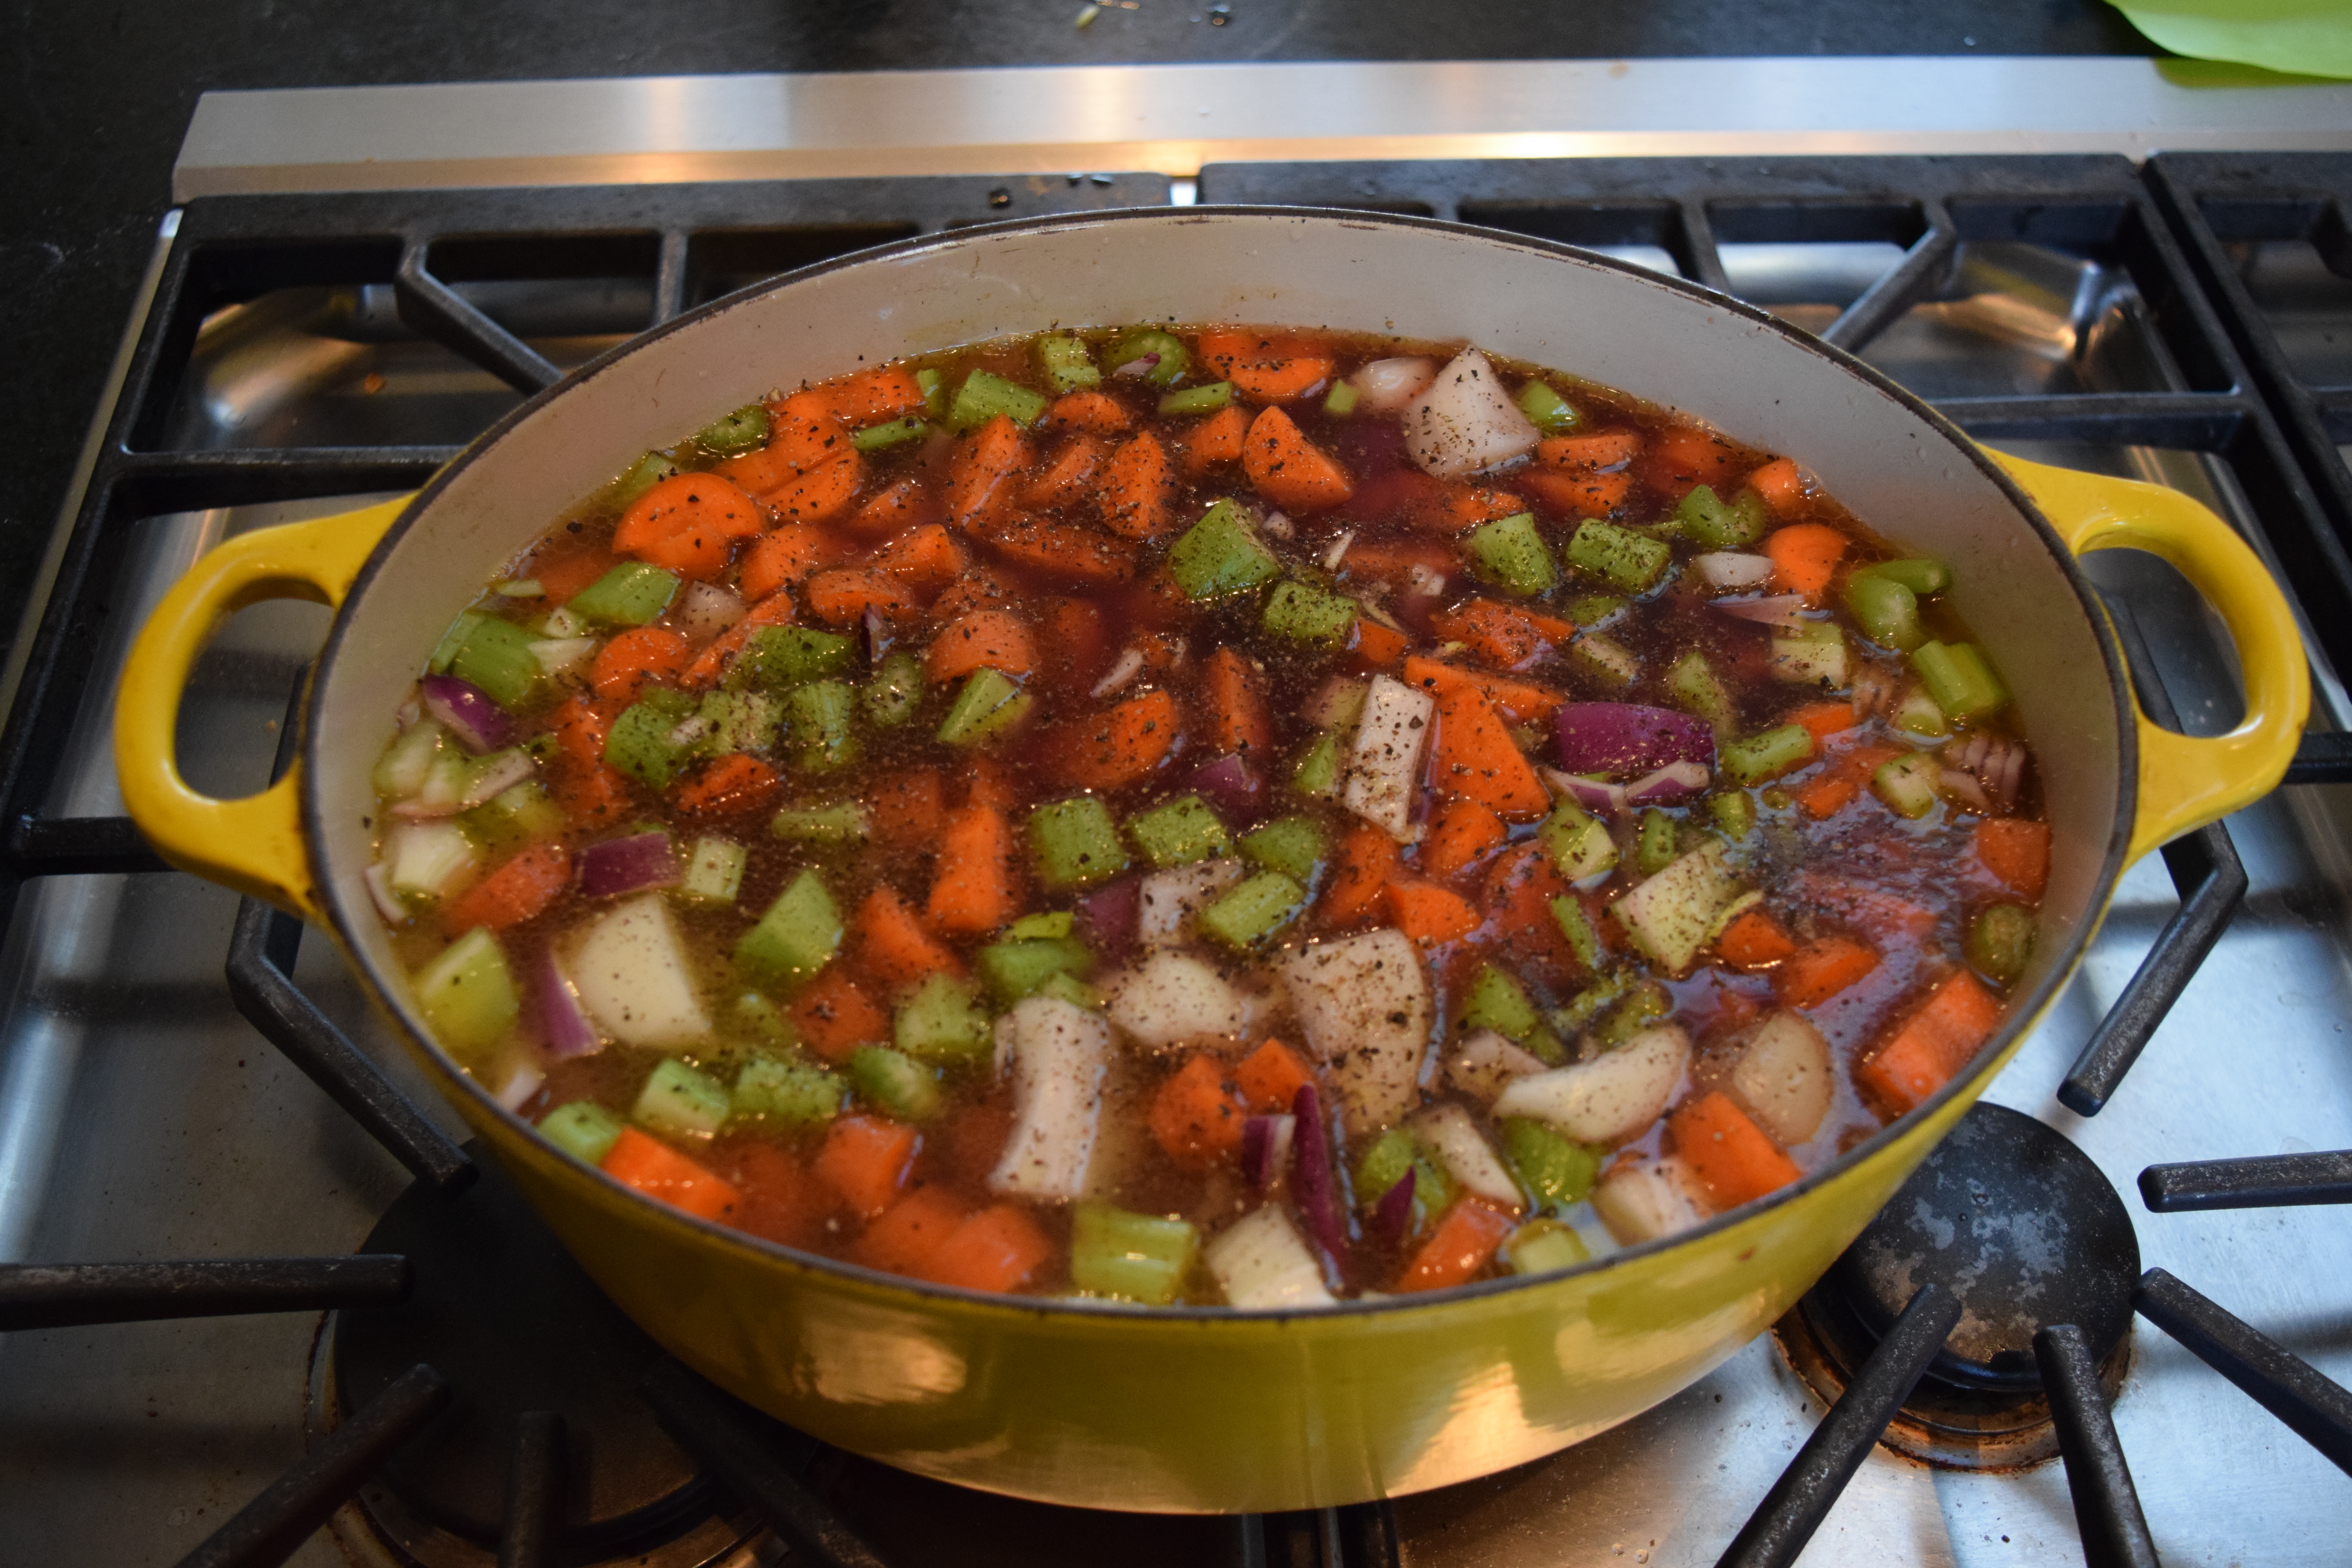
Sauté vegetables and meat:
Add olive oil to a 12-inch sauté pan. Add chopped vegetables, garlic, salt, and pepper. Sauté on medium heat for 10 minutes until vegetables become translucent. Do not brown. Set aside.

In another pan, add ground meat, garlic, salt, pepper, and herbs. Sauté for 5-10 minutes until meat is cooked but not browned. Drain fat.
To make the mashed potato topping:
While the meat filling is cooking, test the potatoes. If tender, remove from heat and drain in a colander reserving about ½ cup of the potato water. Since the food processor is already dirty, I purée my mashed potatoes in it. Add hot potatoes, milk, butter, and salt to the food processor bowl. Process just until blended. If the mashed potatoes are too pasty, add the reserved potato water and pulse a little longer.


To assemble:
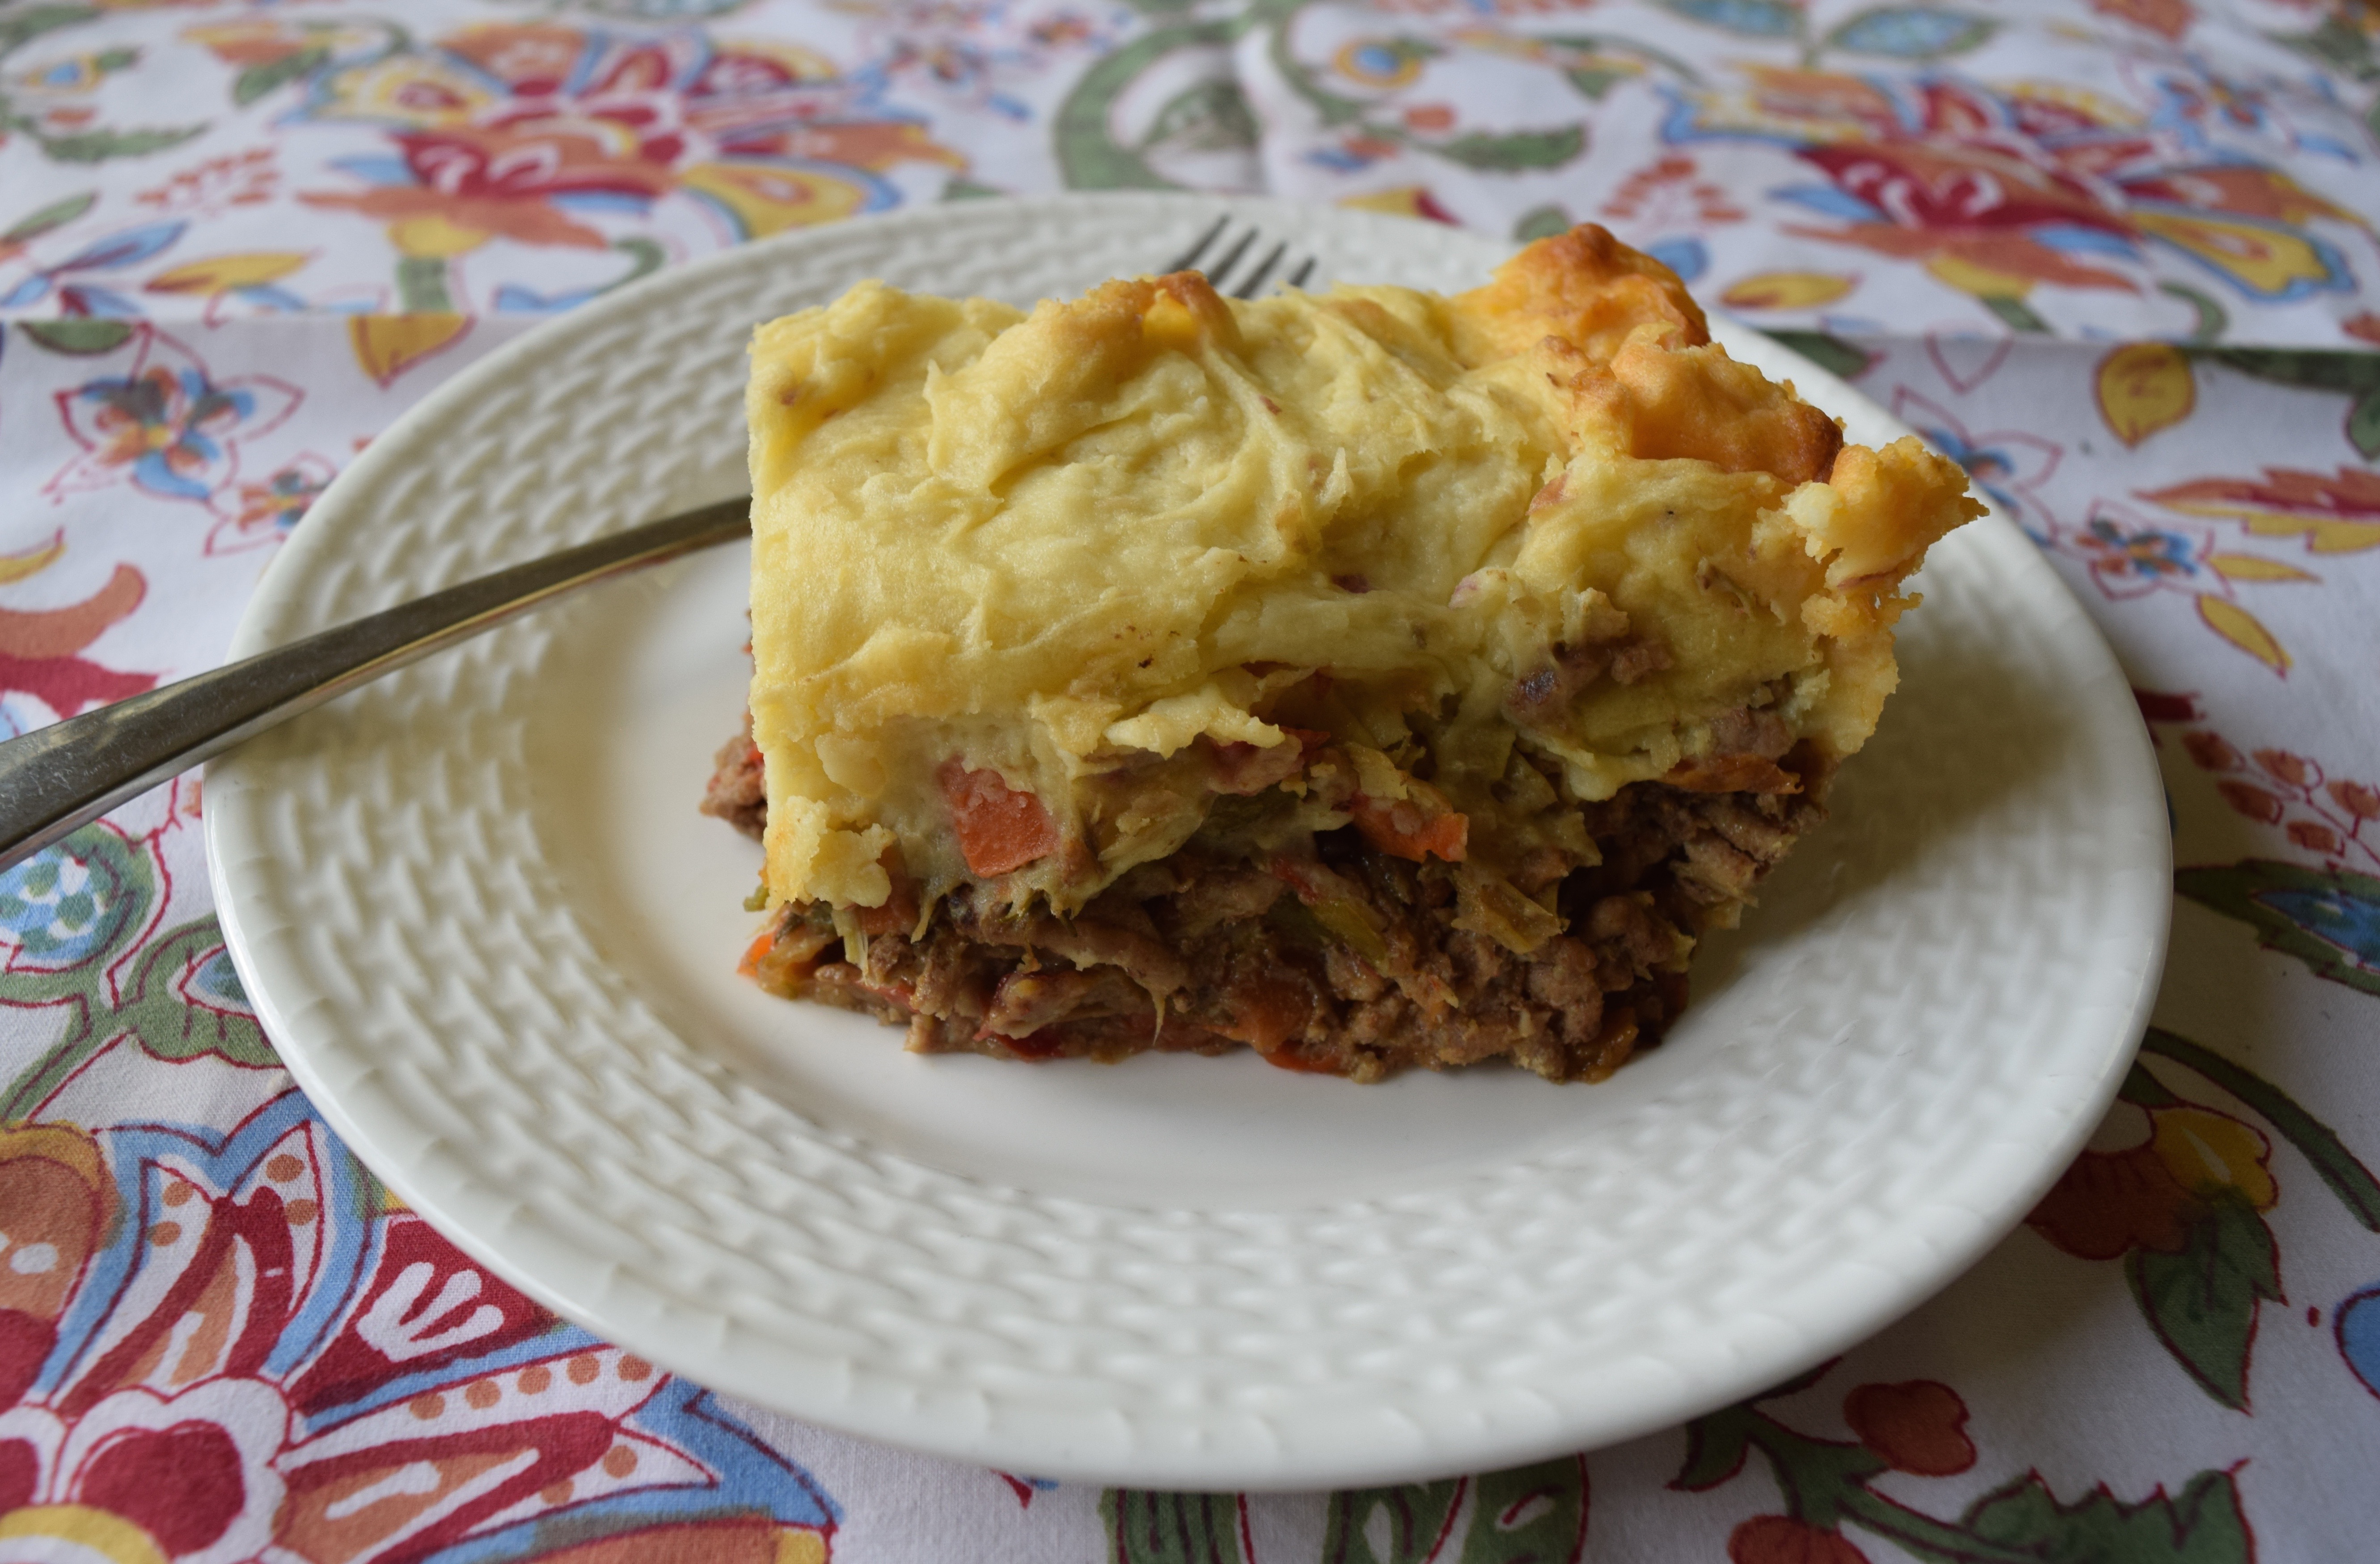
Pour vegetables and meat into a baking dish. Spread the mashed potatoes over the filling with a spatula.


Bake for 20-30 minutes. The pie is done when the peaks on the potatoes are lightly browned. In the two pictures below, you can see the difference between when I drained the fat and when I didn’t. The browned edges around the pie on the right are from fat that bubbled up during baking. Ugh. To avoid that, drain the meat before adding the potatoes.


Make it Whole30
Eliminate butter and milk in the mashed potatoes. Substitute 2 tablespoons of olive oil for the butter. My friend Libba suggested substituting ¼ cup of chicken broth for the milk. The extra liquid helped fluff up the potatoes.
Make it for company: double the recipe (Serves 8-12)
We’ve been making this recipe a lot for big family dinners. Here is my husband managing all three pans on the stovetop: vegetables, meat, and potatoes. He was pretty proud of himself.

Layer all the ingredients in a deep 9 x 13 lasagna pan.
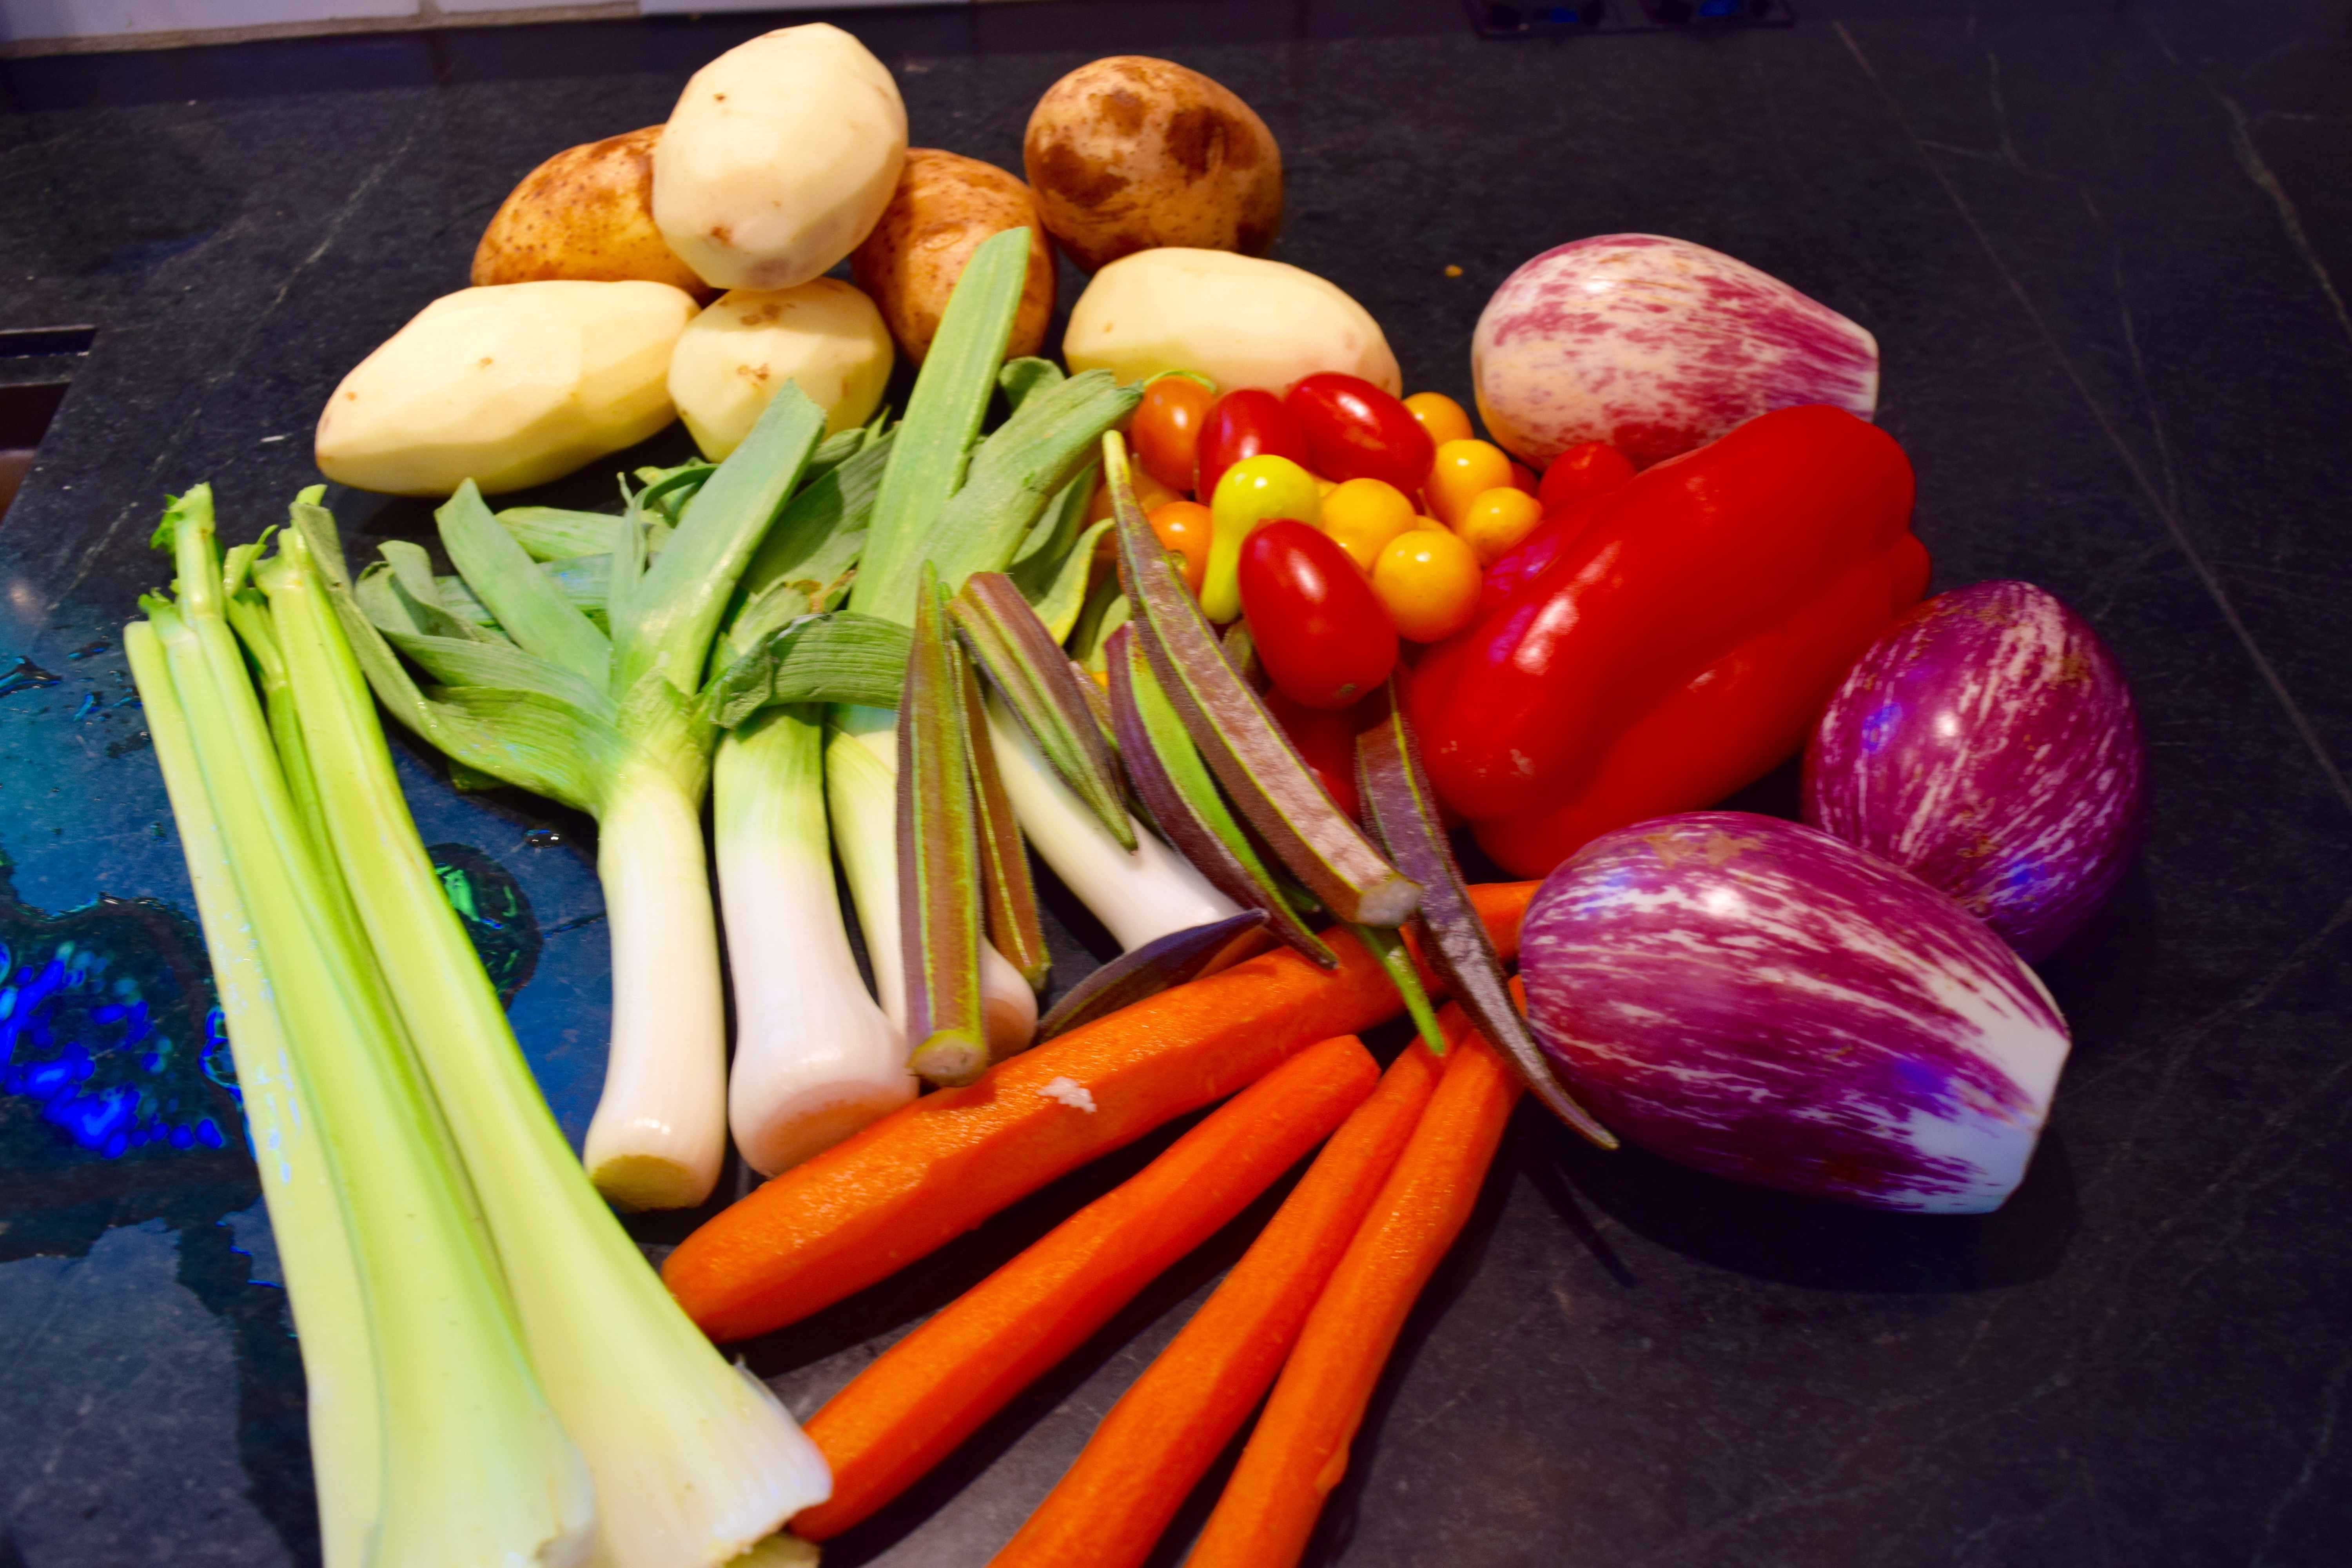
New vegetables we’ve tried:
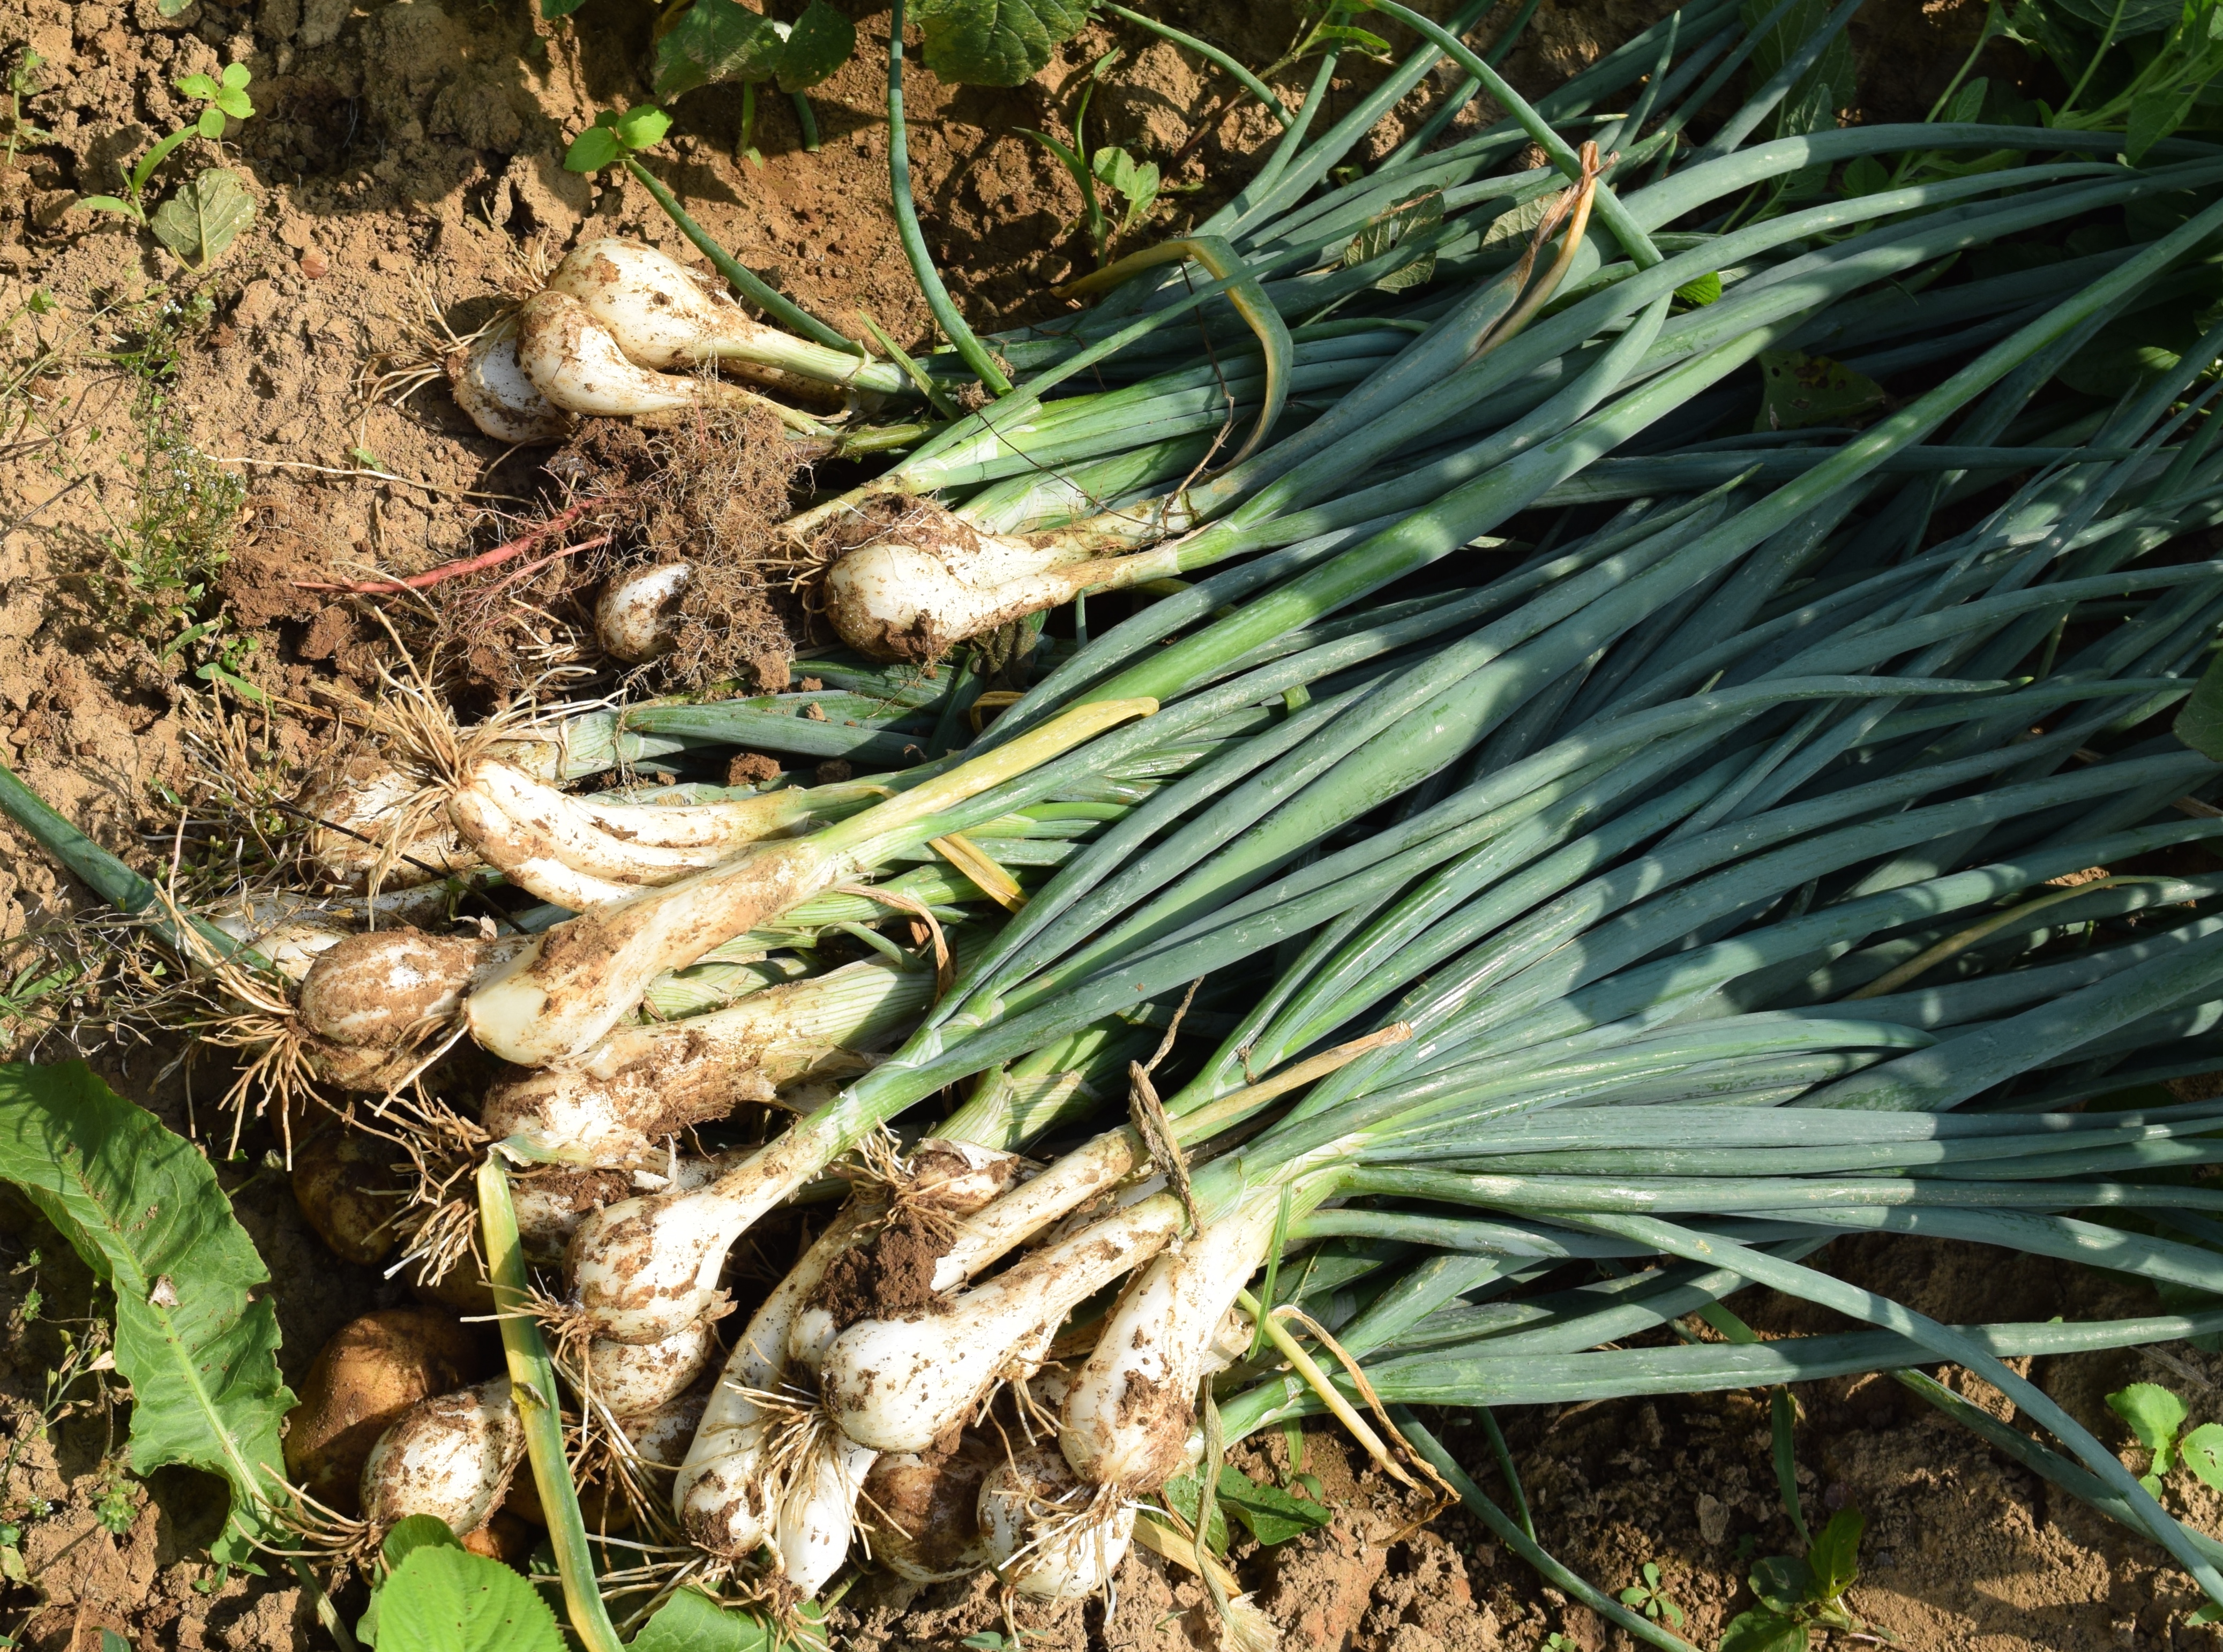
I’ve learned I can pretty much add any vegetable to the mix. This time, we used leeks, a small onion, unpeeled eggplants, an assortment of cherry tomatoes, a sweet red bell pepper, okra, celery, and carrots. In other words, everything in the vegetable drawer of the fridge.

Bonus: everyone was in the kitchen helping to prep the veggies. When that happens, I get verklempt.
More comfort food:
Judy’s Mom’s Meatloaf
Chicken Cacciatore, Pollo alla Cacciatora, or Hunter’s Chicken
50 Ways to Make a Frittata
Fresh Marinara Sauce with Pasta and Mozzarella
LET’S STAY CONNECTED!
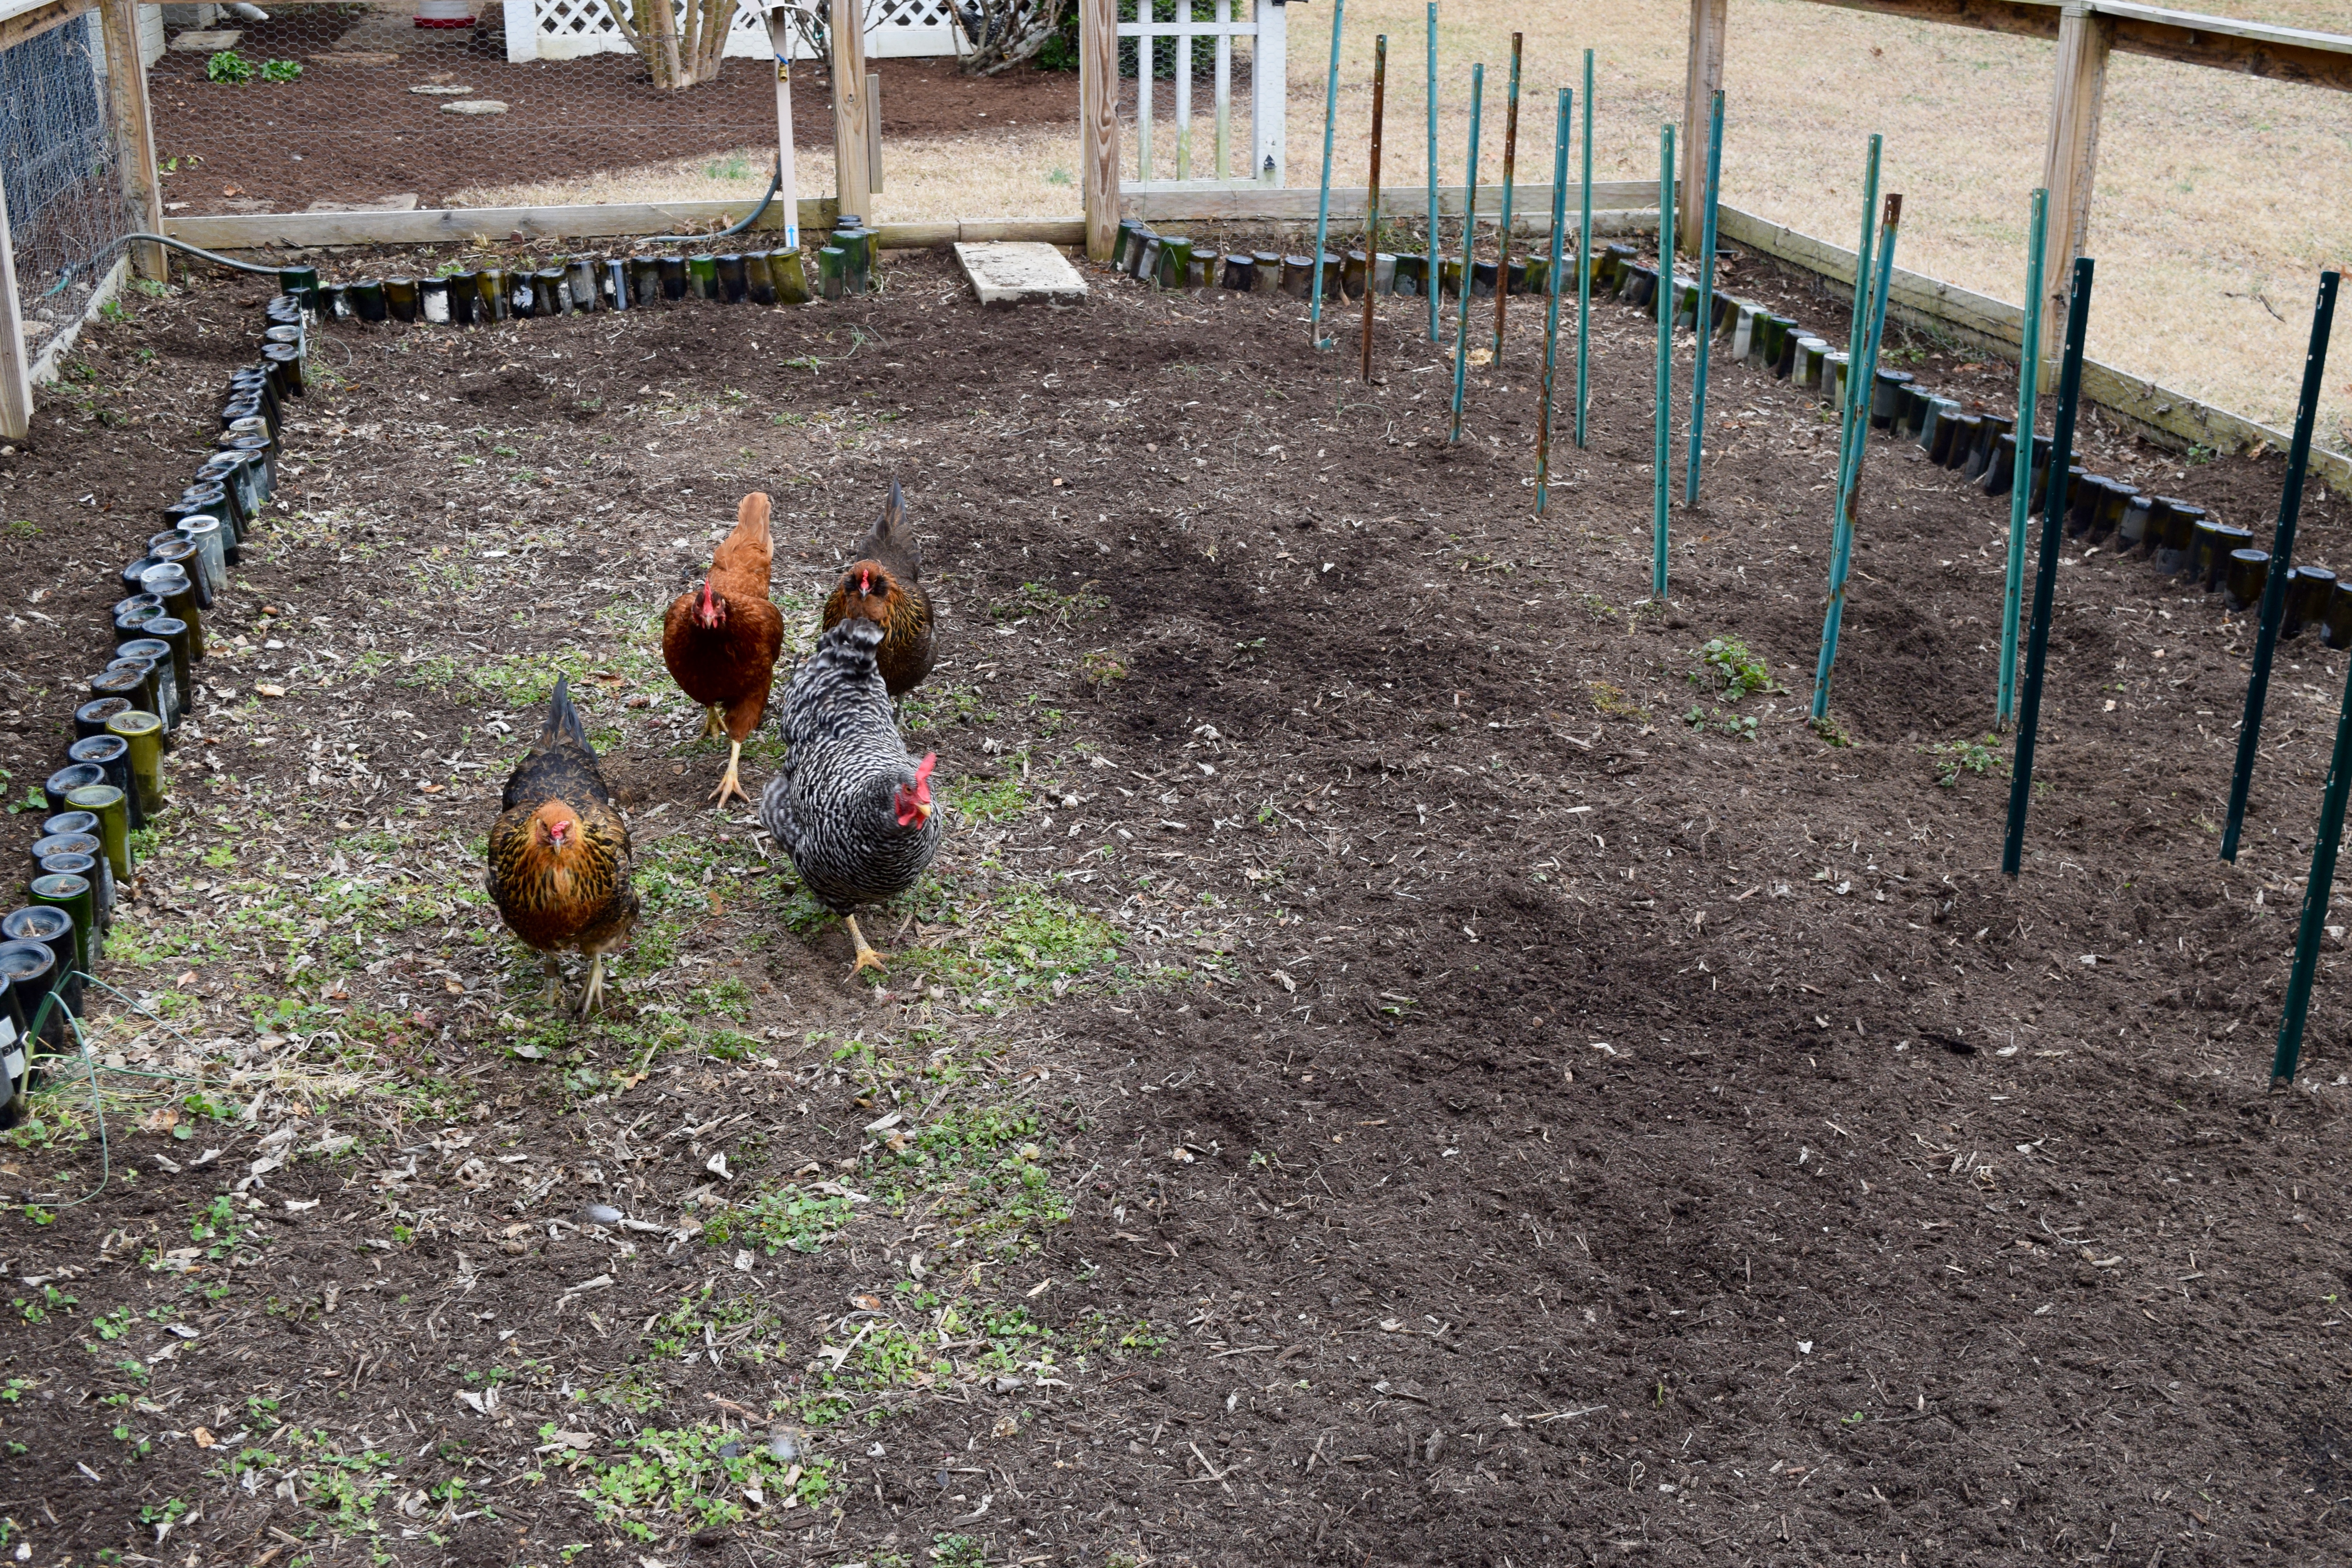
Follow my photos of vegetables growing, backyard chickens hanging out, and dinner preparations on Instagram at JudysChickens.
Never miss a post: sign up to become a follower of the Blog.
© 2014-2020 Judy Wright. All rights reserved. Photos and text may only be used with written consent.