Growing and Cooking Sweet Potatoes!

I love sweet potatoes!

Sweet potato plants are typically grown from slips as opposed to seeds. The slips are created from baby vines that sprout on stored sweet potatoes.

If you gently detach the vines and place them in a jar with a little water, they will send out roots and start to leaf. Those little plants are called slips.

On commercial farms, slips are planted in late spring or early summer. Sweet potatoes are tropical plants and love the heat of summer.

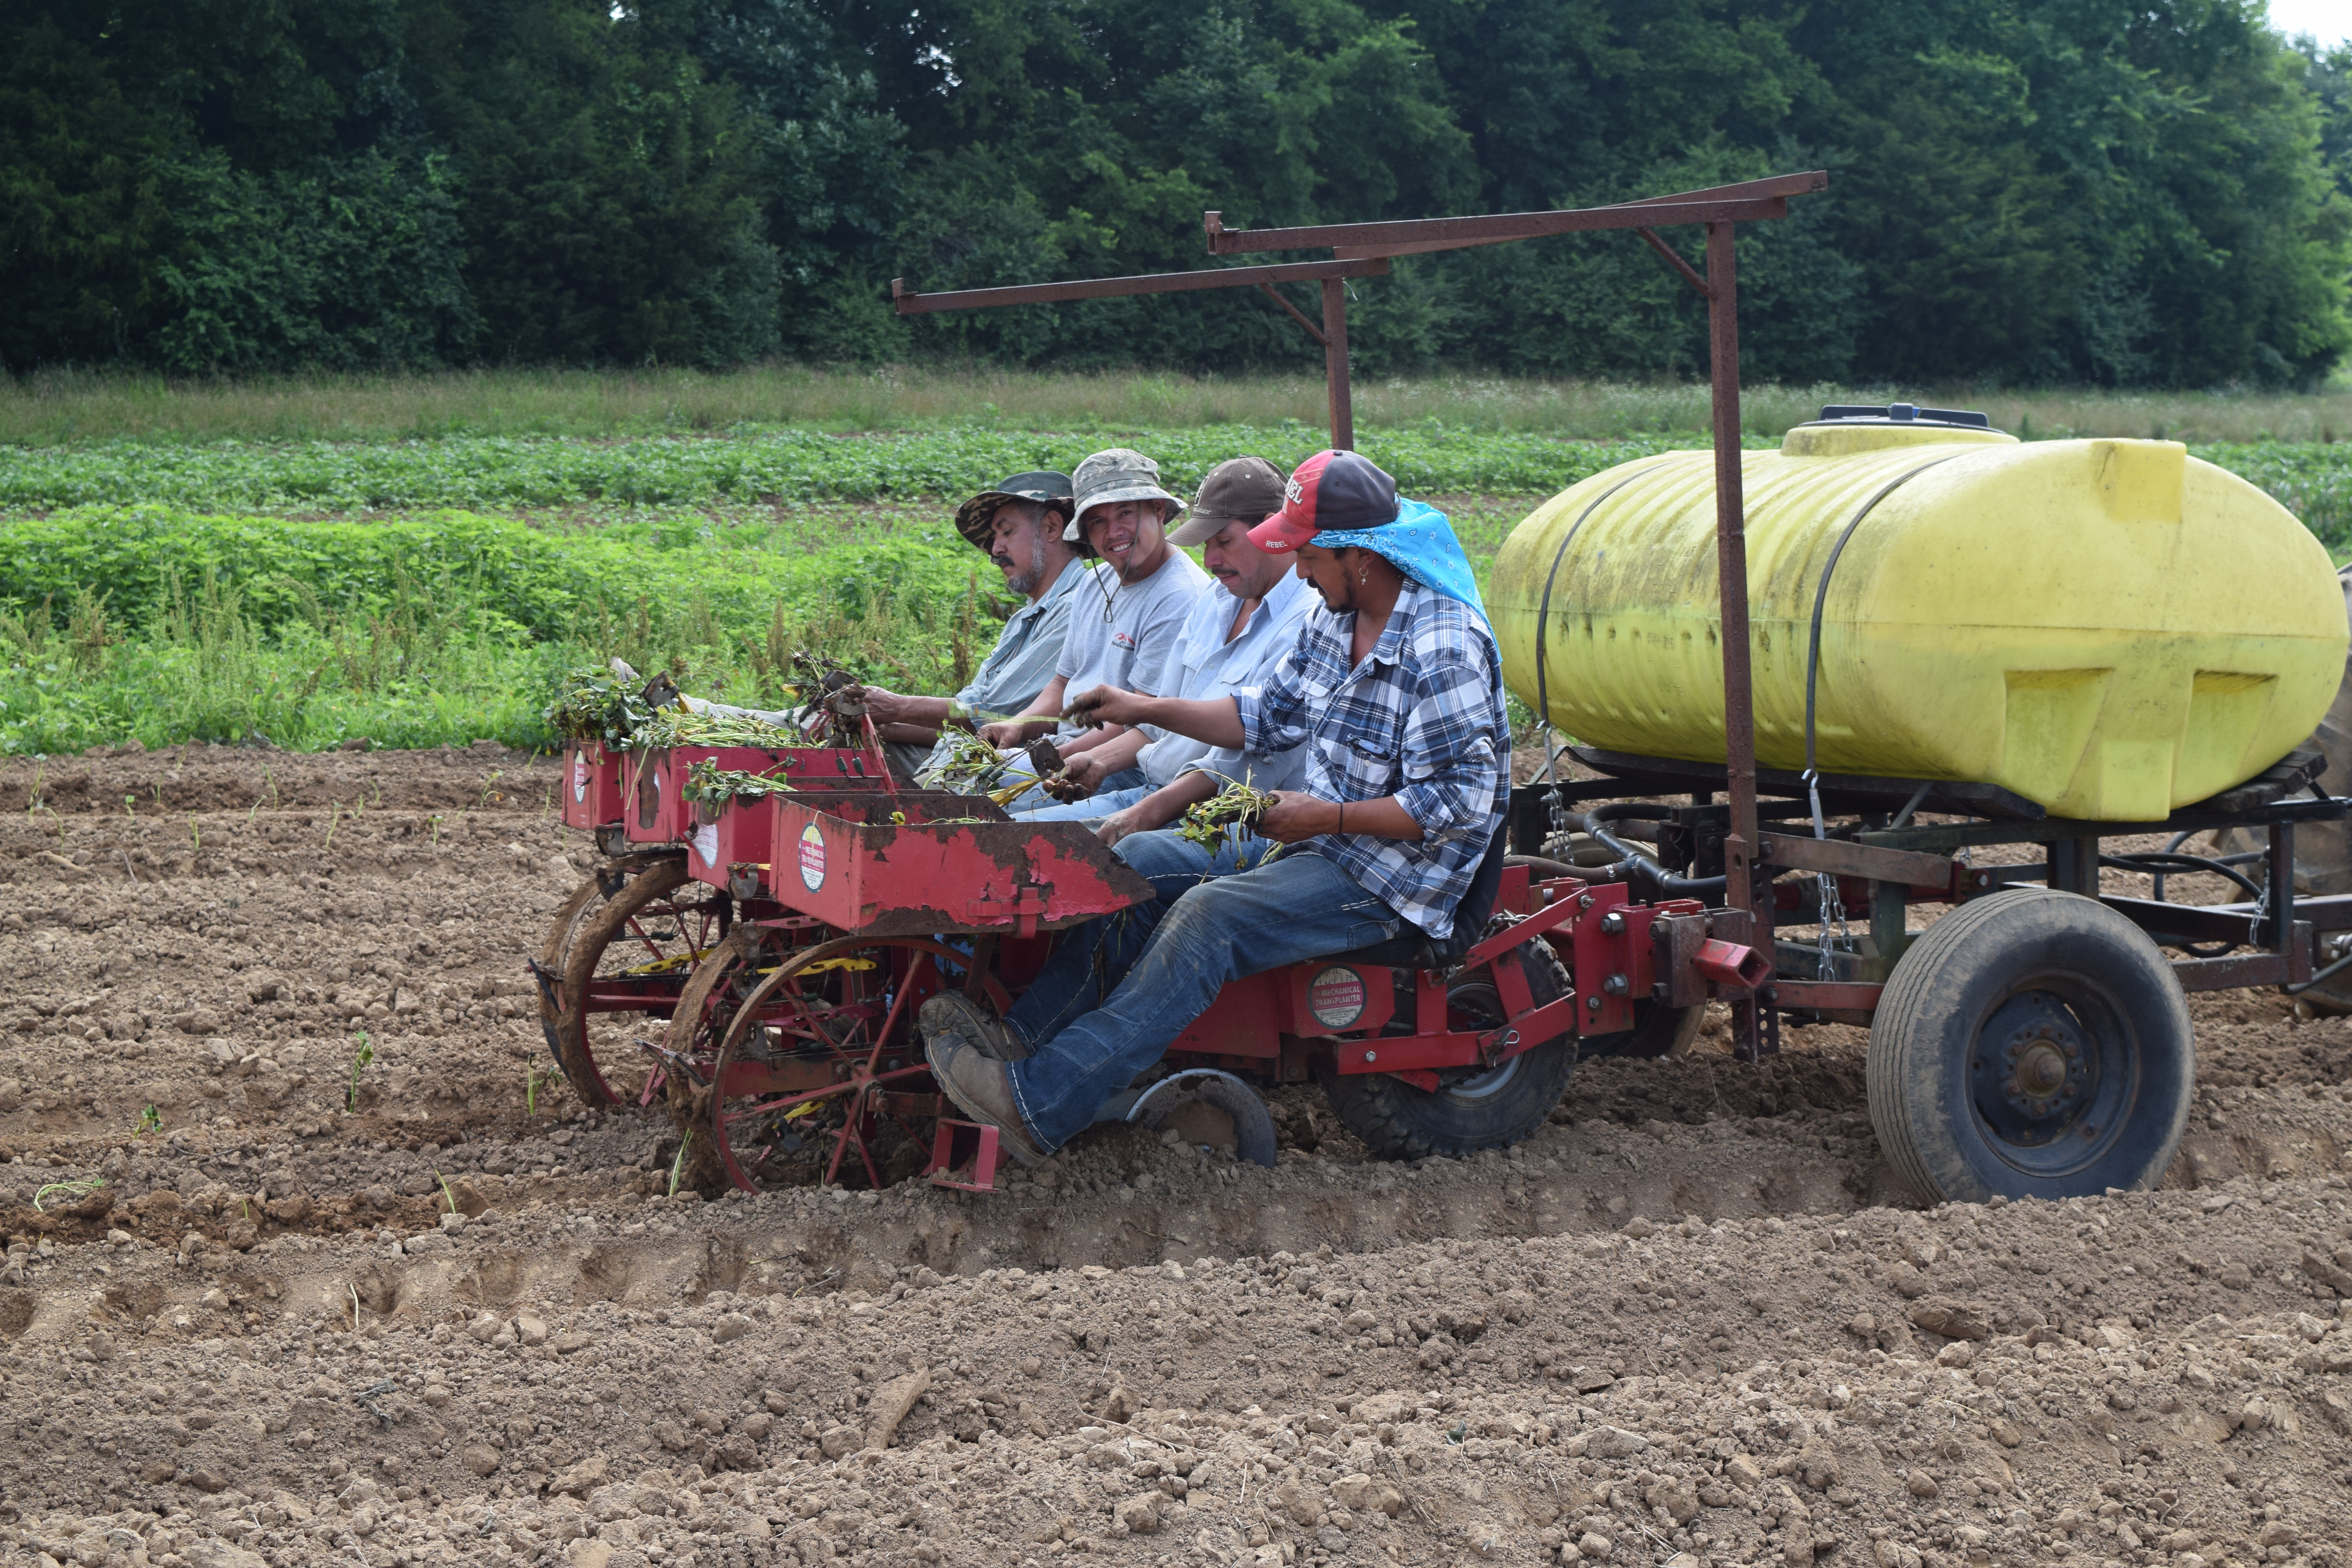
The next photos were taken on sweet potato planting day at Delvin Farms in College Grove, Tennessee, on June 8, 2015.

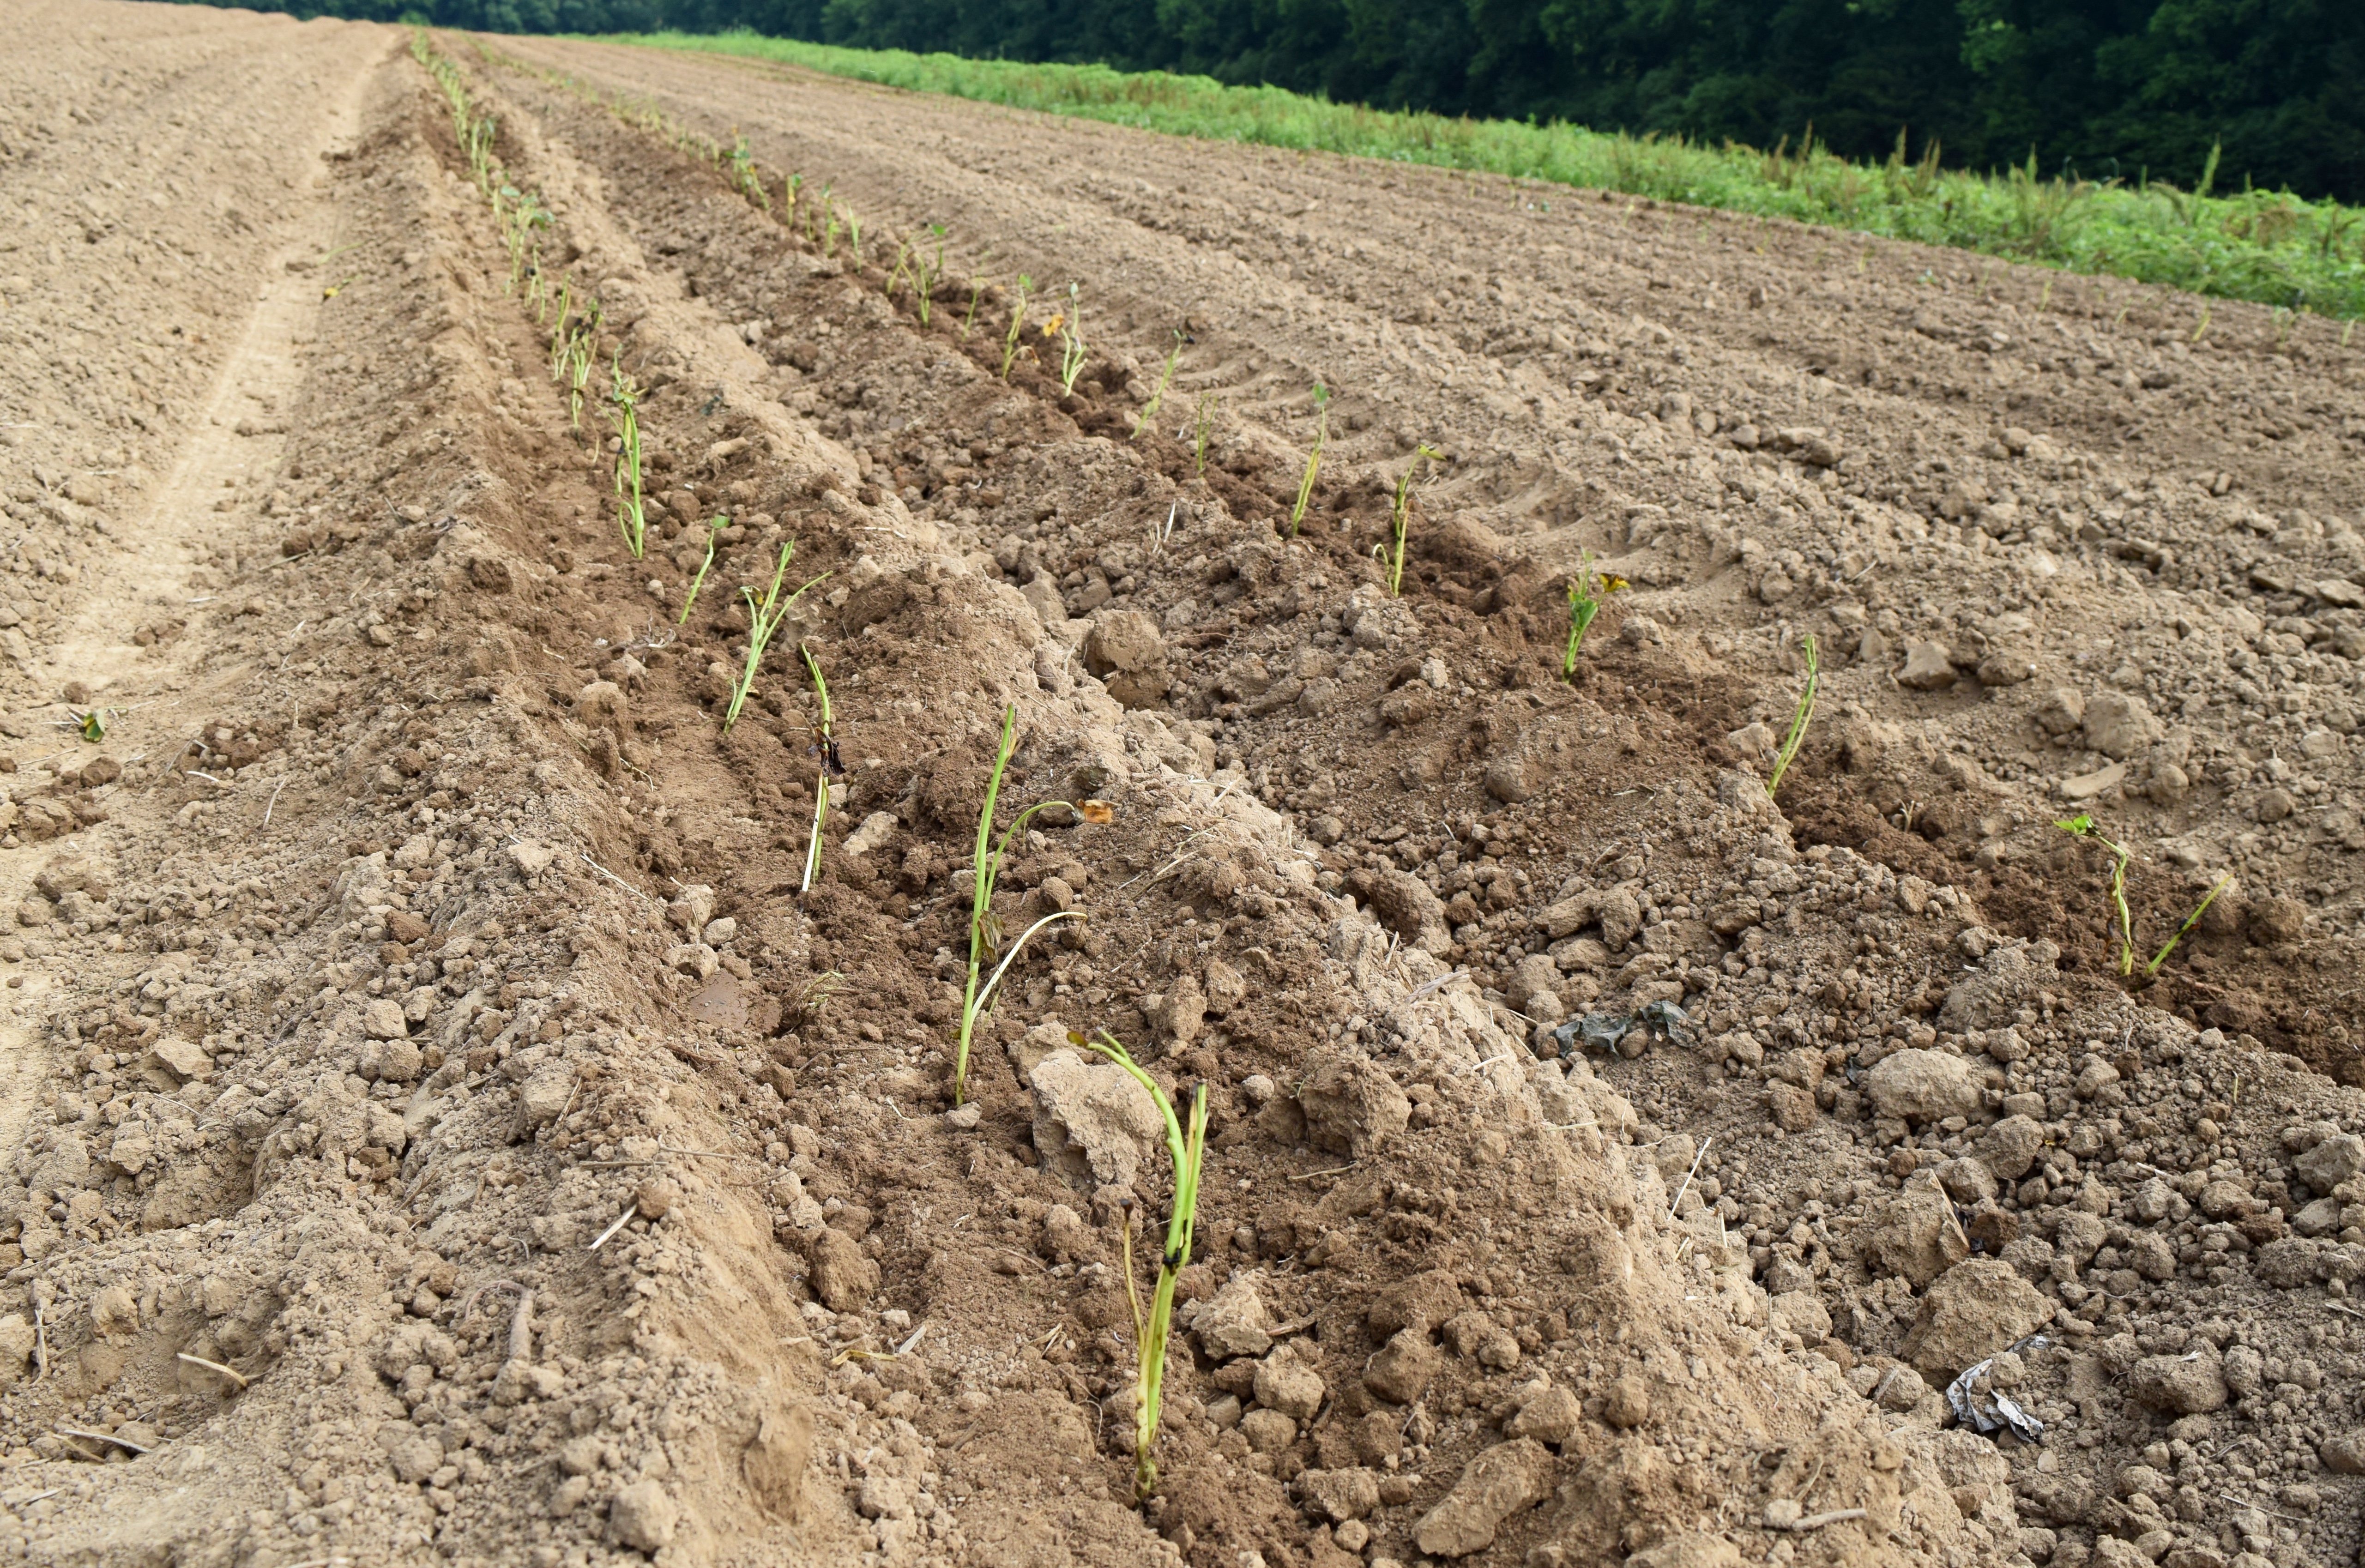
Thousands of sweet potato slips were planted.

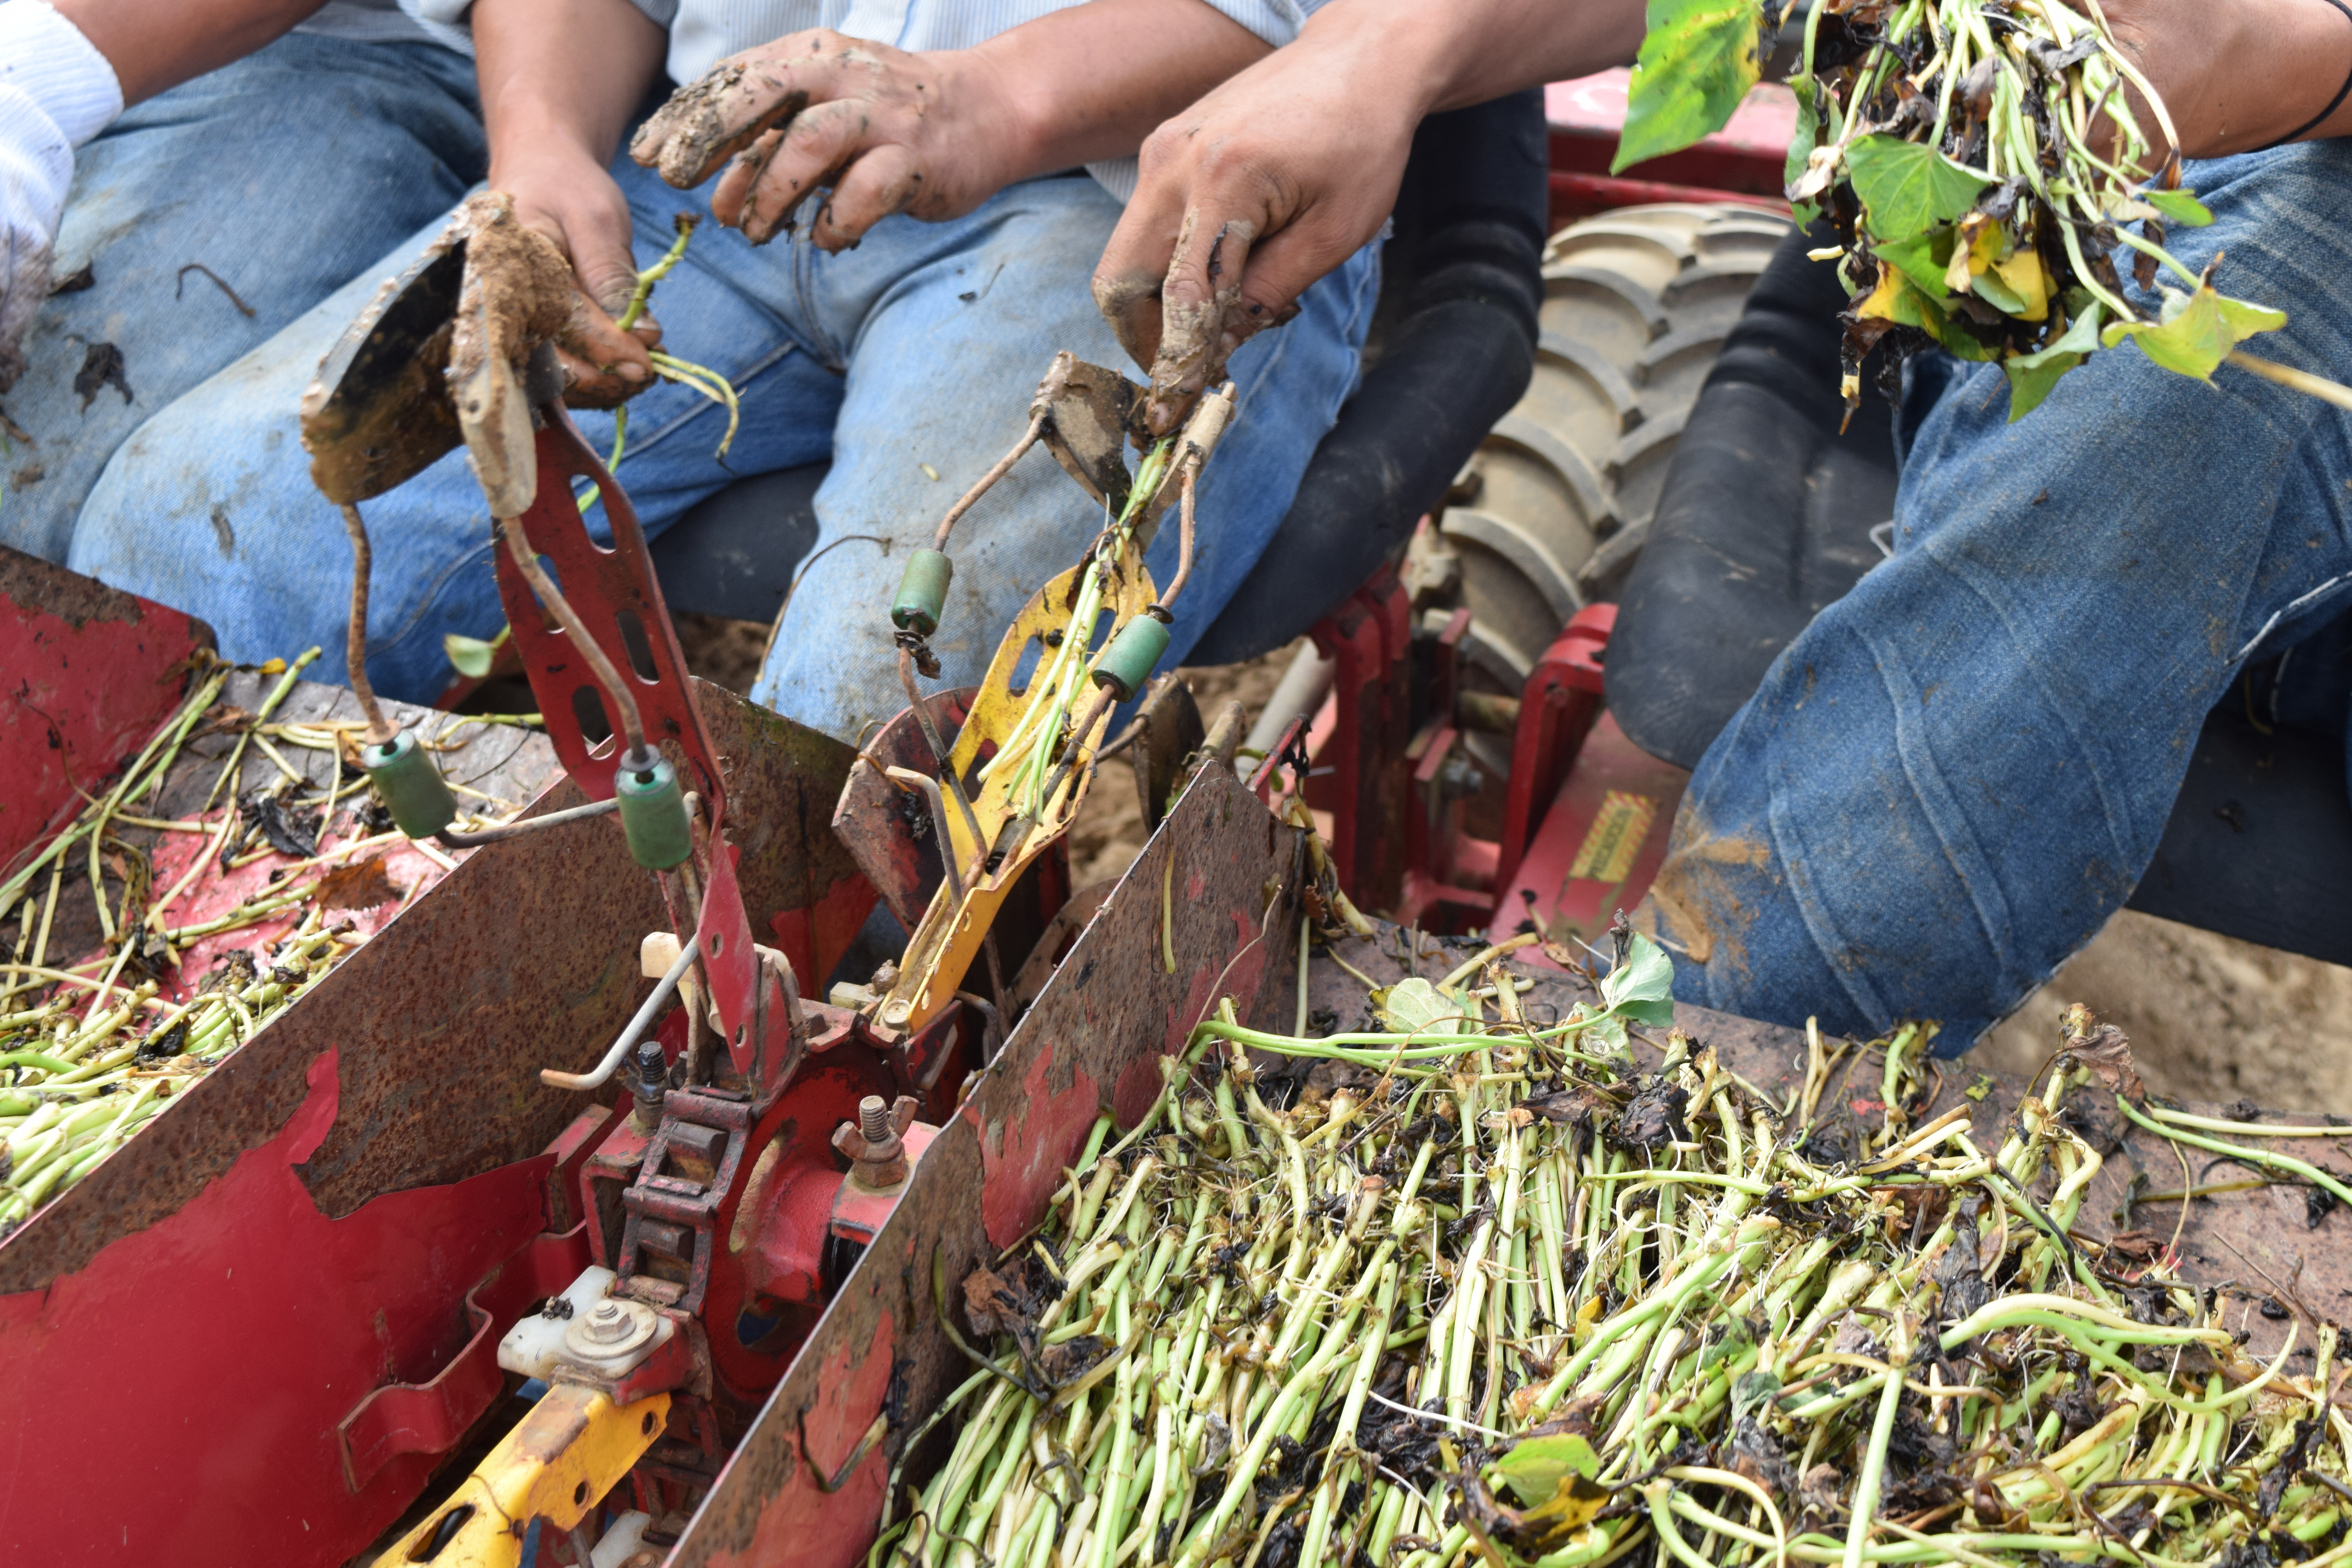
I have a fascination for farm machines that get a job done in simple, efficient ways. This sweet potato planter is ingenious.

As the tractor moves forward, farmers in the red trailer feed sweet potato slips into a device that drops them in the ground, covers them with dirt, and gives them a sip of water from the yellow tank.

Let’s look a little closer. Here are the guys dropping the slips into a feeder one by one.

At the soil level, a stationary v-grooved piece of metal cuts a thin gully in the dirt. The slip drops into the gulley, and two fixed metal wheels move the side soil around the slip as the tractor moves forward. A squirt of water is given to each plant from the yellow tank. Ingenious, right?!

Beautiful!

In three to four months, the sweet potatoes will be ready for harvest.

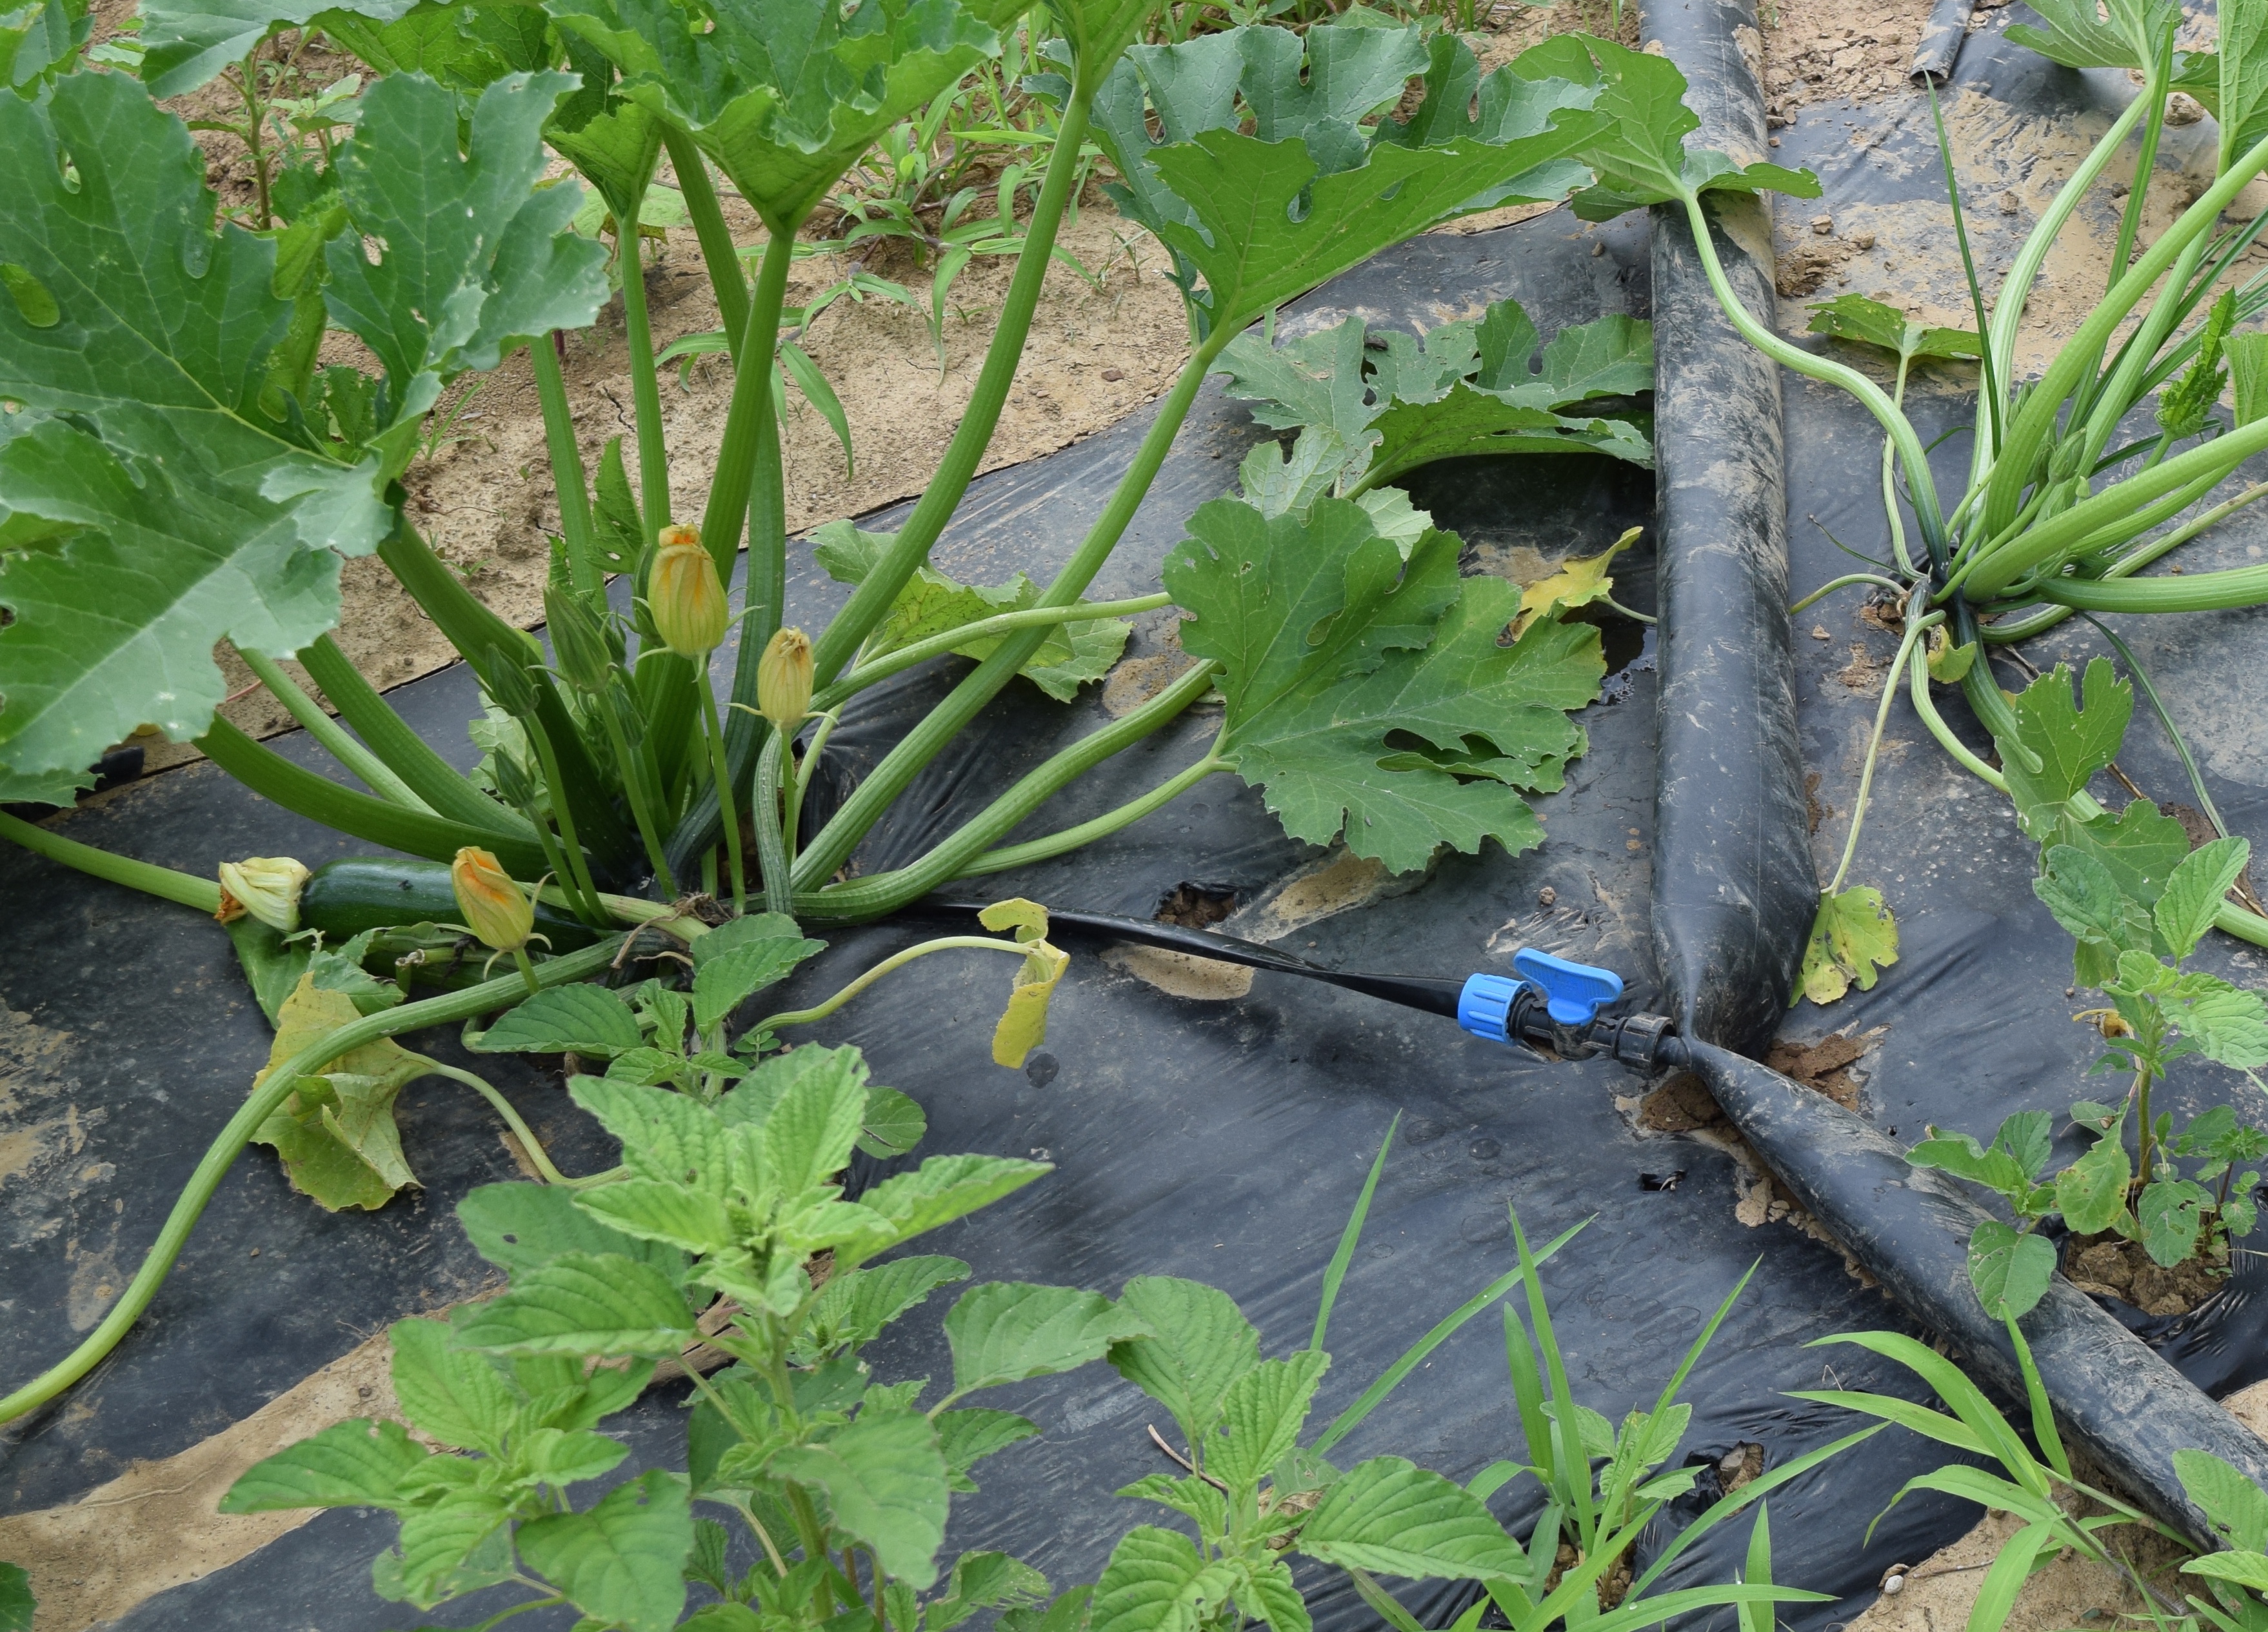
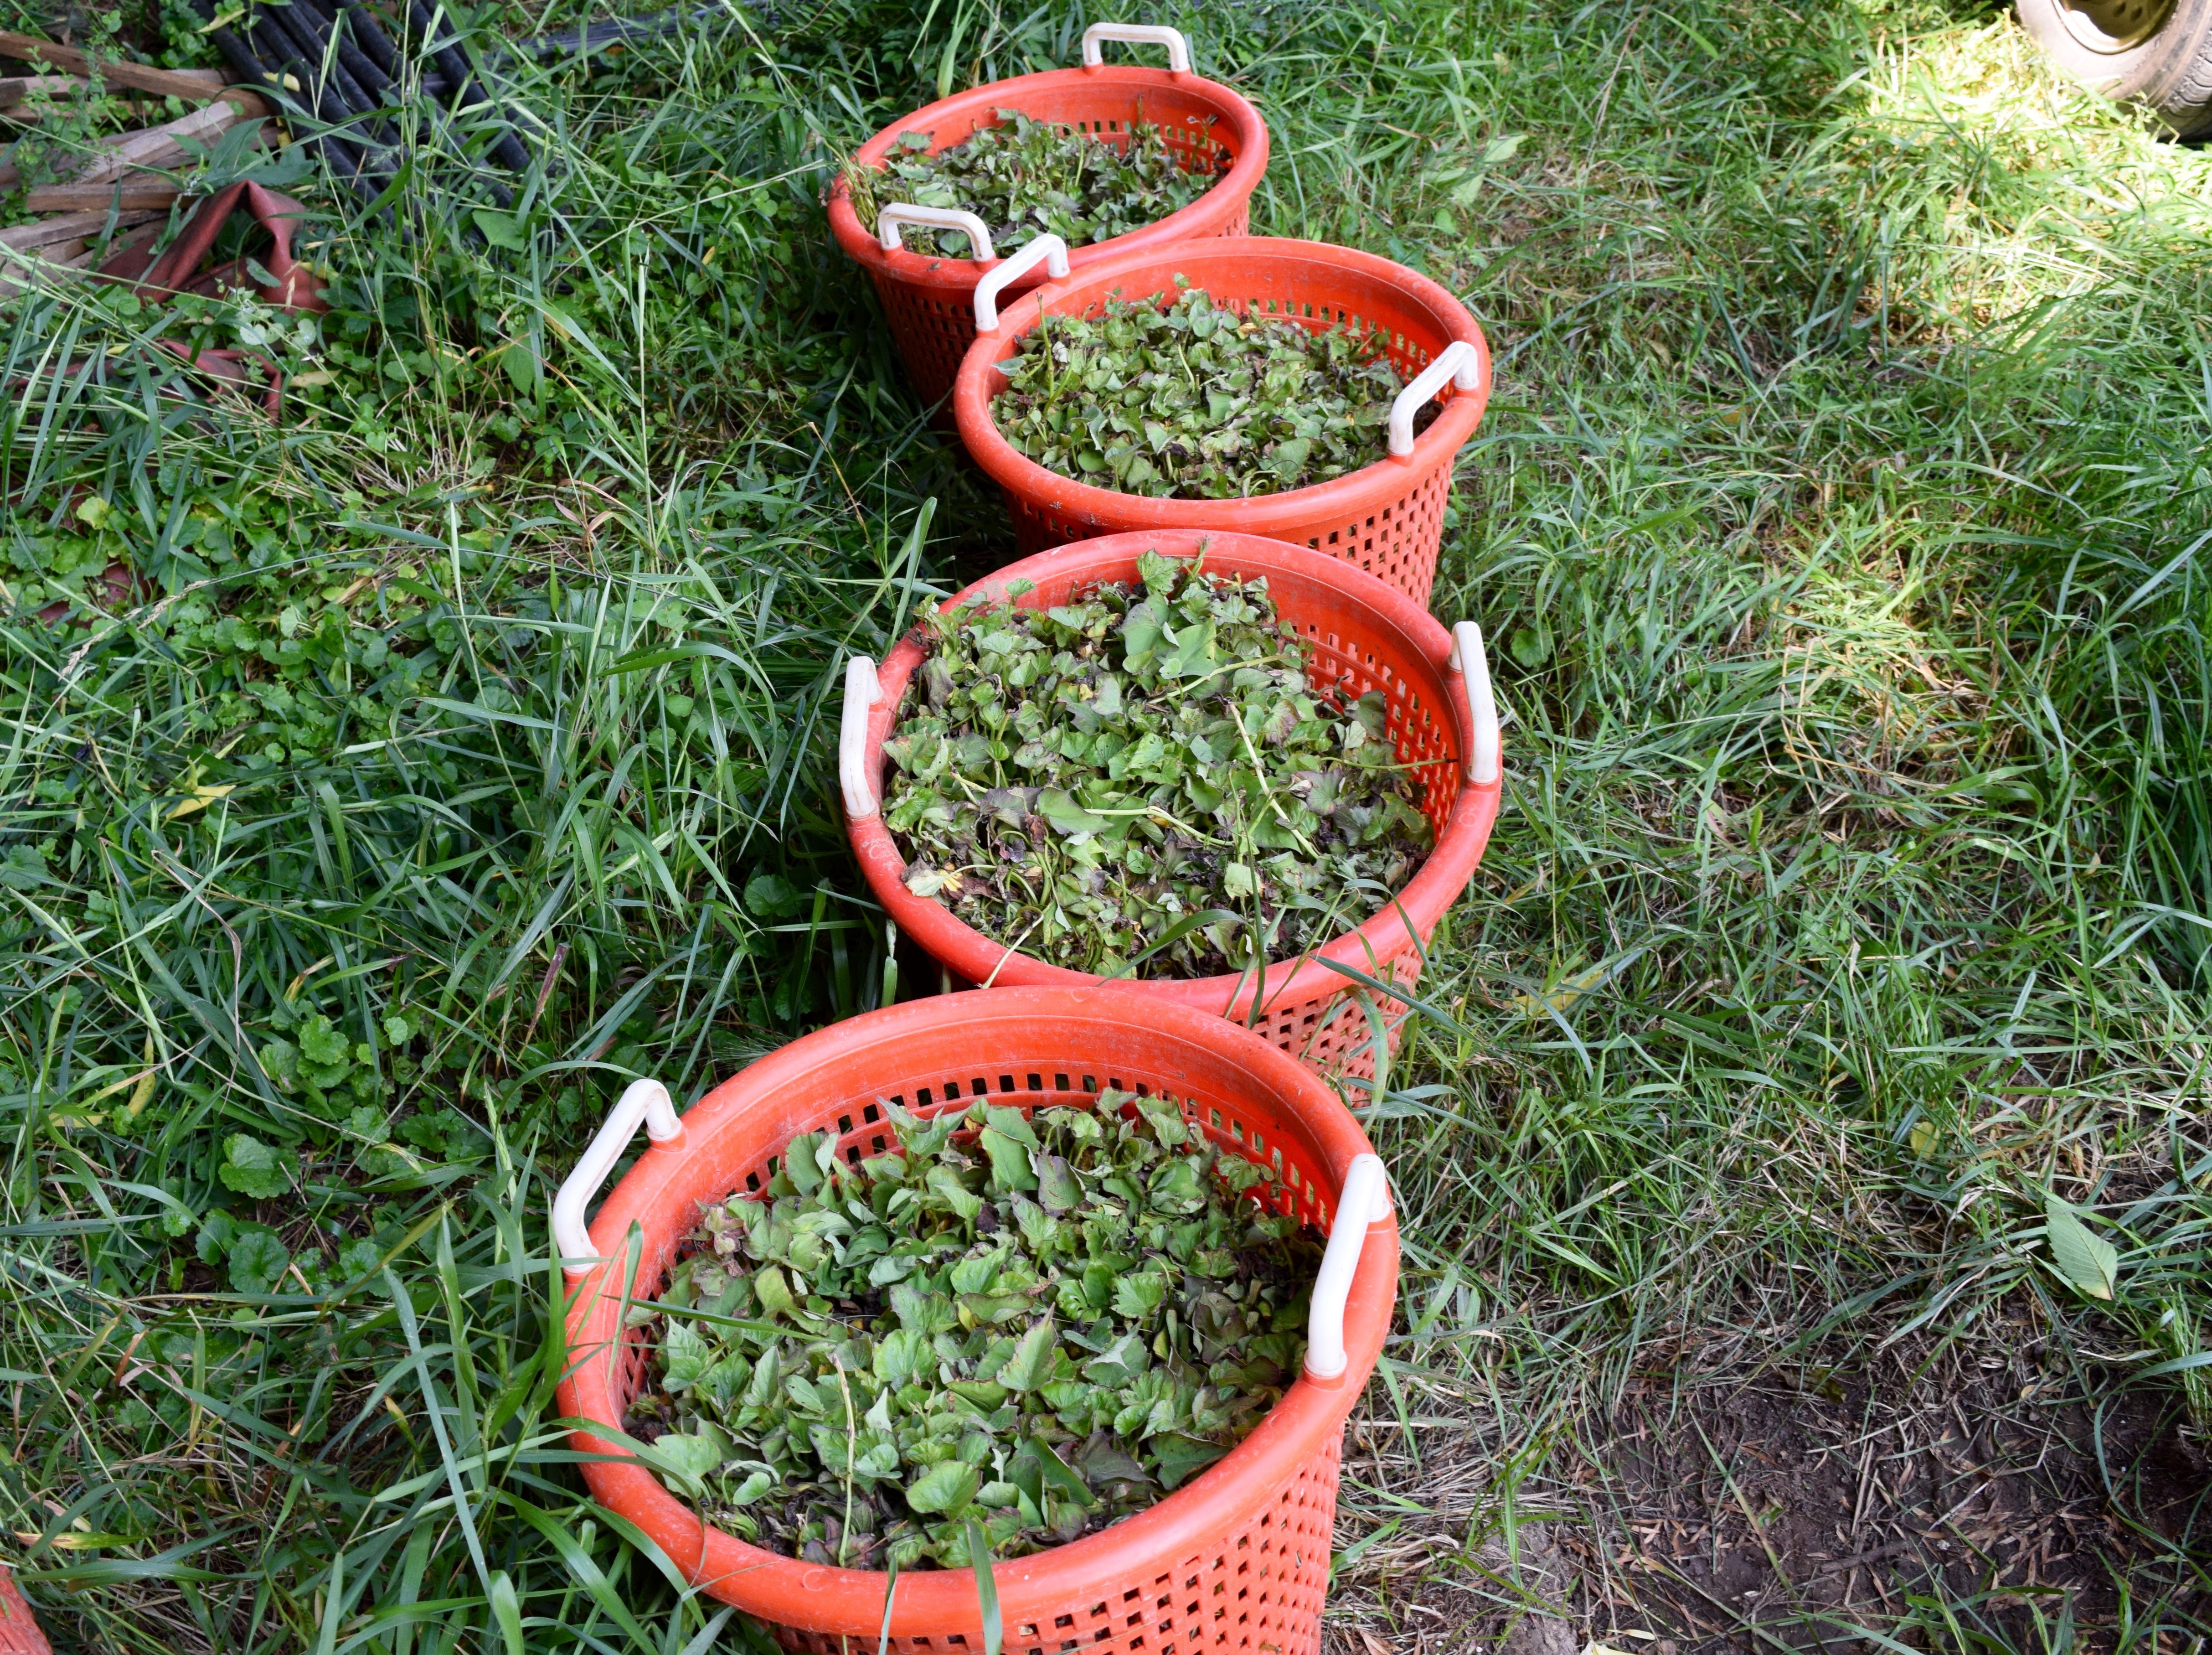
In 2012, I planted about 15 sweet potato slips in a 4 x 13-foot raised bed. I had a very low yield, as you can see from the photo below. I never grew them again; they took up too much real estate for the yield. In retrospect, I suspect my soil was too rich from the nitrogen in the compost I added. Nitrogen leads to lots of leaf growth and not so much root growth, something to think about when growing root crops. The chickens, however, were thrilled to scratch for worms and insects in the newly turned soil. That was the plus.

With this not so productive past experience trying to grow sweet potatoes, you might imagine how excited I was to walk out of the YMCA  just as the Y’s landscaping team was converting the entryway garden from summer to winter plants. The summer garden was filled with flowers and ornamental sweet potato vines such as the lime-green Margaritas, the blackish-purple Sweethearts, and the grayish-green, pink-veined Tricolors.

The cool-weather planting consisted of pansies.

What caught my attention was the three mature sweet potatoes sitting on the brick ledge.

Hey landscaping company, I was that crazy, astonished woman who walked by and asked if the sweet potatoes really came out of the raised bed. “Of course,” they said. In all my years of planting window boxes in Boston as a newlywed, I never grew a sweet potato from the ornamental vines. It never occurred to me that the vines would grow vegetables.

That is what I love about growing food — there is always something to learn, and often what you learn is astonishing!

All of this leads to why, on March 26, 2020, I decided to drop a sprouting sweet potato from my larder into the dirt near the raised bed where I was planting unsweet potatoes.

Fast forward to May 16th when I spied a random clump of leaf growth in one of the dirt paths between the raised beds. It took me a minute to figure out the leaves were from the sweet potato I had planted.

Five months later, to my surprise and delight, I dug up five pounds of sweet potatoes; a few potatoes from each of those vines that turned into individual slips!

While digging up the potatoes, I found this spidery-looking thing in the dirt. I’m guessing it was the mother sweet potato.

This variety of sweet potato is so delicious and richly colored, I am going to try and spout it for a potato crop next year. Unfortunately, I don’t know the name of the variety.

I washed a few potatoes to use for my favorite quick dinner — Sheet Pan Supper: Italian Sausage, Peppers, Onions, and Potatoes. I forgot to add the onions! The white potatoes came from the yard, as well.

Sometimes I spiralize the sweet potatoes–for fun.

I mix the potato core from the spiralizer and the slinky-like potatoes with olive oil, garlic pepper, and salt, and roast them in a 425º oven. We call this side dish Nuts and Bolts Potatoes.

Here are a few other ways to prepare sweet potatoes.

Mrs. Lombard’s Portuguese Kale Soup

Roasted Rosemary Sweet Potatoes

Roasted Butternut Squash (or Sweet Potatoes), Brussels Sprouts, and Cranberries

Melissa’s Sweet Potato Casserole

Pumpkin (or Sweet Potato) Bread Pudding

Follow Judy’s Chickens on Instagram and Pinterest @JudysChickens.

Always check my blog for the latest version of a recipe.

If you enjoyed this post to become a follower, please be sure to press “confirm” on the follow-up letter that will be sent to your email address.

© 2014-2020 Judy Wright. All rights reserved. Photos, videos, and text may only be reproduced with the written consent of Judy Wright.

Melissa’s Sweet Potato Casserole

The morning after my mother died a few months ago, my family and I were sitting around the table drinking coffee, still stunned, looking at our iPads and laptops, when one of my brothers said, “At least now Mom can go to Steve Jobs with all of her iPad questions.” We all burst out laughing. I still smile just thinking about it. We had a close relationship with our mother and embedded in that relationship was the job of answering her computer questions. Well, every year, a few days before Thanksgiving, I could expect an email from my mother that went like this, “Judy, could you send me the recipes?” I knew which ones they were: Mom’s Pumpkin Pie, Micky Kohn’s Pumpkin Cheesecake Pie, Grandma’s Cranberry Chutney and this one, Melissa’s Sweet Potato Casserole. Mom did not have a clue how to search her computer for them. In honor of Mom and to help my family get through the holidays, I plan to post the rest of Mom’s Thanksgiving recipes over the next few days. If there is a kitchen in heaven, she and Steve are by now best buds, and he’ll be stopping by her table that will be full of the family and friends who have gone before us. My brothers and I will be thankful we have her recipes and that we had the privilege of calling her Mom.

DSC_0192

I’ve been making this sweet potato casserole every Thanksgiving since 1994 when my children’s fabulous babysitter, Melissa, first gave it to me. Little did I know I would be making it every Thanksgiving for the rest of my life.

Yield: serves 12 as a main side dish or 20 as one of many side dishes

Ingredients:
4 pounds sweet potatoes, peeled
5 large eggs, beaten
½ cup granulated sugar
¾ cup (12 tablespoons, or 1-1/2 sticks) butter, melted
1 tablespoon vanilla extract
²/3 cup milk
½ cup orange juice
DSC_0086
Mise en Place:
DSC_0094
Directions: 
Preheat oven to 350º
Wash and peel sweet potatoes. Cut into 2-3 inch chunks and place in a large saucepan.
DSC_0482
Cover potatoes with cold water. Add two tablespoons of salt to the water.
DSC_0483
Bring water to a boil and cook for about 15 minutes or until sweet potatoes are fork-tender.
DSC_0022
Drain in a colander and allow to cool for about 30 minutes.
Place sweet potatoes in a mixing bowl and mix until mashed. Do not whip.
DSC_0075 DSC_0076
Add eggs, sugar, butter, vanilla, milk, and orange juice and mix until well blended on medium-low speed. Do not whip.
DSC_0103 DSC_0104
Transfer sweet potato mixture to an oven-safe 9x12x4 casserole. At this point, you could put the uncooked casserole into the refrigerator for up to one day as a make-ahead dish. Just be sure to allow it to come to room temperature before baking. Do not add toppings until after it has baked.
 DSC_0107
Bake until the top starts to turn light brown and a knife inserted in the center comes out clean. This usually takes about an hour in this deep casserole dish. If you are using two shallow casserole dishes, it could be ready in 30 minutes.
DSC_0158
The toppings below are optional. Because some of our guests may have a nut allergy, I generally opt for the marshmallow topping, but the nut topping is equally delicious.
Optional Marshmallow Topping:
When finished cooking, remove casserole from oven and add a layer of miniature marshmallows. Bake for another 10 minutes or until marshmallows become lightly browned.
DSC_0164 DSC_0187
Optional Nut Topping:
1 cup brown sugar
½ cup all-purpose flour
½ stick butter (4 tablespoons)
1 cup chopped pecans
Mix until crumbly. Sprinkle on top of cooked casserole. Bake for 10 minutes at 400º.
This casserole is good cold the next morning, and if you are anything like me, you’ll be thinking about grabbing a spoonful of it every time you walk by the refrigerator.

LET’S STAY CONNECTED!

Follow my photos of vegetables growing, backyard chickens hanging out, and dinner preparations on Instagram at JudysChickens.

Never miss a post: sign up to become a follower of the Blog.

© 2014-2017 Judy Wright. All rights reserved. Photos and text may only be used with written consent.

Growing Sweet Potatoes and Other Crops at Delvin Farms

“Bringing people together to grow, cook and share nourishing food.”  The Nashville Food Project’s motto is my motto, too.IMG_0821

On Monday mornings, The Nashville Food Project sends a team of staff, interns, and volunteers to glean from the fields of Delvin Farms, a 140-acre farm in College Grove, Tennessee. The farm, started by the Delvin family in 1972, became certified organic in 1998 and began operating a CSA (Community Supported Agriculture) in 1999. In addition to their CSA, you can purchase their fruits and vegetables at various Farmers Markets around town. I was thrilled to get a chance to visit the farm with TNFP’s Monday team of gleaners: Marijke, Darrius, and Chris.

DSC_0375

We drove to College Grove in TNFP’s new refrigerated food recovery truck donated to TNFP by the H.G. Hill Realty Company this year.DSC_0370

Every Monday, when the team arrives at Delvin Farm, Hank Delvin, Jr. directs TNFP’s food recovery team to different areas of the farm where they can glean. This week, the gleaners harvested onions and chard from fields about to be plowed over. Hank also let us glean from Delvin Farm’s abundance when he let us harvest from their newly ripening fields of zucchini and summer squash. This was Biblical. The Delvins’ generosity netted the indigent citizens of Nashville 295 pounds of fresh produce, this week alone.

Zucchini and Squash Fields
These fields take my breath away!

DSC_0381DSC_0385DSC_0383

I like the way the Delvins cut down on watering, as well as how they control weeds and insects by laying heavy black plastic over the dirt. They then run a soaker hose under the plastic to water the plants.

DSC_0378

Onion Field
That’s Hank and Chris out in the field harvesting onions.DSC_0424DSC_0427

Swiss Chard Field
Rainbow chard always looks like a bouquet of flowers to me. I asked Darrius, TNFP’s Meals Assistant, to pose for me in this photo.DSC_0431DSC_0433

At some point, I was distracted from gleaning by what was going on in the next field over…

DSC_0388

I walked up to the jovial field hands to ask what they were planting. Sweet potatoes.

DSC_0401

I must admit, when I first saw them, I thought of this, the Nashville Pedal Tavern.

535778_518326454875364_429056836_n-copy-1

I asked Hank Sr. to tell me about growing sweet potatoes.DSC_0443

Sweet potatoes are in the morning glory family. Notice how similarly the flowers grow.

sweet potato flower 

Sweet potatoes are a tropical plant and should be planted when the ground is warm in early summer. They’ll be ready to harvest in 120 – 160 days depending on which variety you plant. The “slips” are very hardy; it doesn’t matter how limp the leaves look, as long as they have a few roots on them, they’ll take.

DSC_0415

The Delvins plant thousands of potato slips each year.DSC_0437

I  am attracted to vintage, ingenious, efficient, gadgets of all sizes and this old planter was no exception.

DSC_0389

Here is how the planter works: A stationary v-grooved piece of metal cuts a thin gully in the soil as the tractor moves forward. Meanwhile, the field hands add slips of sweet potato vines into a device much like a Ferris wheel with multiple slip-carrying trays attached to a rim in such a way that as the wheel rotates, the little trays drop the slips into the dirt. As the slip drops in the ground, two red stationary wheels push the side soil back into place “locking” the slip into the soil. Simultaneously, a black hose delivers a squirt of water to each plant from the yellow tank located behind the men.

DSC_0393DSC_0395

Voila!

DSC_0407

Back to the gleaning. We loaded the containers of food into the refrigerator truck.

DSC_0451

We drove twenty minutes back to TNFP’s headquarters and brought the food into the prep room to be weighed. TNFP’s prep room is a beehive of activity where you hear the harmonious sounds of chopping mixed with chatting. Sign up for a shift at Hands on Nashville!

DSC_0460DSC_0464

Then the food went into our walk-in refrigerator to be used during the week.DSC_0467

I went home and planted the potato slips Hank had given me. One variety is called Orleans (top grouping) and the other is a Japanese variety known as Murasaki.

IMG_0802 (1)

I planted the slips in my potato bed in between the Red Norland and Yukon Gold potato plants. The white potato plant leaves should start to turn yellow and die this month which will make room for the sweet potato vines to grow. I’ve never planted sweet potatoes this way before, but it seemed like a good idea at the time. Like so many new ideas, we’ll see.

DSC_0470

I think the Delvins would be happy to know that TNFP used all of the vegetables gleaned from their farm this week as they prepared and shared meals for over 1100 Nashvillians. The onions and chard ribs/stems (like celery stalks) went into the chopped vegetables of this week’s entree, Shepherd’s Pie.

IMG_0830

The zucchini and summer squash were chopped by volunteer prep teams and prepared for roasting by the chef teams who simply added olive oil, salt, and garlic pepper and roasted them at 400º for 40 minutes.

IMG_0822

Our chef team decided to add the chard leaves (with ribs removed) to the still piping hot zucchini when it came out of the oven.

IMG_0833

We added the leaves, mixed them in, covered the pan, and put it all back in the oven for another five minutes. The combination was good and a quick way for us to prepare the chard with limited stovetop and oven space. If I were home, I would have served the roasted zucchini/chard mixture over pasta with Parmesan sprinkled on top.

IMG_0845

As Curious George would say, Today was a good day to be curious.

DSC_0463

Related Posts on Commercial Farming:

LET’S STAY CONNECTED!

Follow my photos of vegetables growing, backyard chickens hanging out, and dinner preparations on Instagram at JudysChickens.

Never miss a post: sign up to become a follower of the Blog.

© 2014-2017 Judy Wright. All rights reserved. Photos and text may only be used with written consent.