I can’t believe I made GRAPE JELLY, that ubiquitous purple gooey staple of my youth.
For Baby Boomers like me, long before we had five varieties of preserves in the refrigerator, we had one — Welch’s Grape Jelly. In the 1960s and 70s, my mother always had a two-pound jar of it in the cupboard and a five-pound tub of peanut butter. Every day, my brothers would come home from school, make two peanut butter and jelly sandwiches, add a stack of Oreos, place it all on a plate, and down it with a glass of milk — all as an afterschool snack. To this day, I can still visualize the sleeve of sliced bread collapsing as its contents were depleted within an hour of the boys coming home from school.
That memory got me wondering about PB&J sandwiches. You can read, A Brief History of the Peanut Butter and Jelly Sandwich HERE.
Growing Grapes at Home

Over the last 20 years, my husband has tried to grow grapes with only fair results. We often had a lot of foliage with very little fruit. About five years ago, he decided to get serious and built a trellis for the vines on the western end of our vegetable garden. We planted muscadine grapes, which we knew grew well in our area, and one lone purple grape, Champanel, similar to the Concord grape. This year, grape production from that one Champanel vine exploded.
March 15: Grapevines appear dormant.

April 12: First nodes, then buds appear on the vines as the outer leaf unfurls.

April 30: Each green ball is a flower bud. The buds bloom into tiny white flowers that last one or two days before falling off and leaving the beginnings of individual grapes.


July 23: Almost ready to pick. I covered them with netting to keep the birds out.

August 6: Harvest Day! Notice Marion, the Plymouth Bard Rock hen, eyeing the bowl of grapes on the ground. Chickens. Love. Grapes.

We harvested eight pounds of grapes from that one plant. After washing and patting them dry, removing the stems, rotted fruit, and unripened grapes, we were left with about six pounds of edible grapes.

Making Grape Jelly
All sweet jams and jellies are made essentially the same way. First, you simmer fruit to soften it and get it to release a naturally occurring gum-like “setting” agent known as pectin. Next, turn up the heat, add sugar, and bring the fruit juice to a rolling boil which evaporates some of the water, leaving a gelatinous substance we know as jelly.
Note: only use grapes that are sweet enough to eat! The only “fail” I have had with this recipe was to use grapes that looked ripe but hadn’t ripened to the point of tasting sweet off the vine. I was trying to beat the birds and harvested too early. I thought adding sugar would sweeten them, but the jelly tasted tart.
About Pectin
Different fruits have different amounts of pectin; crab apples have lots of pectin; grapes have very little. Thus, to get low-pectin varieties of fruit to set, you need to add pectin from another source. Otherwise, you end up overcooking the fruit’s good juices to get it to firm up. Additional pectin helps speed up the setting process.
The pluses of using pectin: Pectin helps jelly achieve a “set” quickly, resulting in a shorter cooking time, translating into a more intensely flavored jelly. Pectin helps the fruit’s color stay vibrant. Finally, using pectin results in a higher jelly yield because you boil it for a shorter time, allowing less evaporation of the fruit’s juices.

Feel free to follow the directions on the pectin box, which calls for 3.5 pounds of cleaned grapes and 7 cups of sugar. You can buy grapes at the supermarket, too, by the way! Look for the darkest grapes you can find for the most intense flavor. You could also use 100% pure grape juice, but I have never tried that. I adjusted the recipe to fit the amount of grapes I harvested. I honestly had no idea if the proportion of grapes to sugar and pectin would work to achieve a set. I was thrilled when it did, and I have provided you with the exact amounts of ingredients I used for this batch.
My ingredients for 13 cups of jelly:
6.25 pounds of cleaned grapes which produced 7 cups of grape juice
9 cups sugar
1 box of pectin (1.75 ounce package)
1/2 teaspoon butter (to stop jelly from foaming while cooking.)
Instructions:
Before you start cooking, clean 16-ounce jelly jars in the dishwasher and have them ready to fill as soon as the jelly is finished cooking. You will also need new clean lids to heat-process the jars.
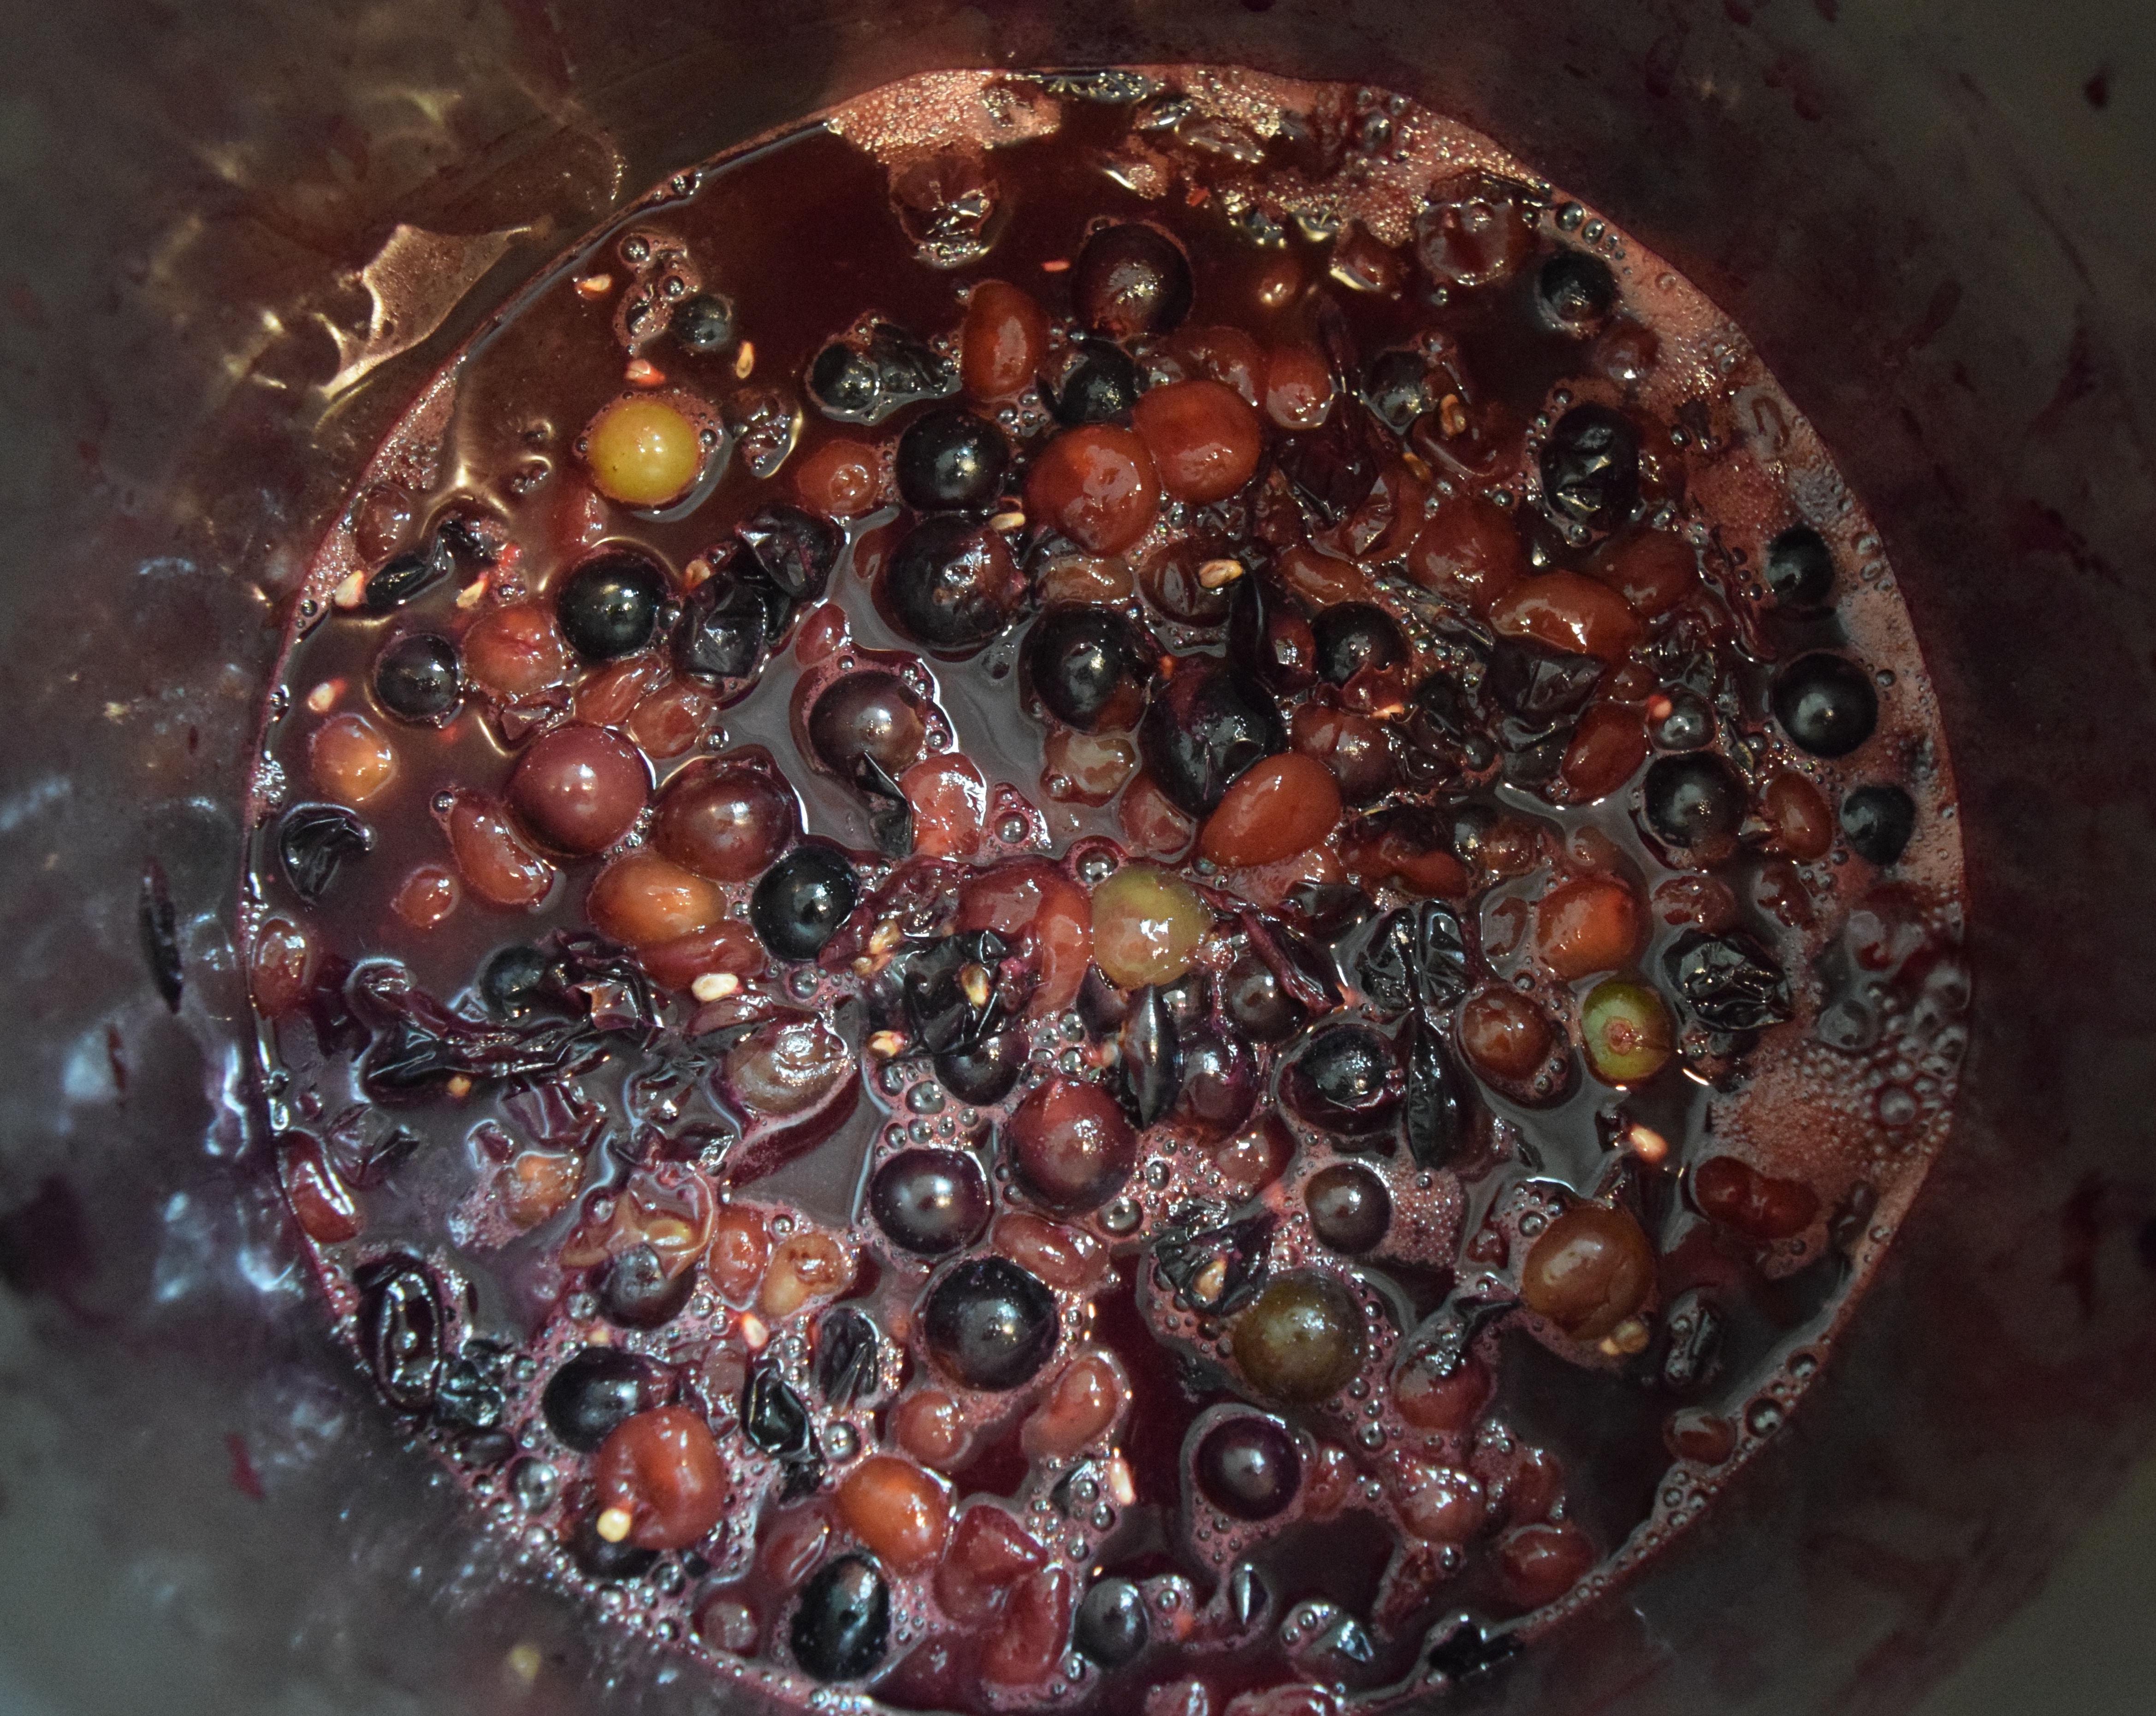
Pour grapes into a large pot. Do not add water.

Using a potato masher, squish the grapes in the pot.

Turn the heat on high. Grapes will release more juice as they are heated. Bring grapes to a gentle boil. Continue to simmer on low heat for 10 minutes.
Set up a sieve over a bowl and strain the juice. Here’s where I got lucky. I have had this vintage juice sieve in my basement for 10 years. I had picked it up at a yard sale because I thought it had nice lines. I had no idea about its specific purpose in the kitchen. When I saw cooks using it in jelly-making videos, I was thrilled to learn of its raison d’être and even more thrilled that I hadn’t konmaried it!

Pour the crushed, cooked grapes through the juice sieve and swirl the dowel to push the juice through the holes.

The seeds and skins remain in the well of the sieve and can be composted.

Here’s an action video:
Error
This video doesn’t exist
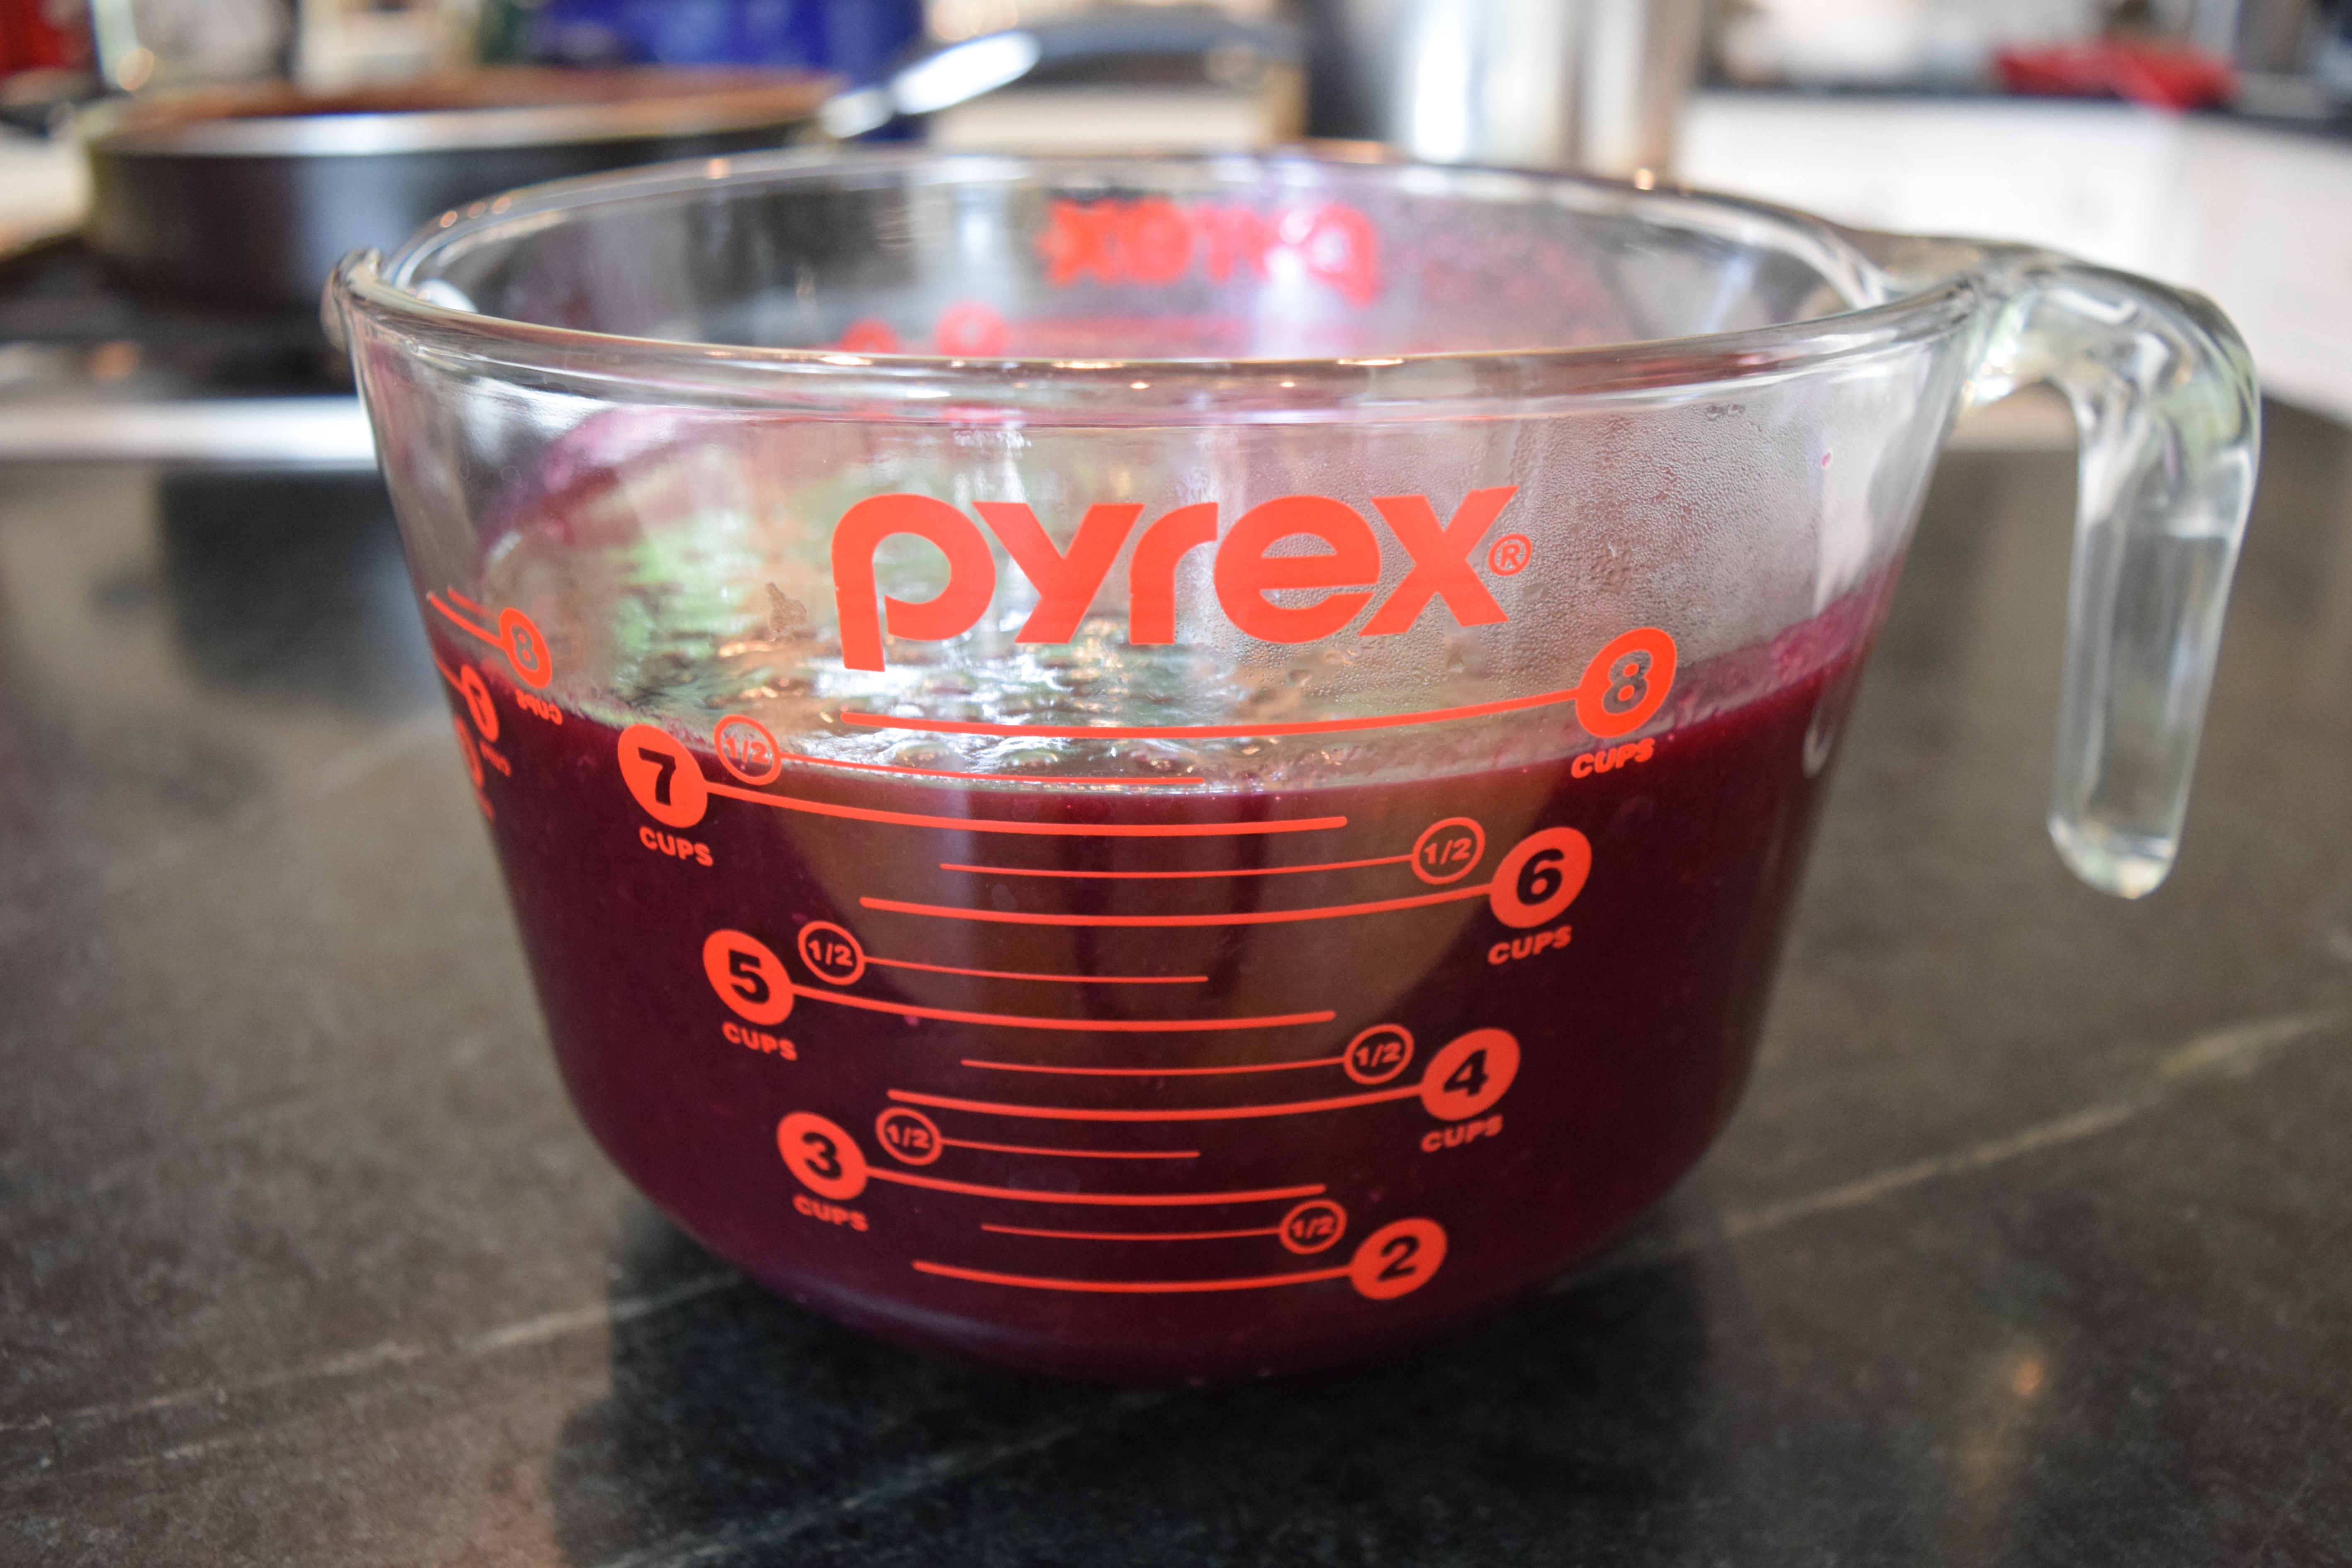
The juice and pulp settle in the bowl.

Take the juice and pour it back into the clean pot. Add butter and pectin and bring to a boil over high heat. Stir frequently.
When the jelly reaches the point of boiling rapidly, add the sugar and stir to dissolve. Nine cups seem like a lot of sugar, but that’s what it takes to get the jelly to achieve a good set. Boil rapidly for one minute, stirring constantly. Start timing when the juice returns to a rapid, rolling boil (a boil that doesn’t stop bubbling when stirred). After one minute, remove from heat.

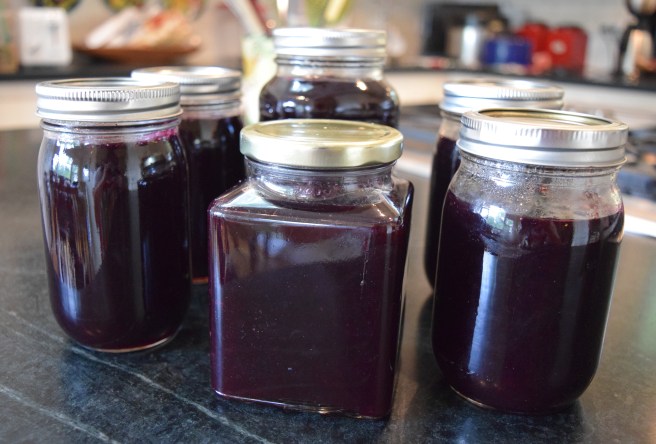
Ladle jelly immediately into prepared jars.

Cover jars with clean lids. At this point, you may choose to place the sealed jars in a boiling water bath to preserve them through the process of pasteurization, or you can store them in the refrigerator unprocessed for immediate use. Since each of my jars was going to family and friends to be used right away, I didn’t bother to process them.


We prune our grapevines way back at the end of the season, leaving us with many long and winding grapevines. I stripped the leaves off and made grapevine wreaths. Now, I get why Martha does this kind of stuff. The long vines were begging to be made into something.
The final fall harvest from last year.

Early Fall Favorite Posts:
Baked Ziti with Roasted Eggplant, Mozzarella, and Marinara Sauce
Italian Sausage, Peppers, Onion, and Potato Sheet Pan Supper
Award Winning Buffalo Chicken Chili
Putting Your Garden to Bed with a Blanket of Cover Crops
Marion’s Crazy Good Pumpkin Bread with Chocolate Chips
Mrs. Walker’s Cranberry Nut Pie
How Local Canola Crops are Grown
LET’S STAY CONNECTED!
Follow my photos of vegetables growing, backyard chickens hanging out, and dinner preparations on Instagram at JudysChickens.
Never miss a post: sign up to become a follower of the Blog.
© 2014-2023 Judy Wright. All rights reserved. Photos and text may only be used with written consent.