Award Winning Buffalo Chicken Chili

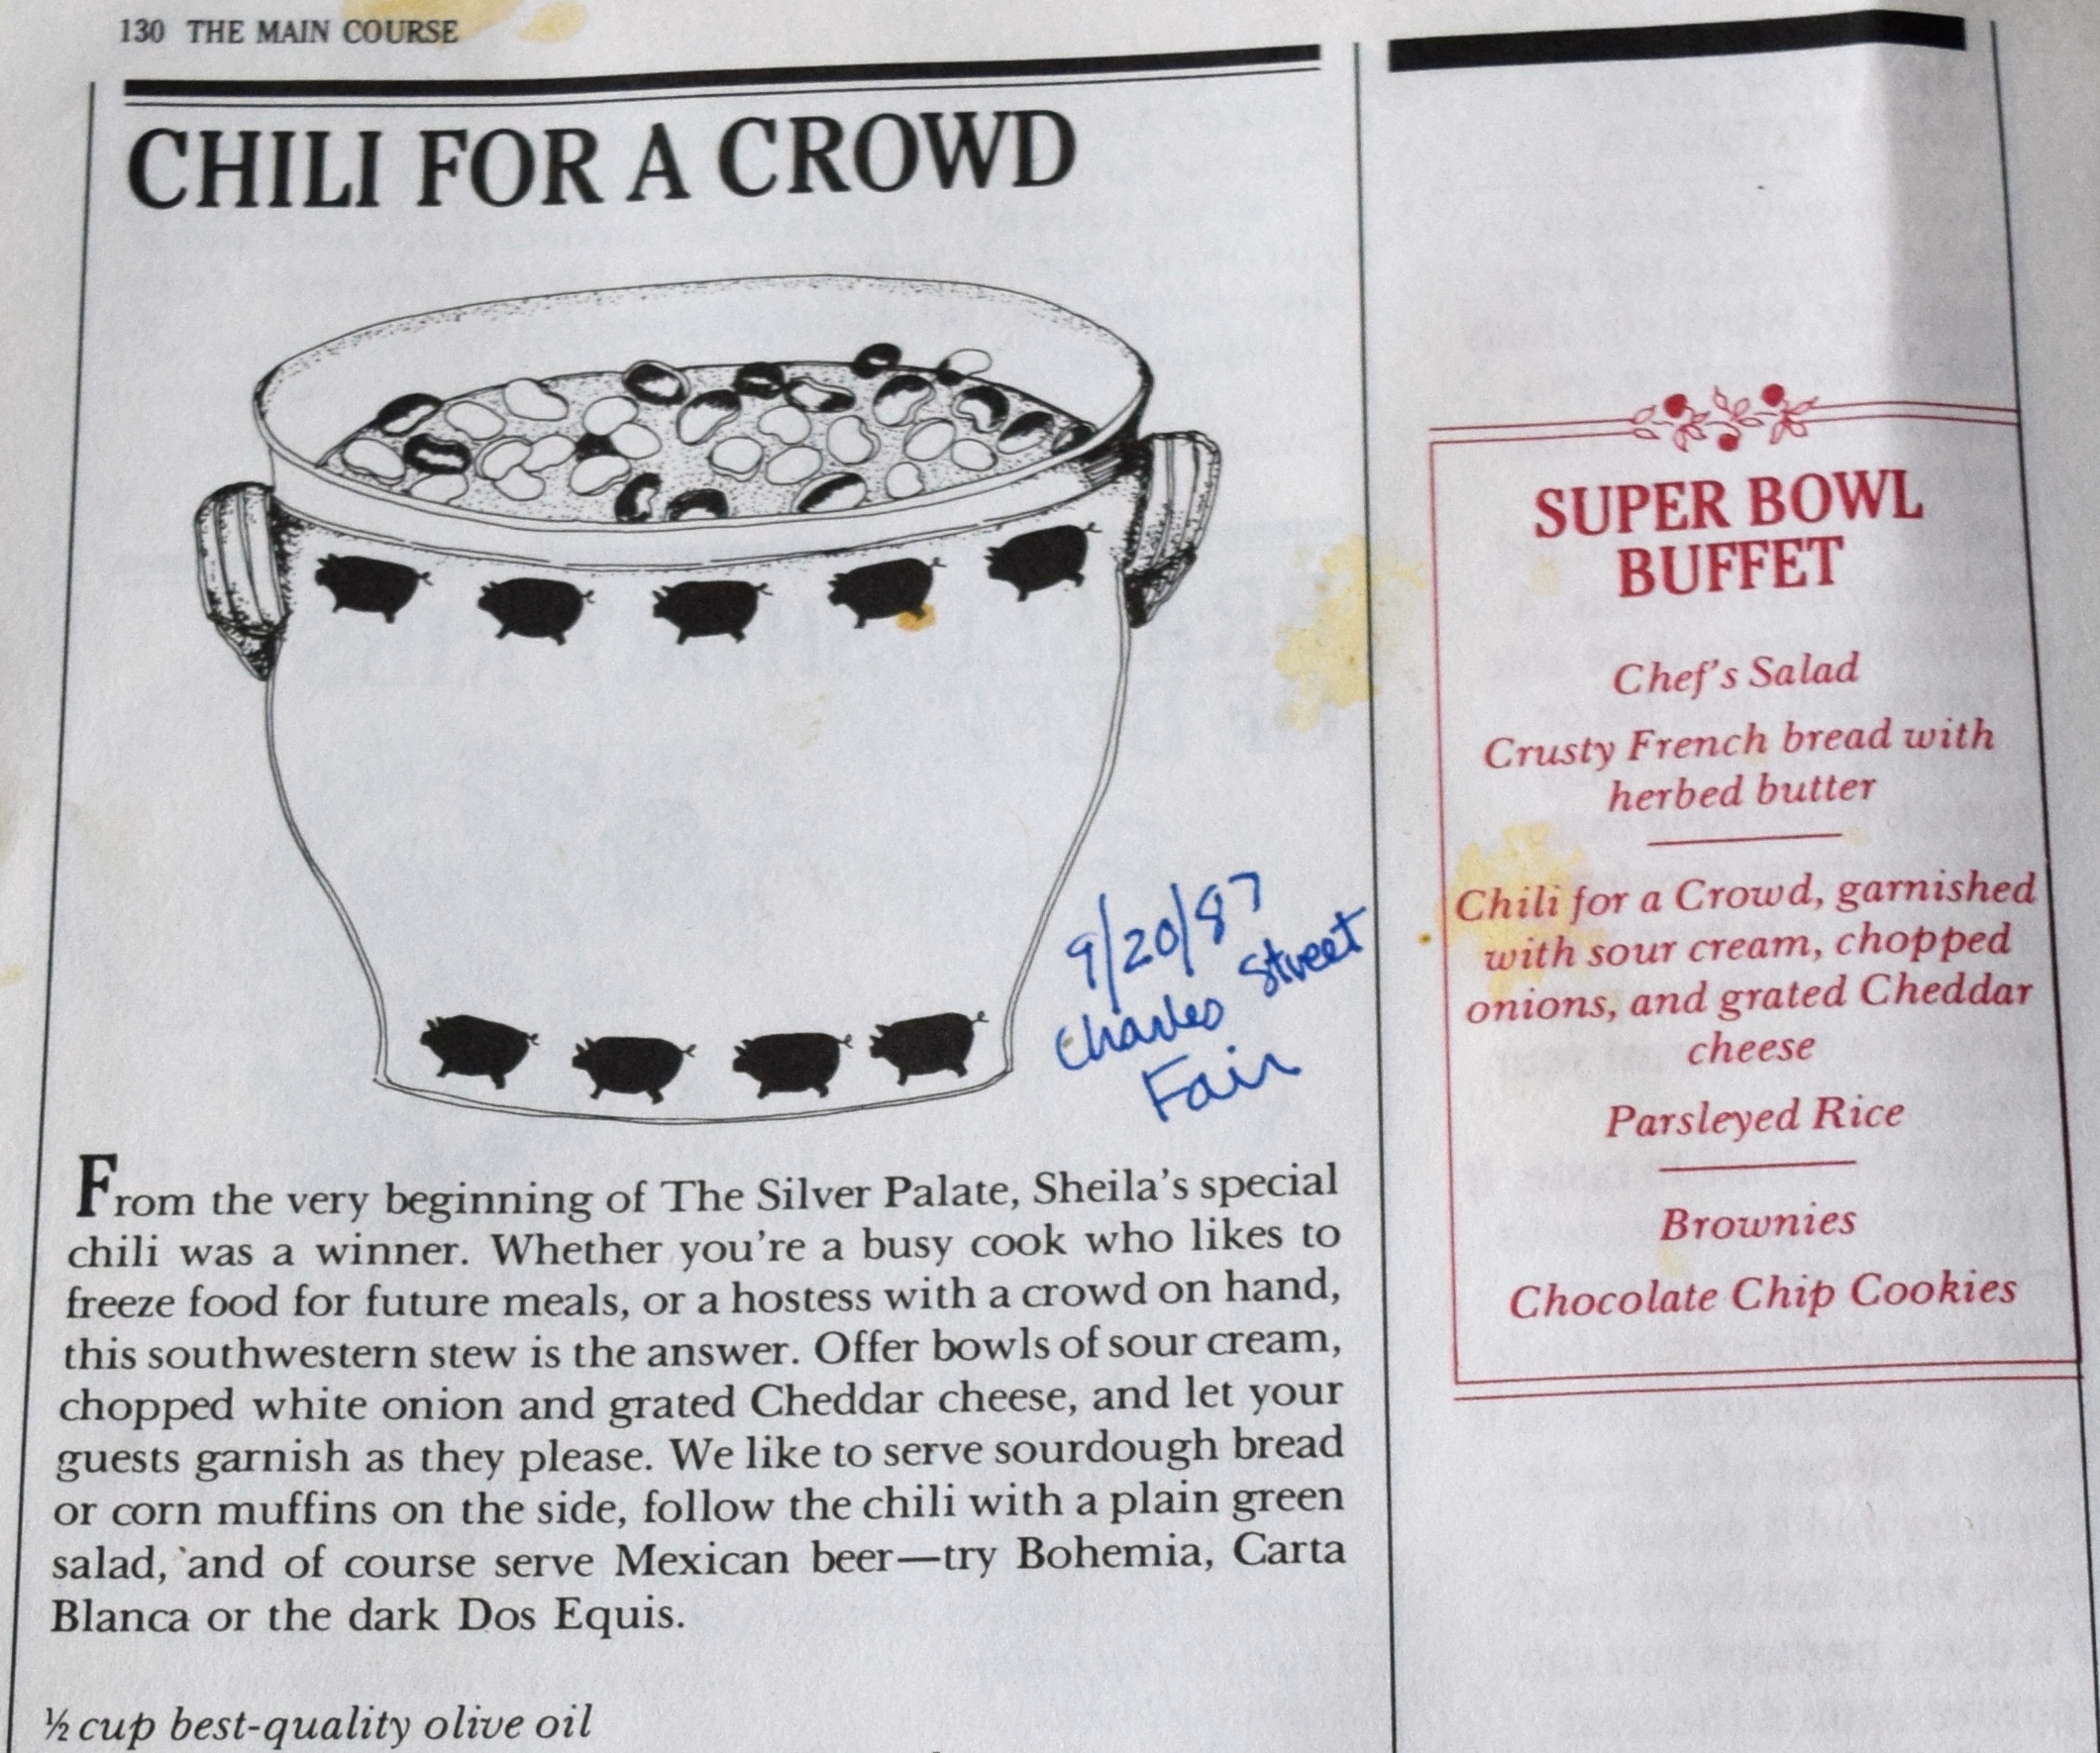
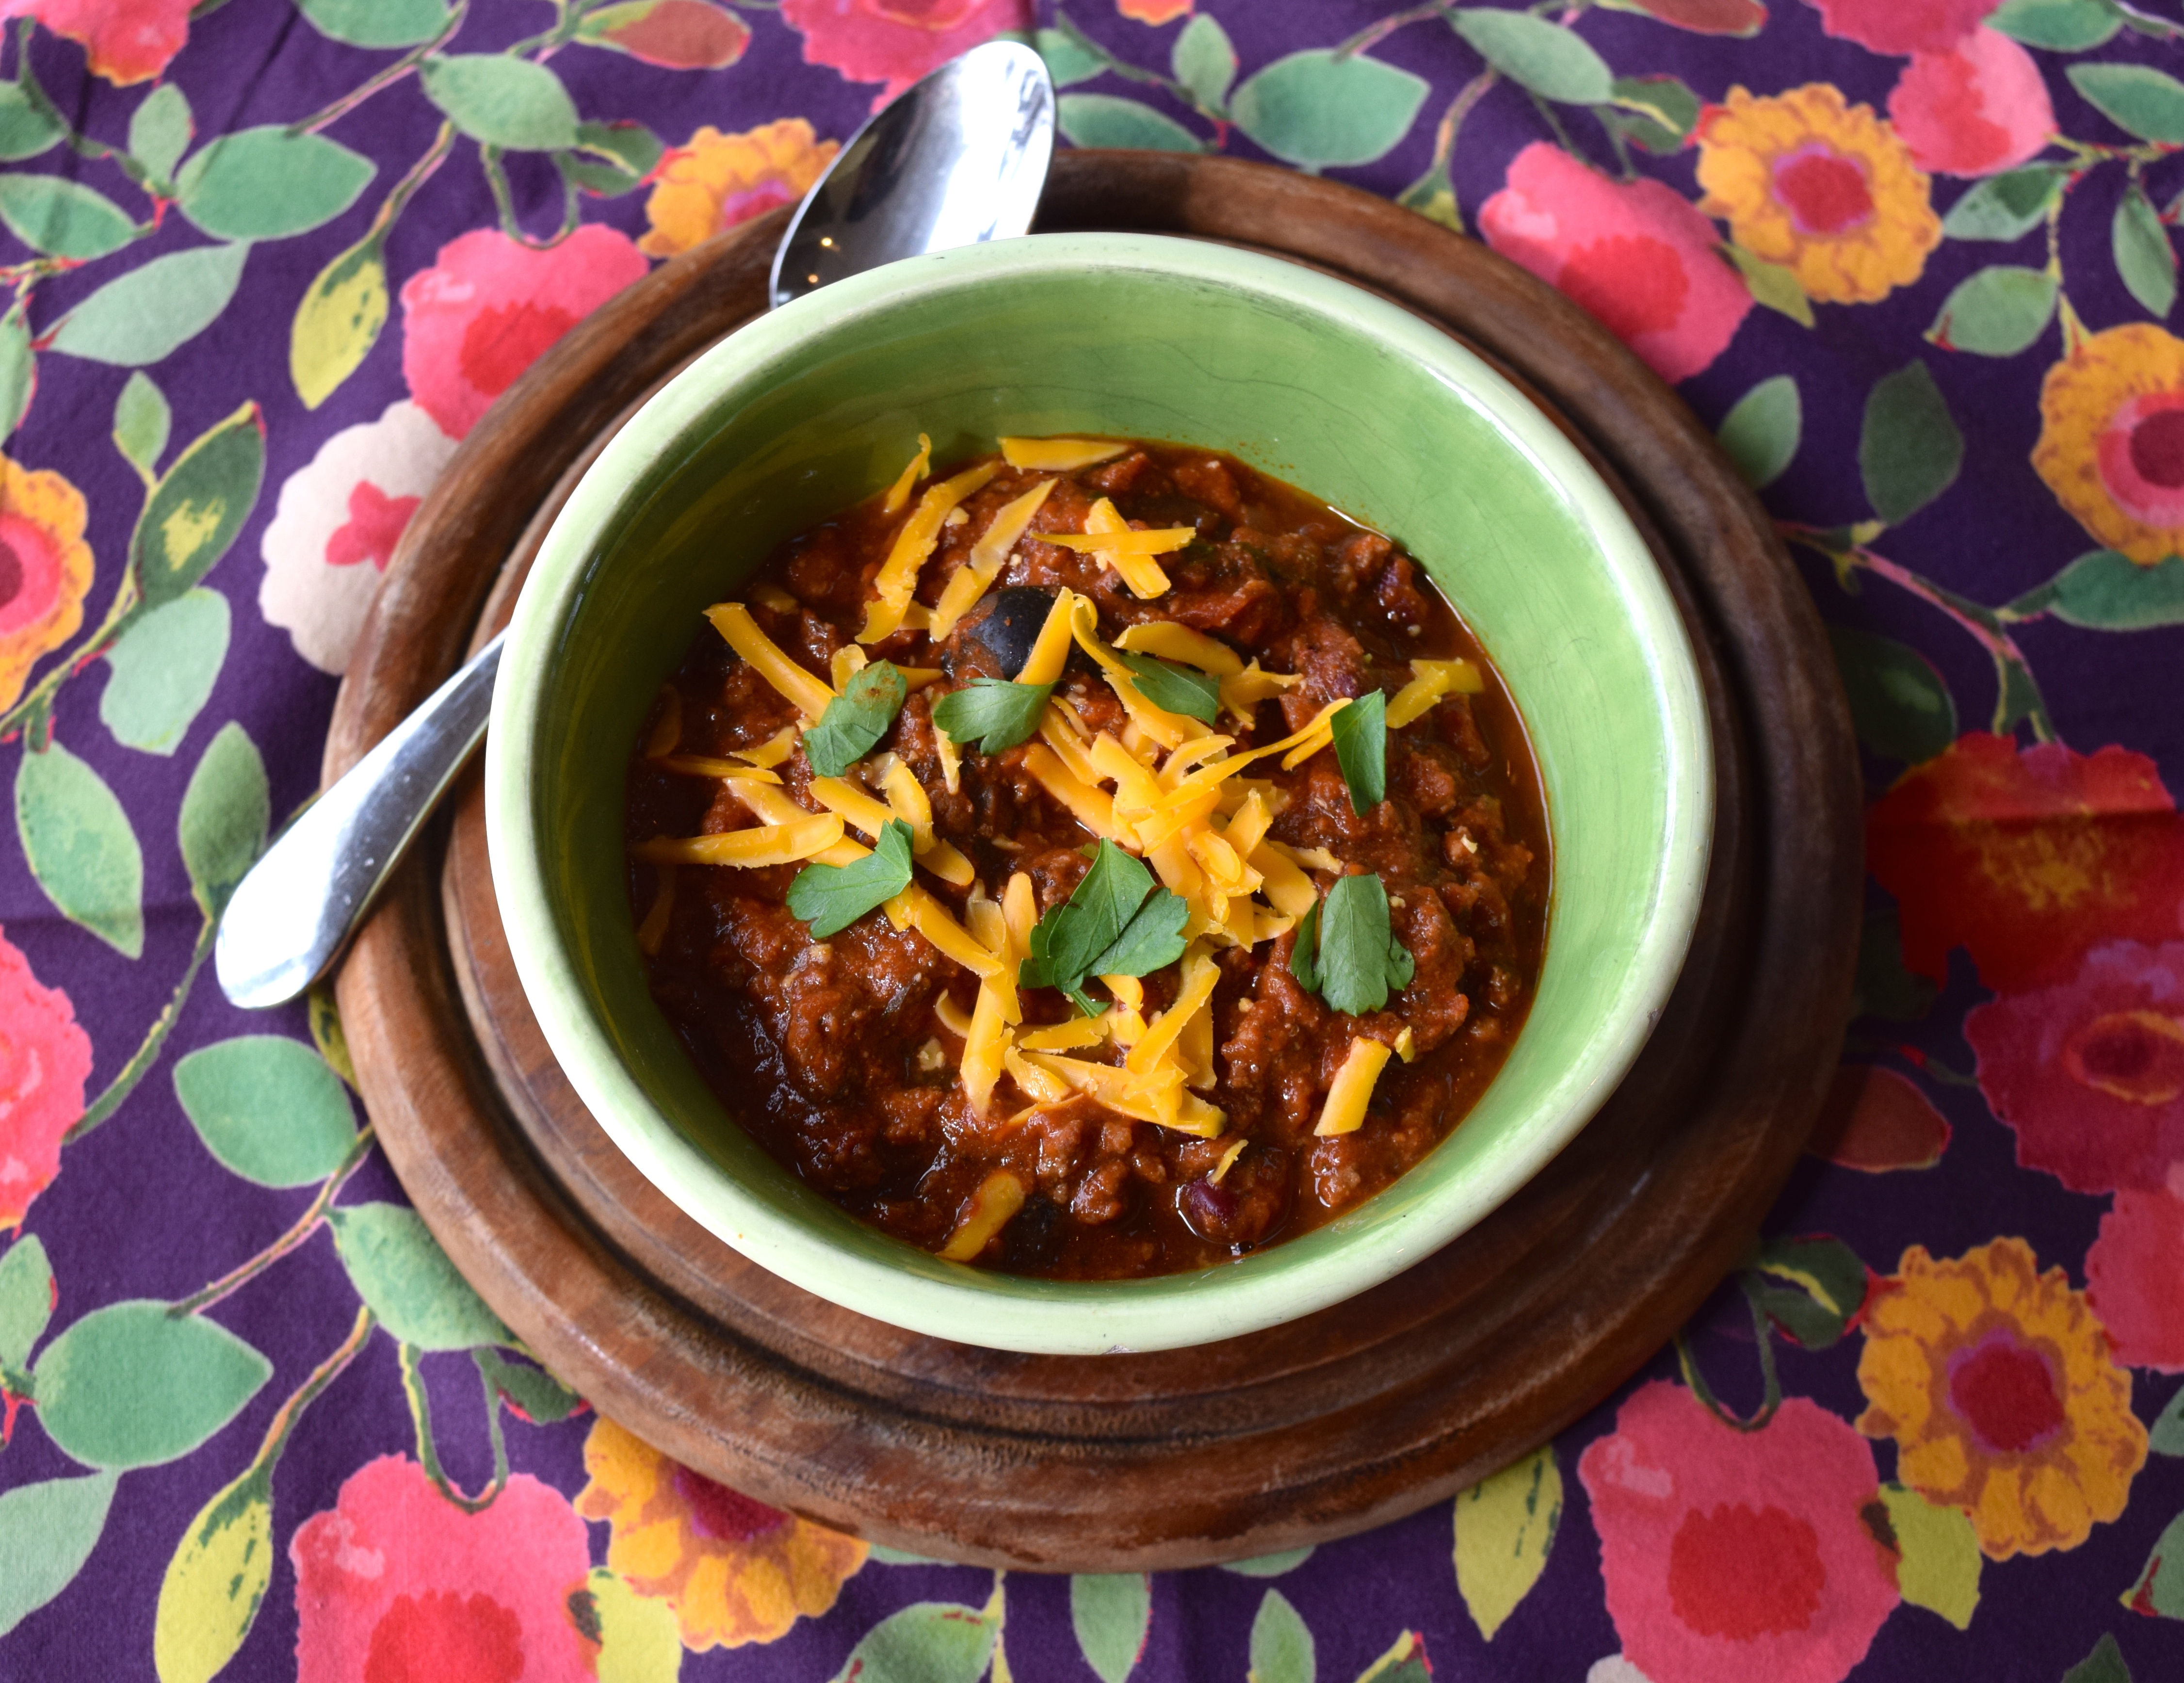
The last time I spoke to my brother Sam, he told me he and his family had sat around the kitchen table drooling over my recent blog post, My Favorite Silver Palate Chili, a beef-based chili with many beautiful layers of flavor. After much discussion, one of his children asked, “Yeah, Dad, but who’s gonna make it?” And there the discussion ended. I have to agree, the Silver Palate chili ingredient list is daunting. I promise you, Sam, this chicken chili recipe is a cinch to make, especially if you use store-bought rotisserie chicken for the meat.
lisa's chili

This recipe should be called Now You See It, Now You Don’t Chili because each time I have seen it served, the crockpot bowl has been completely emptied by the end of the night. At the 2nd Annual Vanderbilt Liver Transplant Team Chili Cook-Off this year, this chili, submitted by transplant team member Lisa, took home the top three awards: Best Chili, Spiciest Chili, and Kid’s Choice. I’ve modified Lisa’s version by adding a few more ingredients.

If you want an additional challenge, I’ve provided instructions on how to make your own Ranch Seasoning Mix rather than using the MSG-laden prepackaged mix.

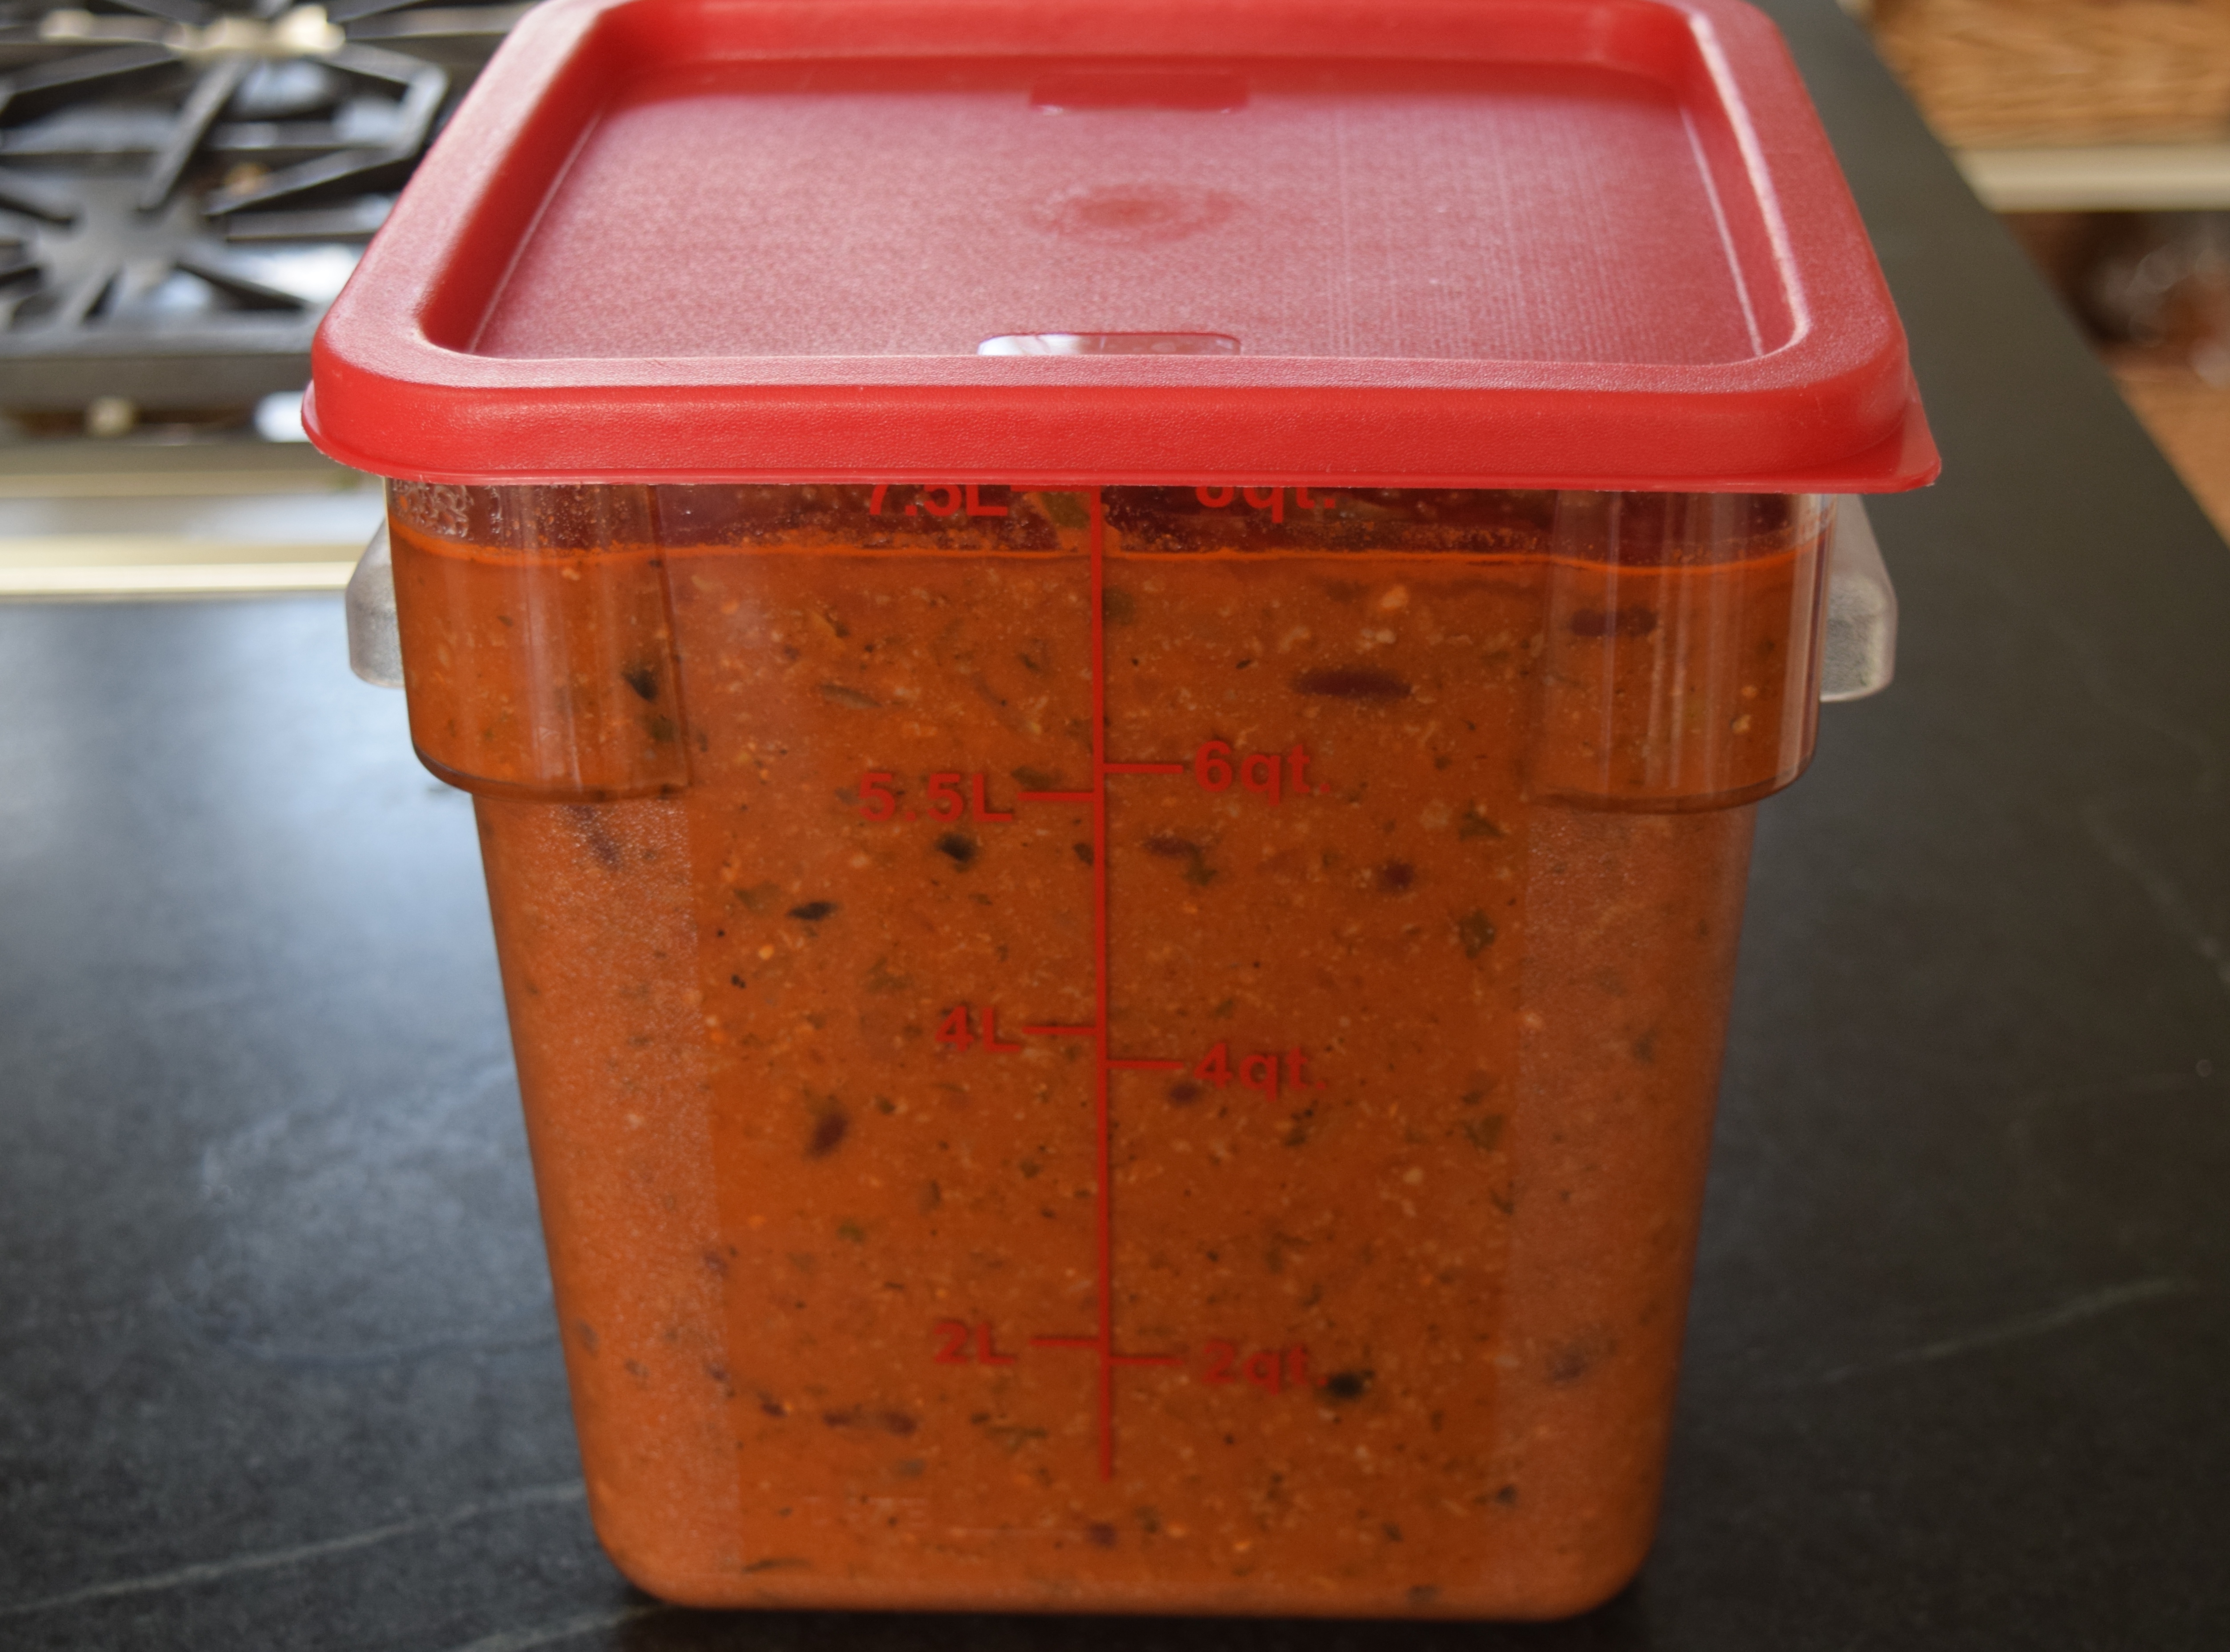
Yield: Makes 4.5 quarts

Ingredients:
Lisa's Chili

⅓ cup olive oil
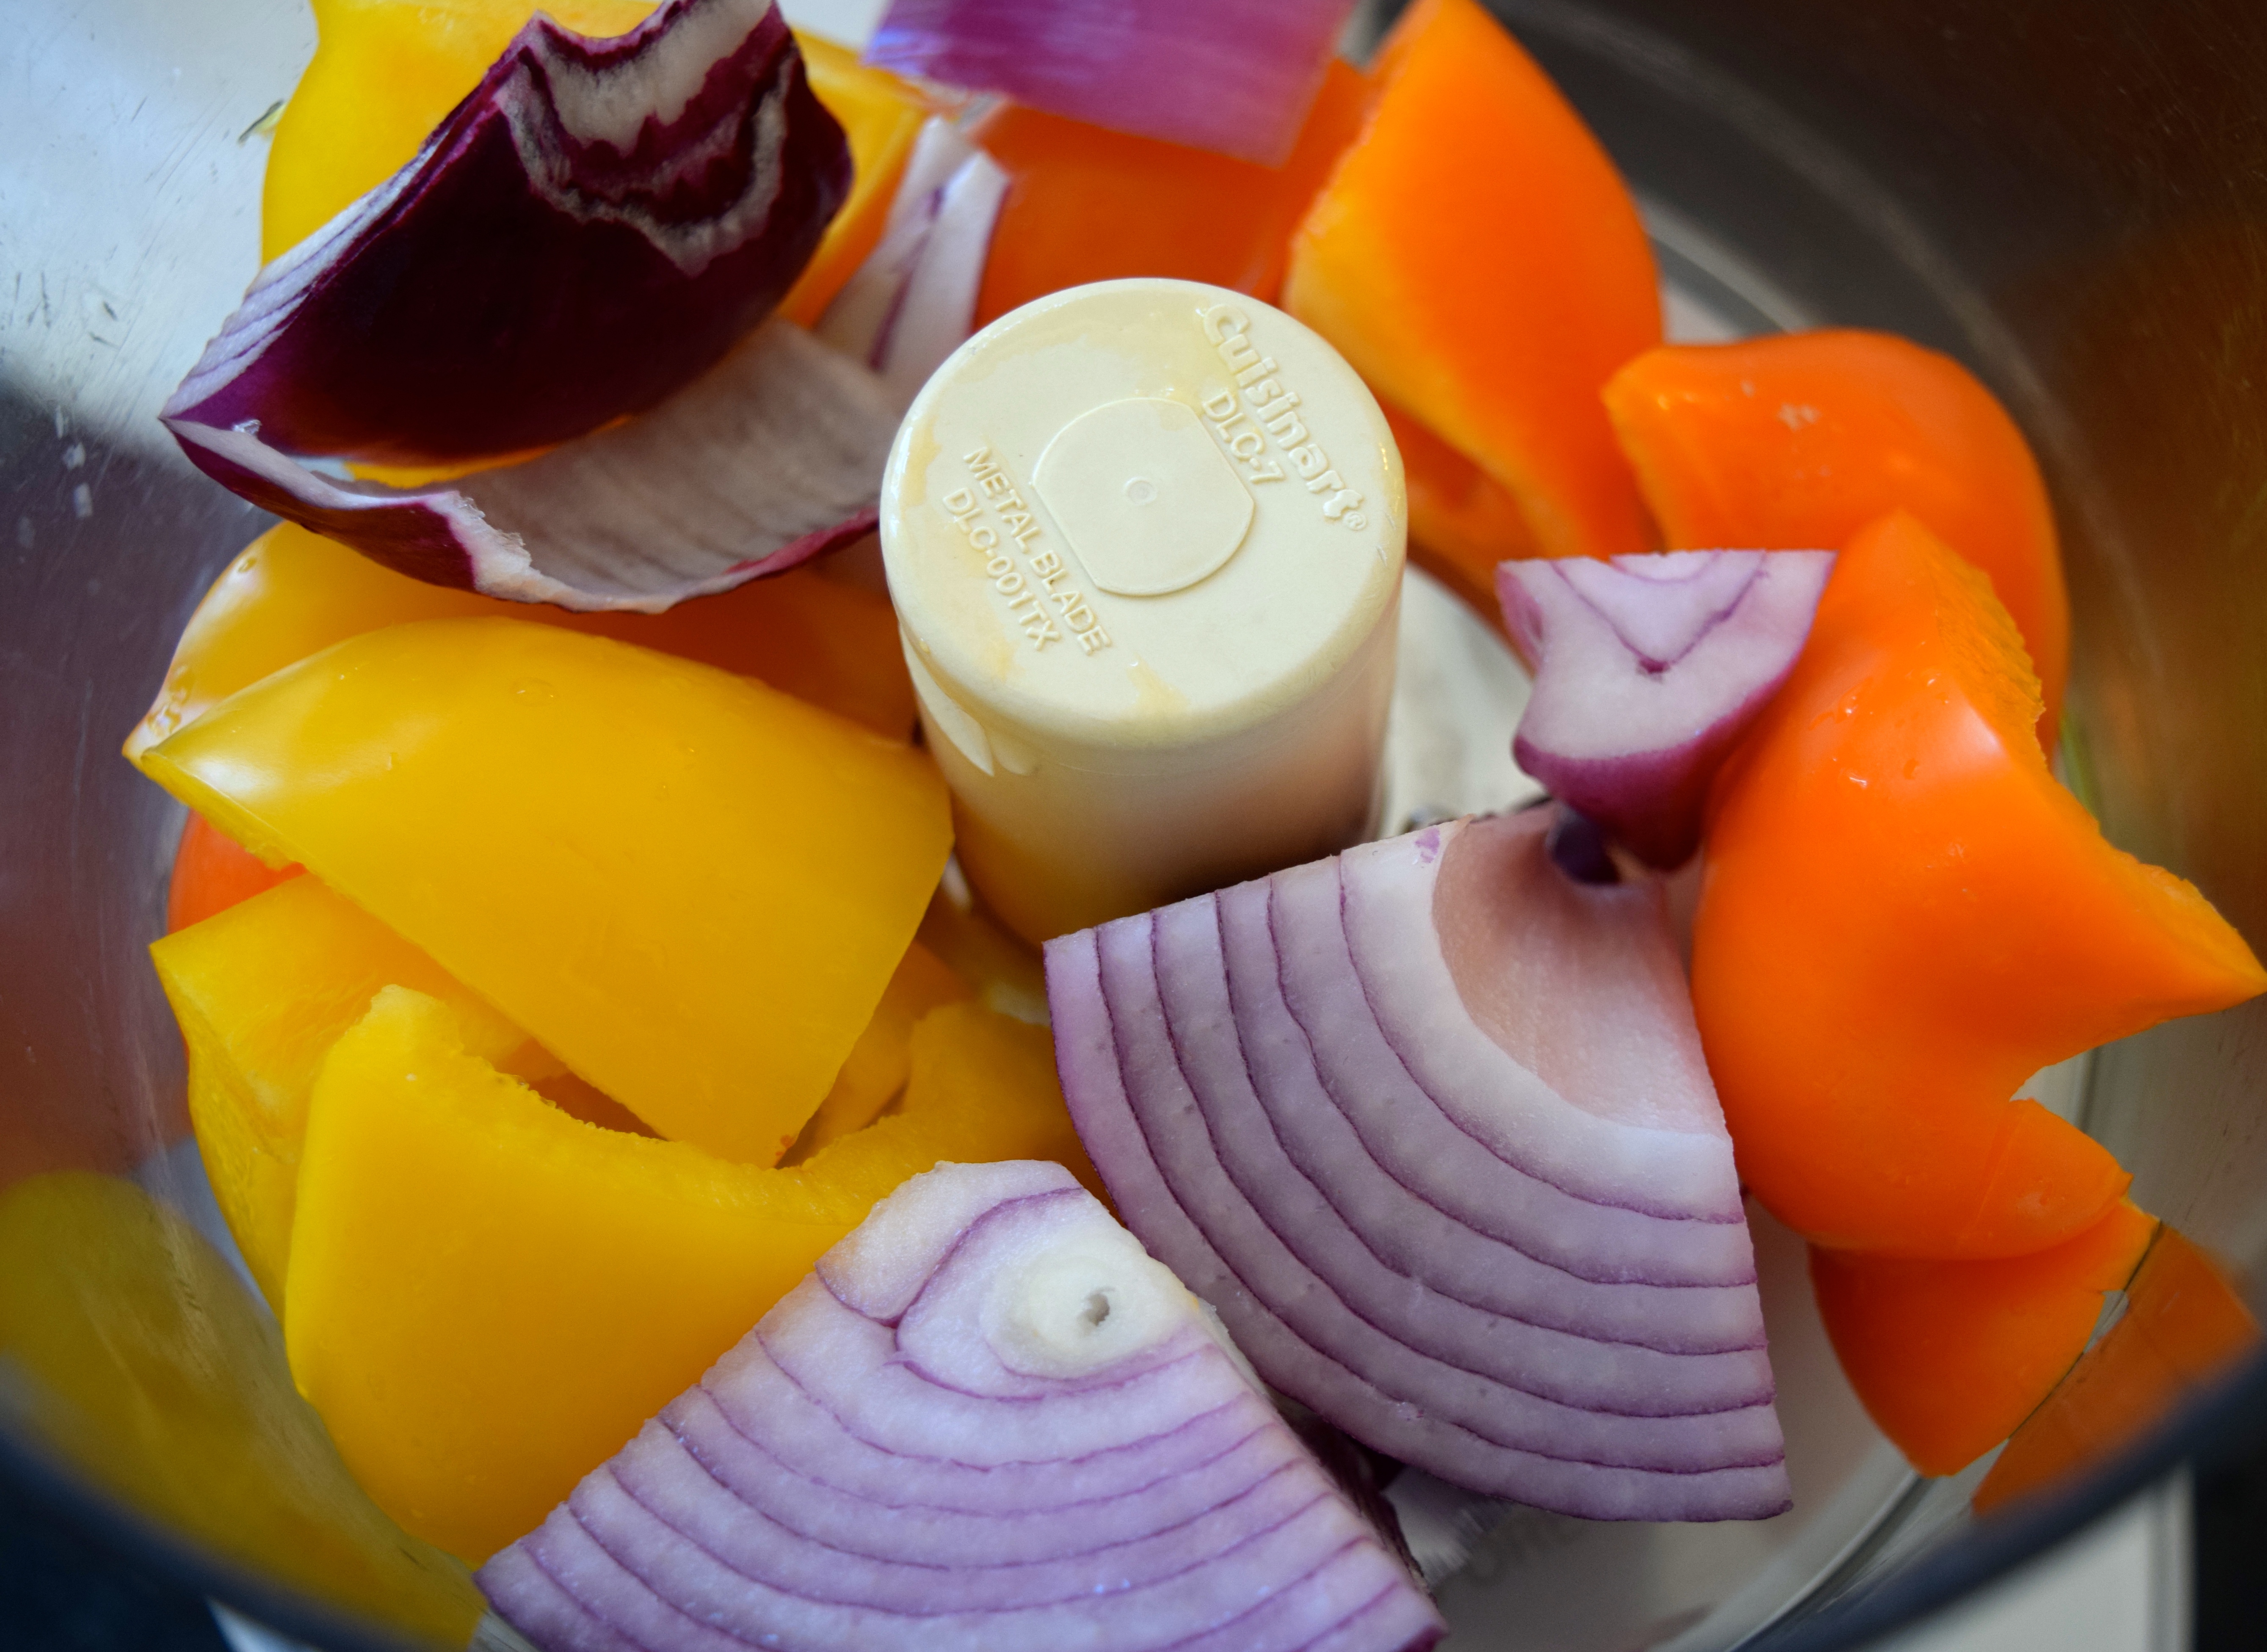
1 large red onion, chopped
2 or 3 colorful sweet bell peppers, seeded and chopped
2 pounds cooked chicken meat
8 cups chicken broth
2  14.5-ounce cans diced fire-roasted tomatoes
6 15-ounce cans cannellini beans, drained, not rinsed
2  7-ounce cans diced green chilies, drained
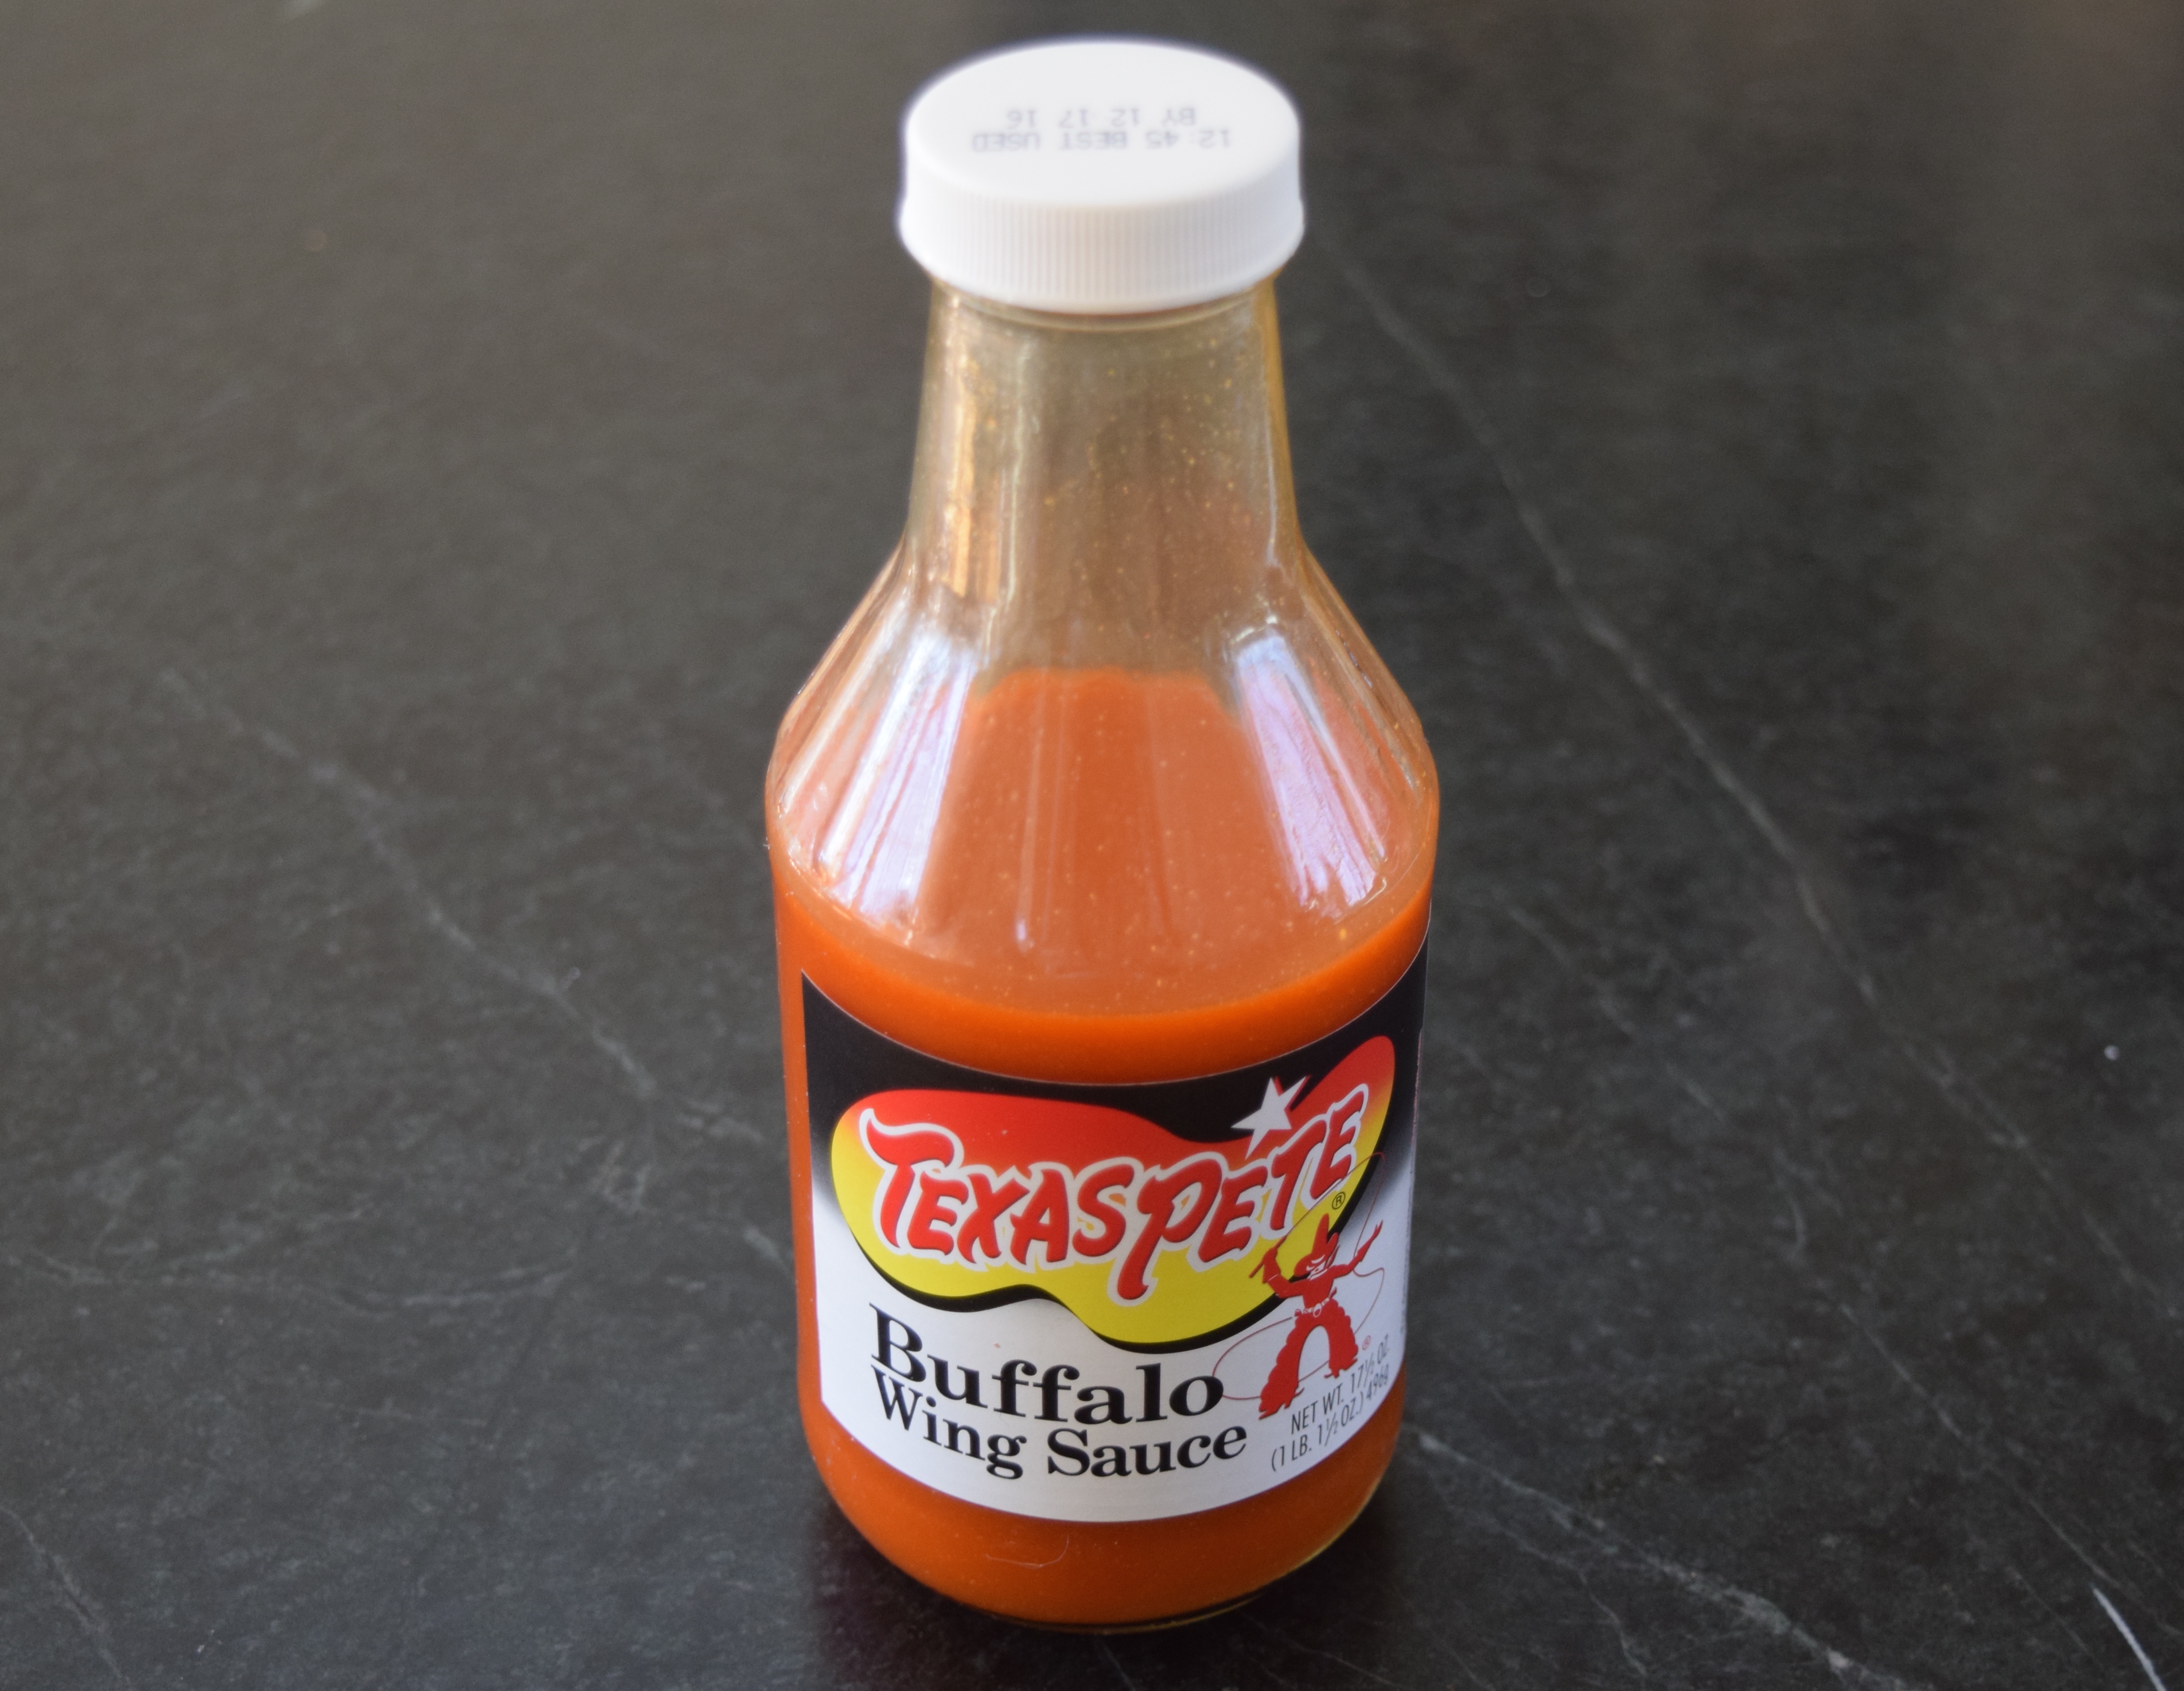
½ cup buffalo wing sauce (more if you like it really hot)
2 packages ranch dressing mix, or 6 tablespoons homemade ranch mix*
1 teaspoon onion powder
1 teaspoon garlic powder
1 teaspoon celery salt
½ teaspoon salt
2  8-ounce blocks of cream cheese, cut into small squares for quicker melting

Chili Toppings:
blue cheese crumbles
freshly chopped cilantro.

How much meat does a rotisserie chicken yield?

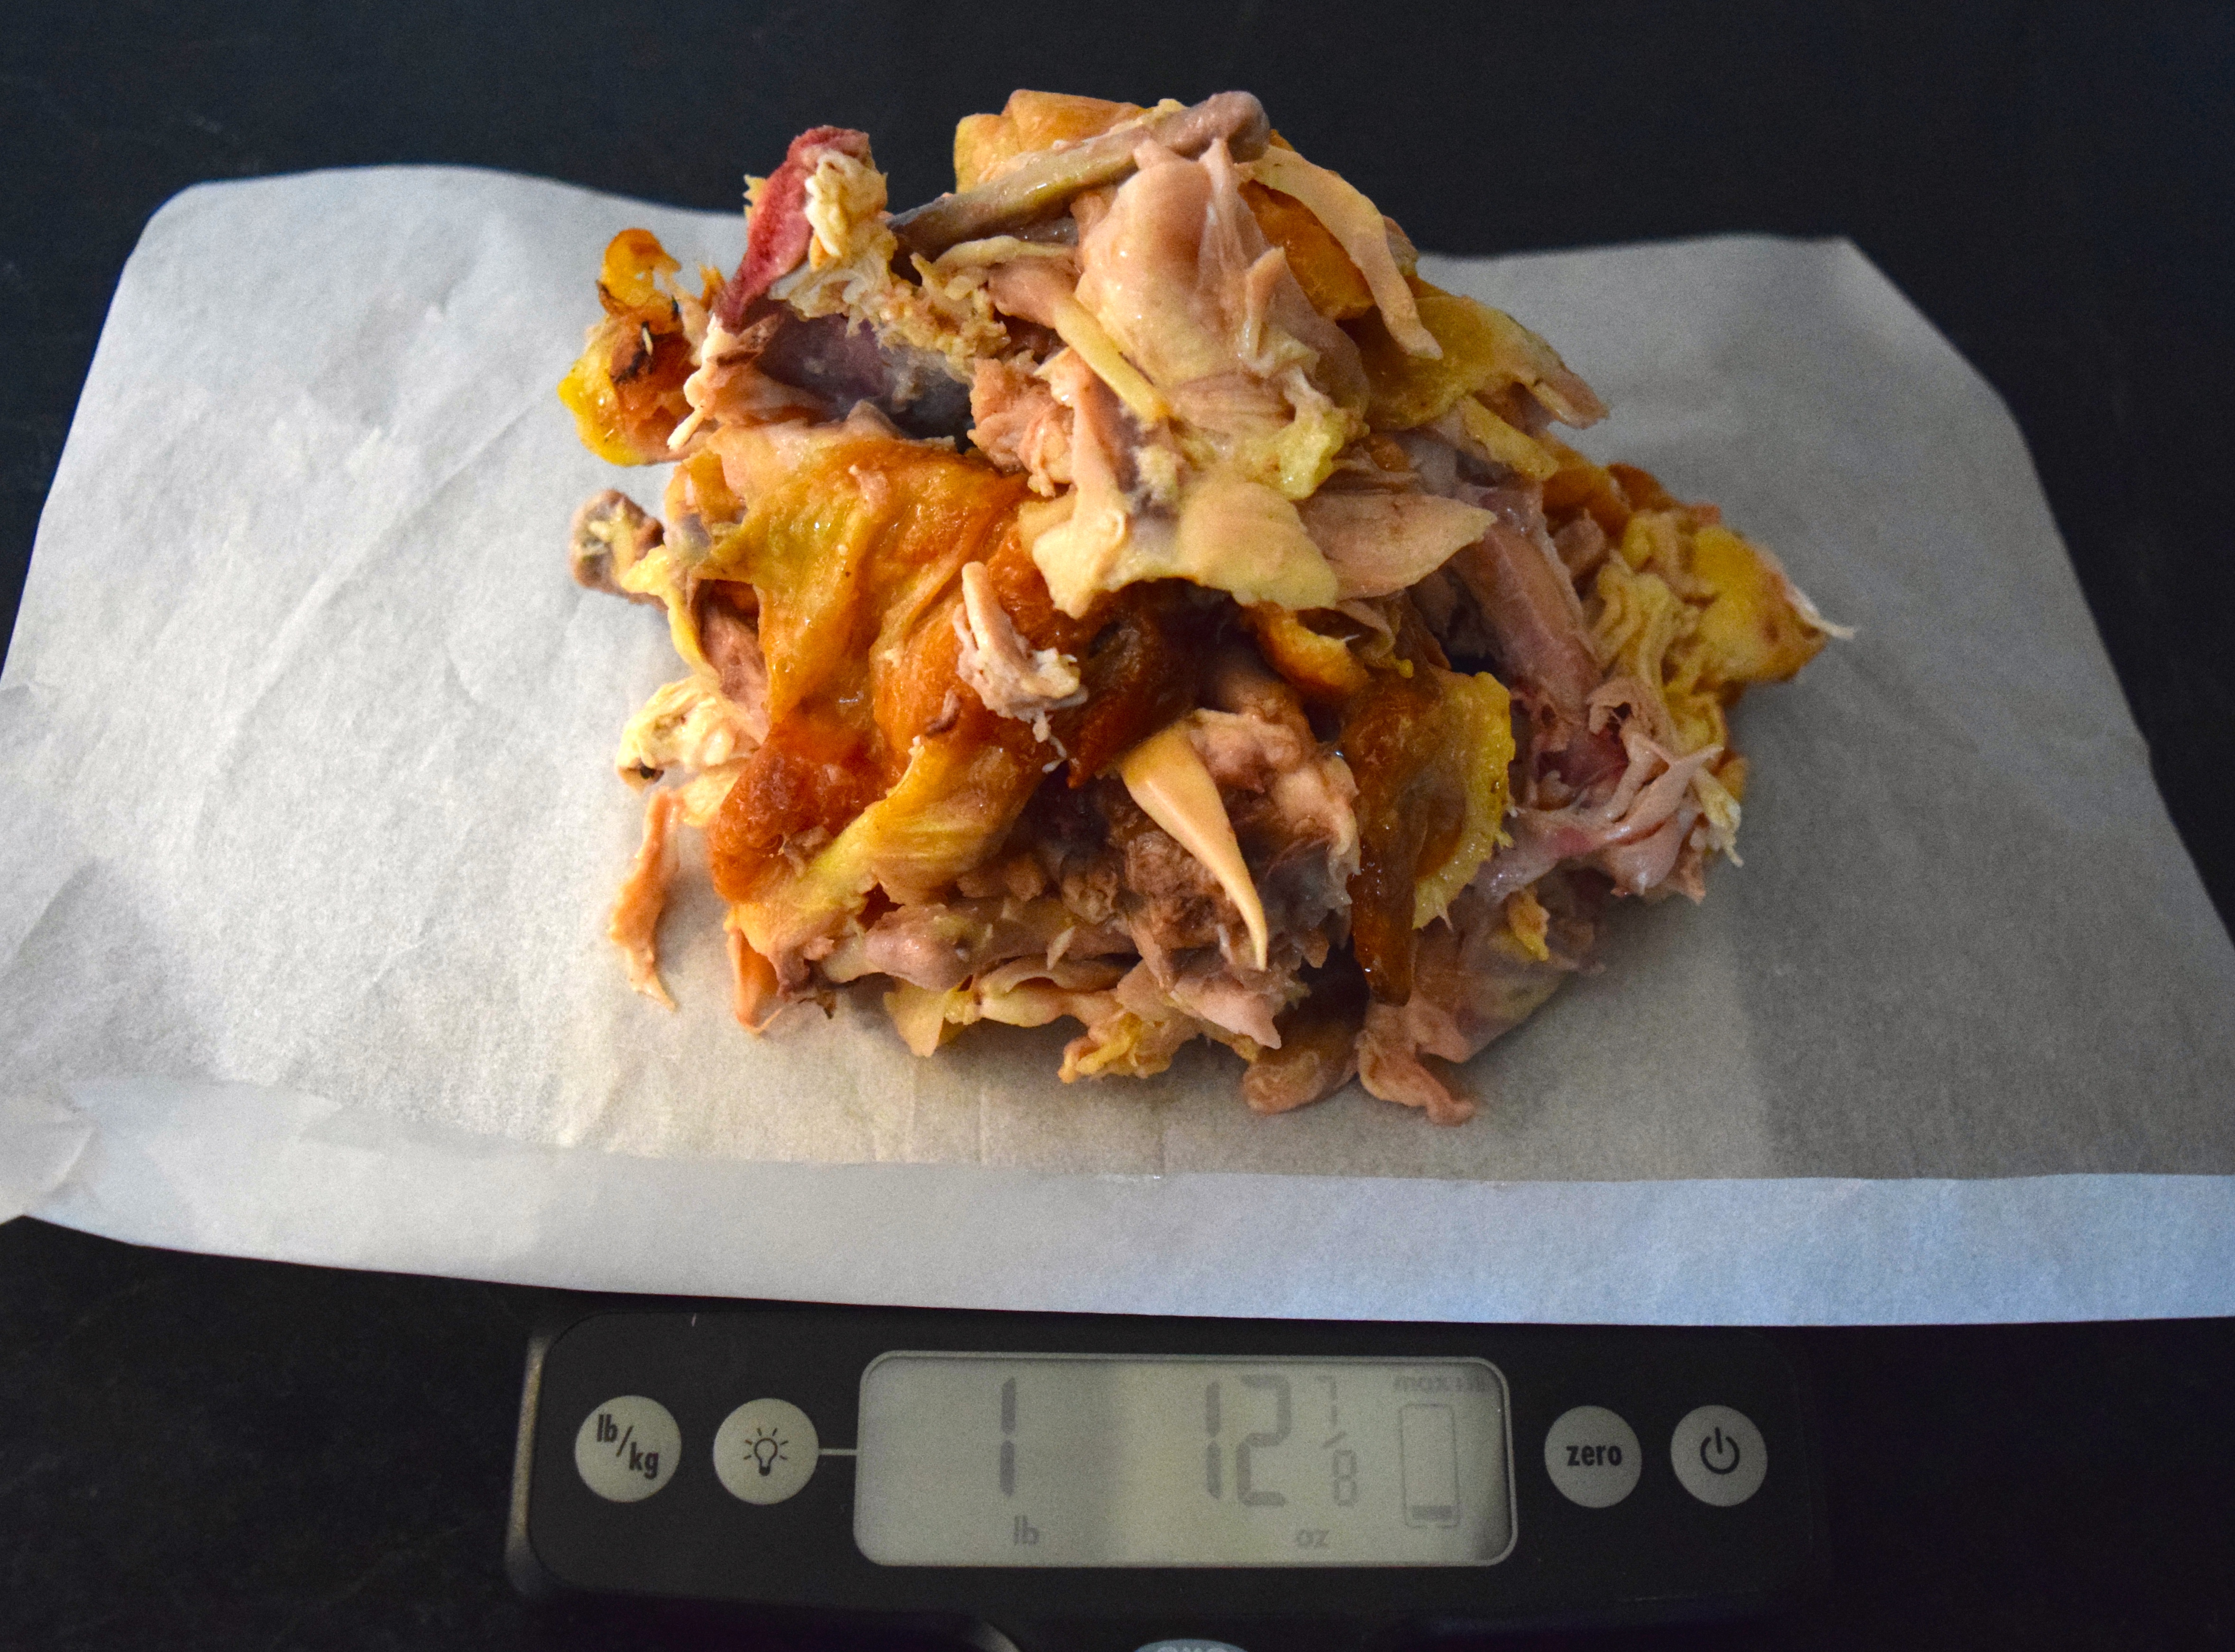
I spoke to Costco’s butcher, who said all of their rotisserie chickens weigh between three and five pounds. Here is a great tip he shared with me: those that weigh the most are the ones where the top of the chicken is smushed up against the container’s lid. The butcher told me any chicken not sold within two hours or that weighs less than 3 pounds is used to make the pre-made dishes like the chicken salad.

This chicken weighed 4 pounds 7 ounces and cost $5.00. It yielded a whopping 2 pounds 8 ounces of boneless meat.
DSC_0606

There was 1 pound 13 ounces of skin and bones leftover. I placed it all in a bag in the freezer for a future pot of Chicken Stock from Rotisserie Bones.
DSC_0609

Some of the other ingredients:

Fire Roasted Tomatoes add bite to soups. The ingredients include tomatoes, onion, and garlic powder. I like to pulse them in a food processor before using them.
DSC_0597

Buffalo Wing Sauce is a hot sauce with added butter (or natural butter flavor). Folks use it as a condiment and pour it over cooked chicken wings.
lisa's chili

Instructions:

Wash and core peppers and peel the onions. I often cut them into chunks and pulse them together in a food processor.
Lisa's Chili Lisa's Chili

Prep chicken. If using rotisserie chicken, pull the meat off the bones and chop into bite-sized pieces.

Sauté the vegetables for 10 minutes until they are soft and translucent. Add diced chicken and stir.
Lisa's Chili

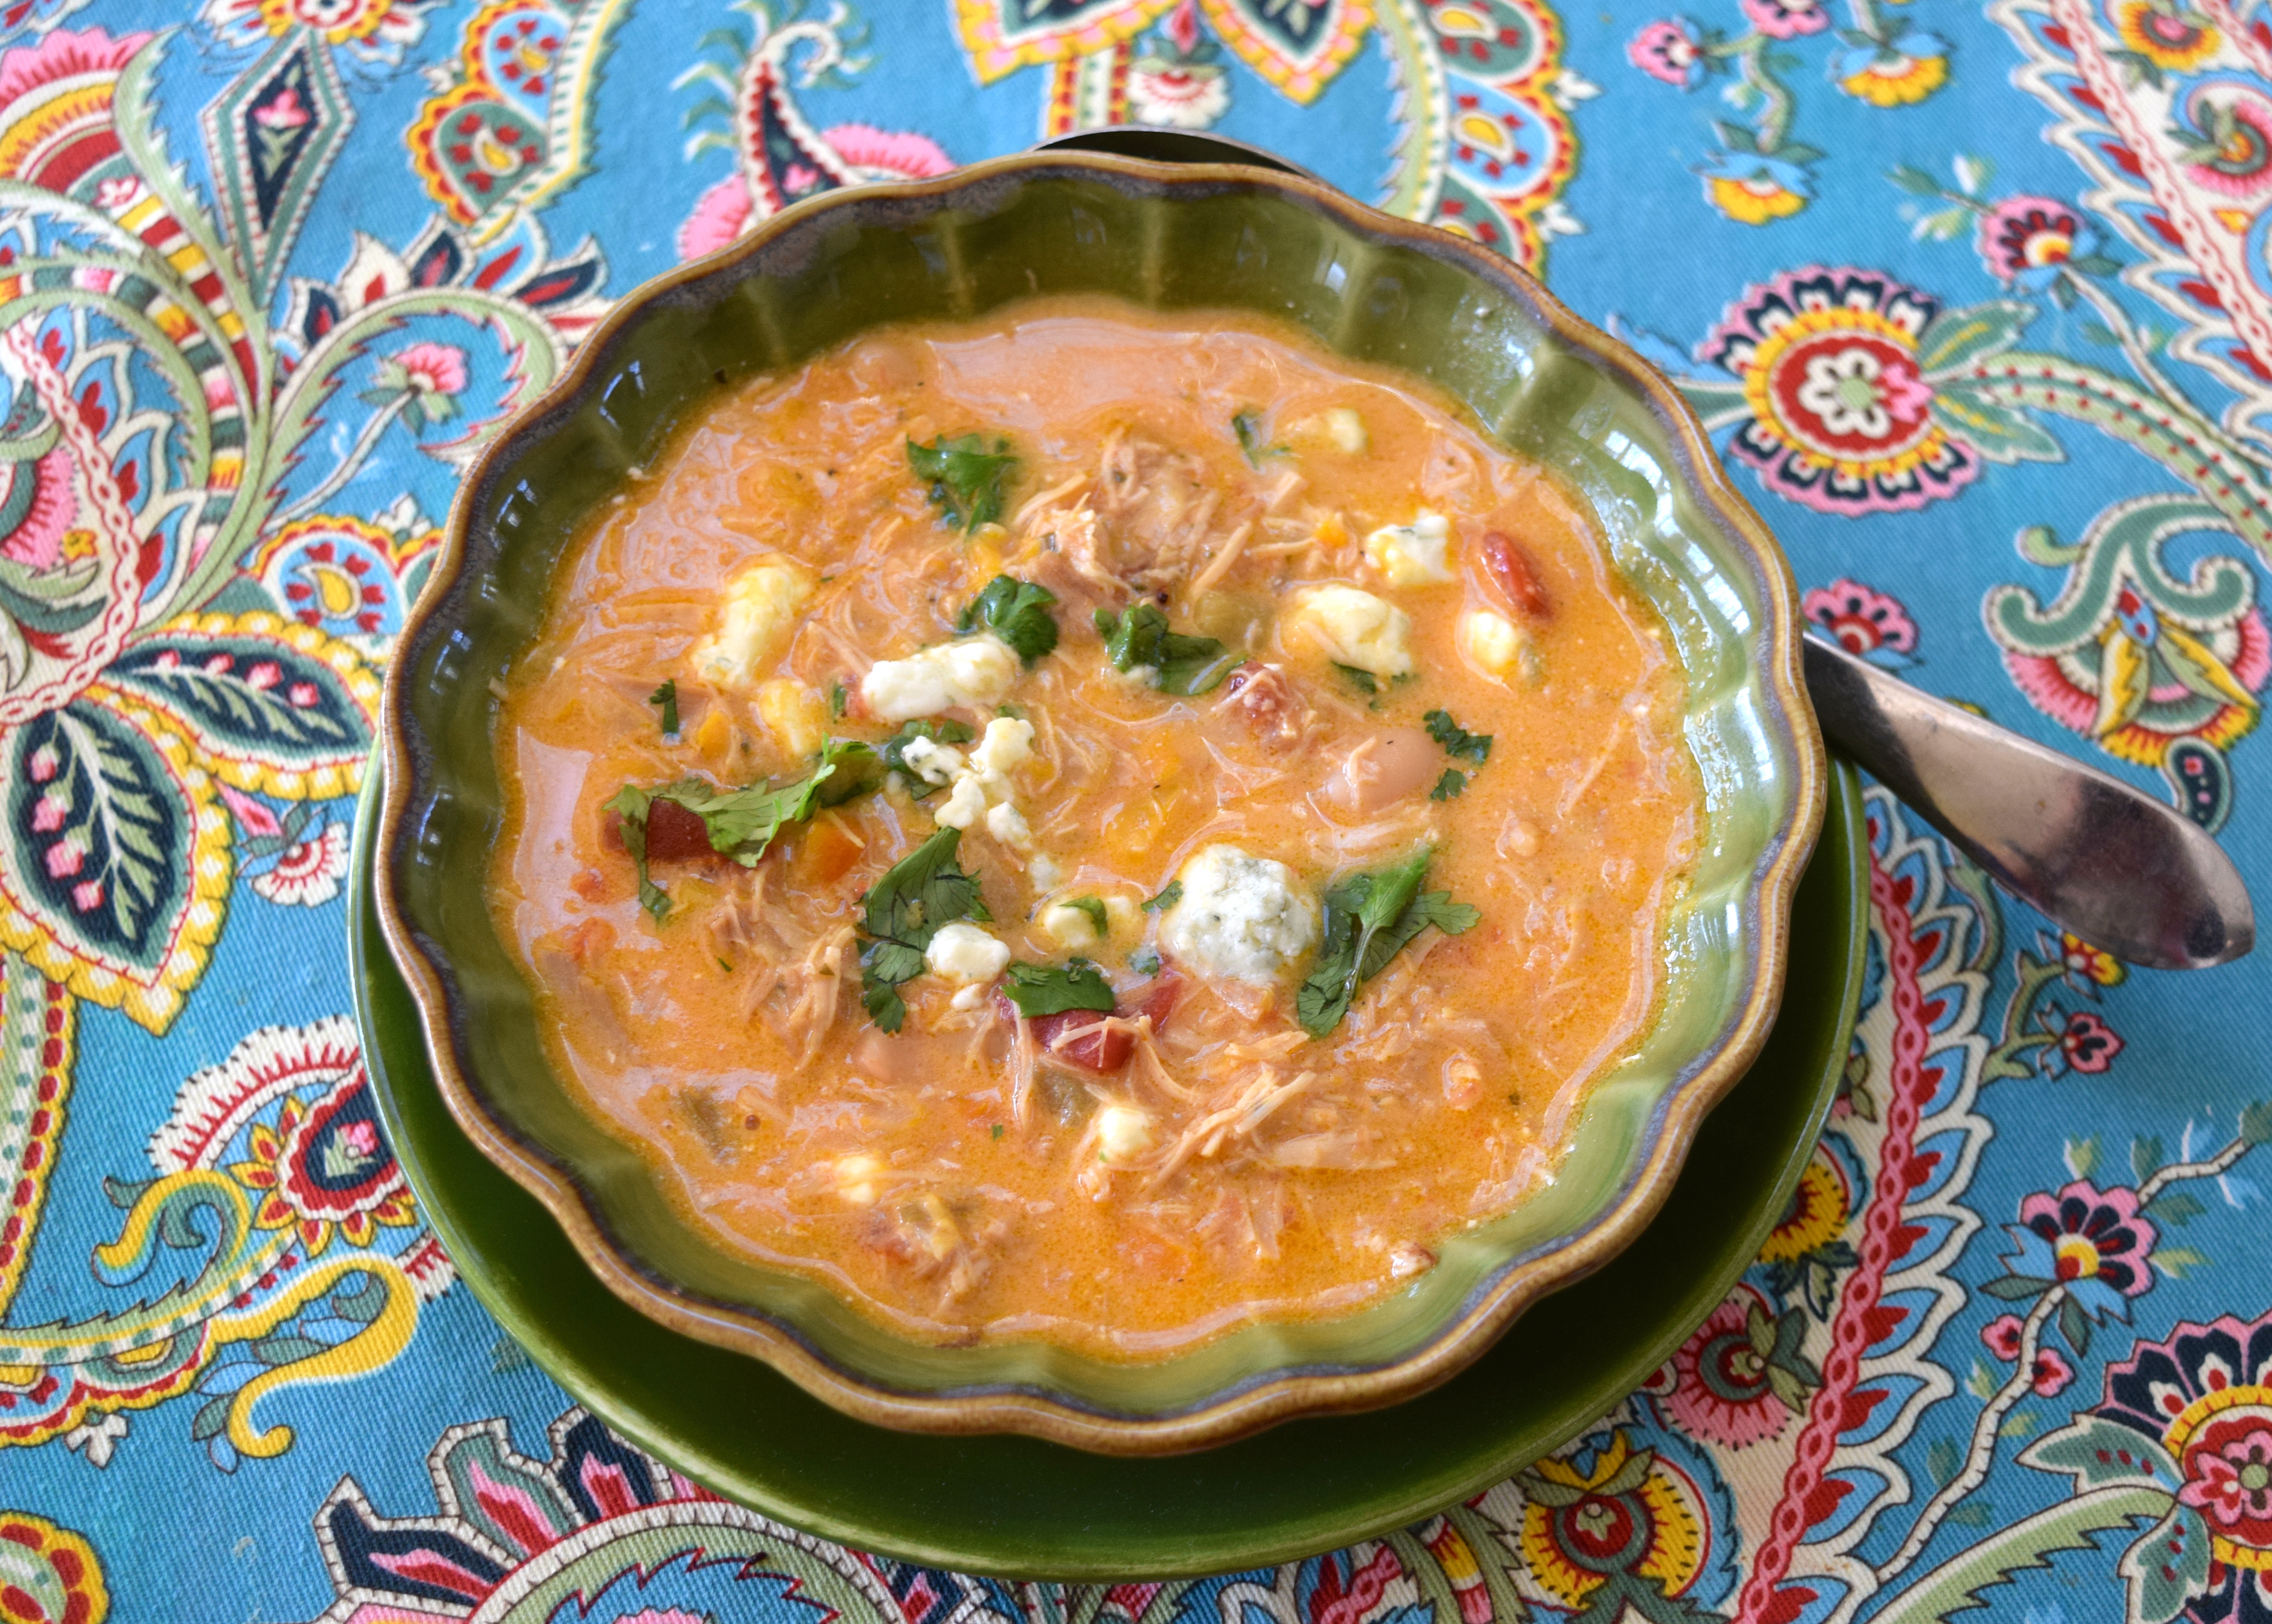
Add the rest of the ingredients except for the cream cheese and toppings and simmer for about 30 minutes. The hot sauce gives it an orangey color.
Lisa's Chili

Before you are ready to serve, cut the cream cheese into small chunks and add to the chili. Stir the soup as it melts. Add more buffalo sauce if you want more heat.

Wash, dry, and snip the cilantro leaves. Serve in a separate bowl alongside a bowl of blue cheese crumbles.
lisa's chili

Homemade Ranch Seasoning Mix:
I thought it would be a fun challenge to try and make my own Ranch Salad Dressing and Seasoning Mix, so I searched the web for a homemade version and found one over at Gimme Some Love. This mix is excellent, and the advantage is there are no preservatives. The mix has a 3-month shelf life in the refrigerator.

Ingredients:
Ranch seasoning.

1/3 cup dry buttermilk
2 tablespoons dried parsley
1 1/2 teaspoons dried dill weed
2 teaspoons garlic powder
2 teaspoons onion powder
2 teaspoons dried onion flakes
1 teaspoon ground black pepper
1 teaspoon dried chives
1 teaspoon salt

Directions:

Whisk ingredients together until blended. If you want a more finely ground seasoning mix, pulse the mixture in a food processor a few times.

Ranch seasoning.
Homemade on the left, packaged on the right.
Ranch seasoning.
*3 tablespoons of mix = 1 packet of store-bought mix. To test the mix’s flavor, I stirred in ¼ cup of plain Kefir, which is similar to liquid yogurt.
Ranch seasoning.
It was delicious as a salad dressing.
Ranch seasoning.

Always check the website for the most current version of a recipe or pattern.

If you enjoyed this post, become a subscriber! Be sure to confirm the subscription on the follow-up letter sent to your email address.

Follow Judy’s Chickens on Instagram and Pinterest @JudysChickens.

© 2014-2020 Judy Wright. All rights reserved. Photos, videos, and text may only be reproduced with the written consent of Judy Wright.

Playing with your Food: Food Styling with Mary Carter

I’ve often wondered what my friend, Mary Carter, did when she went out on food styling jobs, so I was more than happy when she invited me to be her assistant while she arranged new menu items for a photo shoot at Las Palmas. She was hired by Rose Bruce, a graphic designer and the owner of Rose Bruce Marketing. As the project coordinator, Rose hired Mary to style the food, and Richard Suter Photography to photograph it. It was very important to the client that the photographs on the new menu match exactly what the customer was going to be served by his waiter. It had been their experience that if the entree served didn’t look just like the photo on the menu, there would be complaints by the customers. Mary was charged with adding only the embellishments provided by the chef. By the time we finished with the photo shoot, the staff was affectionately referring to Mary as the “Cilantro Lady.”  By the smiles on the staff’s faces, they liked how appetizing Mary had made their food look and wasn’t that the whole point?

Mary has been a food stylist for thirty years. She says she loves her job because she gets to play with food and get paid for it. She says every job presents new challenges. Mary is also an artist, writer, and recipe tester. Most of her work involves both testing/preparing and stylizing the food that the photographer then shoots.

Mary often makes me laugh until my cheeks hurt. When her children were young, she used to drive by the school’s crossing guard with different Halloween masks on just to make the safety lady laugh. Her sense of humor always keeps the mood around her light. That is one of Mary’s many gifts.

DSC_0210

The tools of Mary’s trade:

Cooking oil and a pastry brush – to make baked and fried foods glisten again as they cool off.

A spray bottle filled with water- to make wilted vegetables perk up

Q-tips – to wipe food off the sides of bowls and plates.

Scissors – to shape and trim food.

A piping bag – to apply toppings in a decorative way

Food coloring – to deepen the colors of some foods.

Toothpicks – to dig out flecks of distracting food.

Next to having the proper tools and an artist’s eye for making every dish look like a masterpiece, the next most important thing is to determine the angle of vision from which the photographer is going to shoot the dish. As Mary finished each entree, she would hand it to me and instruct me, “Tell him to shoot from this side.”

mary carter food styling

Richard, the photographer, has a little tool called a Hoodloupe which he uses to view photo images glare-free right after he shoots a picture. Otherwise, you would have to wait until you got back to a bigger screen, on your computer, to check if the photo was perfectly focused. While this may be fine for novices like me, it is not useful for a professional who doesn’t get a second chance after the moment has passed. Here is Richard looking through his Hoodloupe to inspect the image on his camera’s screen.

mary carter food styling

These are a few images of Mary working her food magic. She asked the chef to bring her the food items unadorned or deconstructed, so she could arrange them in mouth-watering ways.

Some of Mary’s tips–

For this fried ice cream, she adorned it with a dollop of whip cream and tilted the stem of the fruit to a jaunty angle instead of having the stem point straight up.

mary carter food styling mary carter food styling mary carter food styling

With the fried donuts in the photos below, Mary angled the donut sticks around the ice cream and carefully squiggled the chocolate sauce.

mary carter food styling mary carter food styling mary carter food styling

Mary asked if she could place the cake on a white plate instead of the blue one they usually use because there was no contrast between the chocolate bottom layer of the cake and the dark plate. One of the men said, with a big grin on his face, as he got her a white plate, “They won’t care what color plate it’s on once they taste it!” Notice how the angle of view is so lovely. Can’t wait to see the photographer’s proofs.

mary carter food styling mary carter food styling mary carter food styling

Mary asked the owners if she could cut the rack of ribs into three pieces and stack them instead of keeping the presentation as one long slab, as they had always done. The staff liked it much better the way Mary presented it. “OOH,  it looks like more meat is on the plate,” the manager was quick to point out, with a big smile.

mary carter food styling mary carter food styling mary carter food styling

Mary cut this tamale entree in half and then carefully placed the beans and gravy around the plate. This is another example of keeping your angle of view in mind as you stylize food.

mary carter food styling mary carter food styling mary carter food styling

Here she uses the spray bottle of water to moisten the lettuce that was starting to wilt.

mary carter food styling mary carter food styling DSC_0137

Mary put the rice in a timbale to add a different shape to the presentation- just for visual interest. This was an easy change, at no cost, and made the food presentation look so much more appealing.

mary carter food styling DSC_0202 mary carter food styling

Mary used a piping bag, filled with sour cream, to decorate the enchiladas.

mary carter food styling mary carter food styling DSC_0169

She used scissors to trim the bun and shape the lettuce inside the sandwich. She brushed oil on the chicken tenders to make them glisten for the camera.

mary carter food styling mary carter food styling mary carter food styling

Mary used Q-tips to clean the sides of the condiment containers and to wipe away spots on the plate. Much easier than using a bulky paper towel for this task.

mary carter food styling DSC_0085 mary carter food styling

As a food blogger, I found Mary’s tips to be so helpful. The first “tool” I brought into my own kitchen when I got home, was a bag of Q-tips!

What a fun day with my friend, Mary!

DSC_0216

LET’S STAY CONNECTED!

Follow my photos of vegetables growing, backyard chickens hanging out, and dinner preparations on Instagram at JudysChickens.

Never miss a post: sign up to become a follower of the Blog.

© 2014-2017 Judy Wright. All rights reserved. Photos and text may only be used with written consent.

My Favorite Silver Palate Chili

Thirty years ago, when I was a newlywed living and working in Boston, Julee Rosso and Sheila Lukins’s The Silver Palate Cookbook was the “it” cookbook. Just as in 1961, when Julia Child made learning French cooking techniques attainable for home cooks with Mastering the Art of French Cooking, Rosso and Lukins, in 1982, introduced the next generation of home cooks to a style of gourmet cooking using simple instructions and fresh ingredients.

Their recipes were so accessible, flavorful, and sophisticated that an expanded language of food emerged. Suddenly, phyllo triangles, tarragon chicken, hummus, arugula, red leaf lettuce, colorful pinwheel fruit tarts, and blueberry and walnut oil vinaigrette, became de riguer at luncheons and dinner parties across the country. As an indicator of how unconventional their ingredients were there was an asterisk next to “balsamic vinegar” in one recipe, indicating it could be found in “specialty food shops.”

The Silver Palate Cookbook authors gave my peers and me the confidence to experiment with unfamiliar ingredients. It is hard to describe how accomplished I felt, as a cook, the first time I made Silver Palate classics like Chicken Marbella and Raspberry Chicken, both notable for their beautiful presentations and multiple layers of flavor. The authors made time spent in the kitchen an adventure; an adventure that continues to this day.

This chili recipe, with a few adaptations, continues to be my favorite chili. It is loaded with wonderful flavors like dill, cumin, citrus, Dijon, and wine. It is A-mazing. Be warned: it makes a lot of chili — feel free to cut the ingredient amounts in half.

DSC_0247

Yield: 8 quarts or 32 cupfuls

Ingredients:

fullsizerender

½ cup extra-virgin olive oil
2 pounds sweet onion, chopped
¼ cup minced garlic
3 pounds sweet Italian sausage, removed from casings
6 pounds lean ground beef
3 15-ounce cans (about 5 cups) dark red kidney beans, drained, unrinsed
4  28-ounce cans crushed Italian plum tomatoes (plus ¼ cup water/per can, to rinse can)
2  12-ounce cans tomato paste (plus ¼ cup water/per can, to rinse can)
½ cup Dijon mustard
½ cup red wine
¼ cup (1 large lemon) freshly squeezed lemon juice
¼ cup sea salt
1½ tablespoons ground black pepper
3-ounce can ground cumin seed
4-ounce can plain chili powder
¼ cup dried basil
¼ cup dried oregano
½ ounce (1 cup) fresh chopped dill, stems removed
1 ounce (1 cup) fresh chopped Italian flat-leafed parsley, stems removed
4  6.5-ounce cans pitted black olives, coarsely chopped

A few words about the ingredients …

Sausage: I use Premio’s Sweet Italian Sausage in this recipe. I buy it at Costco. The sausages are fabulous grilled or cooked in a Sunday tomato sauce.

DSC_0441

Spices: You can go to the international aisle of most grocery stores and find spices at one-third the cost of those sold in the regular spice aisle?

DSC_0339

Technique Tip: How to use a fat separator:
Fat separators are pitchers with pouring spouts set into the base. Since water is denser (has more mass per unit of volume) than fat, the water-based juices sink to the bottom, and the fat floats to the top. With the spout on the bottom, it is easy to save and pour out the juice while retaining the fat in the container. Remember to stop pouring the liquid just before the fat enters the spout hole in the base. The straining basket on top keeps solid particles from falling into the container and clogging the spout hole.

dsc_0576

If you don’t have a fat separator, pour the liquid into a one-quart measuring container, chill it in the refrigerator, and scoop off the yellow congealed fat that floats to the top. Pour the meat juice back into the pot. If you want to feel really virtuous, take a look at how much fat you have eliminated from the pot of chili. Nice.

dsc_0661

Instructions:

Add olive oil to a large, heavy-bottomed stockpot.  Add onions and garlic and sauté until tender and translucent, about 10 minutes.

dsc_0549

While onions are cooking, squeeze sausage out of its casings and crumble. Sauté meat in a 6-quart, or larger sauté pan until evenly browned.

dsc_0551

Next, we want to get rid of the fat from the cooked meat but keep the meat’s juices. Here’s a way to do it: Make a well in the center of the meat mixture. A golden liquid will quickly fill the well. Use a ladle to remove the fat to a large fat separator. Keep scooping until all the liquid is gone.

dsc_0561

After juices settle to the bottom of the fat separator, pour them (about 2 cups) back into the stockpot. Discard fat that remains. This is extra step is a time-consuming process but worth it to retain the two cups of meat juice that would have been lost had you simply drained the meat into a colander.

dsc_0572

Prepare a mise en place for the remaining ingredients. This is very helpful when there are so many add-ins that need to be measured. Otherwise, it’s easy to lose track of which ingredients have already been added to the pot.

dsc_0314

Add all ingredients except the olives to the meat and onion mixture. Rinse each can of tomatoes with ¼ cup of hot water and add that to the pot.

So many lovely ingredients in this chili!

dsc_0620

Simmer chili for 20 minutes on low heat stirring frequently.

Add coarsely chopped olives, stir, and cook for another 5 minutes.

Serve with bowls of garnish such as shredded cheddar cheese, sliced green onions, chopped parsley, and sour cream. Serve over rice, if desired.

chili

This chili can be made ahead of time and stored in the refrigerator.

DSC_0444

You might also like these other soups, chilis, and stews:
Lisa’s Award Winning Buffalo Chicken Chili
Kelly’s Duck Stew
Bruce’s Turkey and Sausage Gumbo
Aunt Bridget’s Chicken Soup with Little Meatballs
Chicken Stock from Rotisserie Chicken Bones
Roasted Butternut Squash Soup

Always check the website for the most current version of a recipe or pattern.

If you enjoyed this post, become a subscriber! Be sure to confirm the subscription on the follow-up letter sent to your email address.

Follow Judy’s Chickens on Instagram and Pinterest @JudysChickens.

© 2014-2018 Judy Wright. All rights reserved. Photos, videos, and text may only be reproduced with the written consent of Judy Wright.

How to Make a Thaw Detector for the Freezer

DSC_0991

Have you ever wondered how you would know if the food in a freezer you visit infrequently had thawed and refrozen after a power outage? With this handy-dandy, nifty-thrifty thaw detector in your freezer you won’t have to wonder ever again.

It is simple to make. We found these cups and lids at a salad bar at Kroger.

Fill the cups with water and place in the freezer.

DSC_0013

When water is frozen, place a coin on top of the ice and put the lid on.

DSC_0128

Place the covered cup back in the freezer.

DSC_0130

With this thaw detector, as long as the coin stays on top there hasn’t been a thaw of significance.

My nerdy husband who devised this contraption says, “Coin on top, food’s not slop. Coin on bottom, food is rotten.” If you can think of a better slogan, post a comment!

LET’S STAY CONNECTED!

Follow my photos of vegetables growing, backyard chickens hanging out, and dinner preparations on Instagram at JudysChickens.

Never miss a post: sign up to become a follower of the Blog.

© 2014-2017 Judy Wright. All rights reserved. Photos and text may only be used with written consent.