Herb-Filled Porch Pots!

Do you like to cook with fresh herbs whenever possible? ✔︎

Do you need plants to fill your front entryway flower pots? ✔︎

Do you hate it when you buy fresh herbs, put them on the windowsill and slowly watch them wilt and die before you ever get to use them? ✔︎

Do you think purple flowers and green foliage are a gorgeous color combo? ✔︎

Me, too. Why not fill your front porch pots with cool weather herbs and pansies this spring?  They’ll be easy to water because of their proximity to your house, and they’ll make you happy every time you walk in or out the front door.

.

Ingredients for each flower pot:

1 arugula plant (for height)
1 rosemary plant
1 sage plant
1 oregano plant
1 parsley plant
1 cilantro or basil plant (spring: cilantro, summer: basil)
3 pansy or marigold plants (spring: pansy, summer: marigold)

Instructions:
Fill each flower pot with dirt. I put a 6-inch layer of foam packaging peanuts in the bottom of each pot. Arrange plants by putting the tallest in the center and the thin, floppy plants along the rim. This photo was taken March 1st

The temps dipped into the 20s one night, and I covered them. They survived just fine.

One year, it snowed on March 11th!

The pots flourished — April 12th.

I love the soft colors in this version.

And in this one, too.

When the plants start to get leggy, I move them to the herb garden. Typically, I move the pots away from the front of the house for the summer and bring them back out in November when I fill them with greenery.

Introducing the Summer Porch Pot as seen in Edible Nashville!

Doubles as a centerpiece!

Related Posts:
Spring Planting Guide for Your Kitchen Garden
Seed Starting in Recycled Milk Jugs @JudysChickens
How to Build a 4 x 4 Raised Garden Bed
Lemon Tree Very Pretty
Asteraceae: My Favorite Family of Pollinator Plants

LET’S STAY CONNECTED!

Follow my photos of vegetables growing, backyard chickens hanging out, and dinner preparations on Instagram @JudysChickens.

Never miss a post: sign up to become a follower of the Blog.

© 2014-2021 Judy Wright. All rights reserved. Photos and text may only be used with written consent.

How Canola Oil is Made (from plants grown locally)

Last April, I wrote a story about the gorgeous yellow fields of canola that were growing along I-24 in Cadiz, Kentucky. You can read all about it and see the photos here.
DSC_0637

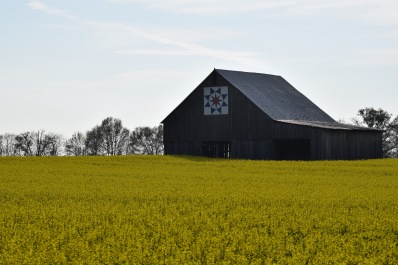
This is Part 2 of that story. The part where after seeing a dramatic increase in the number of yellow fields from the year before, I called the plant manager at the local AgStrong Canola and Sunflower Seed Processing Plant that I had read about in the paper and asked, What gives? Why are we suddenly seeing so much yellow? When he started to explain, I realized I had a lot to learn and asked if I could drive over to meet him and get a tour of the plant. An hour later Mark Dallas was giving my husband and me a tour. Not exactly the way I thought my day would turn out, but I do love a good backroads detour.

As background information, can-o-l-a oil, or “Canada-oil-low-acid,” is made from crushed canola seeds. These seeds are about the size of poppy seeds. Even having seen how canola oil is extracted from these seeds, I still shake my head in disbelief that anything that small, even in huge numbers, could produce something as useful as cooking oil.

A very short botany lesson about plant reproduction:
Flowers have one job, and one job only: to induce reproduction. To that end, flowers that are fertilized will make seeds. Those seeds will make new plants. That the plants grow and produce tasty fruits and vegetables that we like to eat, is bonus. Botanically speaking, those fruits of the plants are actually ripened ovaries full of seeds waiting to be planted. The flesh of fruit is sweet so animals will eat it and disperse the seeds in their travels. Tree nuts work in the same way; Mother Nature is counting on squirrels to bury nuts and thereby assure they will sprout and there will be more trees in the future.

Back to canola flowers and seeds. Like winter wheat, canola is planted in the fall, sprouts, goes dormant in the winter,​ and perks up again in early spring. It flowers in mid-April, and the seed pods are harvested in mid-June. Farmers like to grow winter wheat and canola because then they can double-crop their fields, meaning there is time left in the warm summer months to raise another crop, such as soybeans, in that same field. By comparison, in most northern climates, there’s only time to grow one crop like wheat or canola.

The photo on the left was taken from a stem of canola flowers on April 17th. The photo on the right was taken on June 12th, just a few days before the pods were harvested by the combines I wrote about in this article.
Version 3 DSC_0495

You may have seen similar seed pods develop in your own gardens if you ever let broccoli or bok choi plants flower and “go to seed.” If you look closely at the flowers below, you can see the early development of seed pods. They look like little spikes. Canola is in the same Brassica family as bok choi and broccoli.

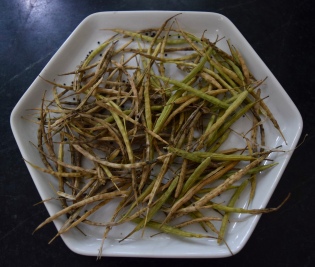
The next photos are of fully mature canola seed pods that I dissected at home to release the seeds within. You can see how small these seeds are. It’s amazing to think cooking oil is extracted from them.
DSC_0141 DSC_0147

AgStrong contracts with local, family-owned, farms to plant nonGMO canola seeds in their fields. NonGMO means the seed’s genetic material has not been manipulated in a laboratory through genetic engineering to make it more disease or insect resistant. A few other tidbits I learned about growing canola: canola has a 5-6 inch tap route which acts as a natural tiller in the soil, and canola brings in $8.10/bushel compared to wheat’s $5.25/bushel.

IMG_7716 a53cfd_4562ef1f791a498283dc60749c982789.jpg_srz_p_371_272_75_22_0.50_1.20_0.00_jpg_srz

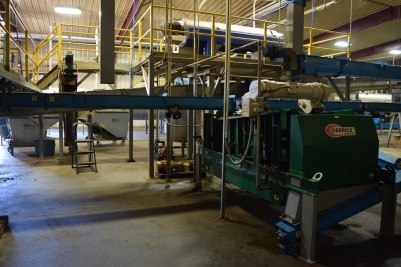
Here is a photo of the canola oil processing plant in Trenton, KY.
DSC_0307

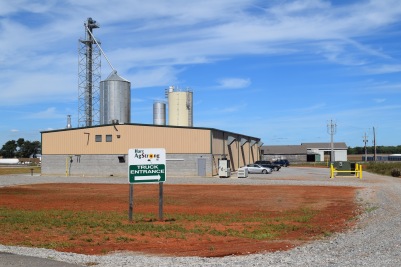
It takes a lot of seeds to make canola oil and these fifty-foot silos are full of them.
DSC_0289

This is what the inside of one of those silos looks like.
DSC_0290

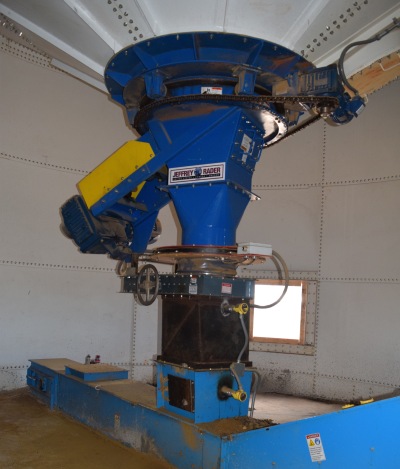
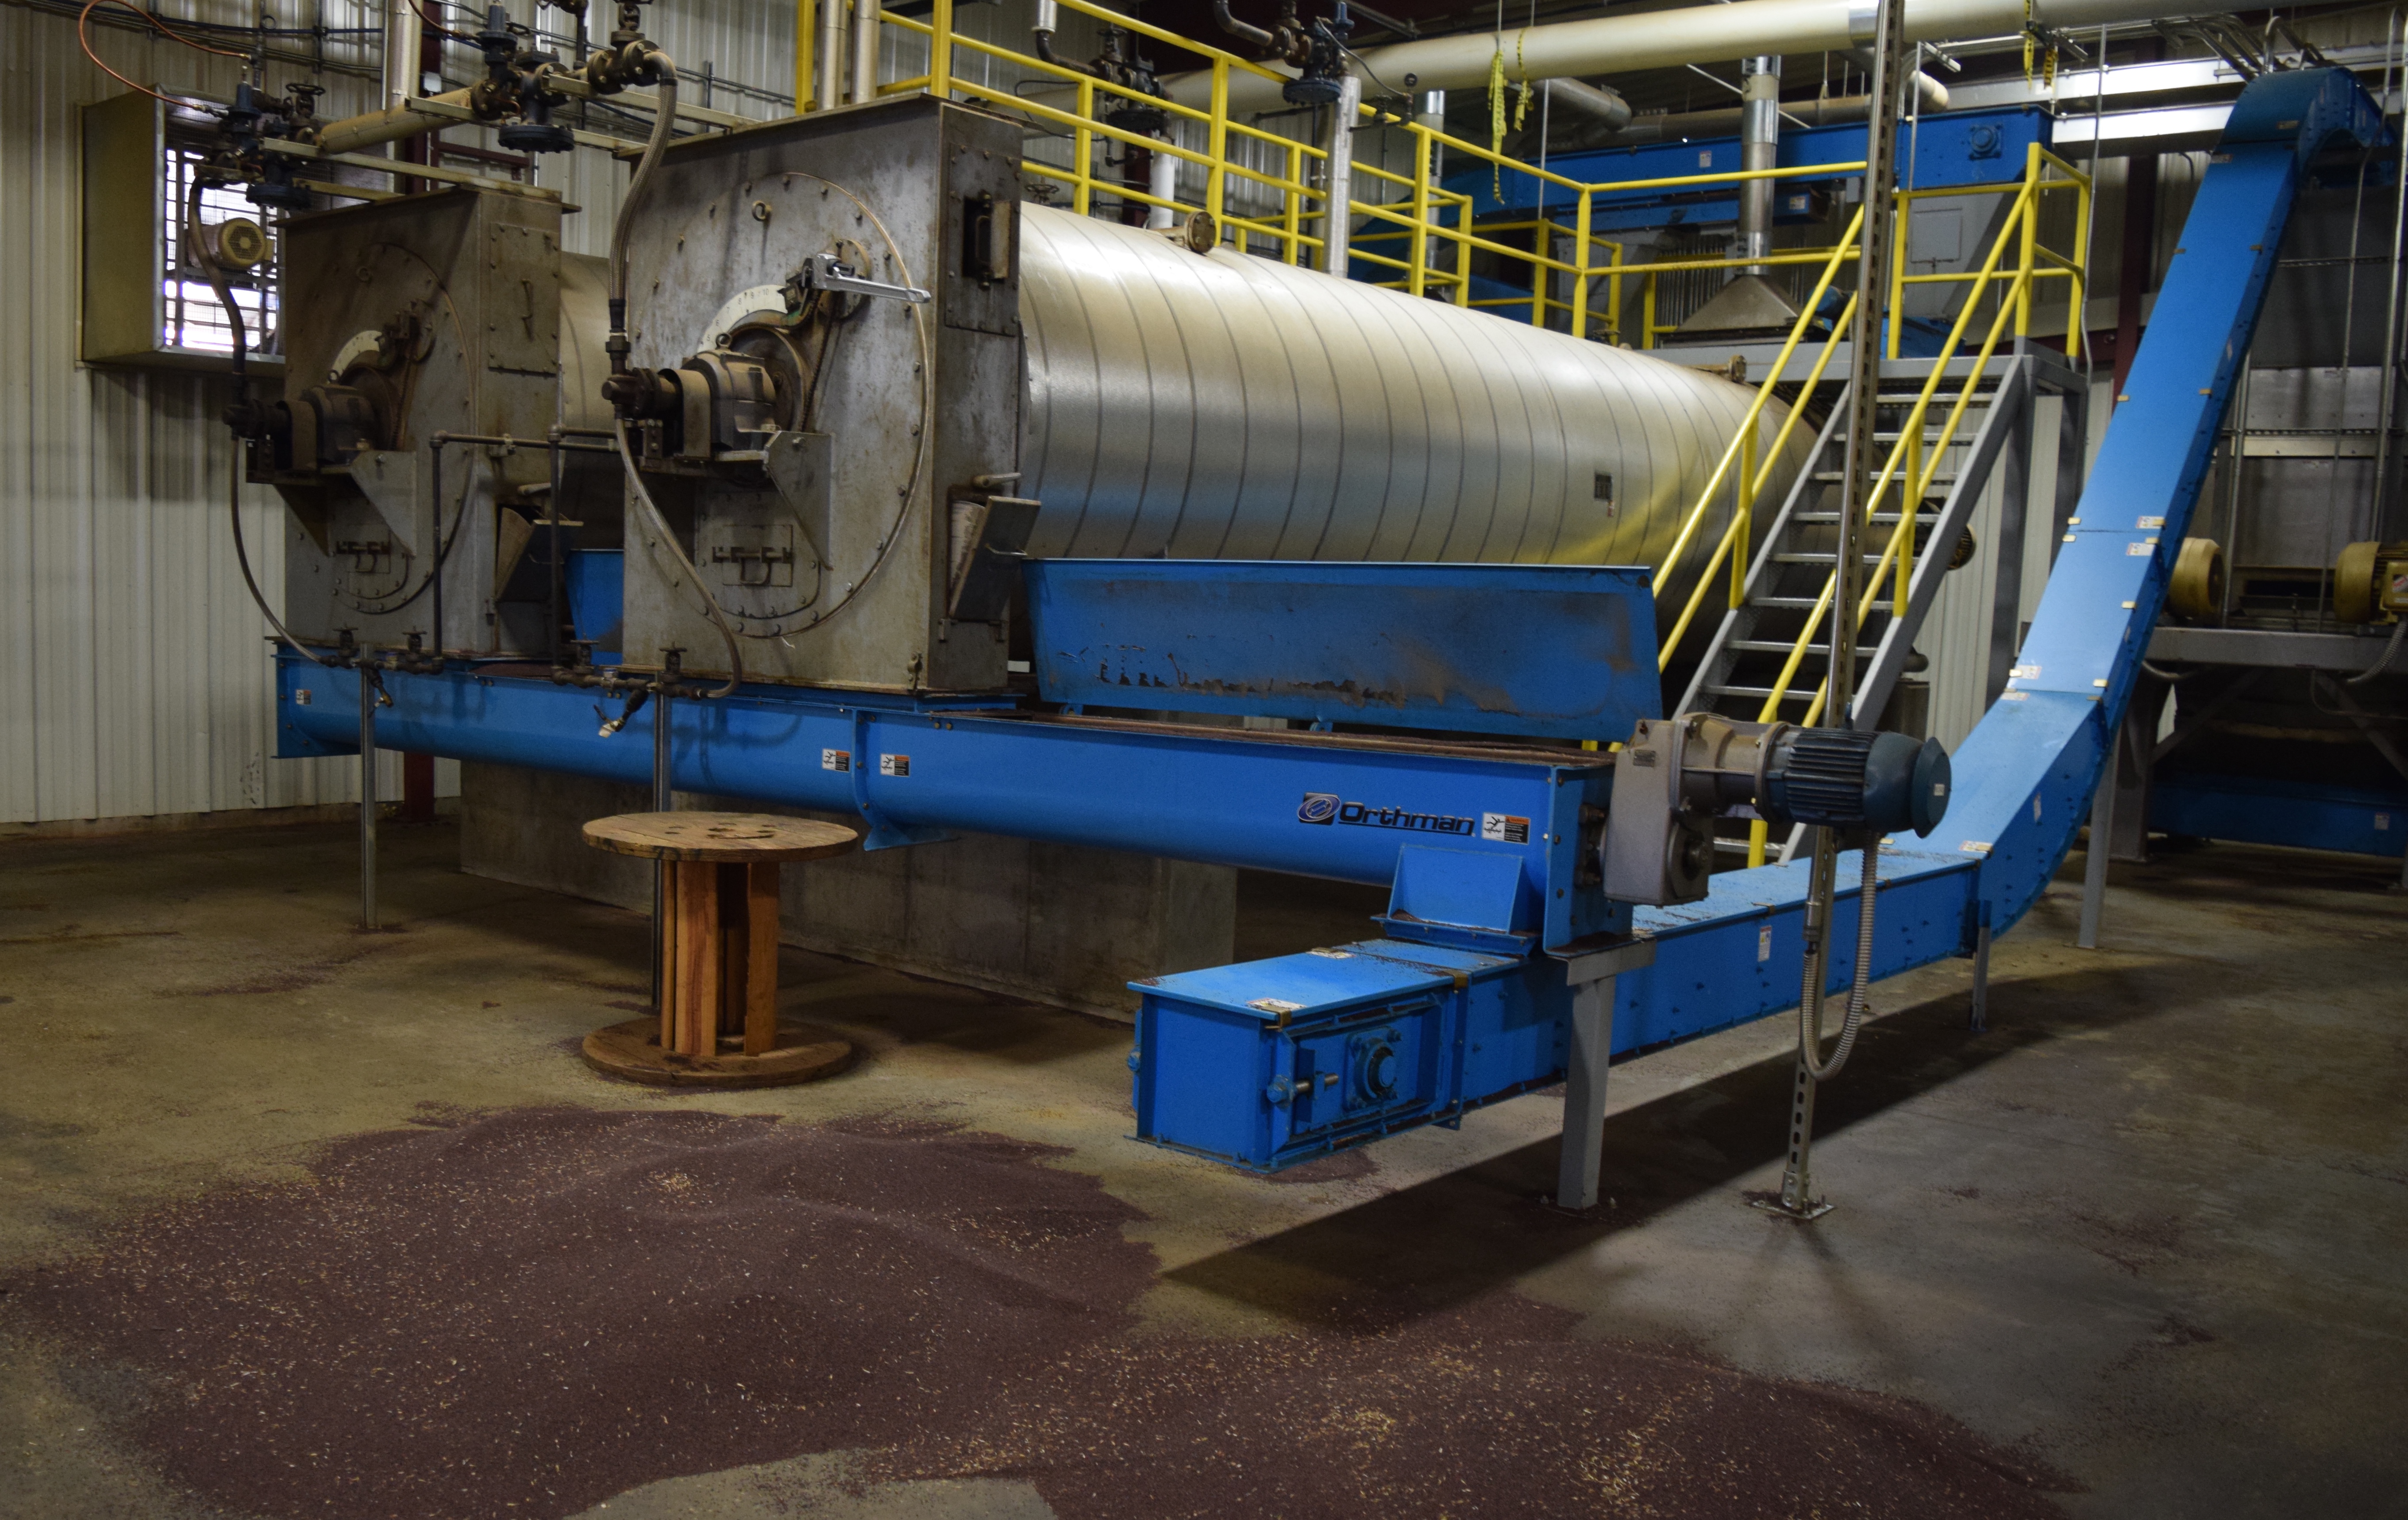
The first stop on the tour was the long silver cylindrical oven used to warm the seeds to no more than 120º. Warming the seeds made them easier to press. The low oven temperature kept the process in the category of cold-pressed. The blue conveyor belt brought the warmed seeds to a machine that cracked the hard outer shells.
DSC_0257

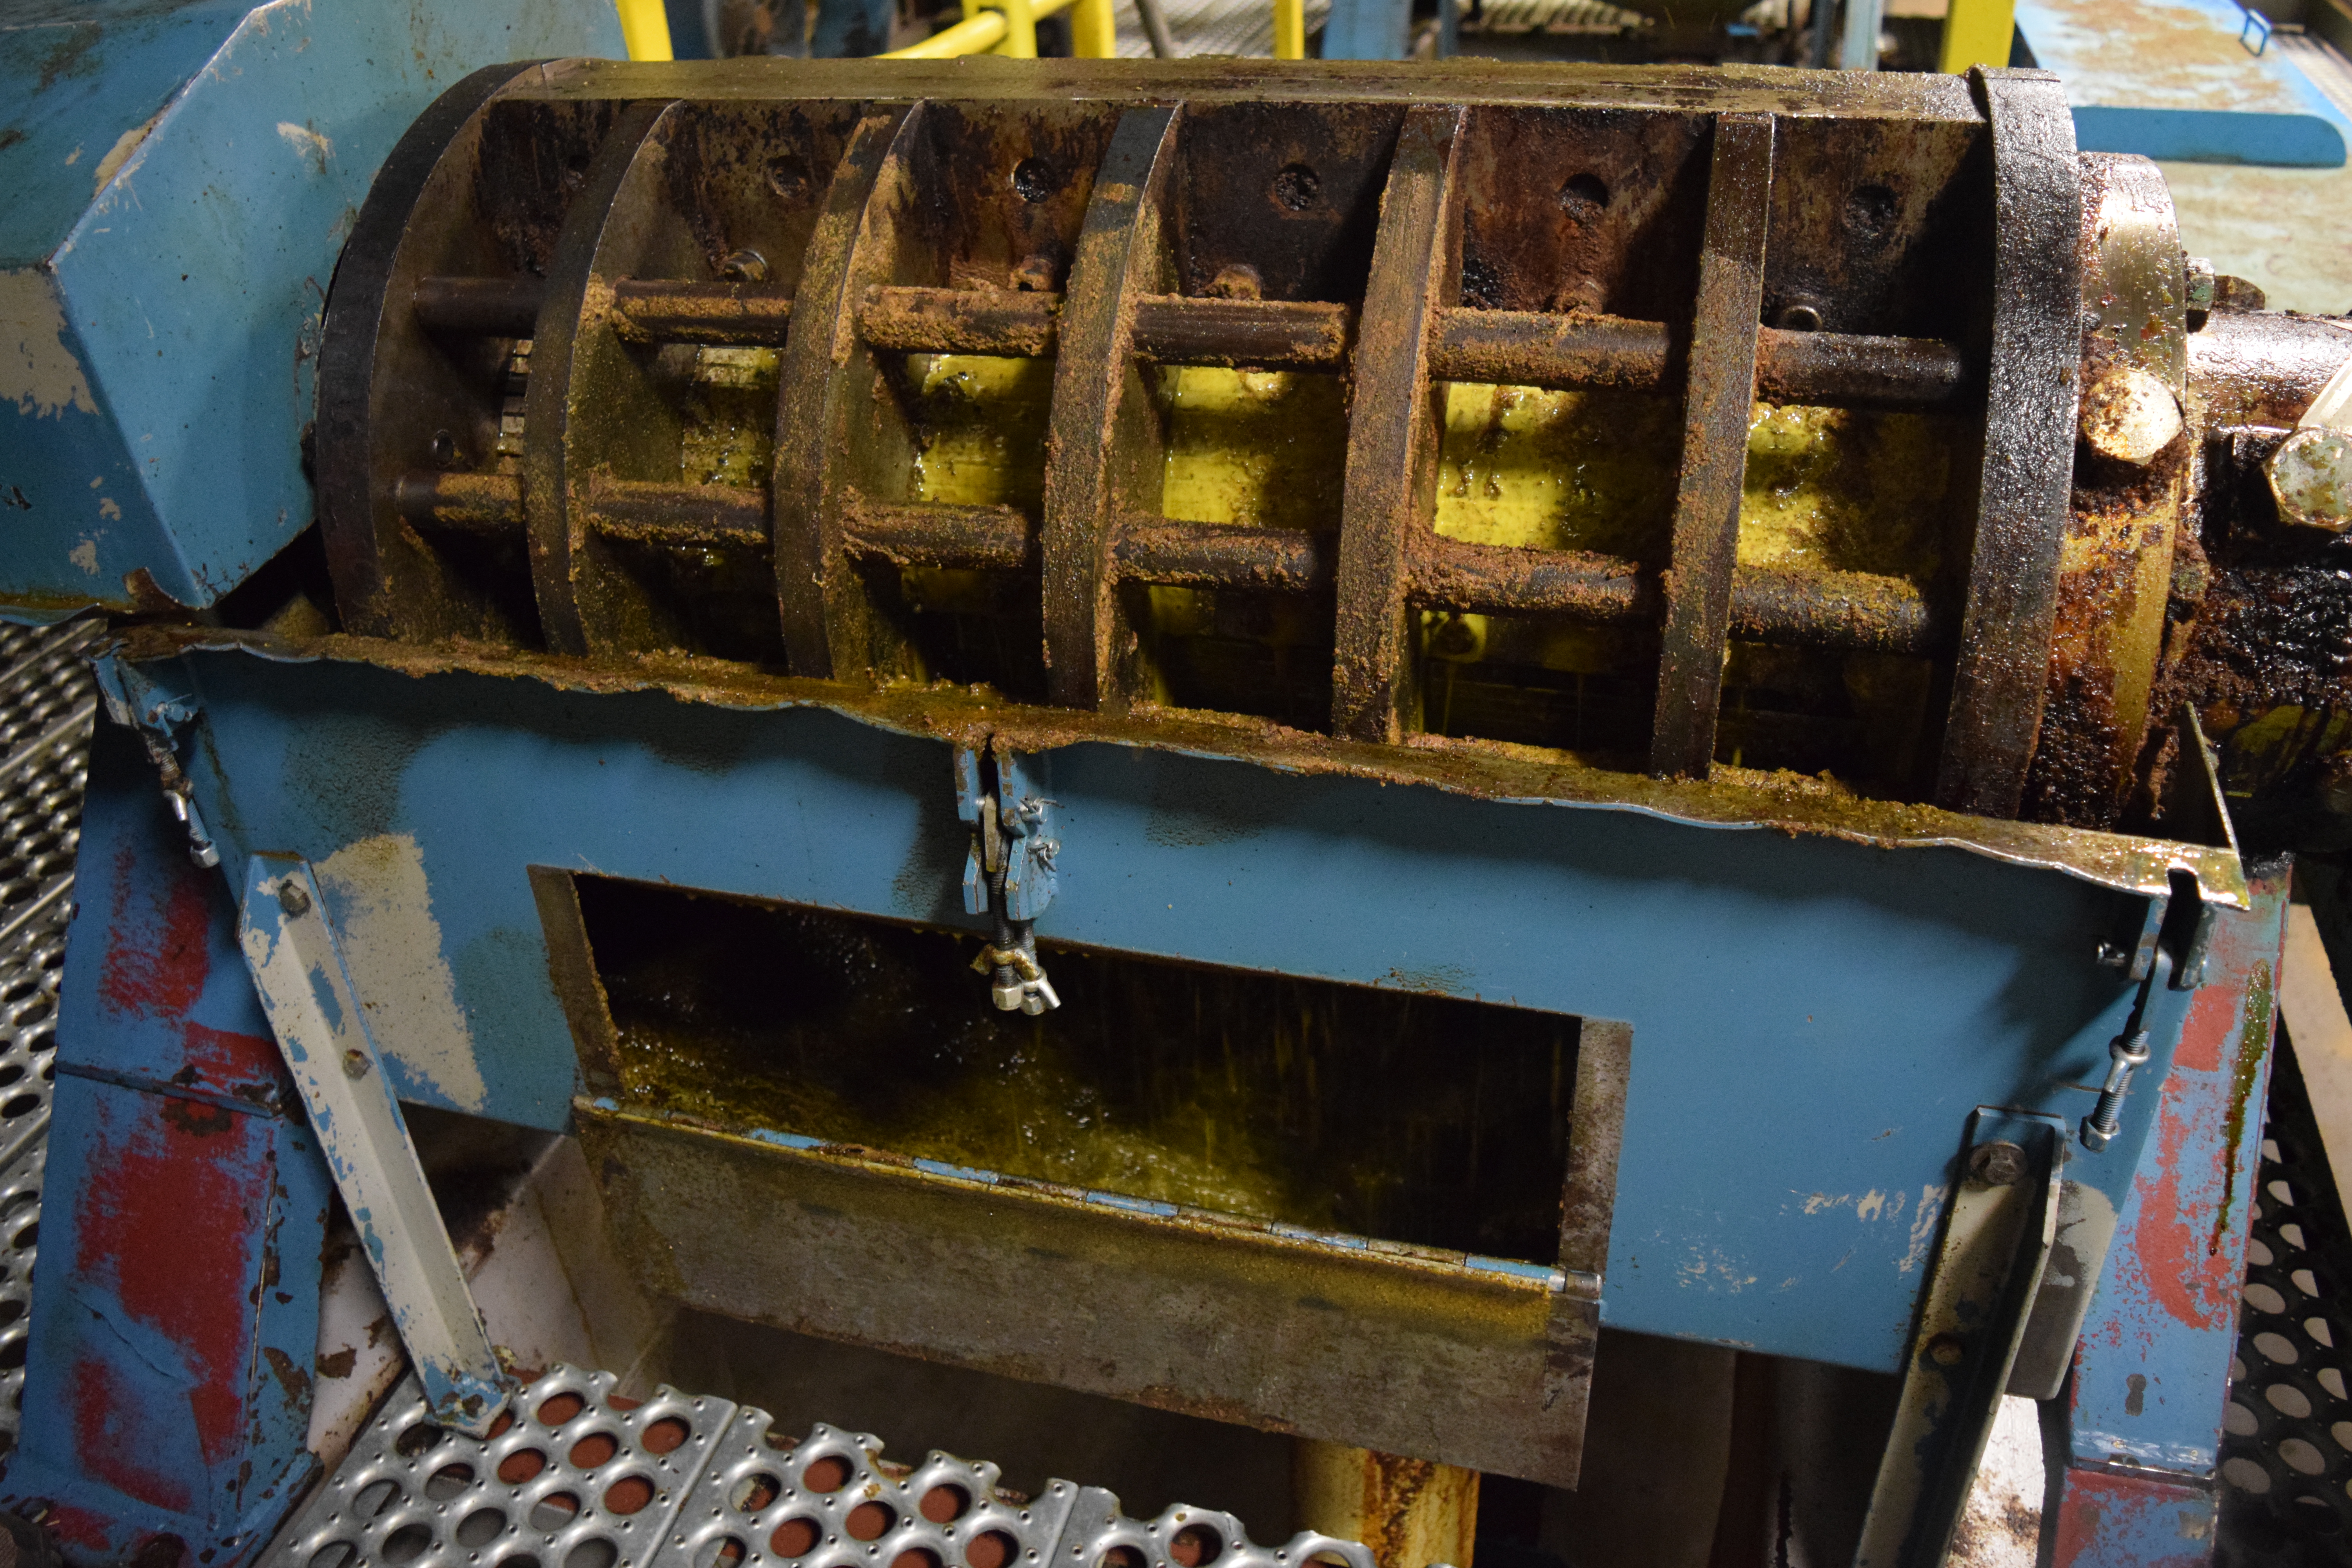
Next stop was the seed crusher. This was where the magic happened. This machine crushed the seeds and expelled the golden canola oil into the blue well. The oil will still need to go to an offsite refinery before it can be bottled.
DSC_0266

Here’s a video of the mechanical magic happening:

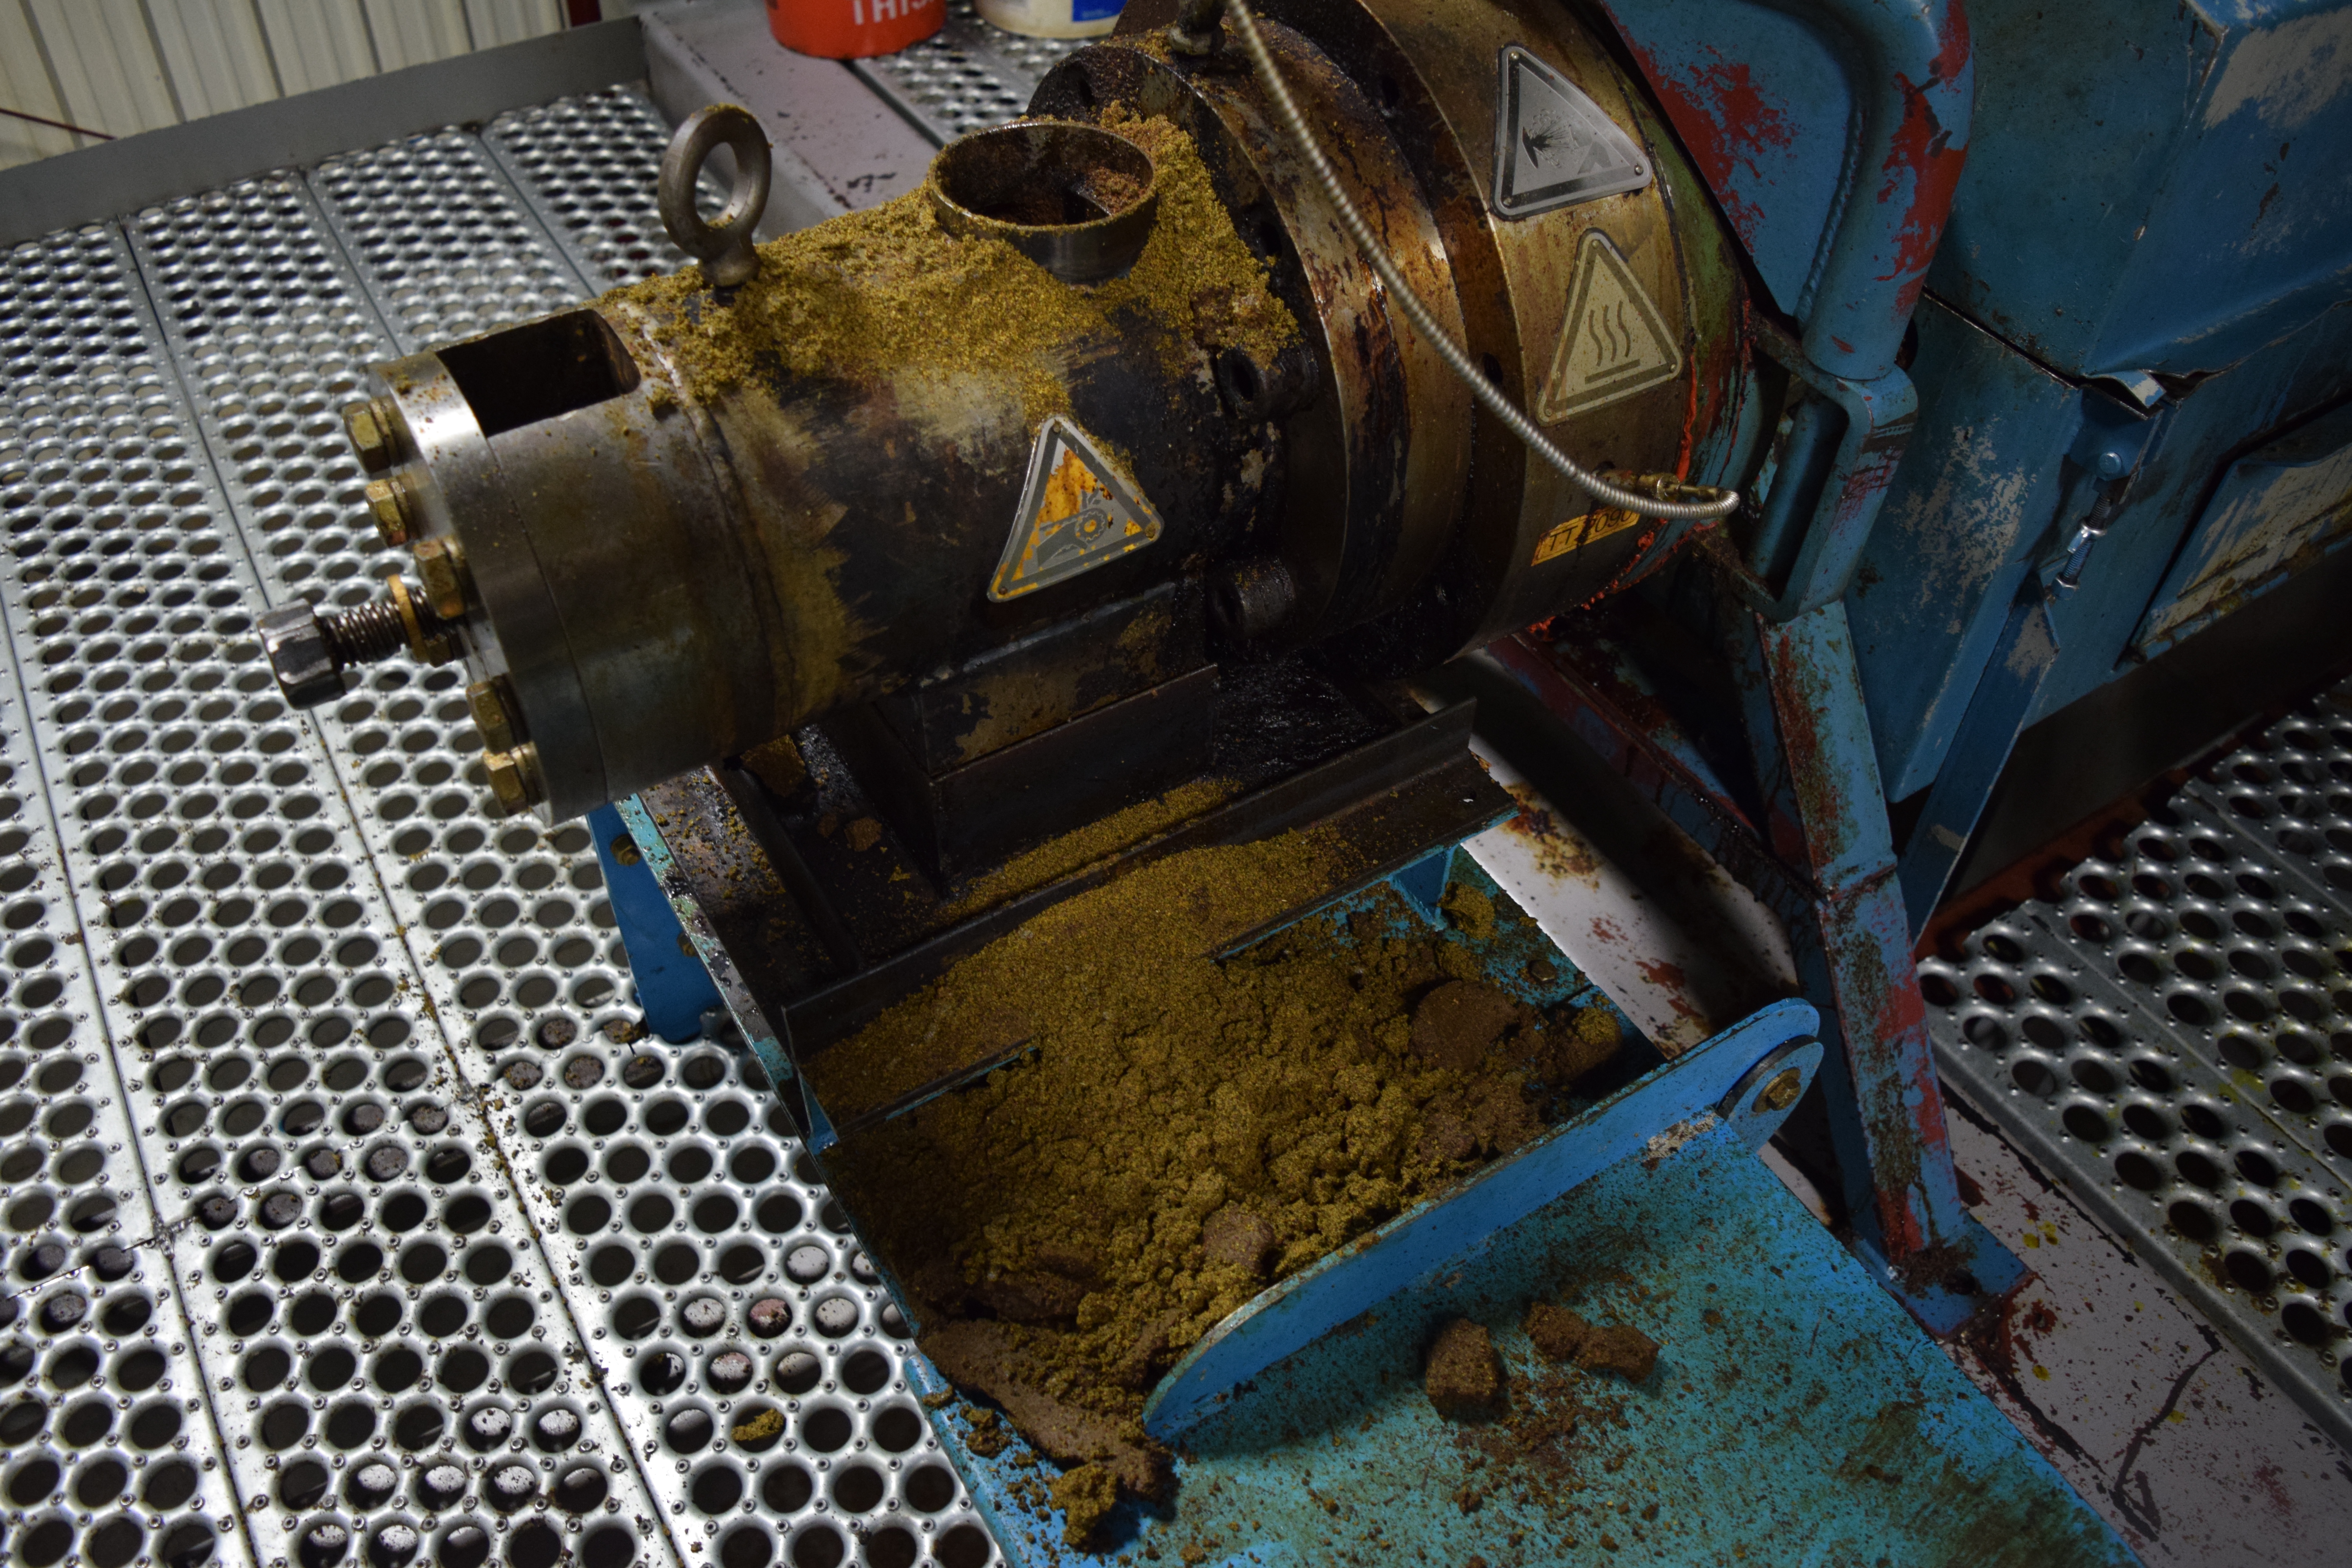
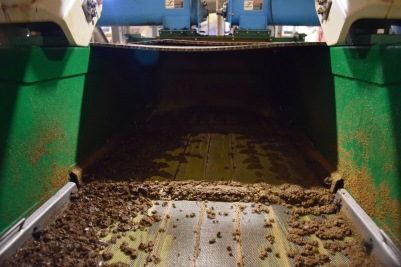
Here was the residual seed meal as it dropped onto a conveyor belt.
DSC_0274

This meal was delivered to the green machine for a second pressing to remove the last traces of oil. At this plant, there are no chemical solvents, like hexane, used to extract these last drops of oil. That’s where the expression “all natural expeller press” comes from.
DSC_0283

Here’s the residual meal as it came off the conveyor belt after the last of the oil had been pressed from it. The meal is used to feed livestock.
DSC_0277

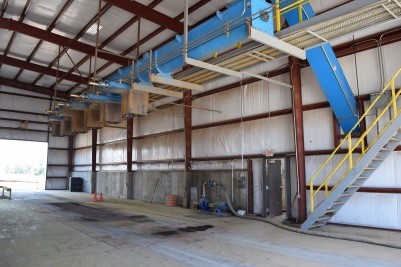
This is the transport room. It’s where the seeds, collected from farmers, are gathered and delivered to the silos for storage. And later, after pressing, where the extracted oil is weighed and distributed, via trucks, to be delivered to Georgia for the final refining process and …
DSC_0286

bottling. You can find Agstrong’s Solio Canola Oil at Whole Foods stores.
IMG_3031

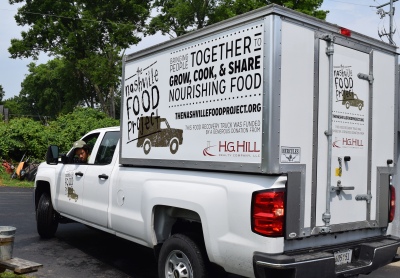
But the story doesn’t end there. As a volunteer chef and Board member of The Nashville Food Project my antennae is always up for opportunities for food donation and food recovery. Canola and olive oil are two expensive staples we use in abundance at TNFP. I asked if Agstrong would consider partnering with us and donating their locally grown and manufactured Solio oil to TNFP, which they have graciously done. Here was the Plant Manger, Mark Dallas, donating a 35-pound container of oil to TNFP, on the spot.
Version 2
And that’s how this one little detour ended up providing cooking oil for TNFP whose mission is “Bringing people together to grow, cook, and share nourishing food with the goals of cultivating community and alleviating hunger in our city.”
DSC_0447
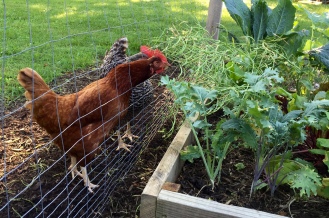
The story, however, didn’t end there, either. I happened to “pull” a few young canola plants from the side of the road last April to plant in my vegetable garden, so I could watch and learn how these plants matured to the seed stage. Once the plants produced seed pods and dried out, I was pleasantly surprised to walk out to my garden one day and see my chickens poking their heads through the chicken wire and eating the canola seeds.
IMG_0787
It looks like Agstrong’s byproduct of meal for livestock was a winner.
I’ll leave you with a video of my chickens enjoying canola seed pods:

Related Posts on Commercial Farming:

LET’S STAY CONNECTED!

Follow my photos of vegetables growing, backyard chickens hanging out, and dinner preparations on Instagram at JudysChickens.

Never miss a post: sign up to become a follower of the Blog.

© 2014-2017 Judy Wright. All rights reserved. Photos and text may only be used with written consent.

Chicken Cacciatore

What’s in a name? In common parlance, this dish is known as chicken cacciatore. Isn’t that a little odd: half the name in English, and the other in Italian? I’m guessing the name was conjured up by Italian-American restaurateurs hoping to entice Americans into their doors. In Italy, the dish is known as pollo alla cacciatora and translates in English to chicken, hunter’s style. Cacciare is the verb to hunt in Italian.

This dish is traditionally made with tomato sauce

but sometimes, I leave the tomatoes out.
img_3922

Cooking “alla cacciatora” includes the step of sautéing wild game in an acidic liquid such as wine, vinegar, or lemon juice to tame the gamey-ness of the meat. If the cook is sautéing rabbit, the dish is called coniglio alla cacciatora, and if wild duck, it’s anatra selvatica alla cacciatora.

A few words about ingredients: Make sure the bay leaves are fresh. They should have a woodsy, fragrant smell when you open the package — every time you open it. If they are no longer fragrant, it’s time to get a new package.

Chicken cacciatore is typically served over polenta, wide flat noodles, or rice.

Ingredients:
DSC_0592

2-3 bell peppers (1 pound), cut into bite-sized chunks
1-2 sweet onions  (1 pound), sliced
1-ounce garlic cloves (about 1 small head of garlic), smashed and peeled
½ cup olive oil
1 teaspoon sea salt
¼ teaspoon cayenne pepper
cracked pepper

3 pounds boneless, skinless, chicken thighs, cut into 2-inch pieces
½ teaspoon sea salt
1 teaspoon black pepper
½ cup all-purpose flour

3 stems rosemary leaves
3 stems oregano leaves
4 bay leaves
1 cup white wine

3 cans “Italian Style” stewed tomatoes
1 cup chicken broth
1 pound mushroom, sliced

Mise en Place:
DSC_0661

Mise en Place Instructions:
Prep peppers and onions: Remove the core, stem, and seeds, slice mushrooms.
DSC_0657

Prep garlic: Smash garlic cloves and peel.

Prep chicken thighs: Rinse, pat dry, trim fat and cut into 2-inch chunks DSC_0410

Prep herbs: Separate leaves from stems, use a scissor or knife to mince leaves. Never chop a bay leaf!
DSC_0643

Prep mushrooms: I like to use an egg slicer.
DSC_0623

Cooking Instructions:

Coat bottom of a 12-inch heavy-bottomed deep pan with olive oil. Warm the olive oil over high heat until it is hot, but not smoking. Add peppers, onions, garlic, salt, and cracked pepper to the oil and sauté for 5-7 minutes, stirring regularly. Turn heat off and set aside.
DSC_0683

If I am making this in the summer when fresh tomatoes are abundant, I add chopped tomatoes to the peppers and onions and omit the canned tomatoes.

In a separate bowl, season the chicken pieces with salt and ground pepper. Add flour and mix well. Do not do the step ahead of time because the chicken pieces will absorb the flour and clump together.
DSC_0685

Brown chicken evenly on all sides for about 5-10 minutes on medium-high heat. Stir often, so the chicken does not stick to the pan.
DSC_0698

Add the herbs and wine to the browned chicken and stir. Bring to a boil and simmer for 2 minutes.
DSC_0700

Add the bowl of sautéed vegetables and tomatoes to the chicken. Bring to a boil. Cover and simmer for 10 minutes.

Add mushrooms and broth (to thin liquid), cover and simmer for 30 minutes.

Let rest for at least 15 minutes before serving. This dish tastes even better the next day making it a great make-ahead dish.

LET’S STAY CONNECTED!

Follow my photos of vegetables growing, backyard chickens hanging out, and dinner preparations on Instagram at JudysChickens.

Never miss a post: sign up to become a follower of the Blog.

© 2014-2019 Judy Wright. All rights reserved. Photos and text may only be used with written consent.

My Kids’ Favorite Sautéed Carrots

Carrots are naturally sweet, have glorious color, and are tasty raw or cooked. What more could you ask for in a vegetable? More often than not, I use carrots as an aromatic to build layers of flavor into stews and soups, but if I’m going to serve them as a side dish, this is how I prepare them. While not necessary, adding the tablespoon of sugar or honey at the end will enhance the natural sweetness of the carrots.  The red wine vinegar provides the acidic bite. Together, the sugar and vinegar, create a sweet and sour taste that makes these carrots addictive!

Ingredients:
DSC_0805

3 pounds carrots (weight before prepping)
1 pound sweet onions, thinly sliced
3 tablespoons extra virgin olive oil
2 tablespoons butter
½ teaspoon sea salt
2 tablespoons red wine vinegar
2 tablespoon sugar or honey

Mise en Place:
DSC_0858

Instructions:

Prep the vegetables:

Wash, peel and remove the root end from each carrot. Slice carrots about ¼-inch thick.
DSC_0828

Wash, peel and remove the root end from each onion. Slice thinly. I do it all the slicing in a food processor.
DSC_0842

Food processor blade care:

I’m terrified of sharp blades, especially this one from the food processor.
DSC_0821 DSC_0848

I once cut myself while handling it and still shudder whenever I think about that cut. It is the reason I am meticulous about how I store the blade. I always place the red “danger” label over it  and store it in its own plastic bag.
DSC_0813 DSC_0815

Cook the vegetables:

Coat the bottom of a deep 12-inch sauté pan with olive oil and butter. Heat until hot but not smoking and add carrots and onions. Mix.
DSC_0860

Sauté covered for 30 minutes, stirring every five minutes. When done cooking, add salt, vinegar, and a little sugar and mix well. Let rest for 15 minutes in the pan to allow flavors to meld. Stir and serve.
DSC_0875

These carrots are good served hot, at room temperature, or cold.

Kids will love them. I promise.

DSC_0908

LET’S STAY CONNECTED!

Follow my photos of vegetables growing, backyard chickens hanging out, and dinner preparations on Instagram at JudysChickens.

Never miss a post: sign up to become a follower of the Blog.

© 2014-2019 Judy Wright. All rights reserved. Photos and text may only be used with written consent.