When I wake up in the morning a little panic-stricken thinking about what I’m going to prepare for a large crowd coming in for a holiday weekend, I approach the menu by considering my entrée options first. My go-to’s are grilled Premio Sweet Italian Sausage from Costco, Brooks’s Marinated Pork Tenderloin, and marinated chicken breasts.

Next, I consider my sides, which I prepare depending on what is in season. Often, though, I delegate the sides to guests. The beauty of this approach is you get to try other people’s specialties, and that is always a fun and tasty option. Desserts are my favorite food to cook, and for a large crowd, I like to make a hotel-sized pan of the ever crowd-pleasing Pumpkin Bread Pudding only made with seasonal fruit instead of pumpkin, and either Italian Sesame Seed Cookies.


I was never a fan of grilled chicken breasts until I saw my friend from Tiverton, R.I., Sheila, a master at feeding huge crowds, carry Ziploc bags full of pounded-flat marinated chicken breasts out to the grill. By pounding the breasts flat Sheila could ensure the chicken would cook quickly and evenly throughout. I’ve been pounding chicken breasts ever since.
Ingredients:

Whole chicken breasts (for these photos, I made 24 breasts equalling 8 pounds)
@JudysChickens Everyday Salad Dressing
1-2 lemons, sliced thinly (depends on how much chicken you are preparing)
10 stems of thyme, rough chopped
a couple shakes of white balsamic vinegar, if you have it.
Instructions:
Rinse chicken breasts and trim fat.

Pat dry with paper towels.

Place each chicken breast in a thick bag and pound flat with the smooth side of a meat mallet.

Marinate pounded breasts in @JudysChickens Salad Dressing along with lots of sliced lemons and sprigs of thyme. You could add a little white balsamic vinegar and Grey Poupon for even more flavor if desired. Allow to marinate for a few hours to up to two days.

Grill for no longer than ten minutes.
Favorite Flavor-Enhancers: The Acids!
My mother always kept a bottle each of white and red balsamic vinegar in the fridge. She especially loved the white. Add a few shakes of white to the marinade for an extra burst of flavor.

Other Foods That Are Good To Serve At A Cookout
Sliced Beet Salad
String Bean Salad
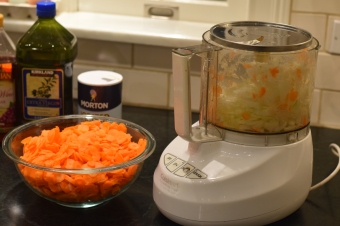
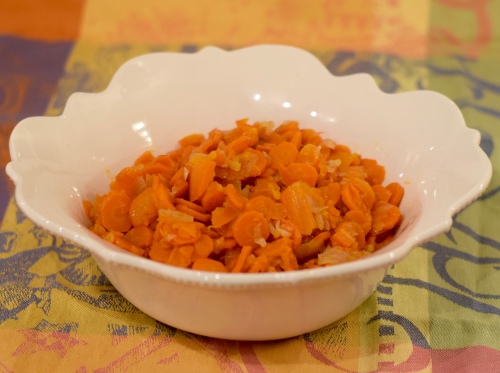
Amazingly Delicious Sautéed Carrots
Marlin’s Black-Eyed Pea Salad
Grandma’s Italian Fried Cauliflower
“Croatian Cheese” a Flavorful and Exotic Appetizer Made with Feta and Goat Cheese
The Classic Pimiento Cheese Sandwich
LET’S STAY CONNECTED!
Don’t miss a recipe! Become a follower and have every post delivered to your Inbox.
Follow Judy’s Chickens on Instagram and Pinterest @JudysChickens.
© 2014-2018 Judy Wright. All rights reserved. Photos, videos, and text may only be reproduced with the written consent of Judy Wright.