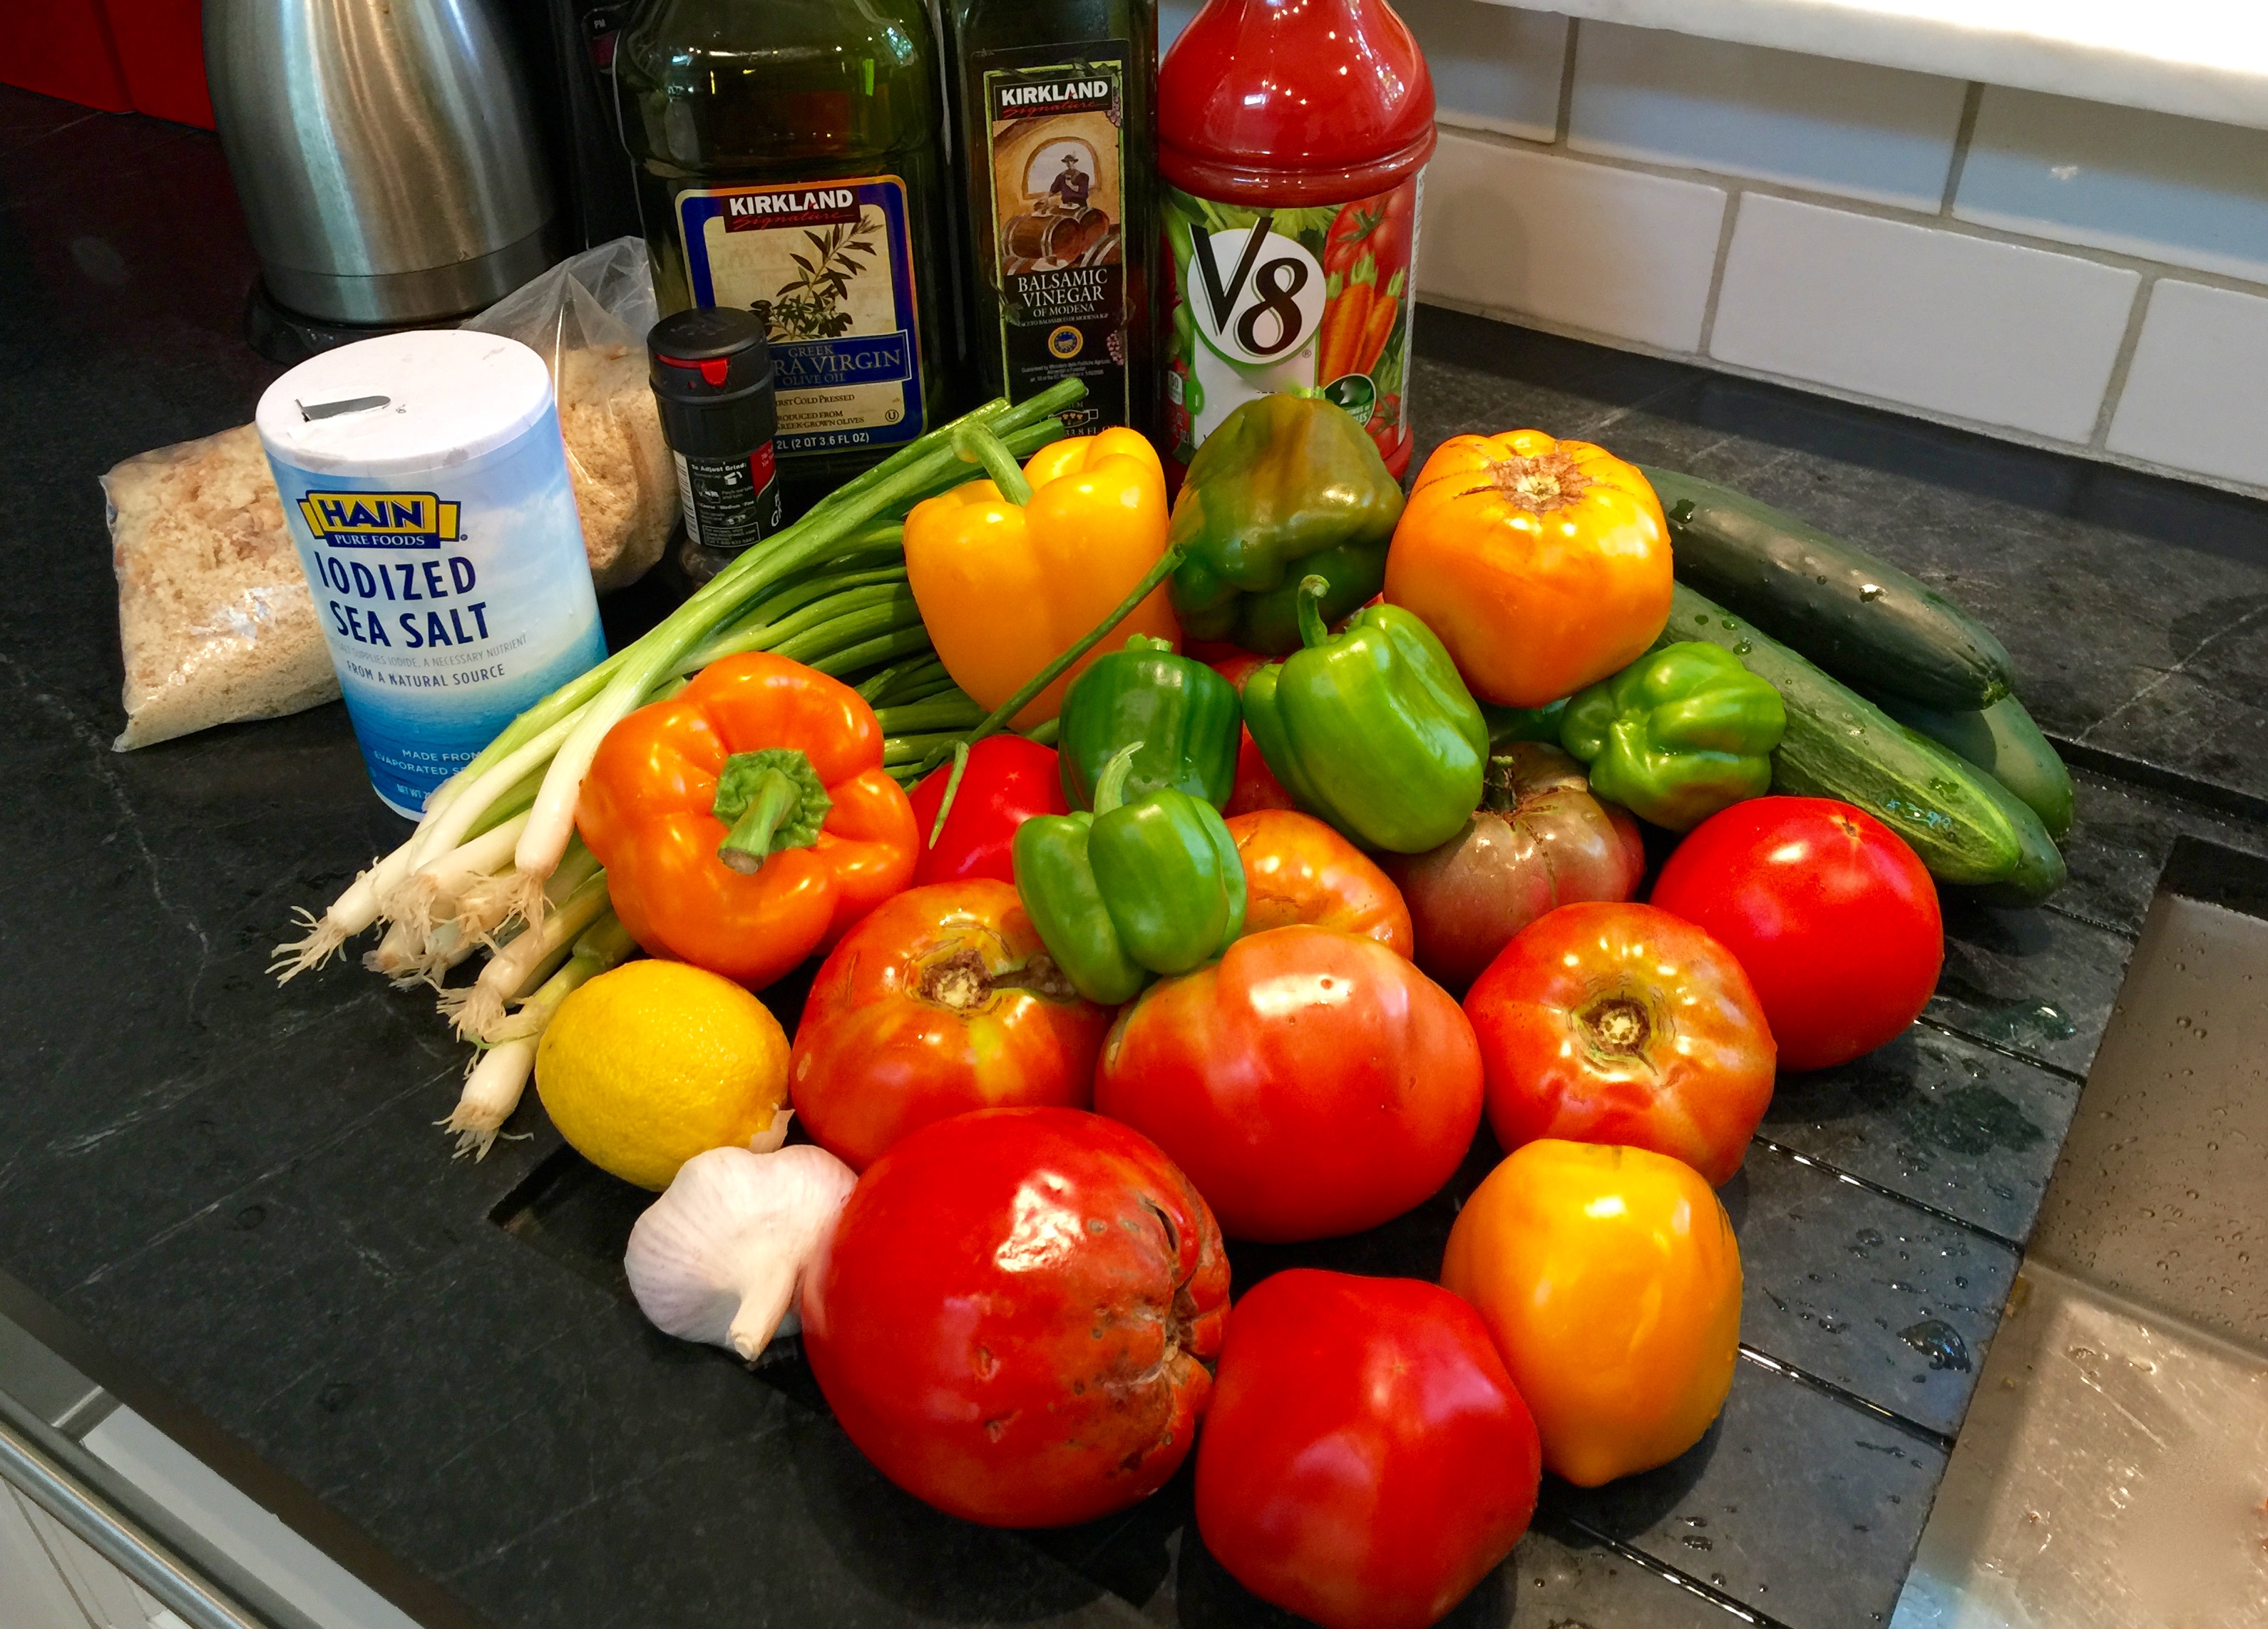
I returned from a week-long trip to find my vegetable garden laden with tomatoes, cucumbers, string beans, green bell peppers, and okra. I brought all the produce inside, dumped it on the kitchen counter and tried to get inspired to clean and prep all of it; I knew once I got started, I’d be in the kitchen for the rest of the day … A journey of a thousand miles begins with a single step.

Abundant summer harvests call for big recipes, and I have three go-to’s: ratatouille, gazpacho, and marinara sauce. Since there were no eggplants or zucchini, ratatouille was out. Gazpacho and marinara sauce were in. I made both!

My tried and true gazpacho recipe comes from Open-House Cookbook, by Sarah Leah Chase, published in 1987 to instant acclaim. Over the years, I have found my own way to streamline the vegetable prep work, and, thanks to my mother, who also made this recipe and used Bloody Mary mix to spice it up, I use spicy vegetable juice instead of plain.
Ingredients:
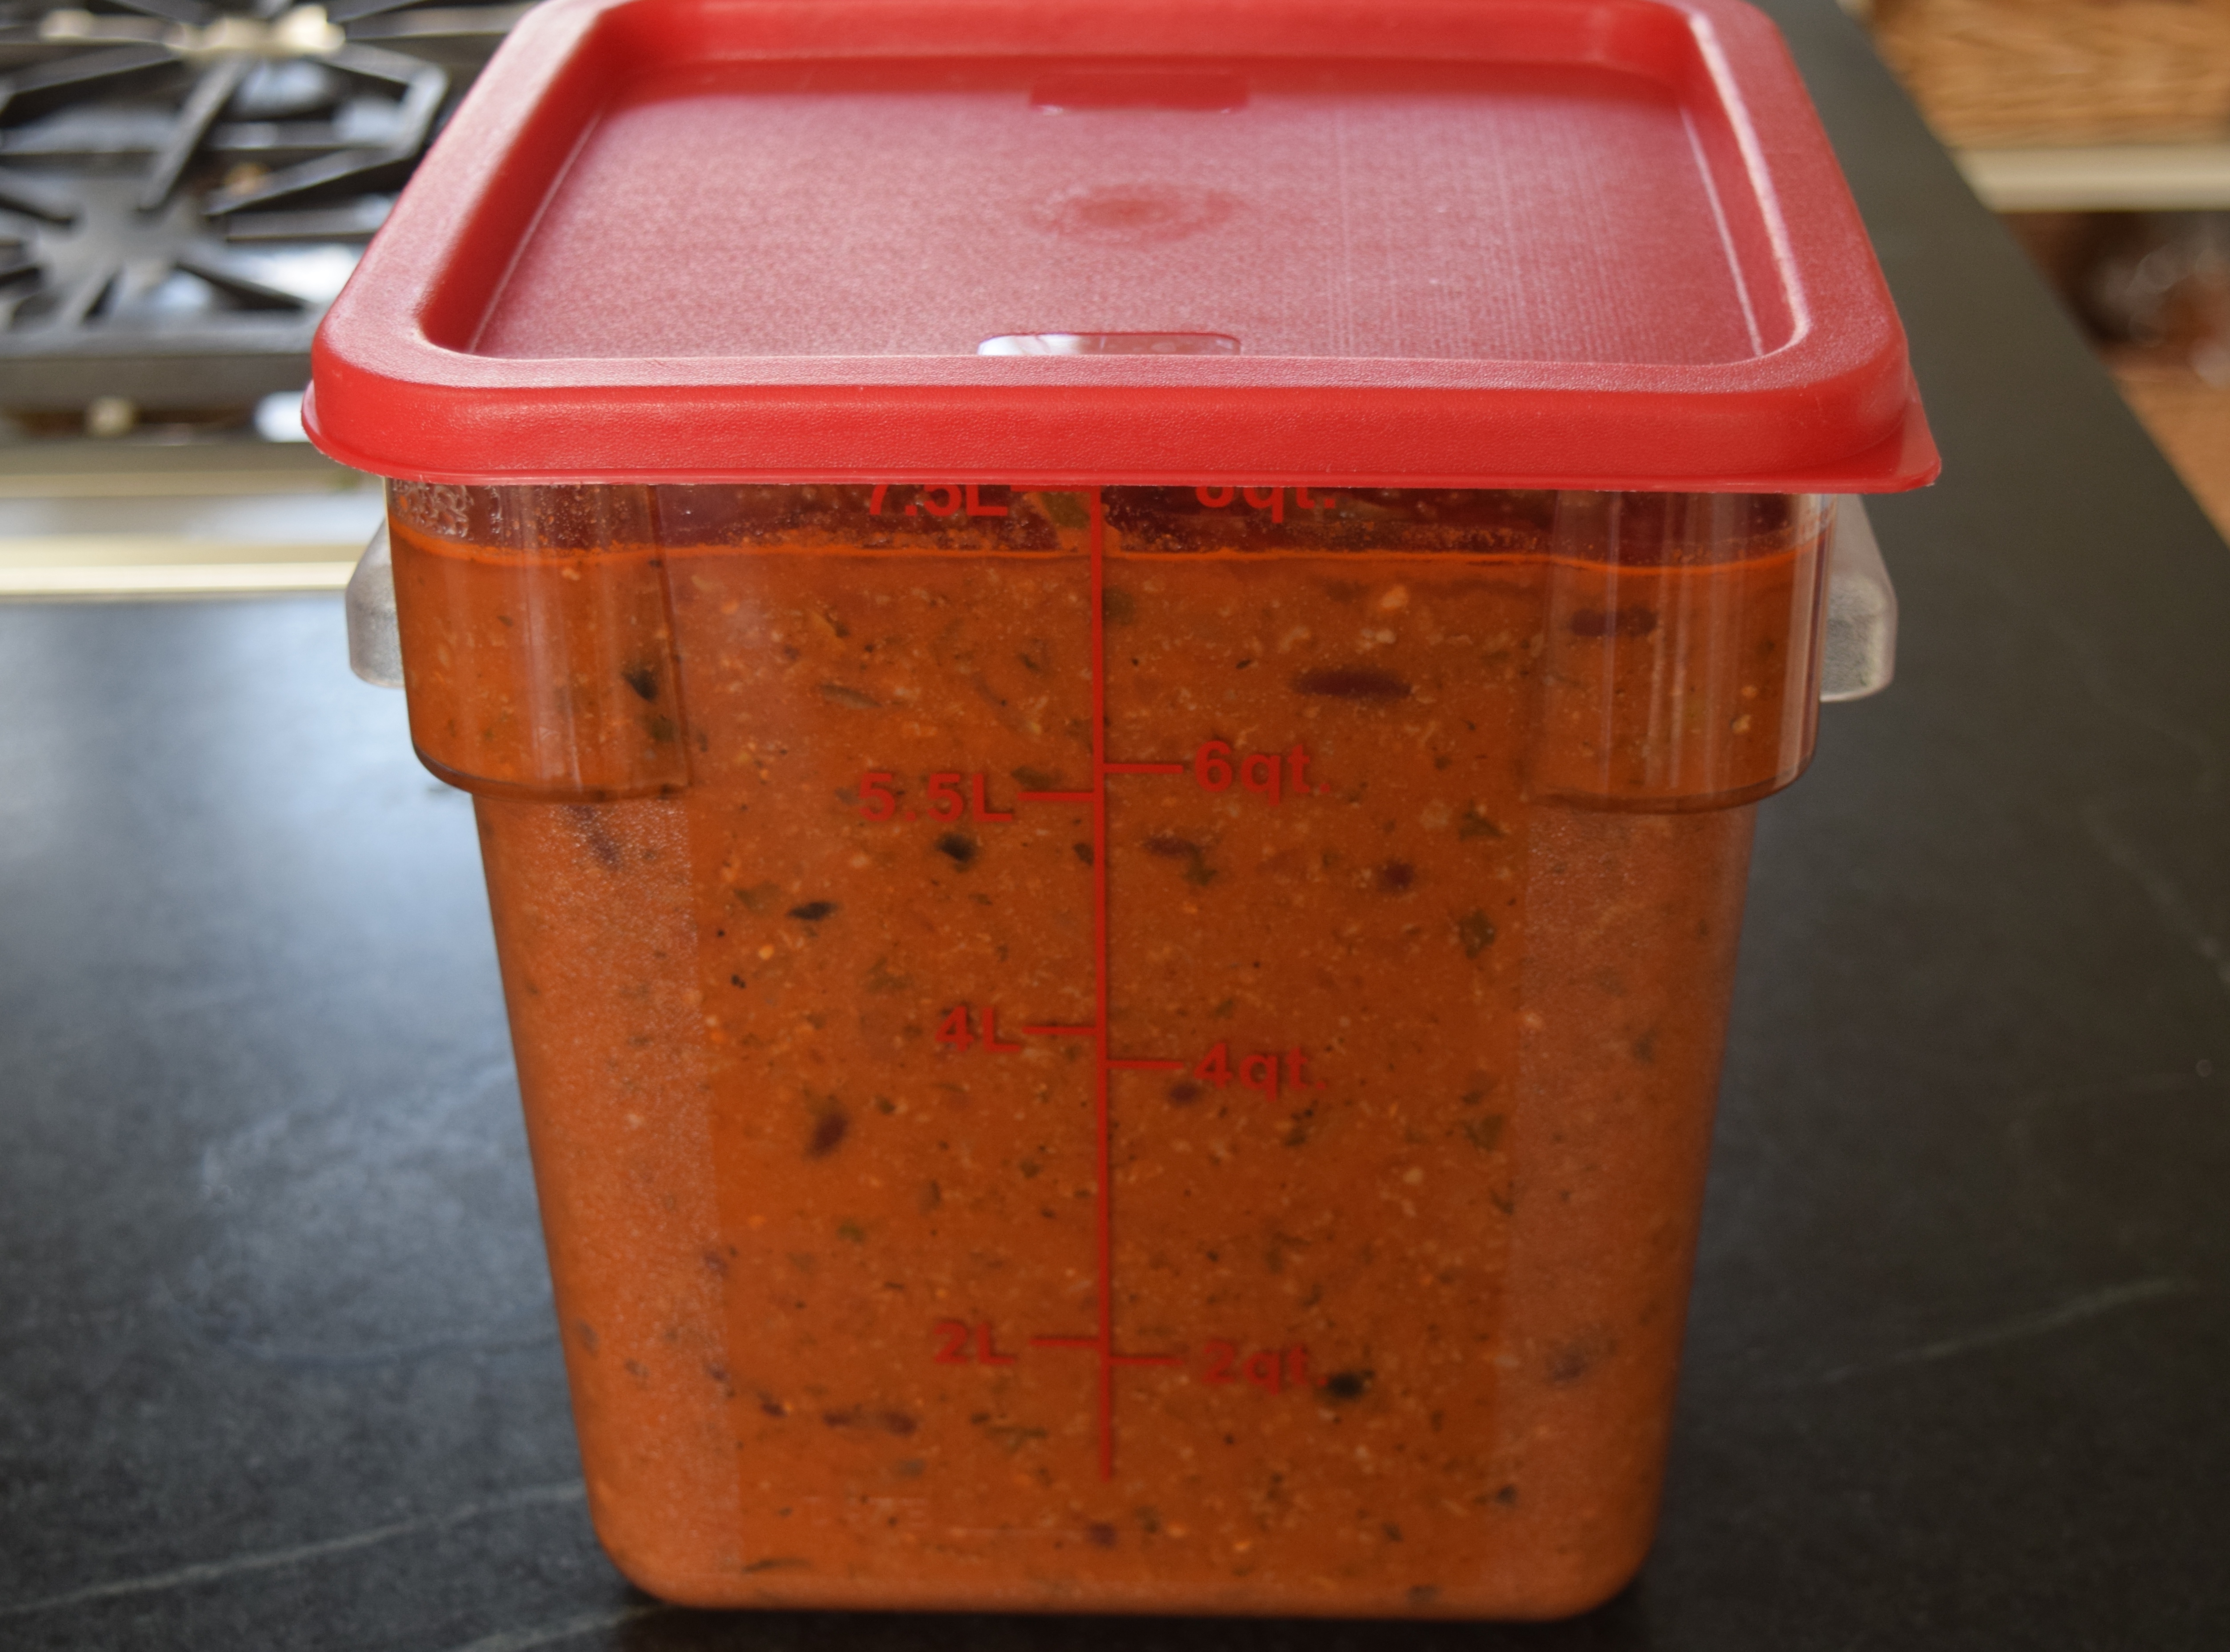
Makes 6 quarts
2 cups of freshly made breadcrumbs made from crusty bread
1-ounce garlic cloves, about 3-5 cloves depending on size
Juice of one lemon, about 3 tablespoons
2 bunches green onions
3 8 inch cucumbers
5 sweet bell peppers in different colors (I like to use green, yellow and orange)
8 pounds of tomatoes, about 10 large
46 ounces spicy vegetable juice
4 tablespoons balsamic vinegar
5 tablespoons extra virgin, first cold-pressed, olive oil
4 teaspoons sea salt
1½ teaspoons freshly ground pepper, add more as desired
Instructions:
In the instructions that follow, I’m going to show you how to prep each vegetable. Find a large bowl that will hold 8 quarts of chopped vegetables.
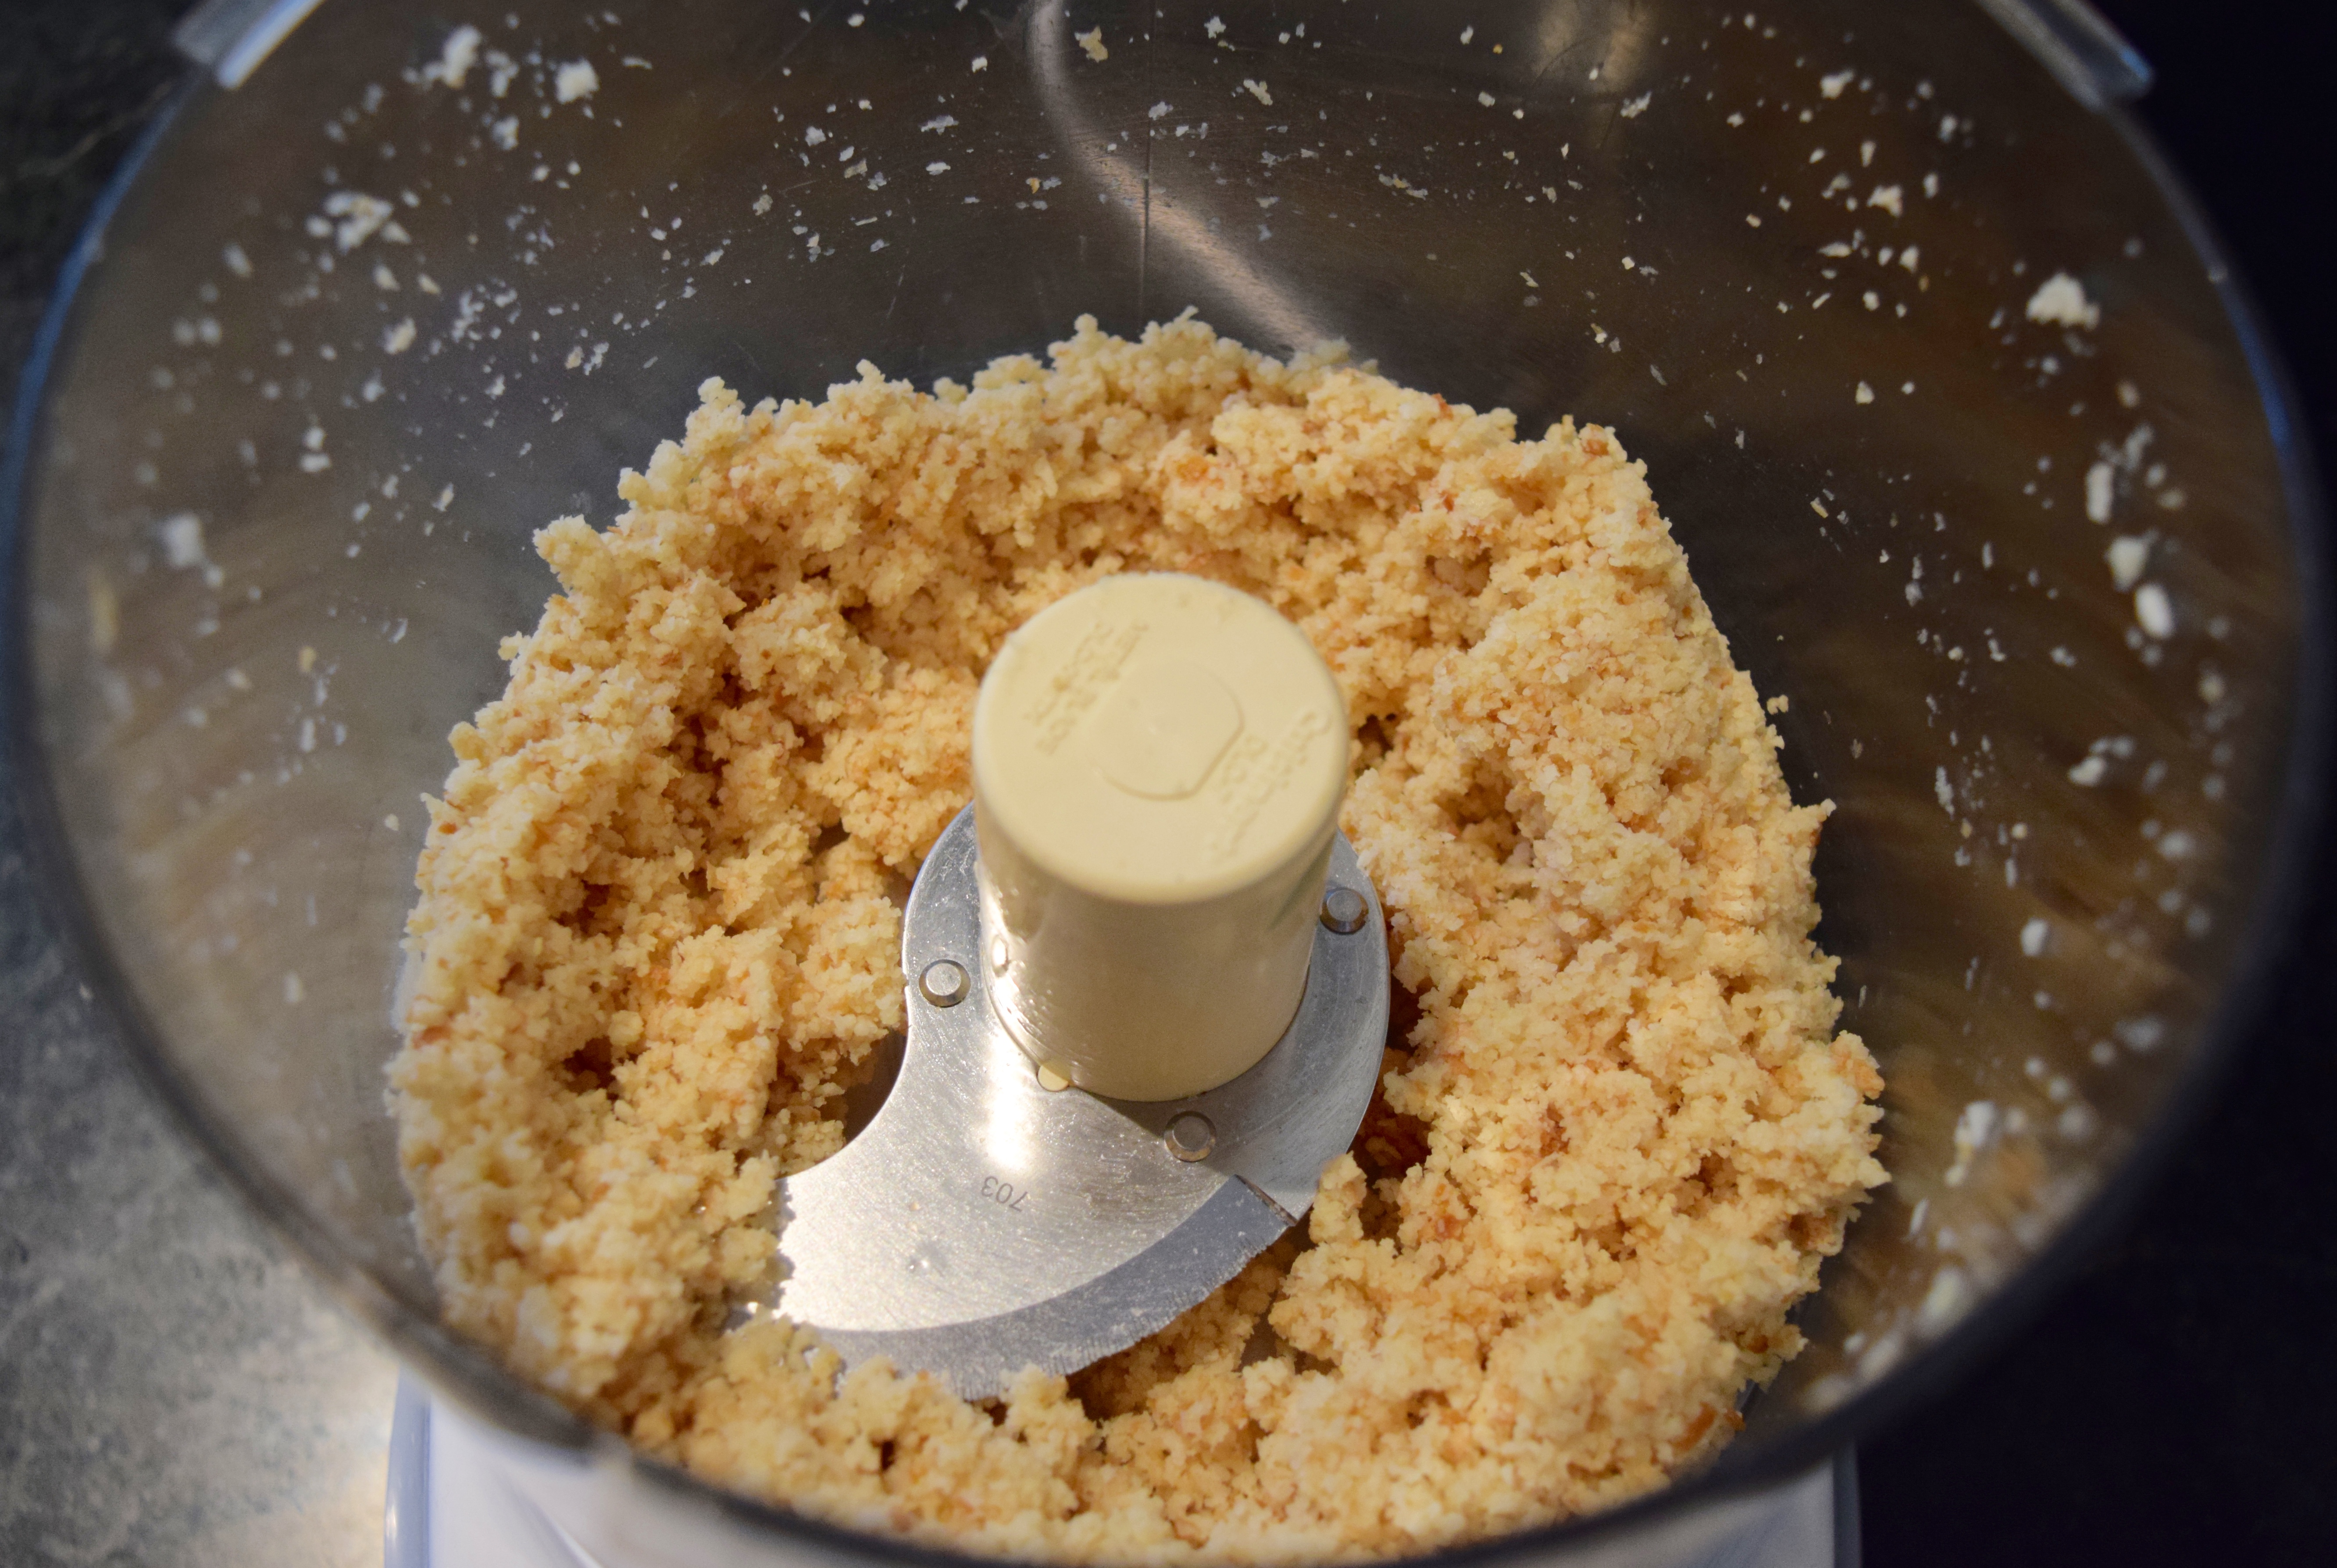
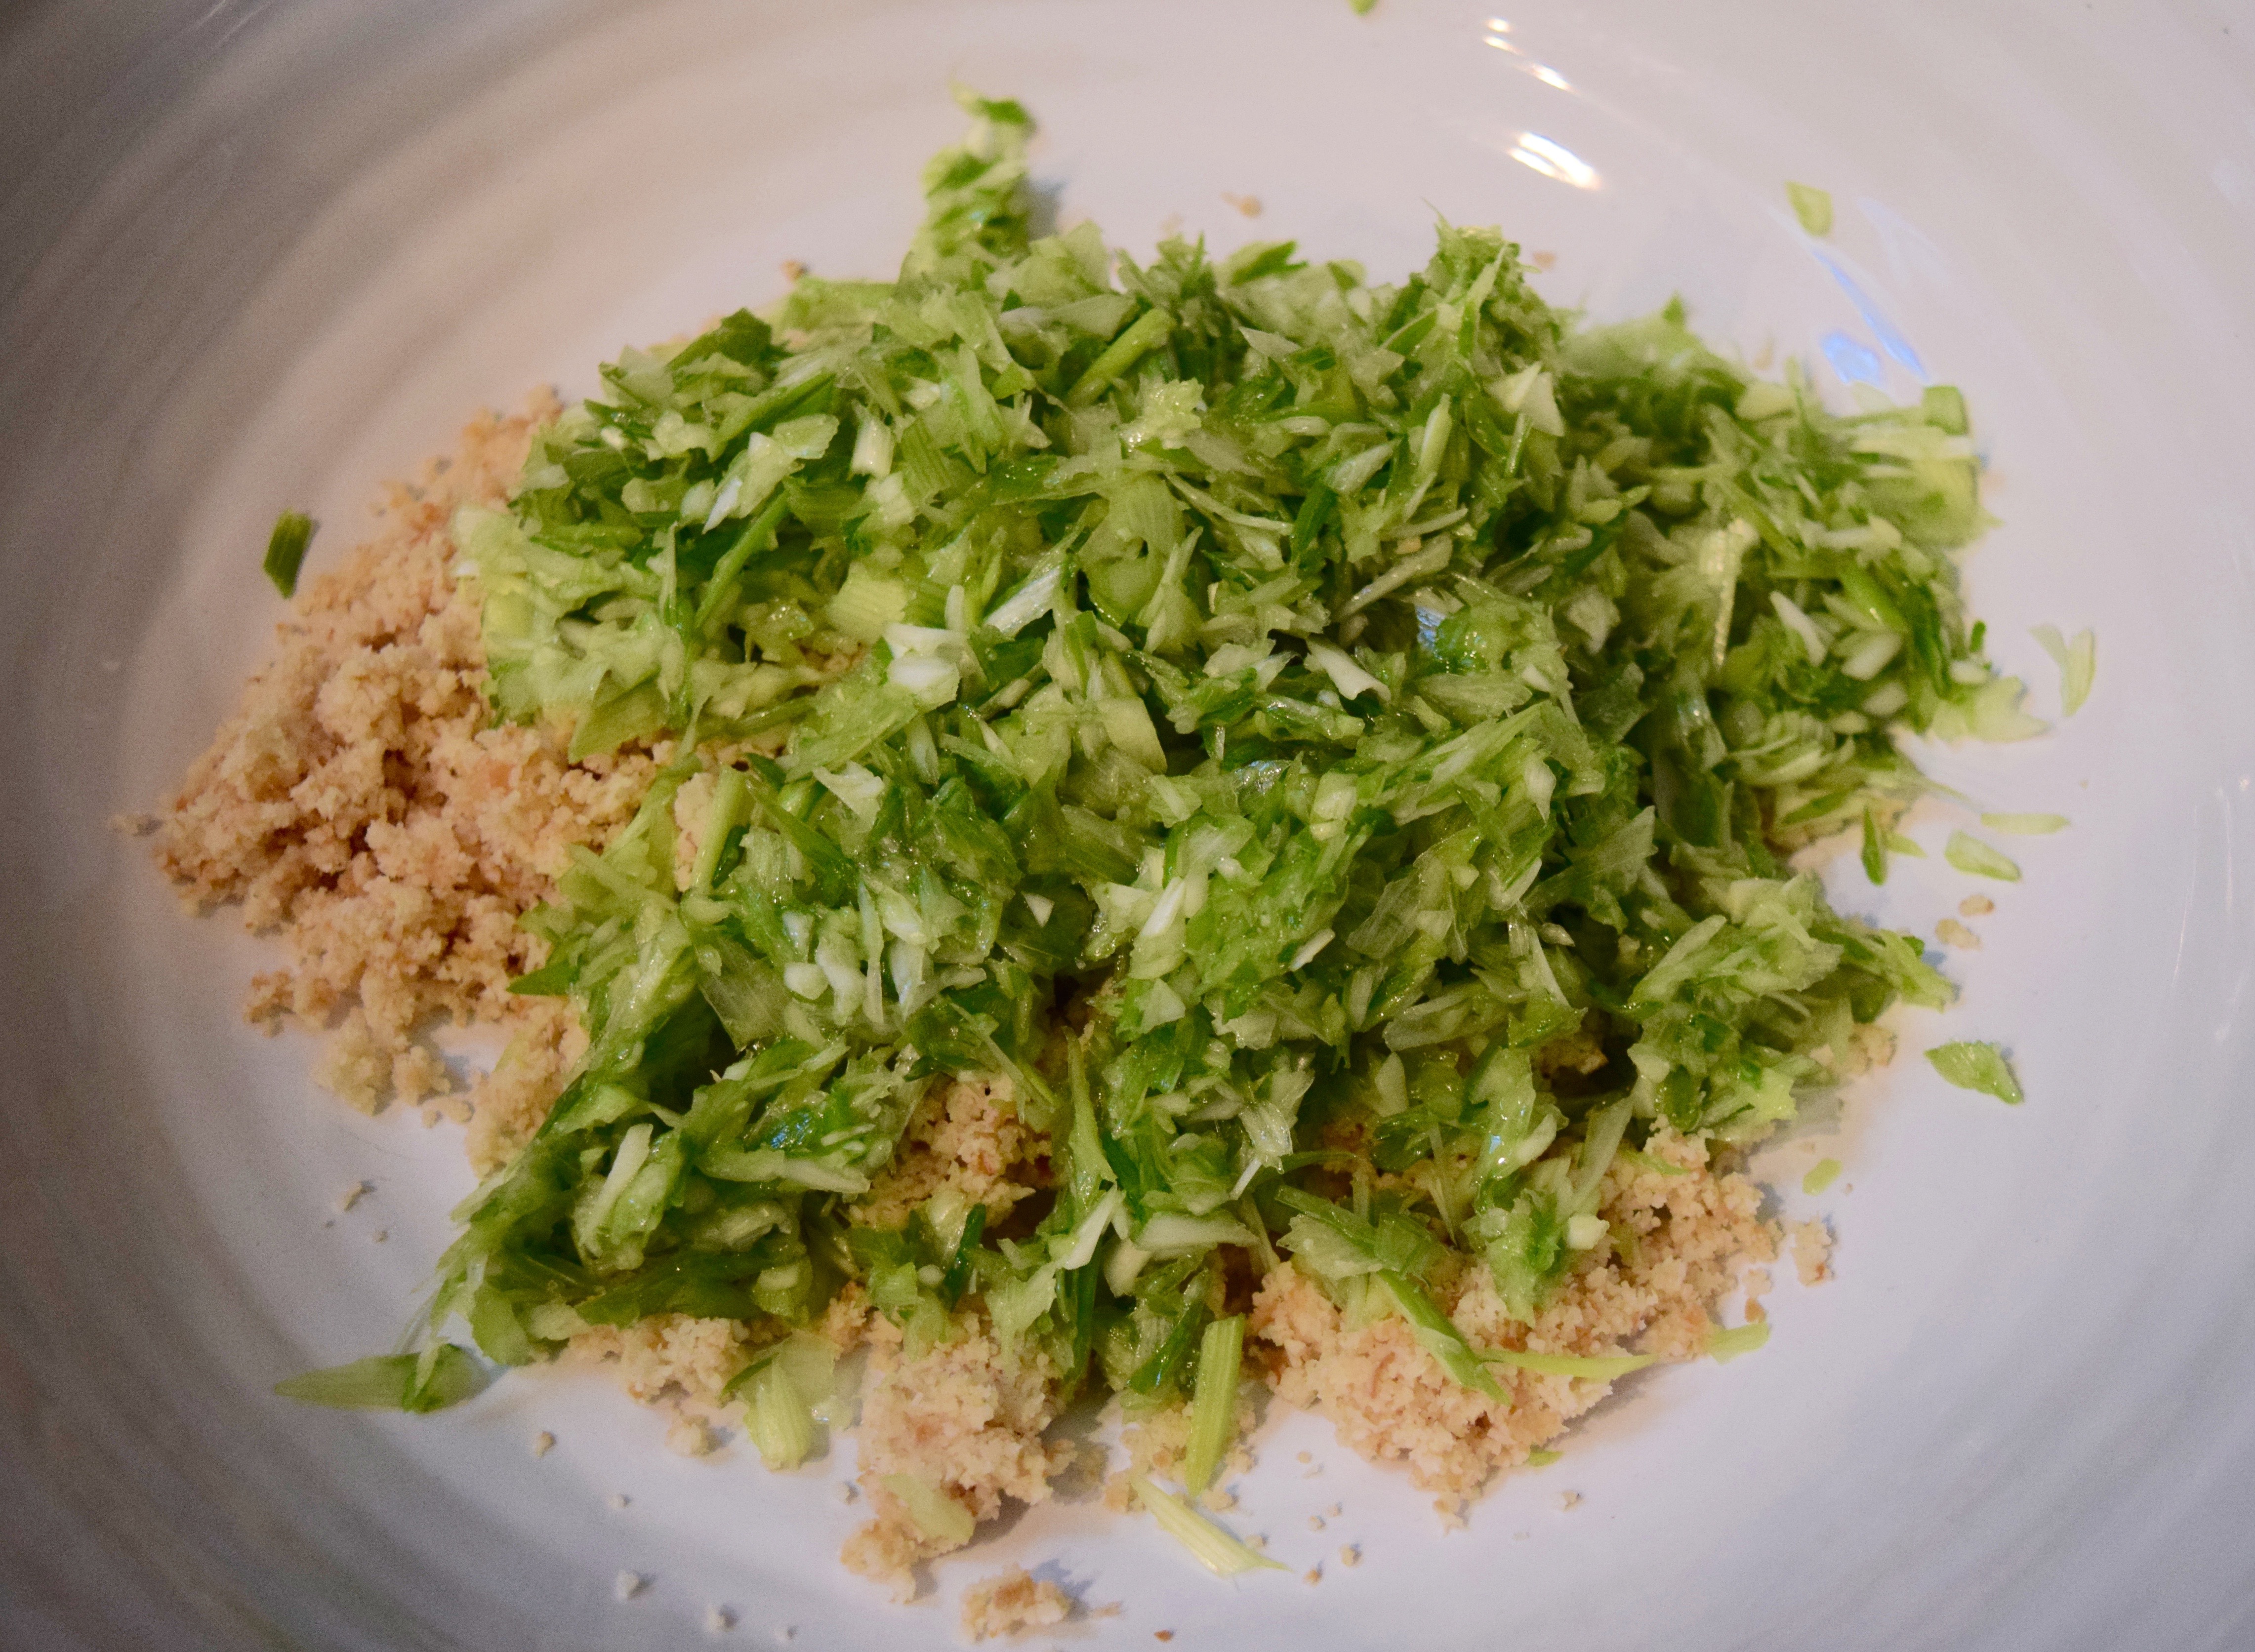
1) Prep Bread, Garlic, and Lemon Juice Mixture:
-Make 2 cups of homemade breadcrumbs using the method described in Mom’s Meatloaf. Five or six slices of crusty bread should suffice.
-Juice the lemon as shown in the Ricotta and Lemon Cookie recipe.
-Peel the garlic cloves. I used three large cloves. If you are using medium to small cloves, you’ll need all five. Always remember that uncooked garlic can quickly overpower a recipe, so be careful — you can always add more garlic to your recipe later as you adjust your spices.
Pulse garlic cloves in food processor until minced, add the breadcrumbs and lemon juice. You want the mixture to become pasty, so process it for about 10 seconds.


2) Prep green onions:
Wash, cut roots off and trim off the top third of stems. Chop stems into 2-inch segments so they will fit nicely into the food processor bowl. If you put produce in the processing bowl uncut, they won’t chop evenly, and you’ll find yourself practically puréeing food to get everything chopped to a consistent size. Pulse green onions until they look like the photo below and then add to your large container.


3) Prep Cucumbers:
Cut off ends and peel. Cut into long quarters. I always taste a homegrown cucumber before adding it to a recipe because sometimes, if the cucumber went through a dry spell while growing, it can taste bitter. If the cucumber tastes at all bitter, throw it in the compost. Remove seeds by quartering and using a paring knife to remove the “triangle” tip of seeds from each strip. Chop into 2-inch chunks before processing. Once processed, add to large container.


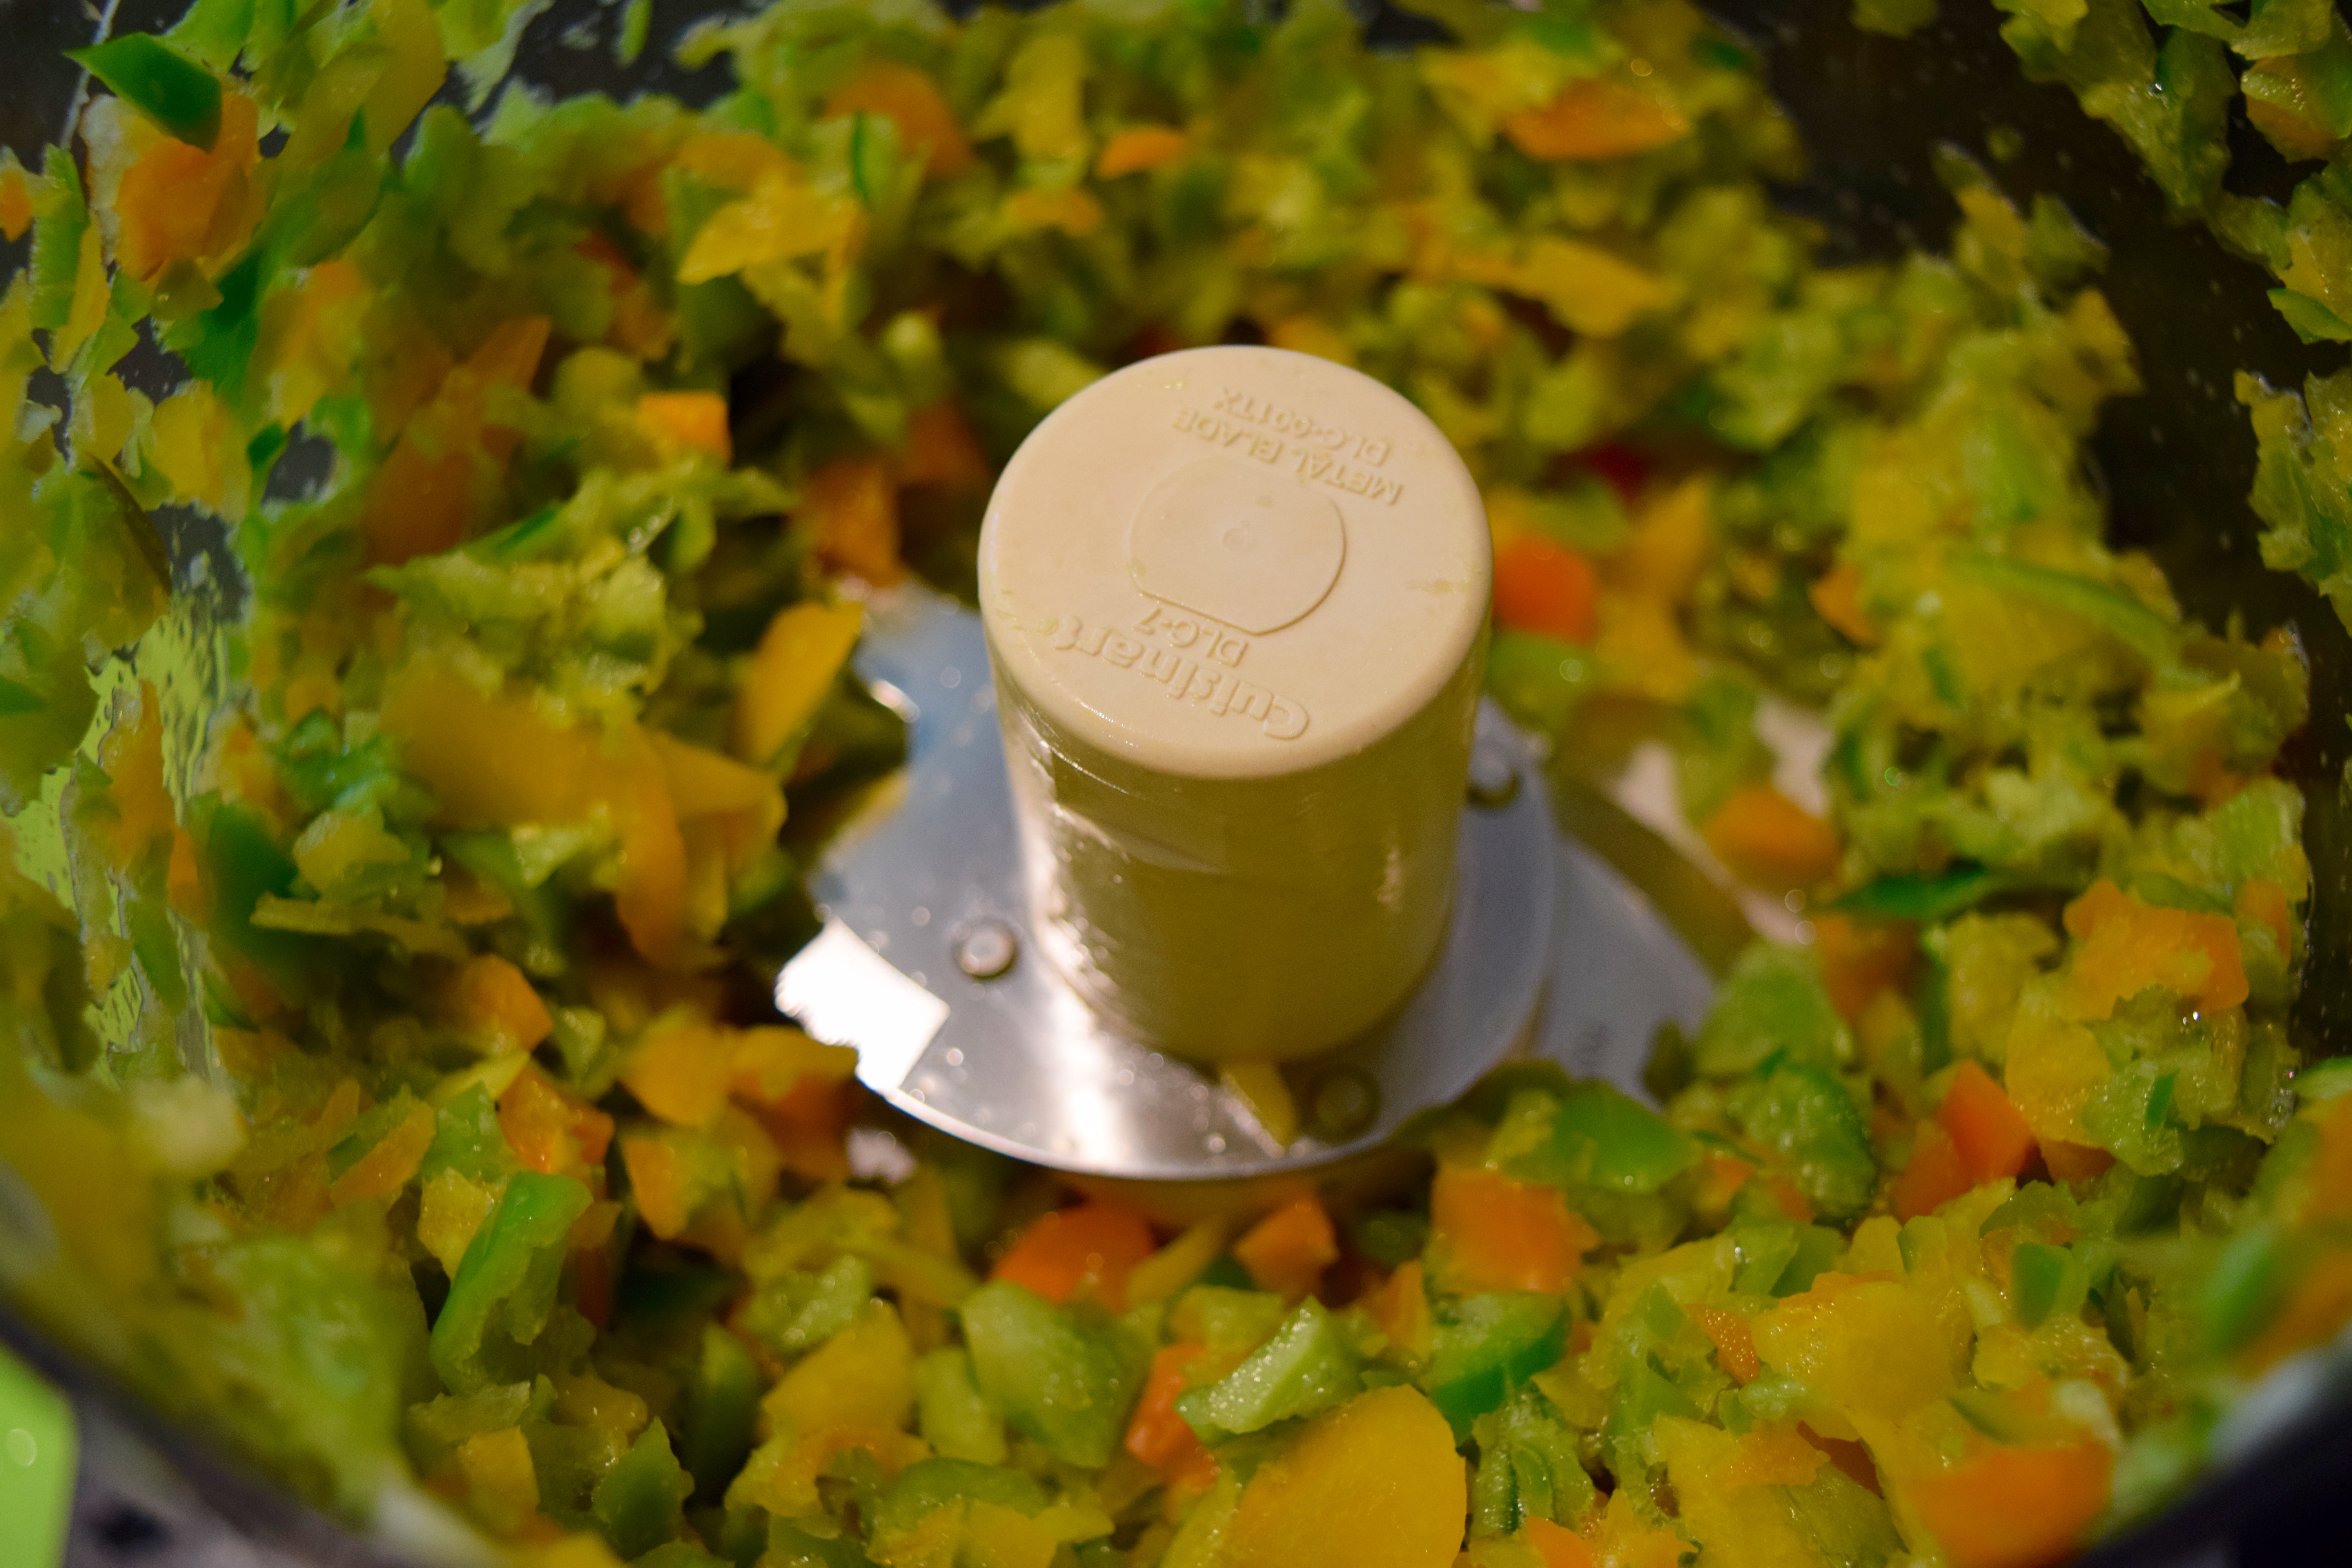
4) Prep Sweet Bell Peppers:
I had a lot of small green peppers in my garden and used them, plus two colorful peppers I bought at the grocery store. To prep peppers: cut in half vertically, and remove core, seeds, and extra white pith. Chop into 2-inch chunks for even processing in the food processor. Add to the large container.


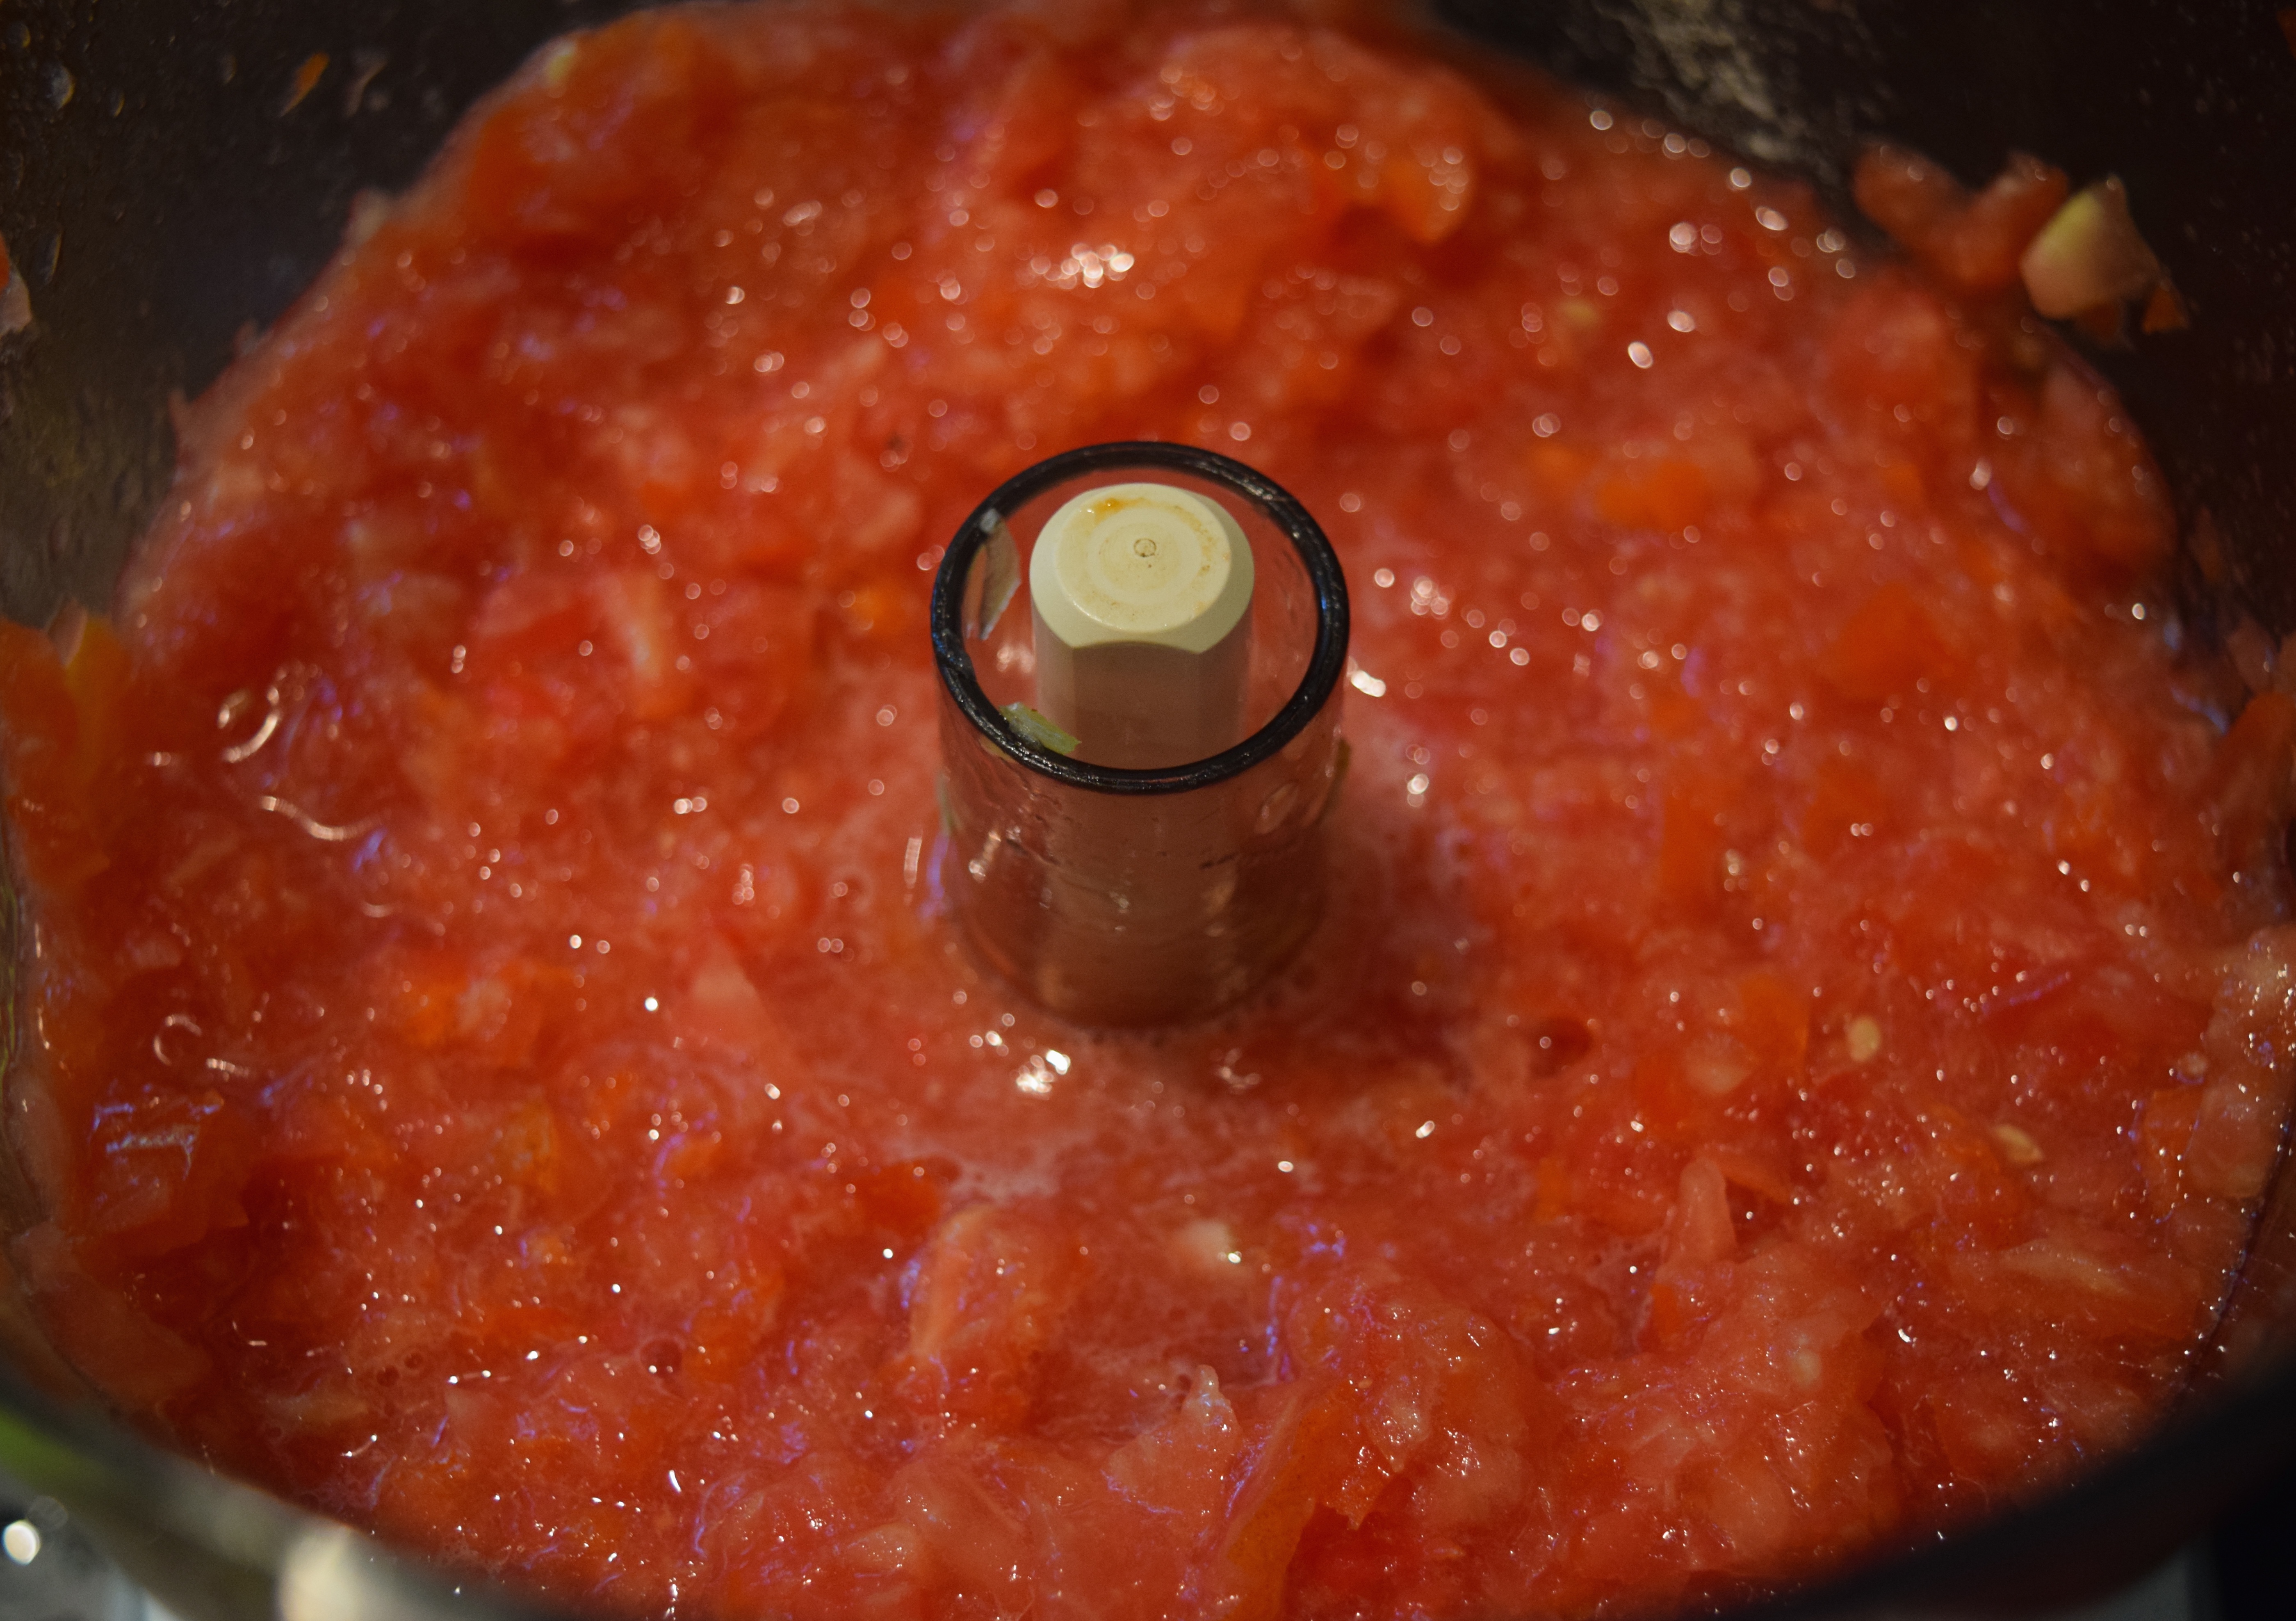
5) How to Seed and Prep Tomatoes:
Over the years, I have learned there is no reason to peel the skin off tomatoes. I do, however, remove the seeds. This is easily accomplished by cutting the tomato in half horizontally and using your finger to scoop the seeds out.


Use a paring knife to remove the stem and white core. Cut into 2″ chunks to process evenly. Pulse in batches. Add to the large container. If you are using homegrown tomatoes, don’t use any that have been pecked by birds or otherwise have skin that is not intact. Save imperfect tomatoes for cooking. Tomatoes with white mold, ooze, or that have been partially eaten by squirrels go in the compost! (That last sentence is for my husband.)

Photos of the bowl as it filled up …


Food, Glorious Food!

6) Add Vegetable Juice and Seasonings
Add the spicy vegetable juice, the vinegar, olive oil, salt, and pepper. Adjust seasoning.
Me, to my husband: “Try this and tell me what it needs.”
Husband: “It needs a spoon and a bowl!”
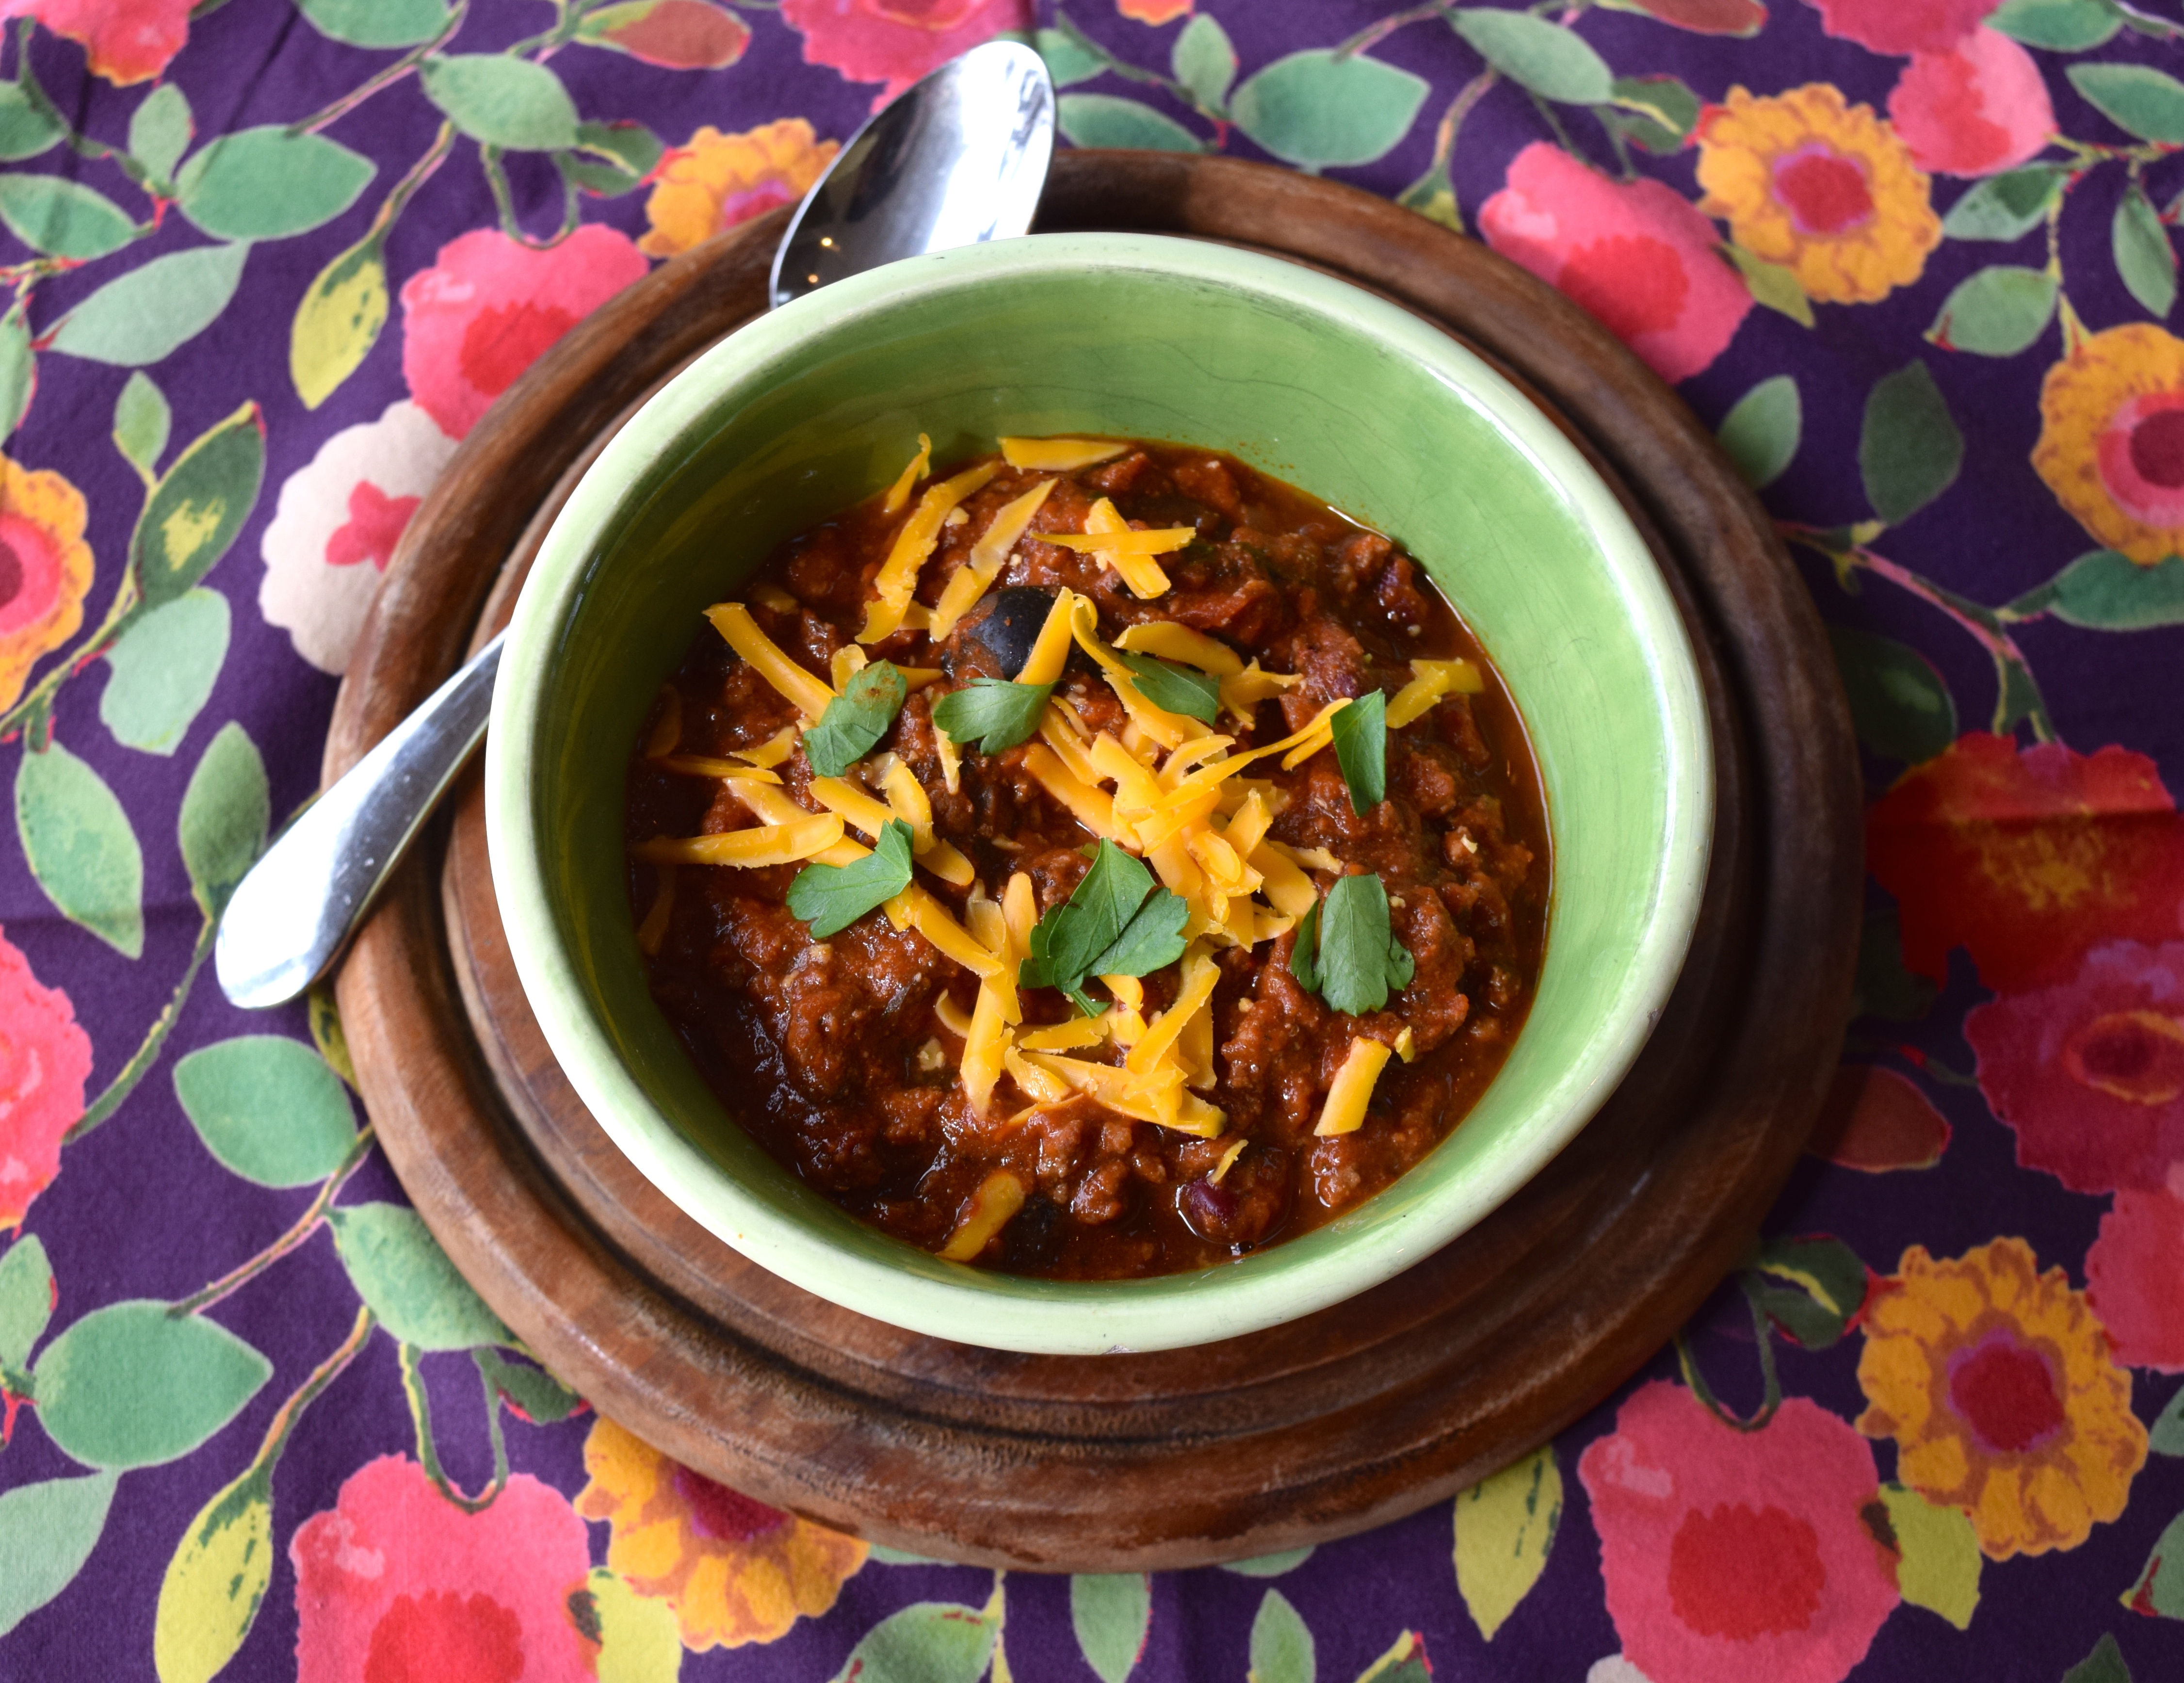
Much later that day, after making marinara sauce and blanched string beans in vinaigrette, the kitchen was clean. All that remained was a pile of cucumbers that were going to be made into cold cucumber soup, but I ran out of steam, and my family had lost interest in cleaning up after me. Oh, and the okra, it went into the latest version of my “everything, but the kitchen sink” Shepherd’s Pie.
LET’S STAY CONNECTED!
Follow my photos of vegetables growing, backyard chickens hanging out, and dinner preparations on Instagram at JudysChickens.
Never miss a post: sign up to become a follower of the Blog.
© 2014-2017 Judy Wright. All rights reserved. Photos and text may only be used with written consent.