

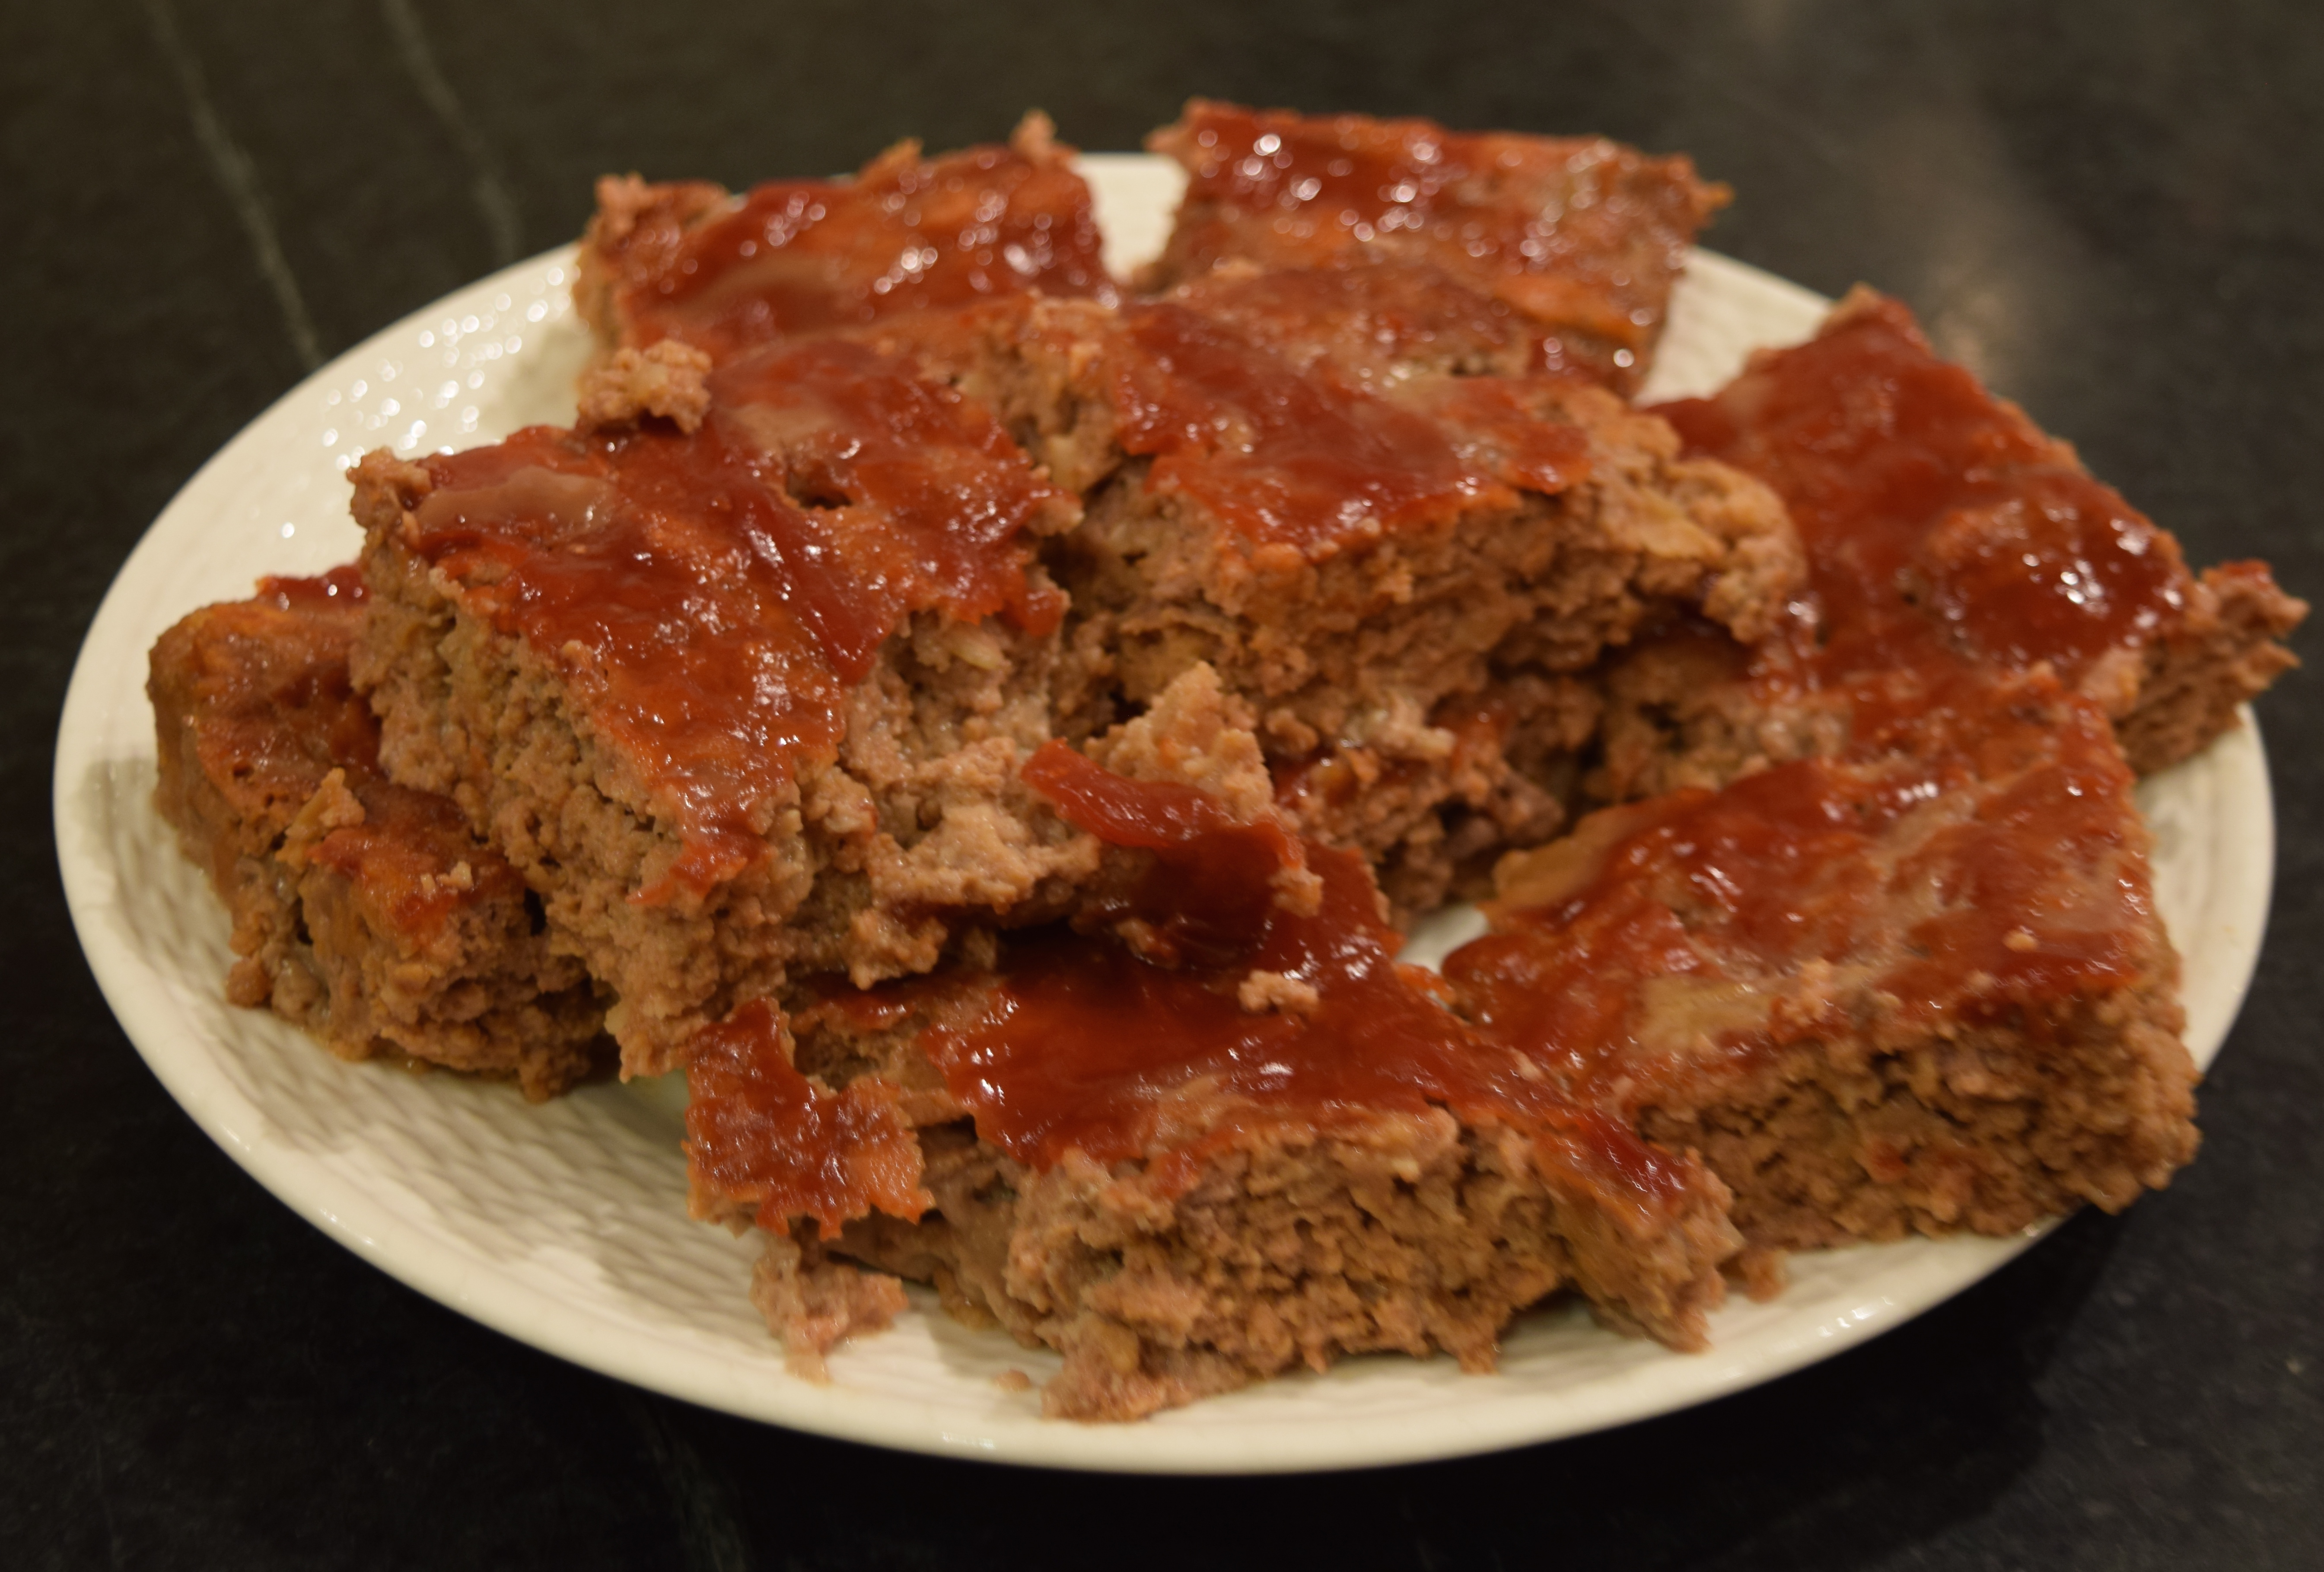
The first time I had warm pumpkin bread pudding was at The Nashville Food Project. The bread pudding had just come out of the oven, and one of the staff members had spooned some of it into a bowl for us volunteers to taste. We all stood around the stainless steel countertop sinking our spoons into the warm bowl of dessert and gushed about how delicious it was. I mean it was warm, and the vanilla glaze was dripping down the sides. You can find TNFP’s recipe for bread pudding along with many other crowd-pleasing recipes in the Cook for a Crowd section of their website.
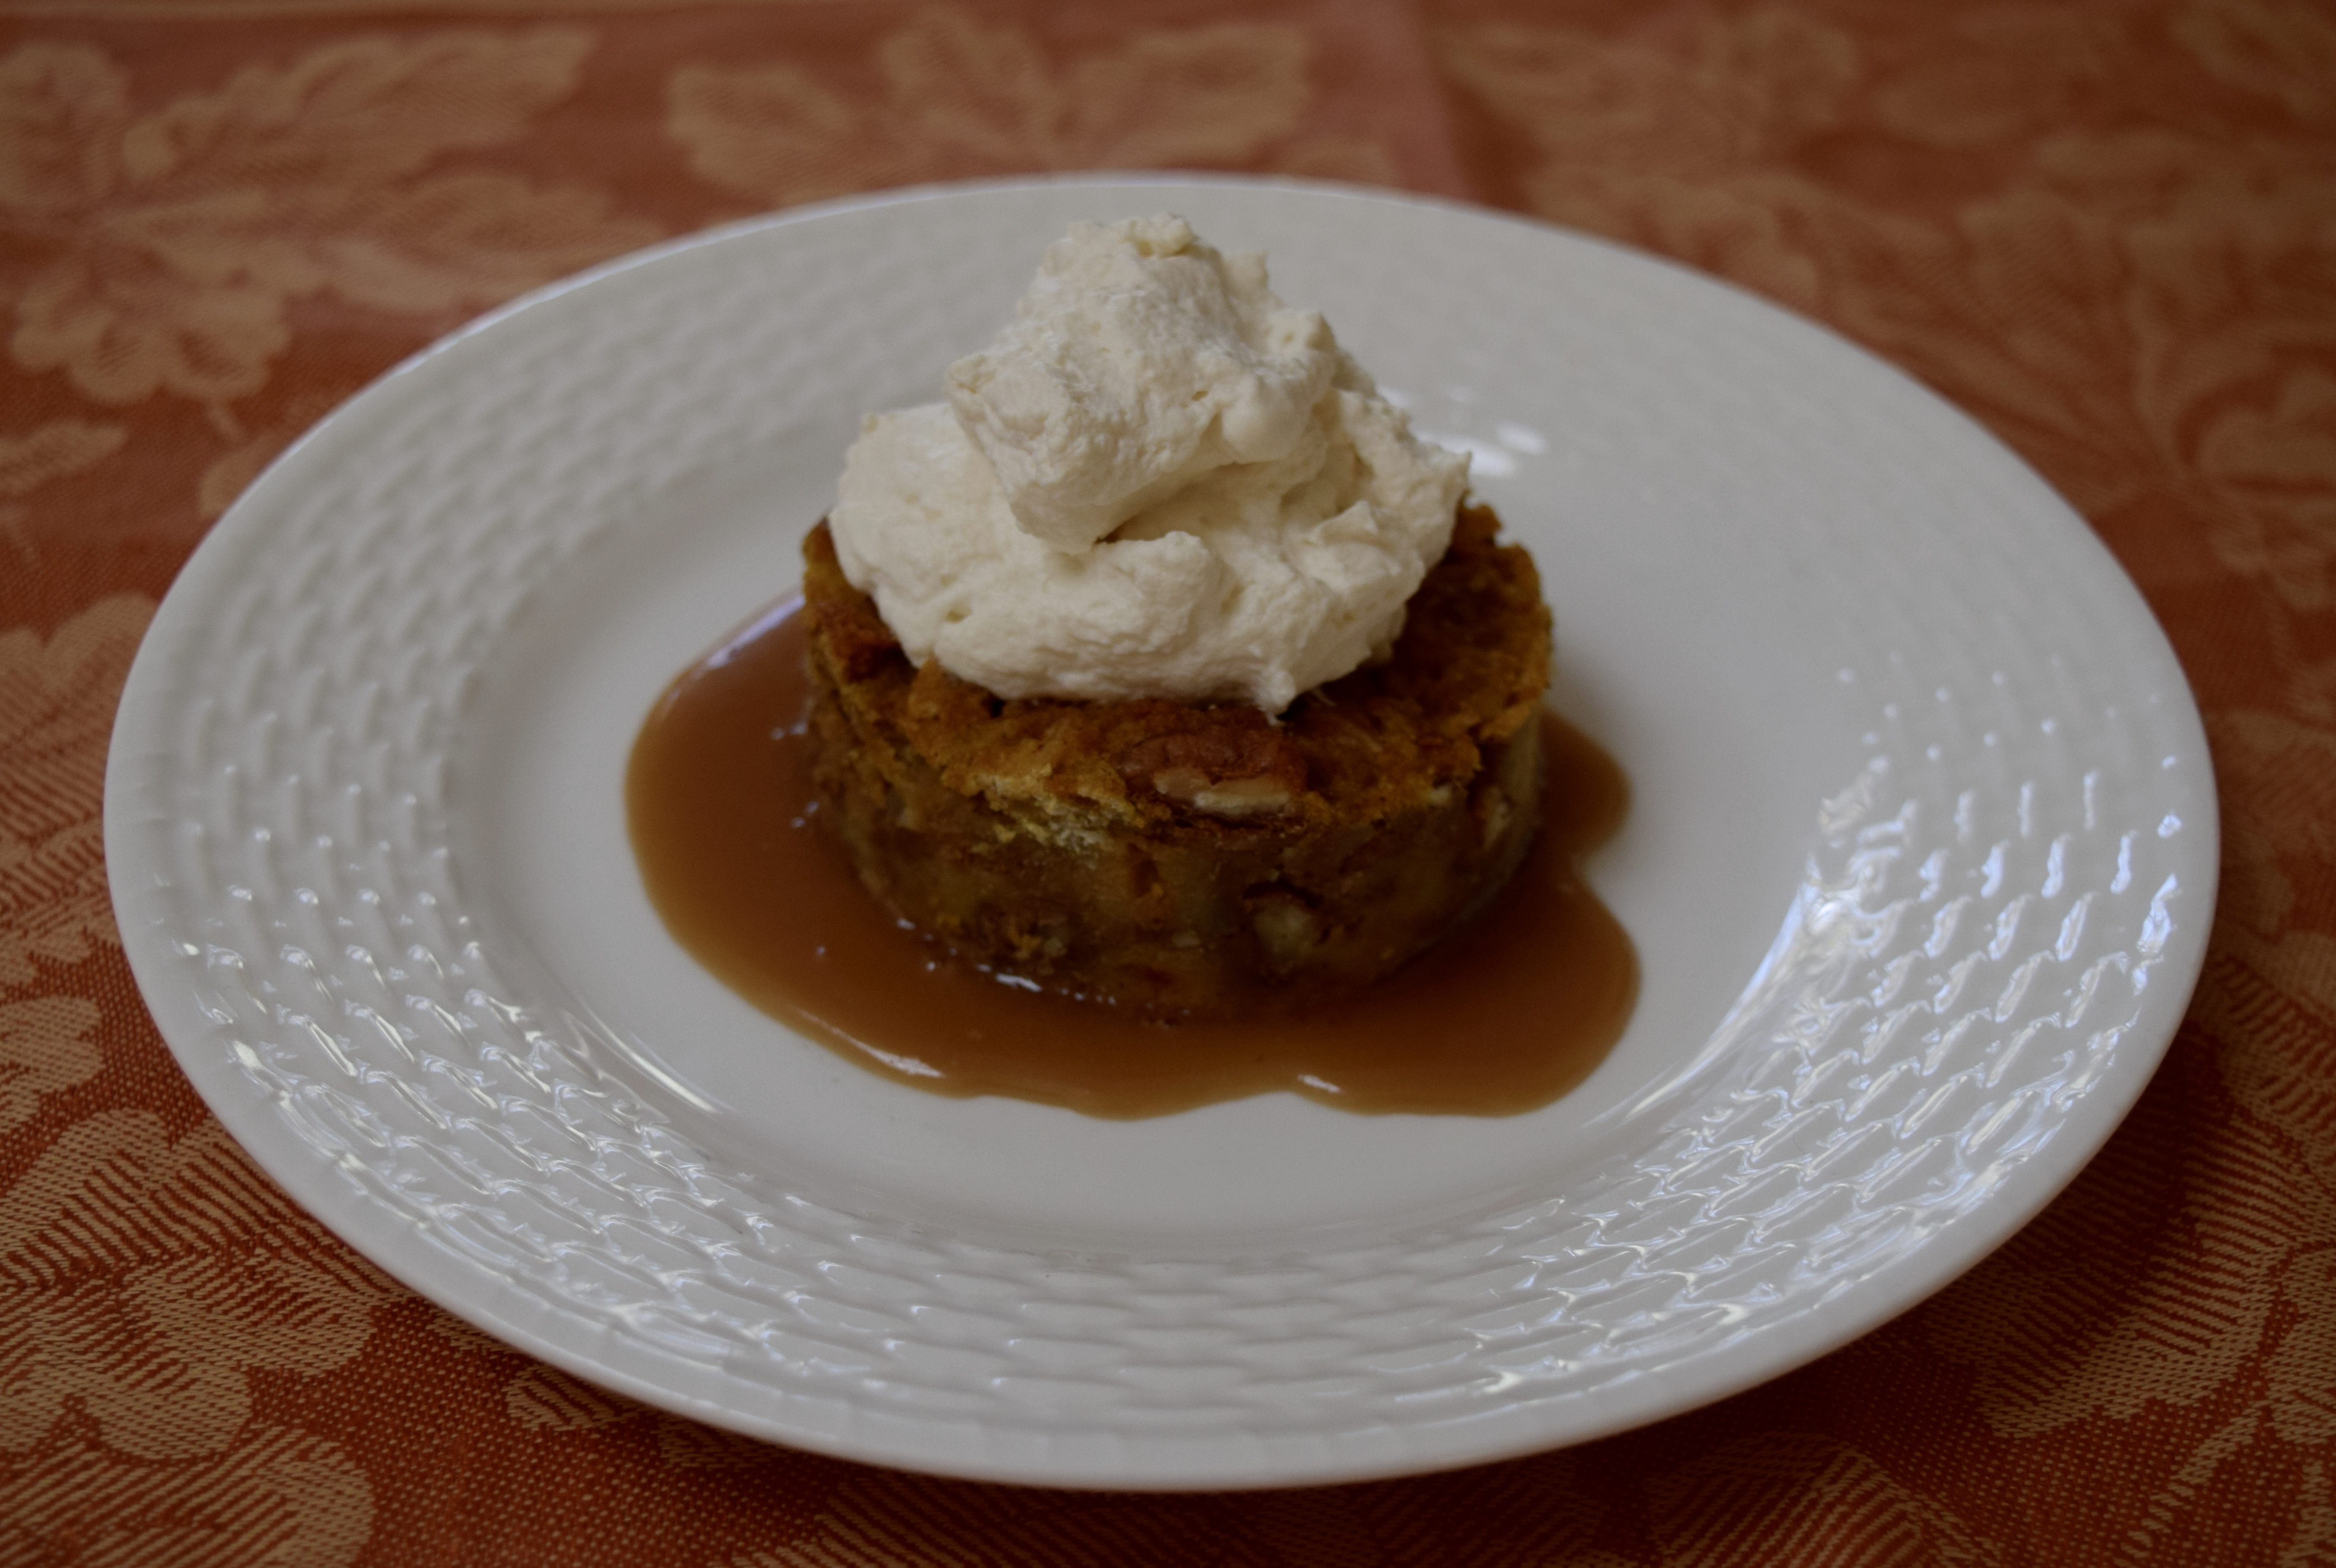
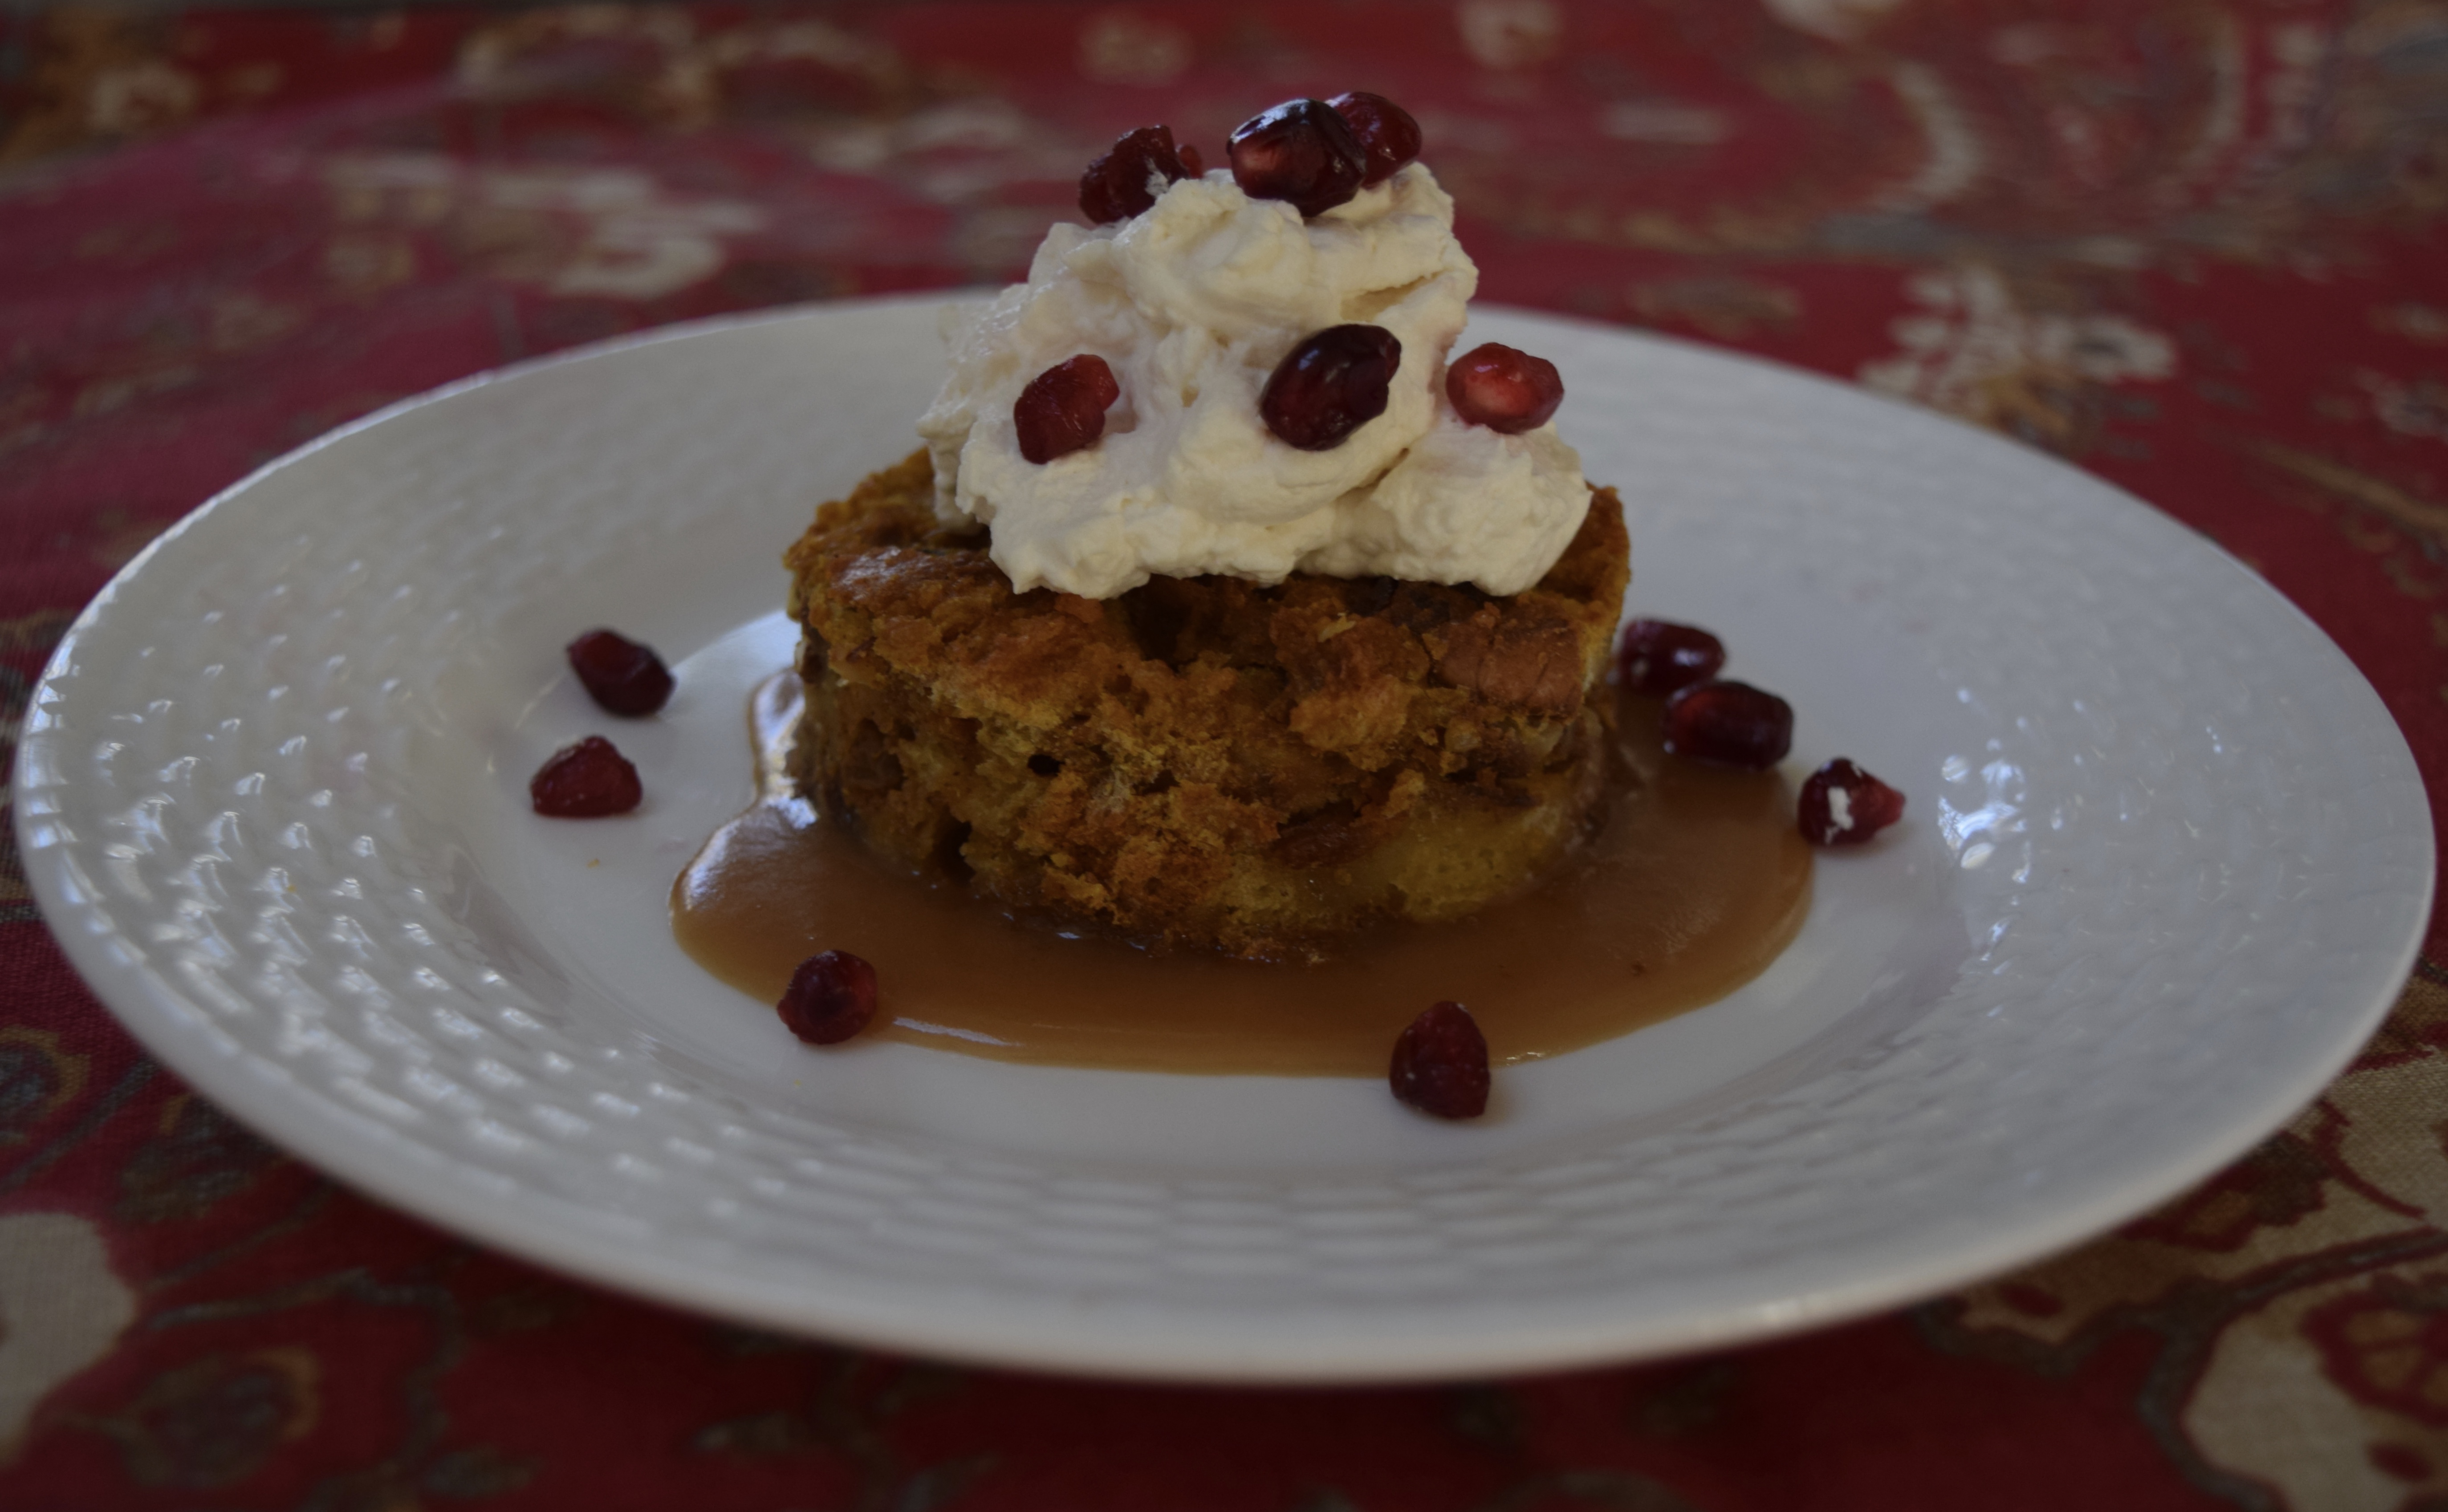
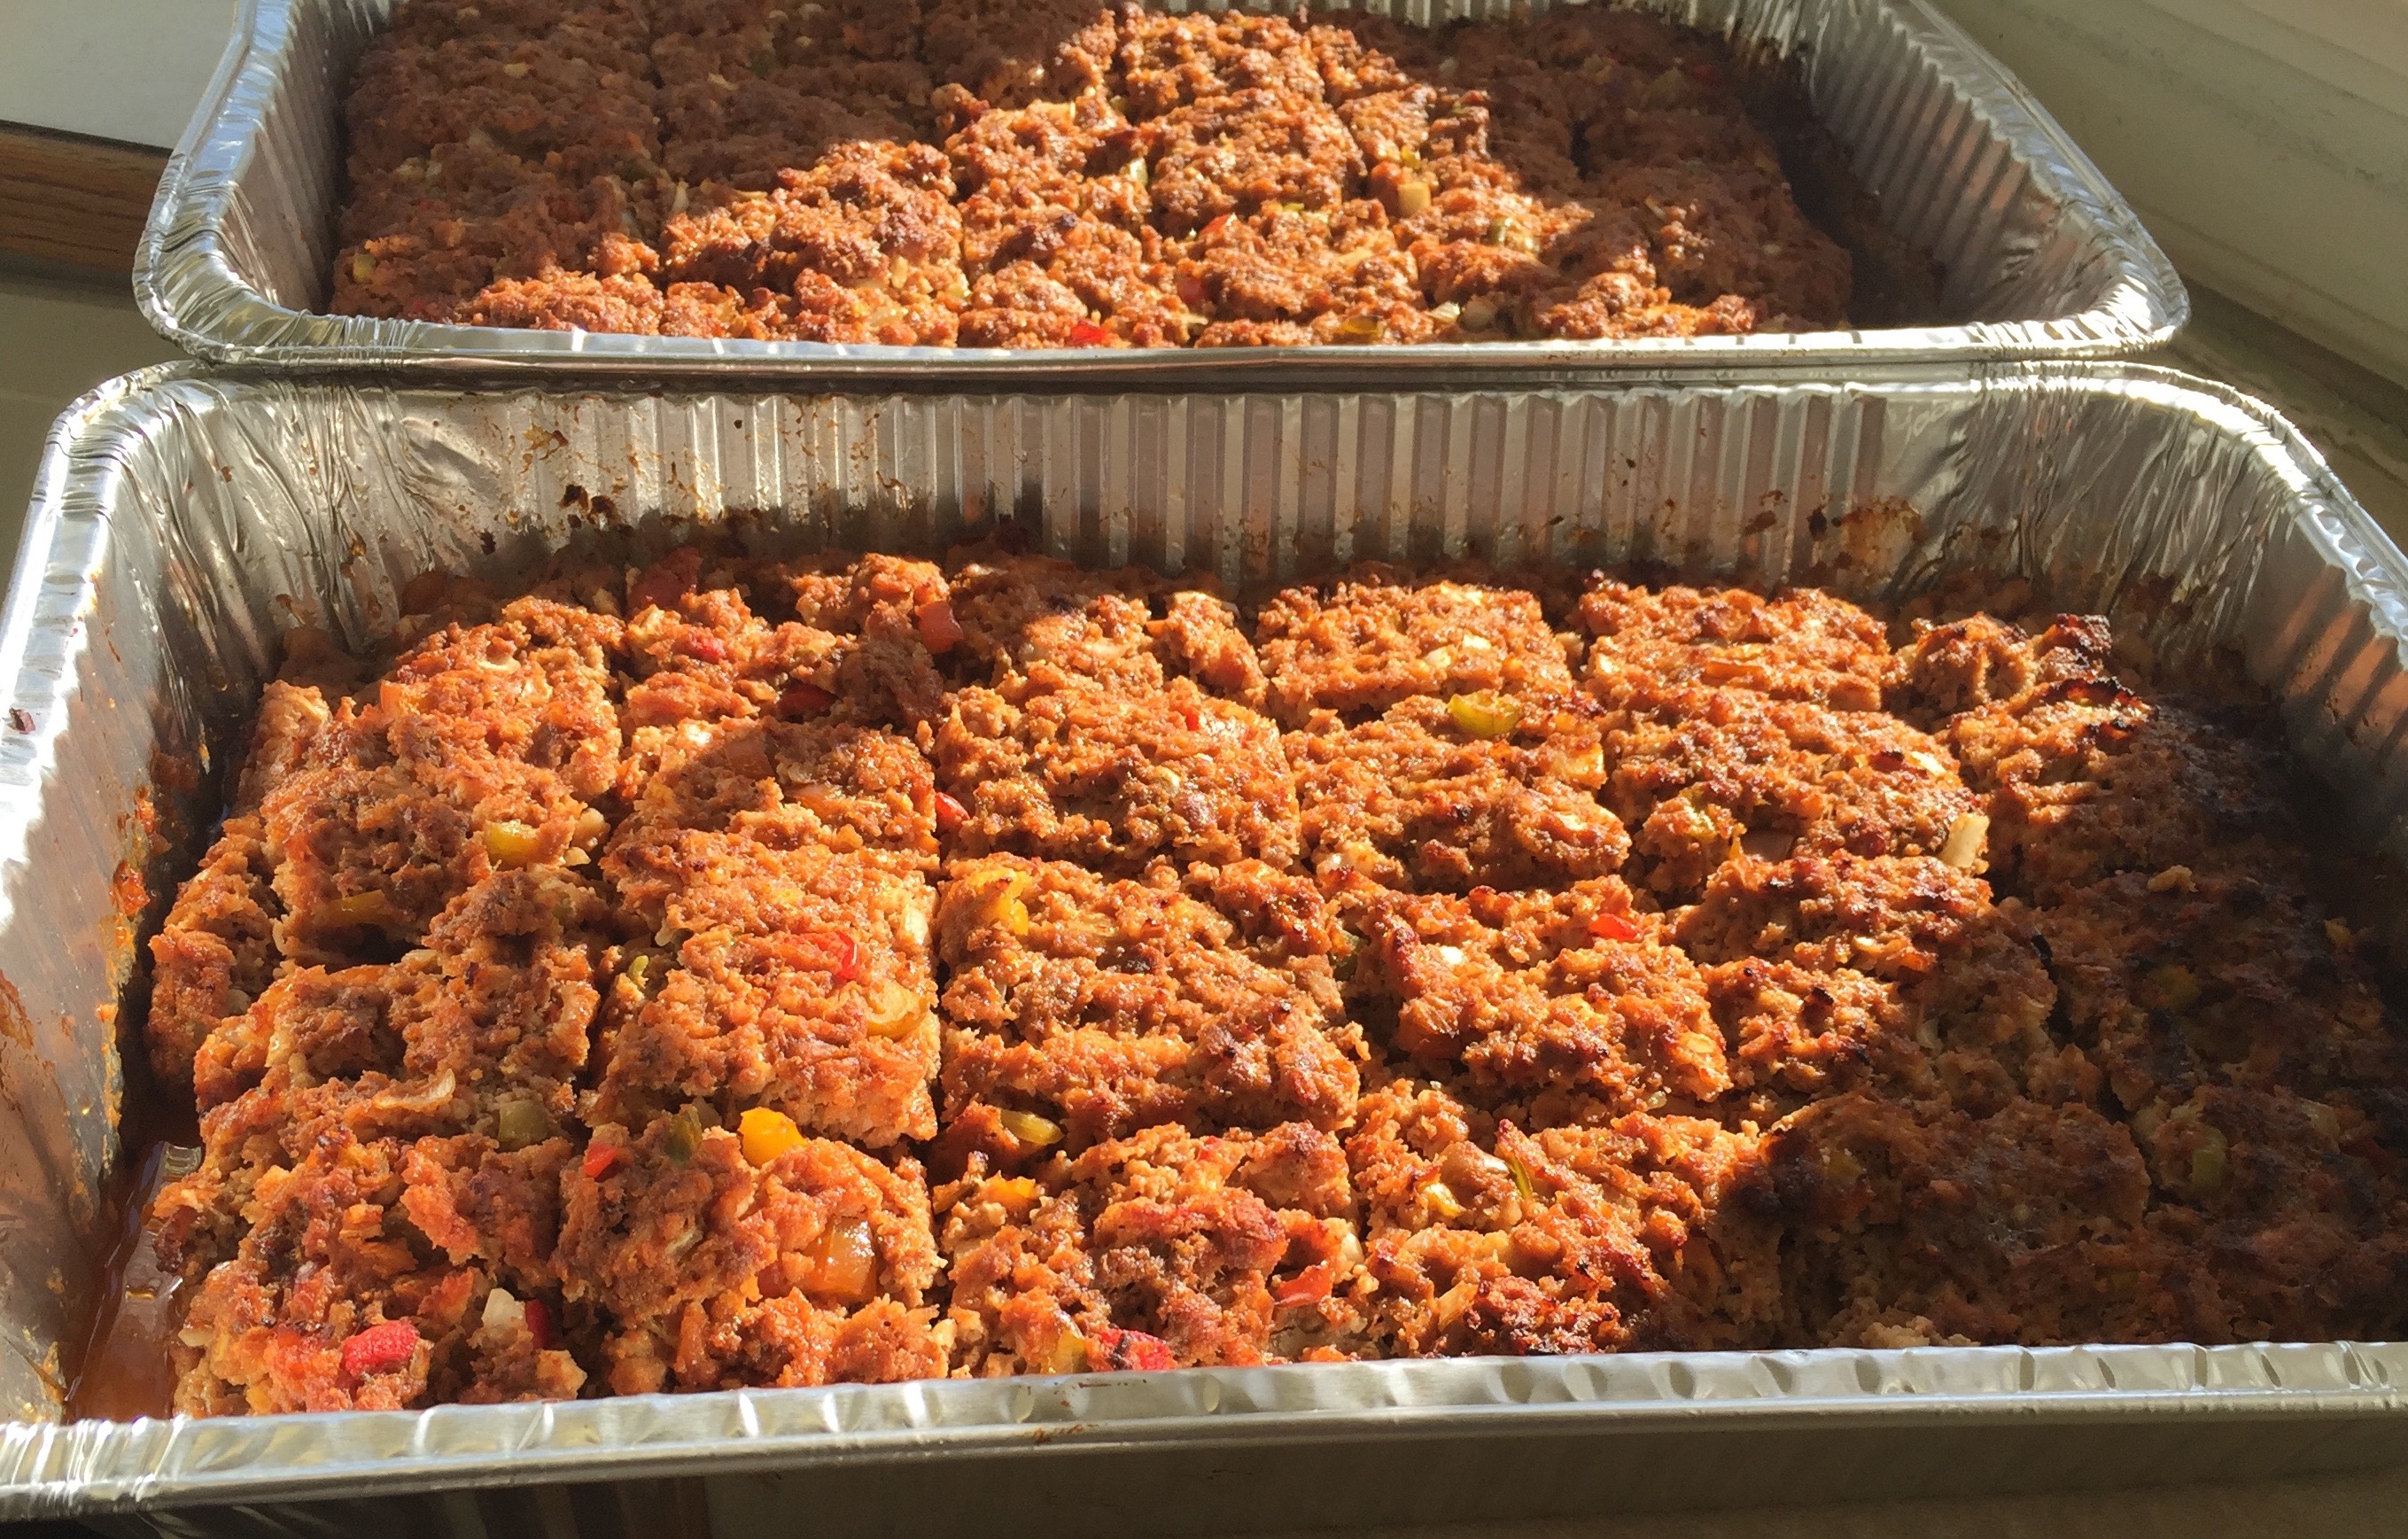
The title of the recipe on the website is Banana Bread Pudding, but you can substitute almost any fruit for the bananas. In addition to making it with pumpkin purée, I’ve made it with fresh-cut peaches, with chopped apples, and with mixed berries. They all work. I’ve made it to serve 12 people for a dinner party, 25 people for a summer cookout and 50 students for a school gathering. I’ve served bread pudding with a simple vanilla glaze drizzled over the top of cut squares, and I’ve served it all dolled up with caramel sauce and whipped cream for a special family dinner. You can’t go wrong with this dessert once you get comfortable making it.
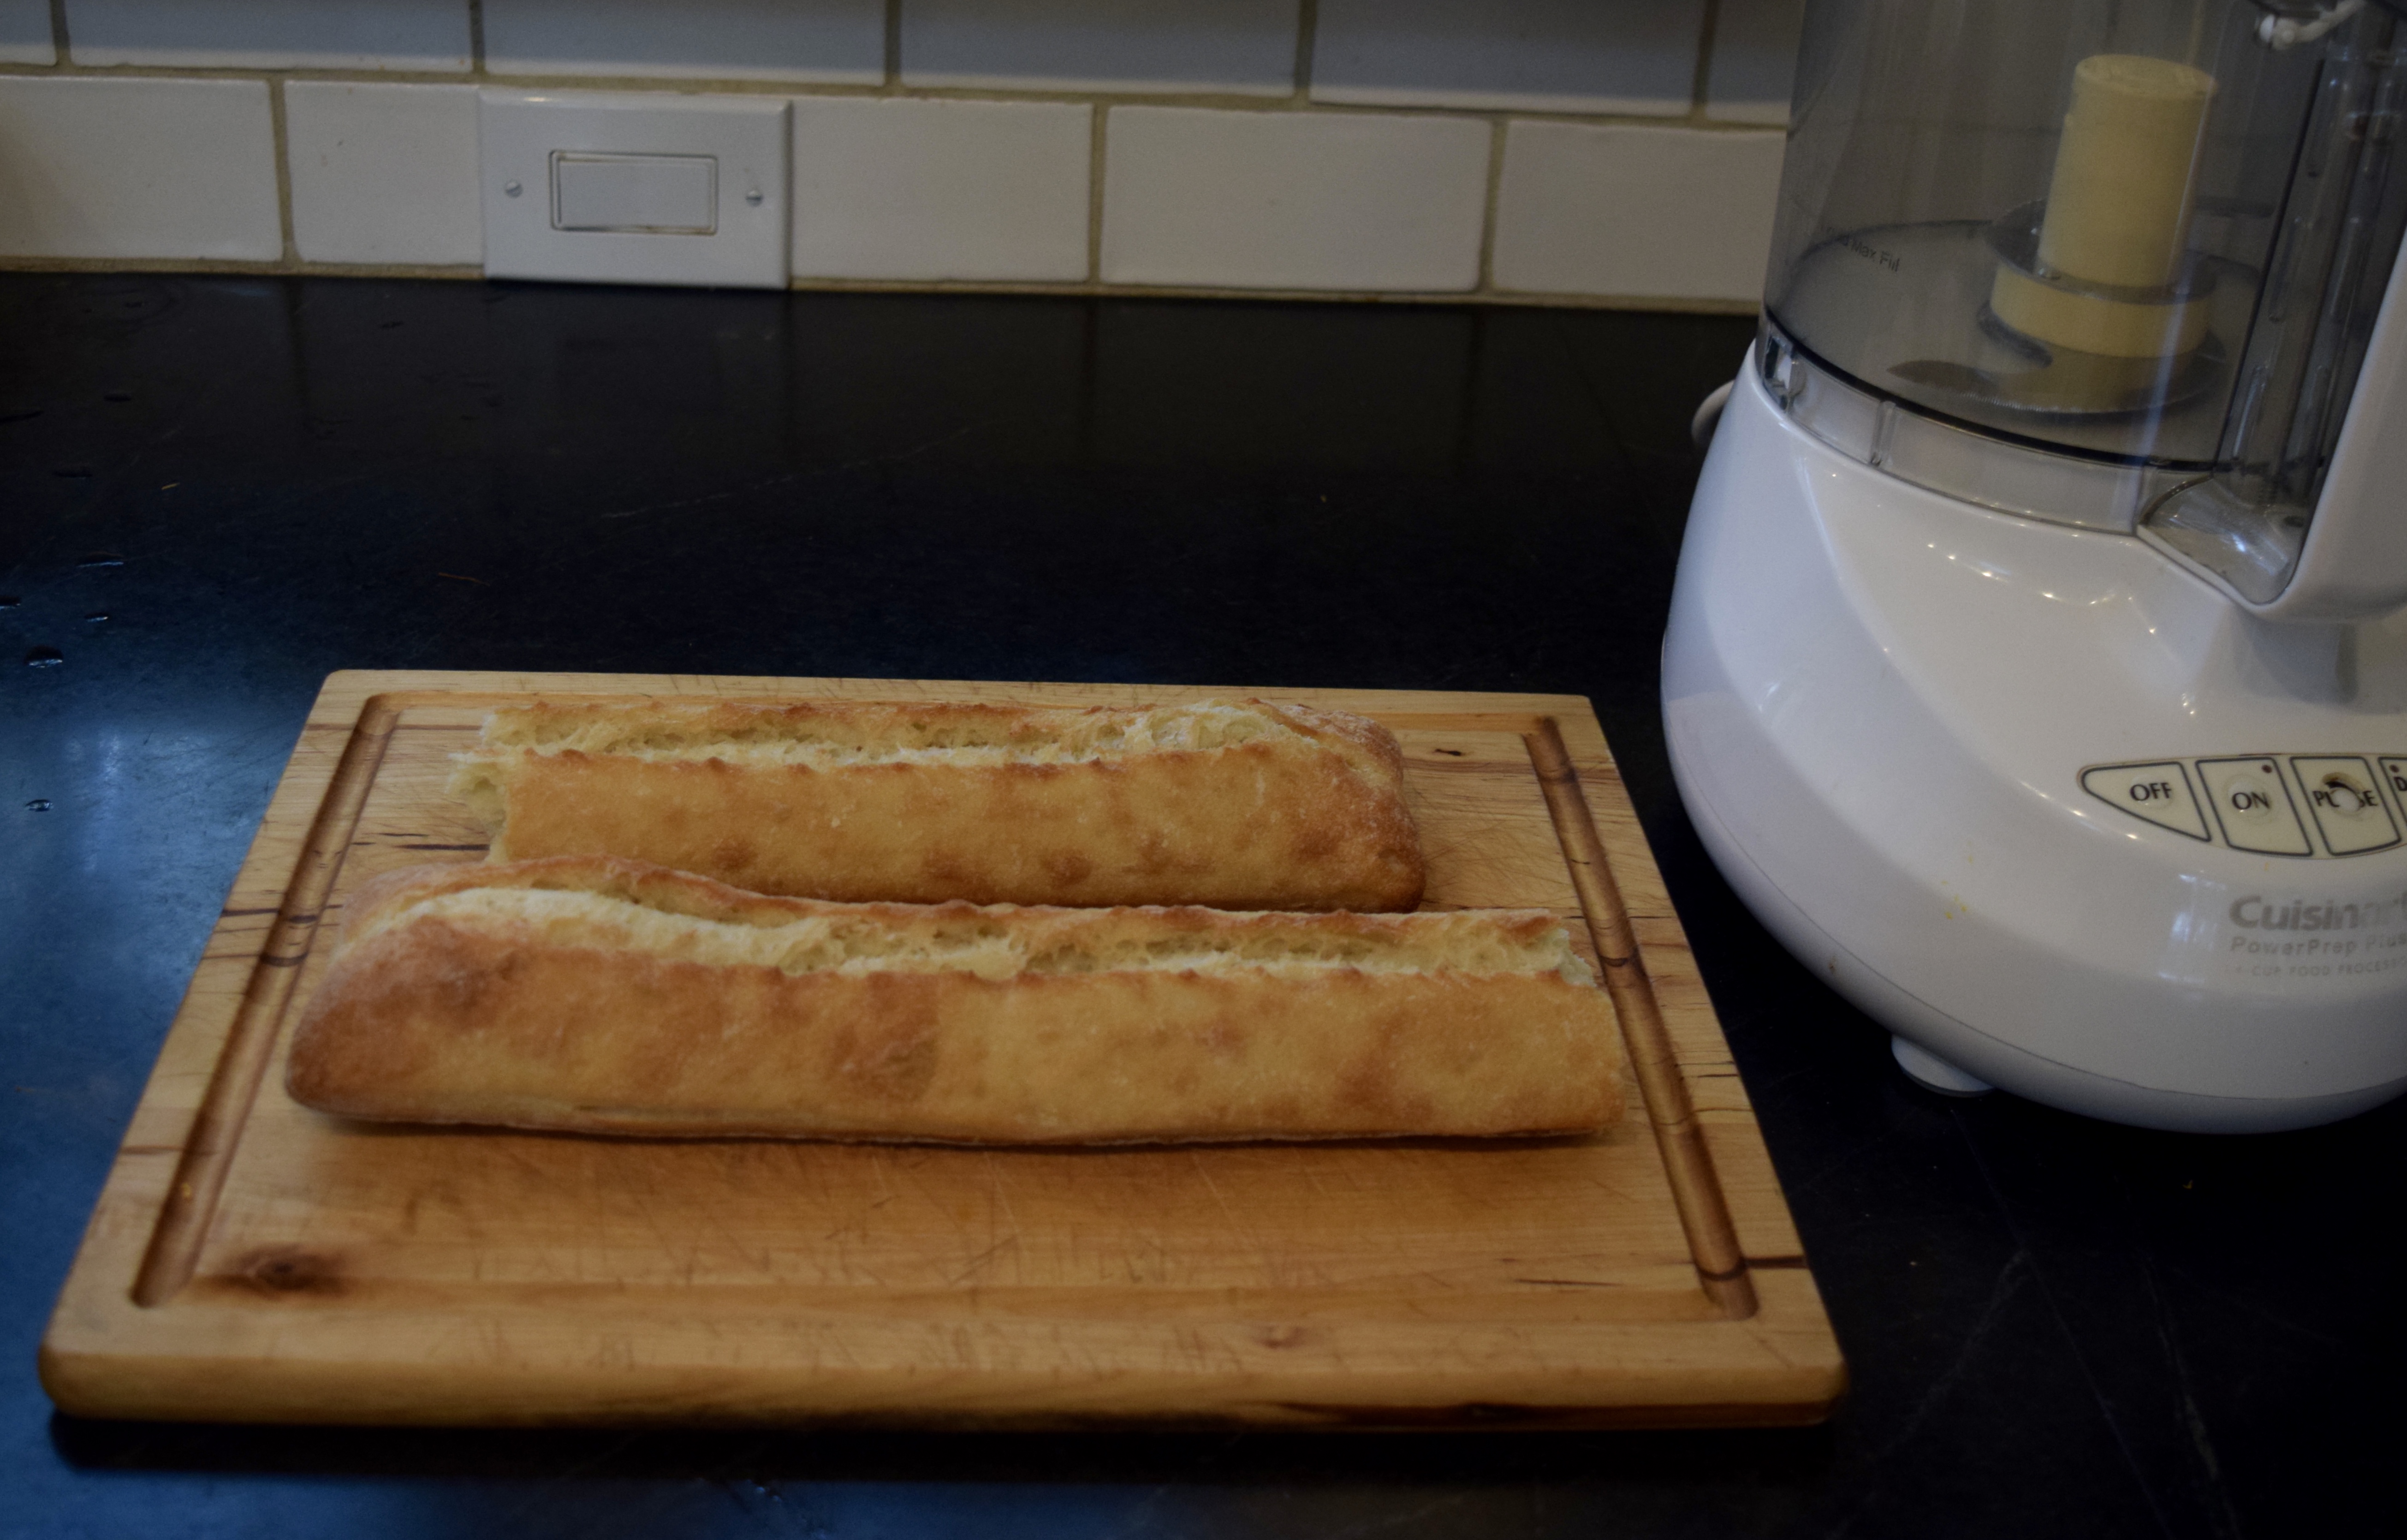
A note on bread choices. Some people like to use sweet bread like stale croissants or challah, but I prefer a more chewy texture, so I use a crusty white bread. I would stay away from soft “Italian” loaves like this one from a local grocery store:

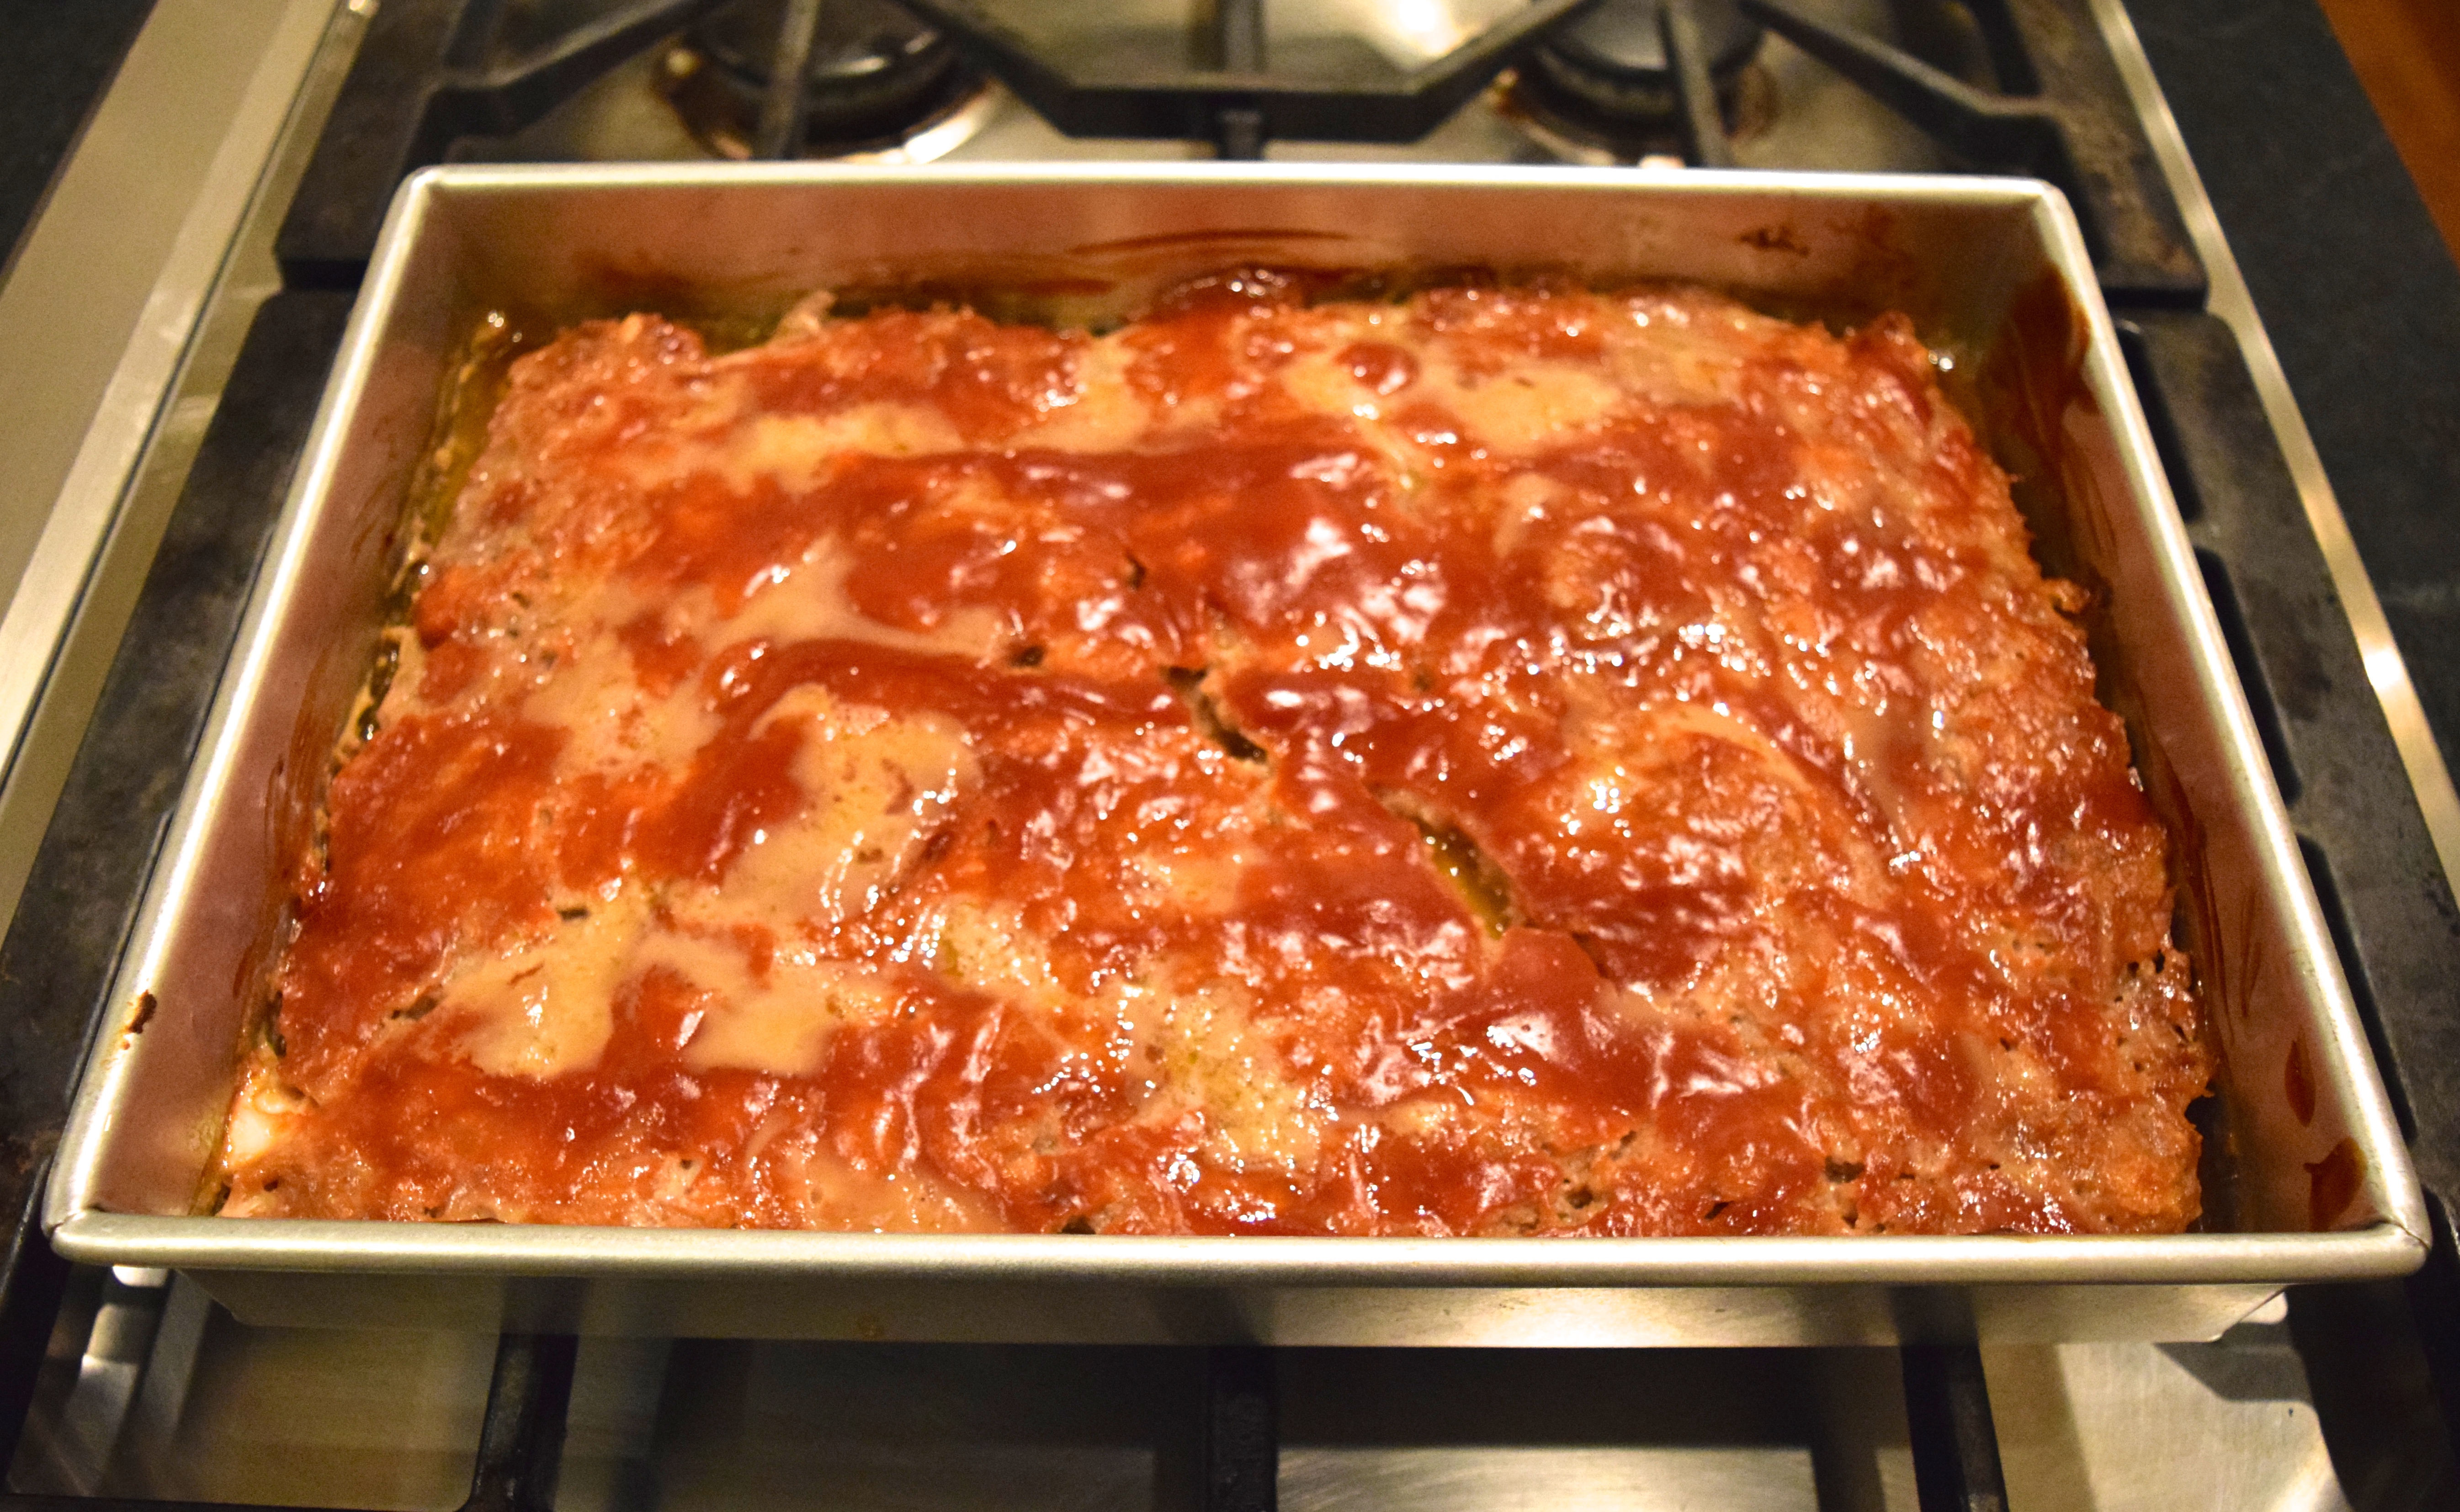
It looked to be a crusty Italian loaf, but it was very soft,and light and the bread pudding I made with it looked soupy before I cooked it. Once baked, it was flat and rubbery. I fed it to the chickens.
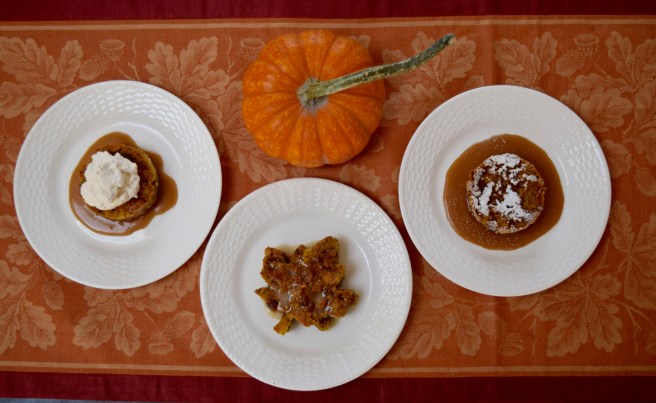
At the end of this recipe, I have provided recipes for three different toppings for your bread pudding: Vanilla Glaze, Caramel Sauce, and Homemade Whipped Cream
Yield: Serves 12-15
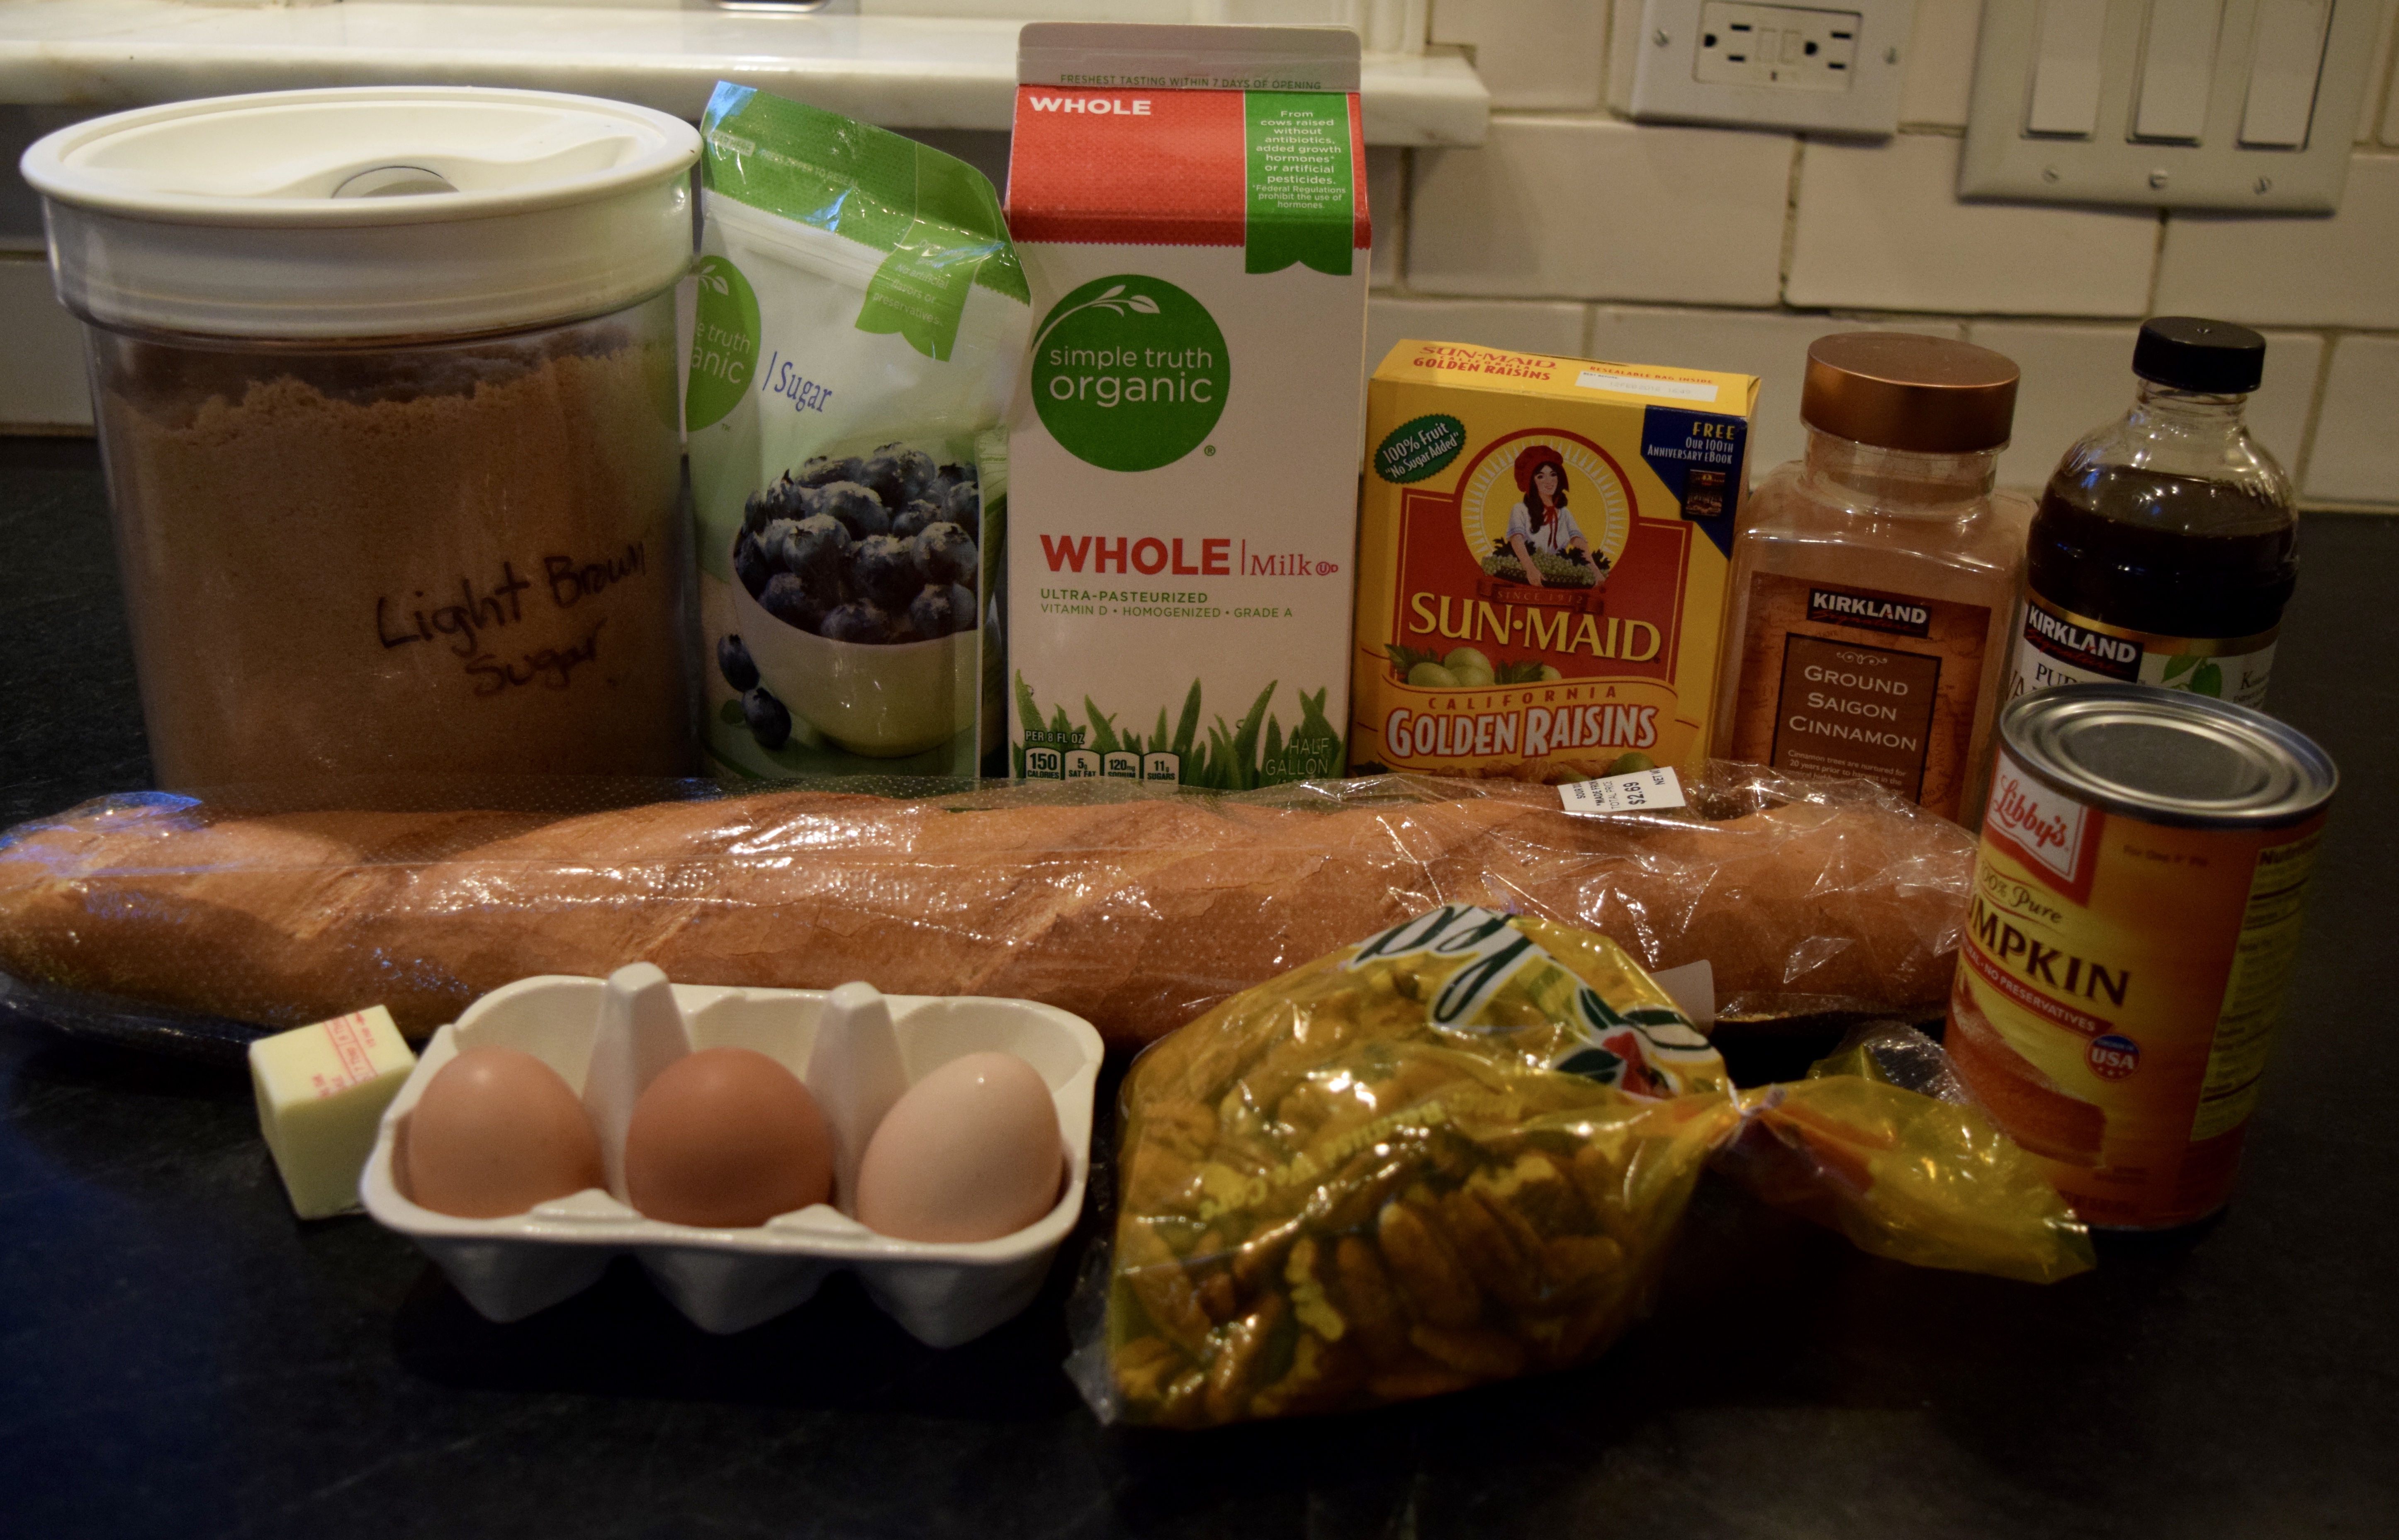
Ingredients:
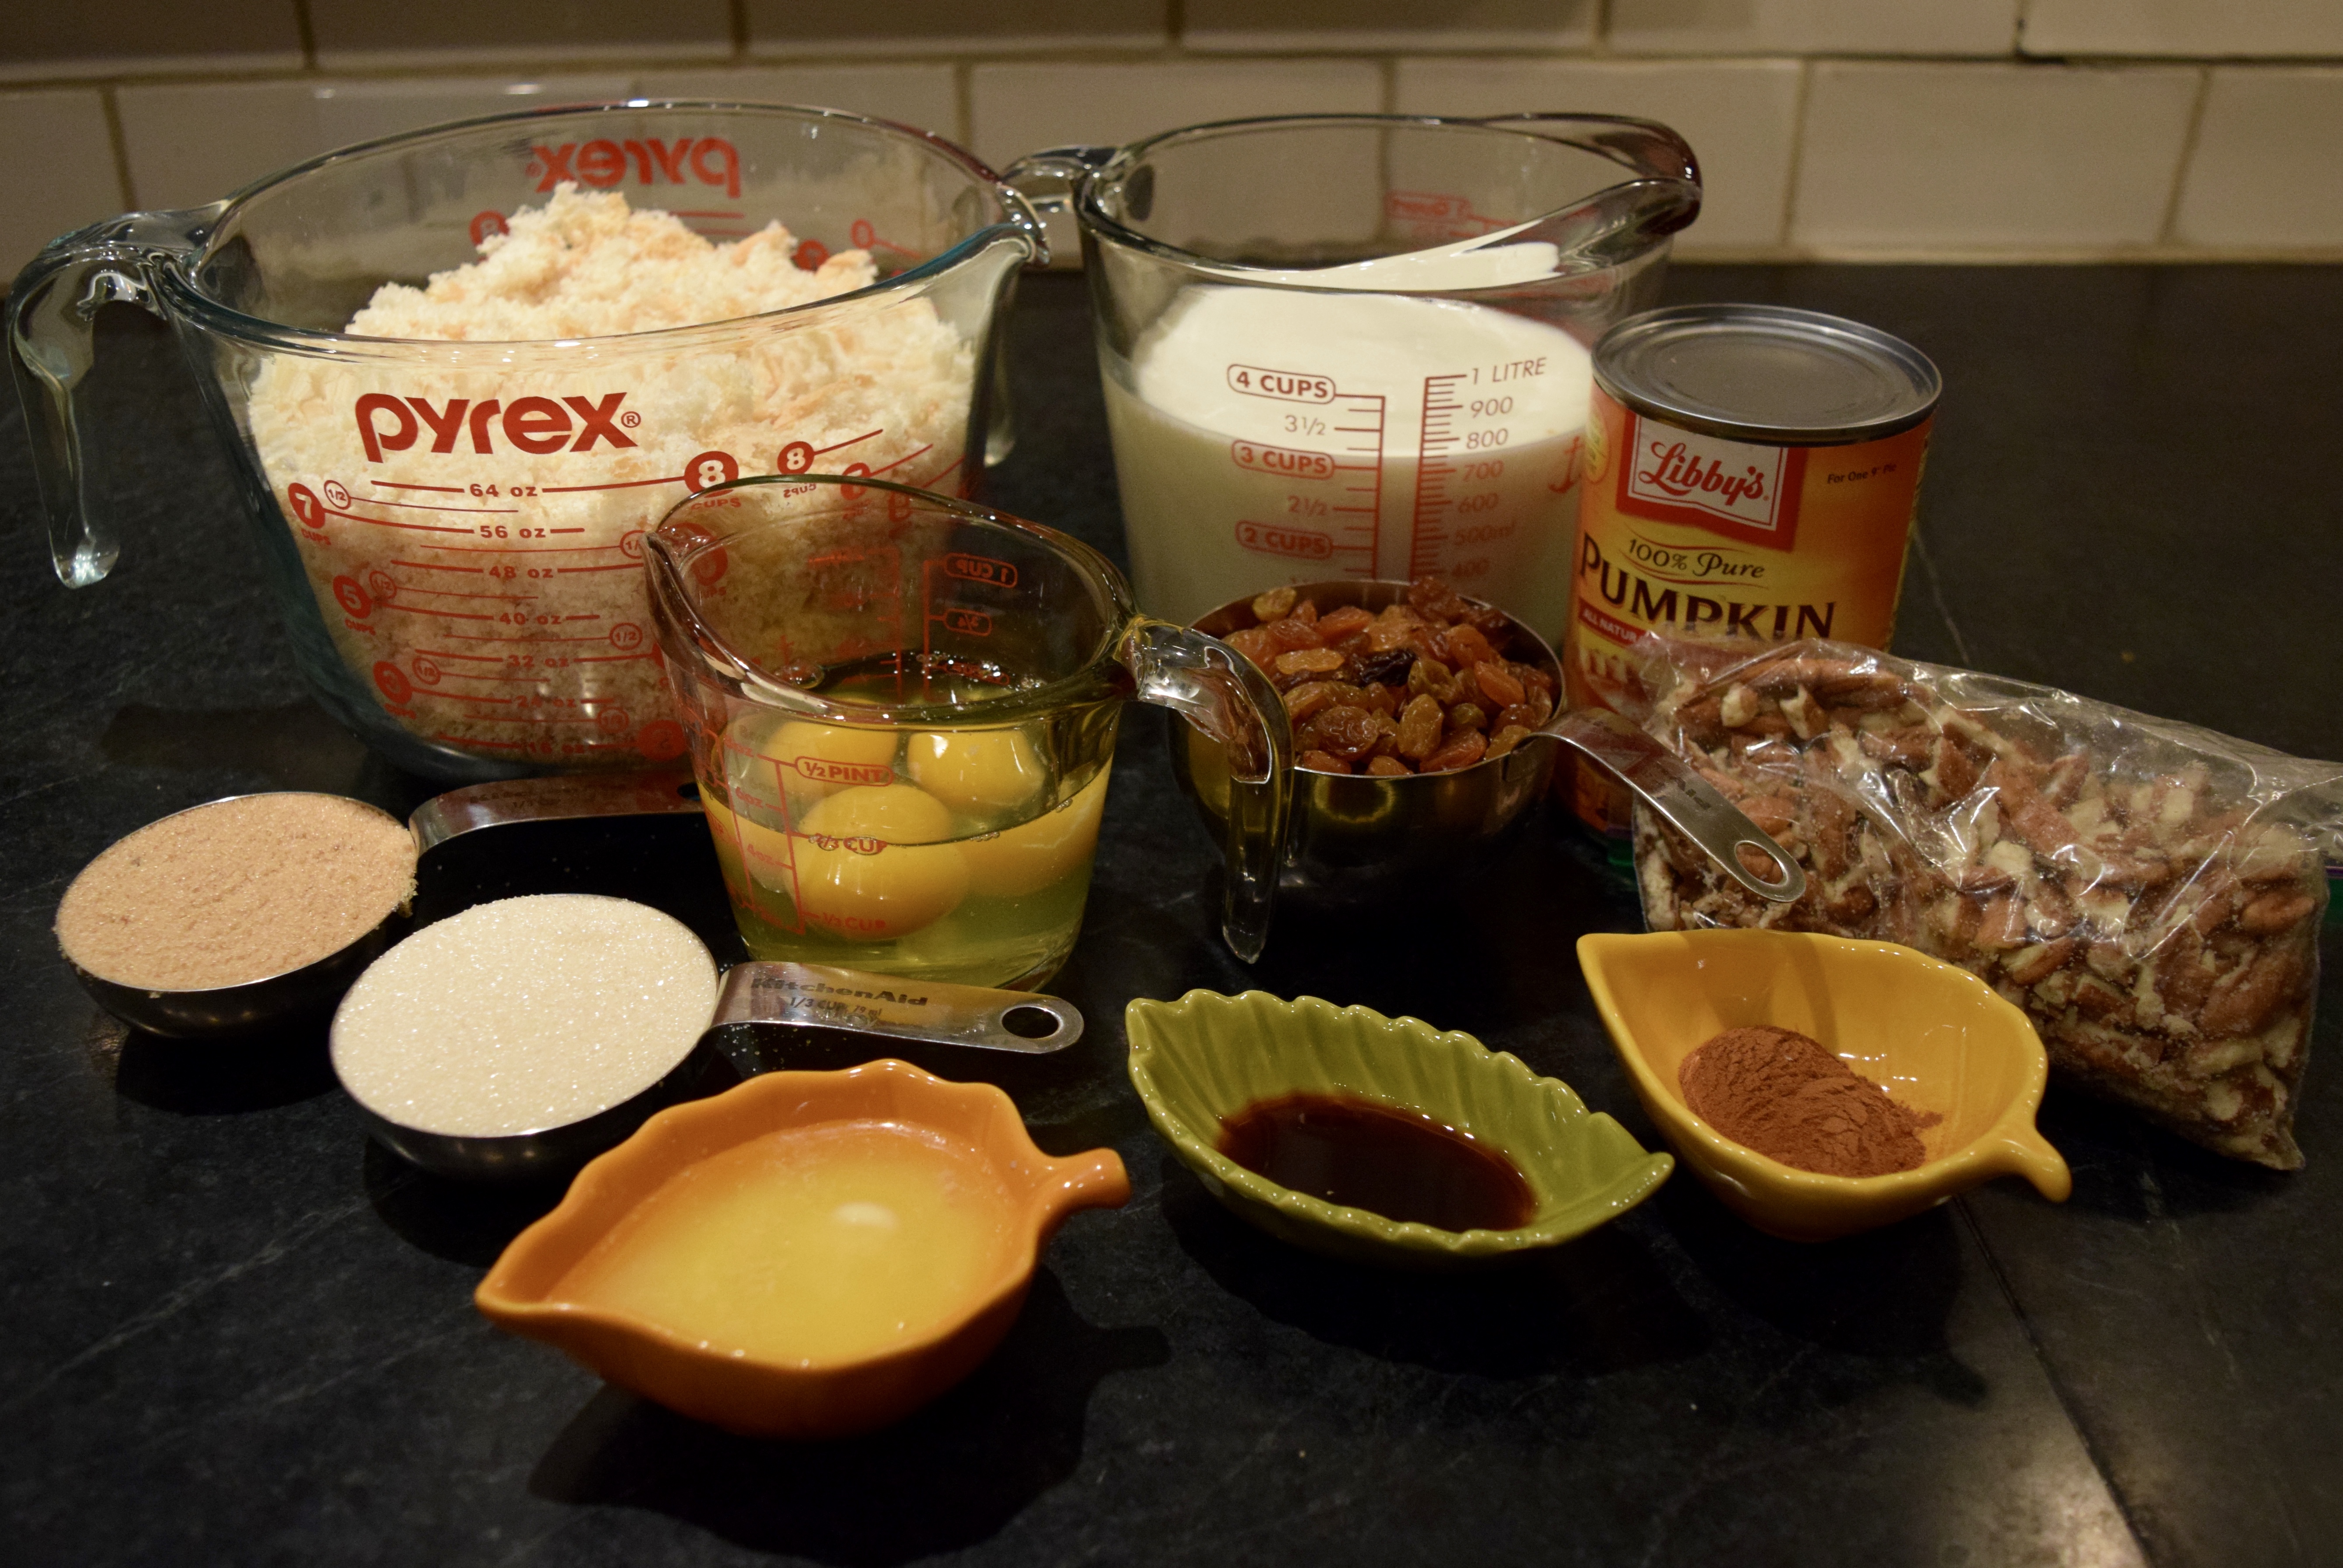
Mise en Place:
8-9 cups crusty, stale bread, roughly chopped or cubed into 1-inch squares
3 large eggs
2½ cups whole milk, at room temperature
½ cup granulated sugar
½ cup brown sugar
2 tablespoons butter, melted
2 teaspoons vanilla extract
2 teaspoons ground cinnamon
1¾ cups pumpkin purée (one 15 oz can or purée from a small pie pumpkin)
1 cup golden raisins
1 cup pecans, roughly chopped
Directions:
Preheat oven to 350º.
Butter a 9 x 12-inch baking pan or a similarly sized ceramic casserole dish.
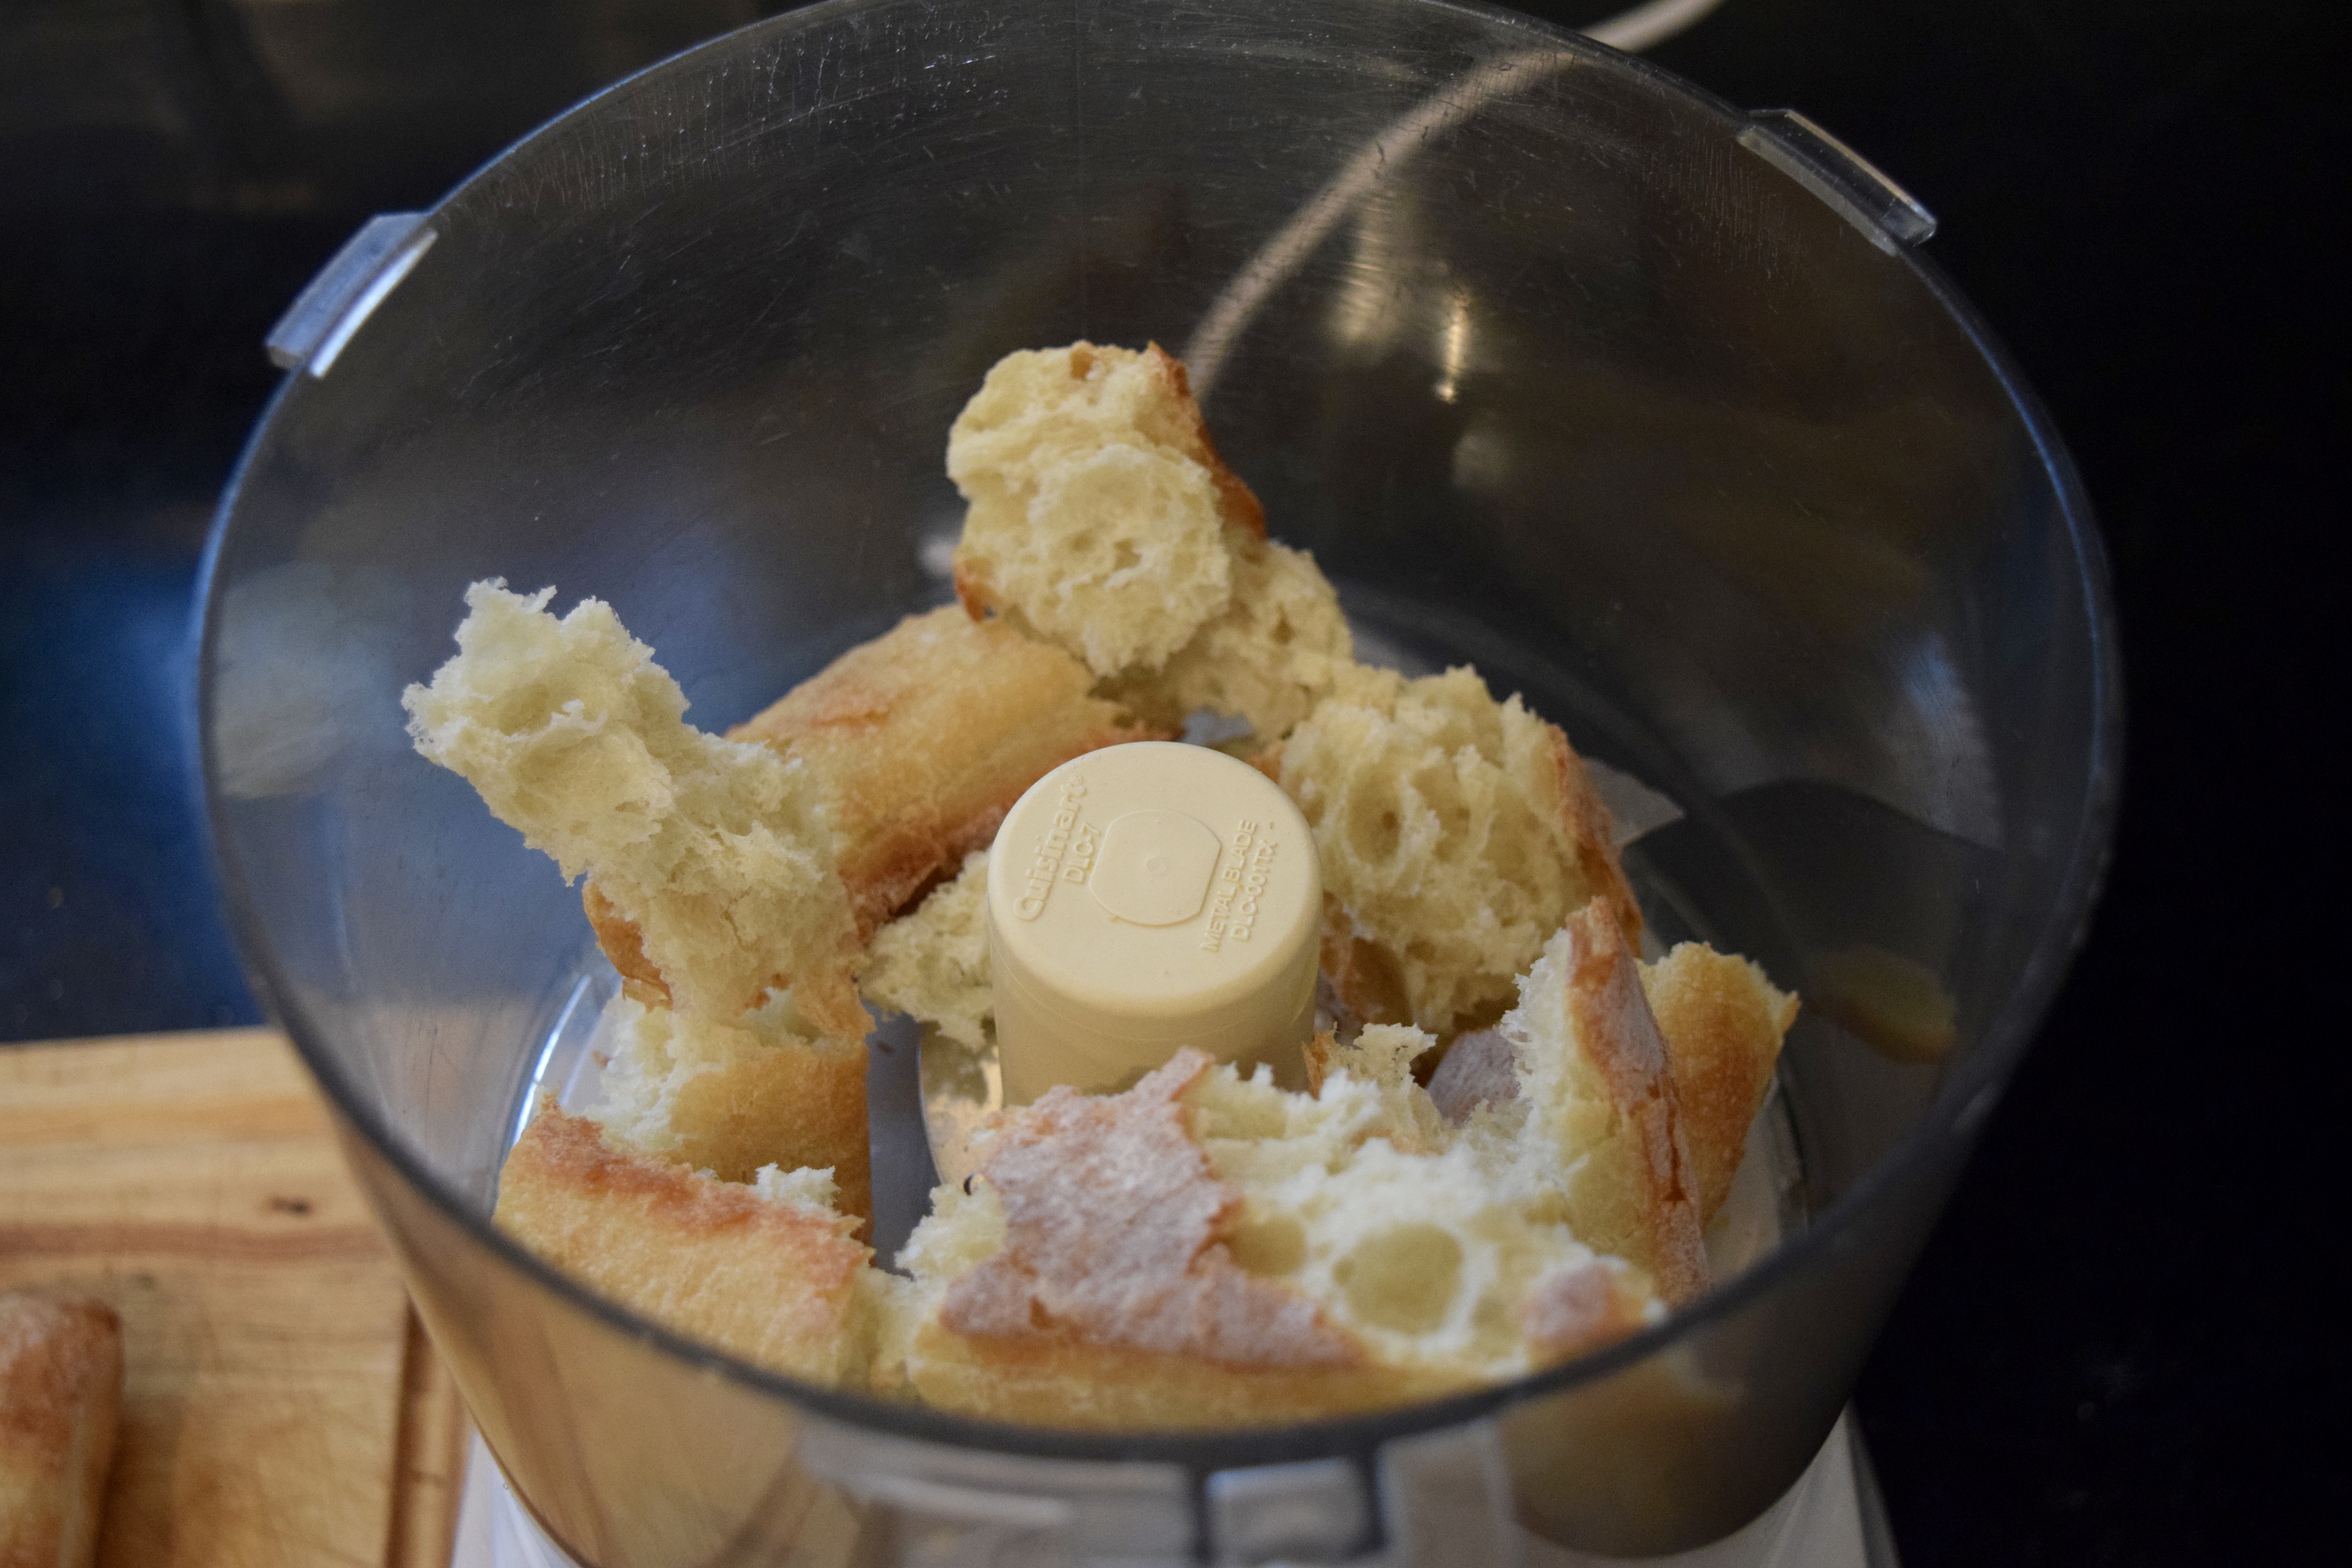
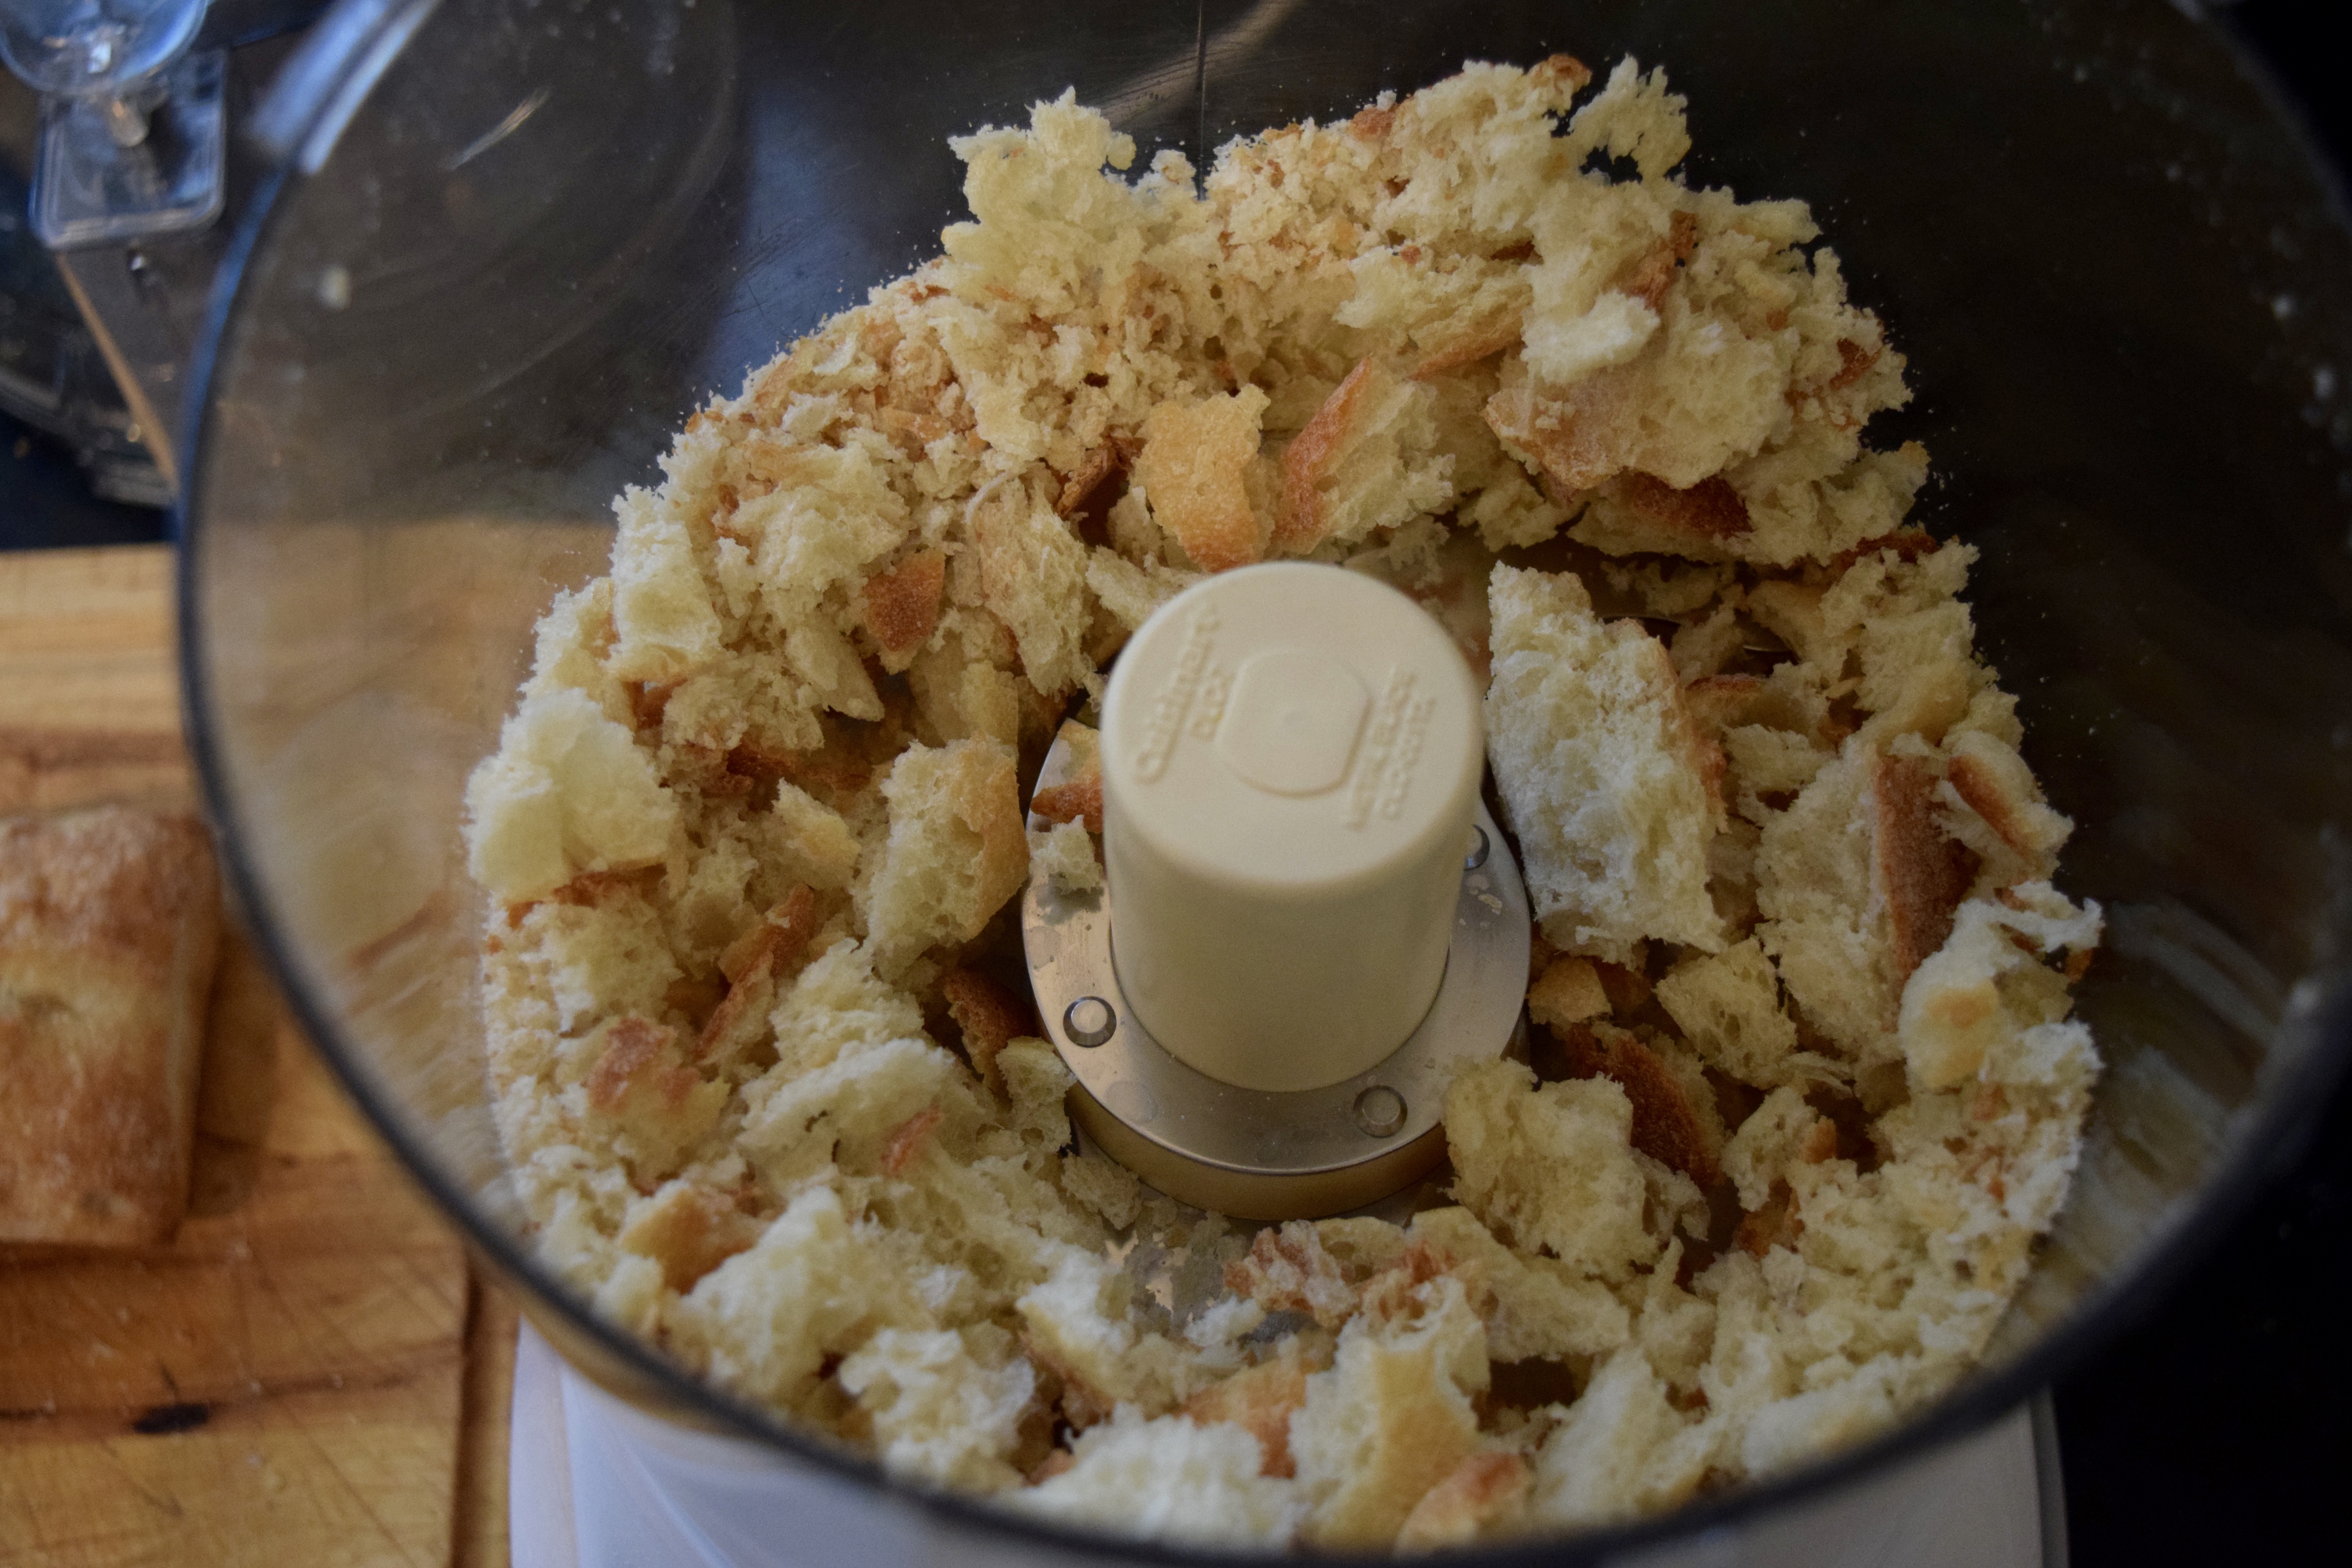
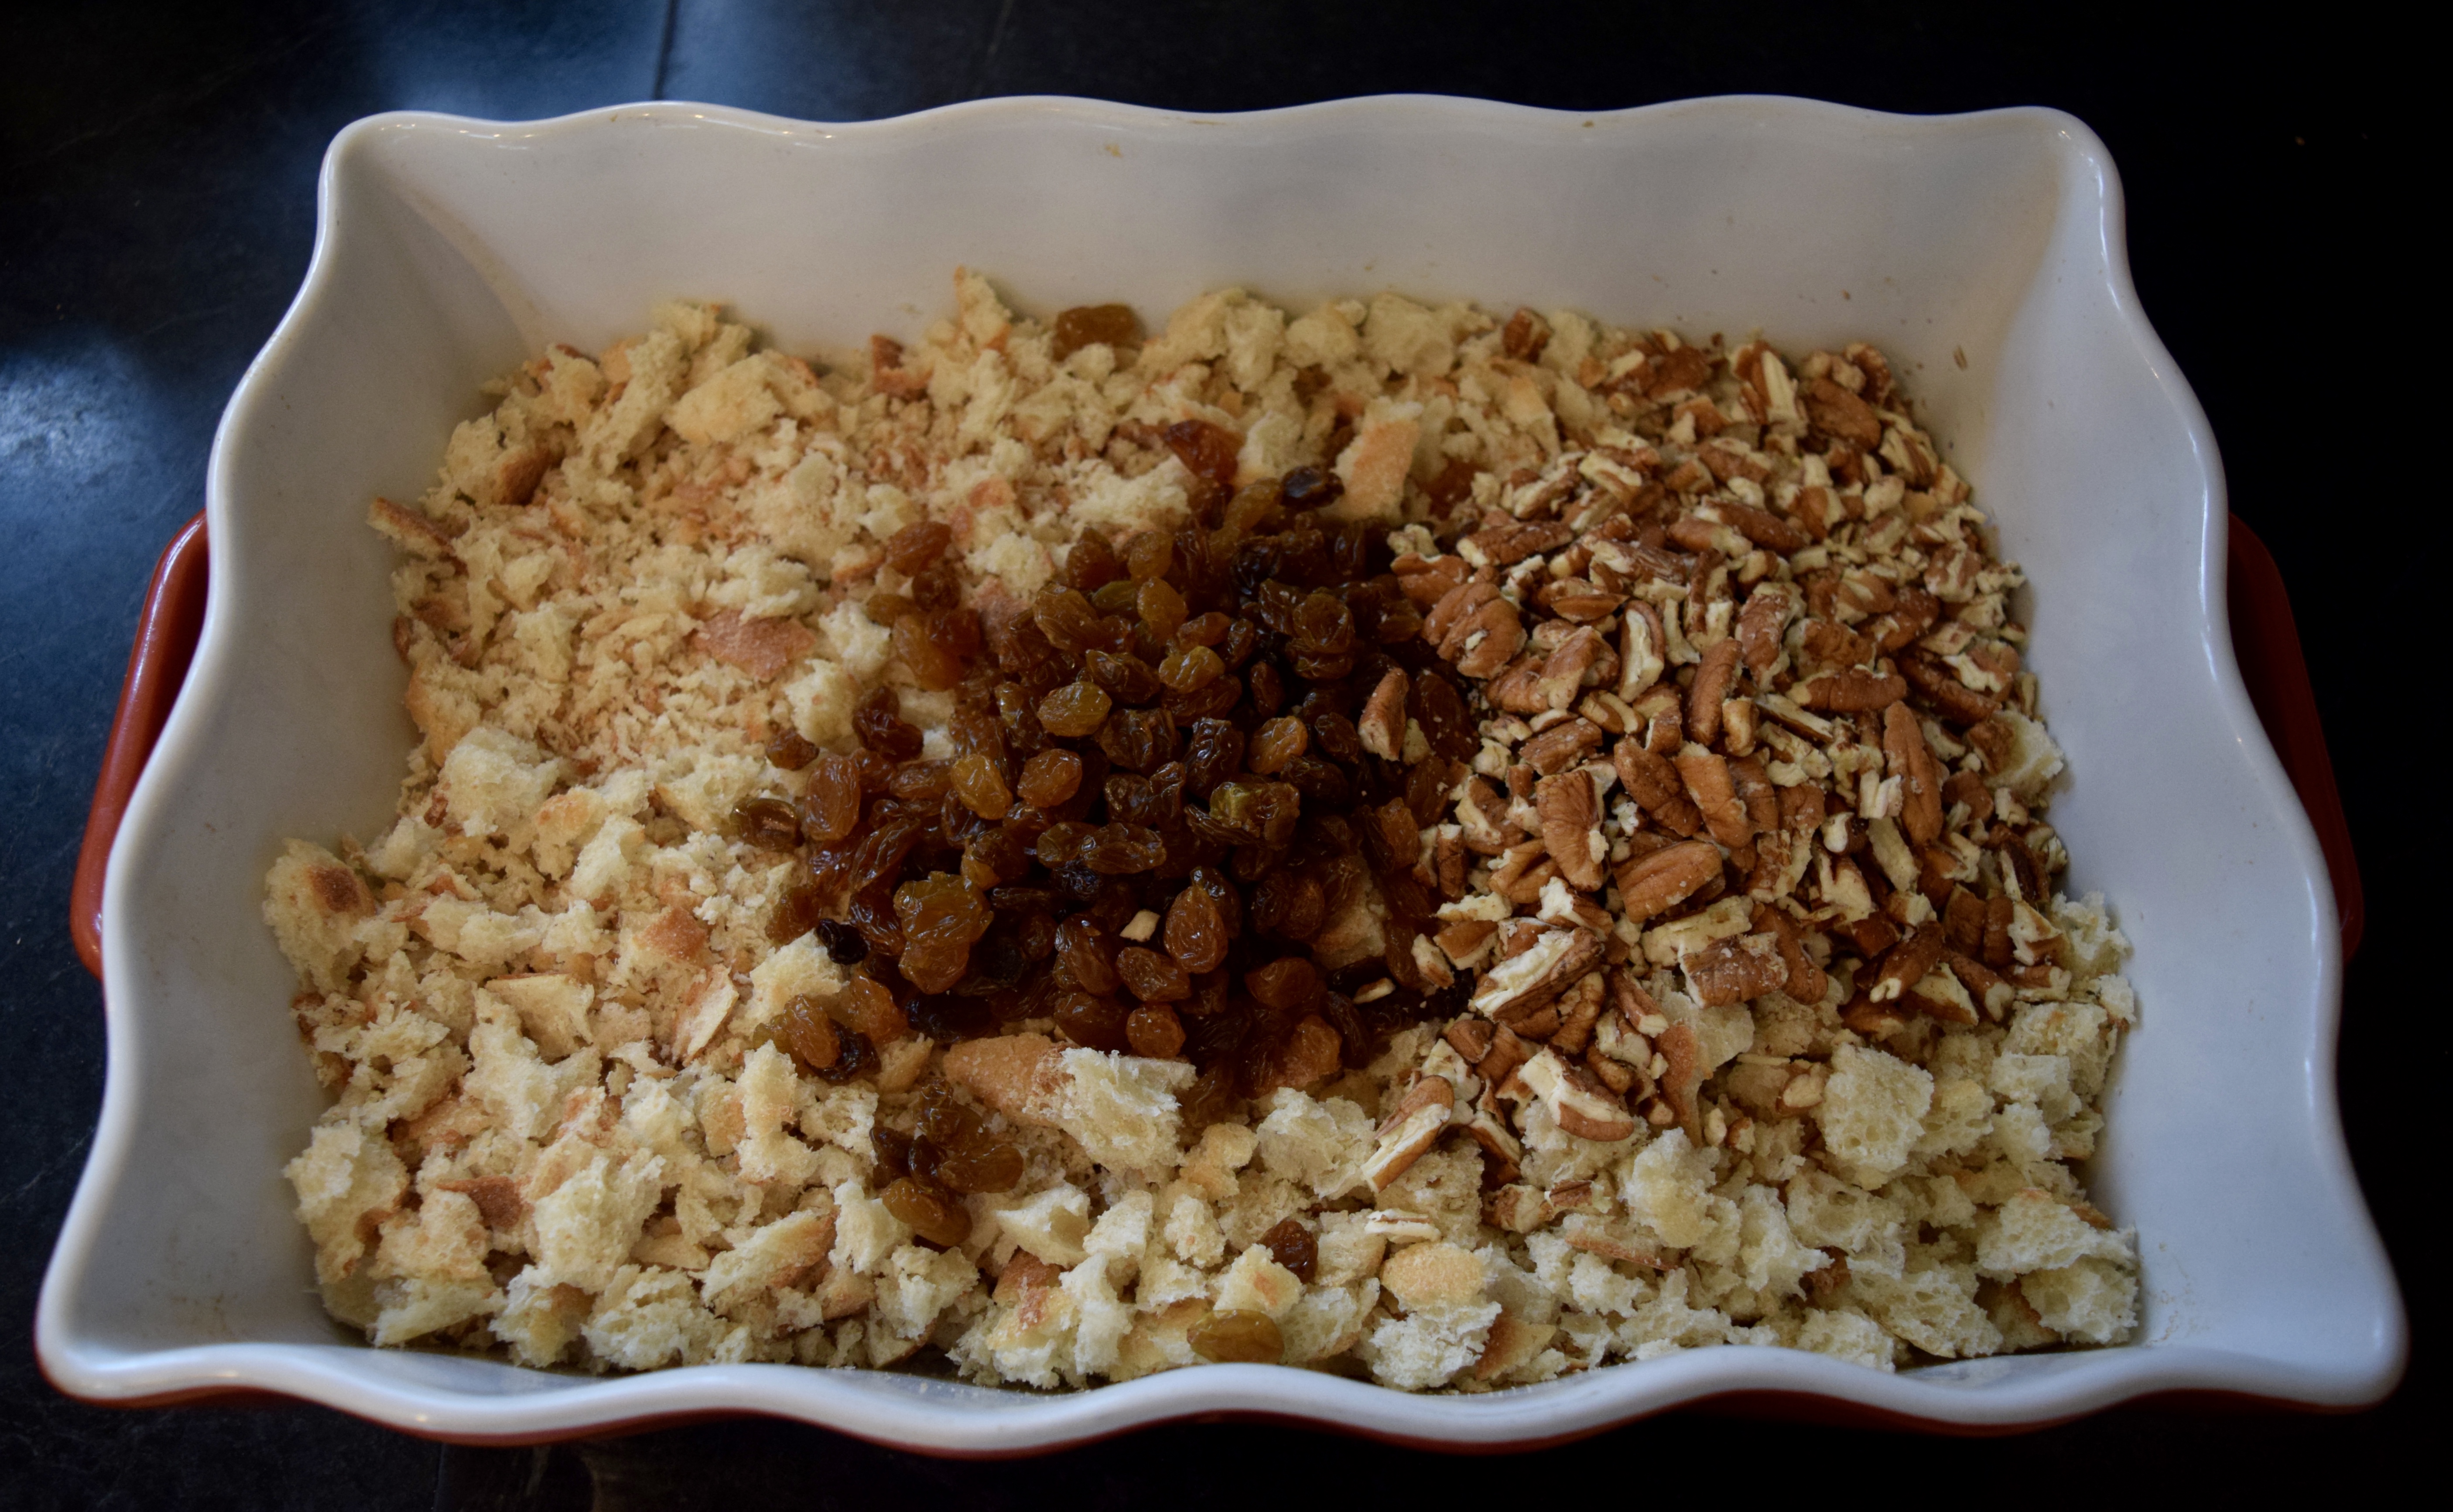
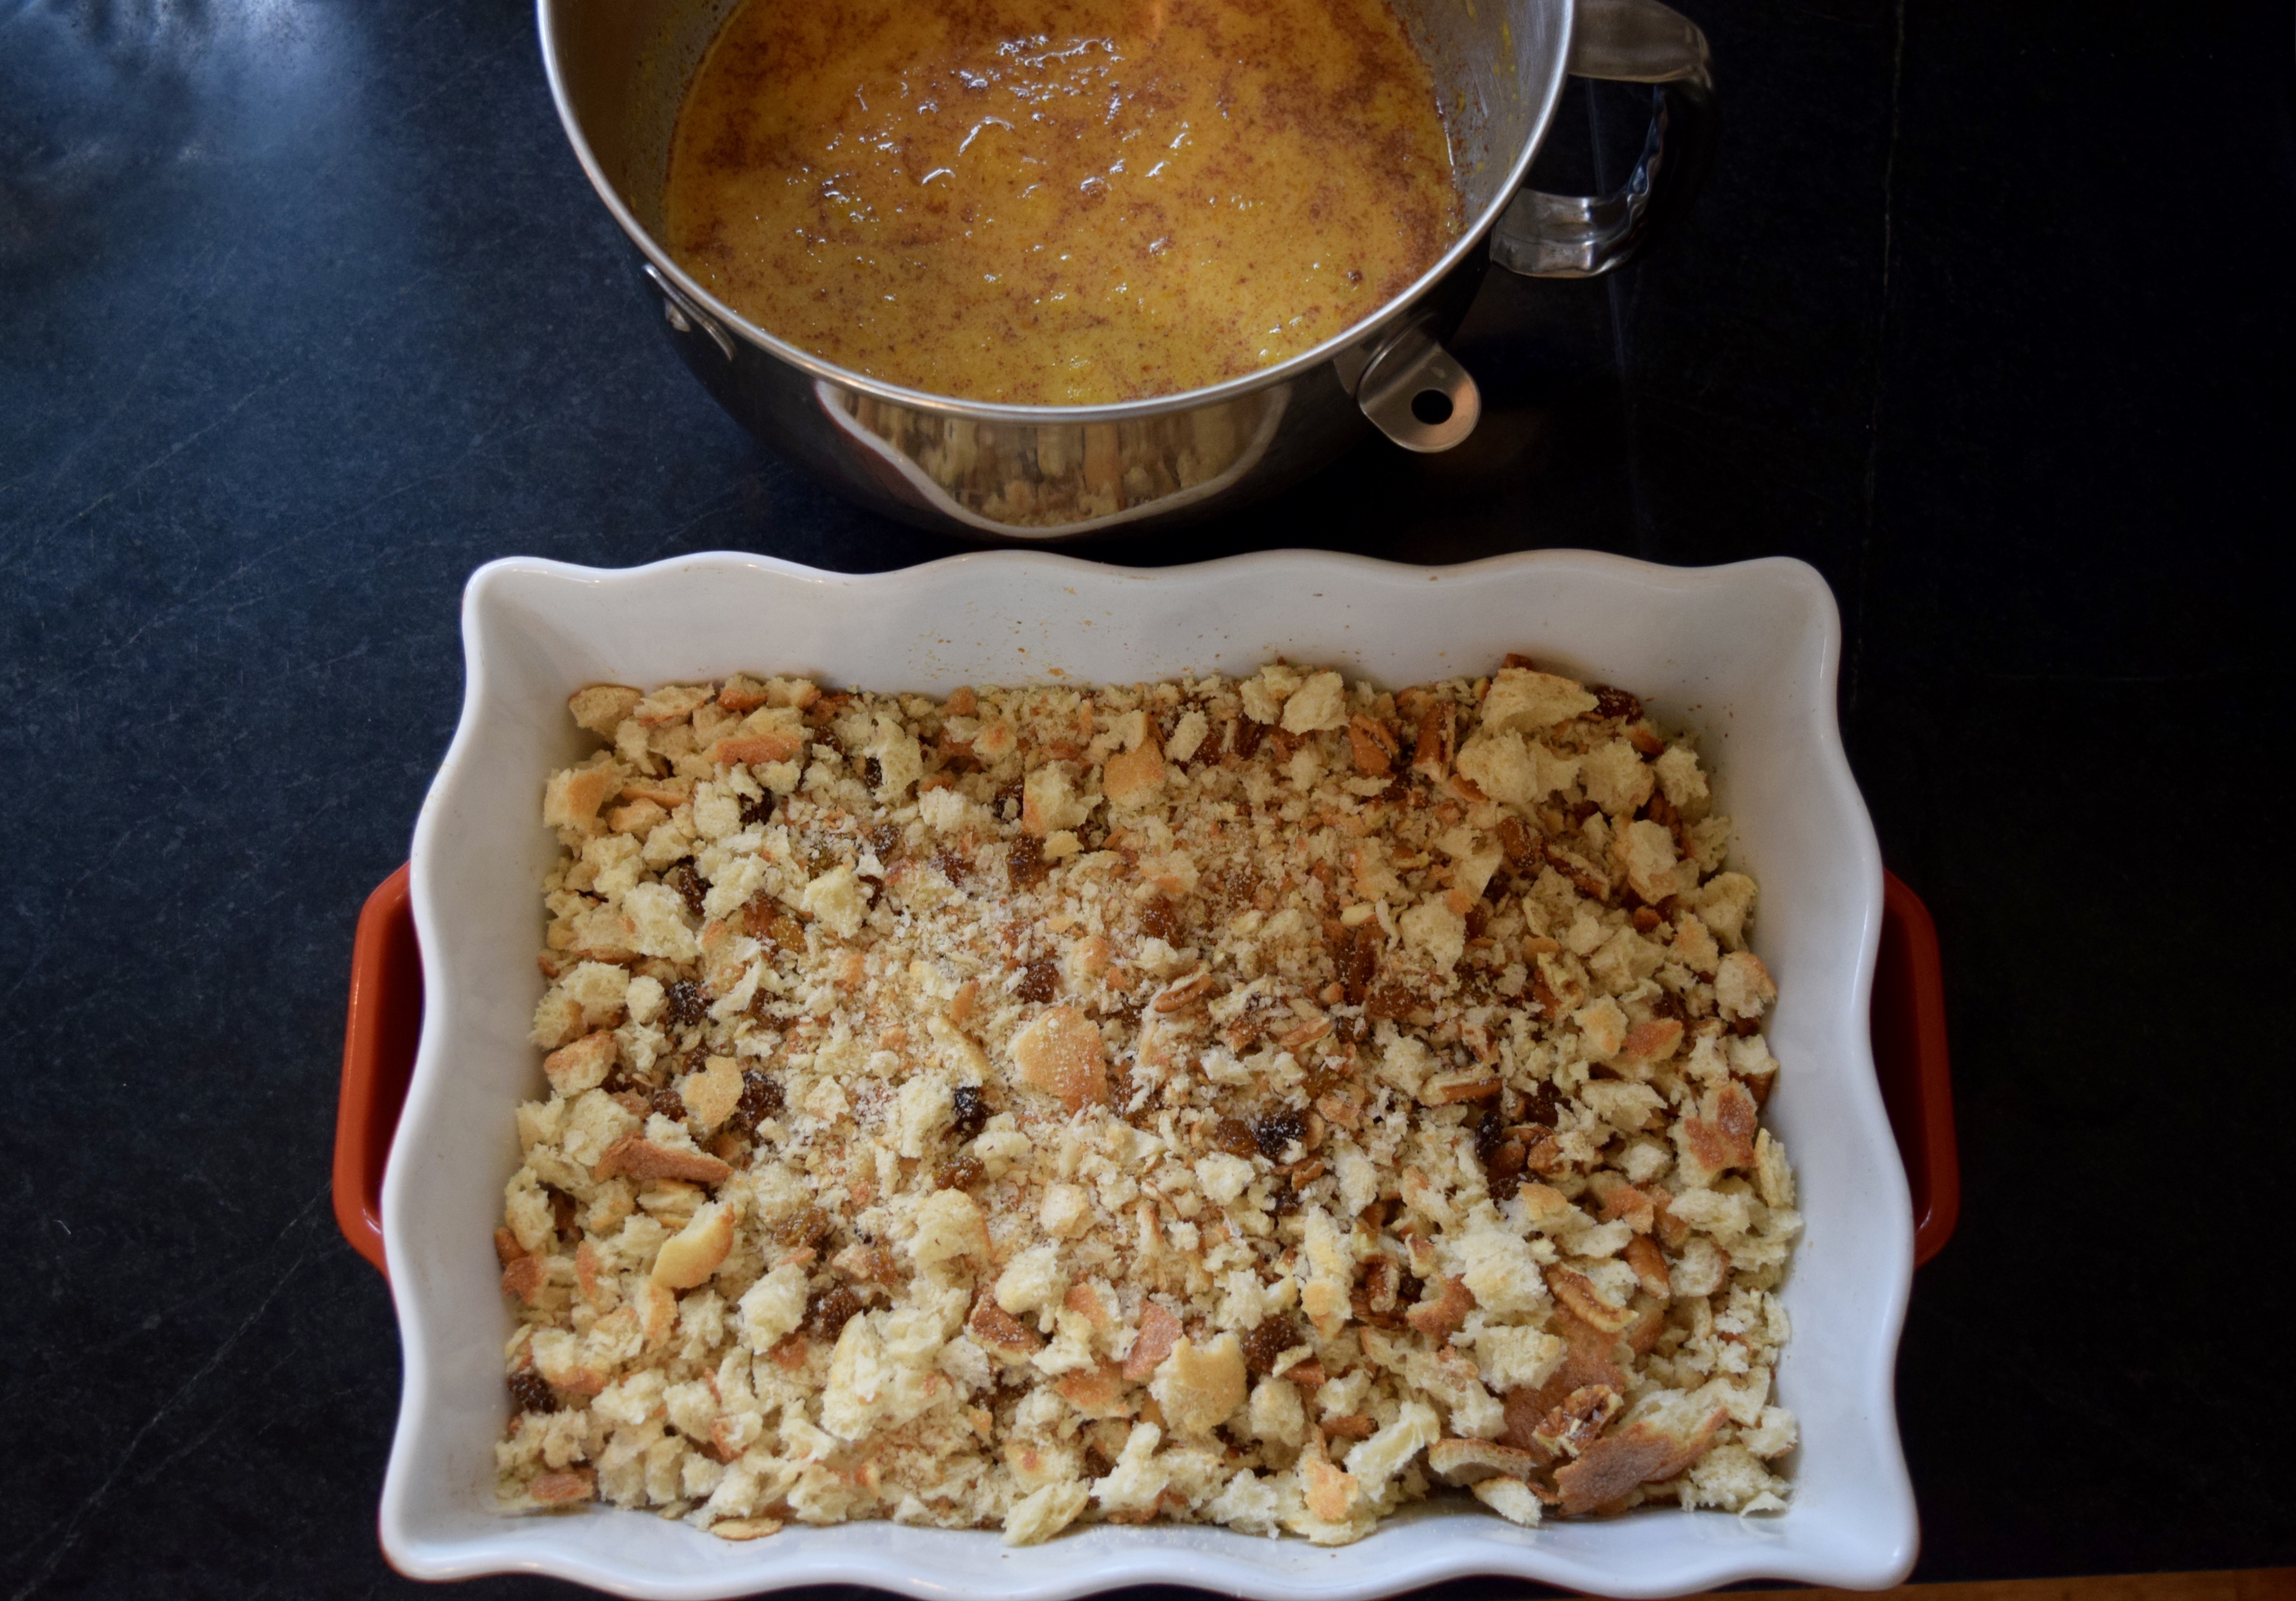
Prepare bread crumbs and arrange in baking pan.
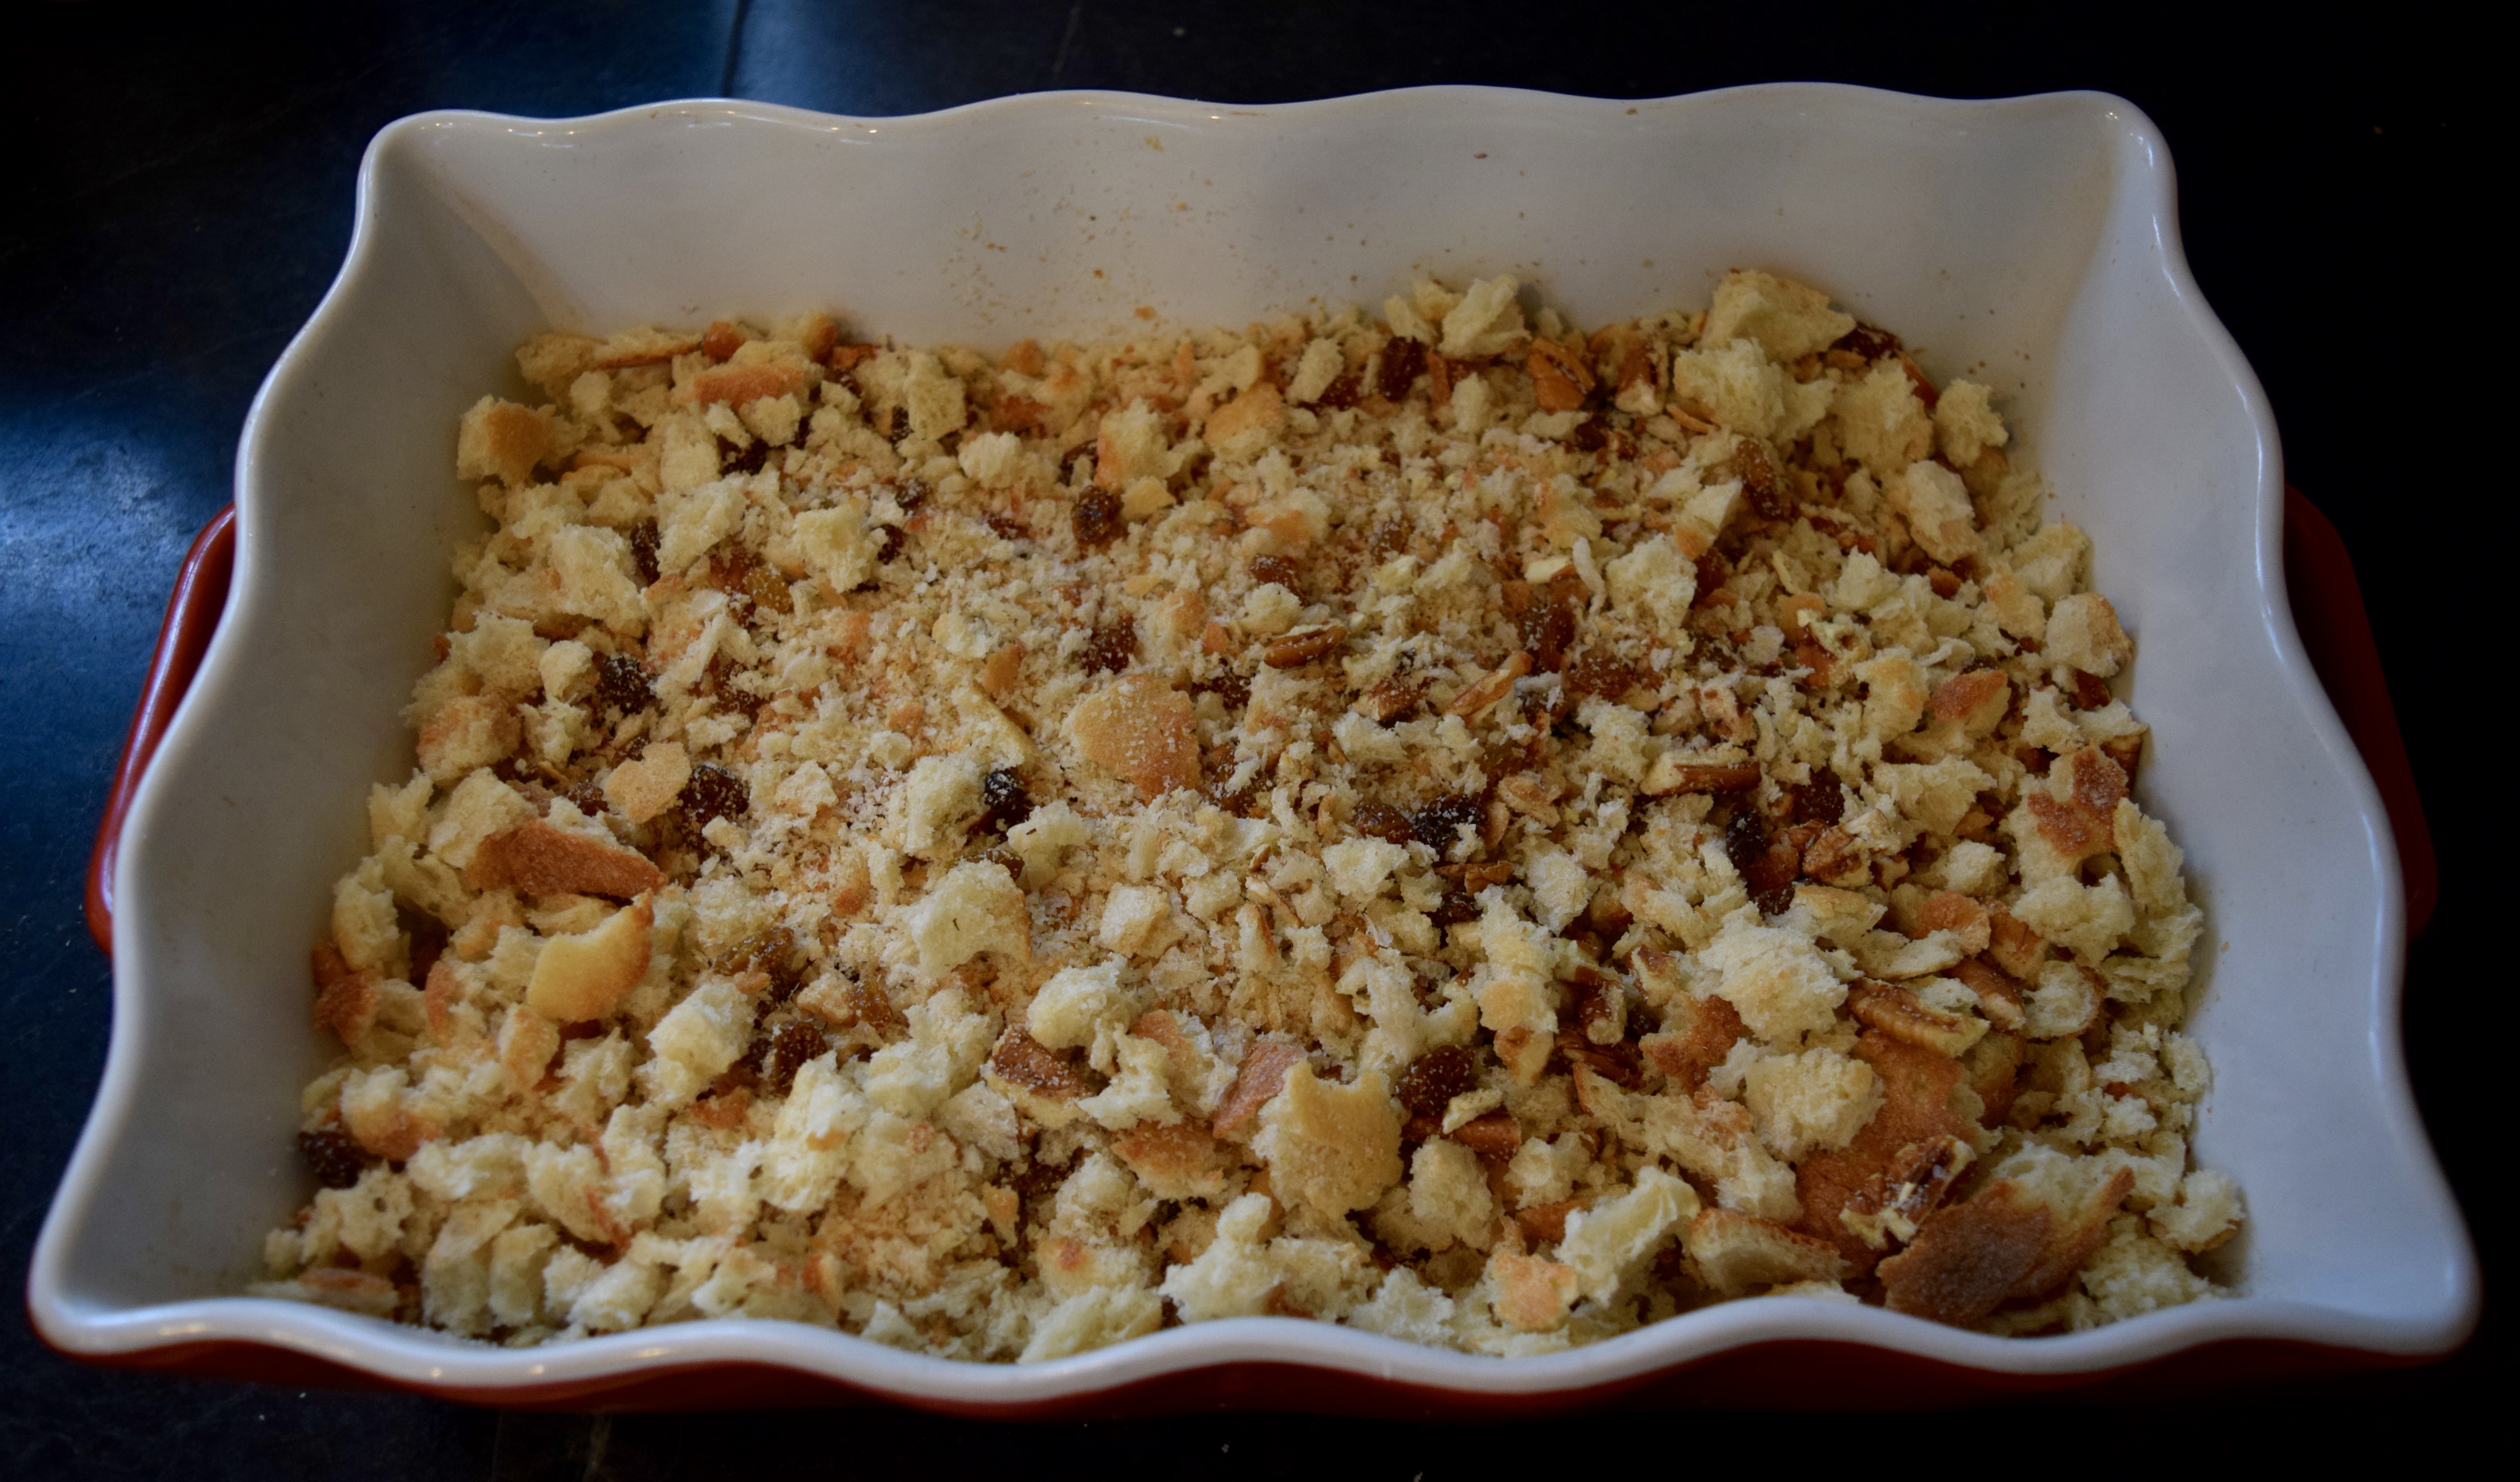
Add raisins and chopped nuts to and mix well.
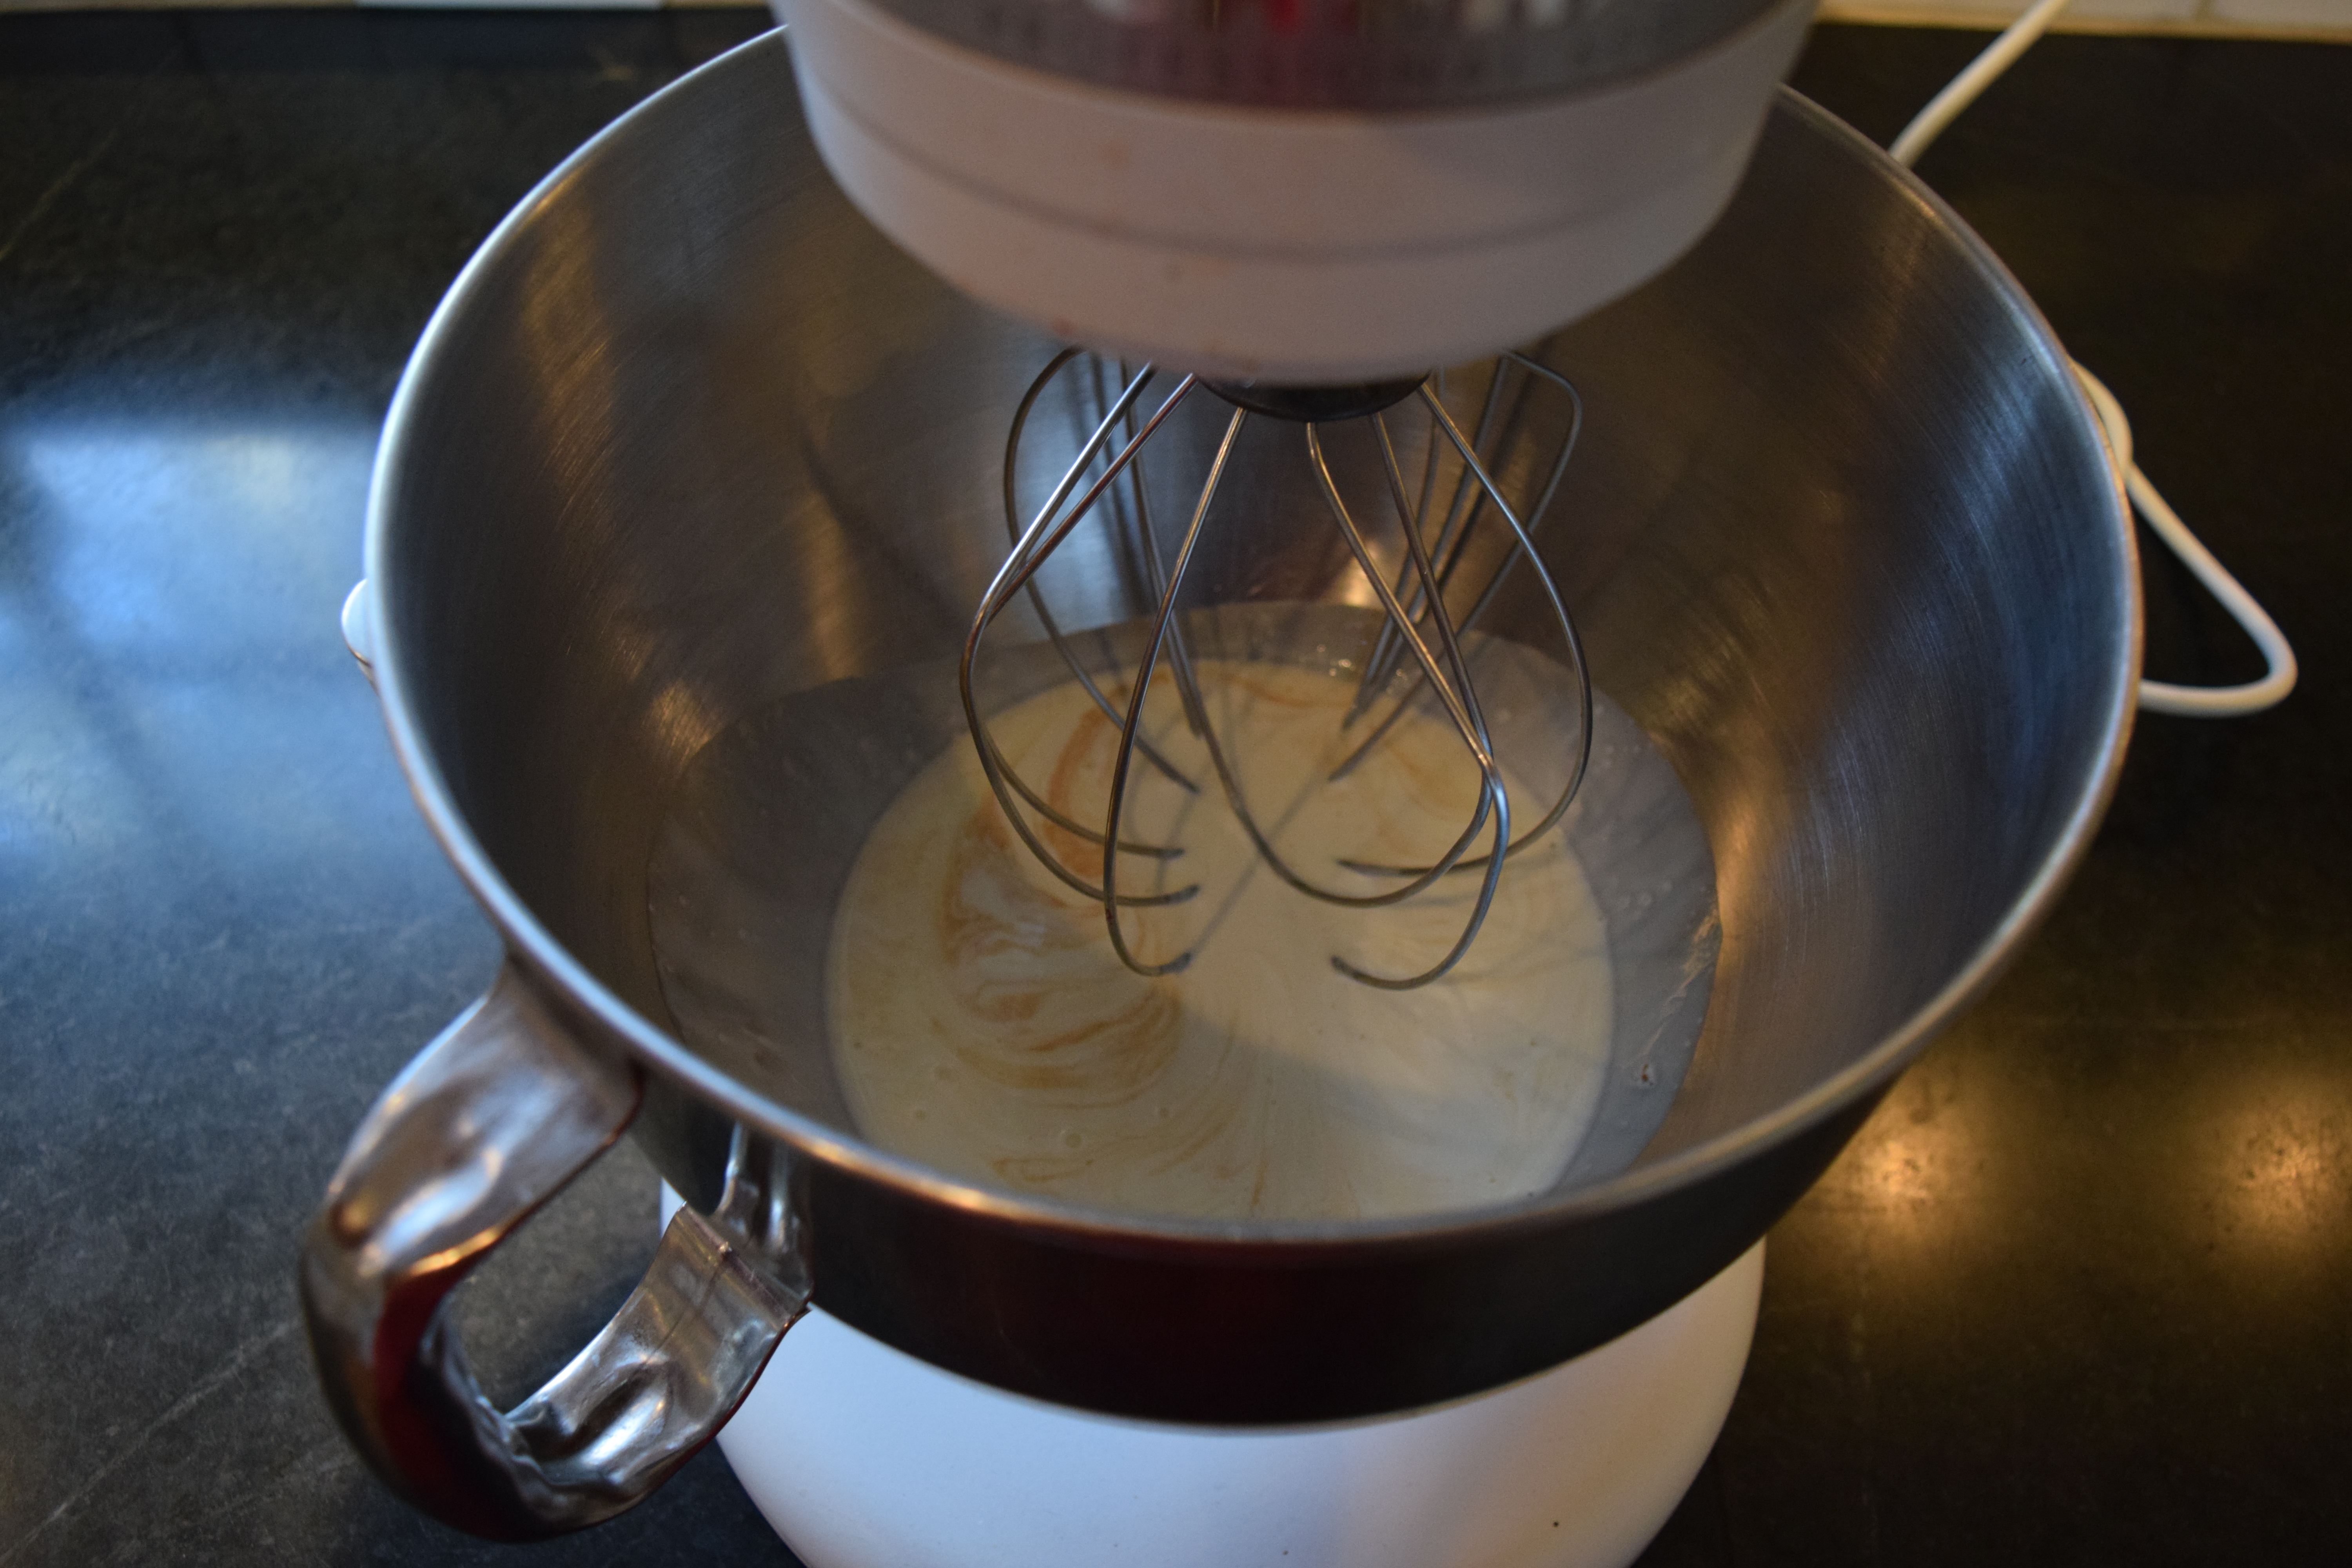
Add eggs to mixing bowl and beat on medium speed until blended.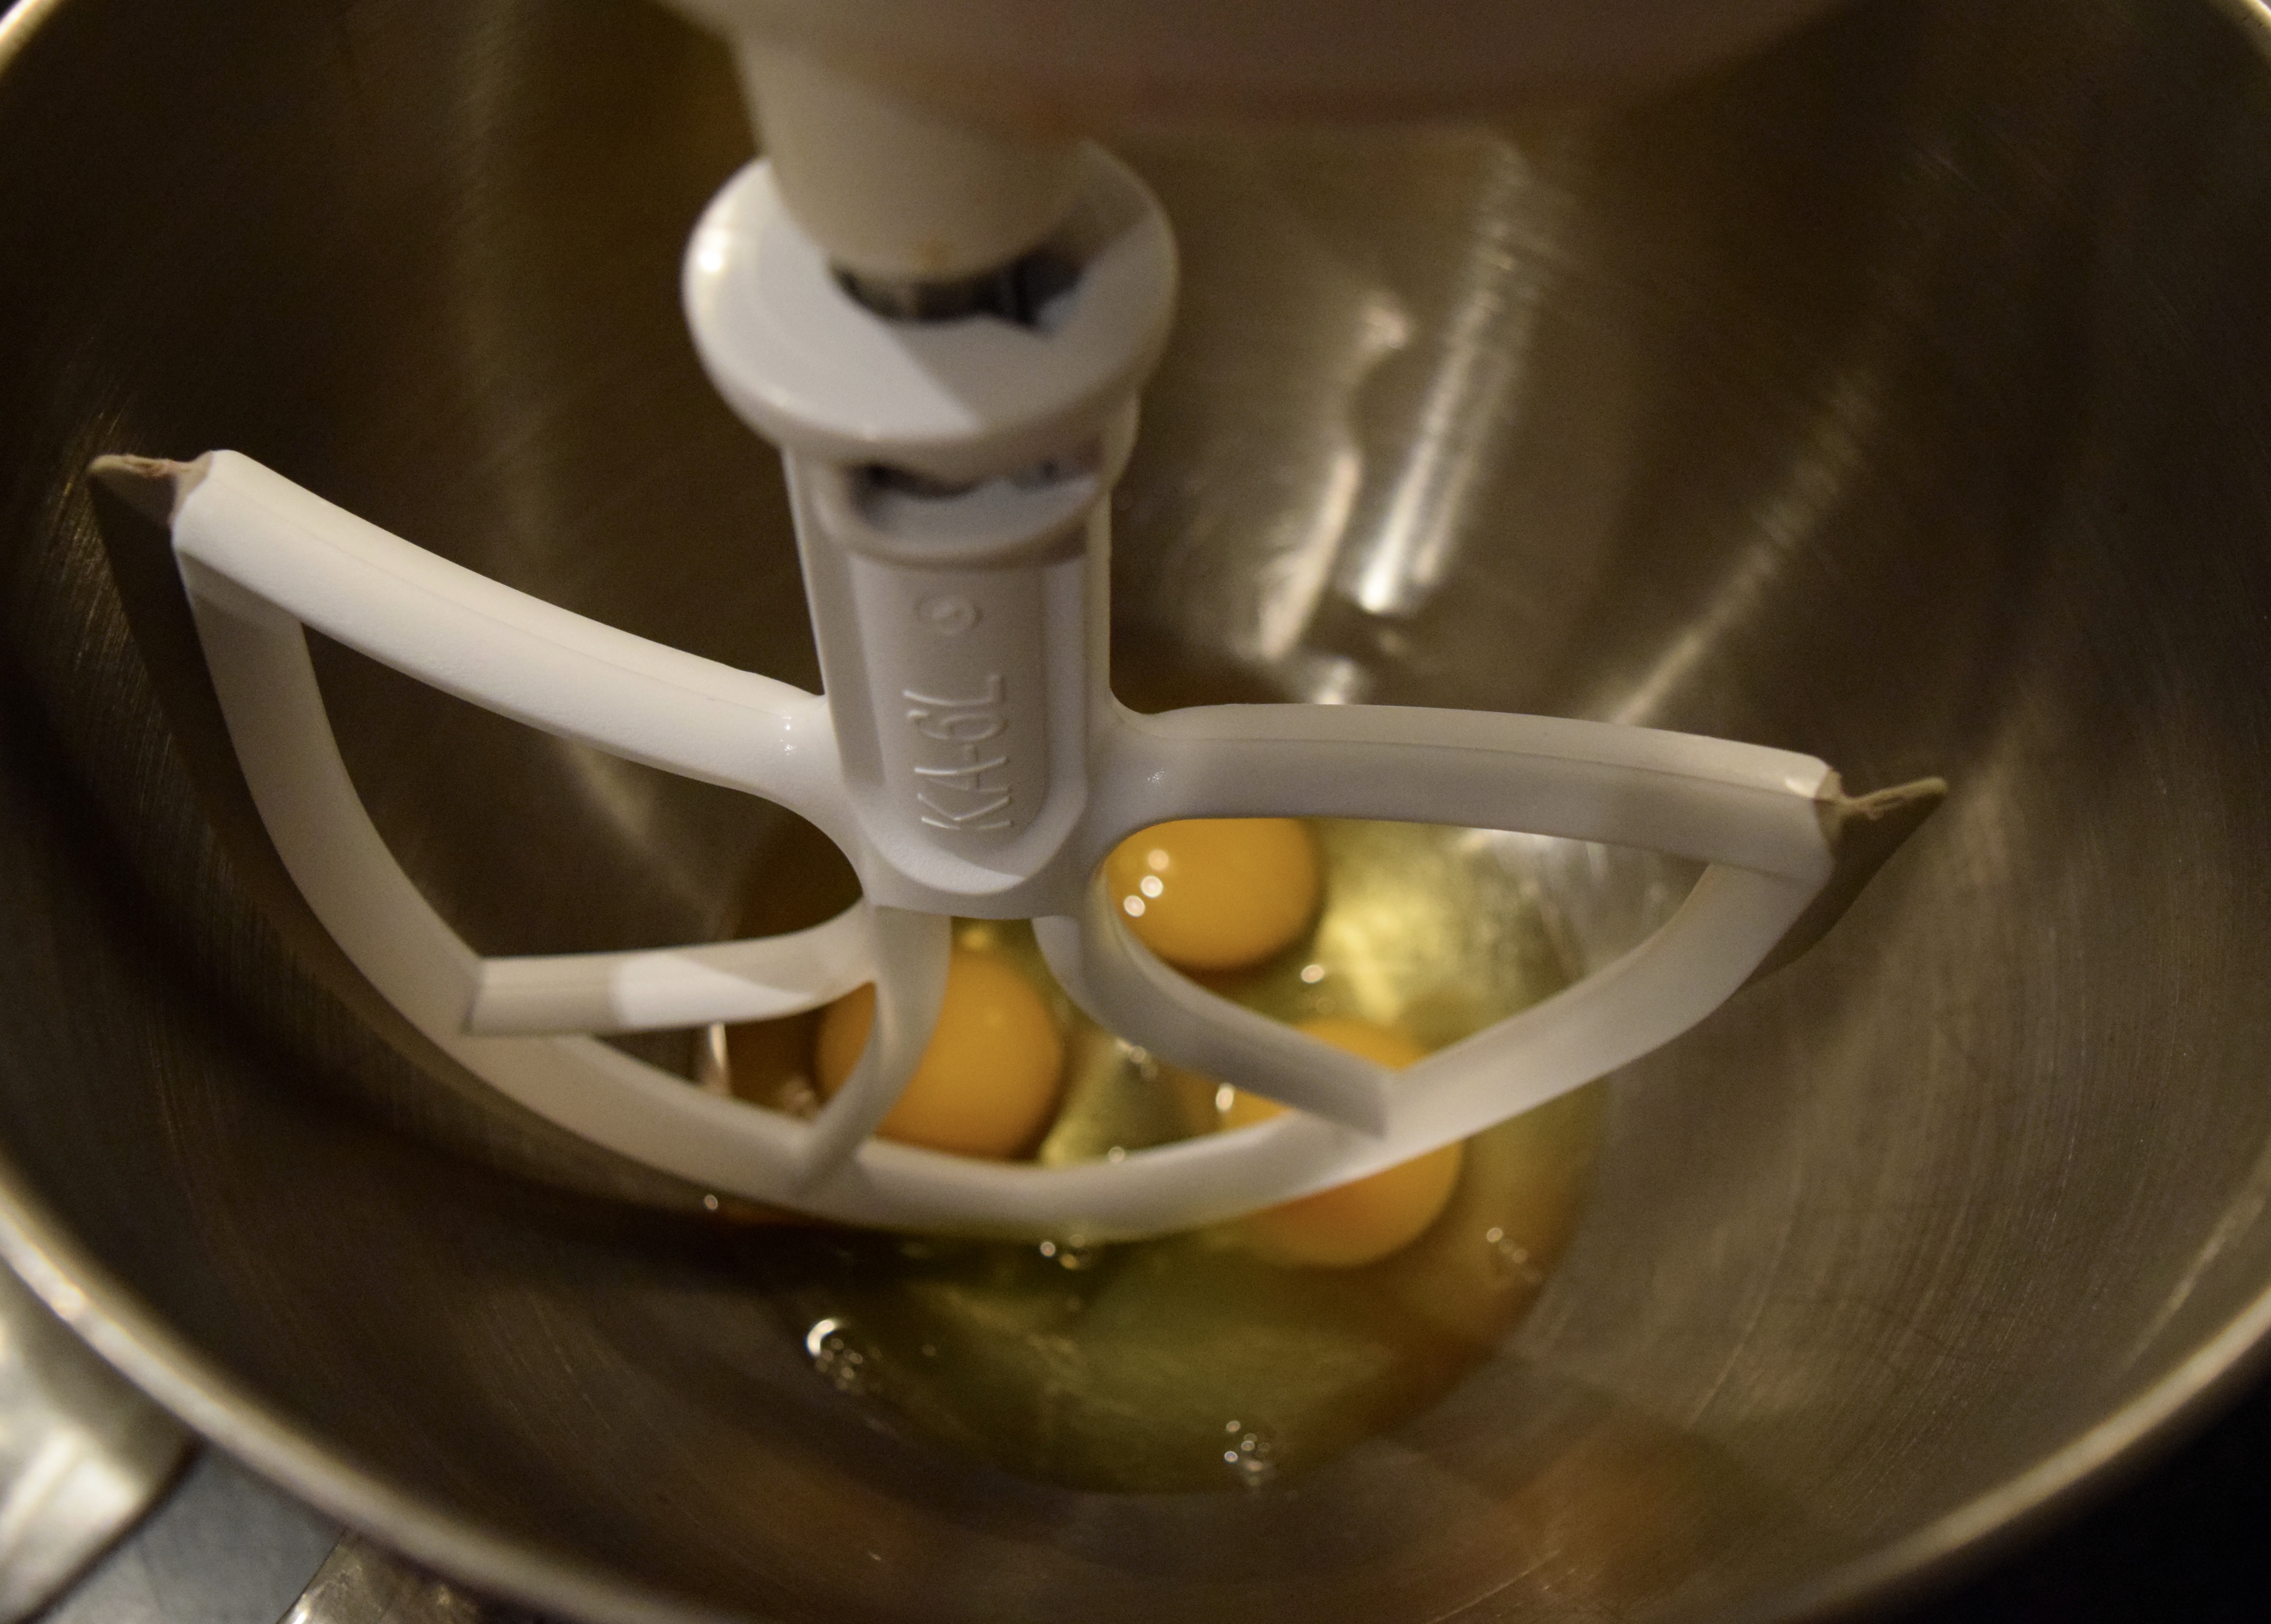
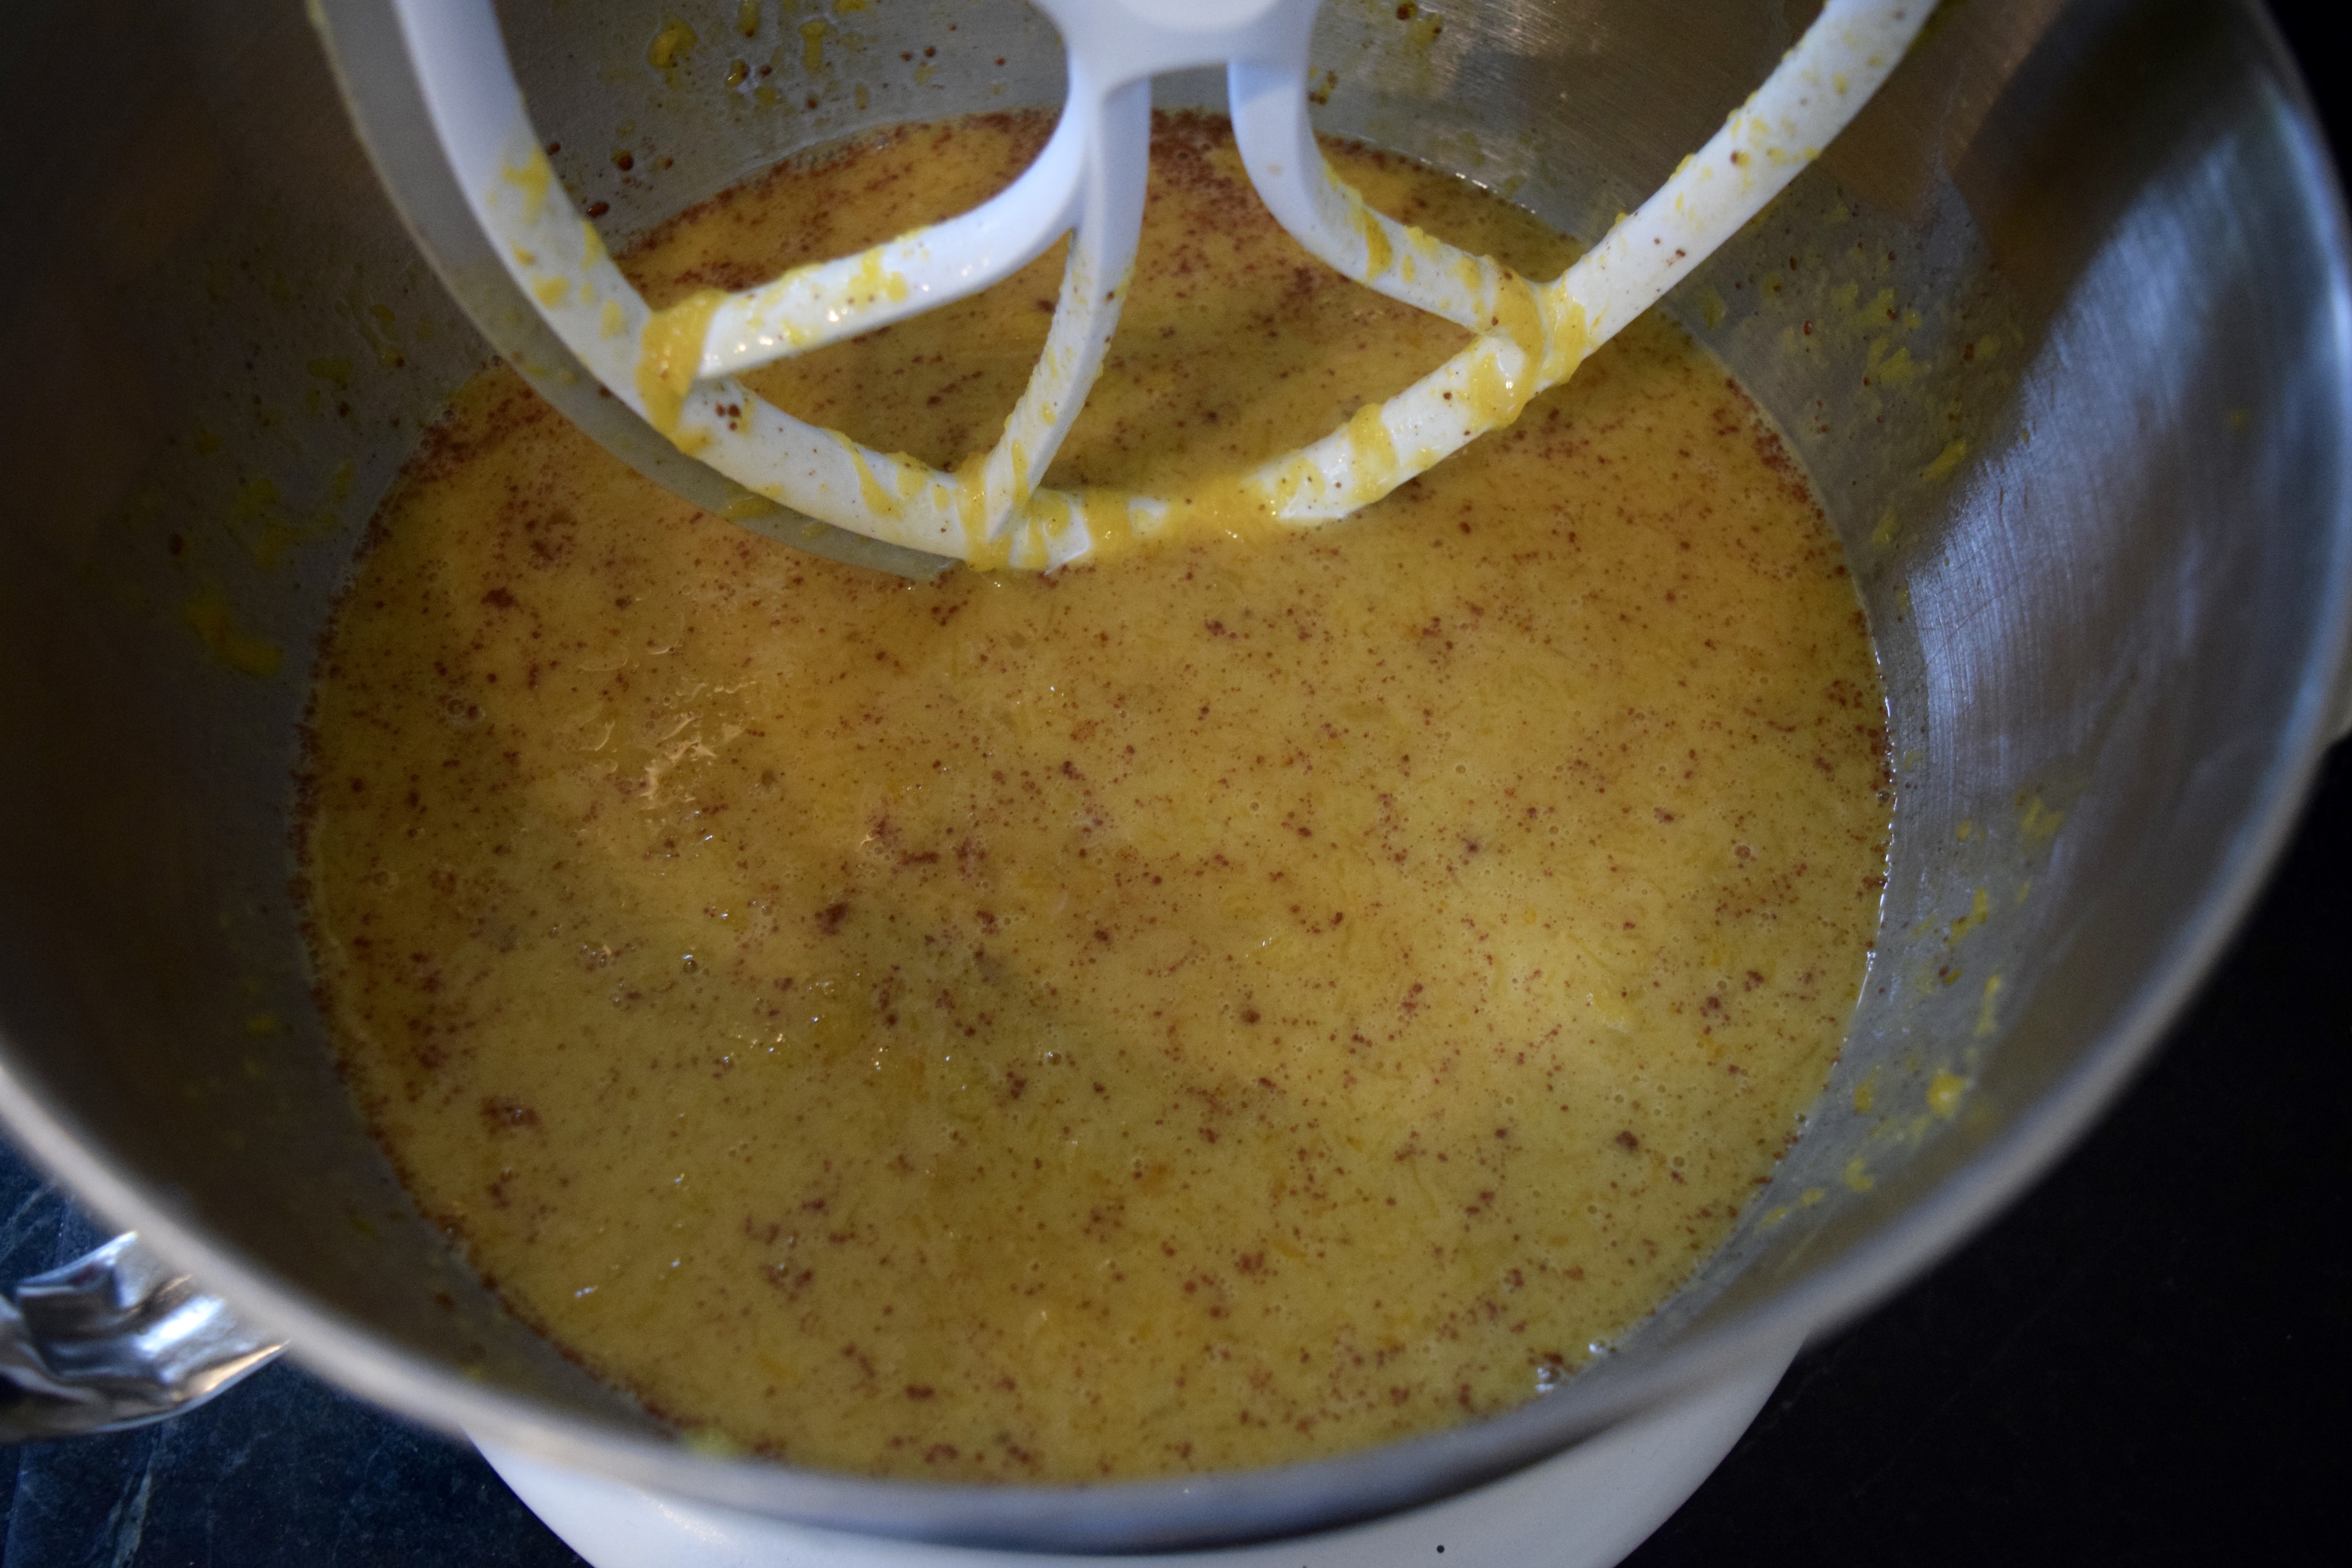
Add milk, sugars, butter, vanilla, cinnamon, and pumpkin purée. Mix well for about 30 seconds.
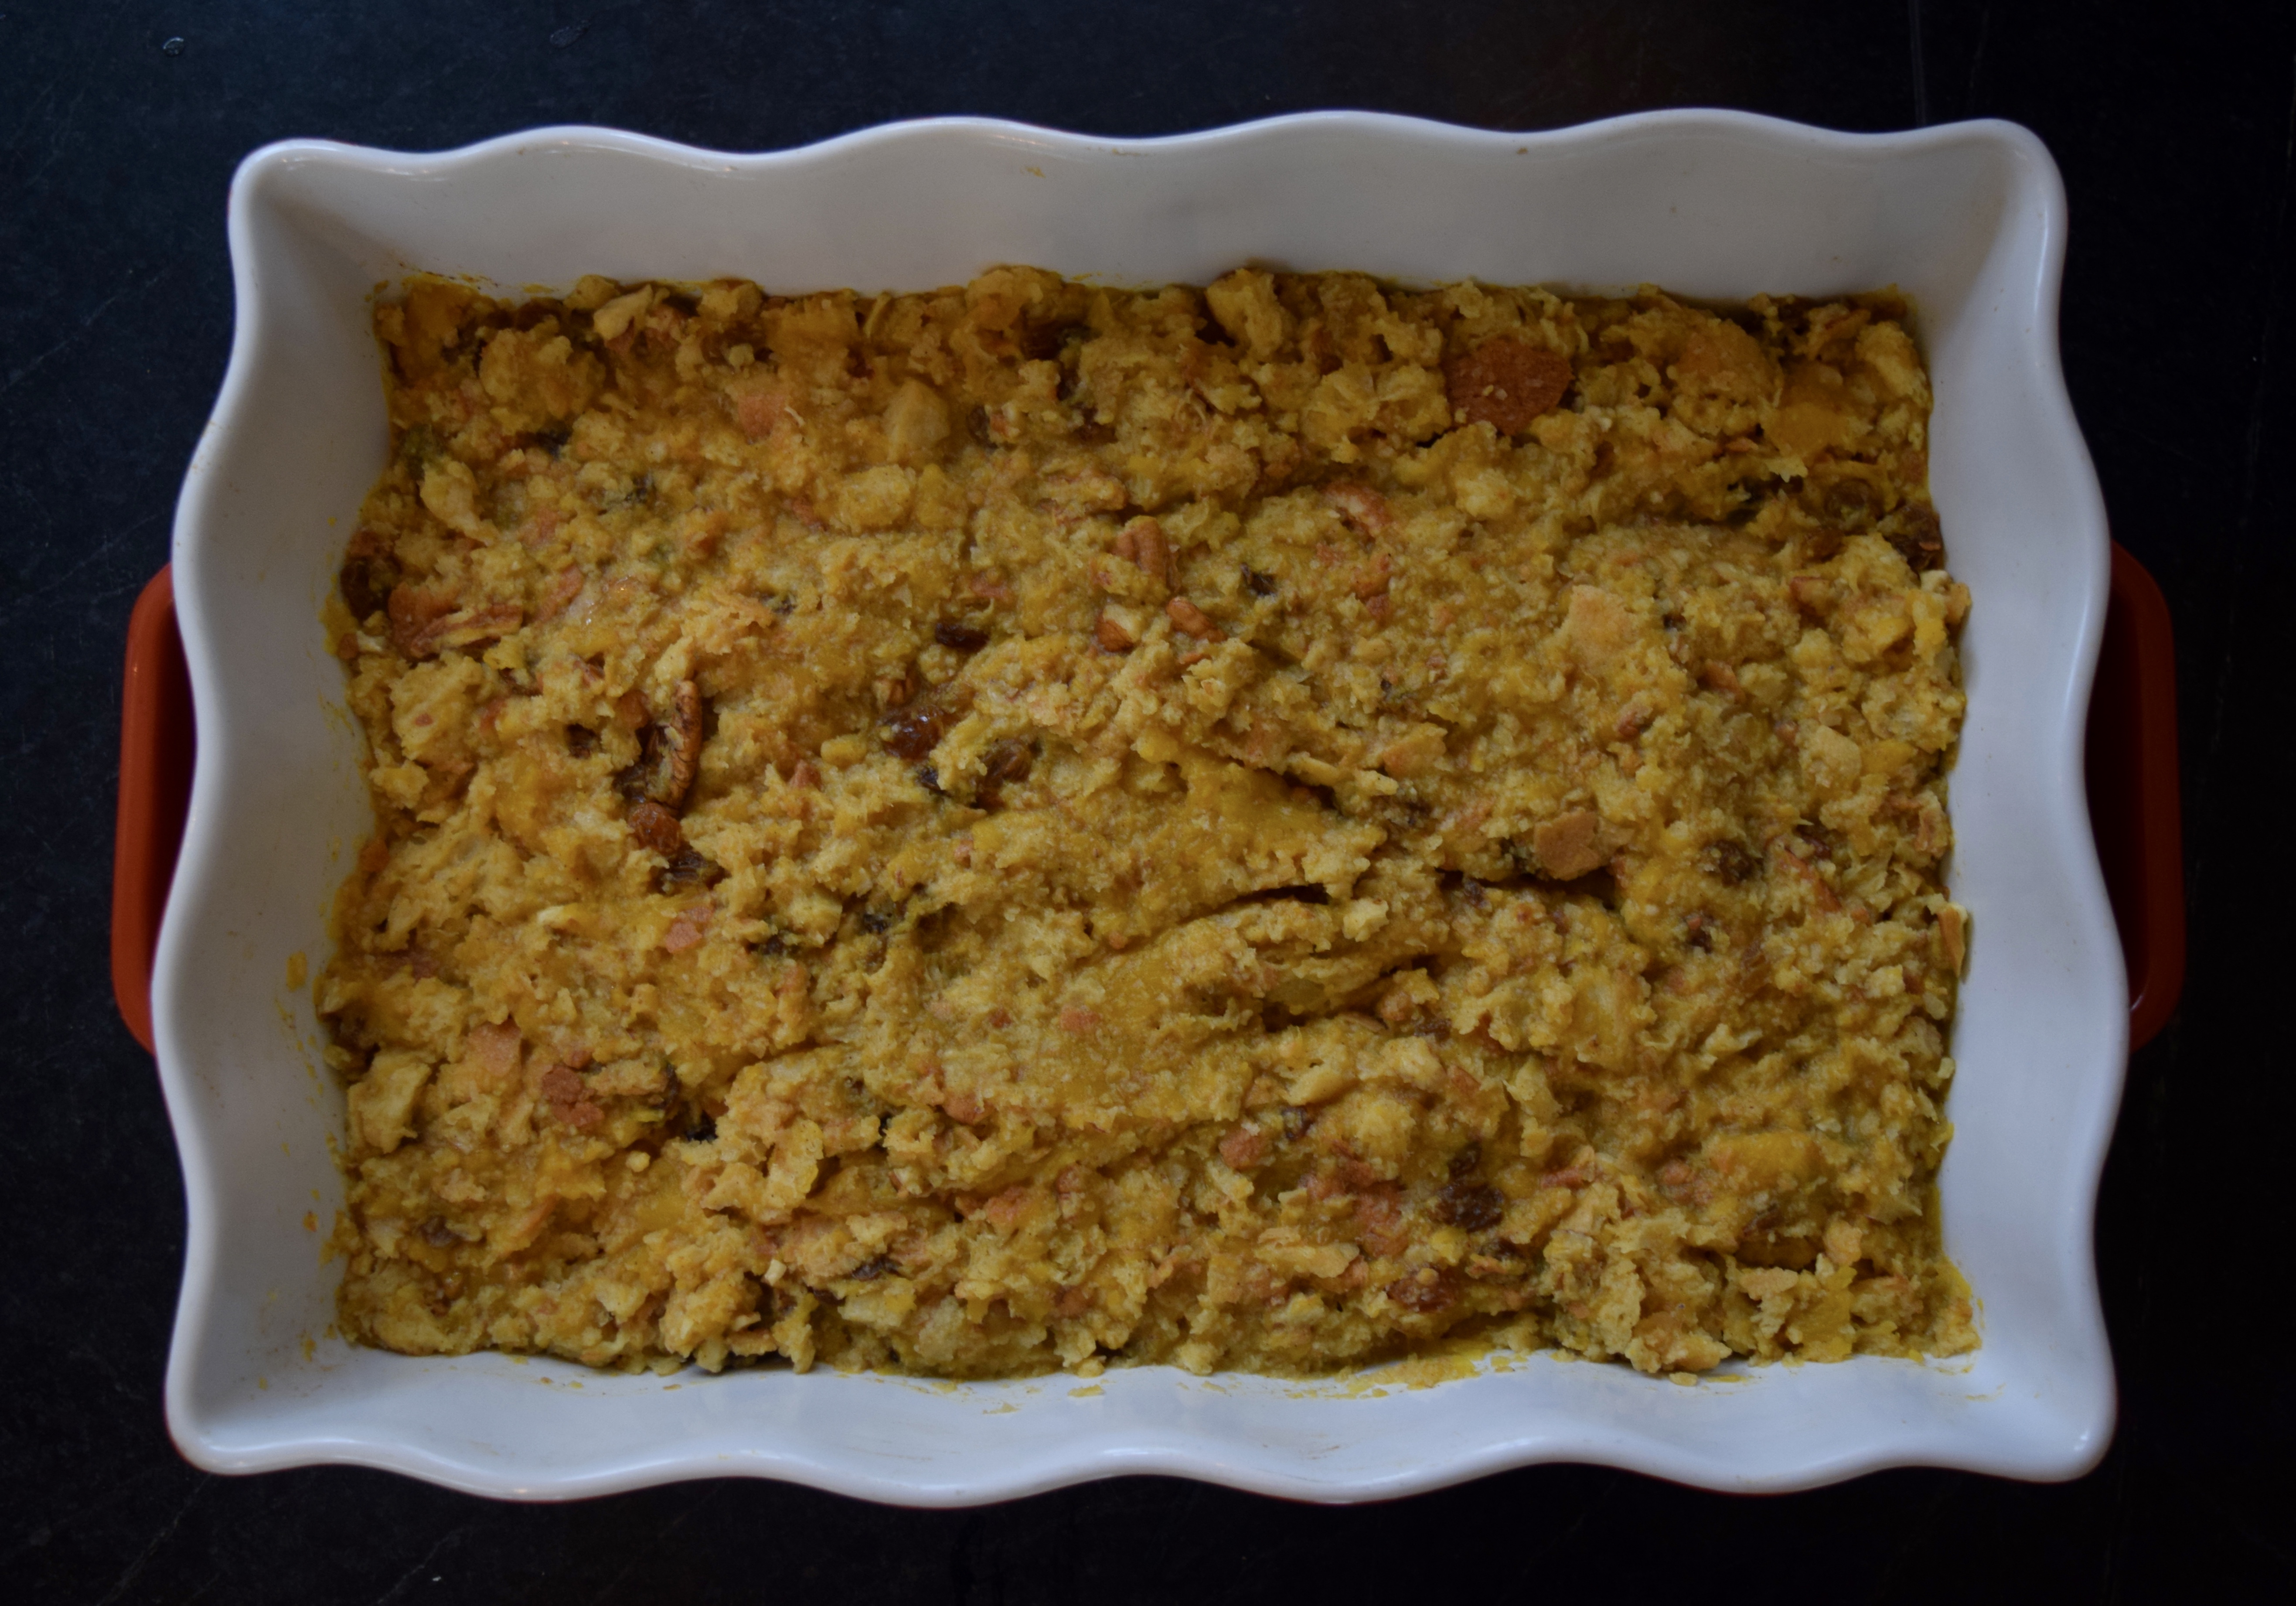
Pour pudding on top of bread and let liquid seep into the breadcrumb mixture. Lightly press down, so all the bread is submerged in the custard. Let set for about 20 minutes. Use a fork to check that all the breadcrumbs are moist.
The overall consistency should be like that of thick oatmeal. If it appears to be soupy, add more diced bread.
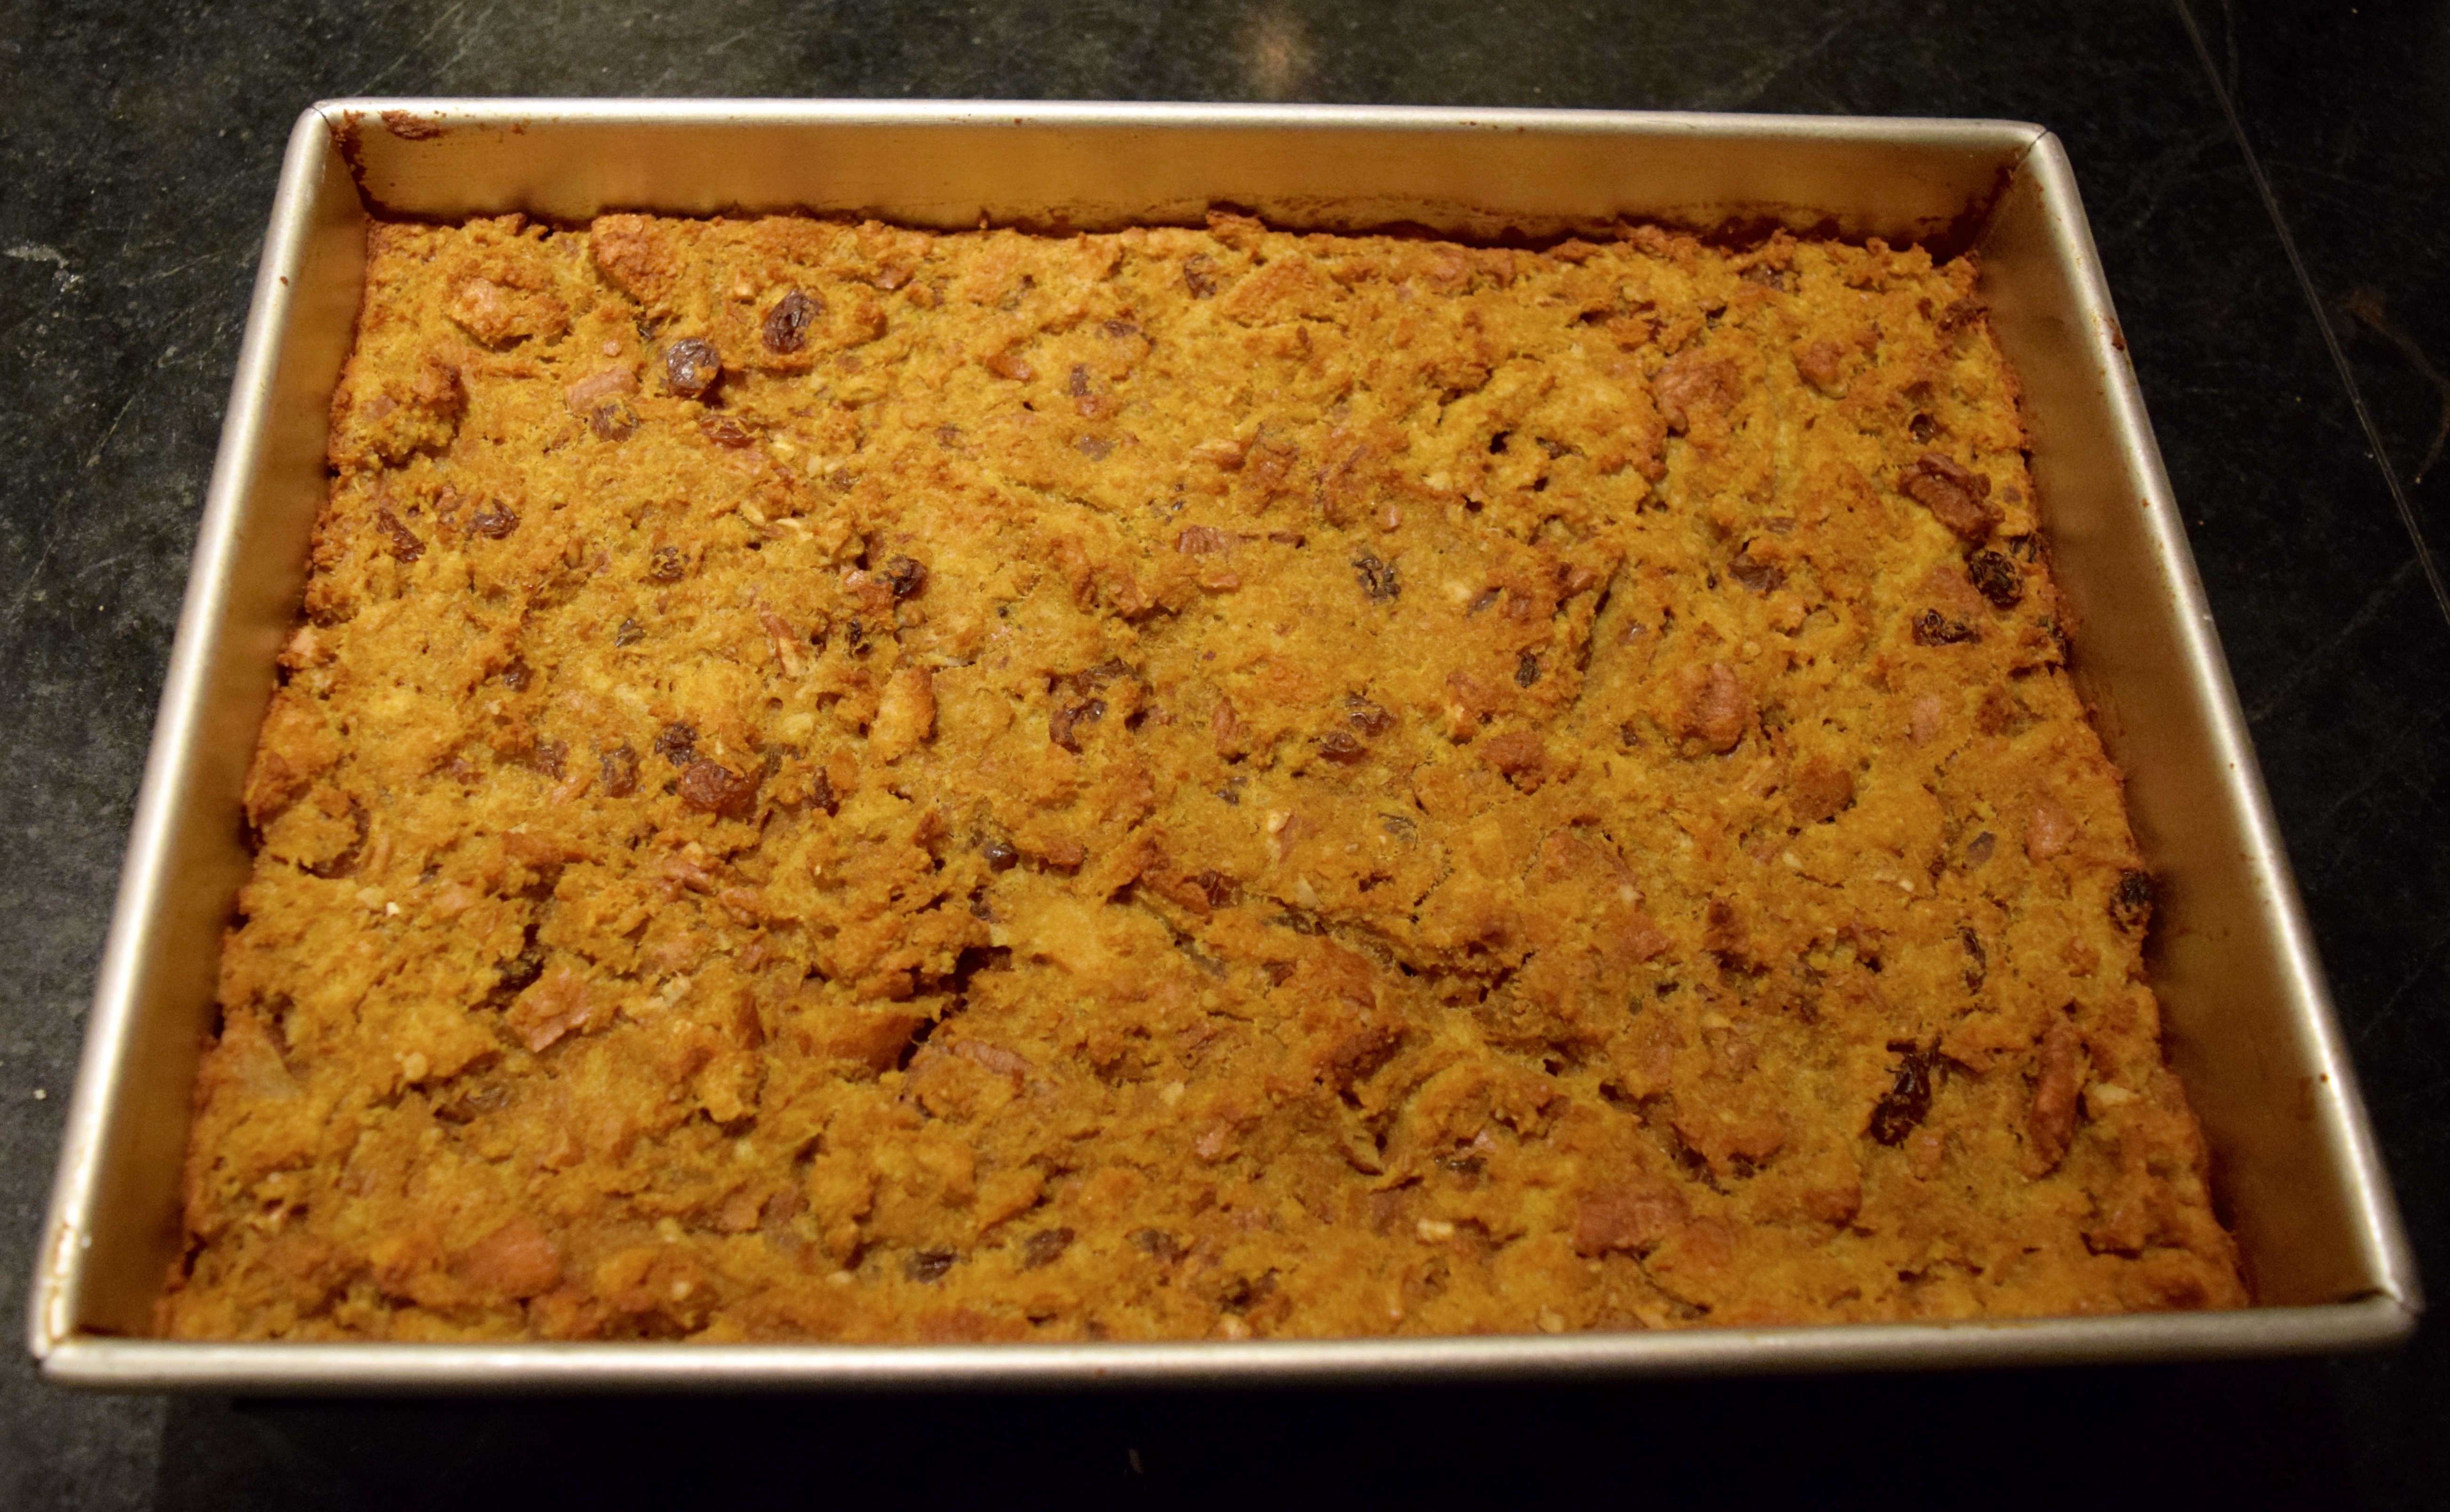
Bake for about 50-60 minutes on the middle shelf of the oven. It’s ready when the crust just starts to turn color to a light brown.
To Serve:
How to Make Vanilla Glaze:
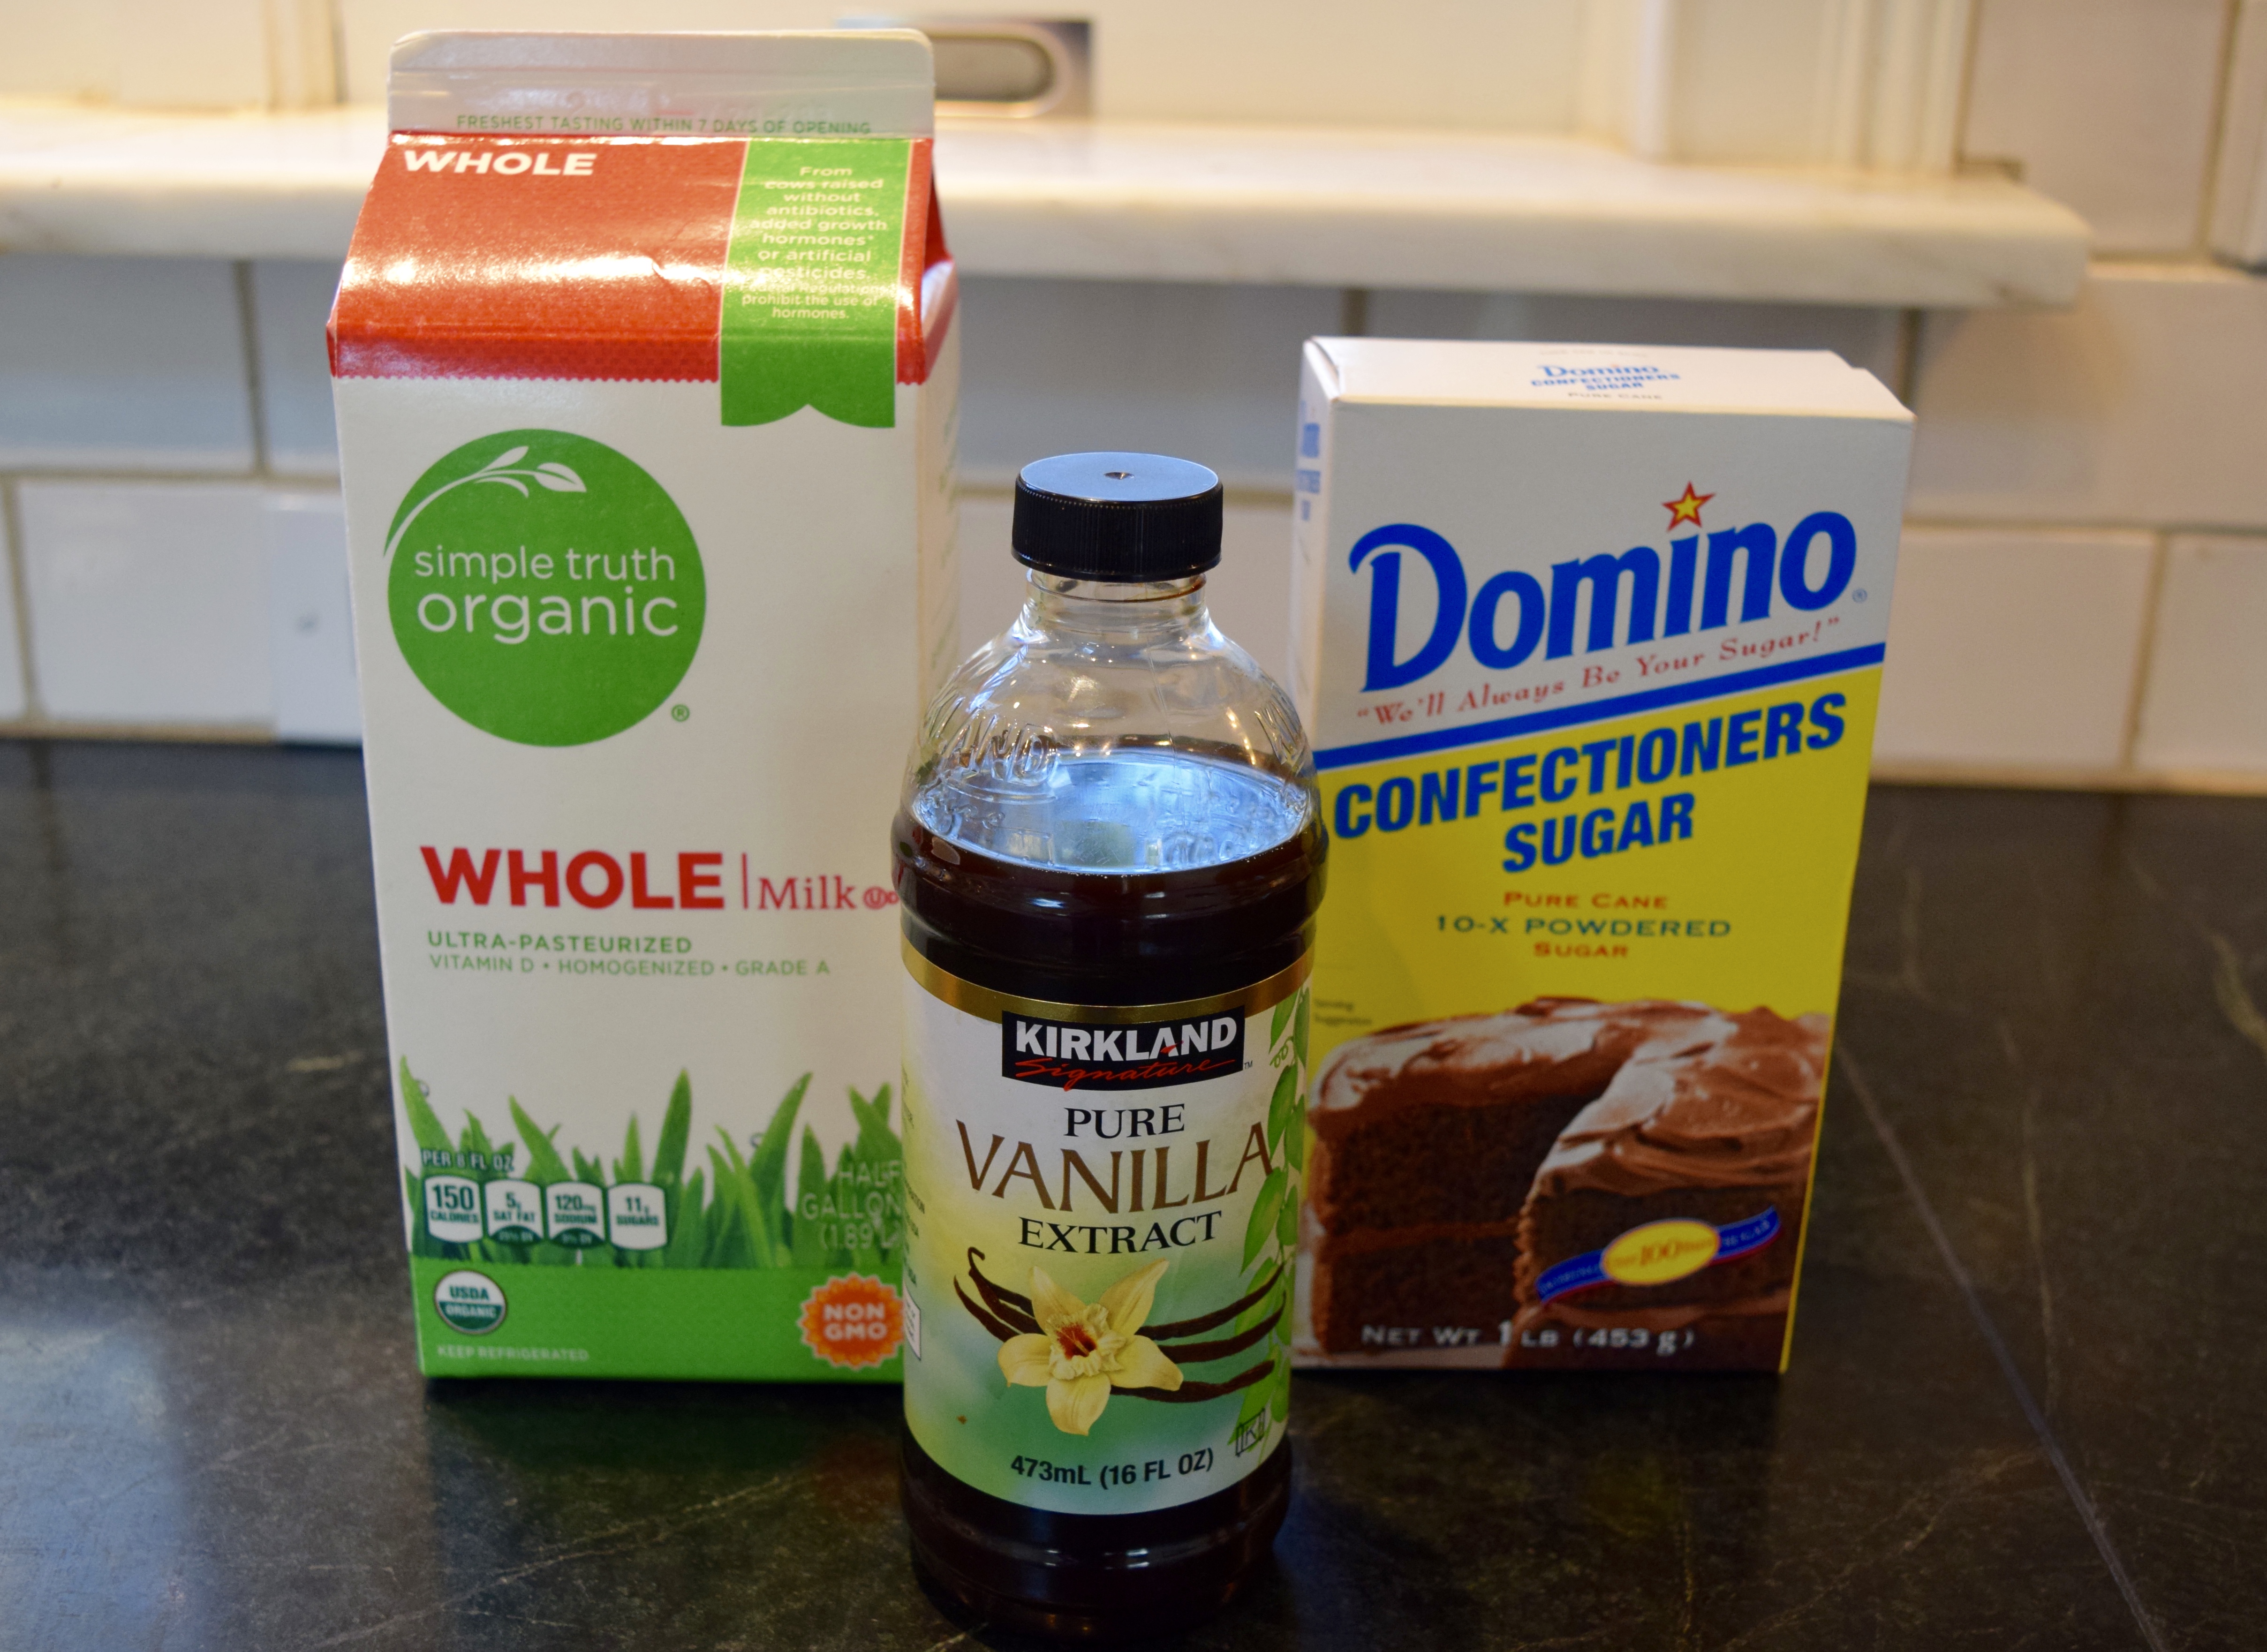
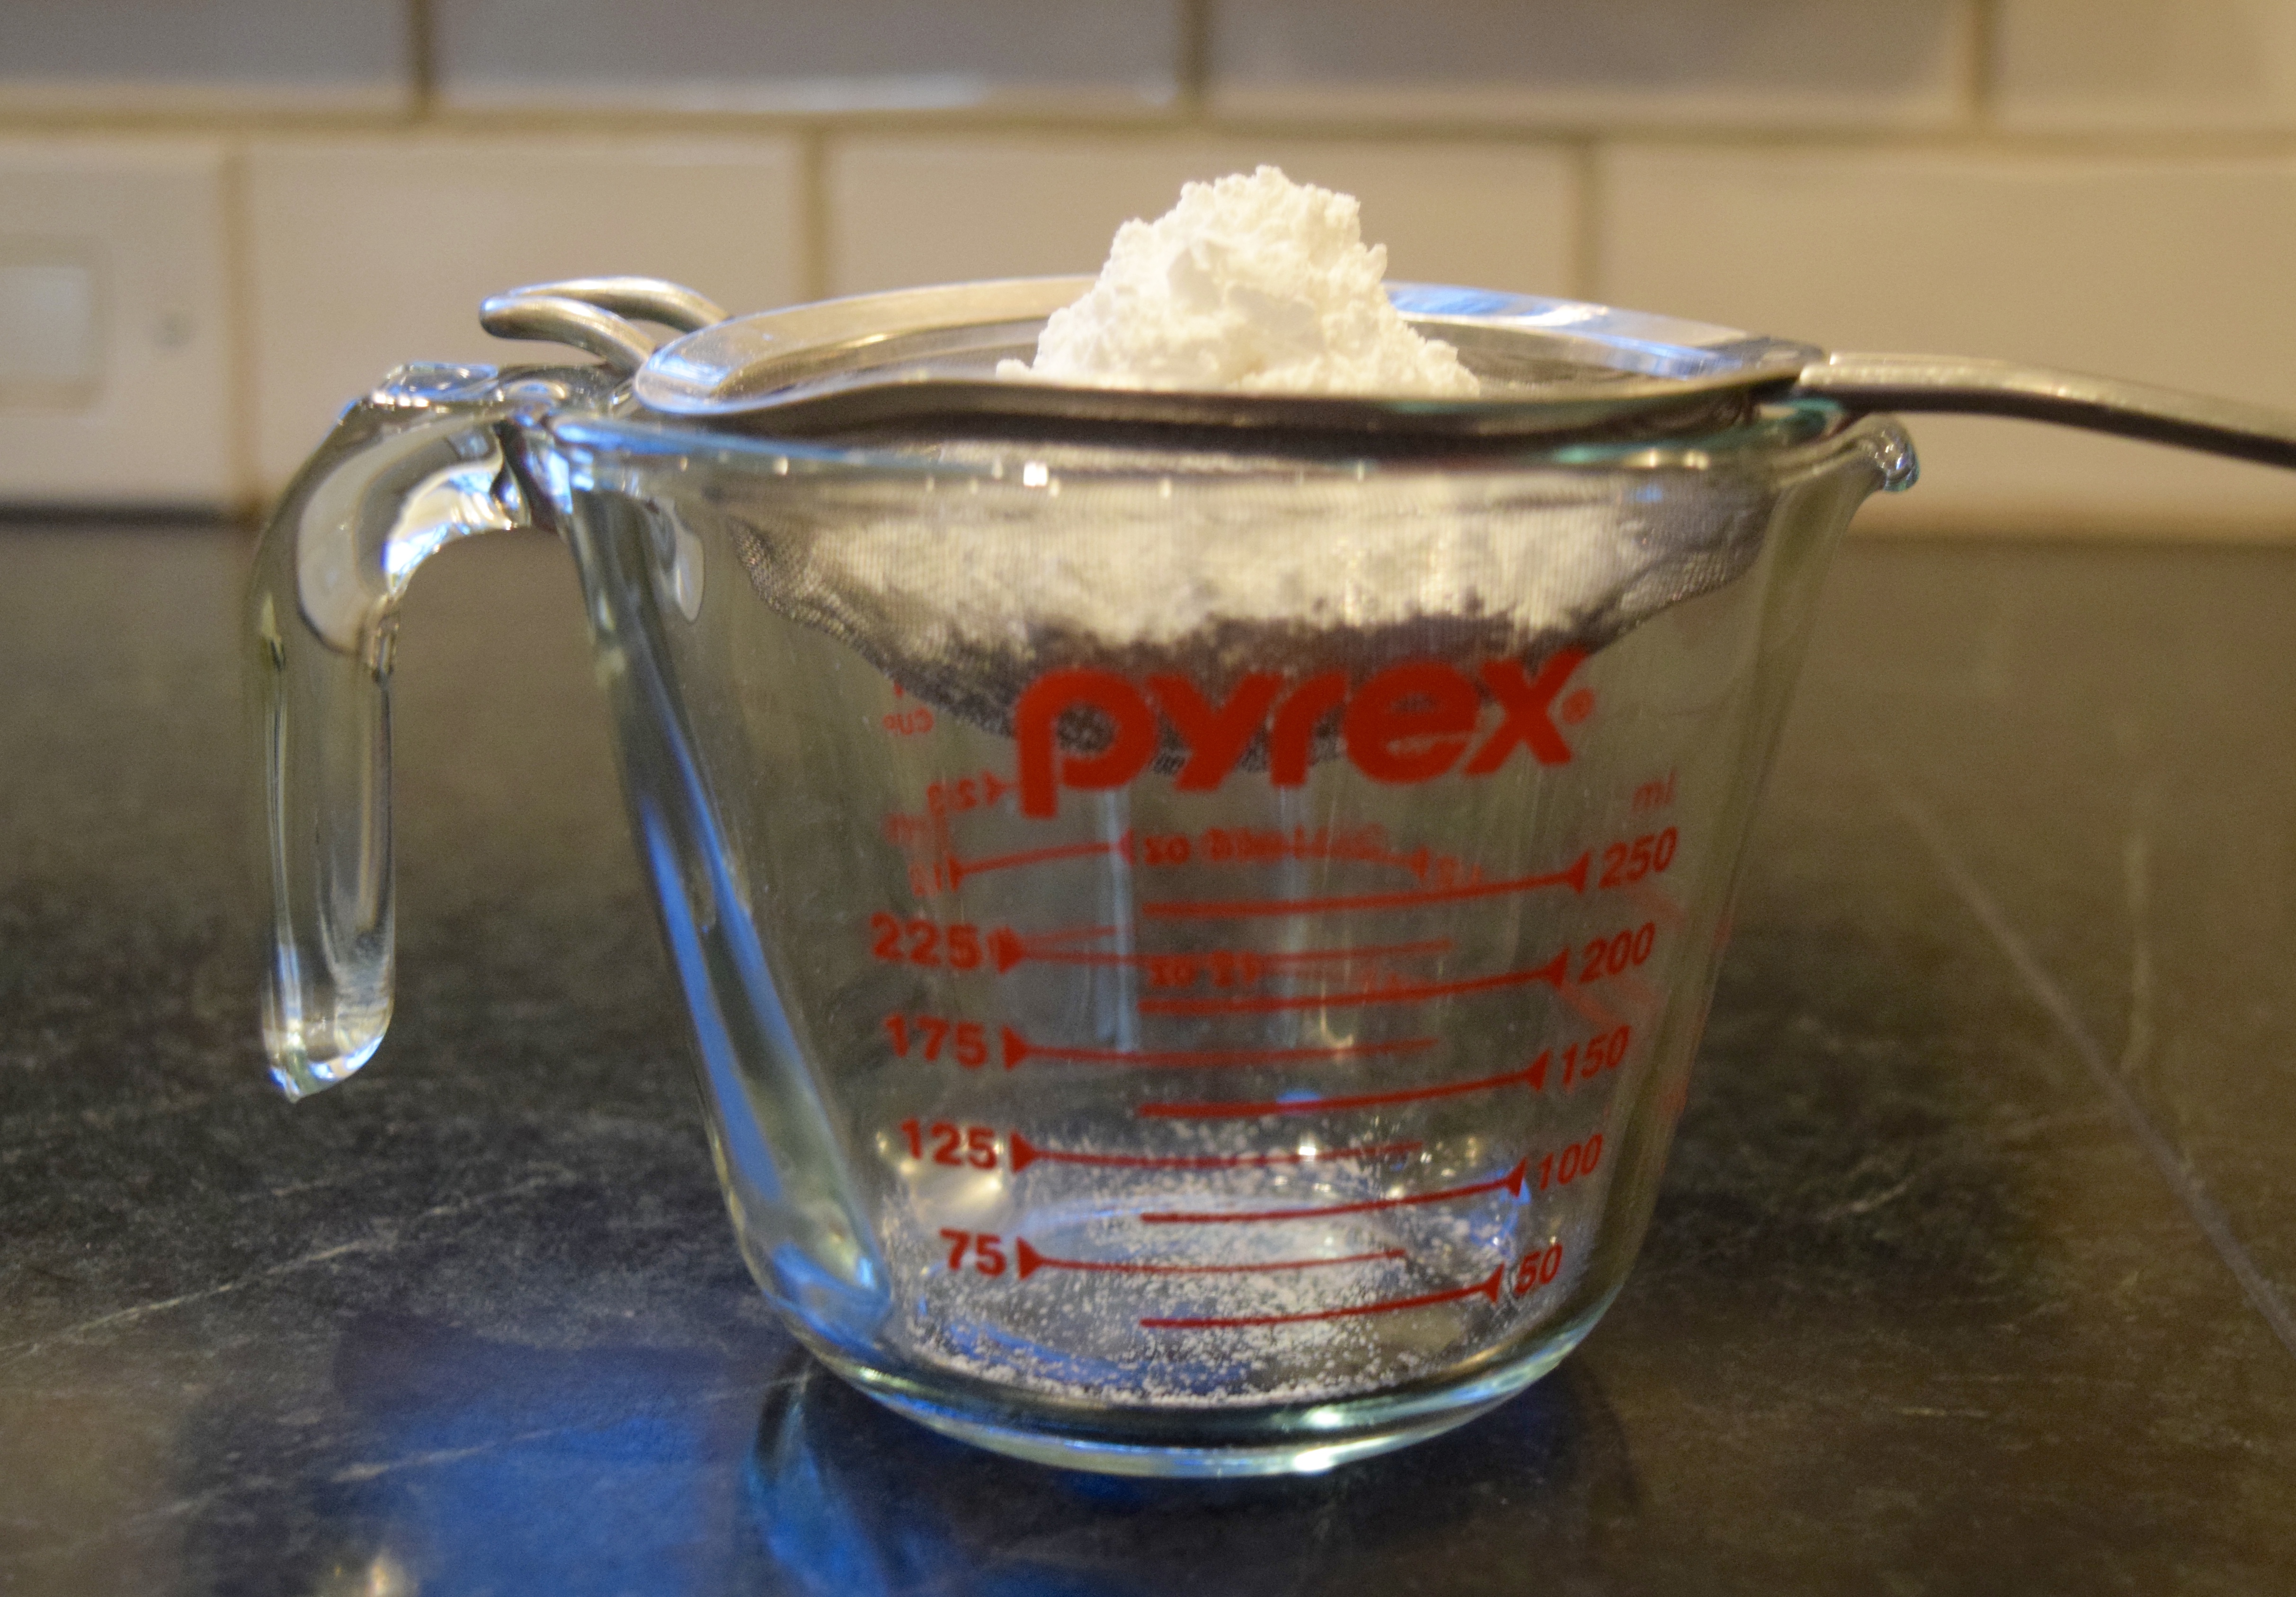
1 cup powdered confectioner’s sugar (aka 10x sugar), sifted
1 tablespoons milk
1/2 teaspoon vanilla extract
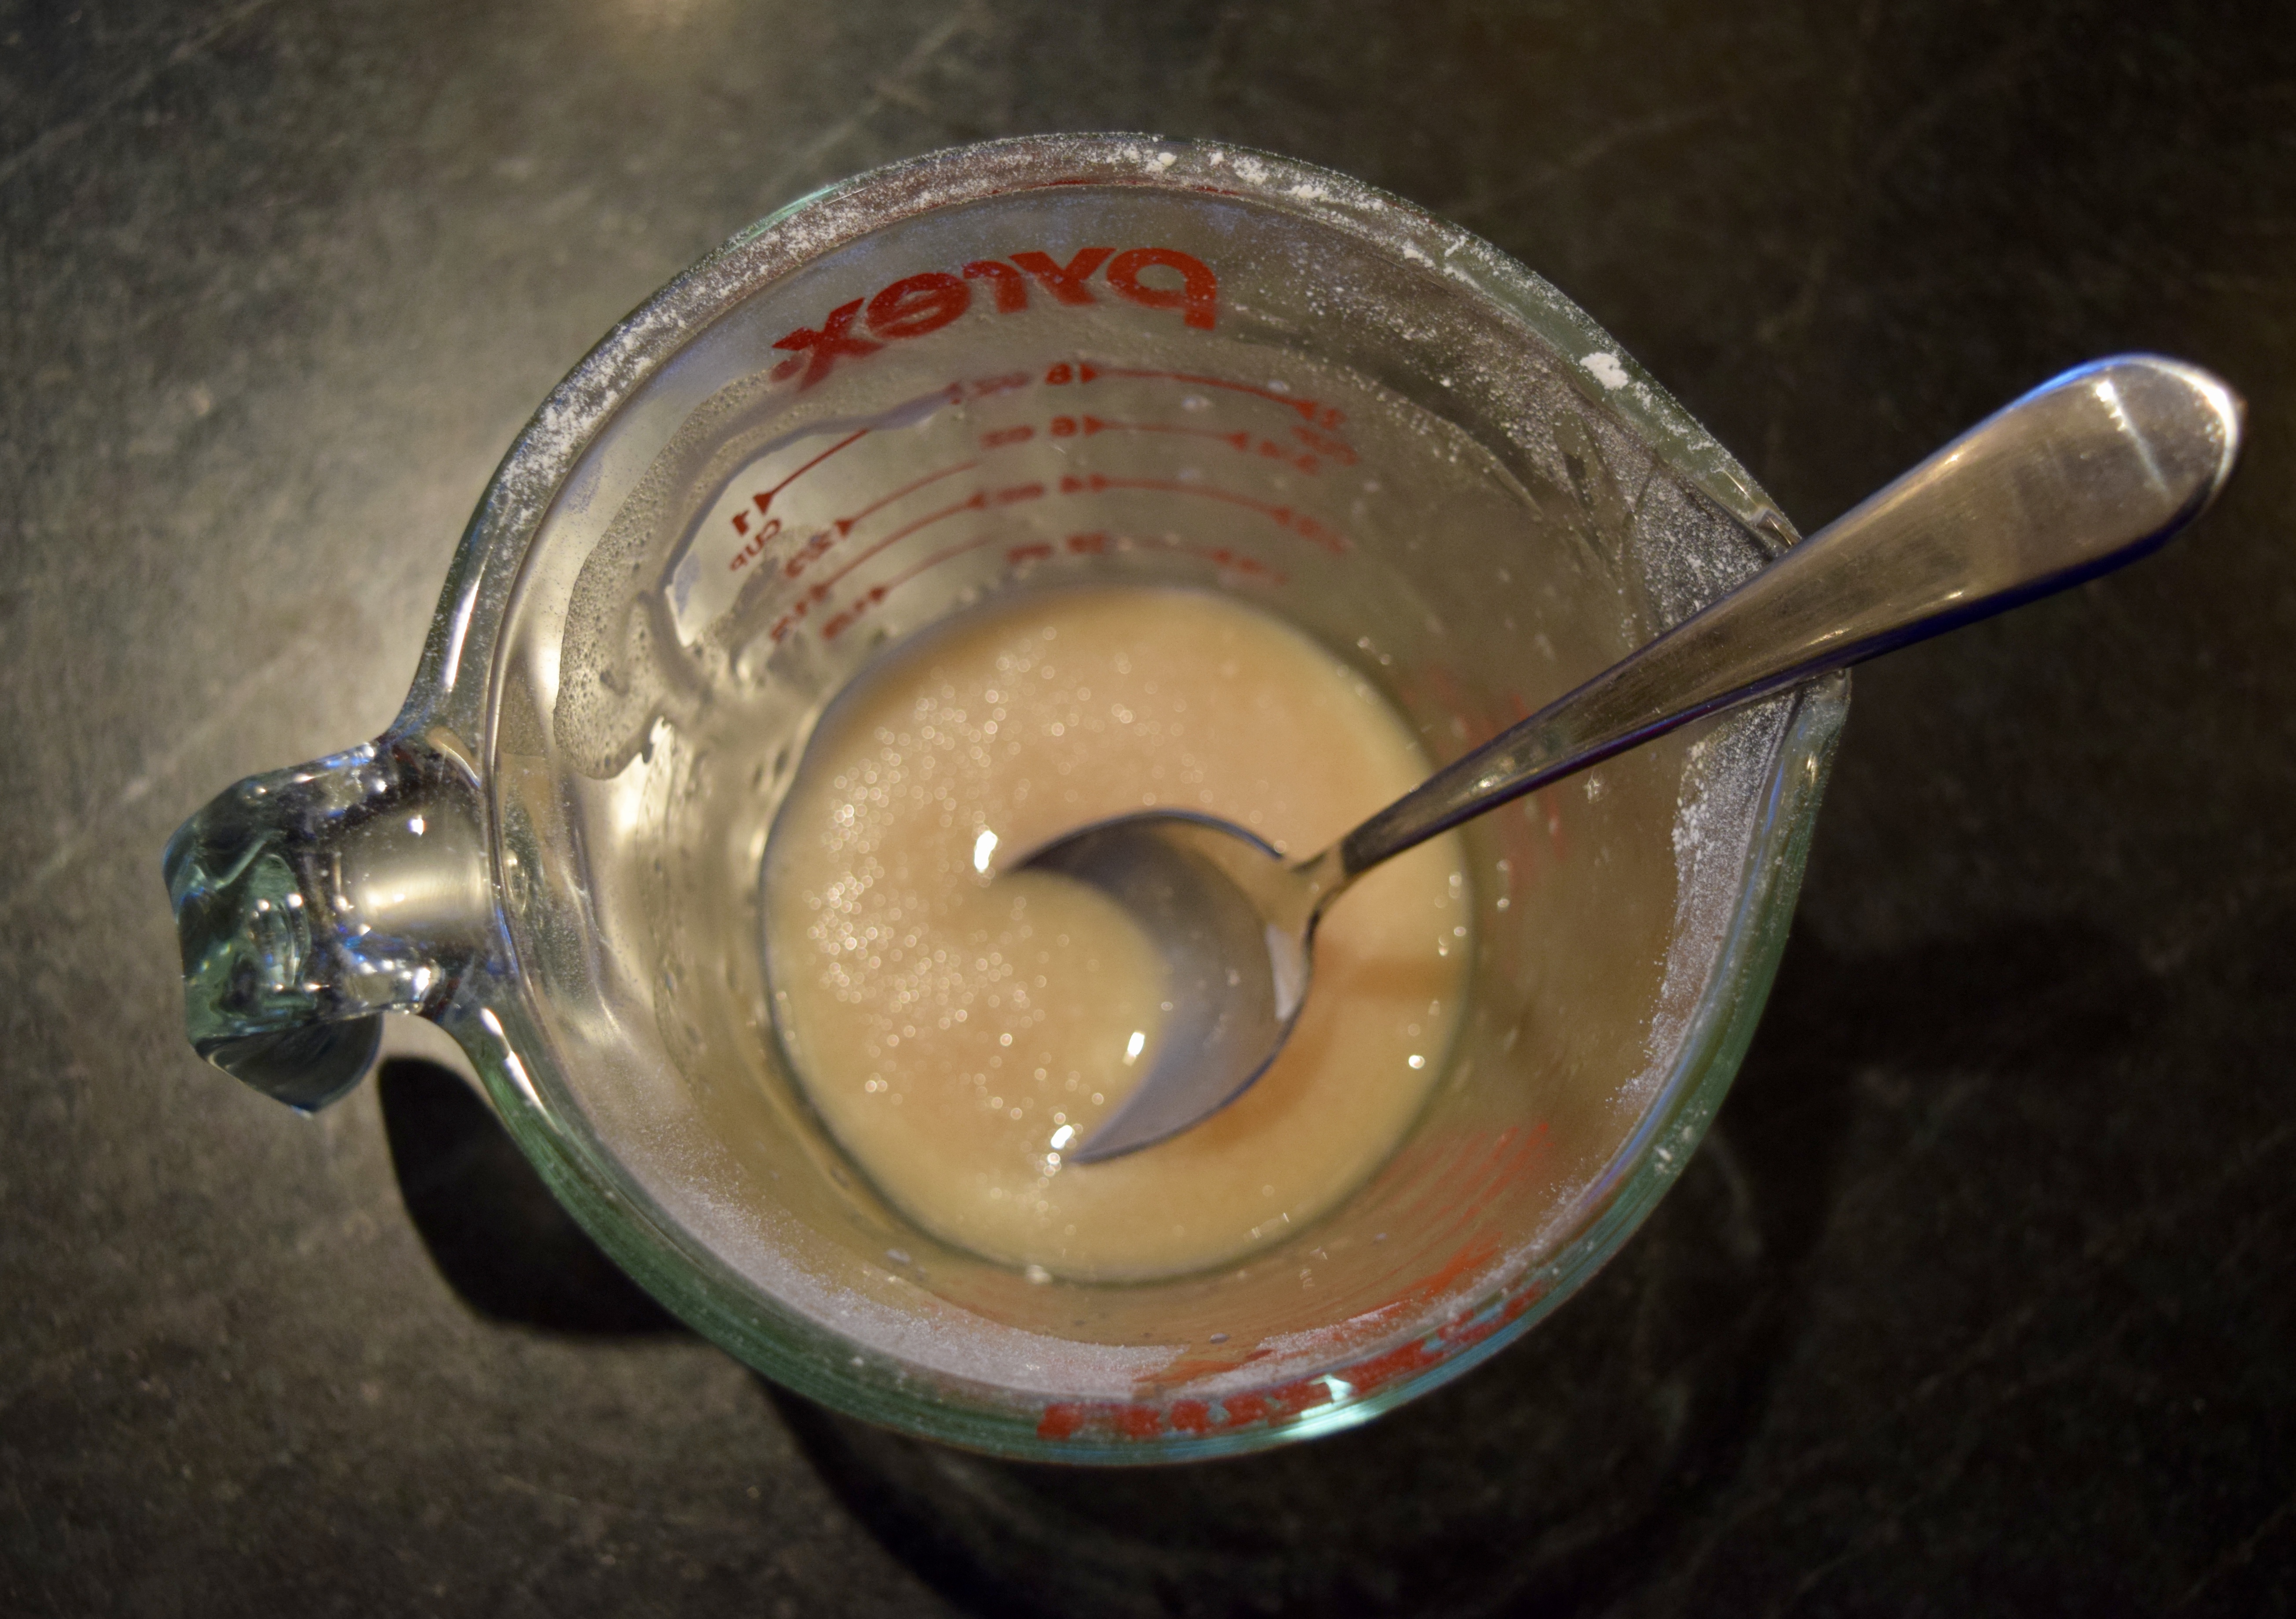
Be sure to sift the sugar, so it isn’t lumpy. Mix ingredients together. Usually, when using this glaze, I pour it over the whole dessert and then cut squares and place them on plates to serve.
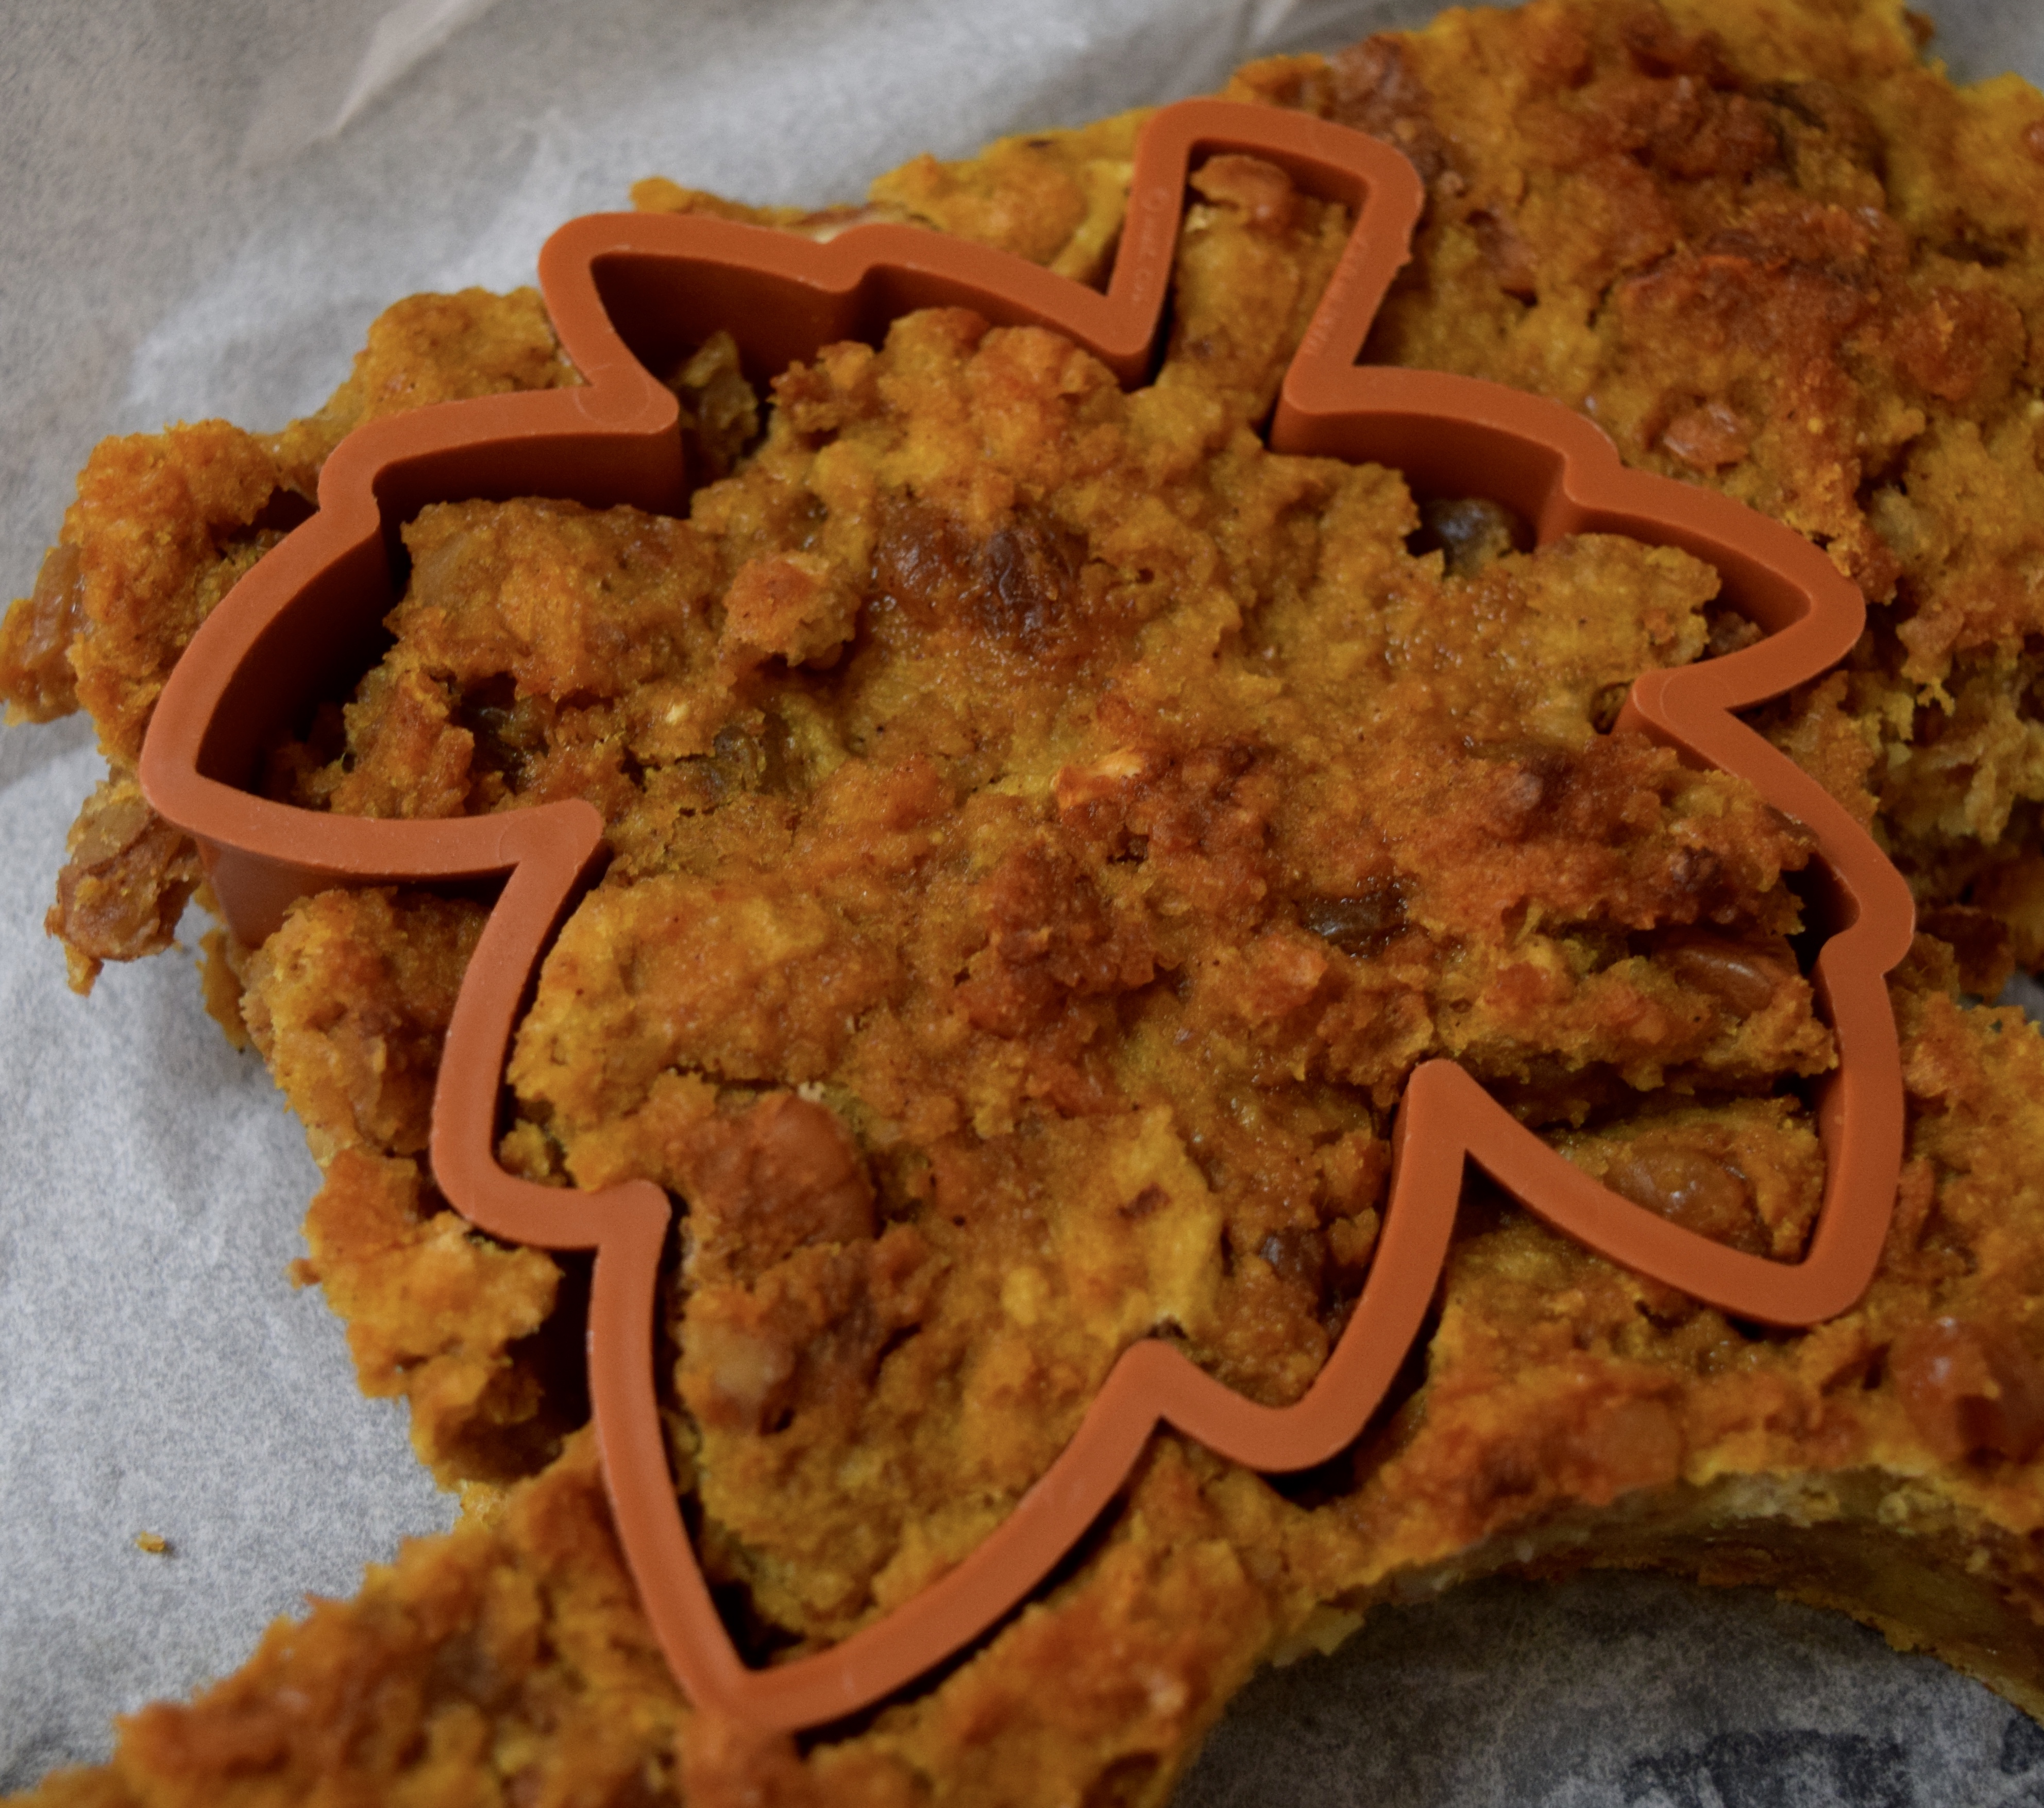
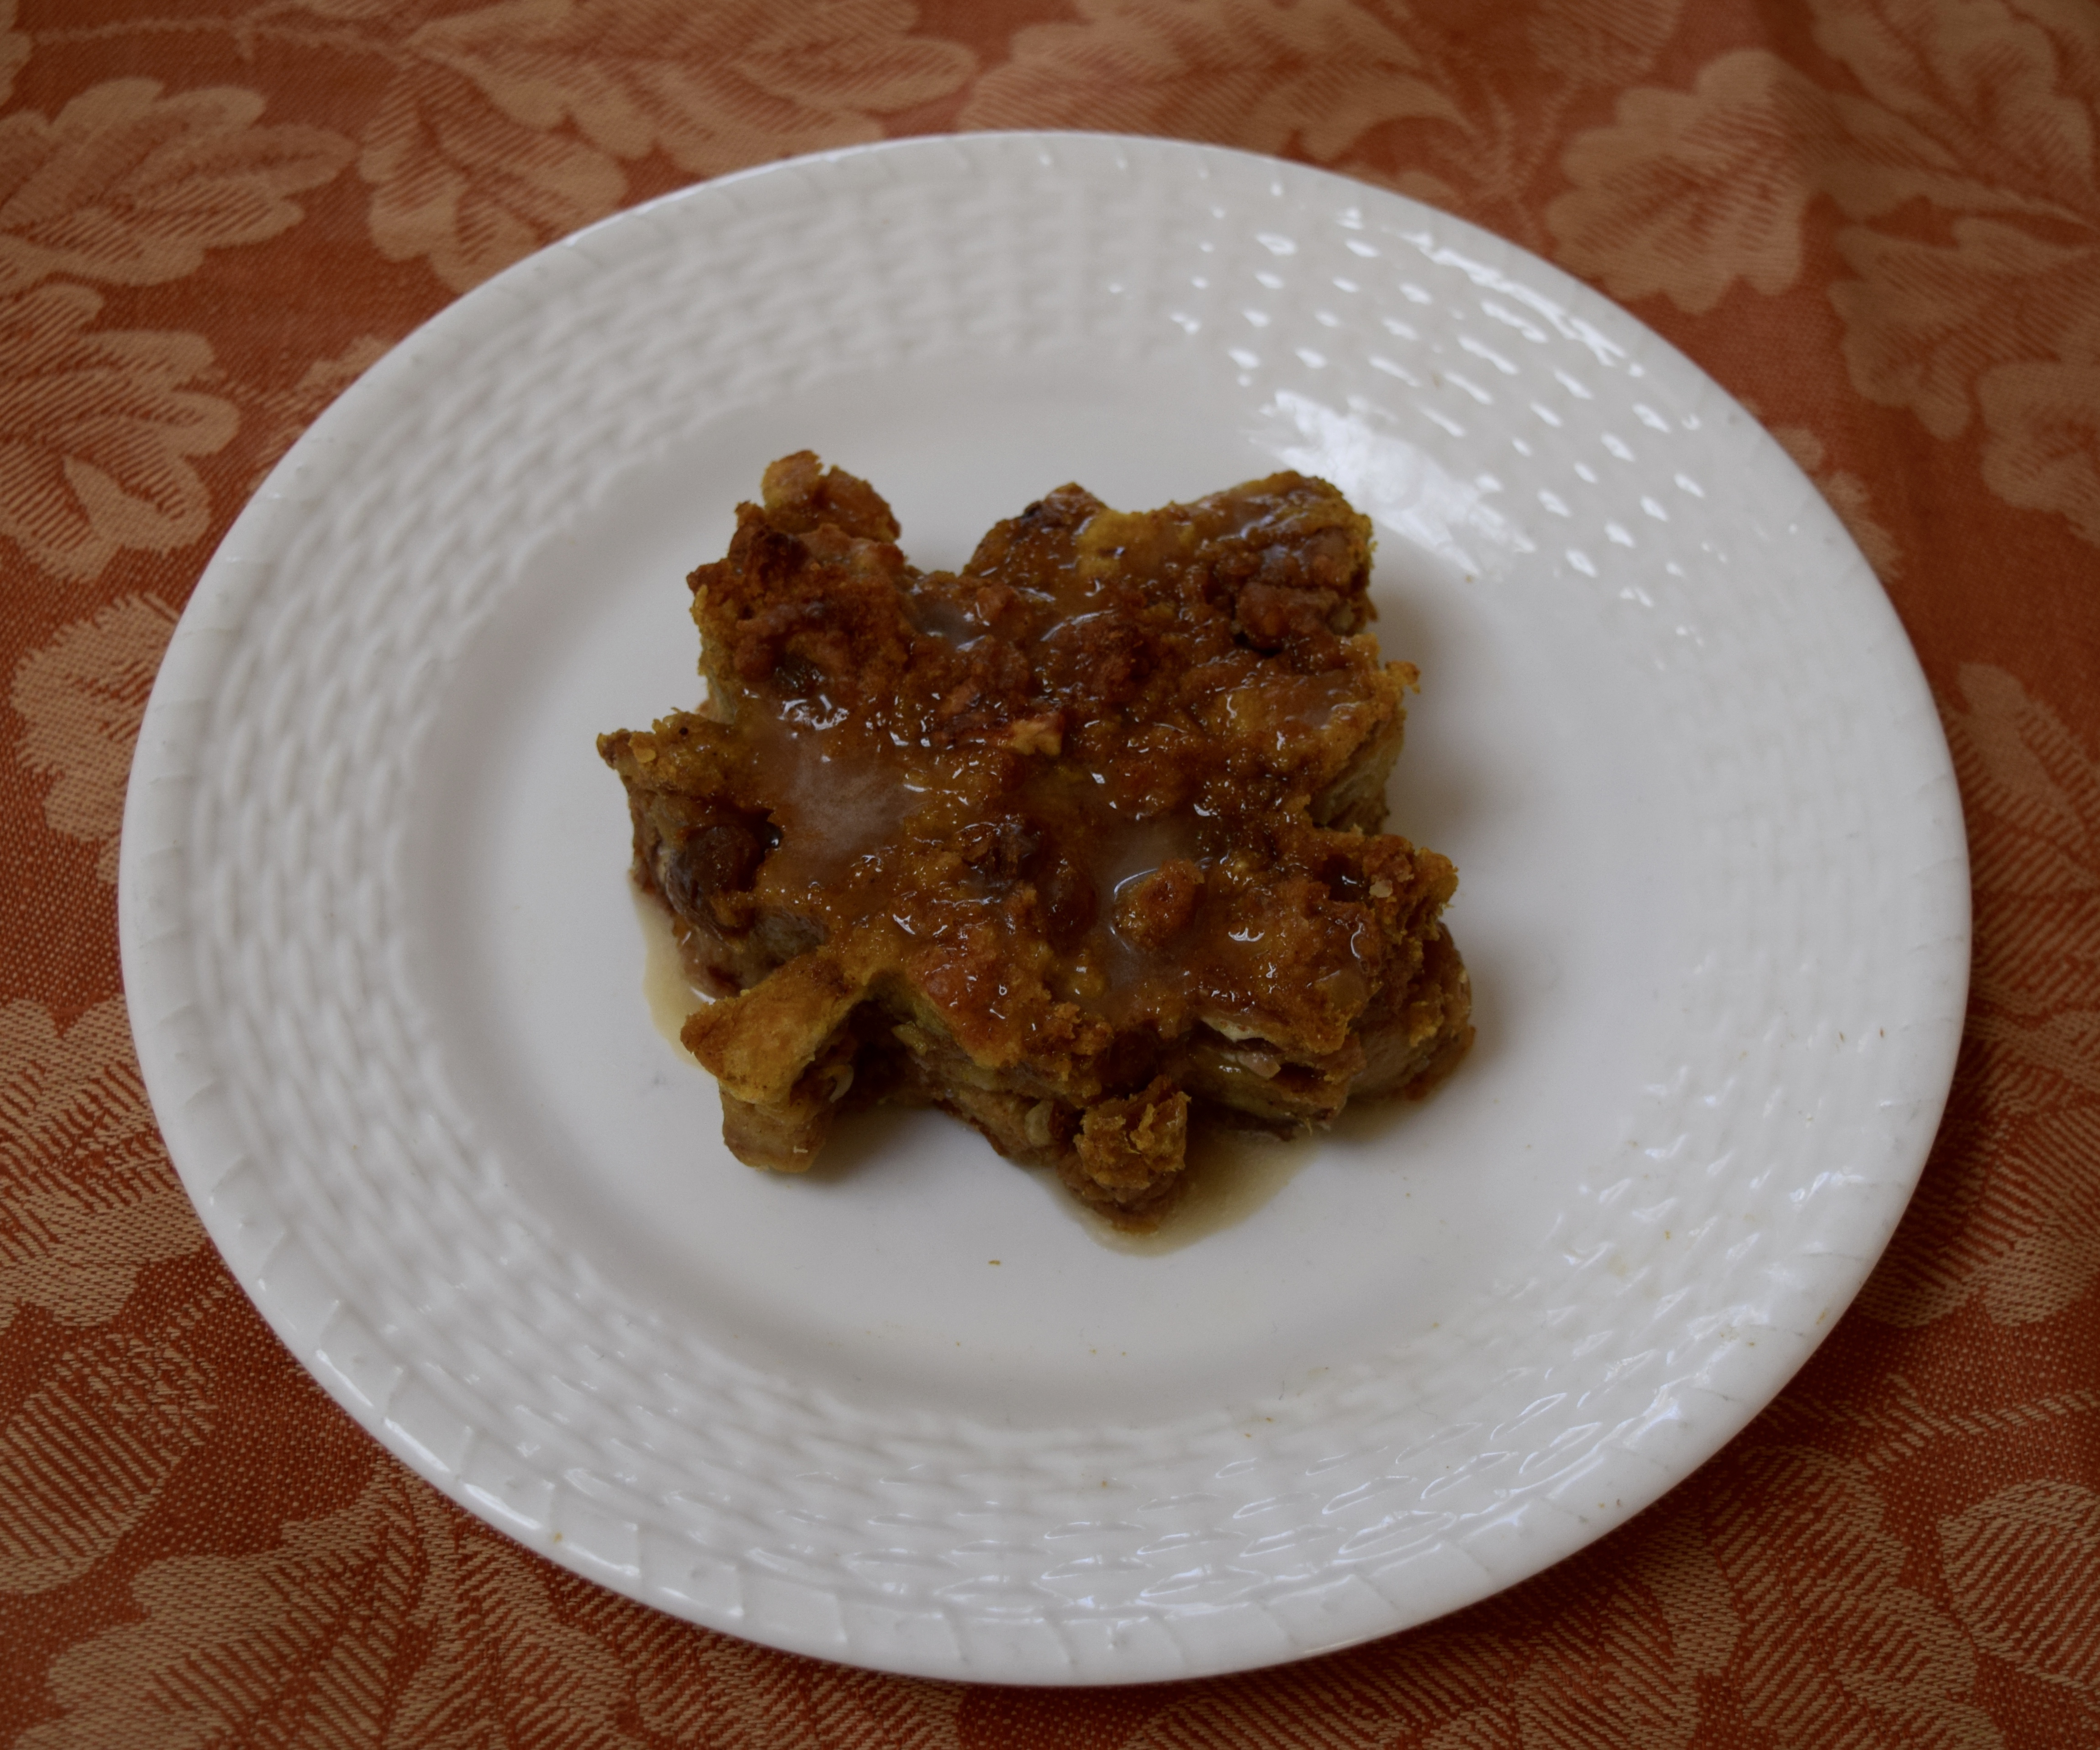
I had some bread pudding leftovers in the refrigerator and decided to play around with it. After cutting out the leaf shape with a cookie cutter, I warmed it in the microwave and then drizzled the Vanilla Glaze over it. It was good.
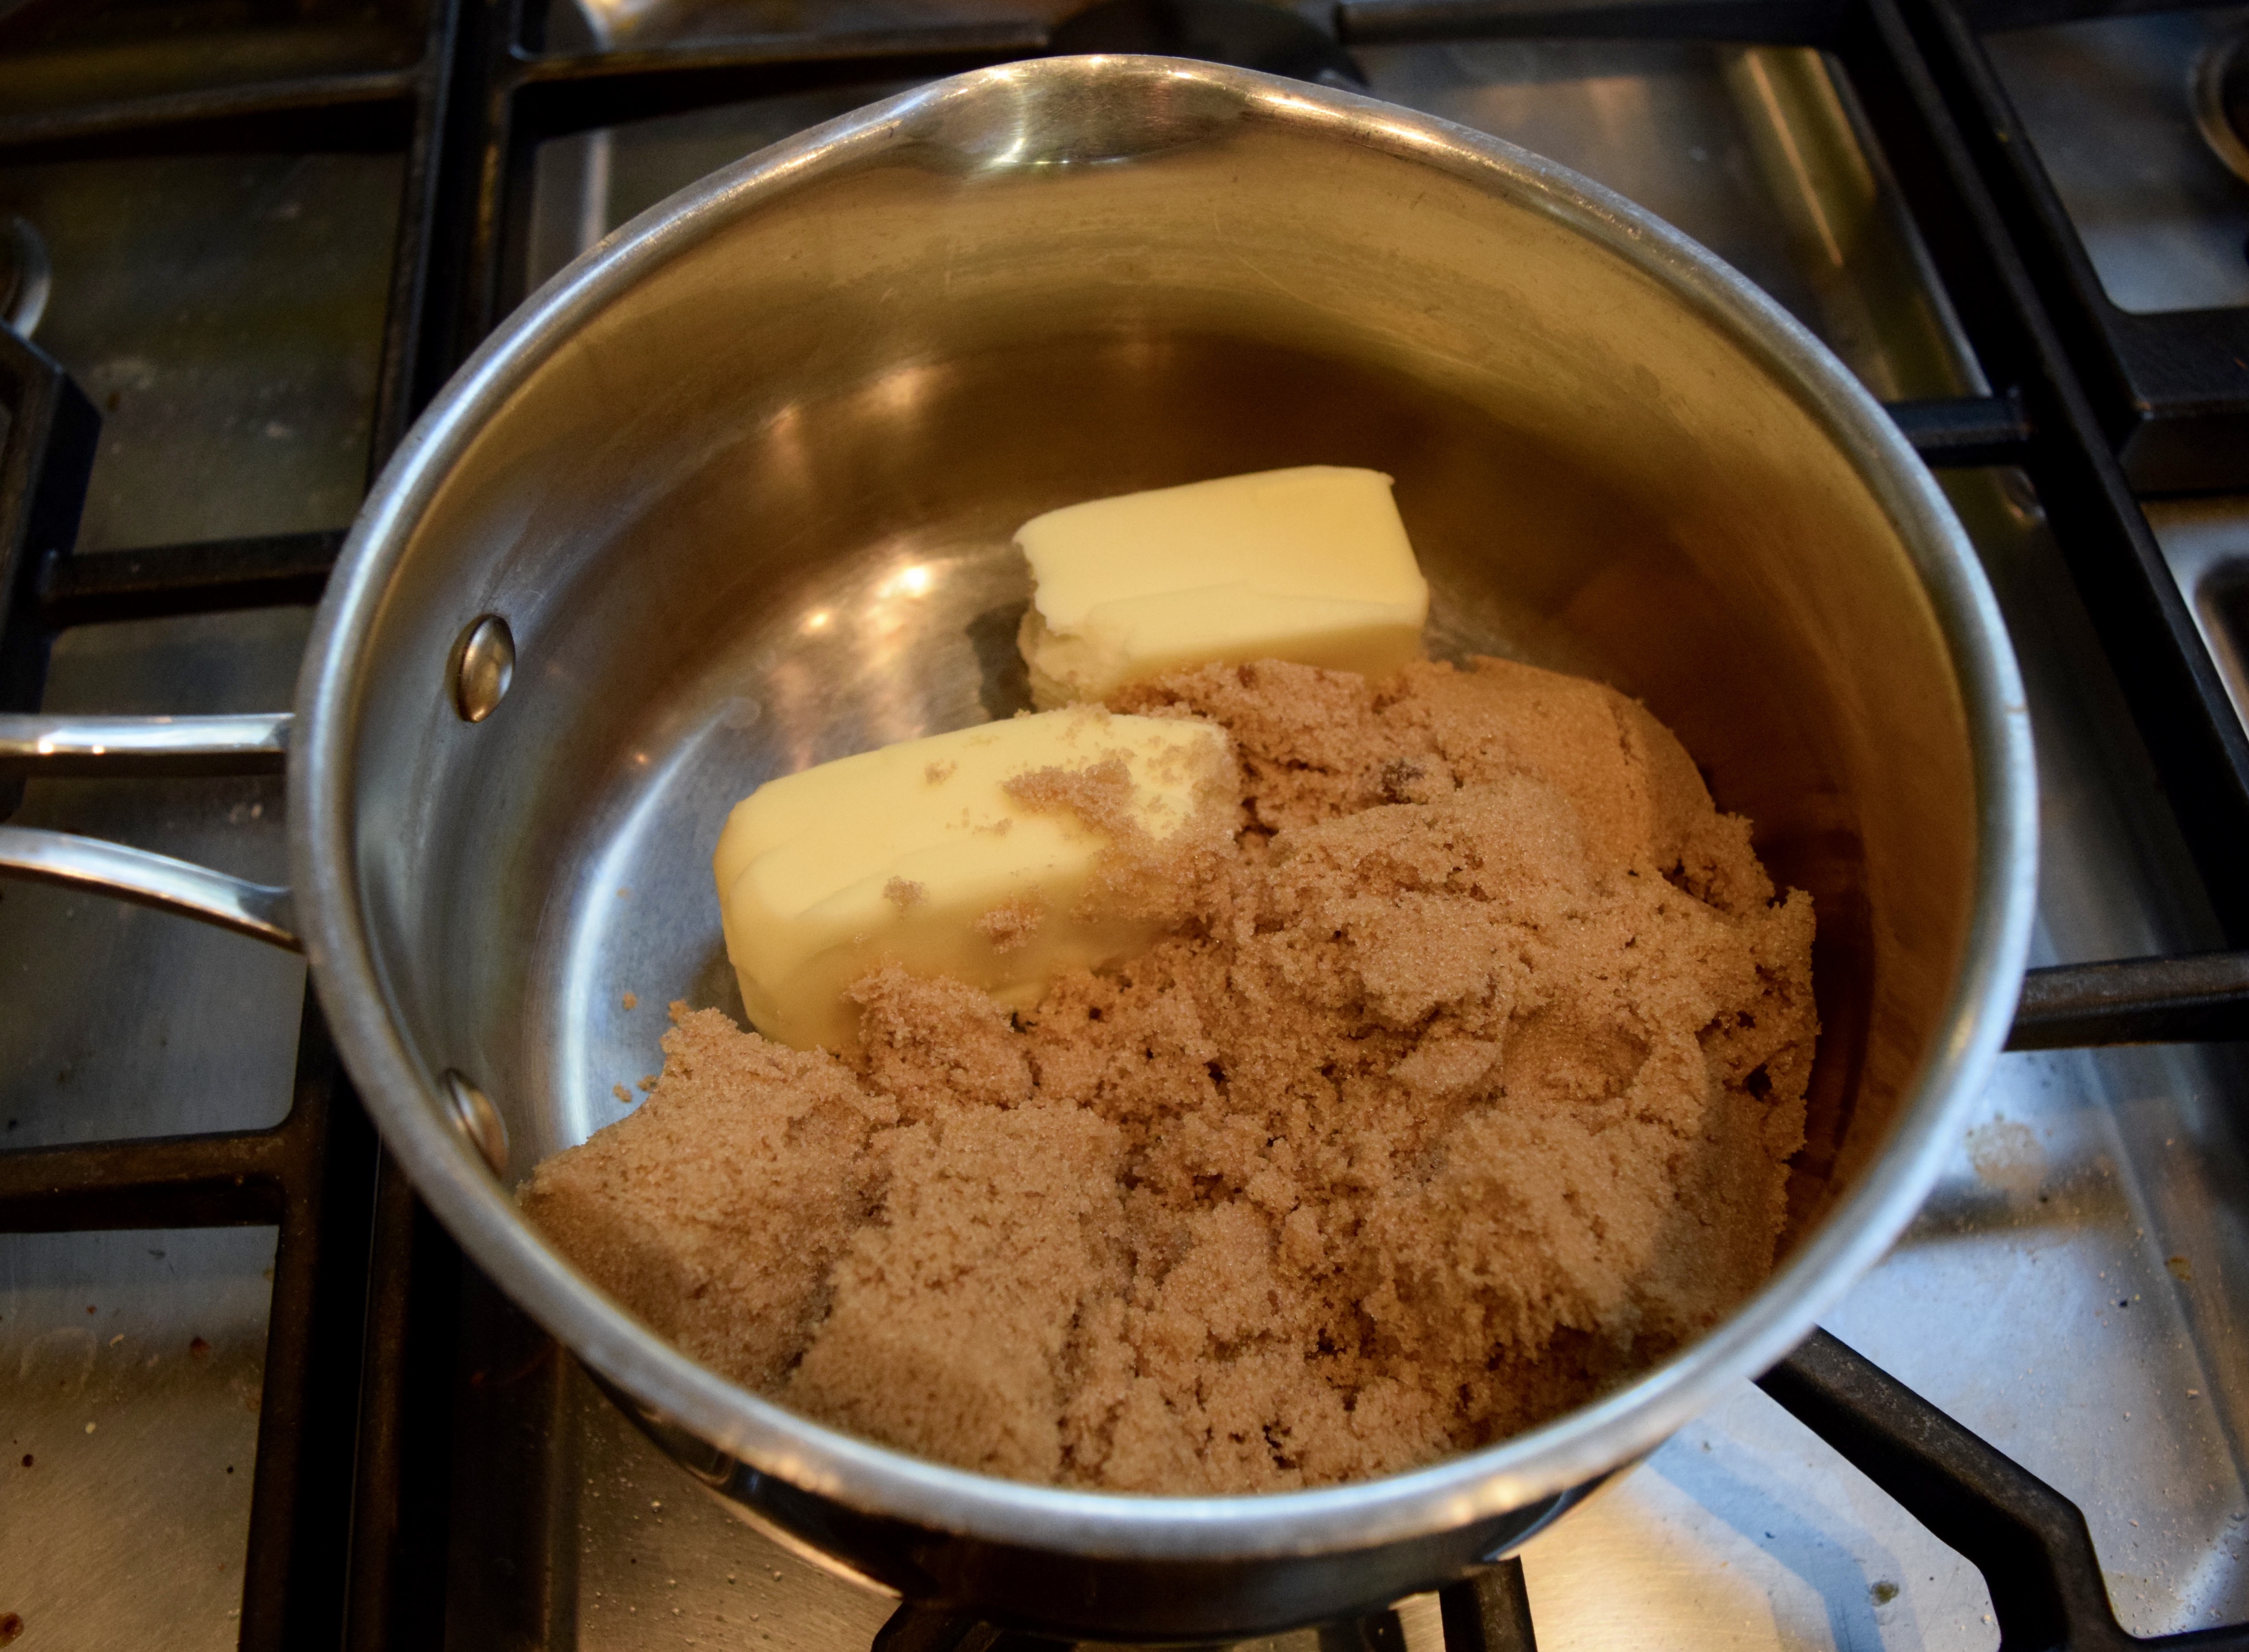
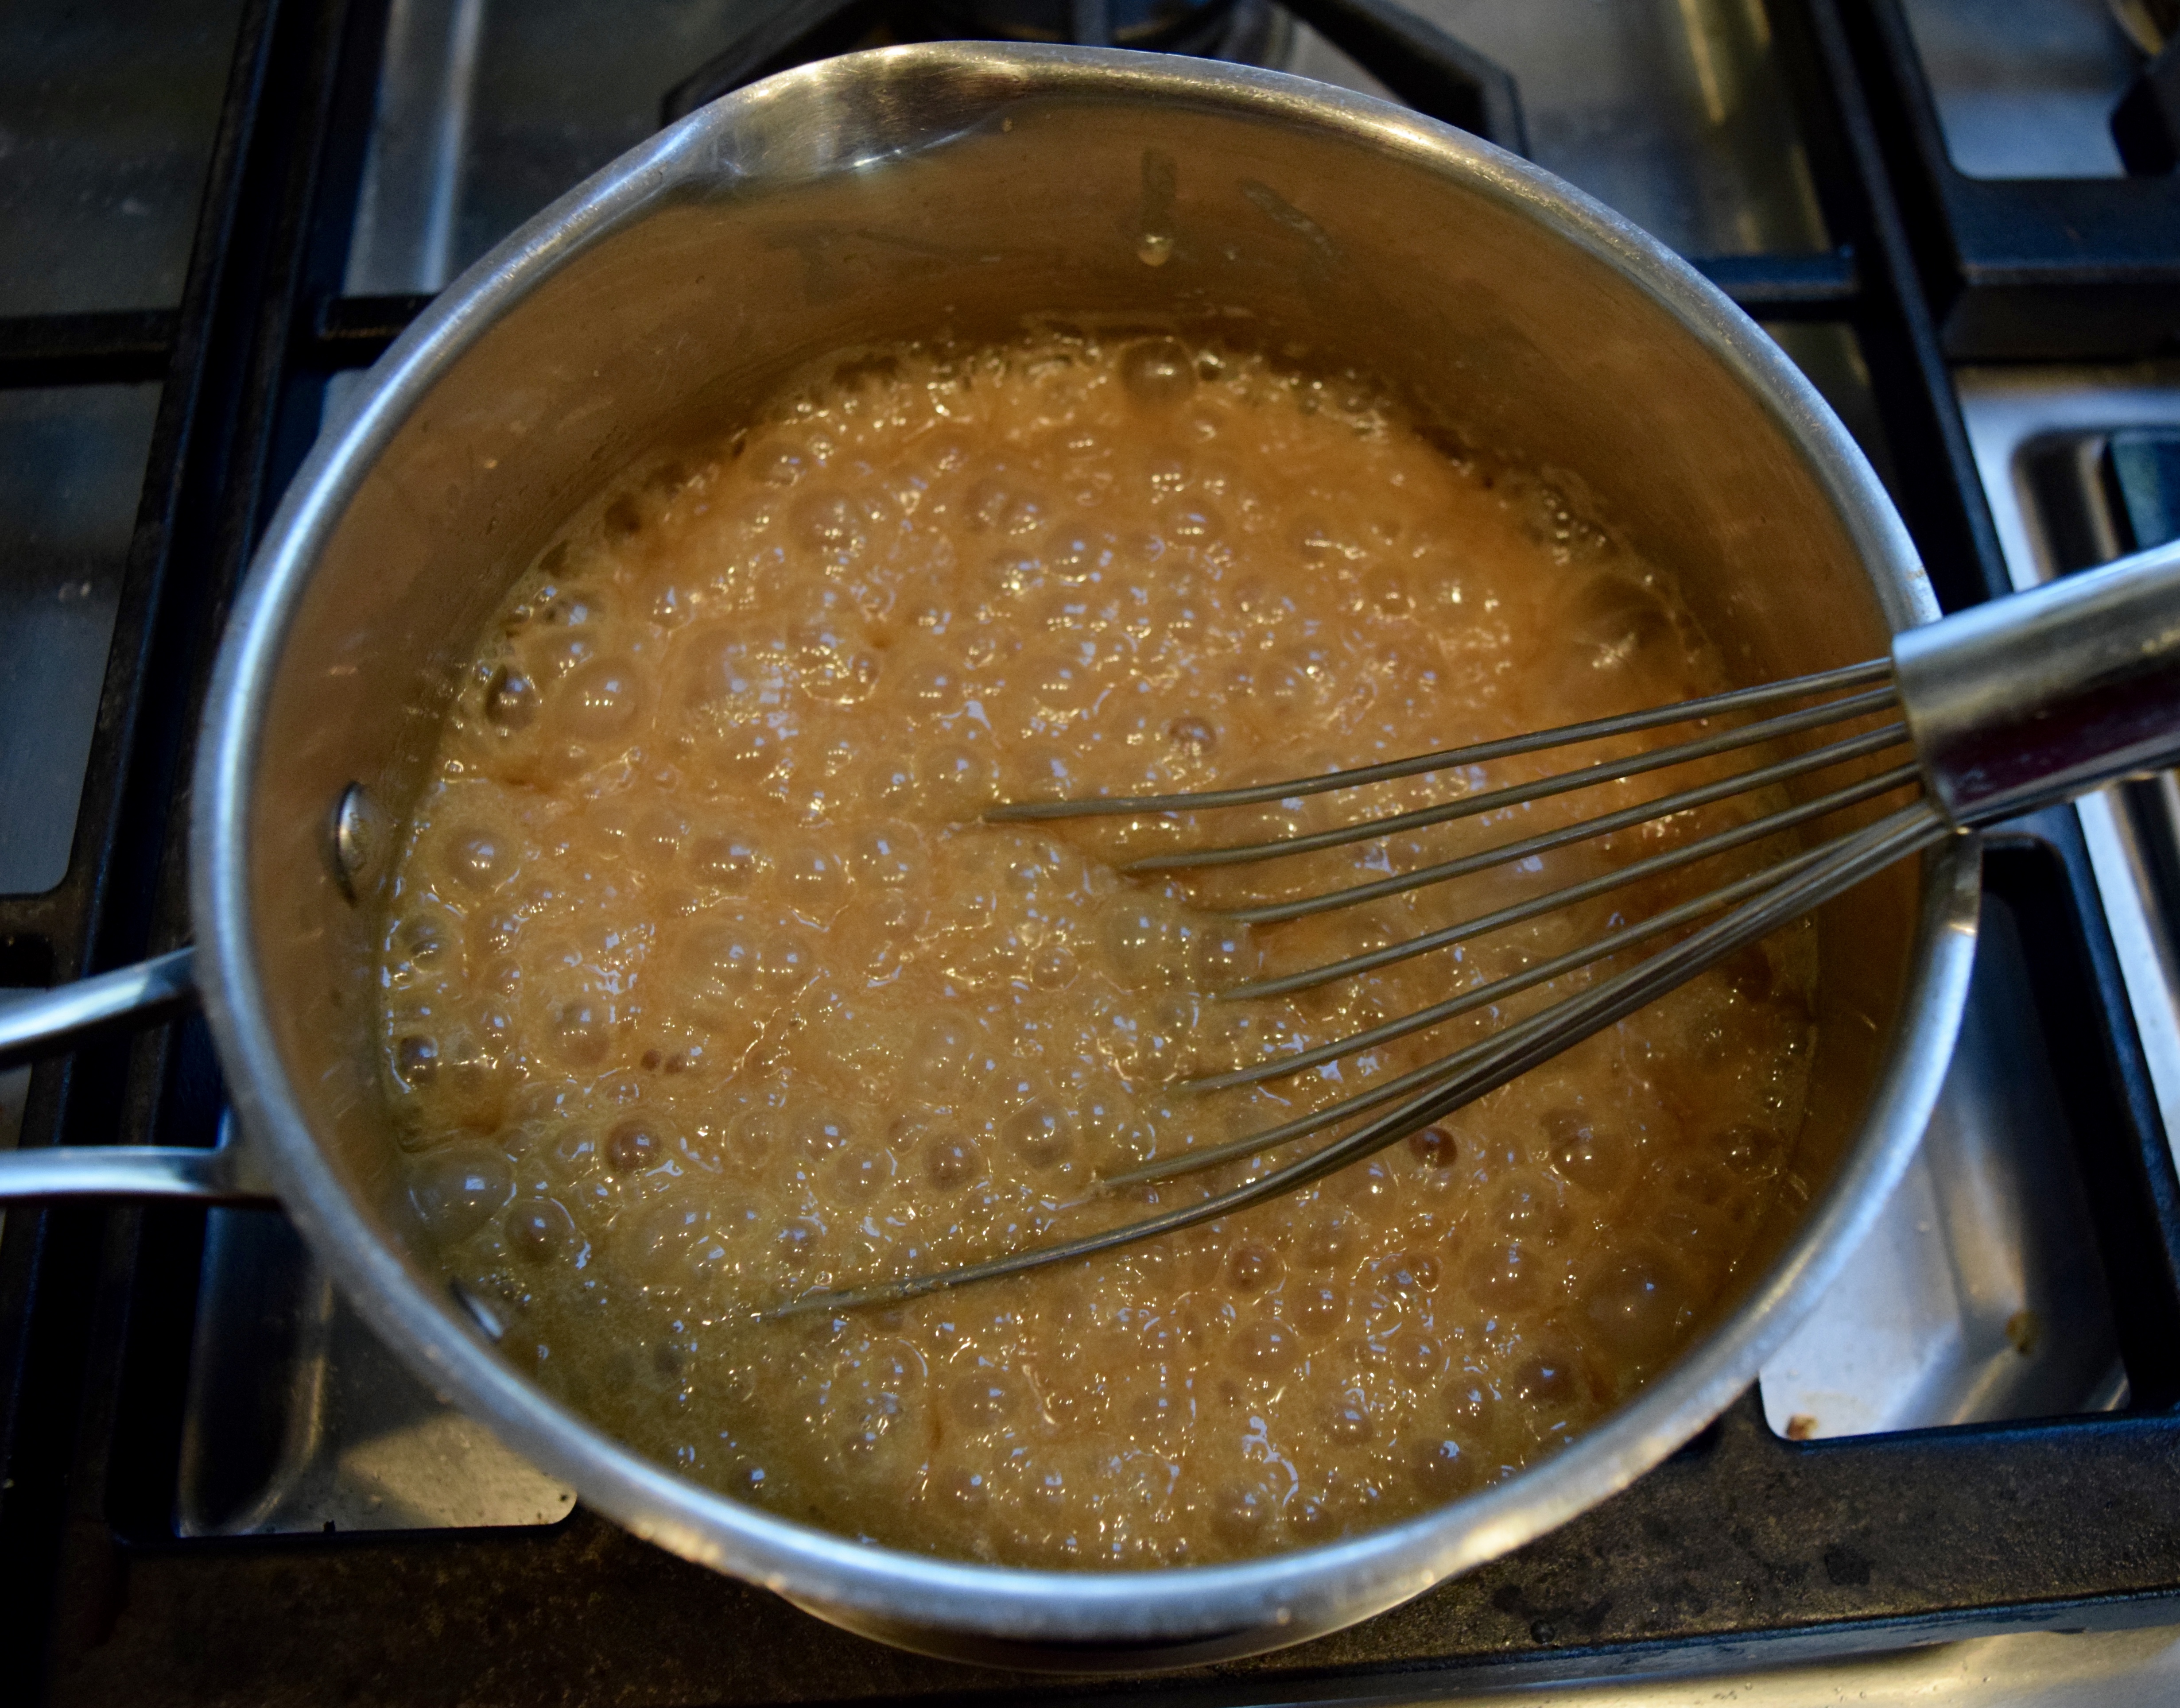
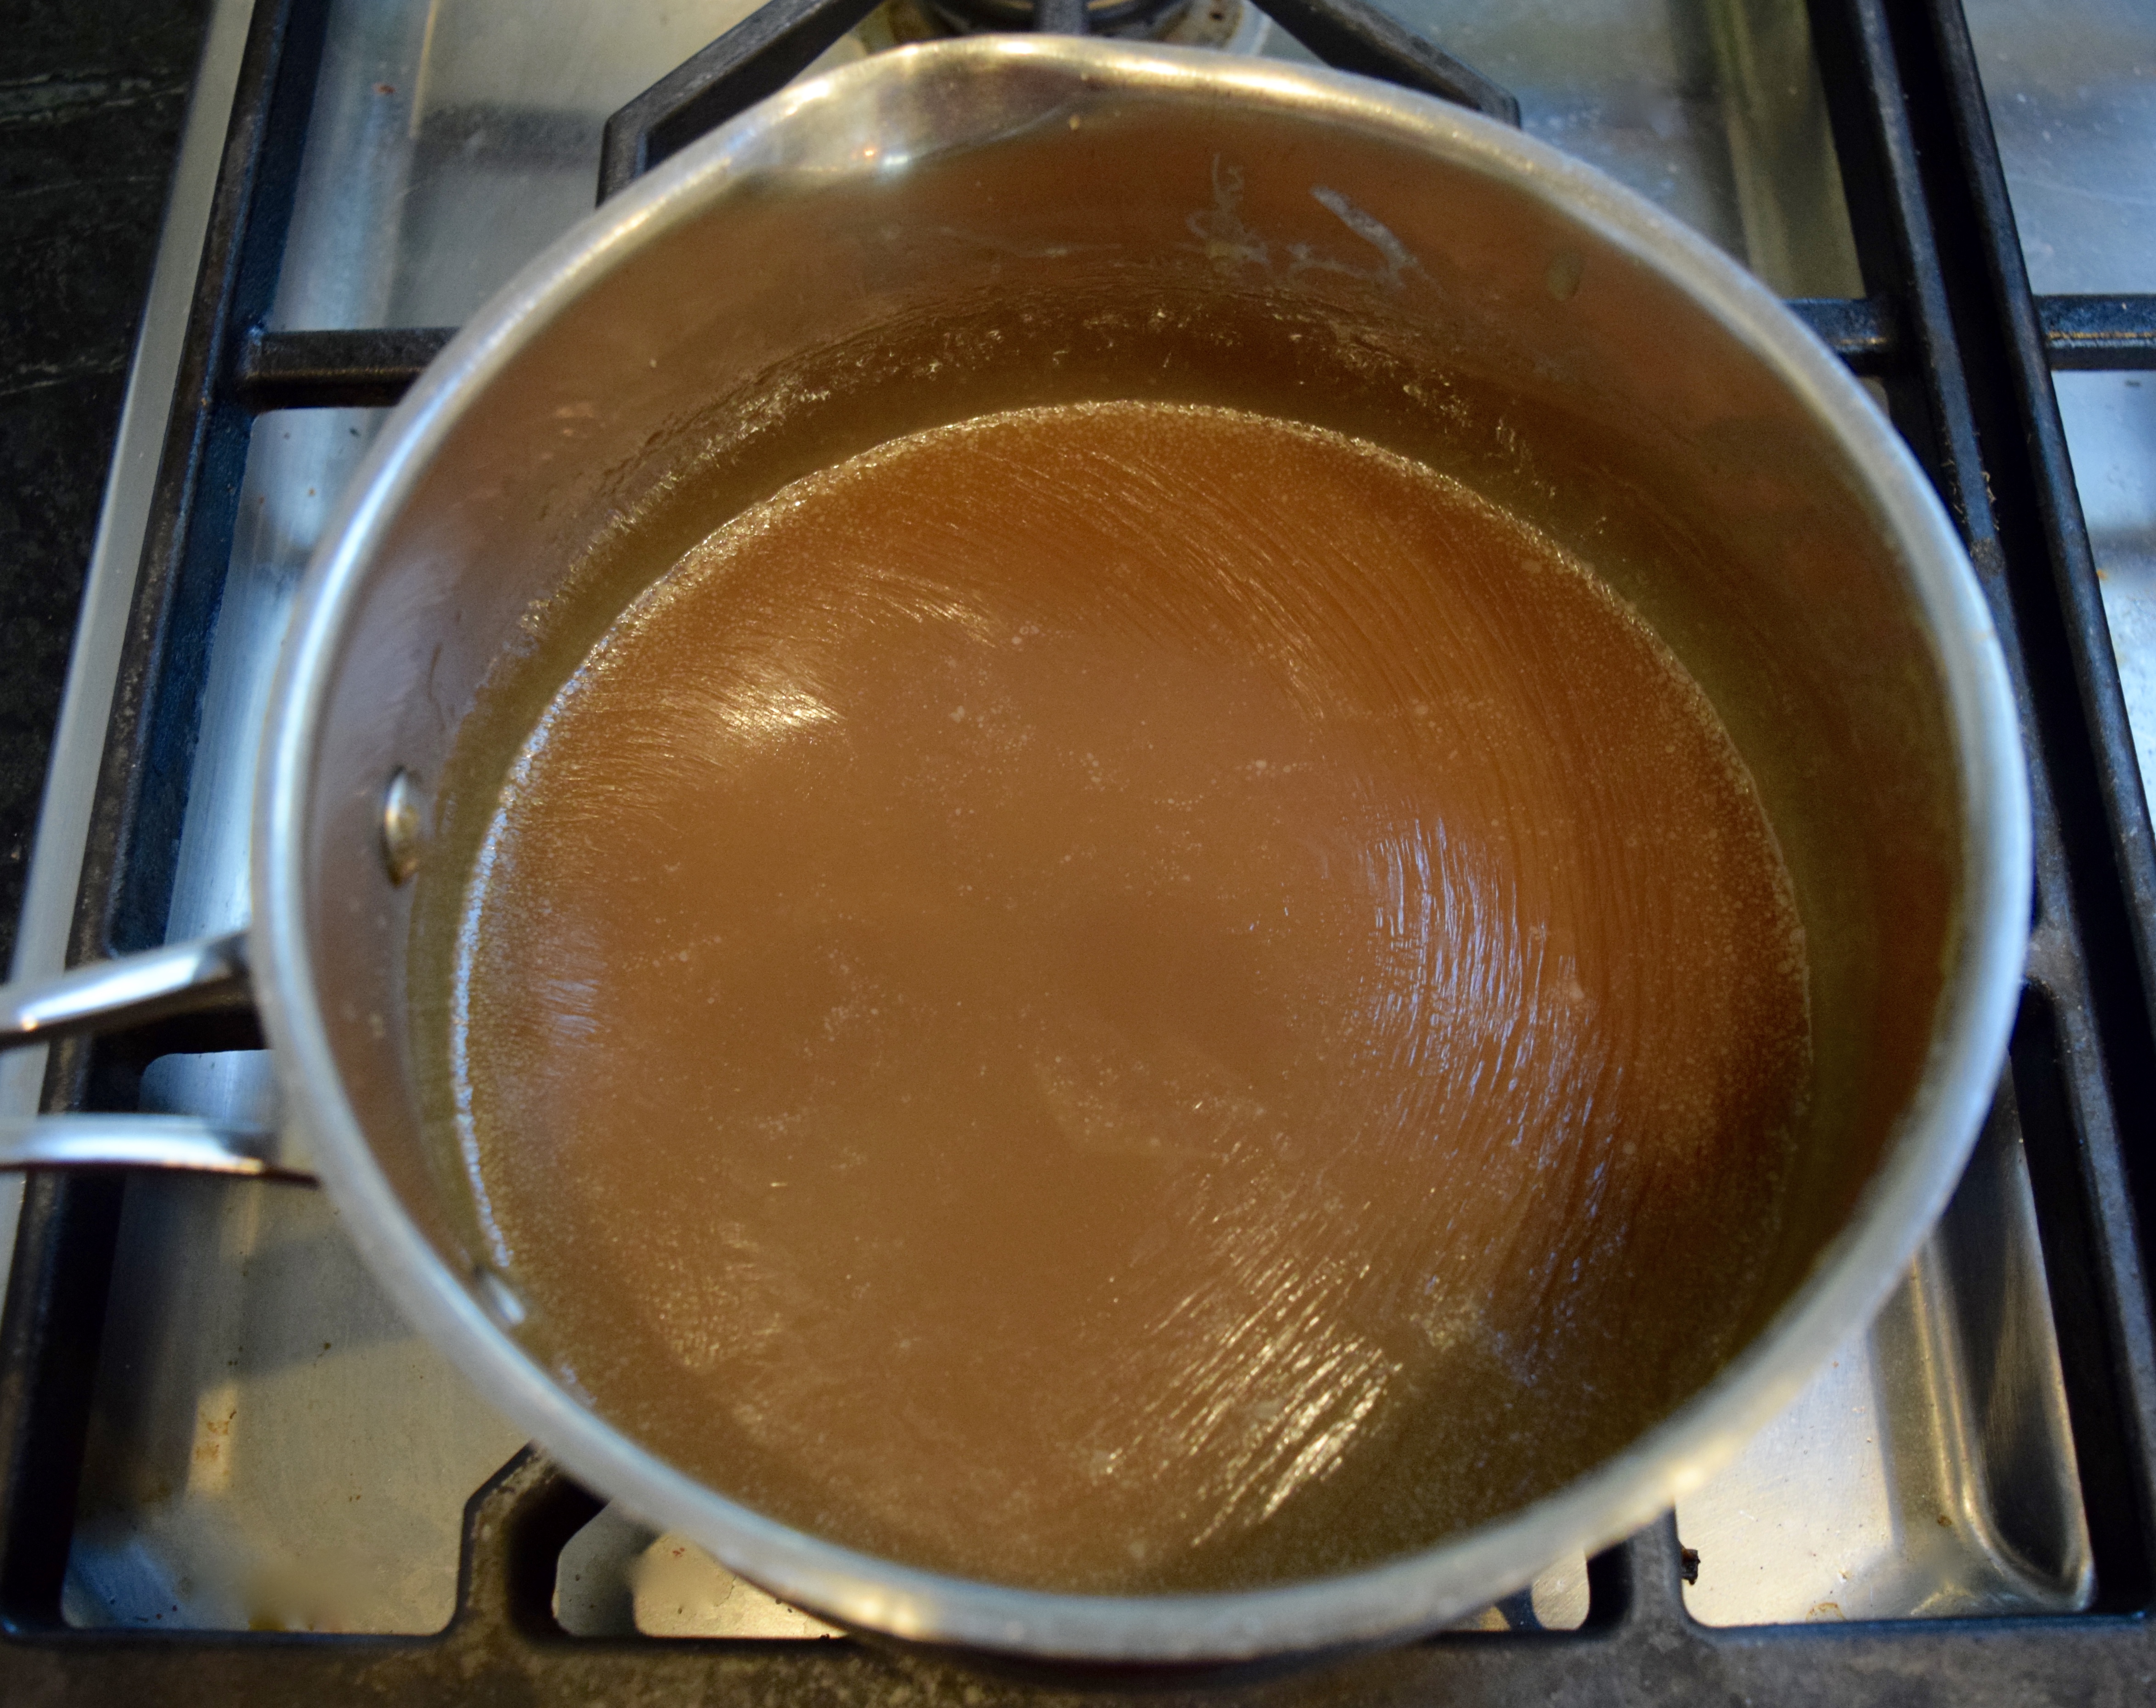
How to Make Caramel Sauce:
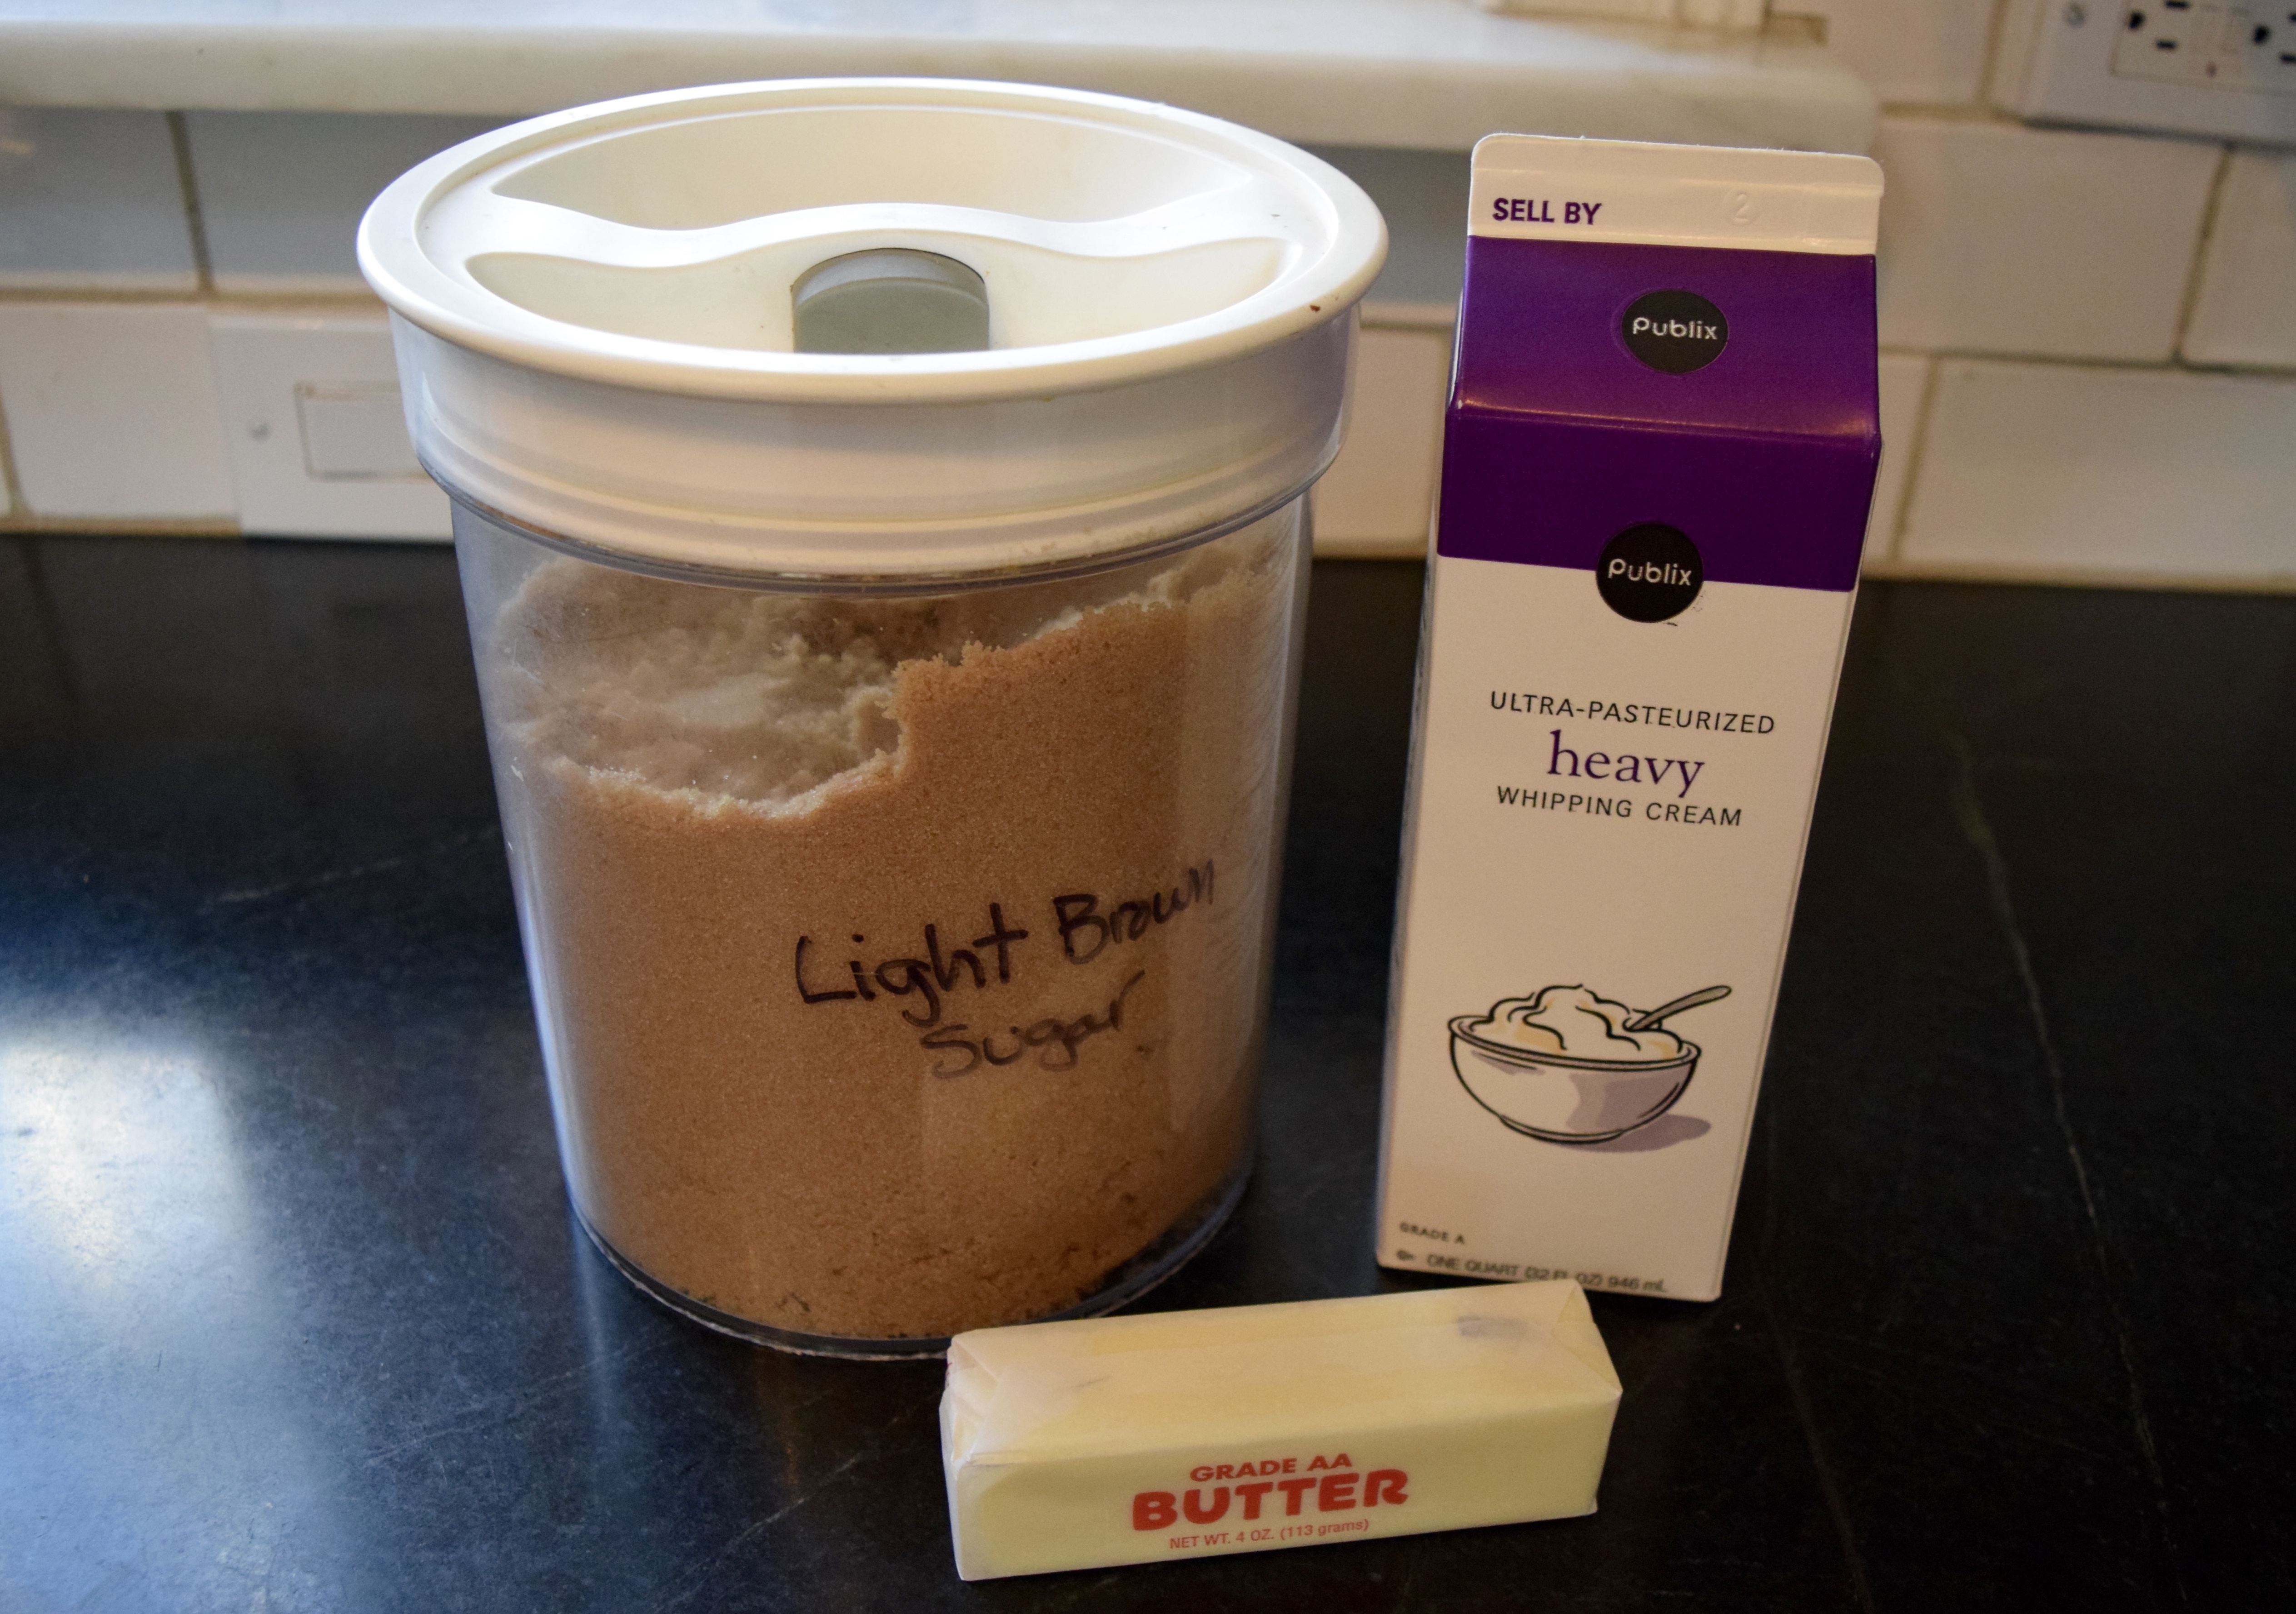
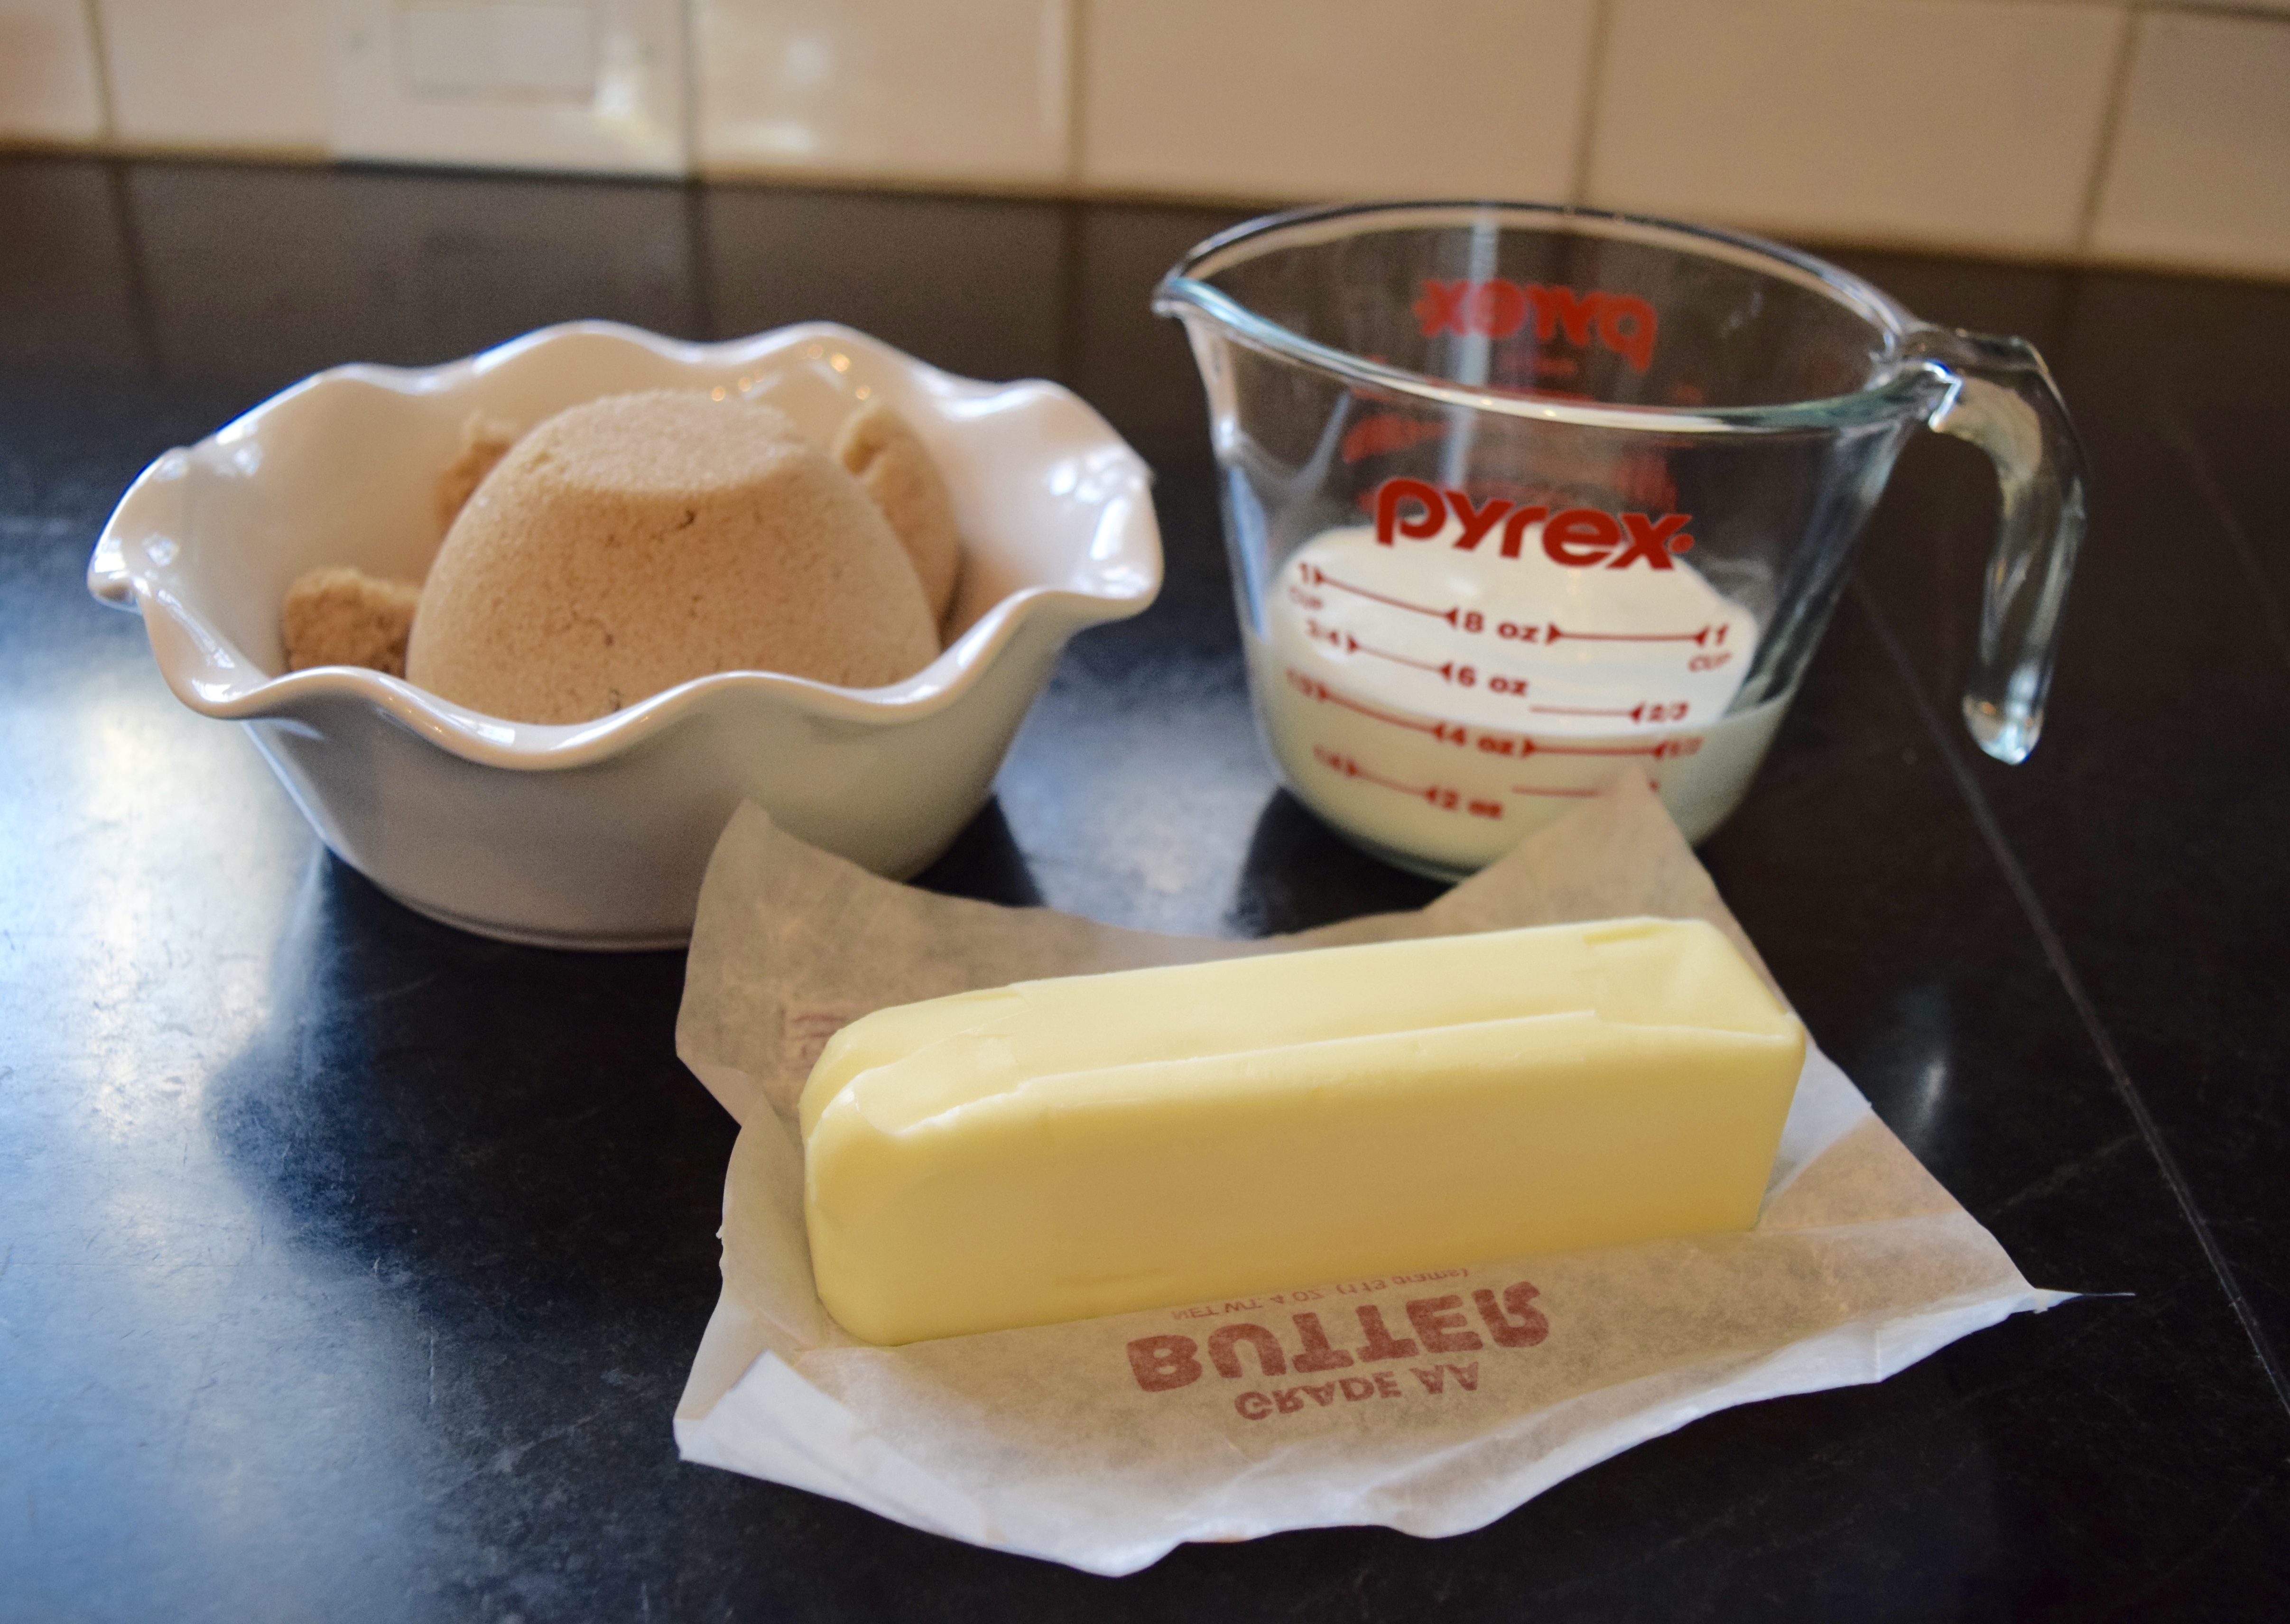
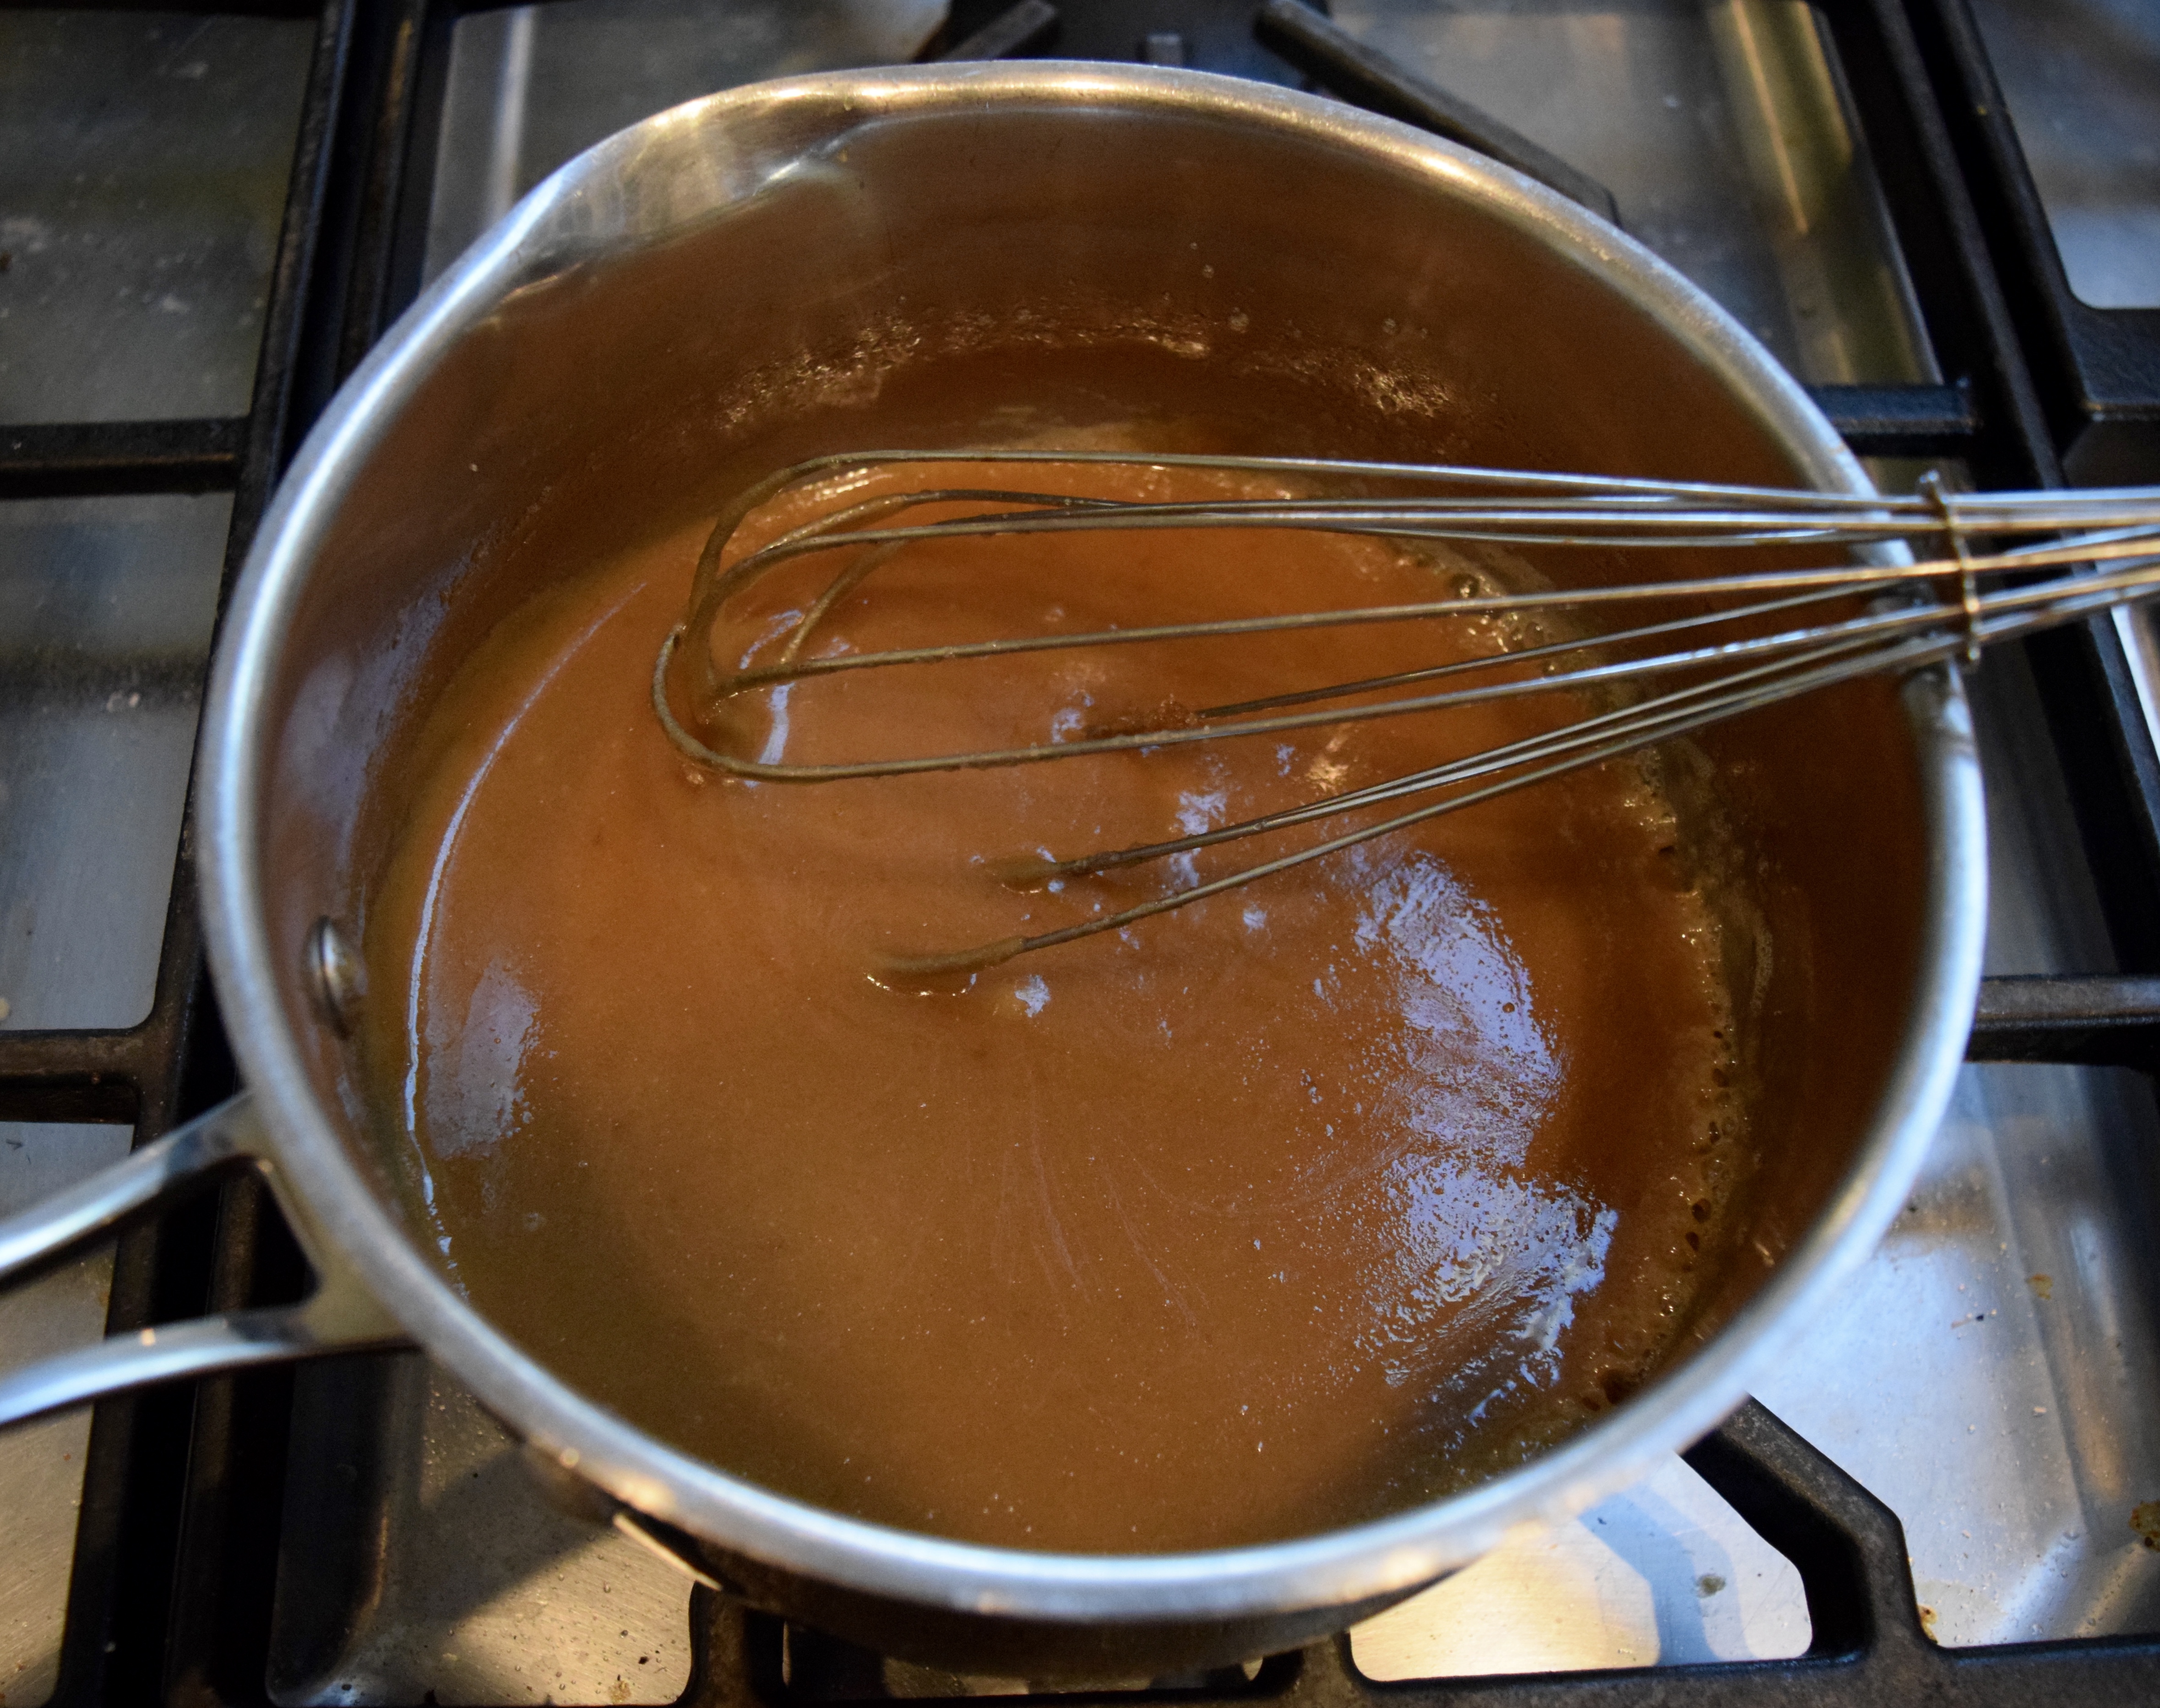
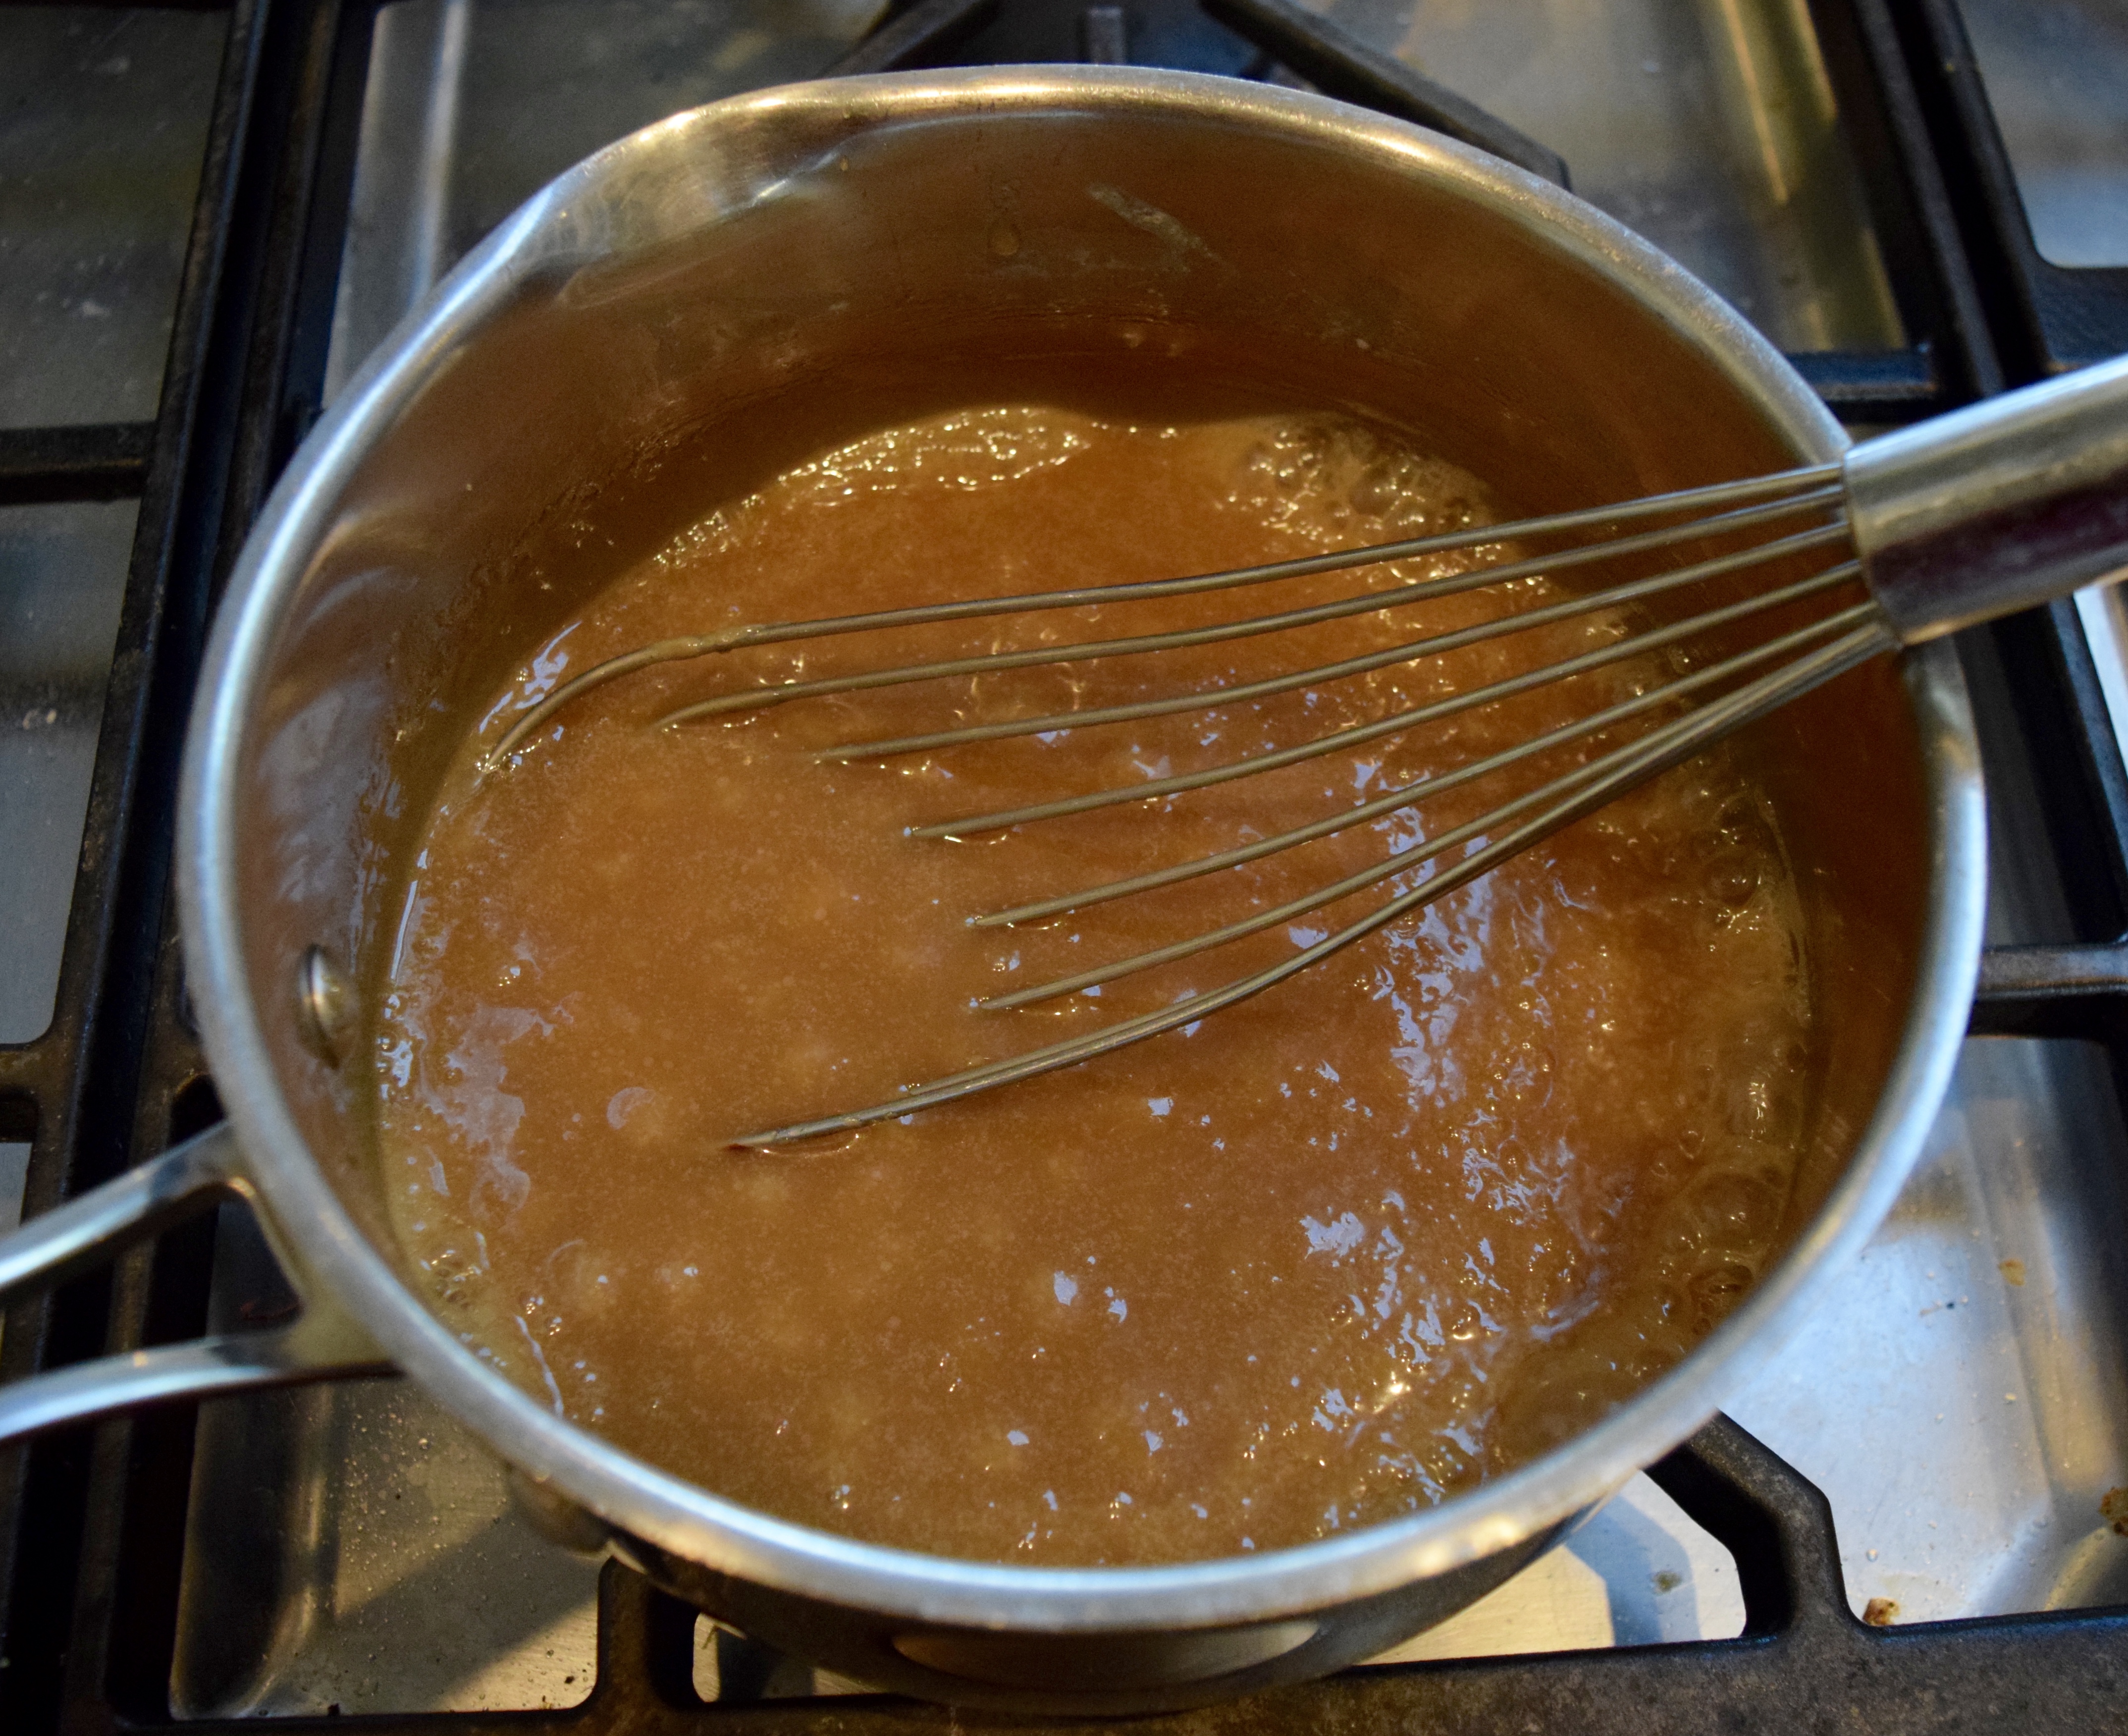
Whisk until butter is melted and the mixture is smooth.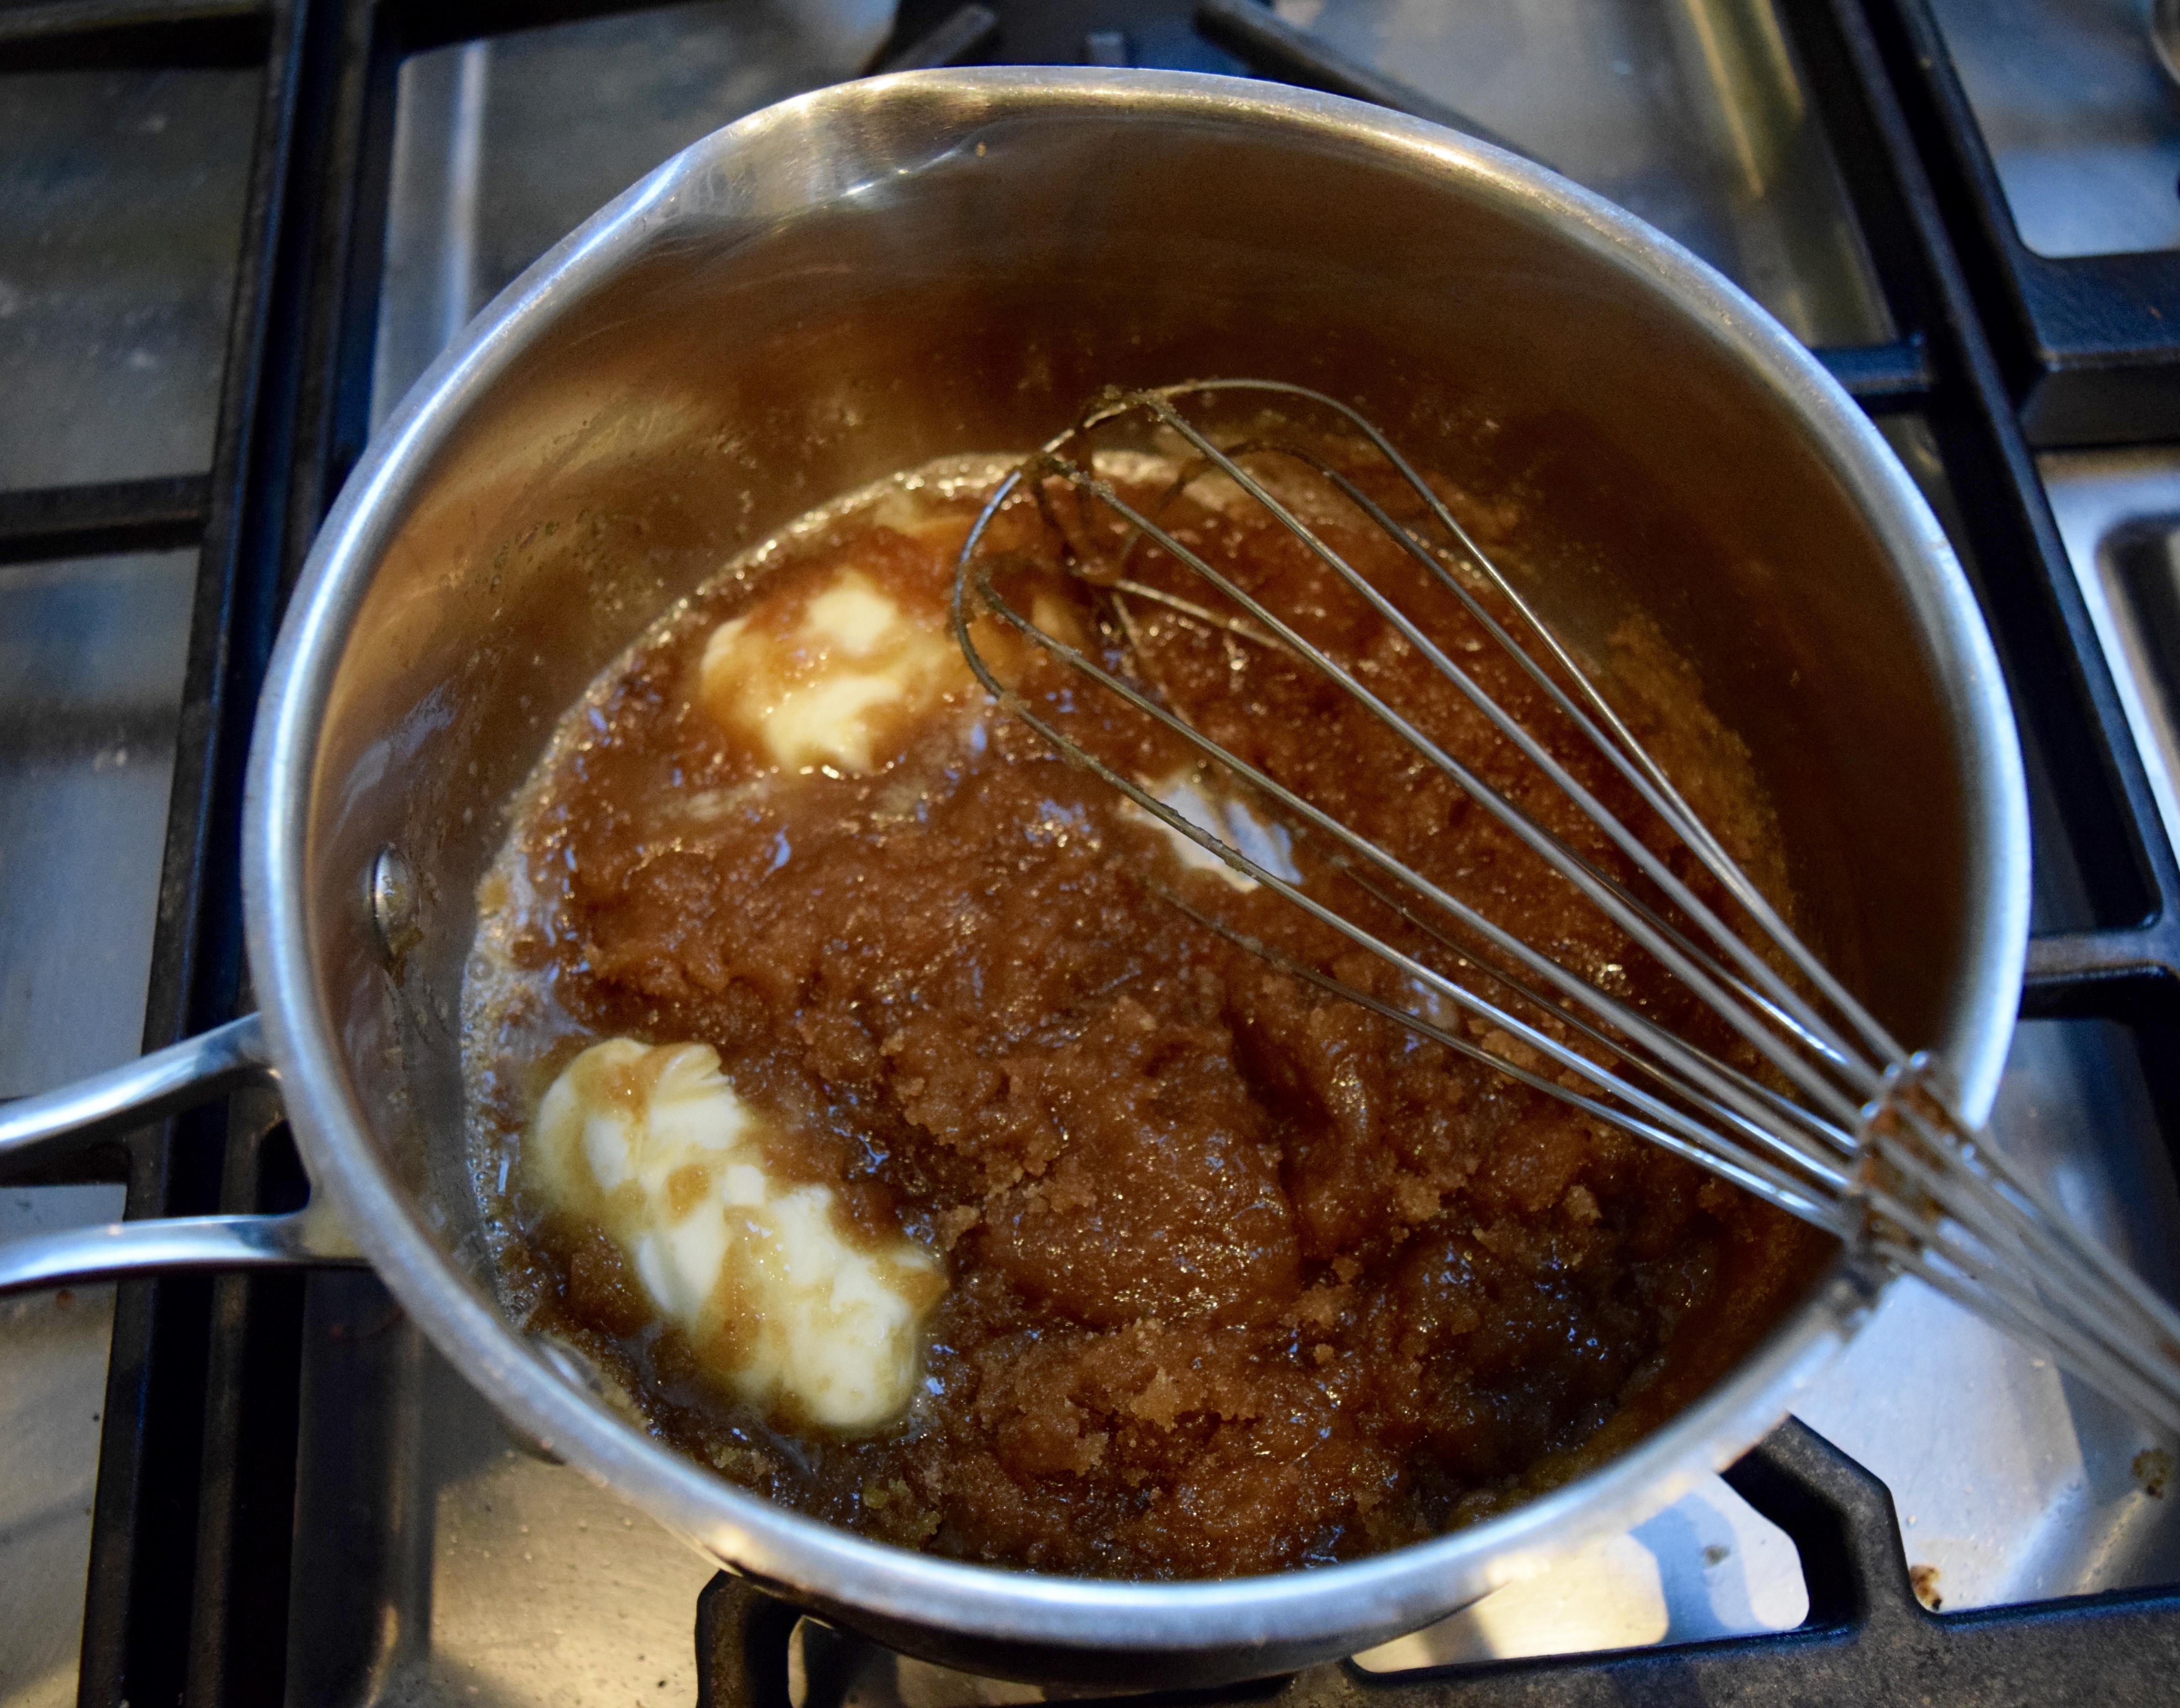


To have recipes delivered right to your inbox sign up to become a subscriber!
LET’S STAY CONNECTED!
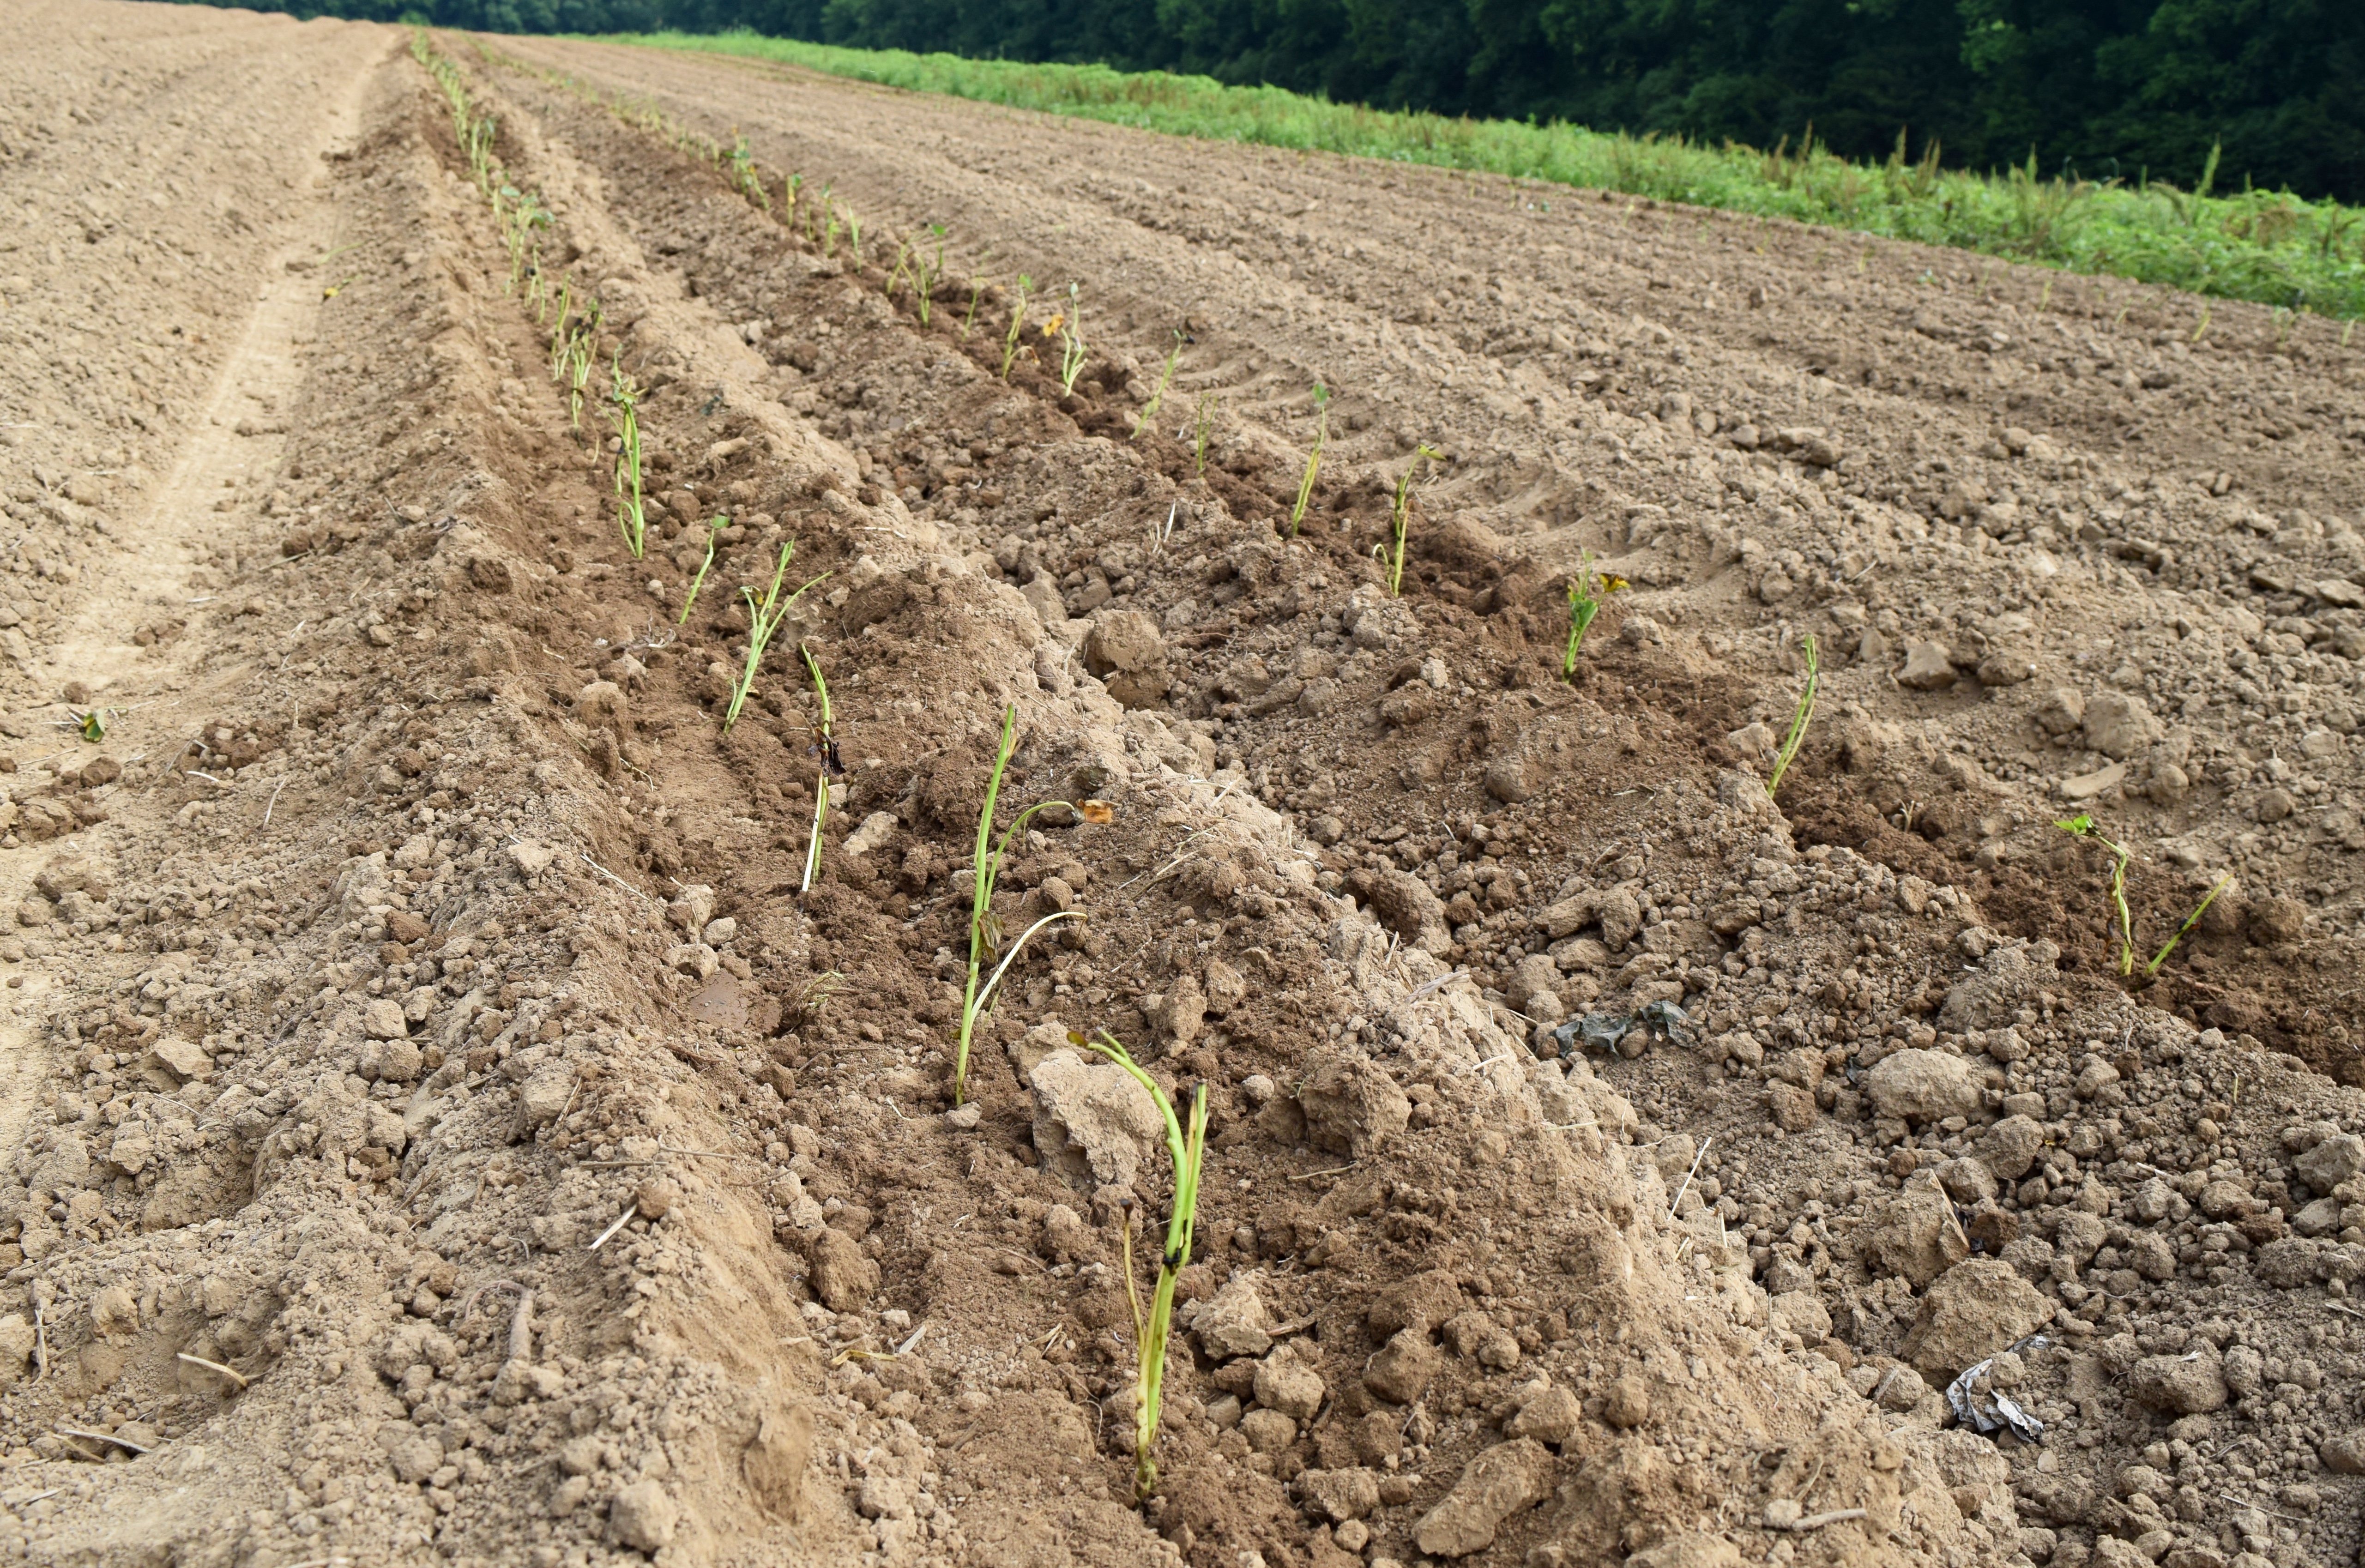
Follow my photos of vegetables growing, backyard chickens hanging out, and dinner preparations on Instagram at JudysChickens.
Never miss a post: sign up to become a follower of the Blog.
© 2014-2017 Judy Wright. All rights reserved. Photos and text may only be used with written consent.


