It was Friday night, the beginning of the last summer weekend on the lake. We were finishing dinner on the deck when we were suddenly overcome by a scourge of mosquitos just as dusk fell. We decided to head inside. Everyone grabbed something from the table to clear it as we skedaddled into the house.
I had baked my favorite blueberry pie for dessert about an hour earlier. Most bakers know not to cut into a fruit pie until the filling has had a chance to cool and set, but we had momentum in the room; the kind that comes from vigorous teens after a mad dash. It didn’t seem like the time to wait for a pie to set.
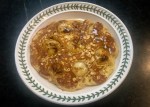
As everyone cleaned the plates and loaded the dishwasher, I sliced and plated the pie. The kids passed the plates around the room, bucket-brigade style. Not wanting to move en masse to find a seat at the table, everyone stood where they were and ate their pie. No one spoke, so intent were they on their warm slice of pie with its thick puddle of juices, not too sweet berries, and thick, crunchy crust.
It was a moment in time that I cherish — everyone content and huddled together in my kitchen.

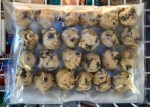
I usually make blueberry pie in late June and early July when blueberries are in season. To store surplus berries, I measure out 4-5 cup increments (enough for a pie) and place in storage containers in the freezer.
Yield: One 9″ Pie
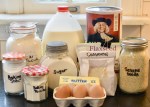
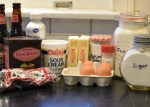
Ingredients

One 9-inch double pie crust ( I adore Trader Joe’s frozen pie crusts)
4-5, occasionally even 6, cups blueberries (all fresh or a mix of frozen and fresh)
1 teaspoon freshly zested lemon
½ teaspoon sea salt
½ teaspoon ground nutmeg
¼ teaspoon ground cinnamon
1⅓ cups granulated sugar
⅓ cup cornstarch
1 teaspoon vanilla extract
3 tablespoons butter, cut into thin slices
1 egg and a sprinkle of sugar for egg wash, if desired
Instructions
Preheat oven to 450º. If you have a pizza stone, put it in the oven on the middle rack to preheat with the oven. I find that cooking pie on a hot pizza stone helps the bottom crust cook more fully.
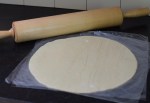
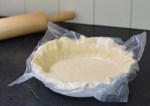
Prepare or purchase a double pie crust. Unroll one crust, use a rolling pin to smooth it out, and place in a 9″ pie pan as described in my Strawberry Rhubarb Pie post. Set aside.
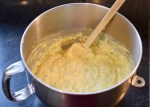
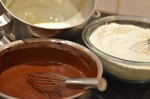
Pour blueberries into a heavy-bottomed saucepan. Add sugar, cornstarch, lemon zest, salt, nutmeg, and cinnamon. Stir together.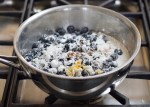
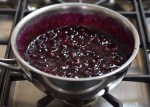
Cook on medium heat, stirring often, until thick, bubbly, and glistening. The juice color will change from dull to shiny within five minutes. Stir in vanilla extract. Remove from heat.

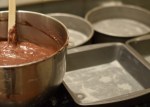
Pour filling into unbaked pie crust. Dot with sliced butter.

Roll out second crust, place over filling, and tuck in edges.

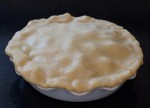
Crimp edges and slash crust with a knife to create vents for steam.
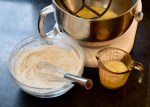
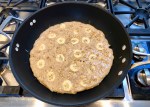
If desired, add an egg wash to the upper crust for a more finished look. Using a fork, beat egg in a small bowl. Use a pastry brush to spread over crust. If the wash puddles in the dimples of the crust, use a paper towel to mop it up. Sprinkle sugar over top.

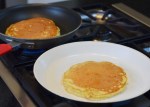
Here’s what the crust looks like with and without a wash.


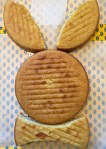
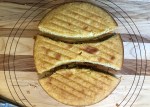
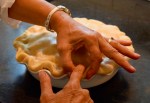
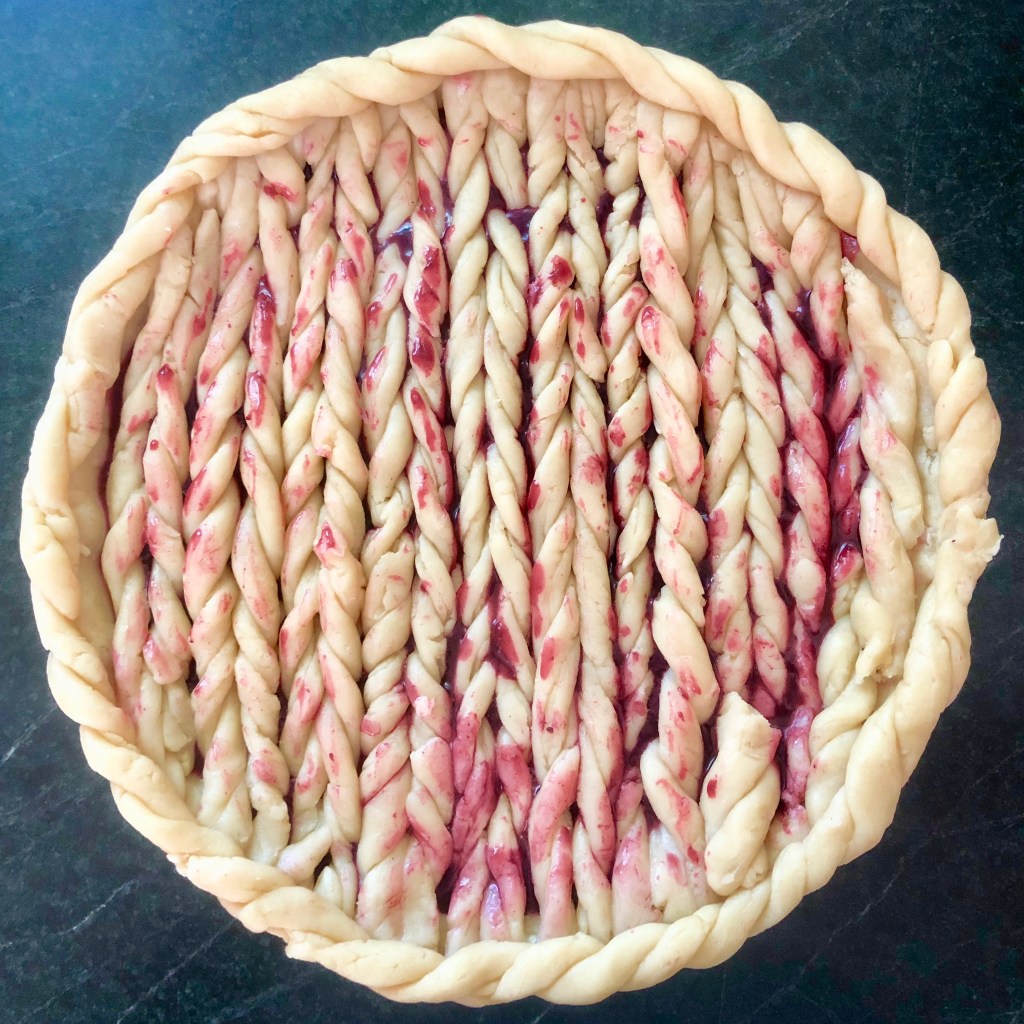
Here it is with a stockinette pattern piecrust from Mason Dixon Knitting. Here is a link to the piecrust instructions. So fun!

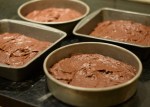
Place pie on the preheated pizza stone and bake for 10 minutes at 450º. Reduce heat to 350º and cook for 35-45 minutes. After the first ten minutes at 450º, you’ll notice the crust will already be lightly browned. To keep the crust’s edges from browning too much, place a pie crust shield over the rim. If you don’t have one, cover rim with strips of foil.
The pie is done when the crust turns golden brown and the juices start to bubble out.
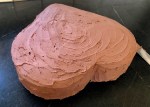
Birthday Pie
SOME people request blueberry pie instead of cake for their birthday. For my husband (and for me, too), it has to be THIS recipe because after 35 years of eating blueberry pie with the subtle tastes of nutmeg and cinnamon in it, other blueberry pies taste bland by comparison.

Goodbye summer of 2019!

And, Becca and Joe, I’ll be back next summer to get more blueberries from Rosebud Farm. It was at their farm that I filmed the sheep for the story The Sheep of Nashville: The Chew Crew. You two sure make retirement look like fun!

Other Fruit Desserts
Mom’s Apple Pie with a Cheddar Topping
Homemade Grape Jelly
Mrs. Walker’s Cranberry Nut Pie
Strawberry Rhubarb Pie
My Favorite Peach Custard Pie
Very Berry Clafoutis
Fruit and Nut Bread
If you enjoyed this post, please become a subscriber! Be sure to confirm the subscription on the follow-up letter sent to your email address.
Follow Judy’s Chickens on Instagram and Pinterest @JudysChickens.
Always check my blog for the latest version of a recipe.
© 2014-2019 Judy Wright. All rights reserved. Photos, videos, and text may only be reproduced with the written consent of Judy Wright.