These ginger cookies are killer, but you will need to endure my story to get to the recipe, so sayeth my husband!

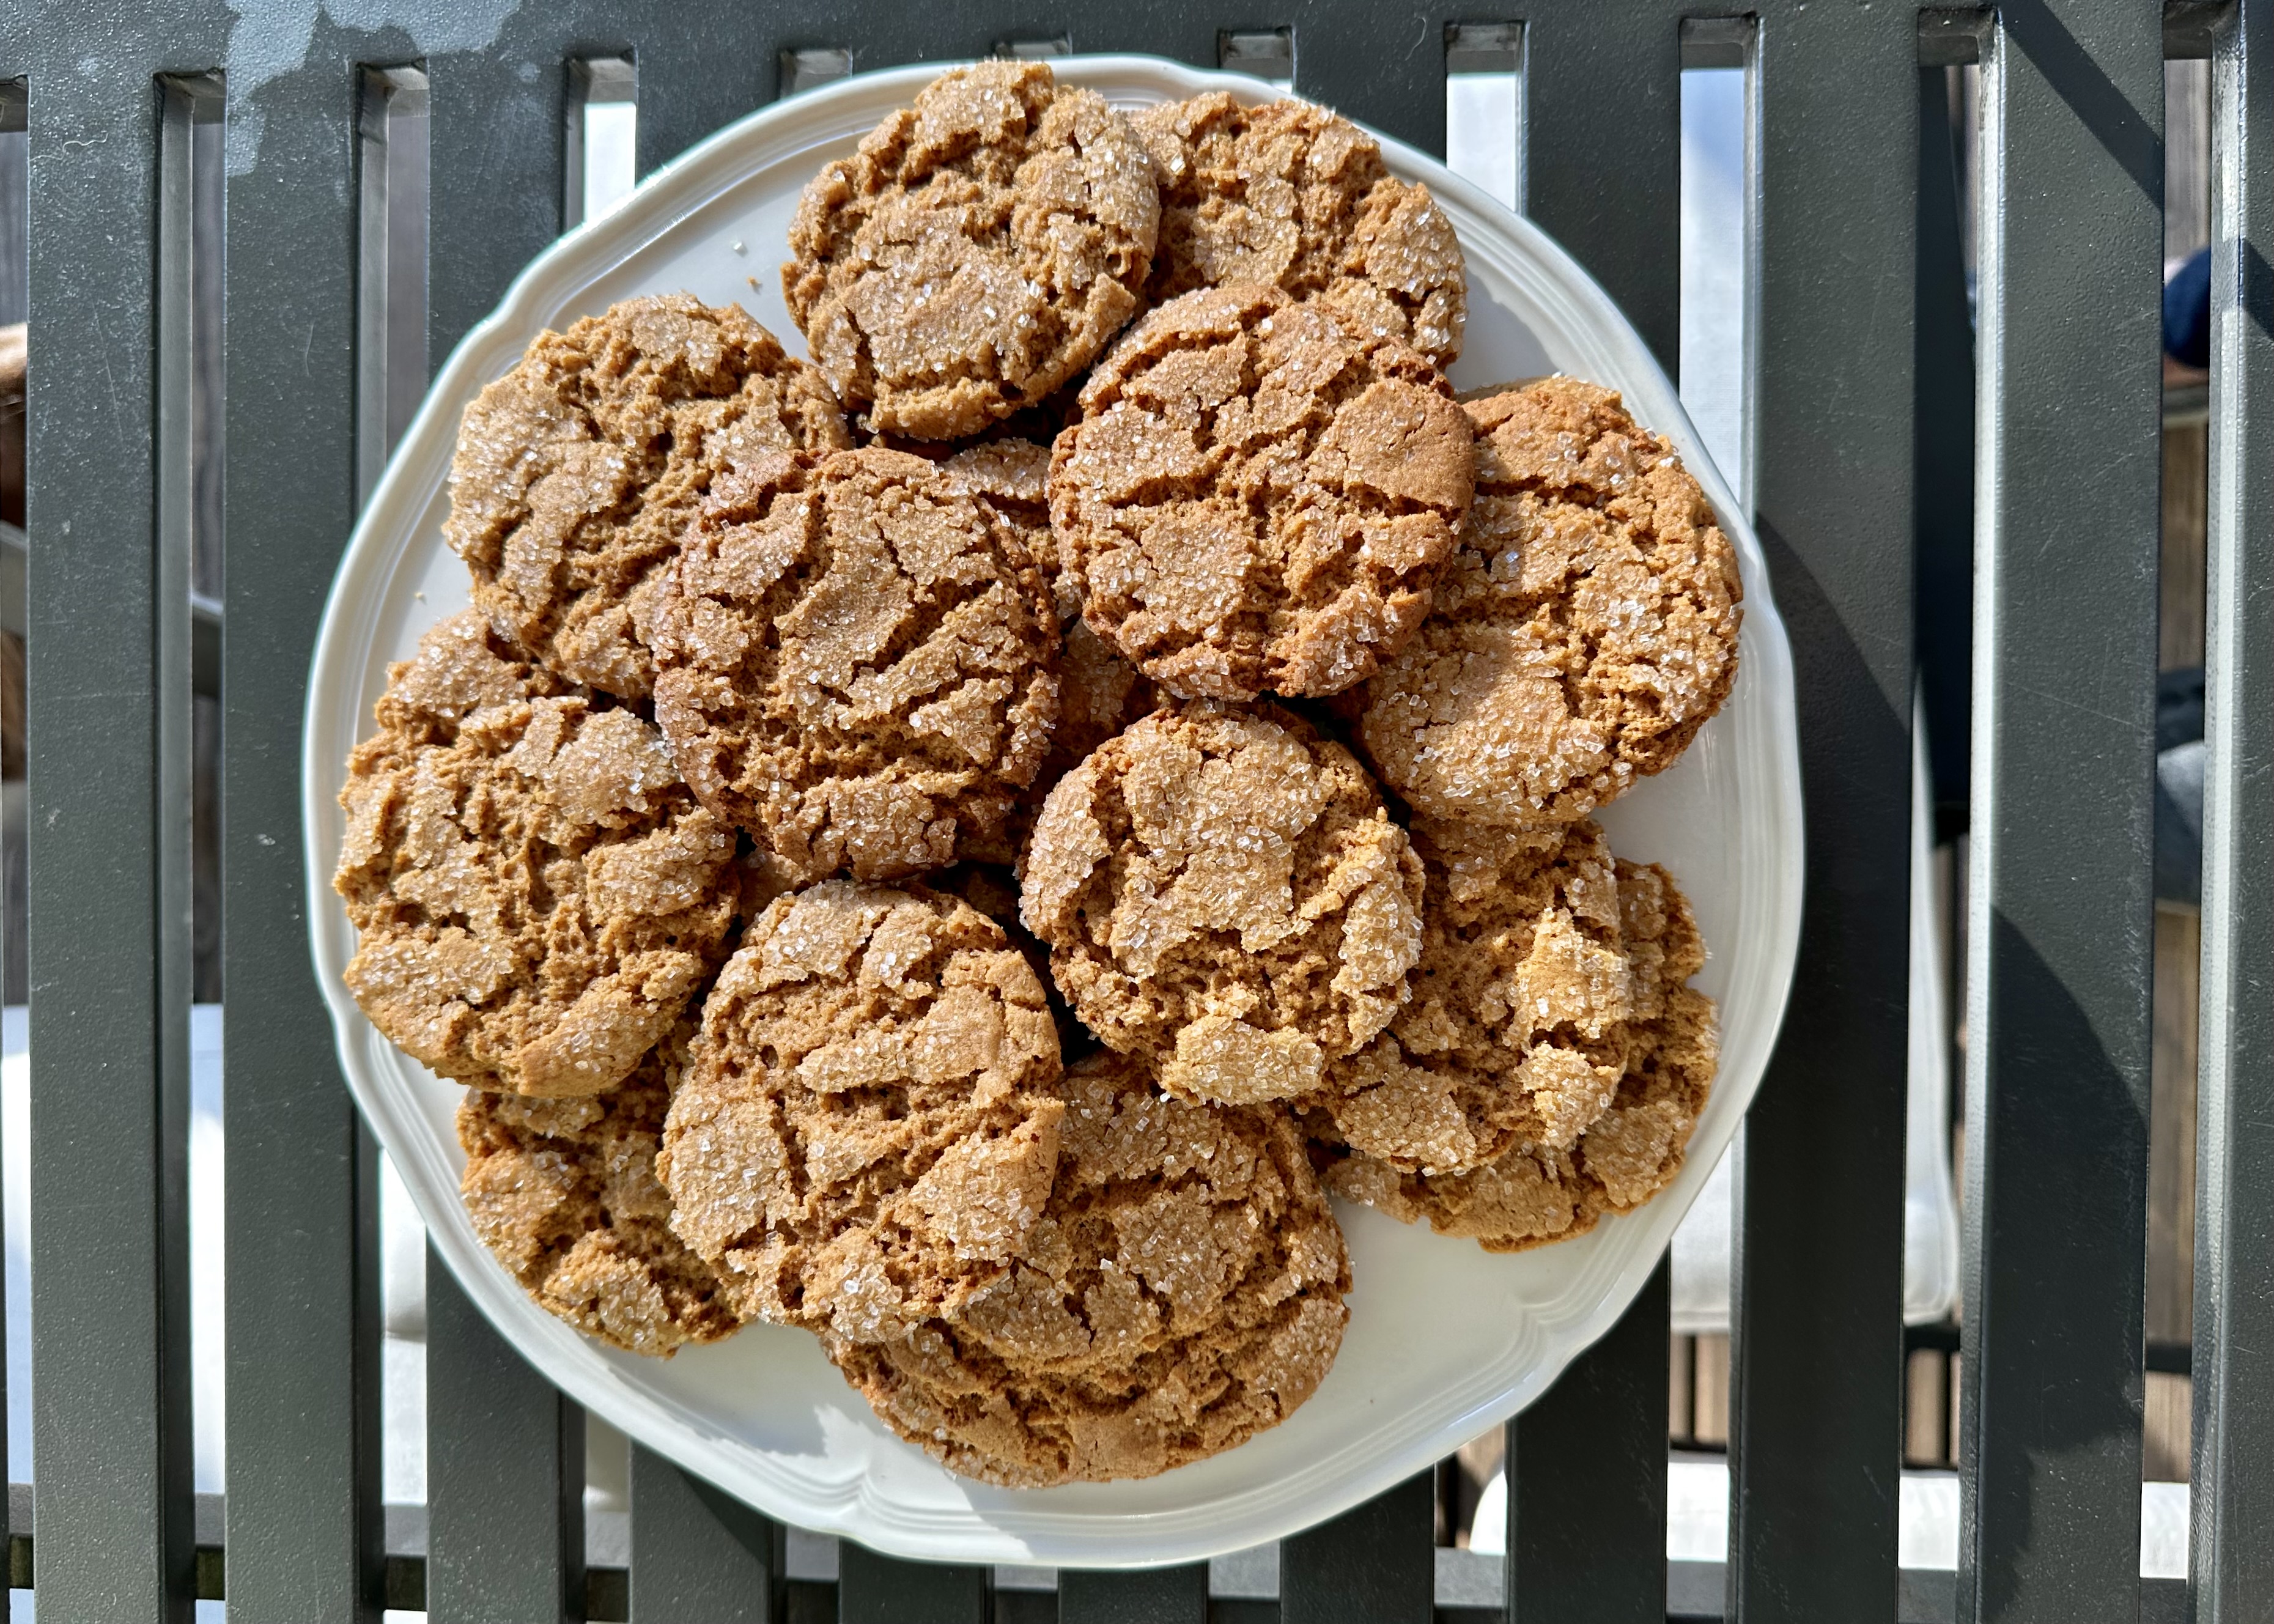
During a recent trip to visit family in Rhode Island, I took a detour and drove to my childhood home in Massachusetts. An hour later, I was sitting in the kitchen of a woman I had never met, eating the most delicious, chewy on the inside, crackly on the outside, flavor-FULL ginger cookie.
The welcoming woman’s name was Joan Sapir, and our room was once the kitchen of my aunt’s bustling summer house. This kitchen was a happening place when I was a kid, and I gathered from my brief visit with Joan it continues to be.
Like for many of us, when we decide to visit the place where we grew up, I was driven by an ache for that which was familiar — my childhood home, my beautiful mother,

my brothers,

my grandmother who lived down the road,
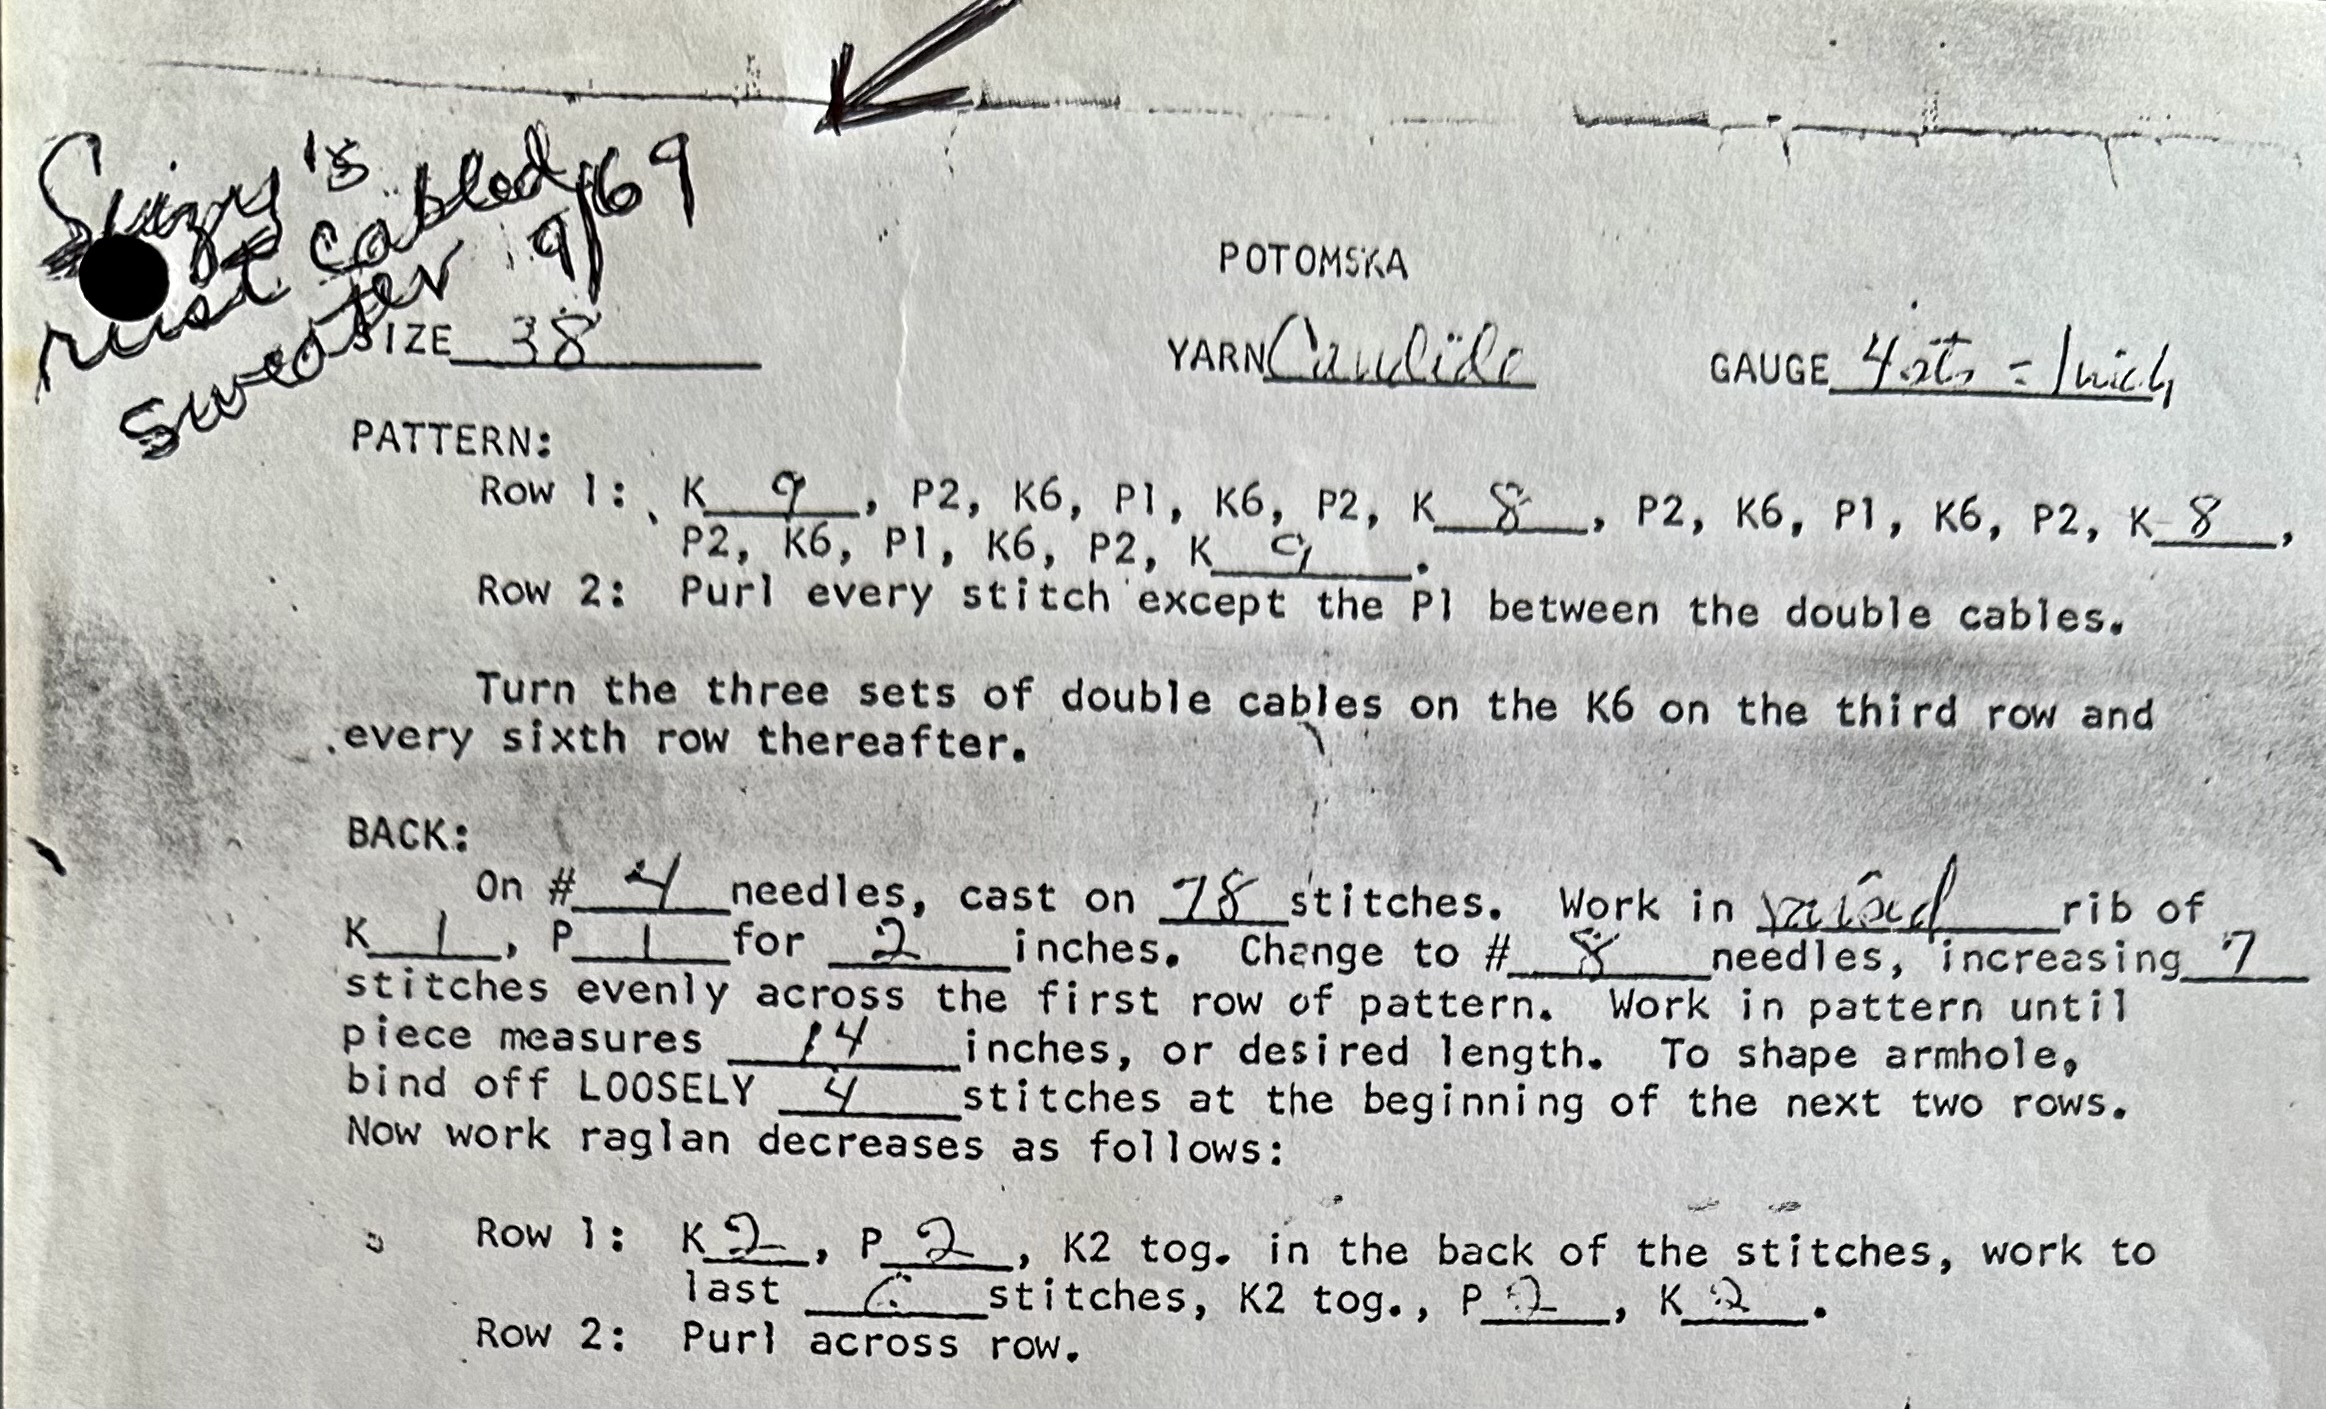
the beach community where sunbathing mothers sat on the jetty in aluminum foldup chairs knitting wool sweaters designed by local guru PS Straker, occasionally stopping to do mom things like rebait a child’s drop line. I can see my mom knitting my pink Candide cabled crewneck sweater– apparently, the same pattern my friend Suzy’s mom knit for her.
For old times’ sake, I walked the well-worn path around our hamlet, affectionately known as the “DONUT.” I was doing just that when I met Joan in front of her house. She said, Hello, and that was all the prompting I needed to tell her my childhood life story and how her house was once my second home. What could she do but invite me in? When I walked in and saw the narrow steps leading to the upstairs bedrooms, my eyes welled up. How often had my cousins and I run up and down those stairs?
After a lovely visit with Joan and a few more impromptu visits with former neighbors (Nina, Suzy, and Erin), I drove home. My heart was full; how affirming is it to be remembered and welcomed by old friends fifty years later? Crazy as it may sound, even the cottages, whose gabled roofs my brothers and I routinely climbed when the summer folk left, seemed to wink as I walked by.
The Cookie Recipe
Well, that is the story behind this ginger cookie. It is as much a story about the power of radical hospitality and returning to one’s roots as it is about a cookie
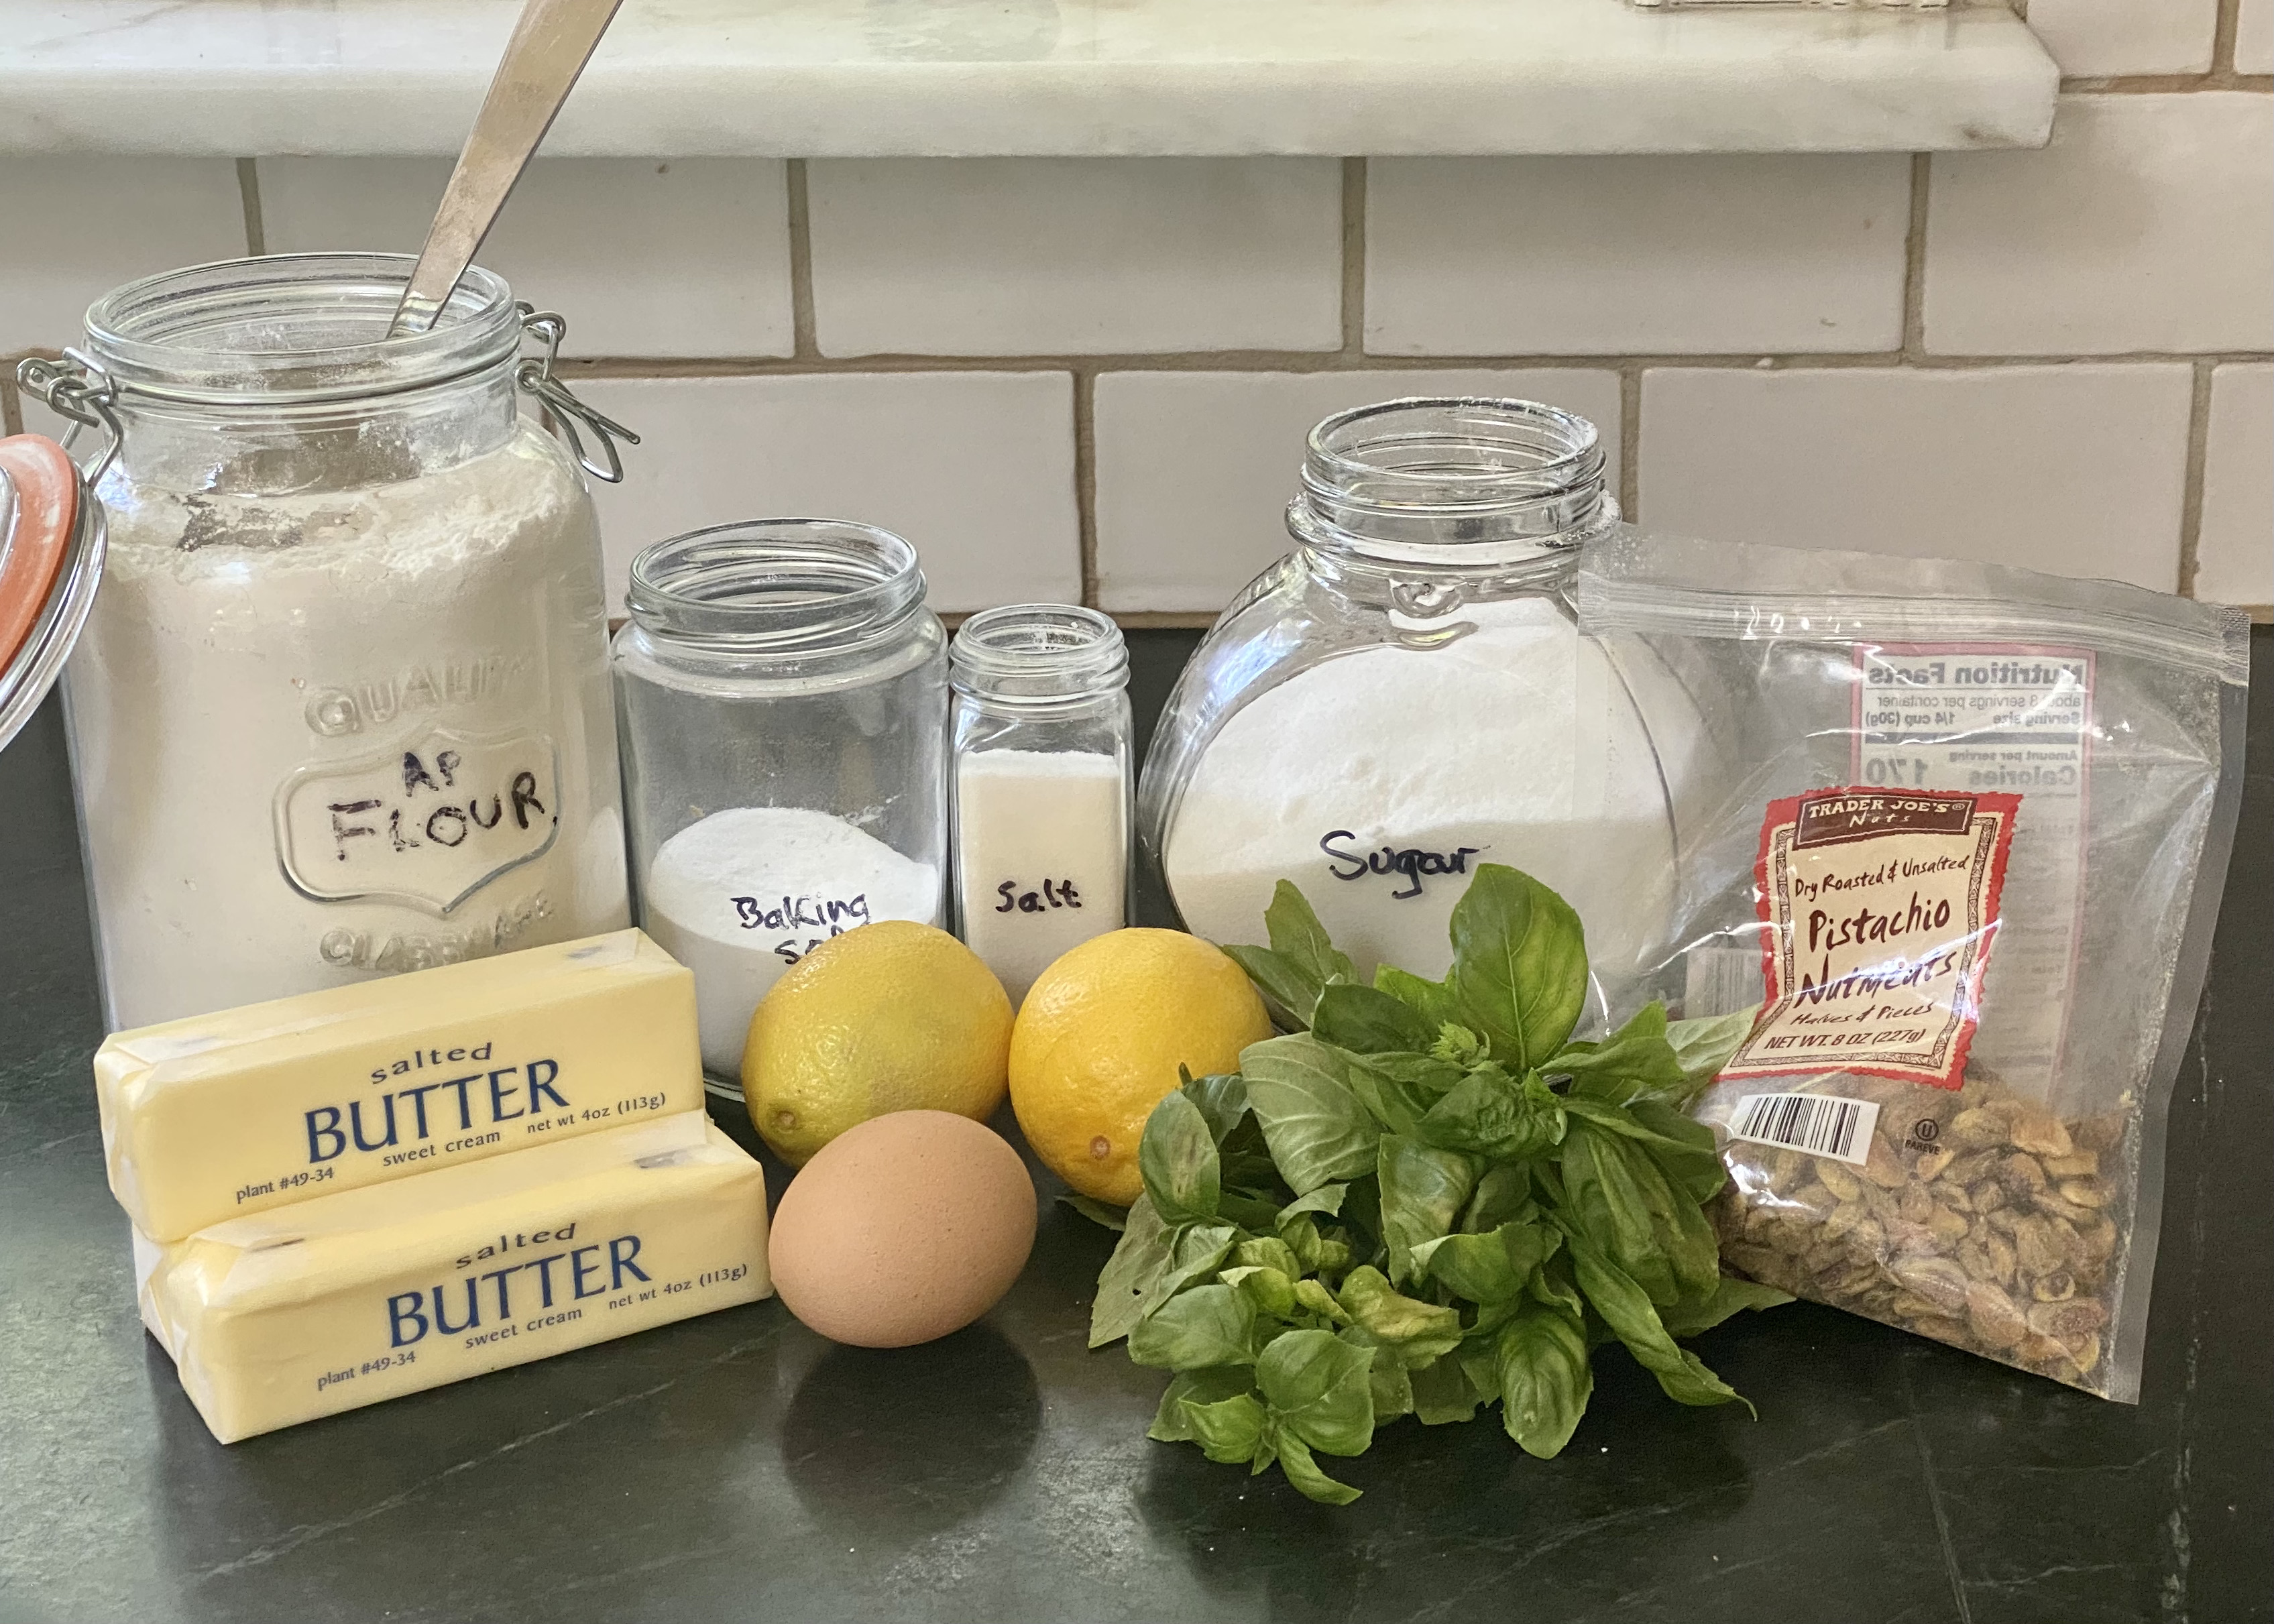
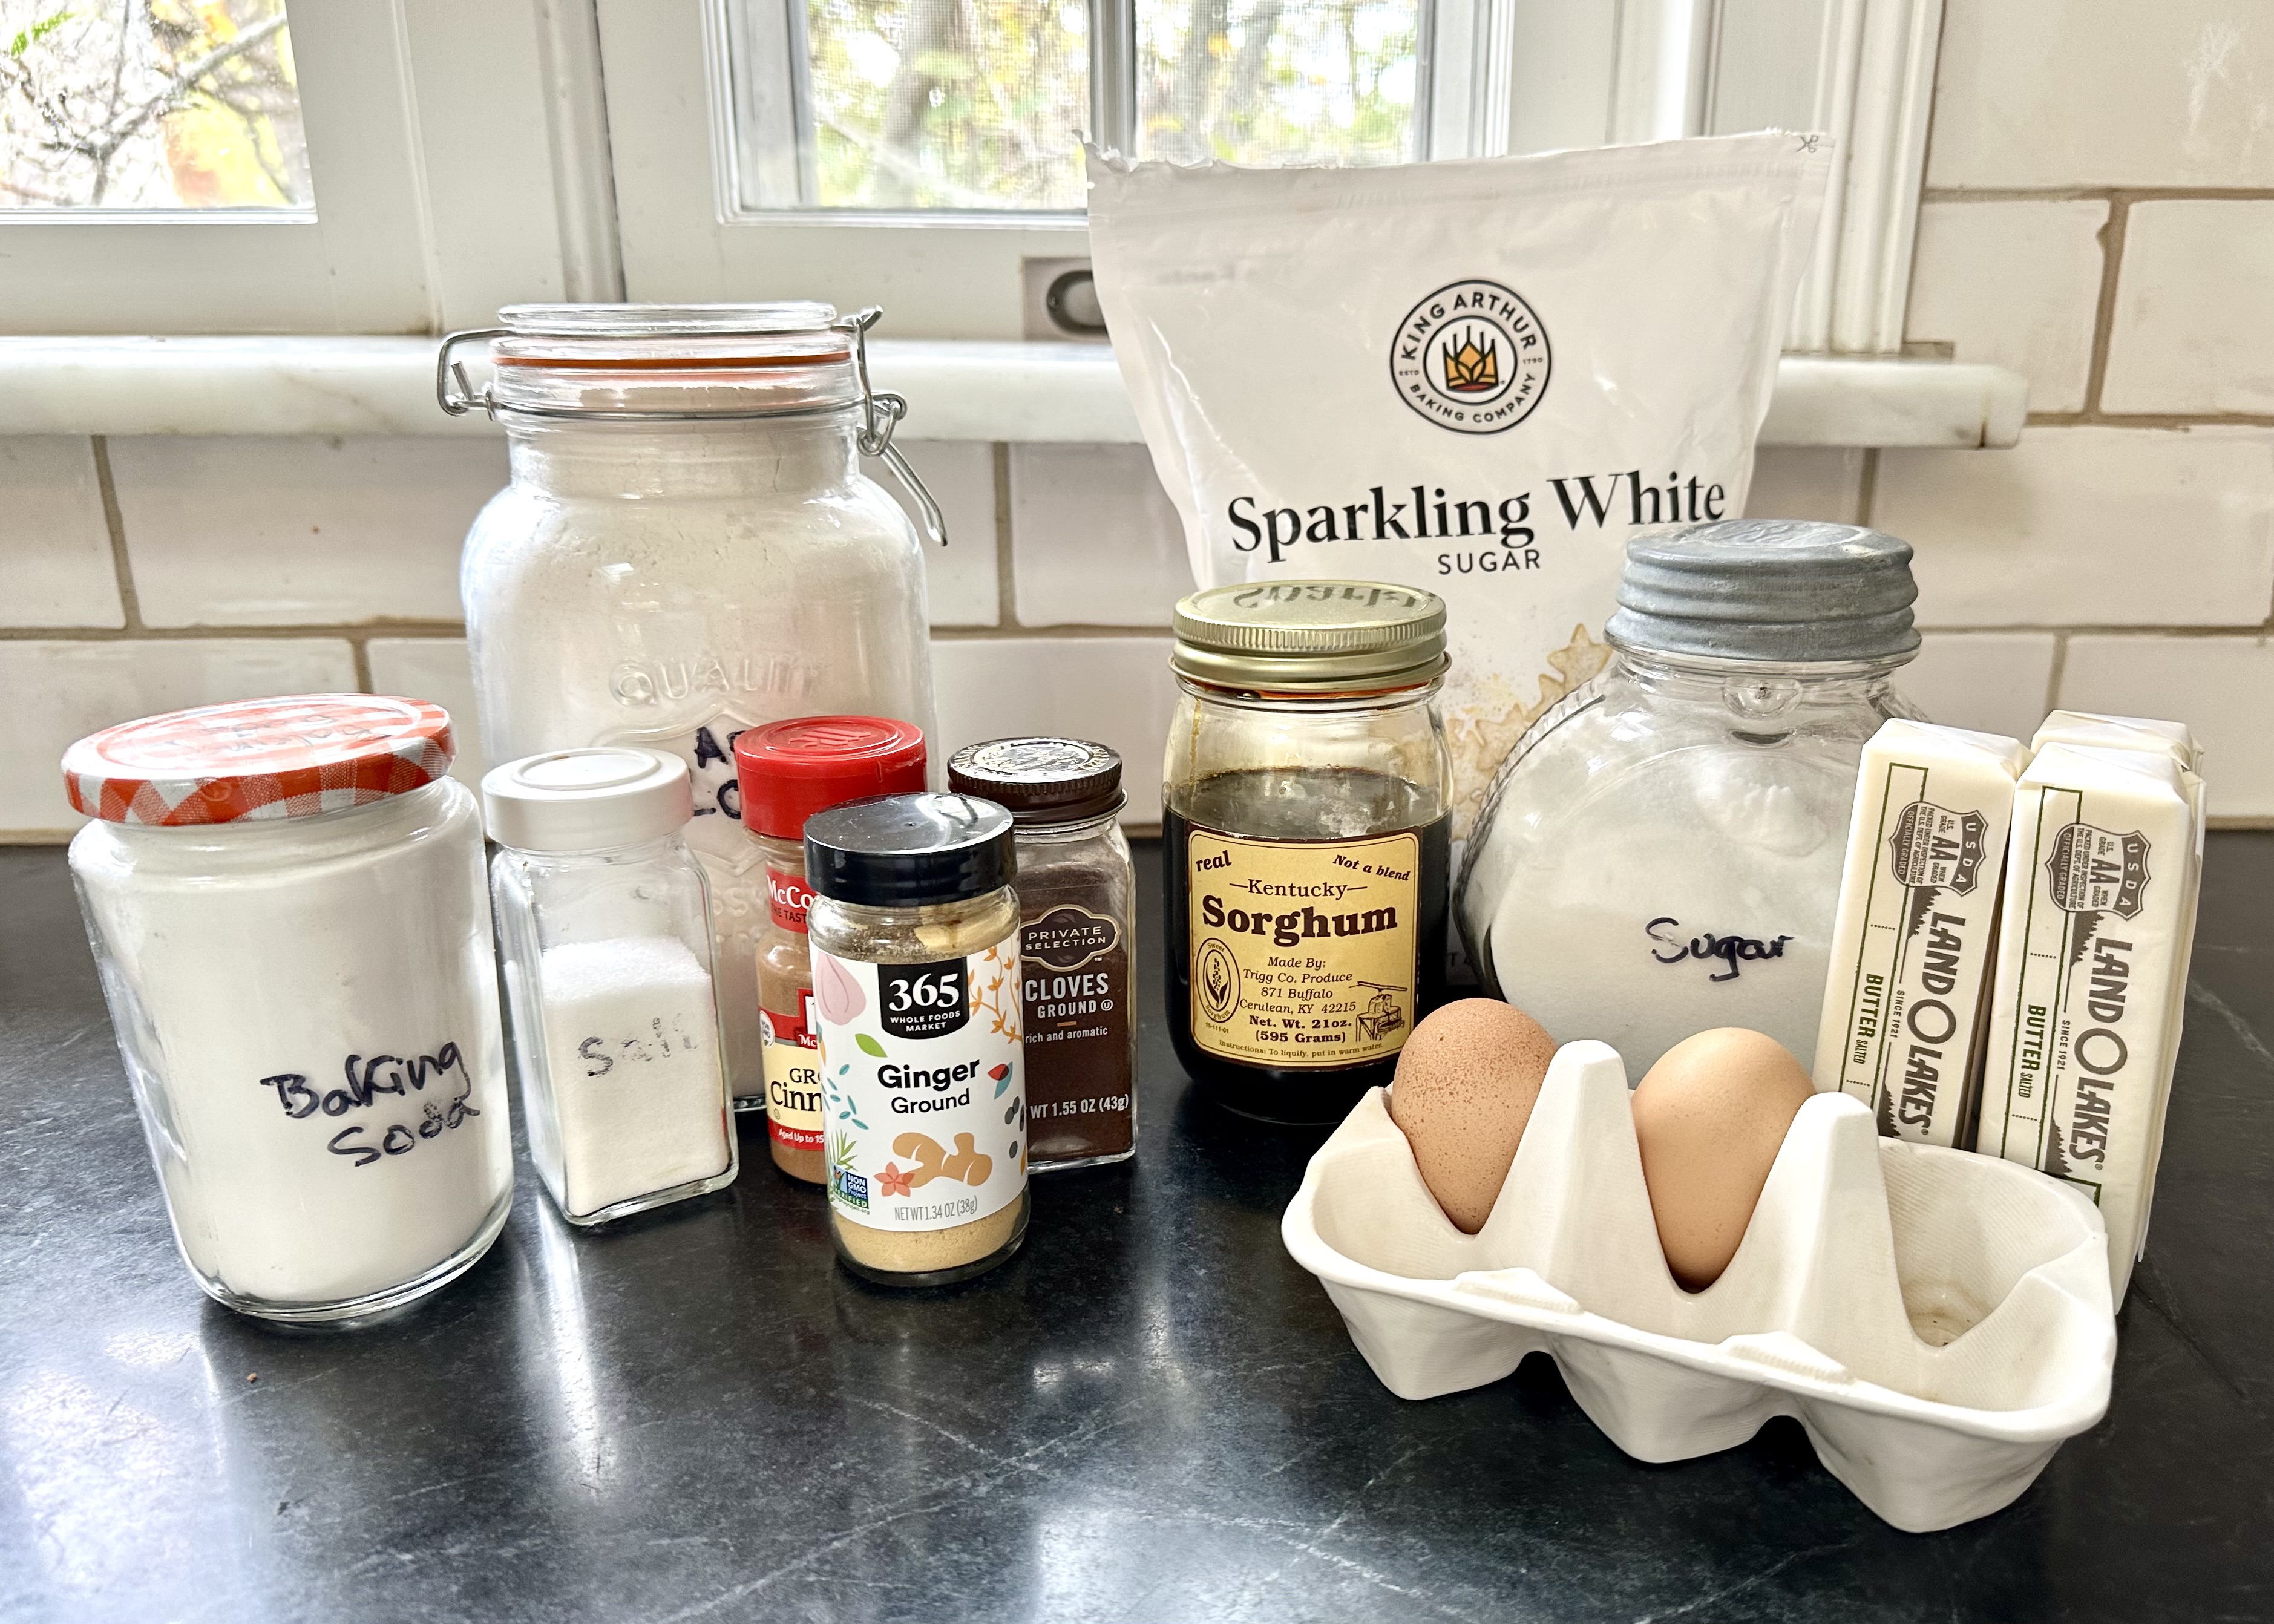
A few notes about the ingredients:
Molasses and Sorghum Syrup

You can use molasses or sorghum in this recipe. I tested both, plus blackstrap molasses, a medicinal-tasting syrup many cooks say not to use for baking. They were all good. A little research showed that three cycles of boiling and crystallization of sugar beets or cane are required to make refined sugar. With each stage of processing, more sugar is extracted and the molasses, a byproduct of sugar production, becomes a little less sweet. Regular molasses has been through two extractions and blackstrap has been through three, making it more minerally dense.
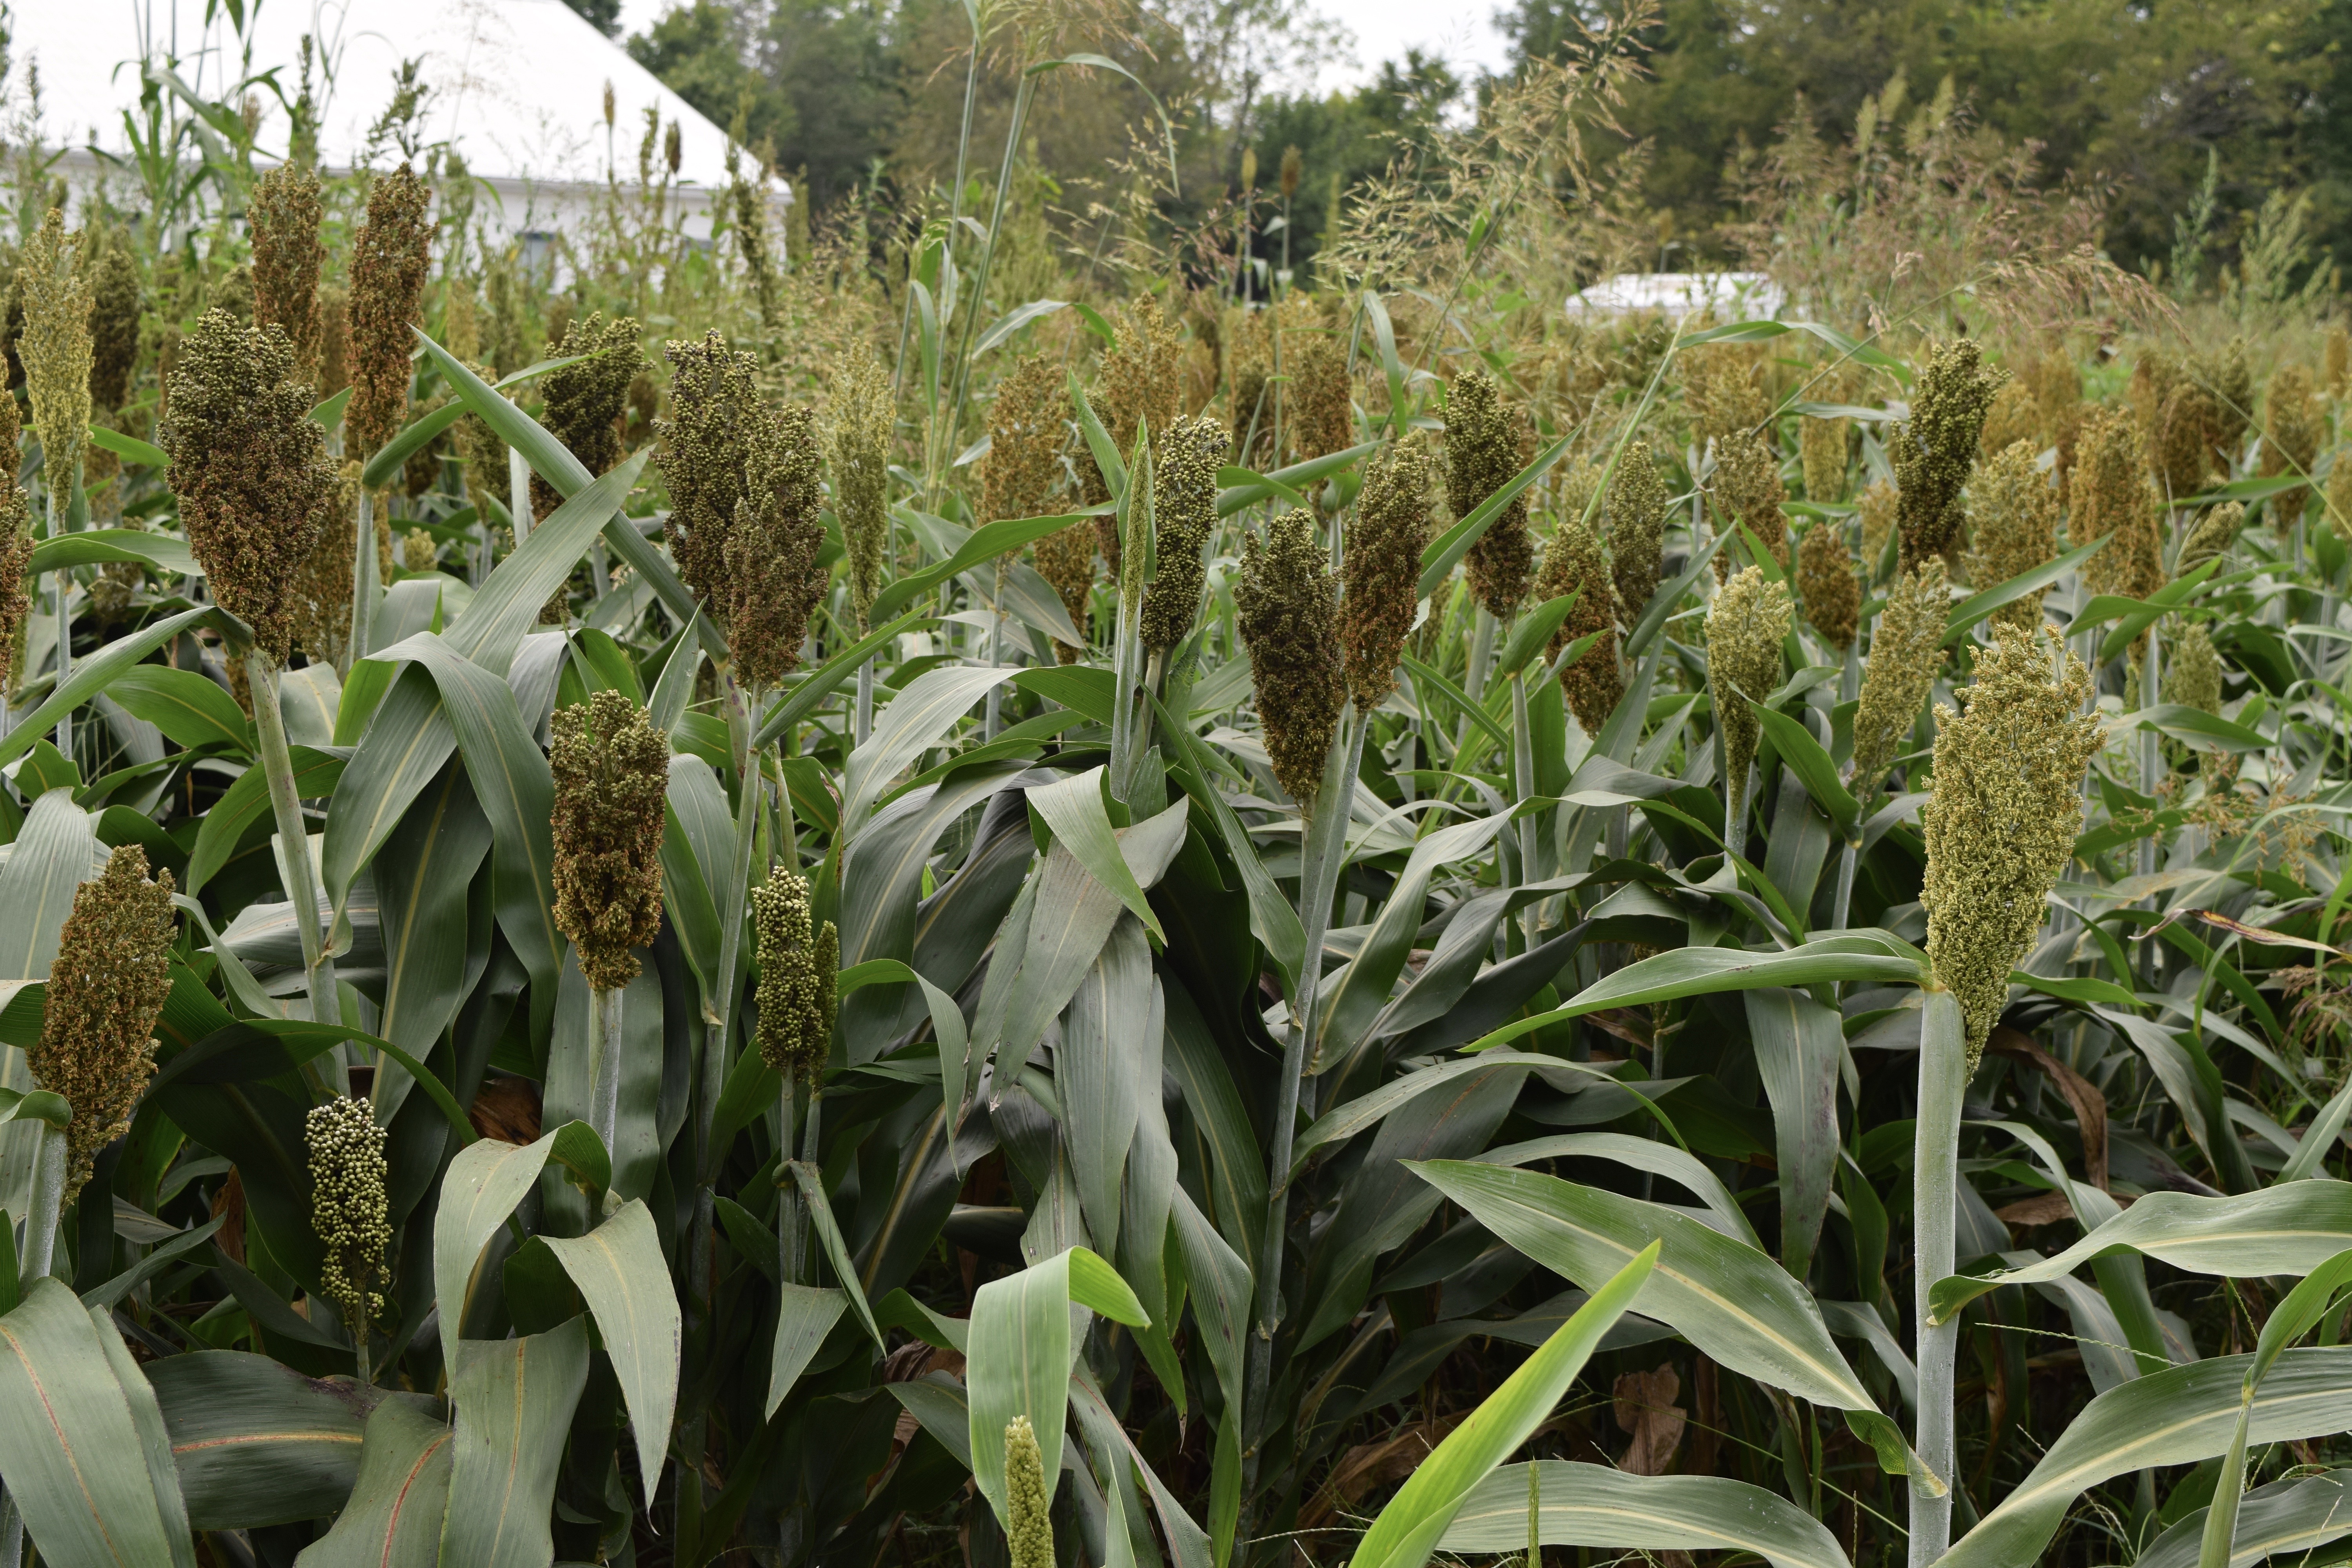
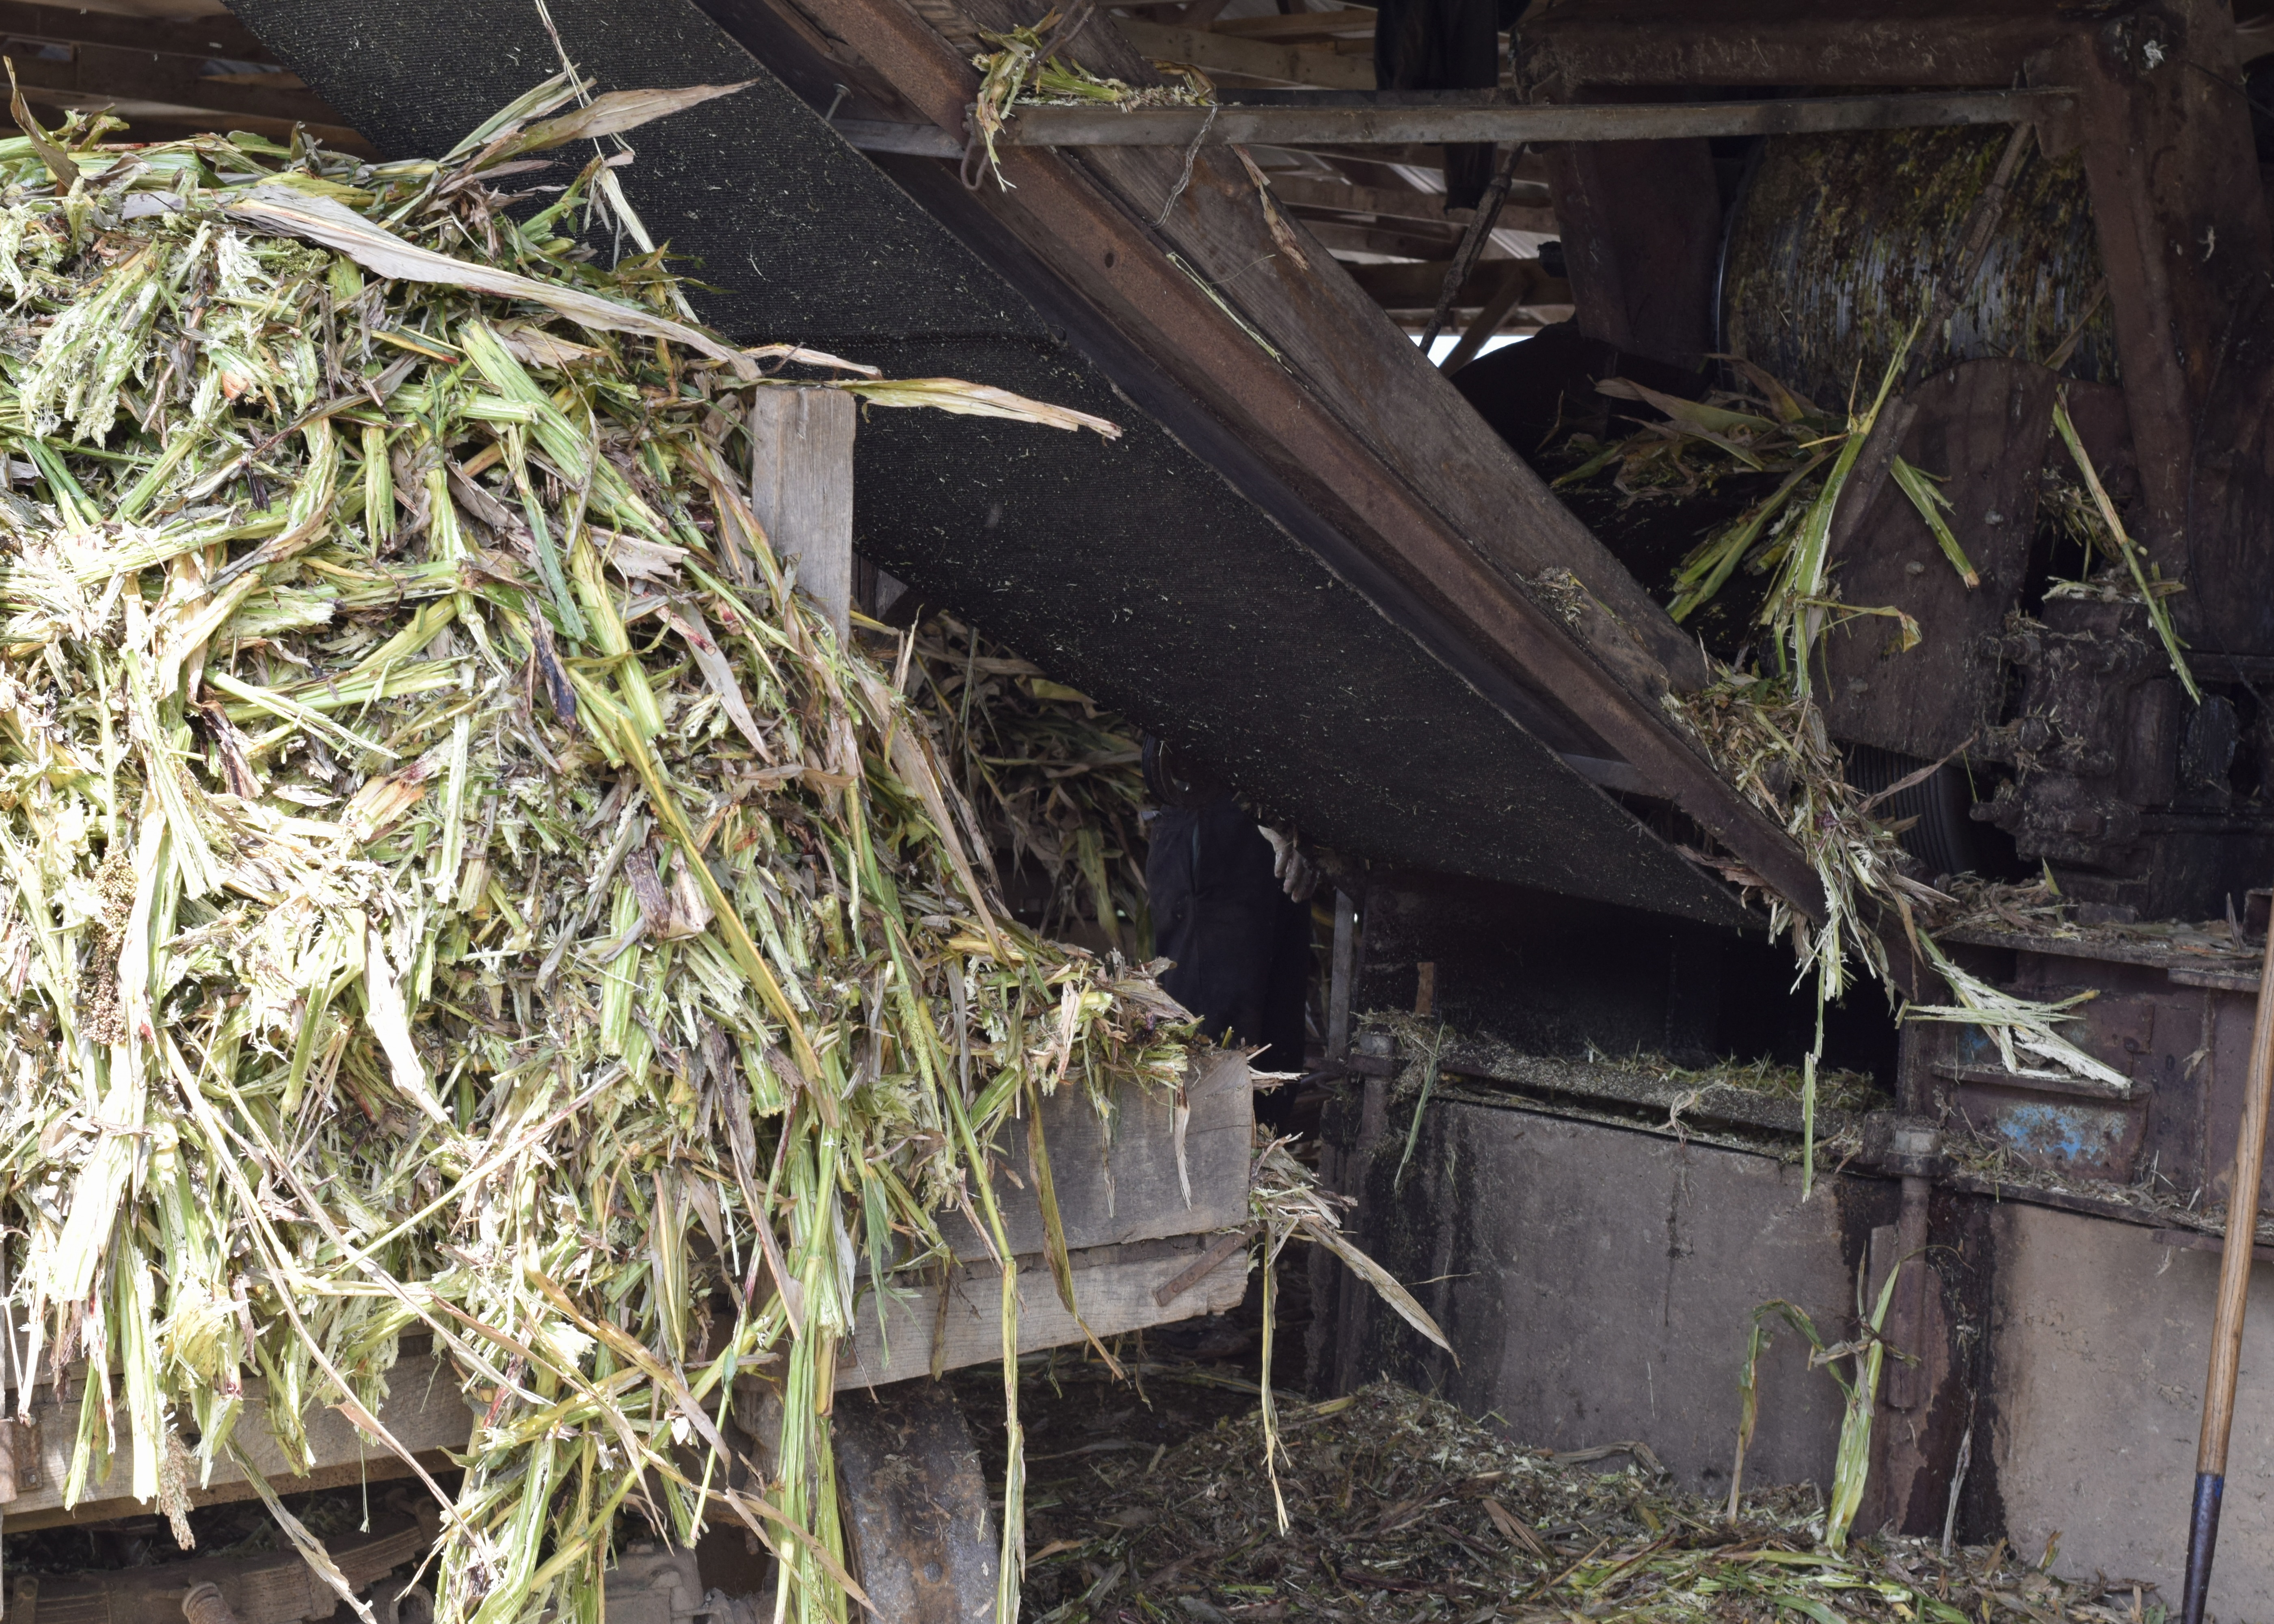
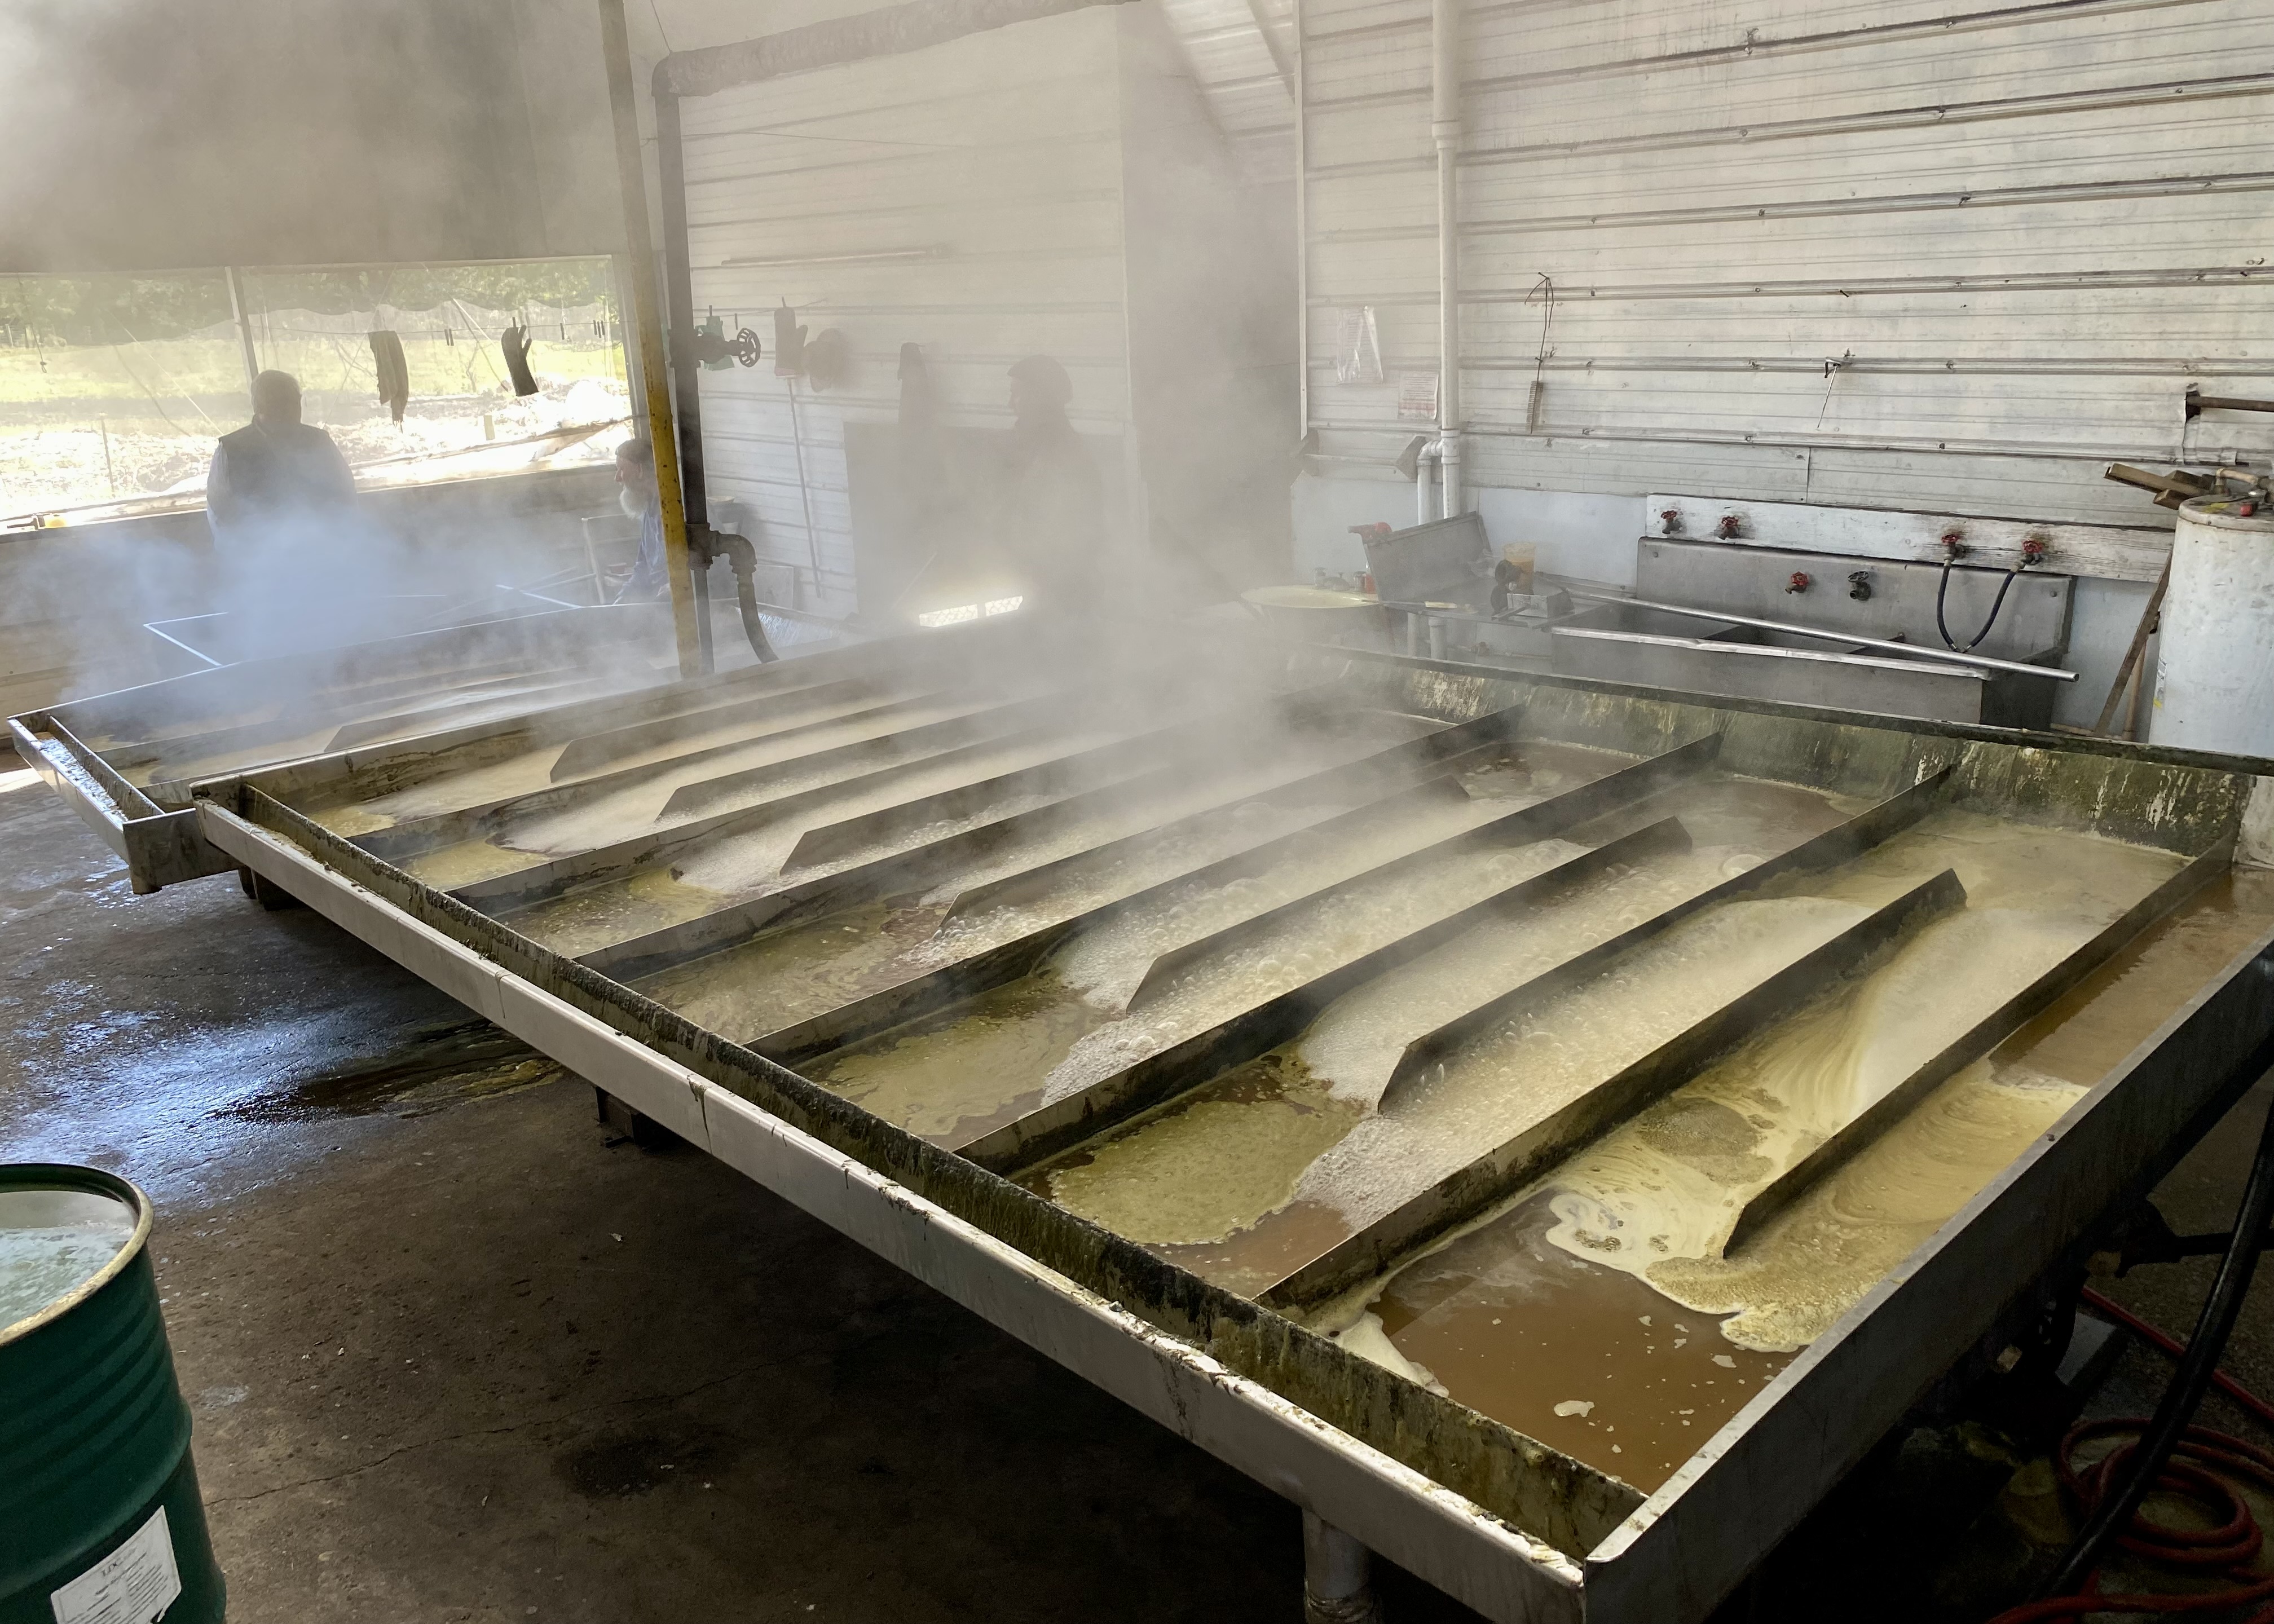
Sorghum syrup, on the other hand, is made by boiling down juice extracted from sorghum cane. It has an earthy taste and is delicious on biscuits. Check out Raising Sorghum Cane to Make Sorghum Syrup to learn how it is made. I have a friendly relationship with Kentucky farmers who grow, harvest, and cook sorghum. I prefer it to molasses and substitute it cup for cup.
Measuring Flour
I weigh flour for consistent baking results. Place a bowl on a kitchen scale, zero out the bowl’s weight, and pour in flour until the scale reads 1 pound, 6 ounces. It’s easy peasy.

Sifting Dry Ingredients Together
In the old days (when I was a kid), cooks used a mechanical sifter to mix dry ingredients. You don’t see sifters much anymore; nowadays, cooks place dry ingredients in a bowl and whisk them together.

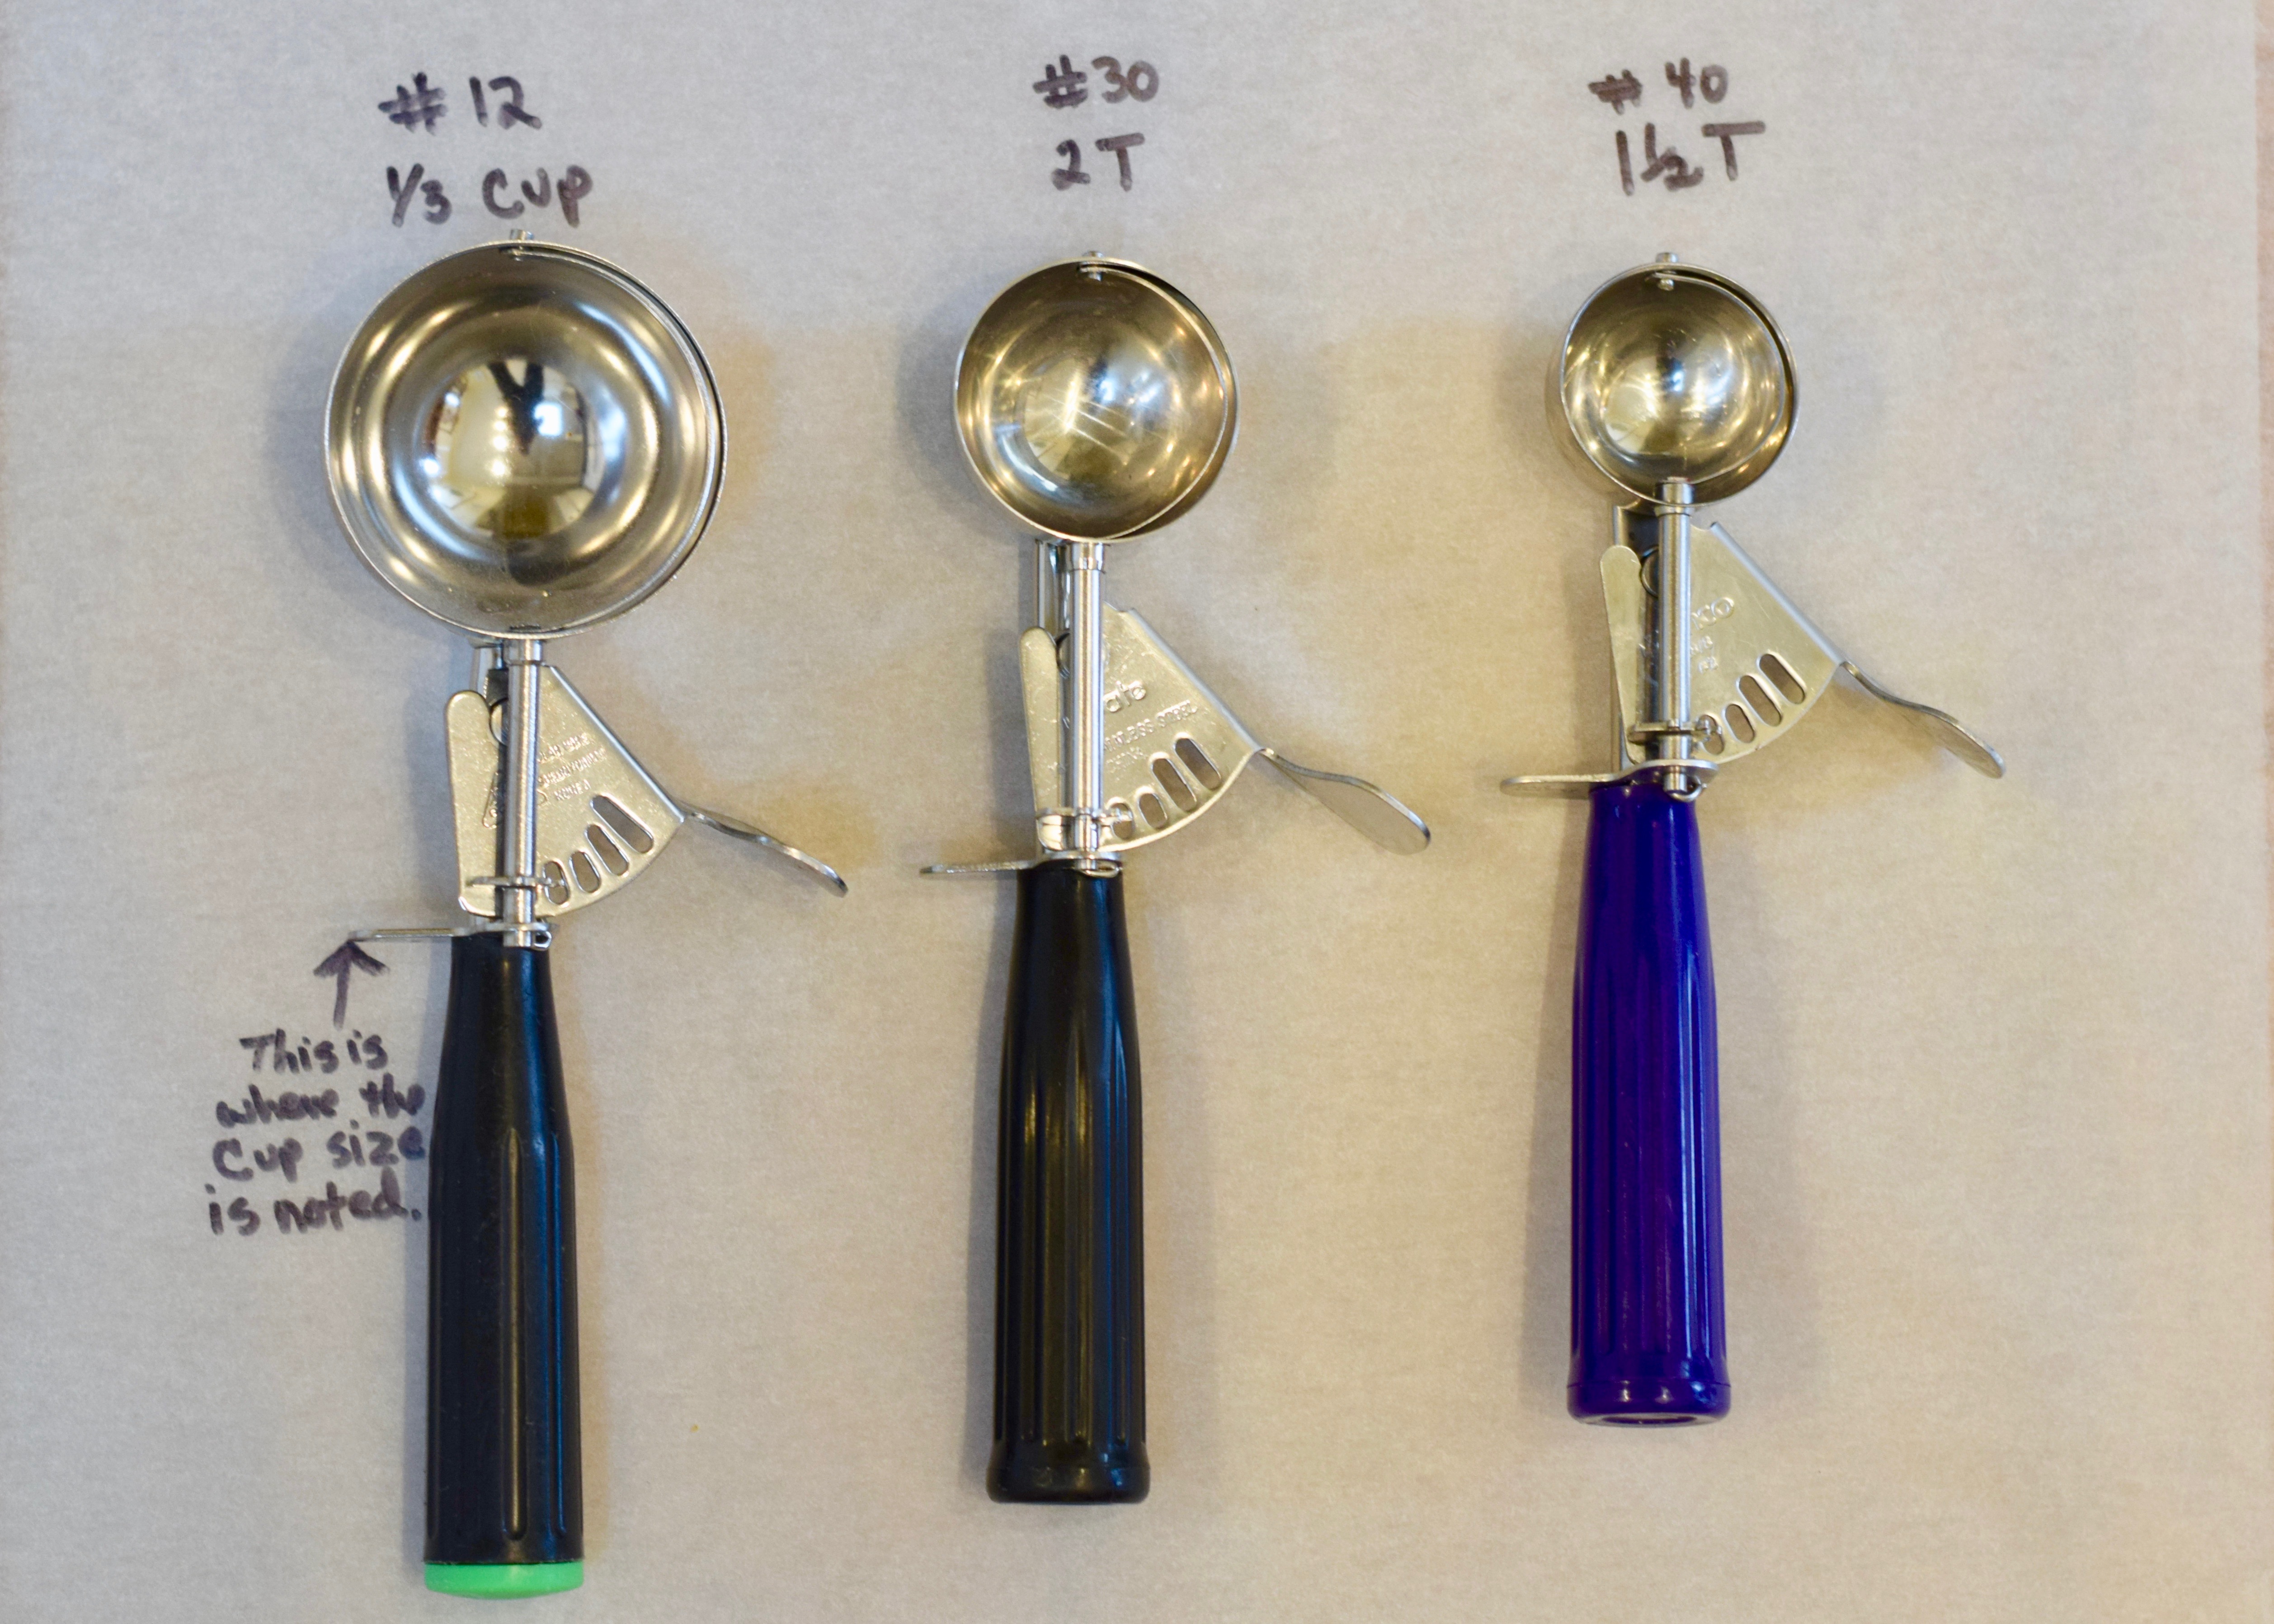
Portioning out the Dough
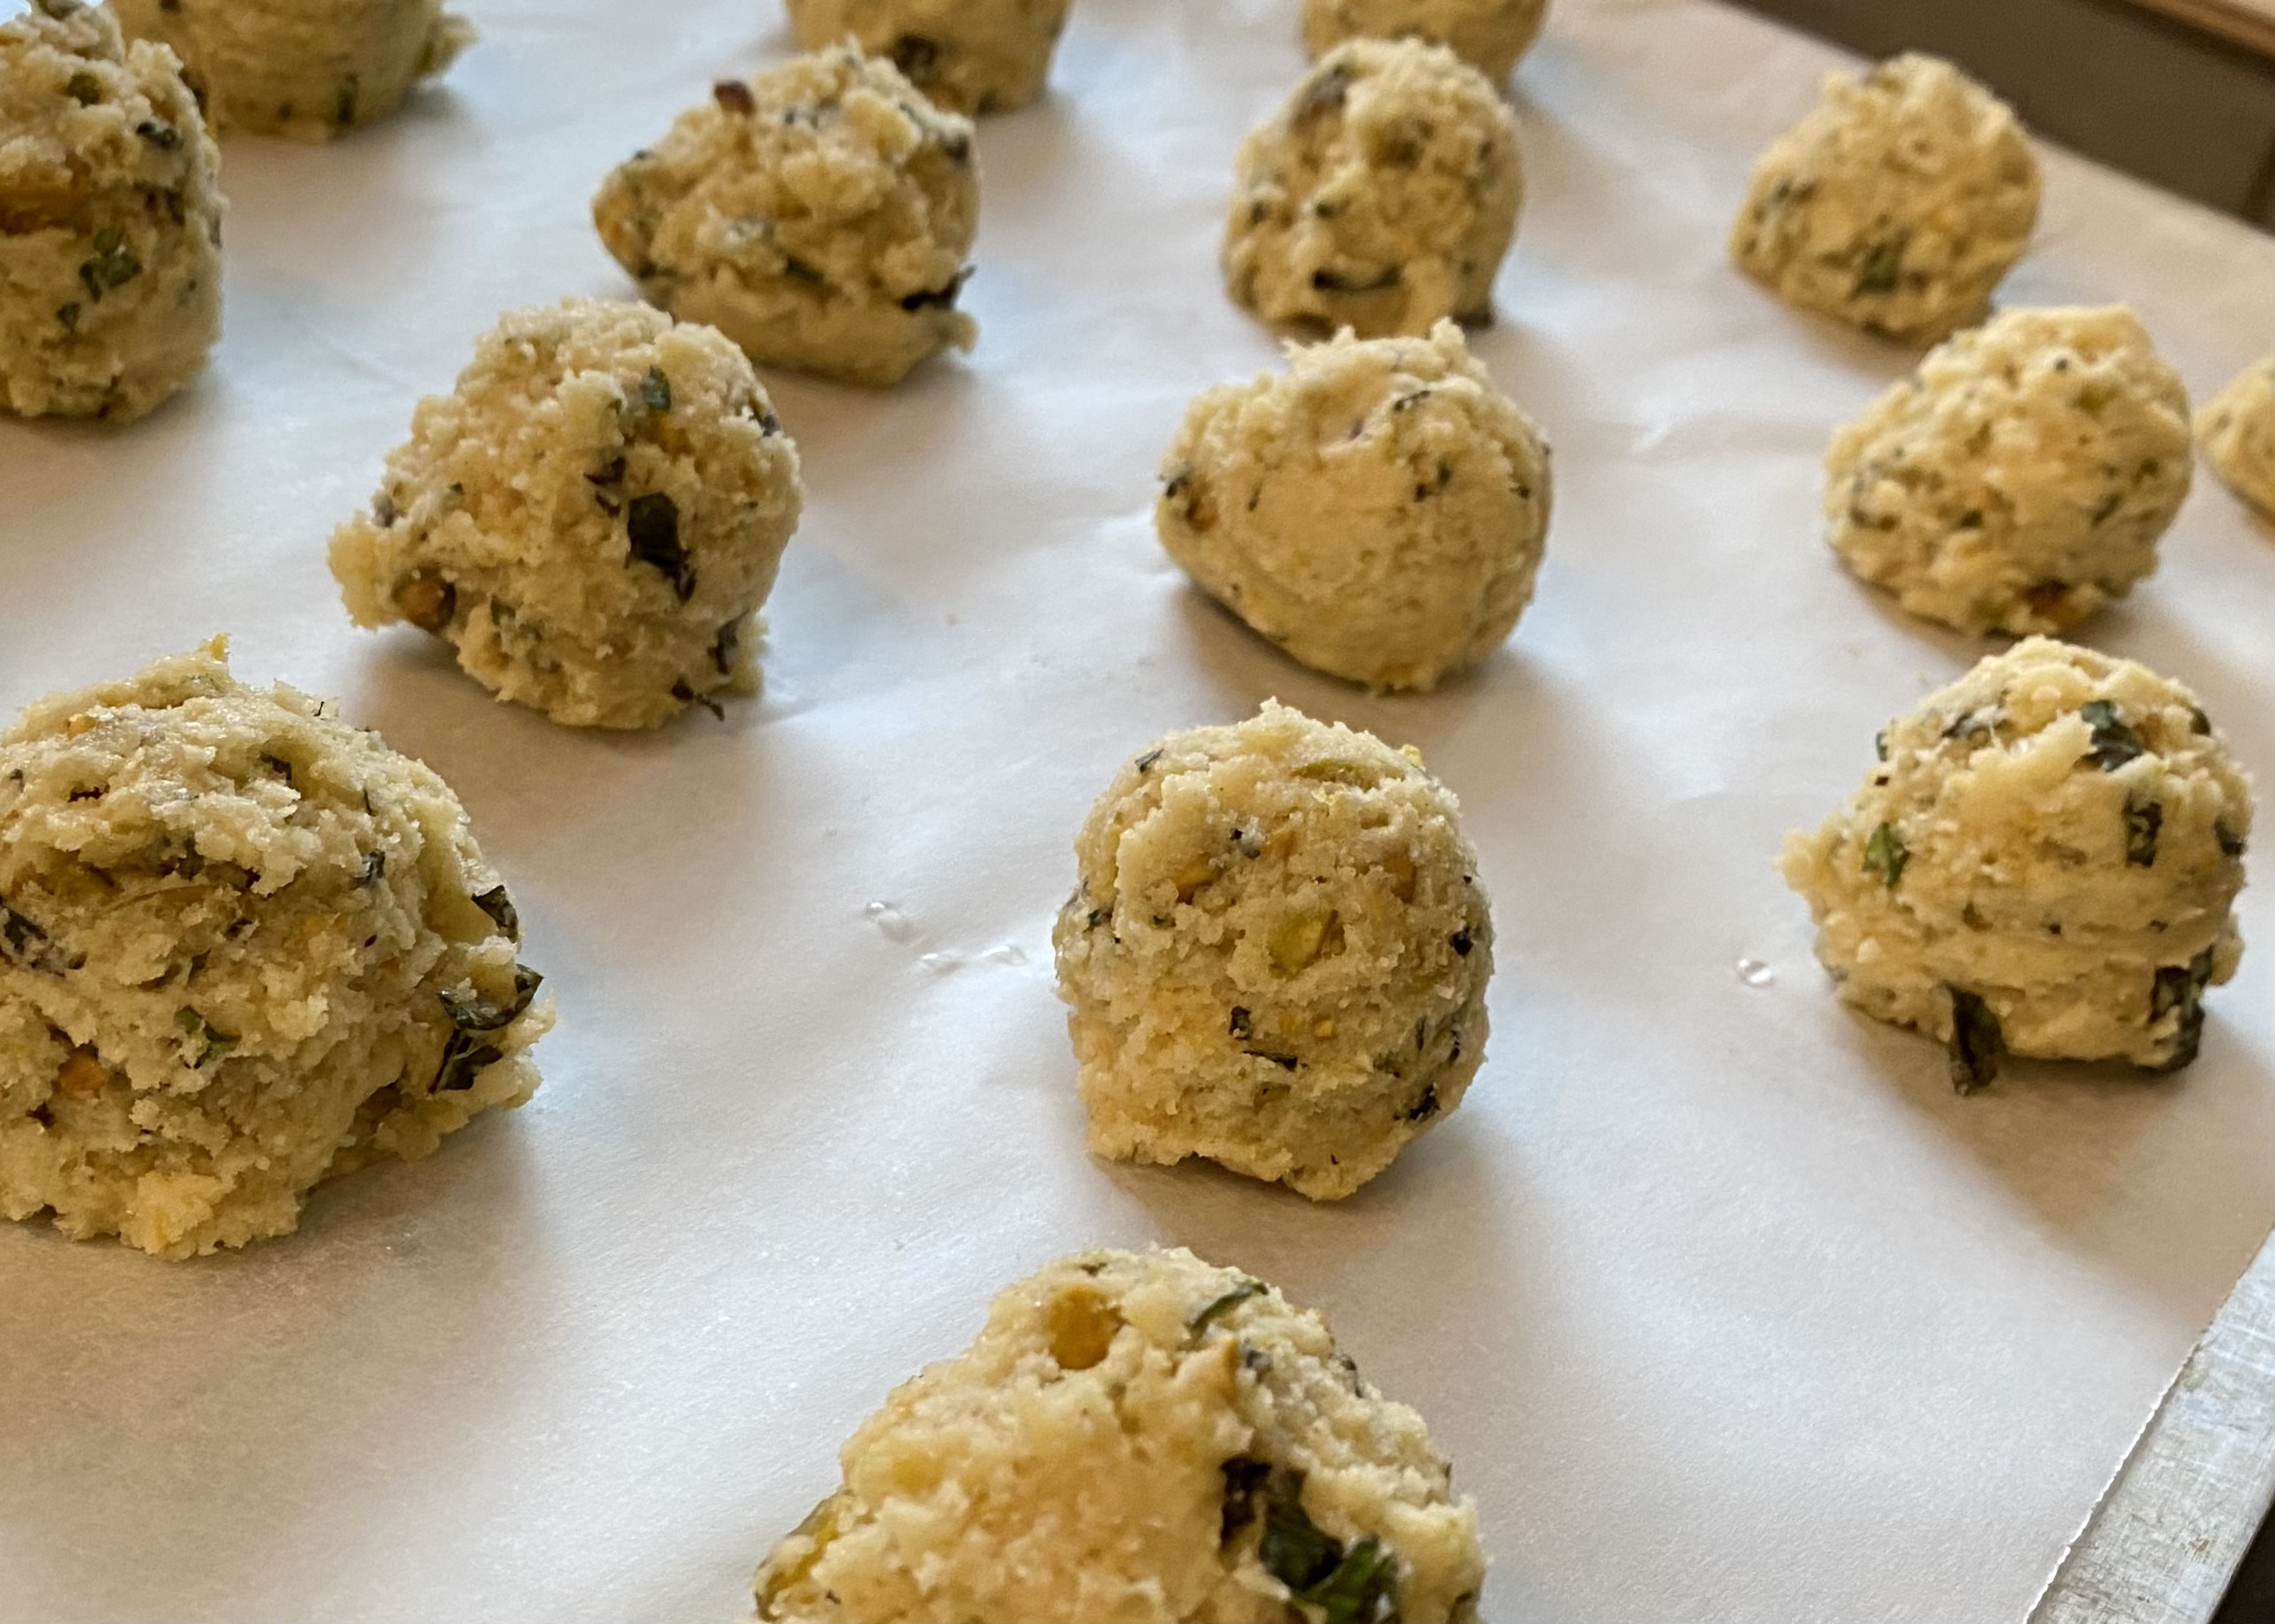
Bakeries use cookie scoops to portion dough to achieve consistent baking results. I once took a deep dive into the world of cookie scoops and learned that each scoop has a tiny number engraved on it that tells a baker how many cookies they will get from one quart of dough (or of ice cream, their initial intended use). Here’s a link: Cookie Scoops as a Unit of Measure. Who knew?
Sugar Topping
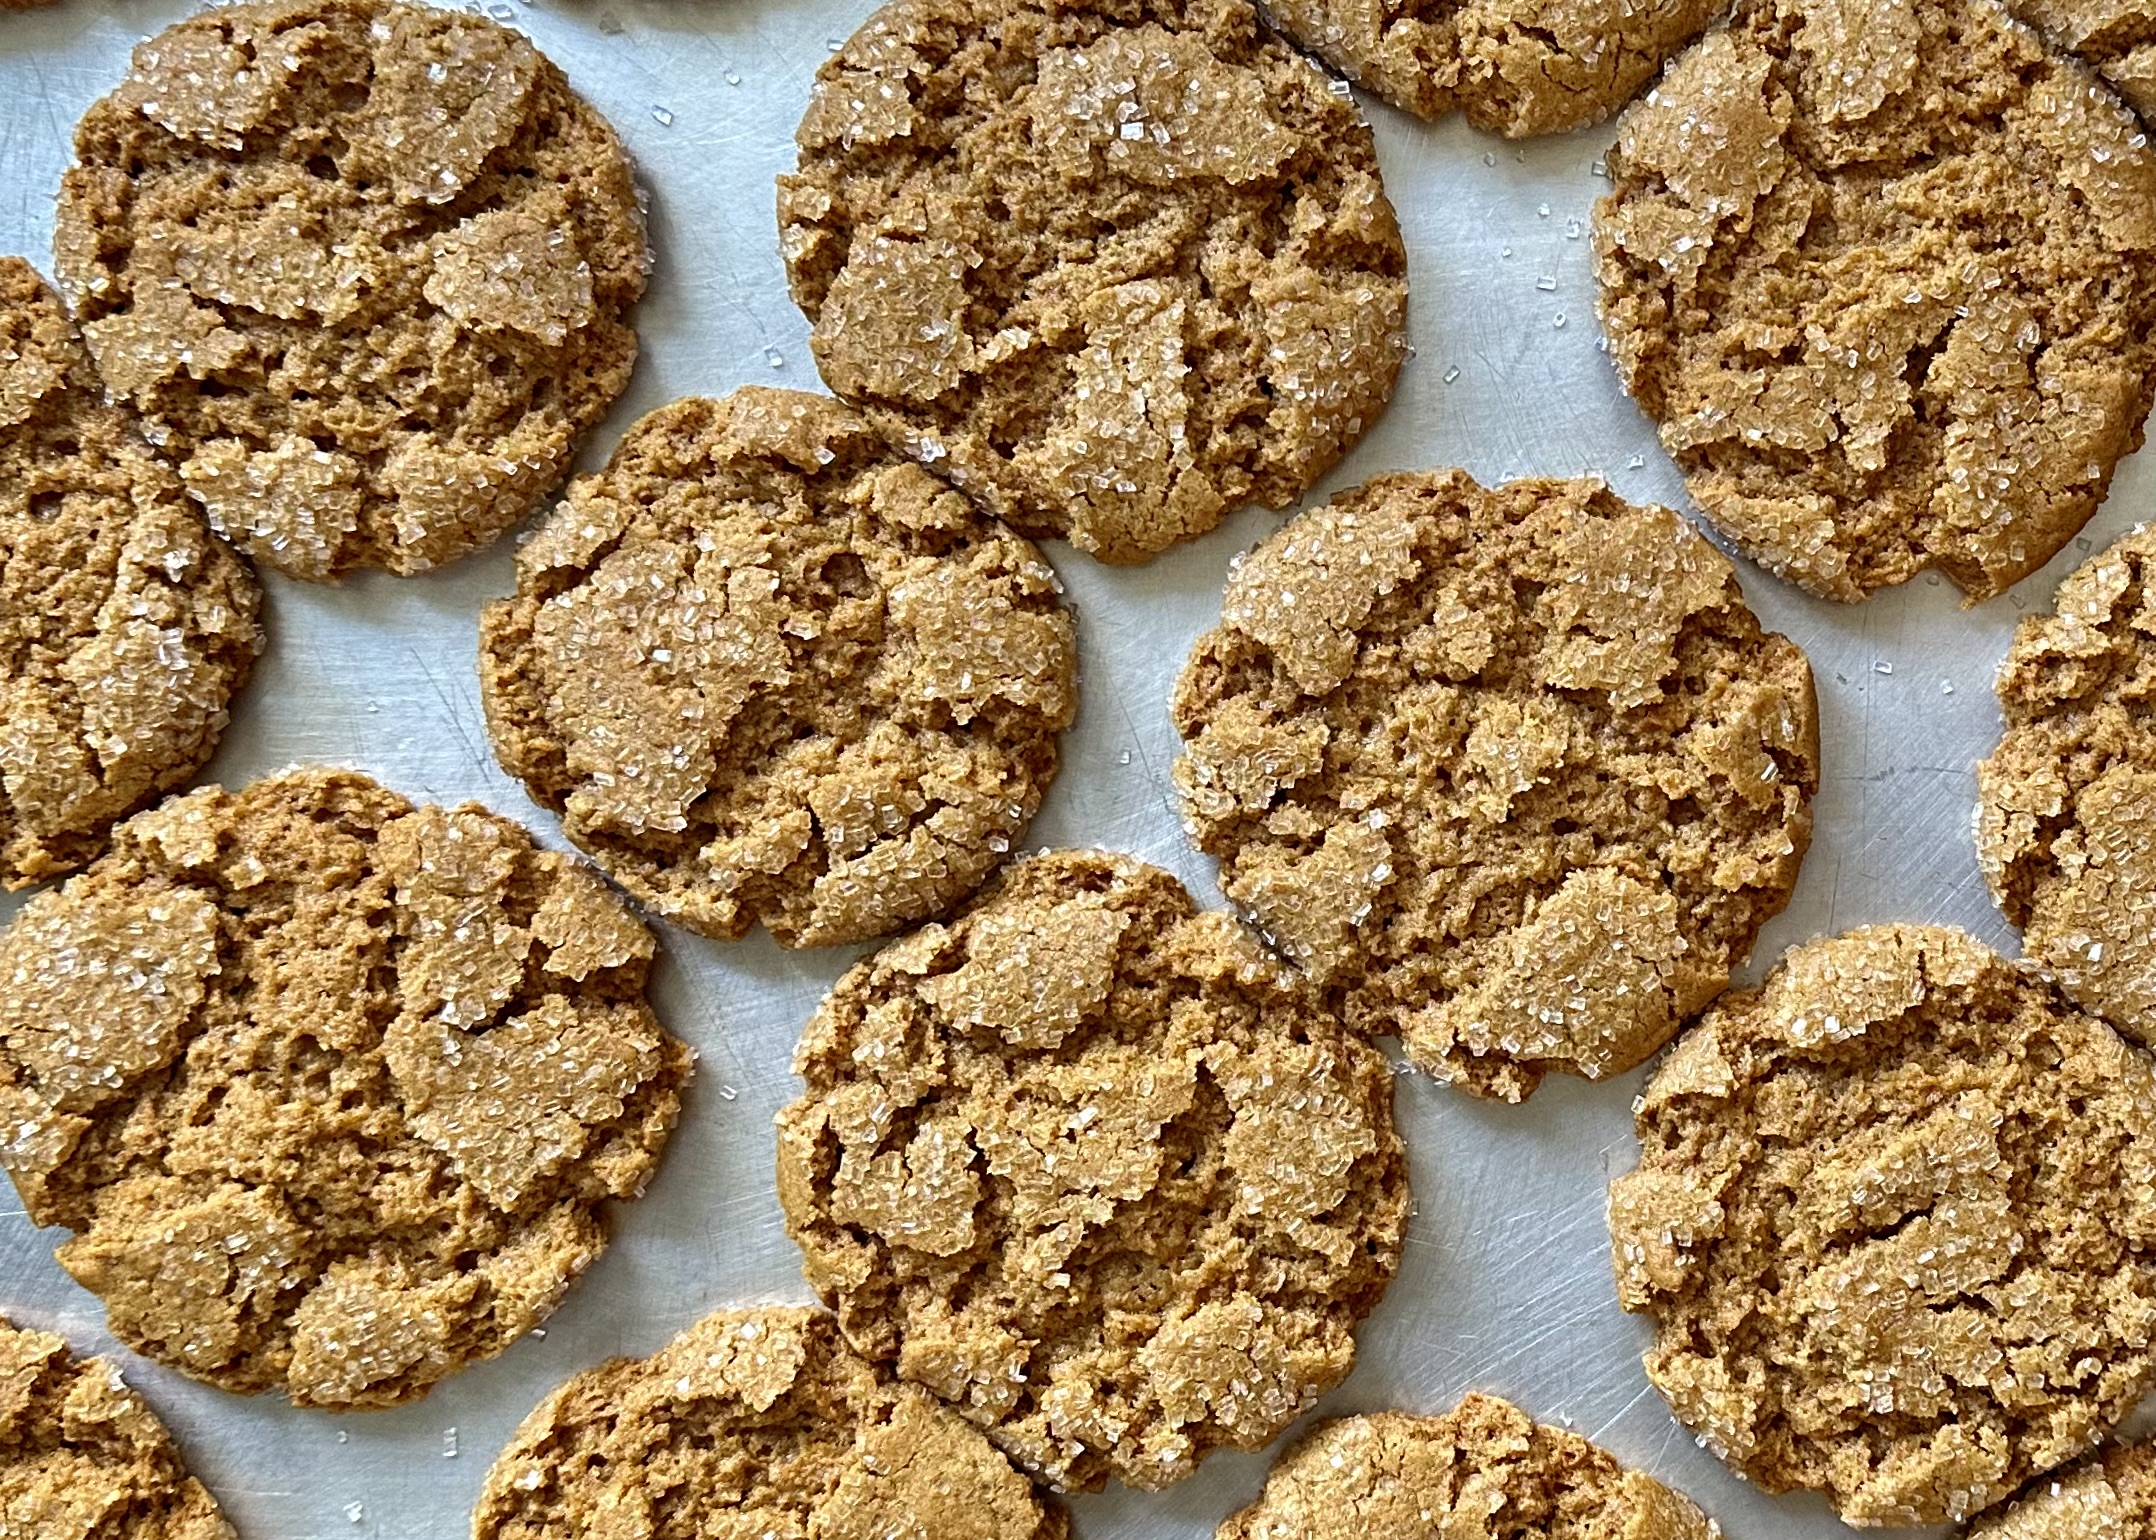
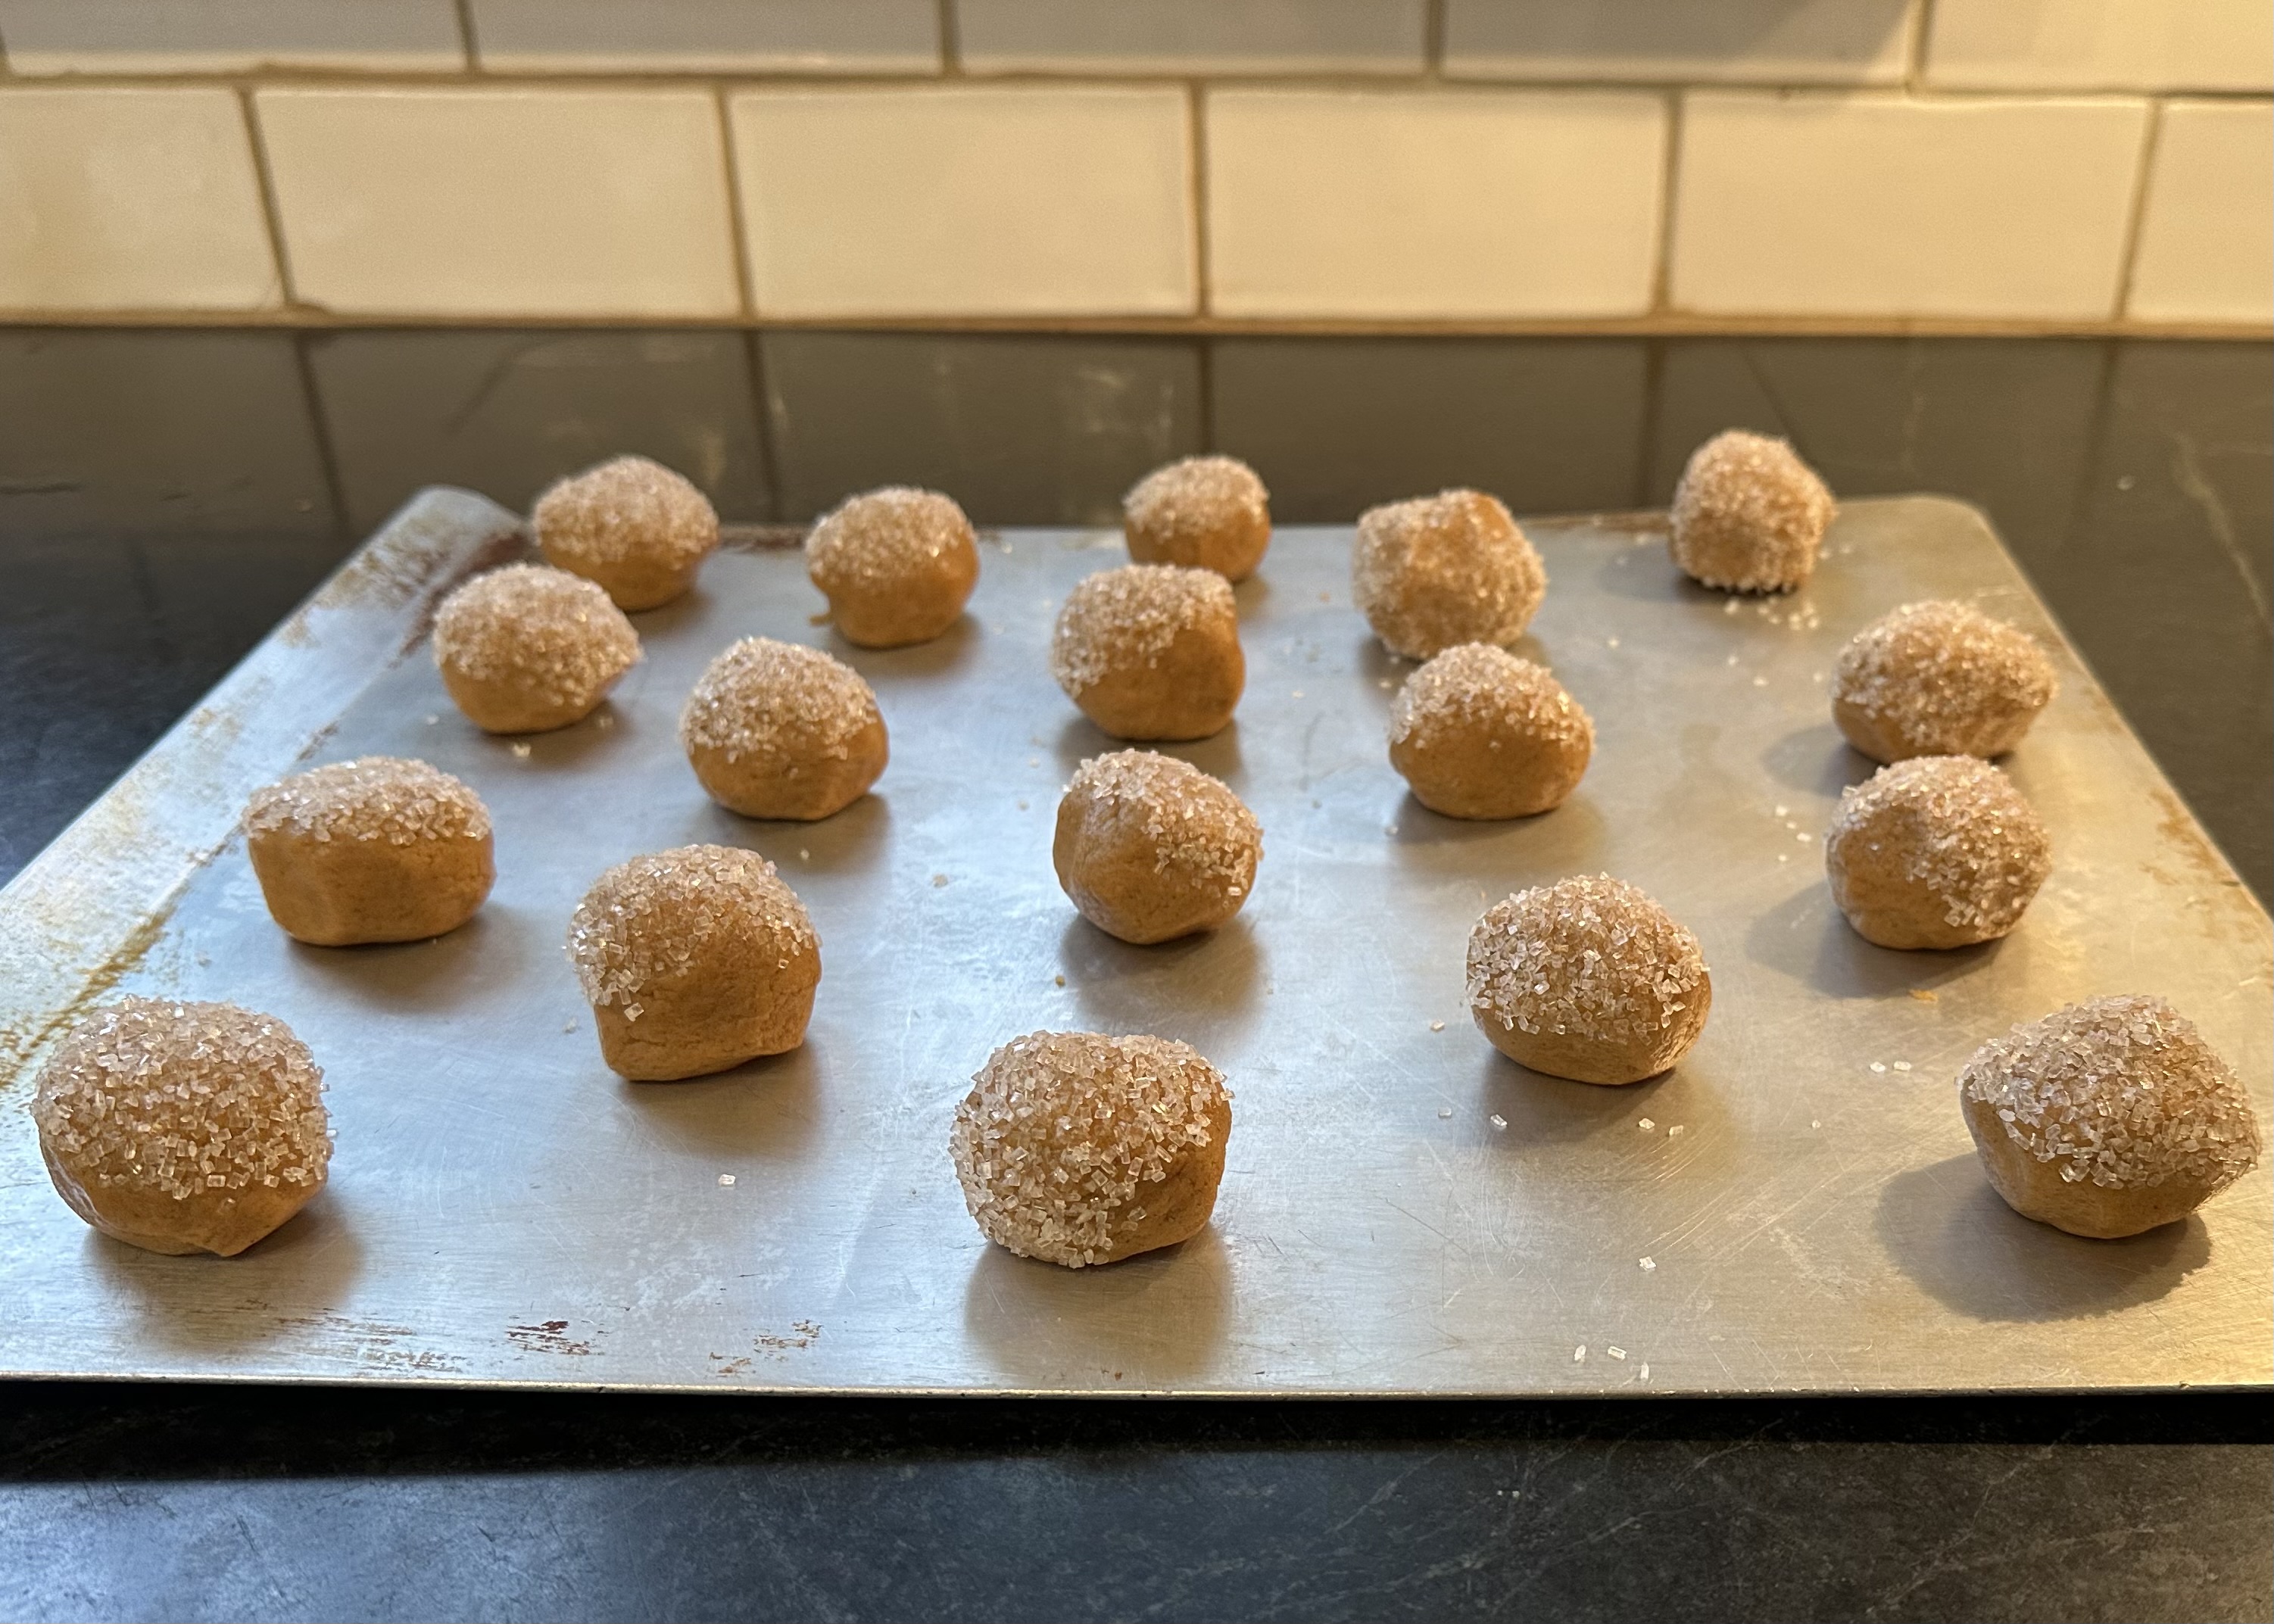
The cookies are topped with coarse-grained sugar, giving them a beautiful finish. Joan introduced me to King Arthur’s Sparkling White Sugar. It’s a game changer for providing cookies that have that bakery look. The crystals do not dissolve while cooking. An alternative is turbinado or plain sugar.
Yield: 4 dozen, 3-inch cookies
Ingredients:
The recipe I have written is a doubled version of Joan’s. The cookies have a long shelf life, freeze well, and are happily received as gifts; it makes sense to double it and only mess up the kitchen once.
½ cup coarse-grained sugar
5 cups (22 ounces) all-purpose flour
2 teaspoons baking soda
½ teaspoon salt
4 teaspoons ground ginger
1½ teaspoons ground cinnamon
1 teaspoon ground cloves
1½ cups (3 sticks) butter at room temperature
2 cups granulated sugar
½ cup sorghum or unsulfured molasses
2 large eggs
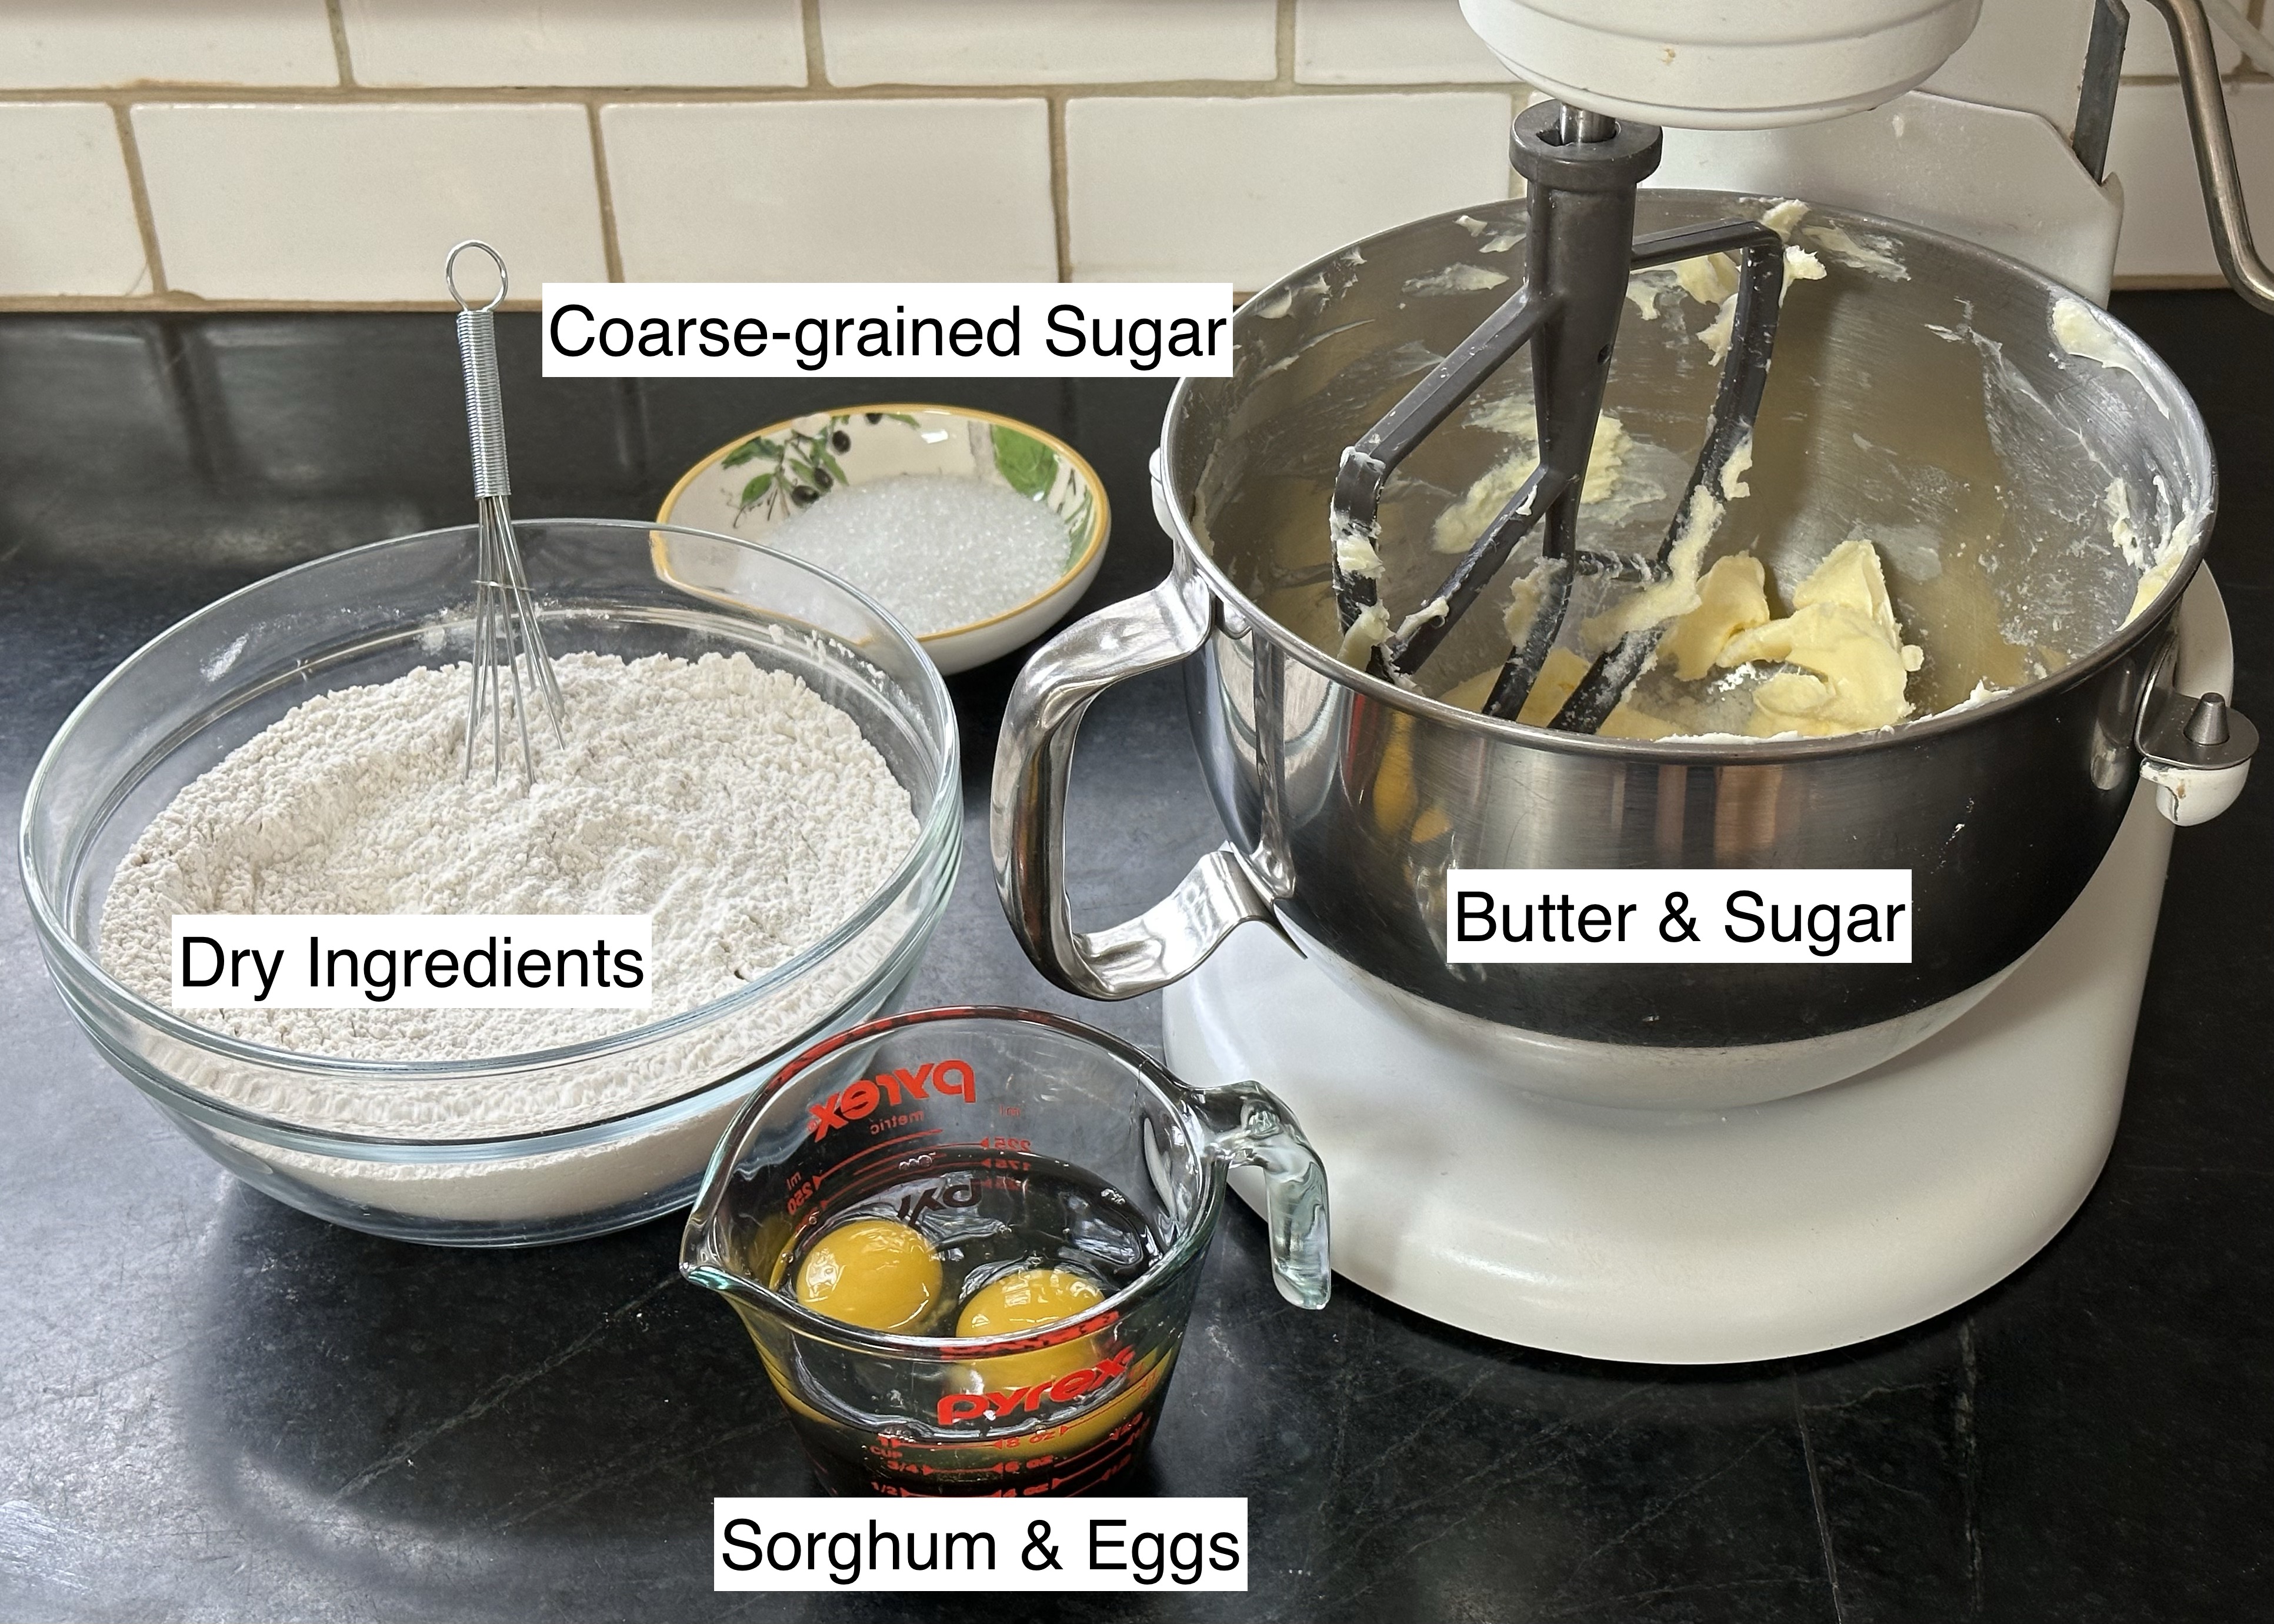
Mise en Place
Instructions
Preheat oven to 350º.
Use 3 ungreased cookie sheets.
Place the ½ cup of coarse-grained sugar for sprinkles in a shallow bowl and set aside.
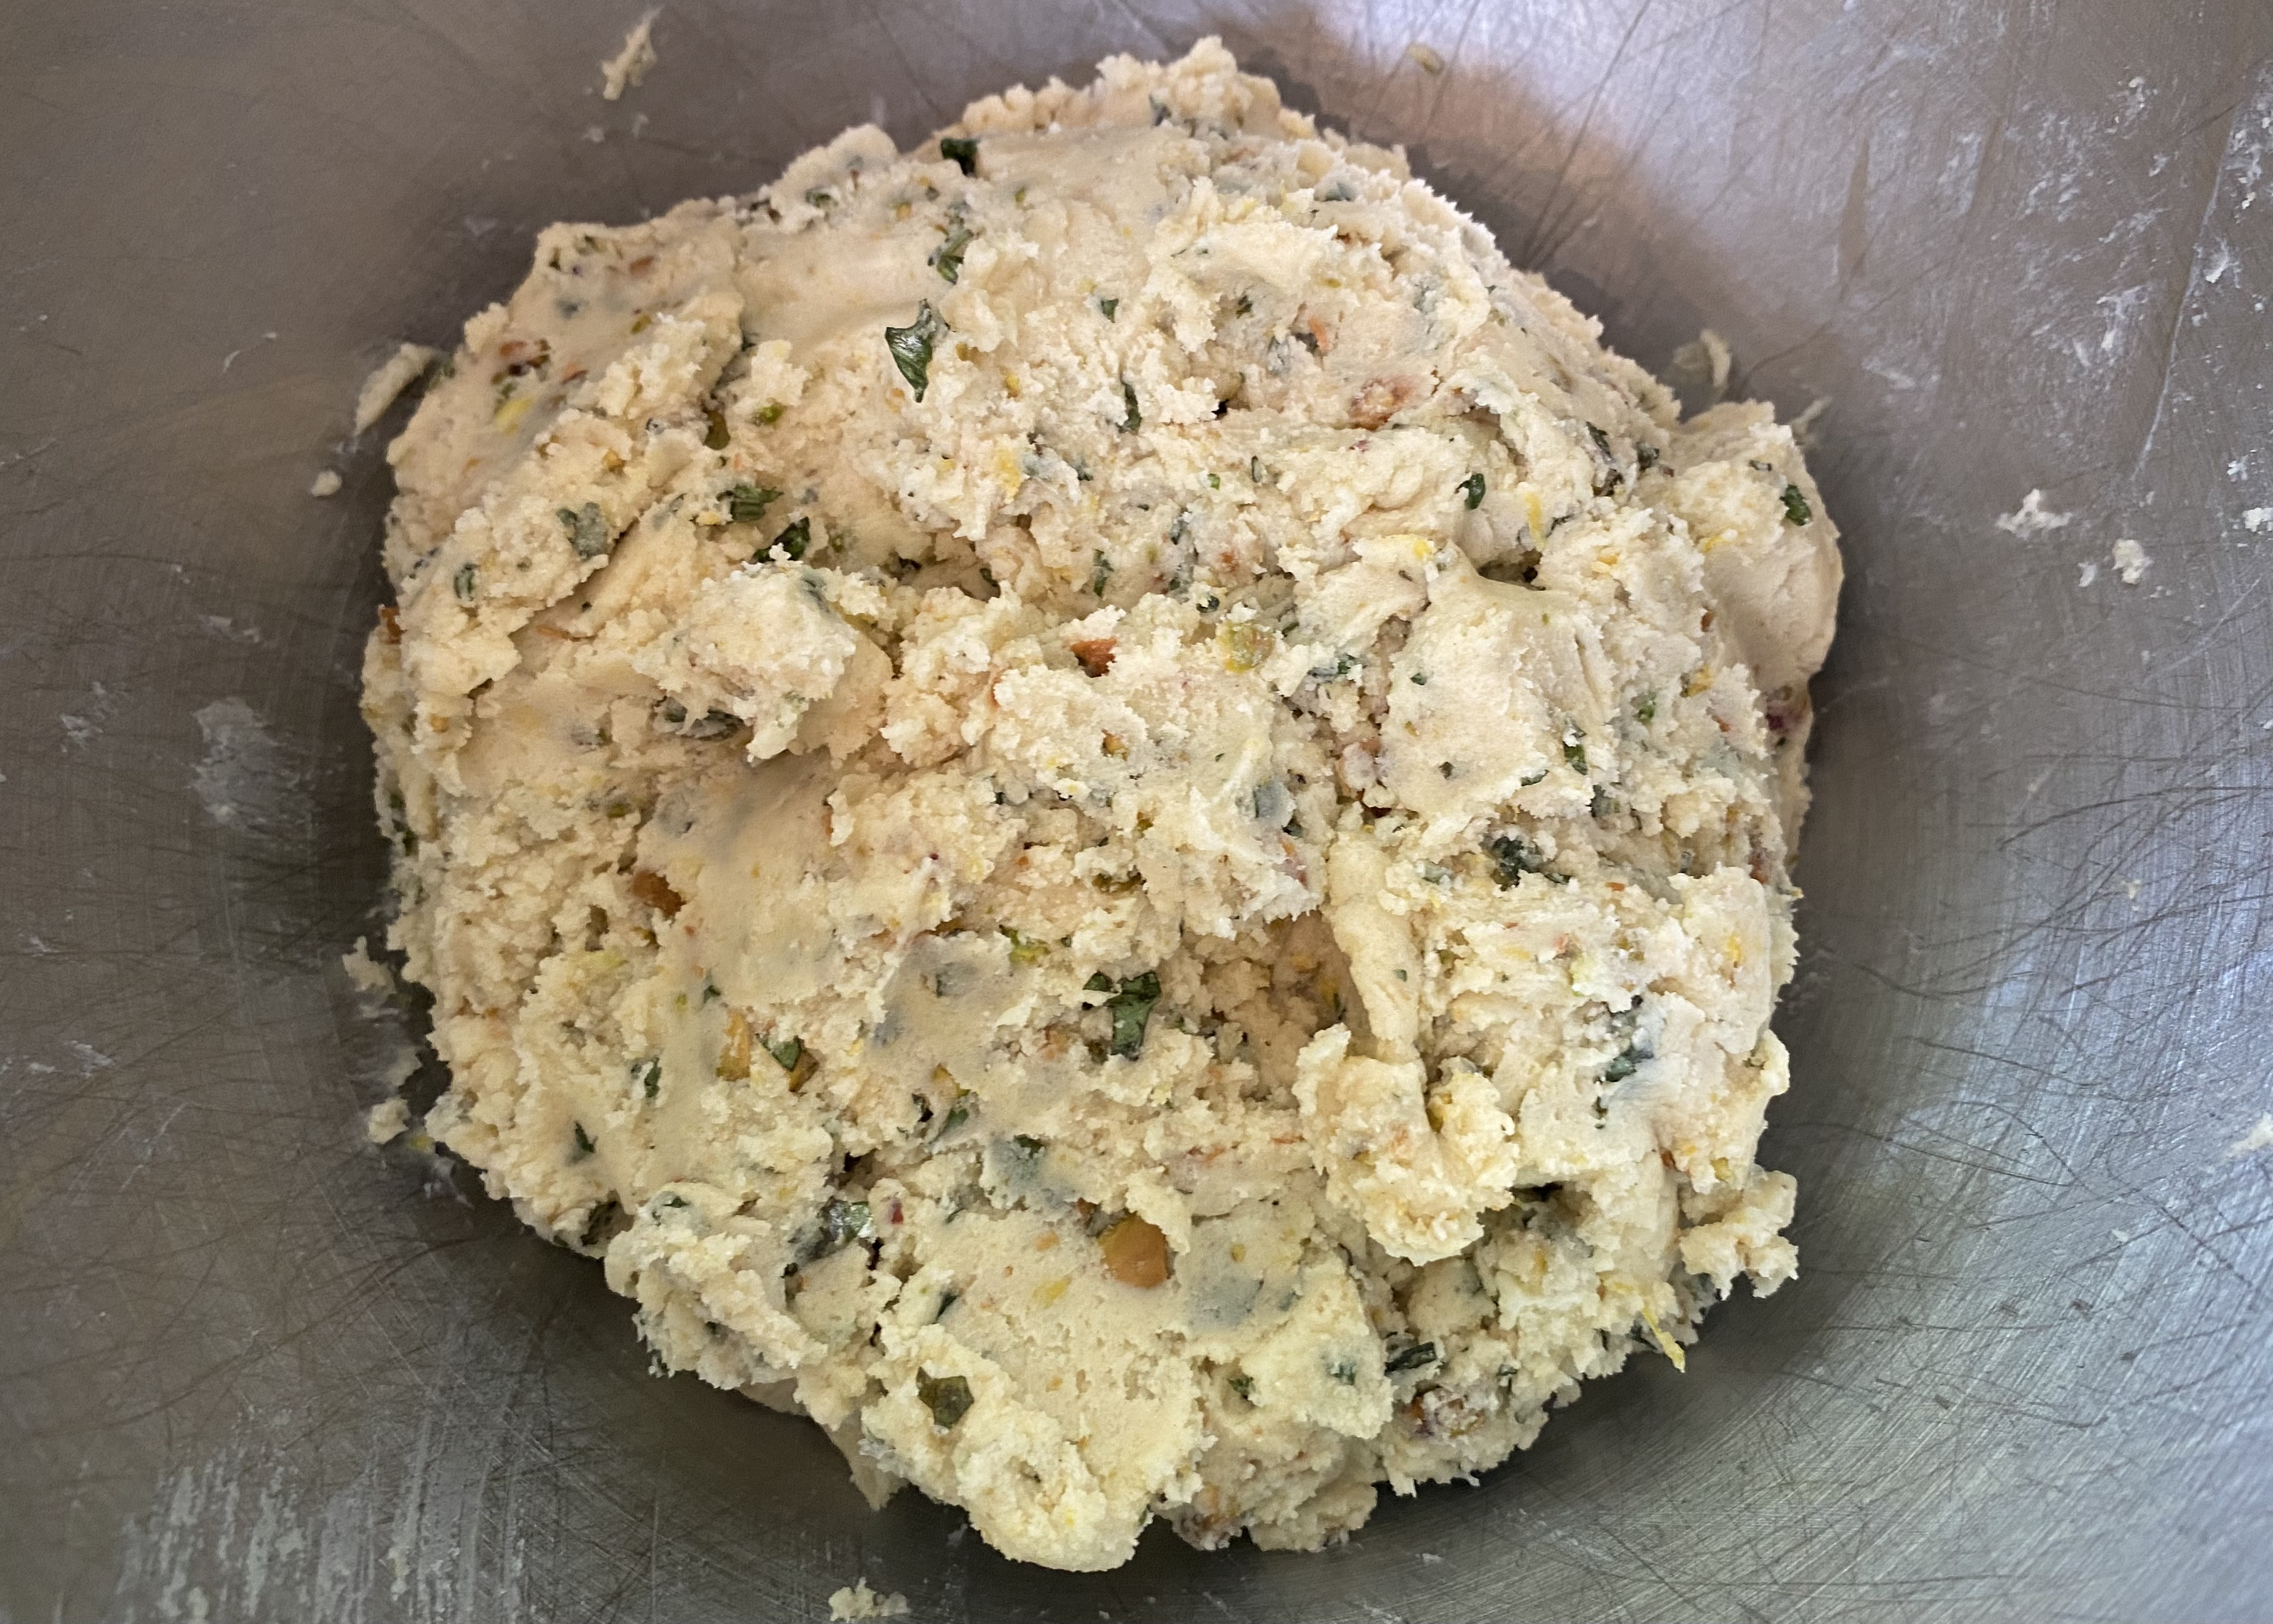
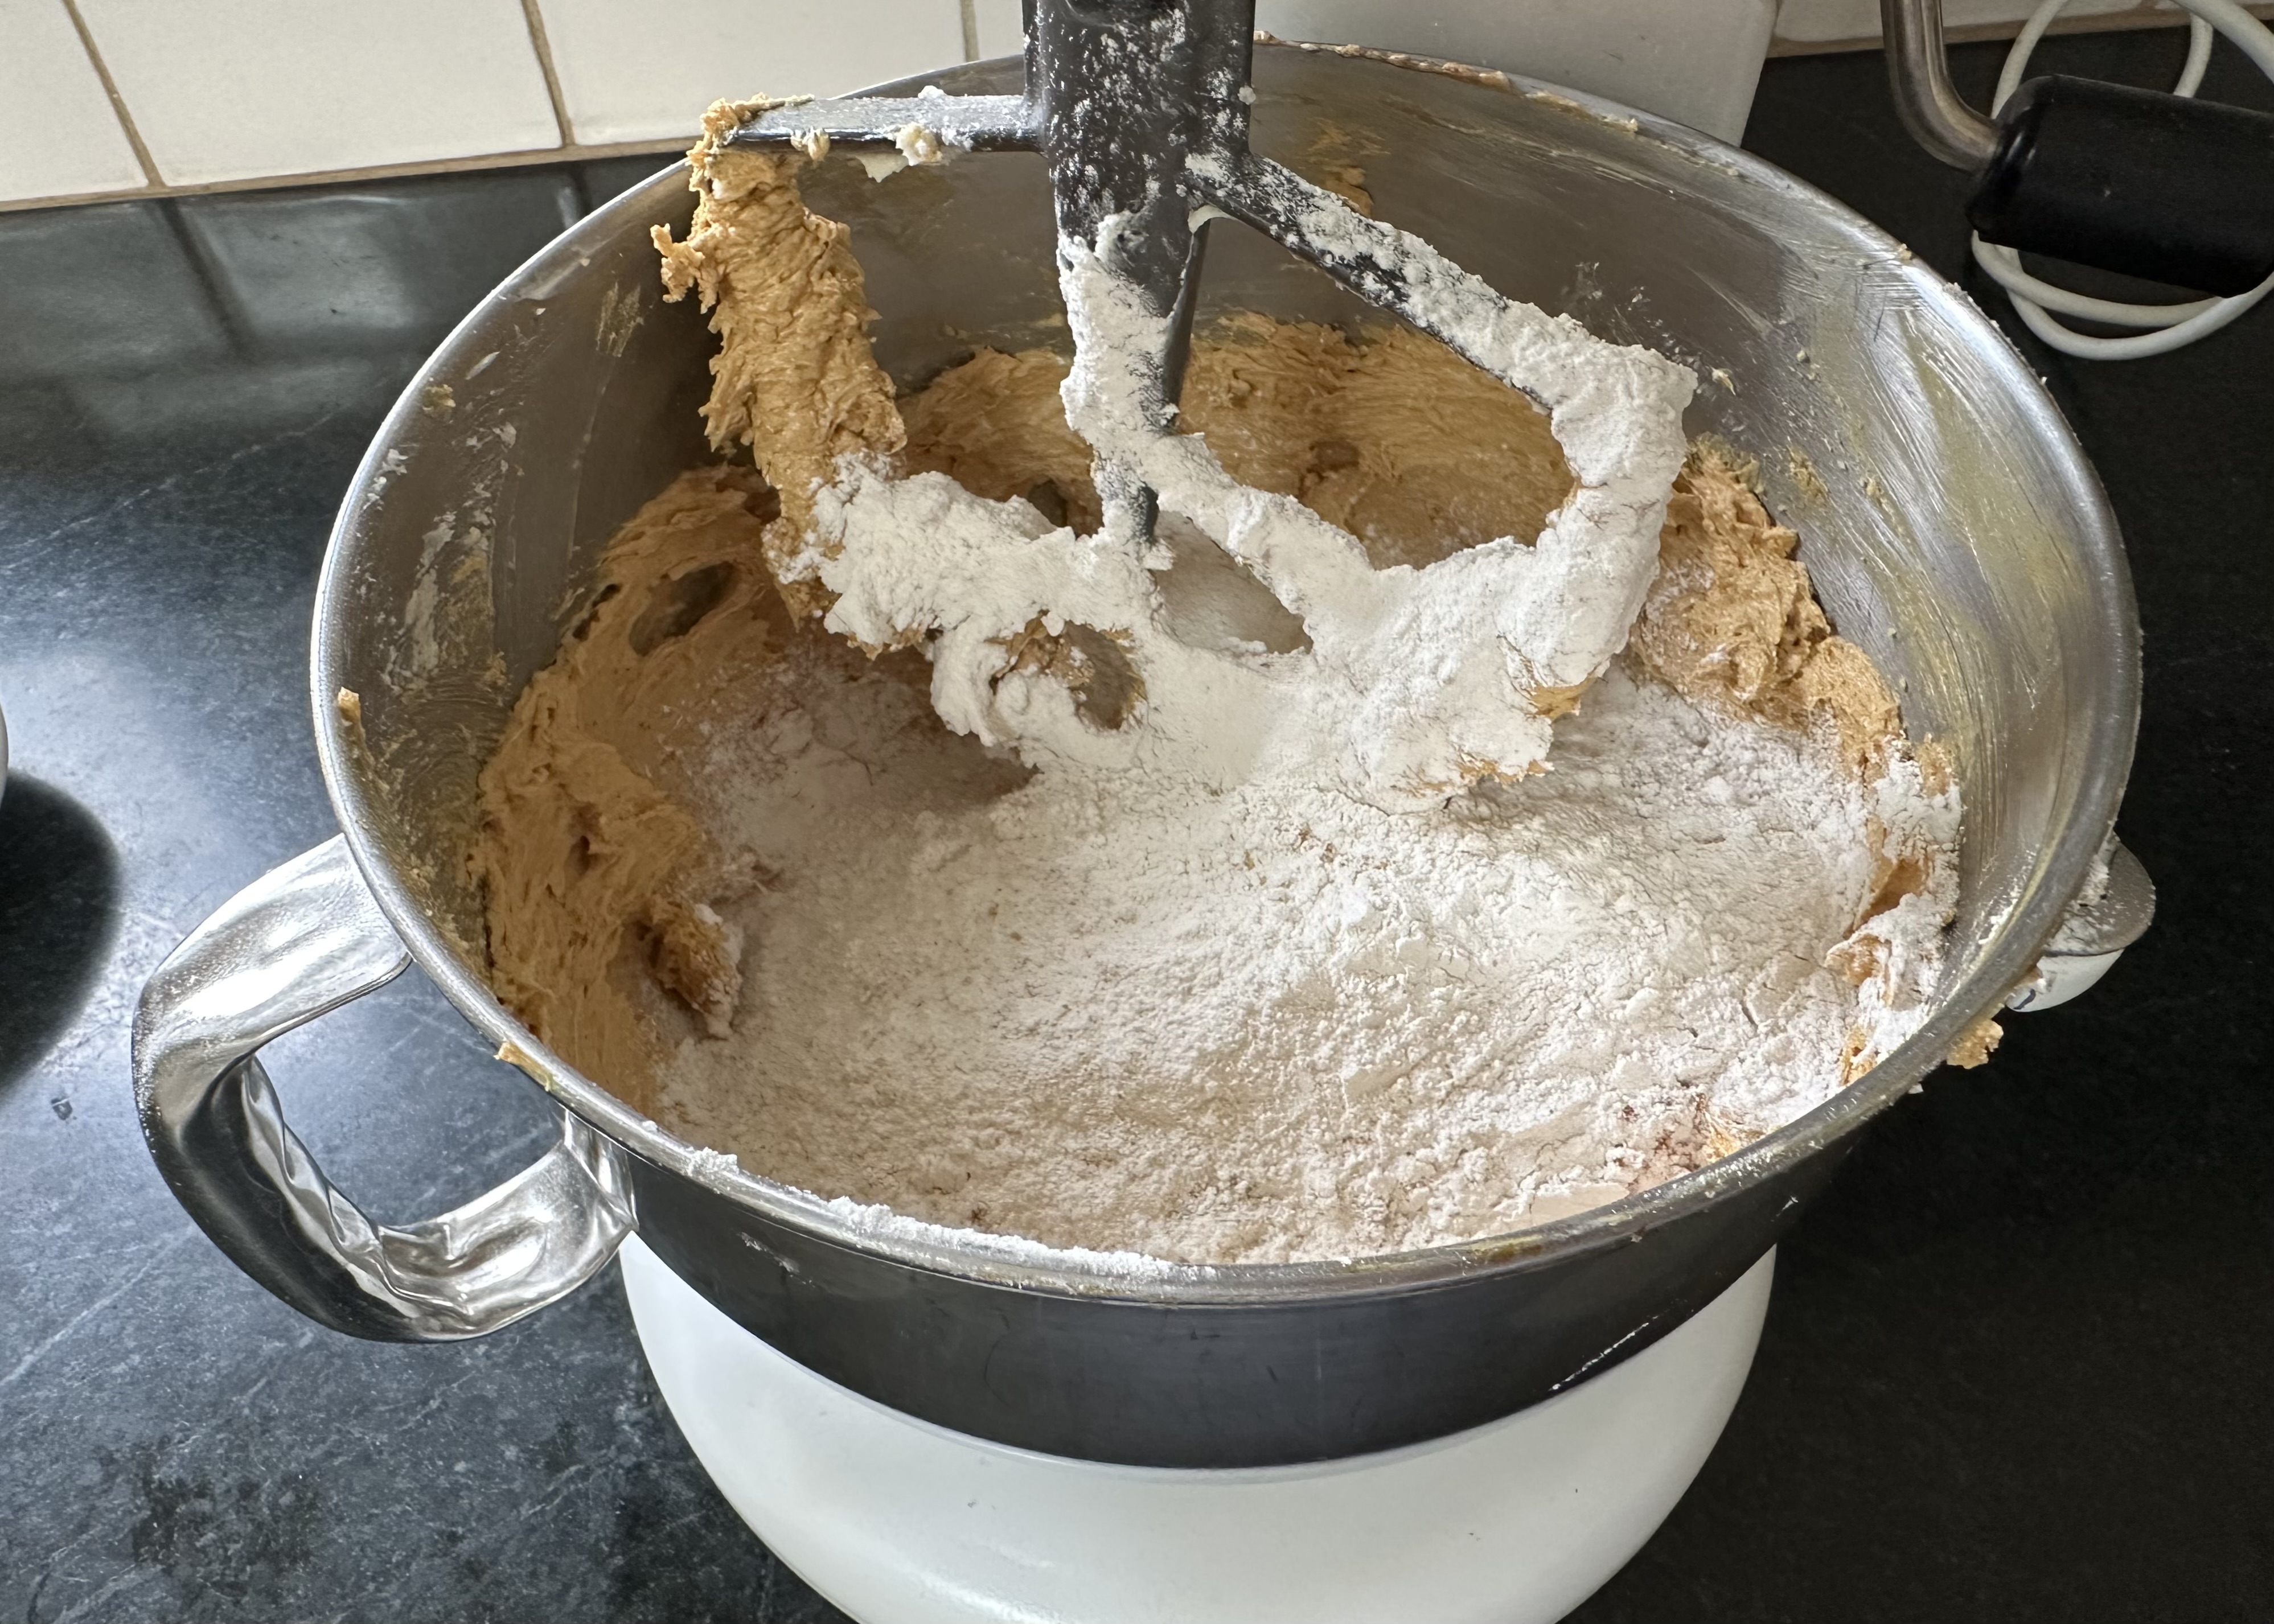
Mix flour, baking soda, salt, ginger, cinnamon, and cloves in a medium bowl. Use a whisk to thoroughly mix. Set aside.
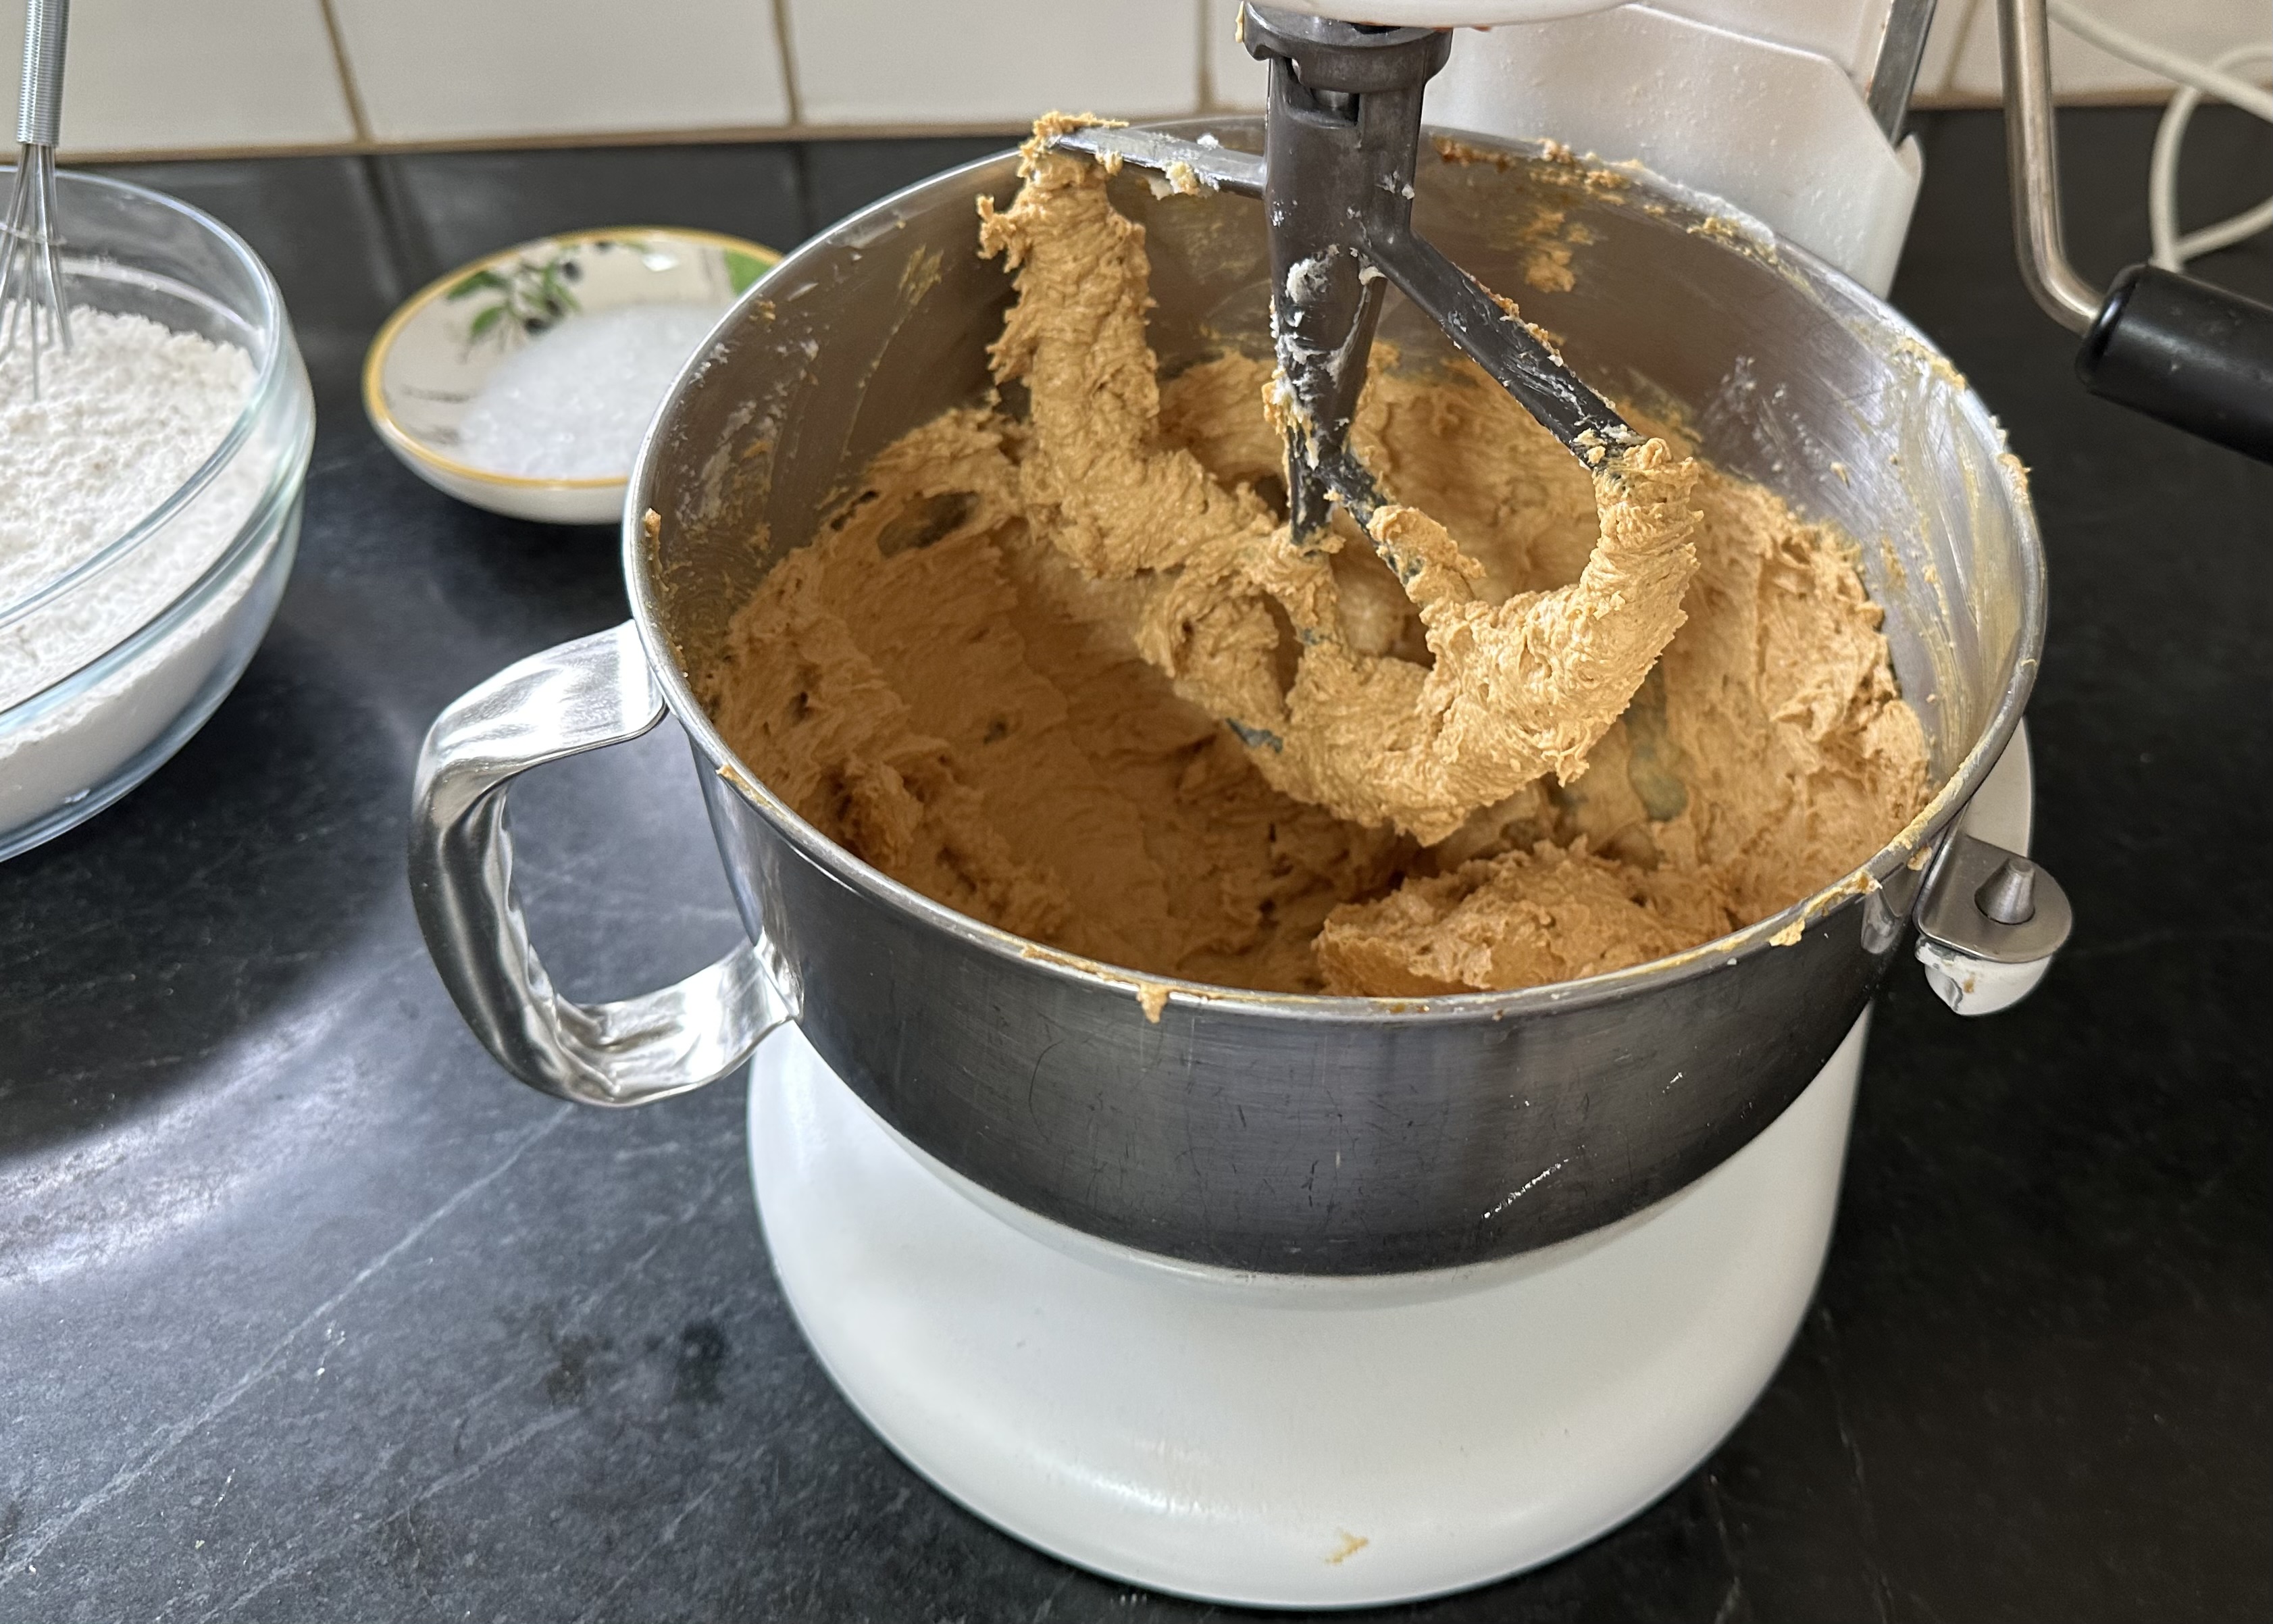
Beat butter and sugar in a large bowl until light and fluffy, about 3 minutes. Be sure to pause and scrape sides and bottom of bowl with a spatula.
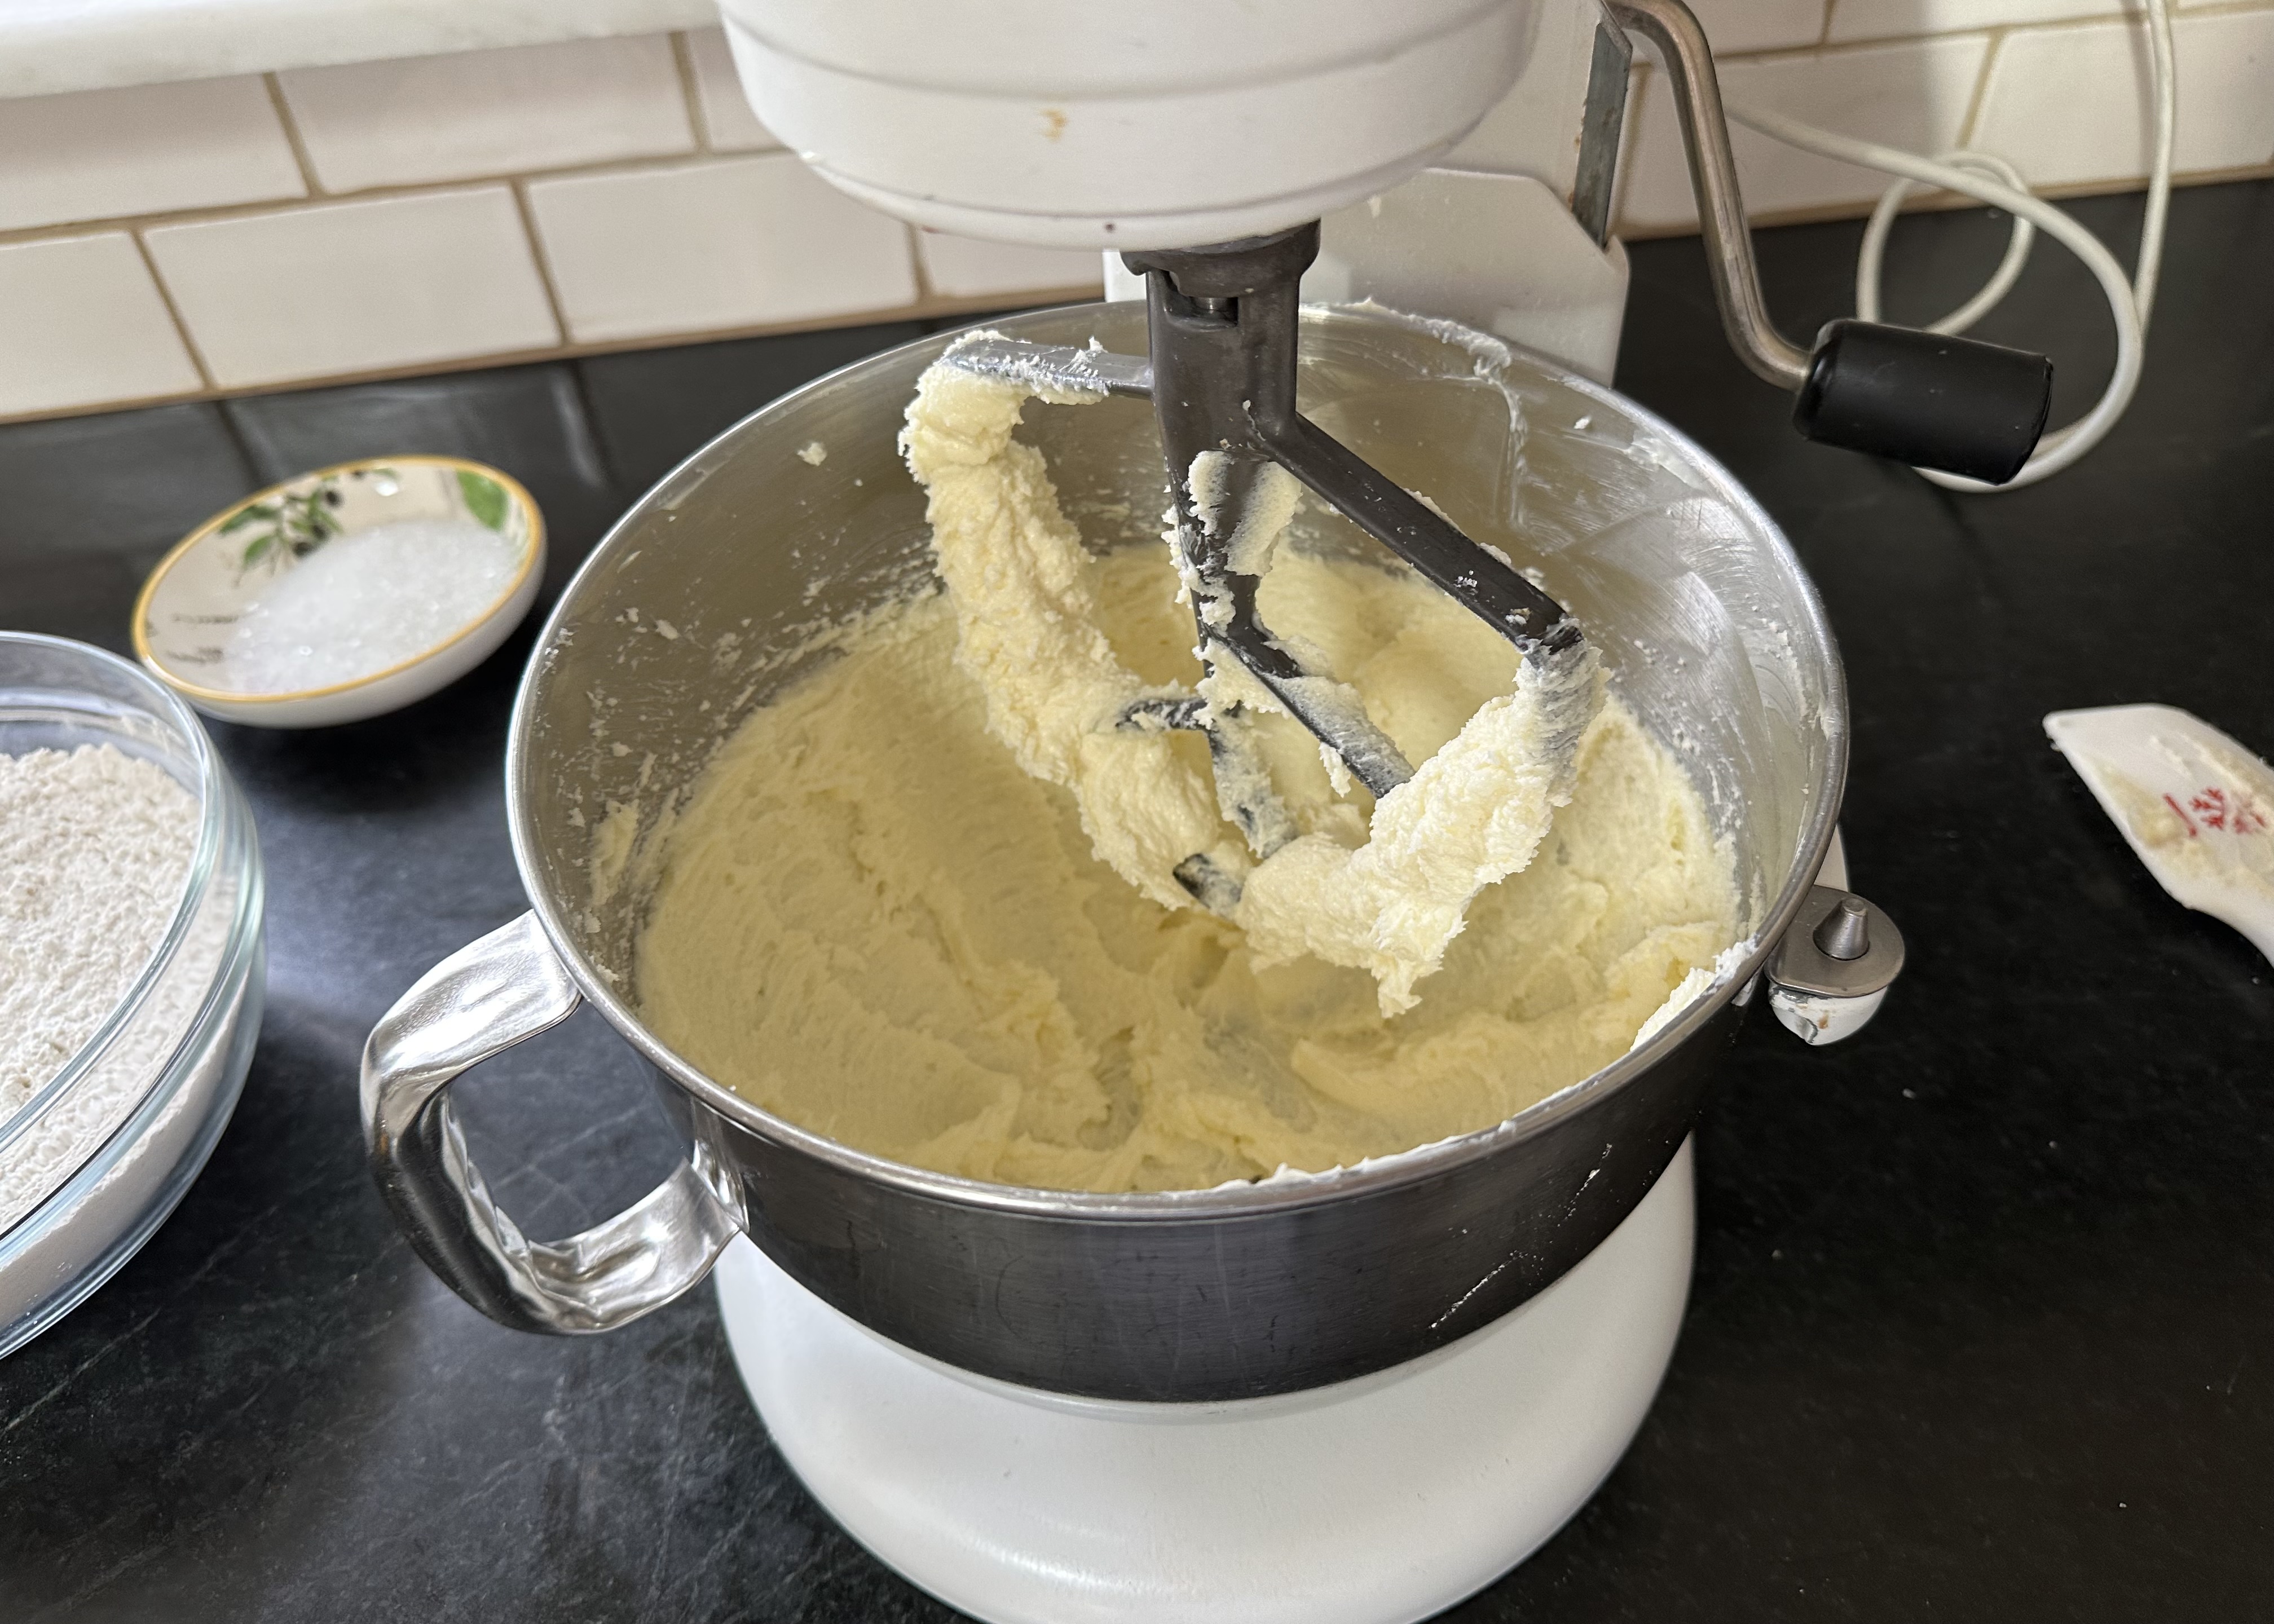
Add sorghum (or molasses) and eggs. Beat until well-blended, about one minute.
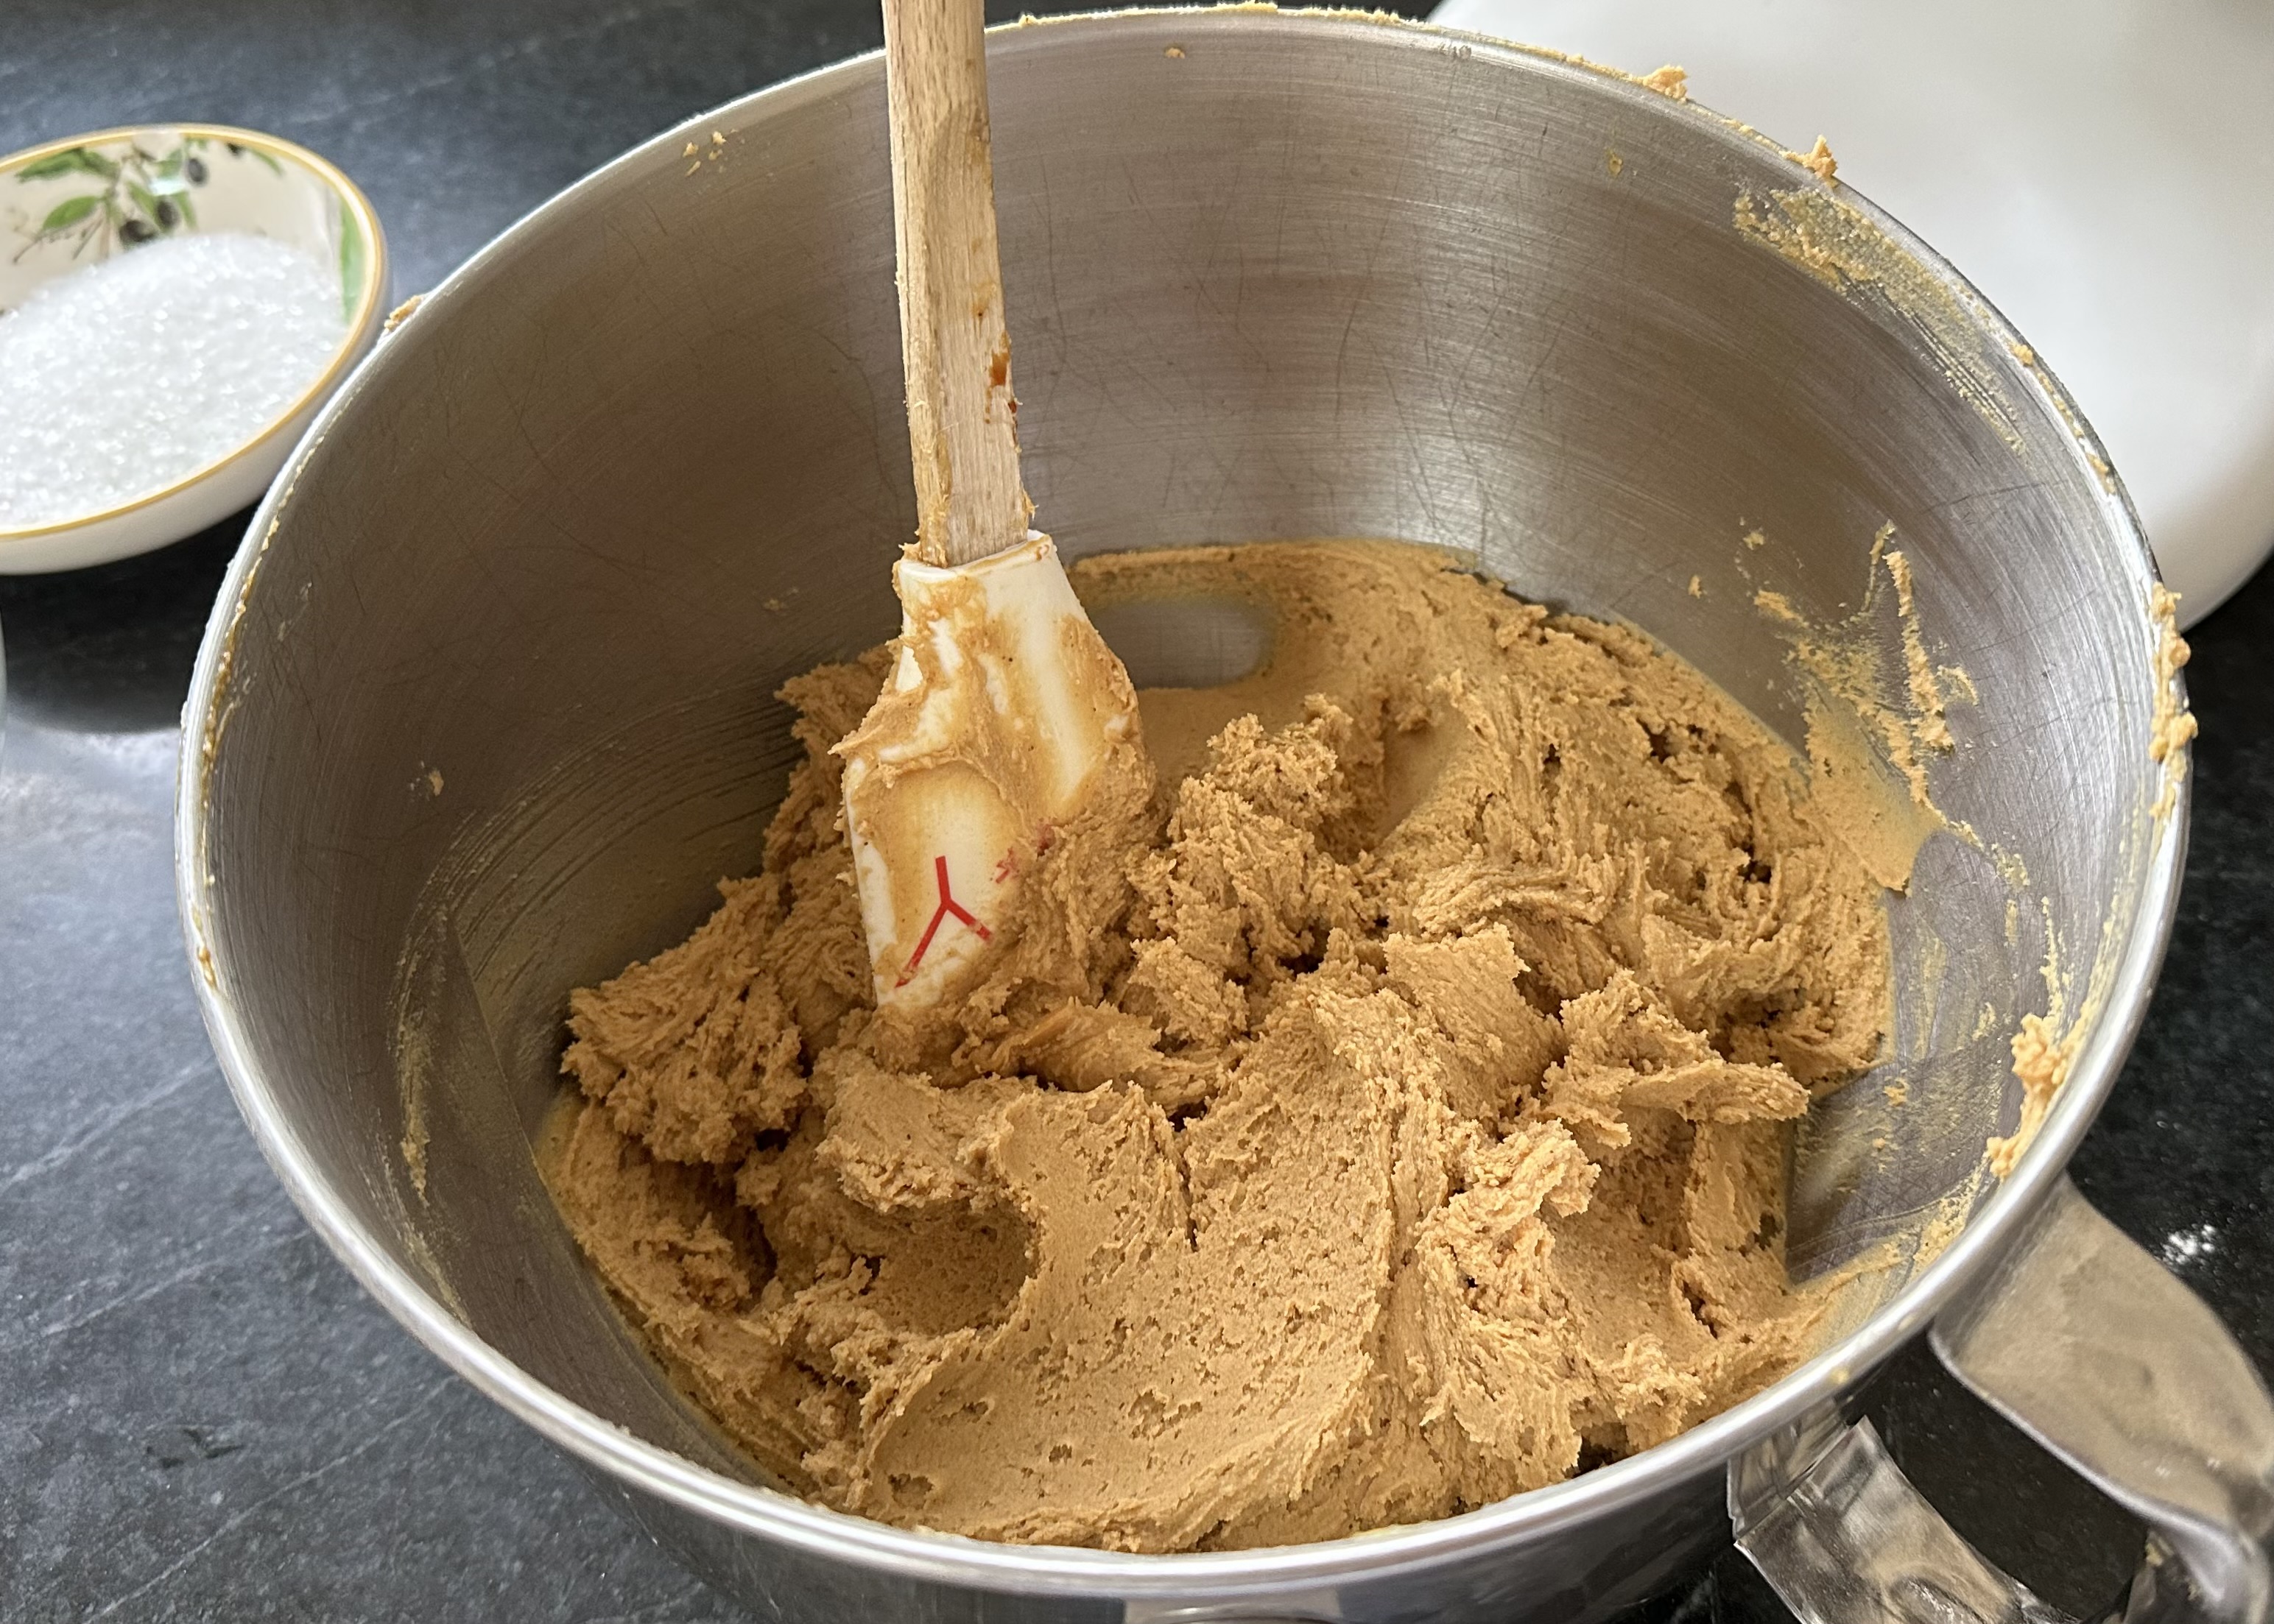
Add flour mixture. Mix slowly until white flour streaks disappear, about 30 seconds. At this point, you could cover dough and put in fridge and bake later.
Portion dough using a #40 cookie scoop, about a heaping teaspoon. Each 3-inch cookie weighs ~1 ounce. For ease, I portion out all the dough at once and then roll each into smooth balls.
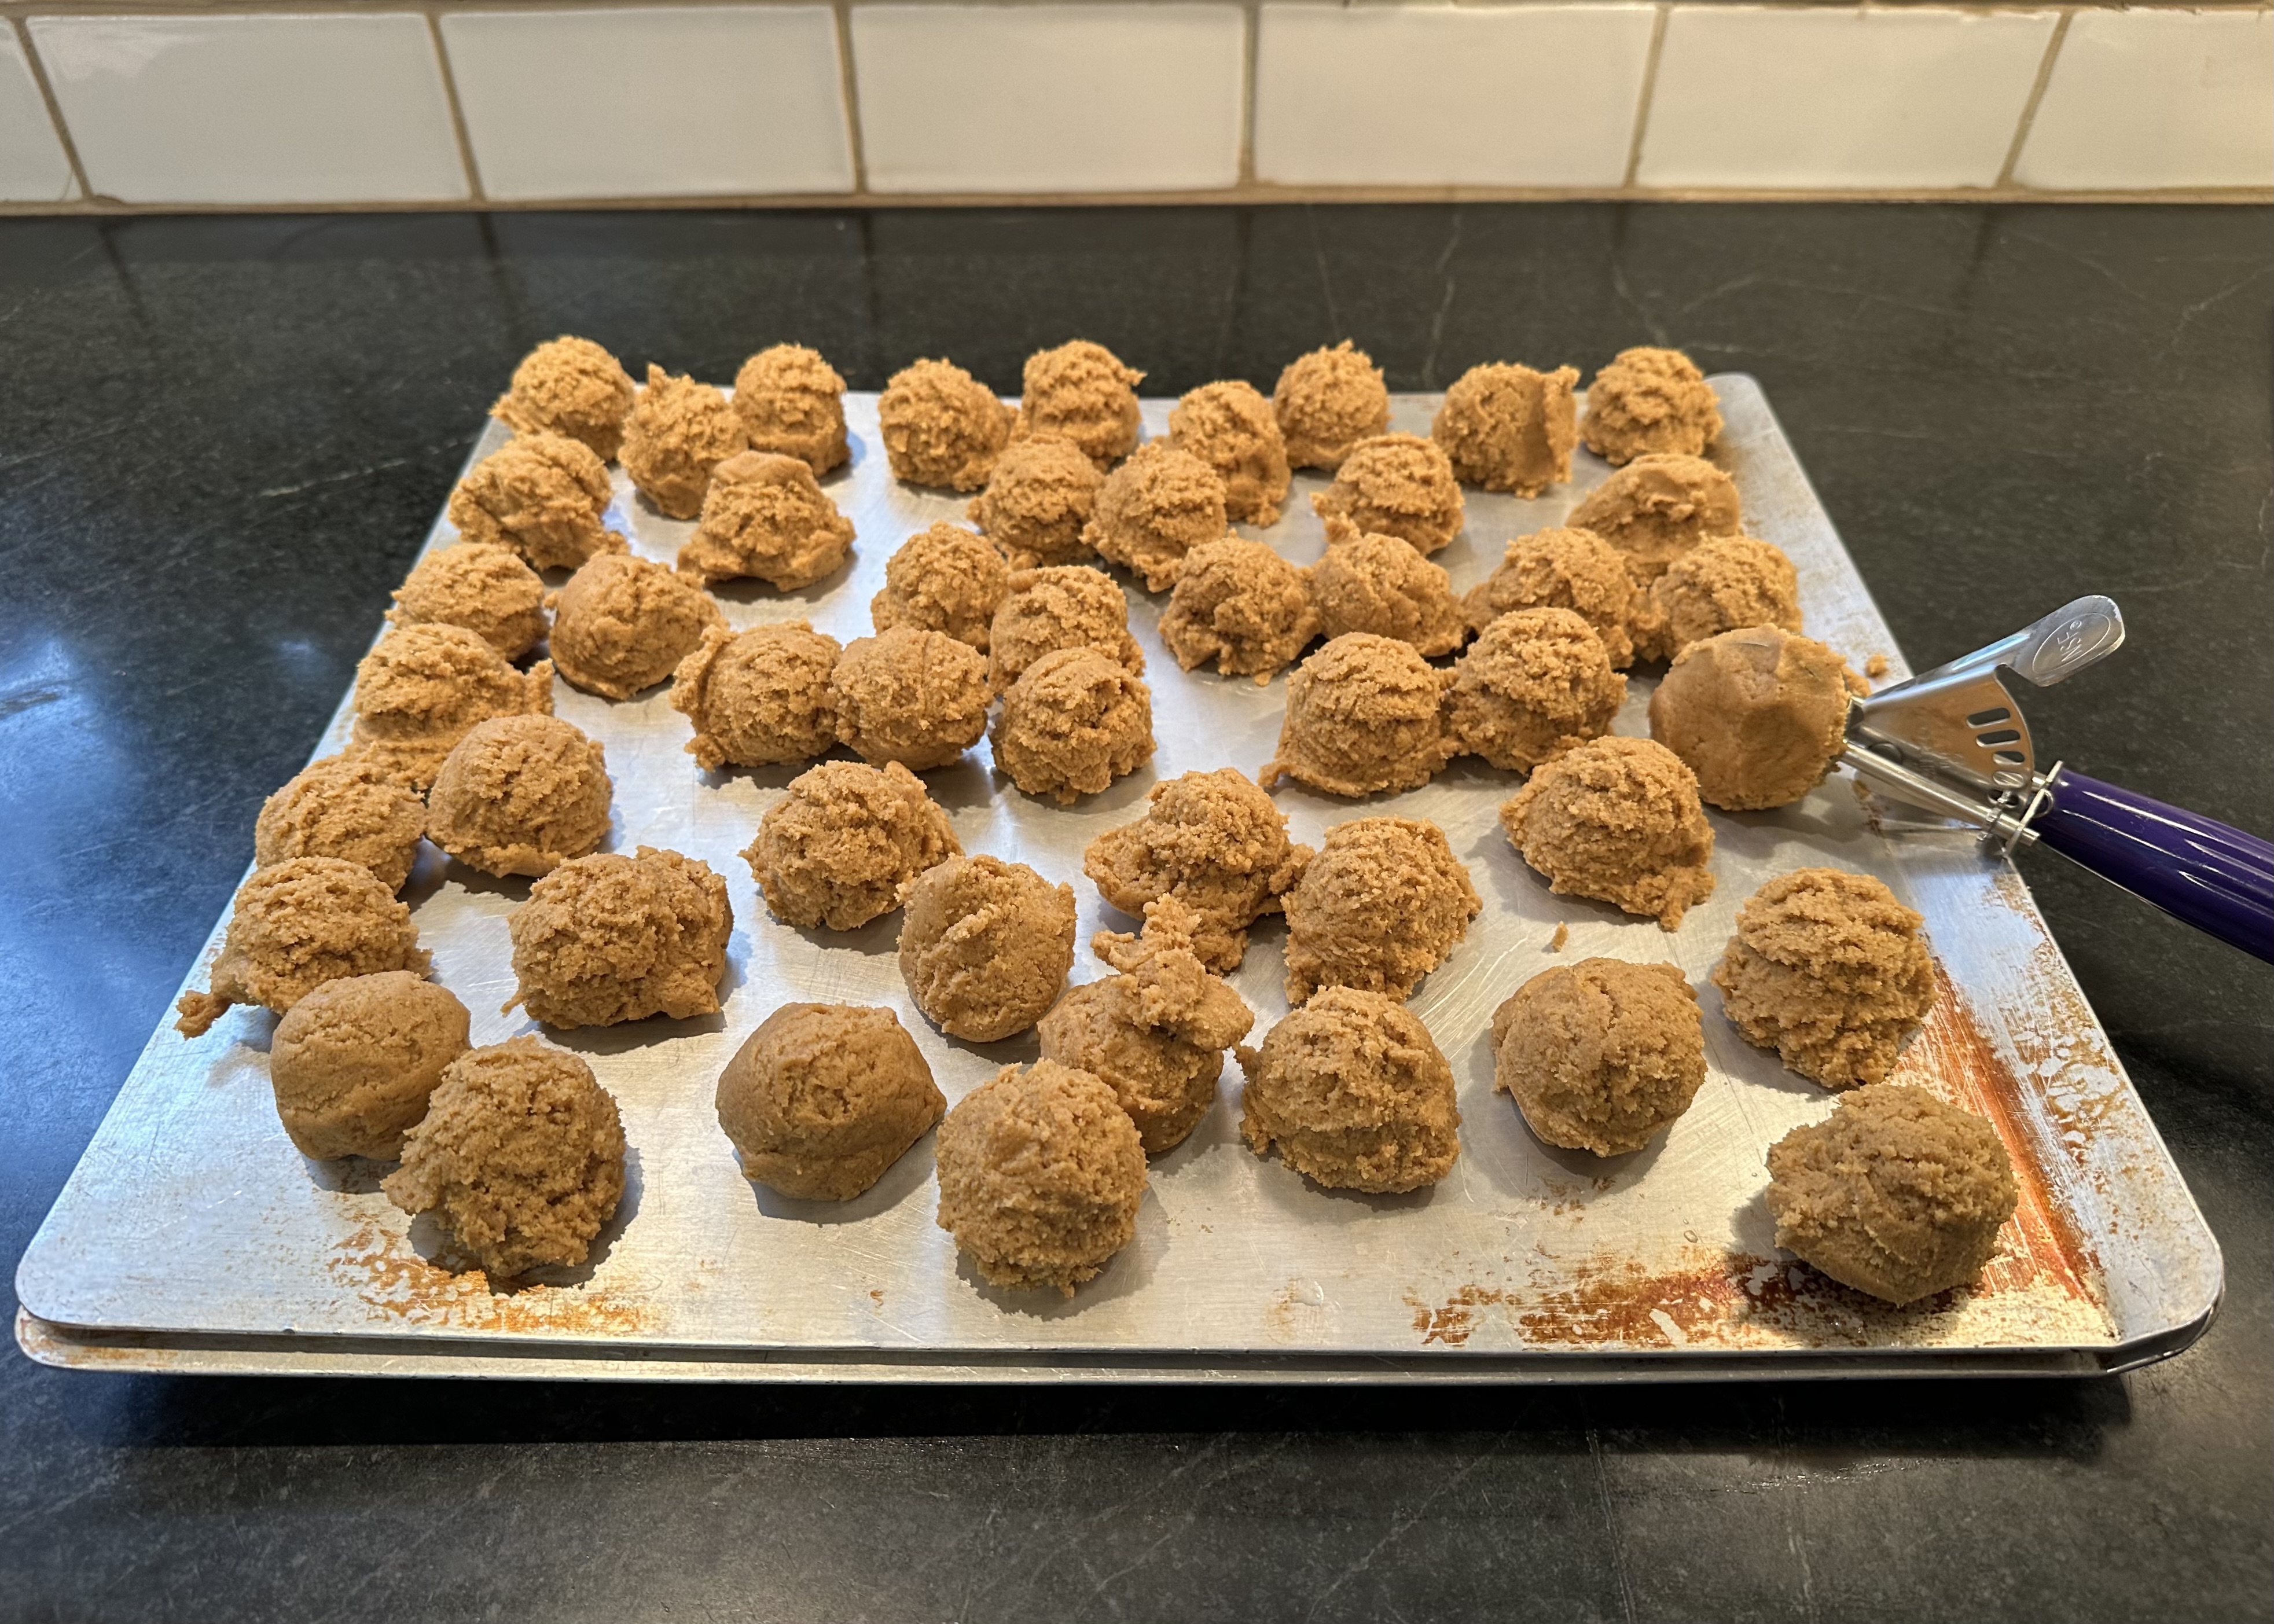
Dunk each ball’s top half into the sugar bowl and arrange on a cookie sheet about 2-inches apart.
Bake in a preheated oven until cookies are golden, have puffed up, cracked on top, and started to deflate; about 12-15 minutes. You may have to fool around with the cooking time. Reposition pans in oven halfway through cooking. Do not overbake. Remove from oven, let stand for two minutes, then transfer to a wire rack to cool. I think the cookies taste best a few hours after baking.
Related Posts from Bay View Neighbors:
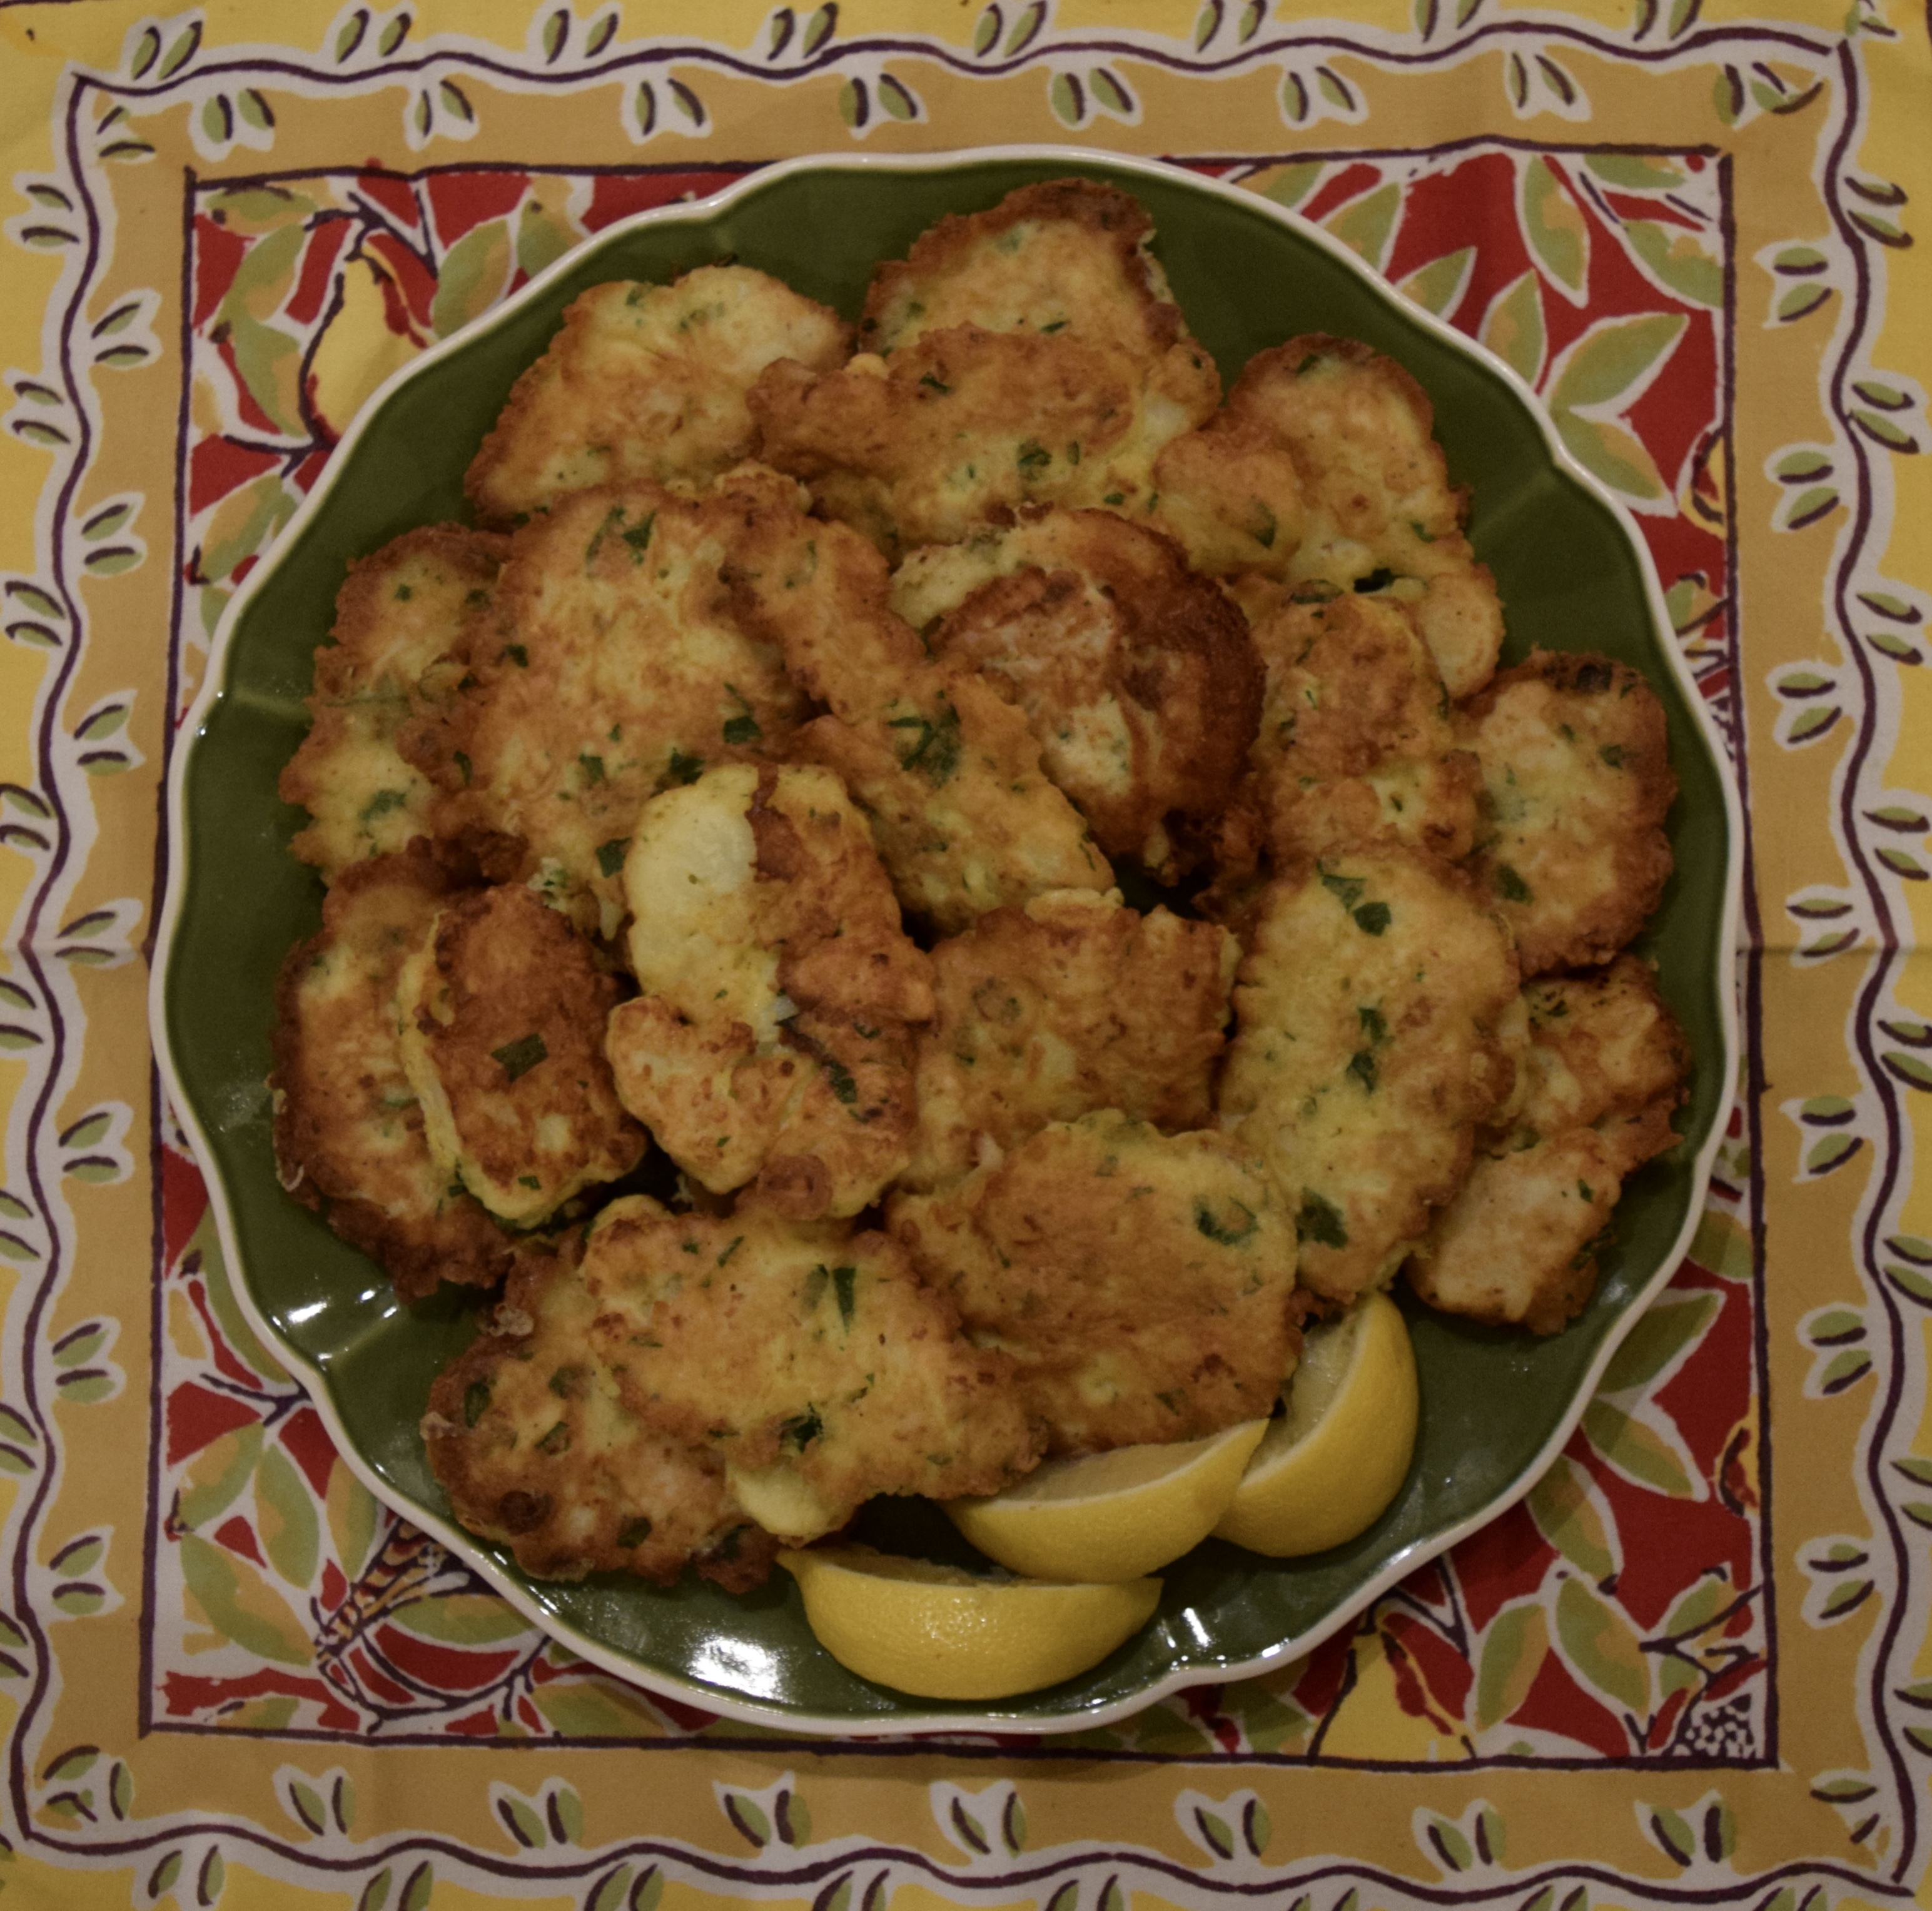
My aunt, who lived in Joan’s house, is famous for Auntie’s Italian Fried Cauliflower.
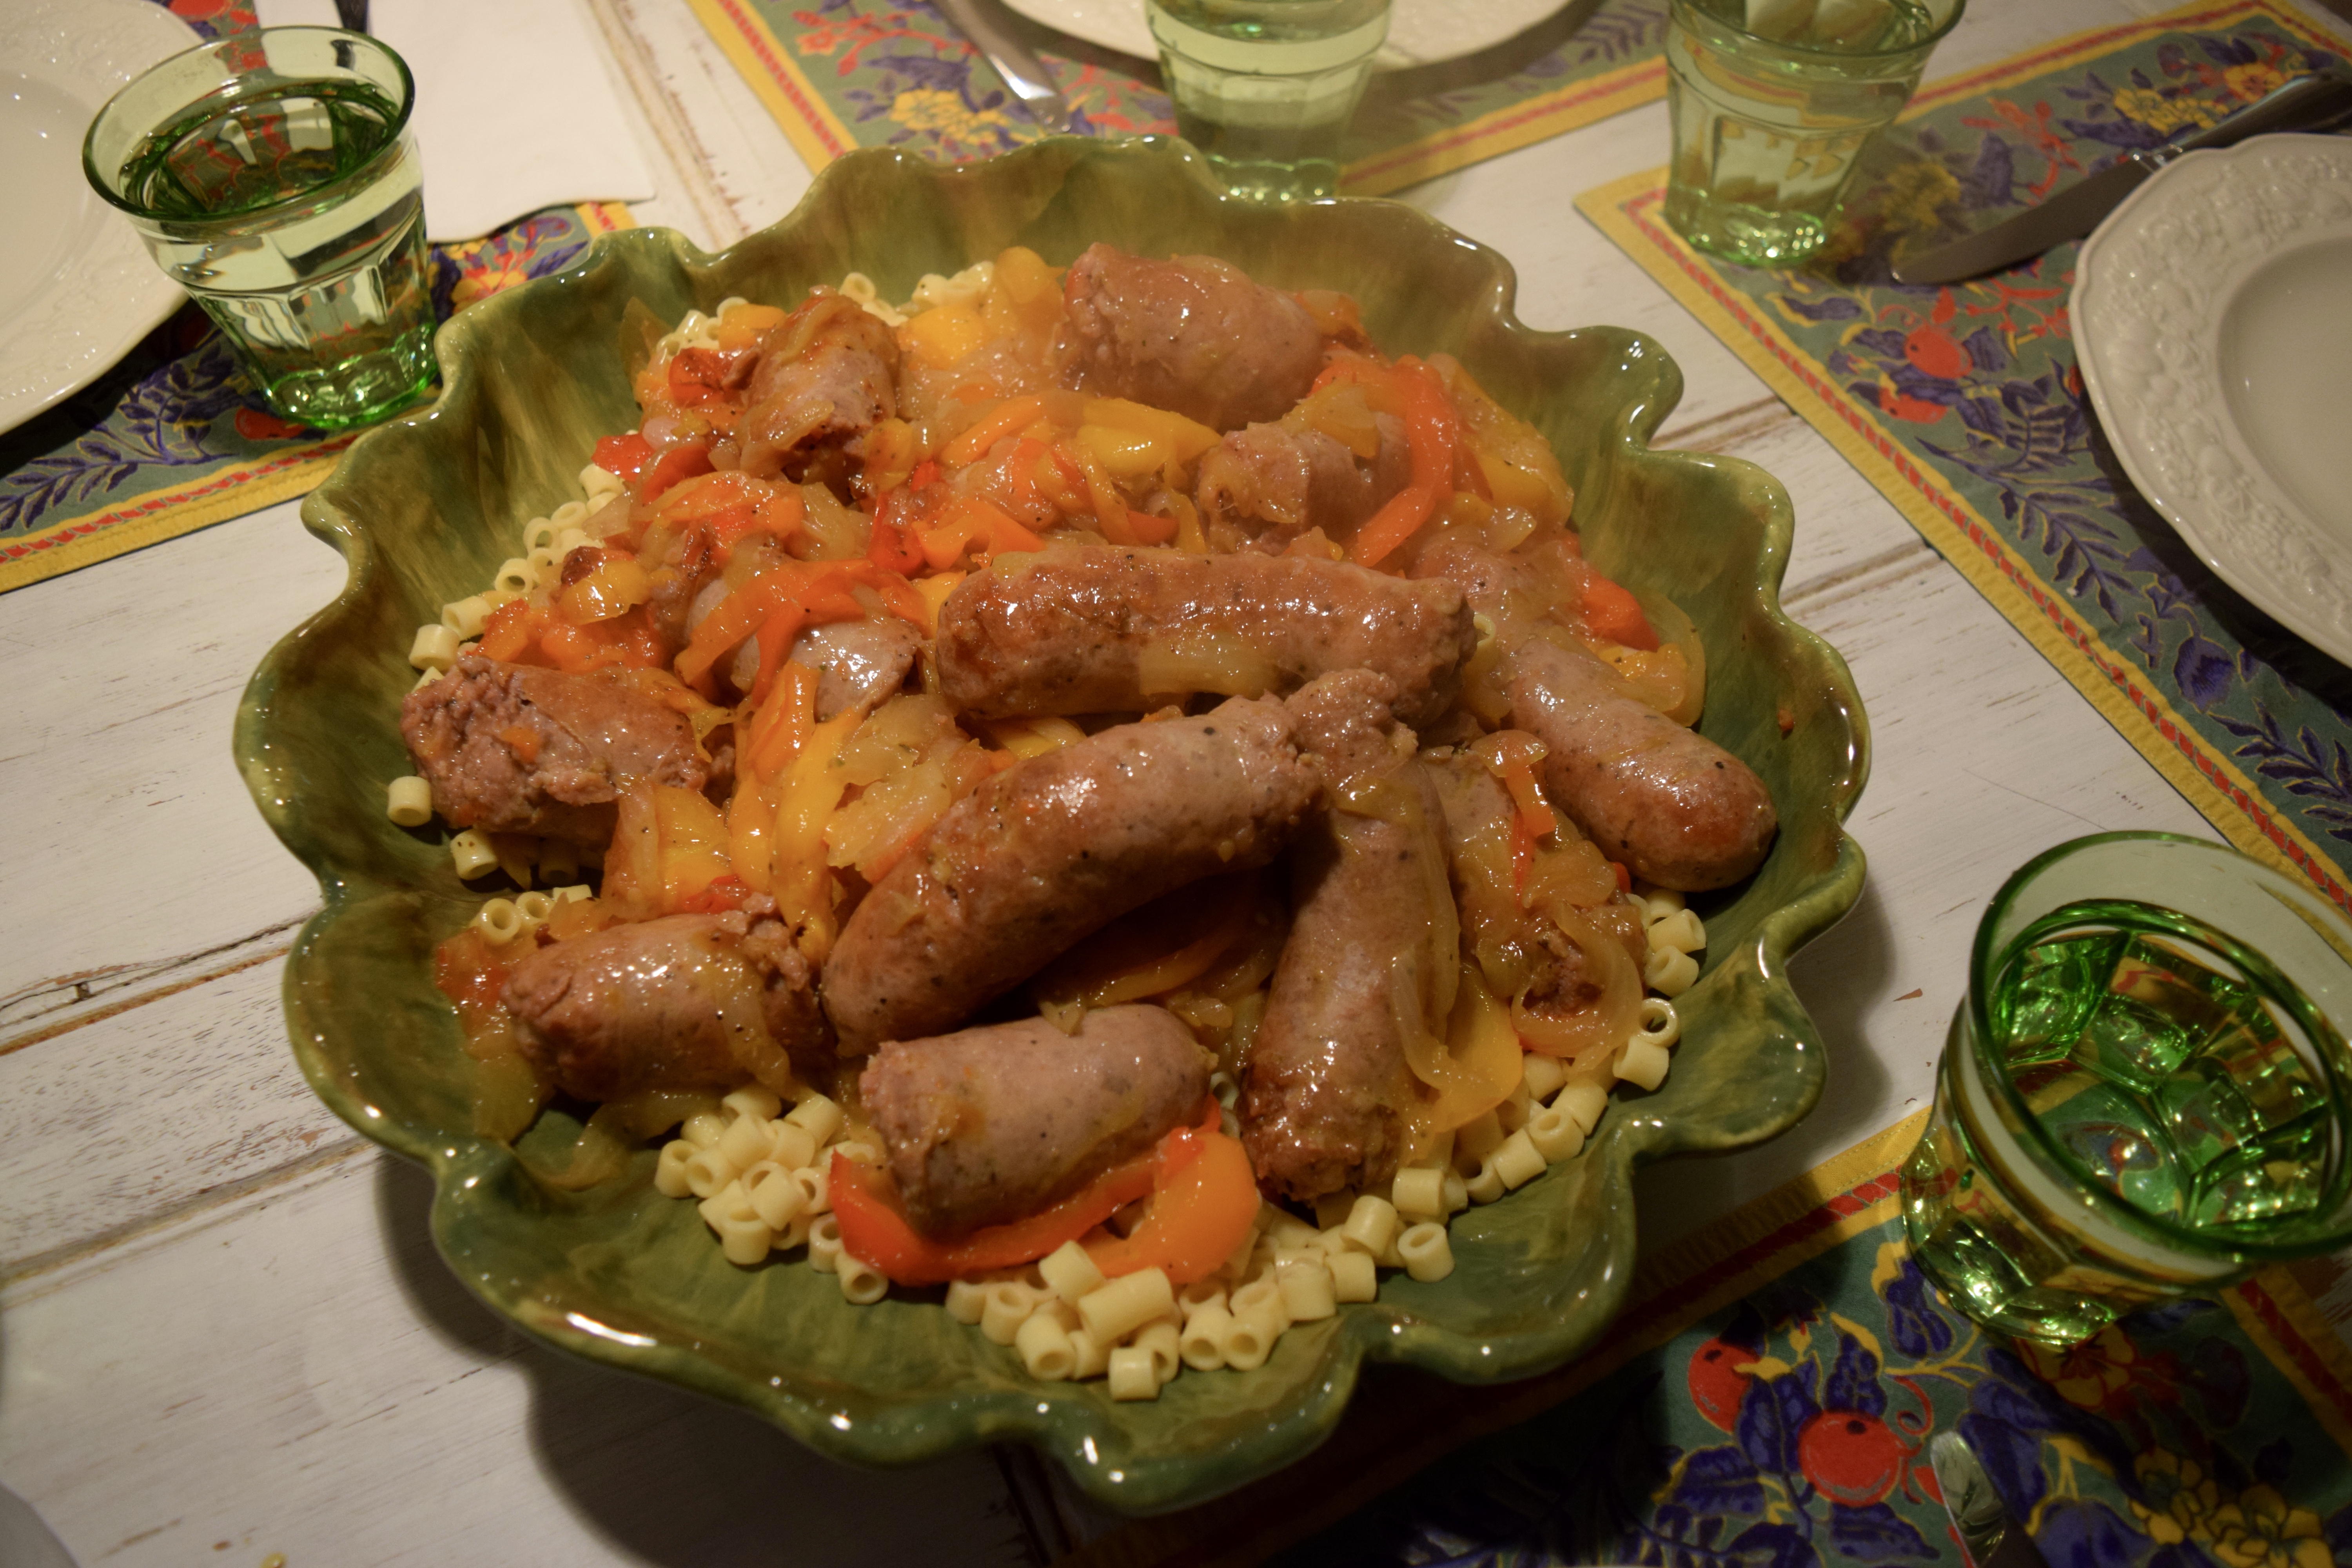
Another of my aunts from Bay View makes this delicious entrée, Rachelle’s Italian Sausage, Onions, and Peppers.
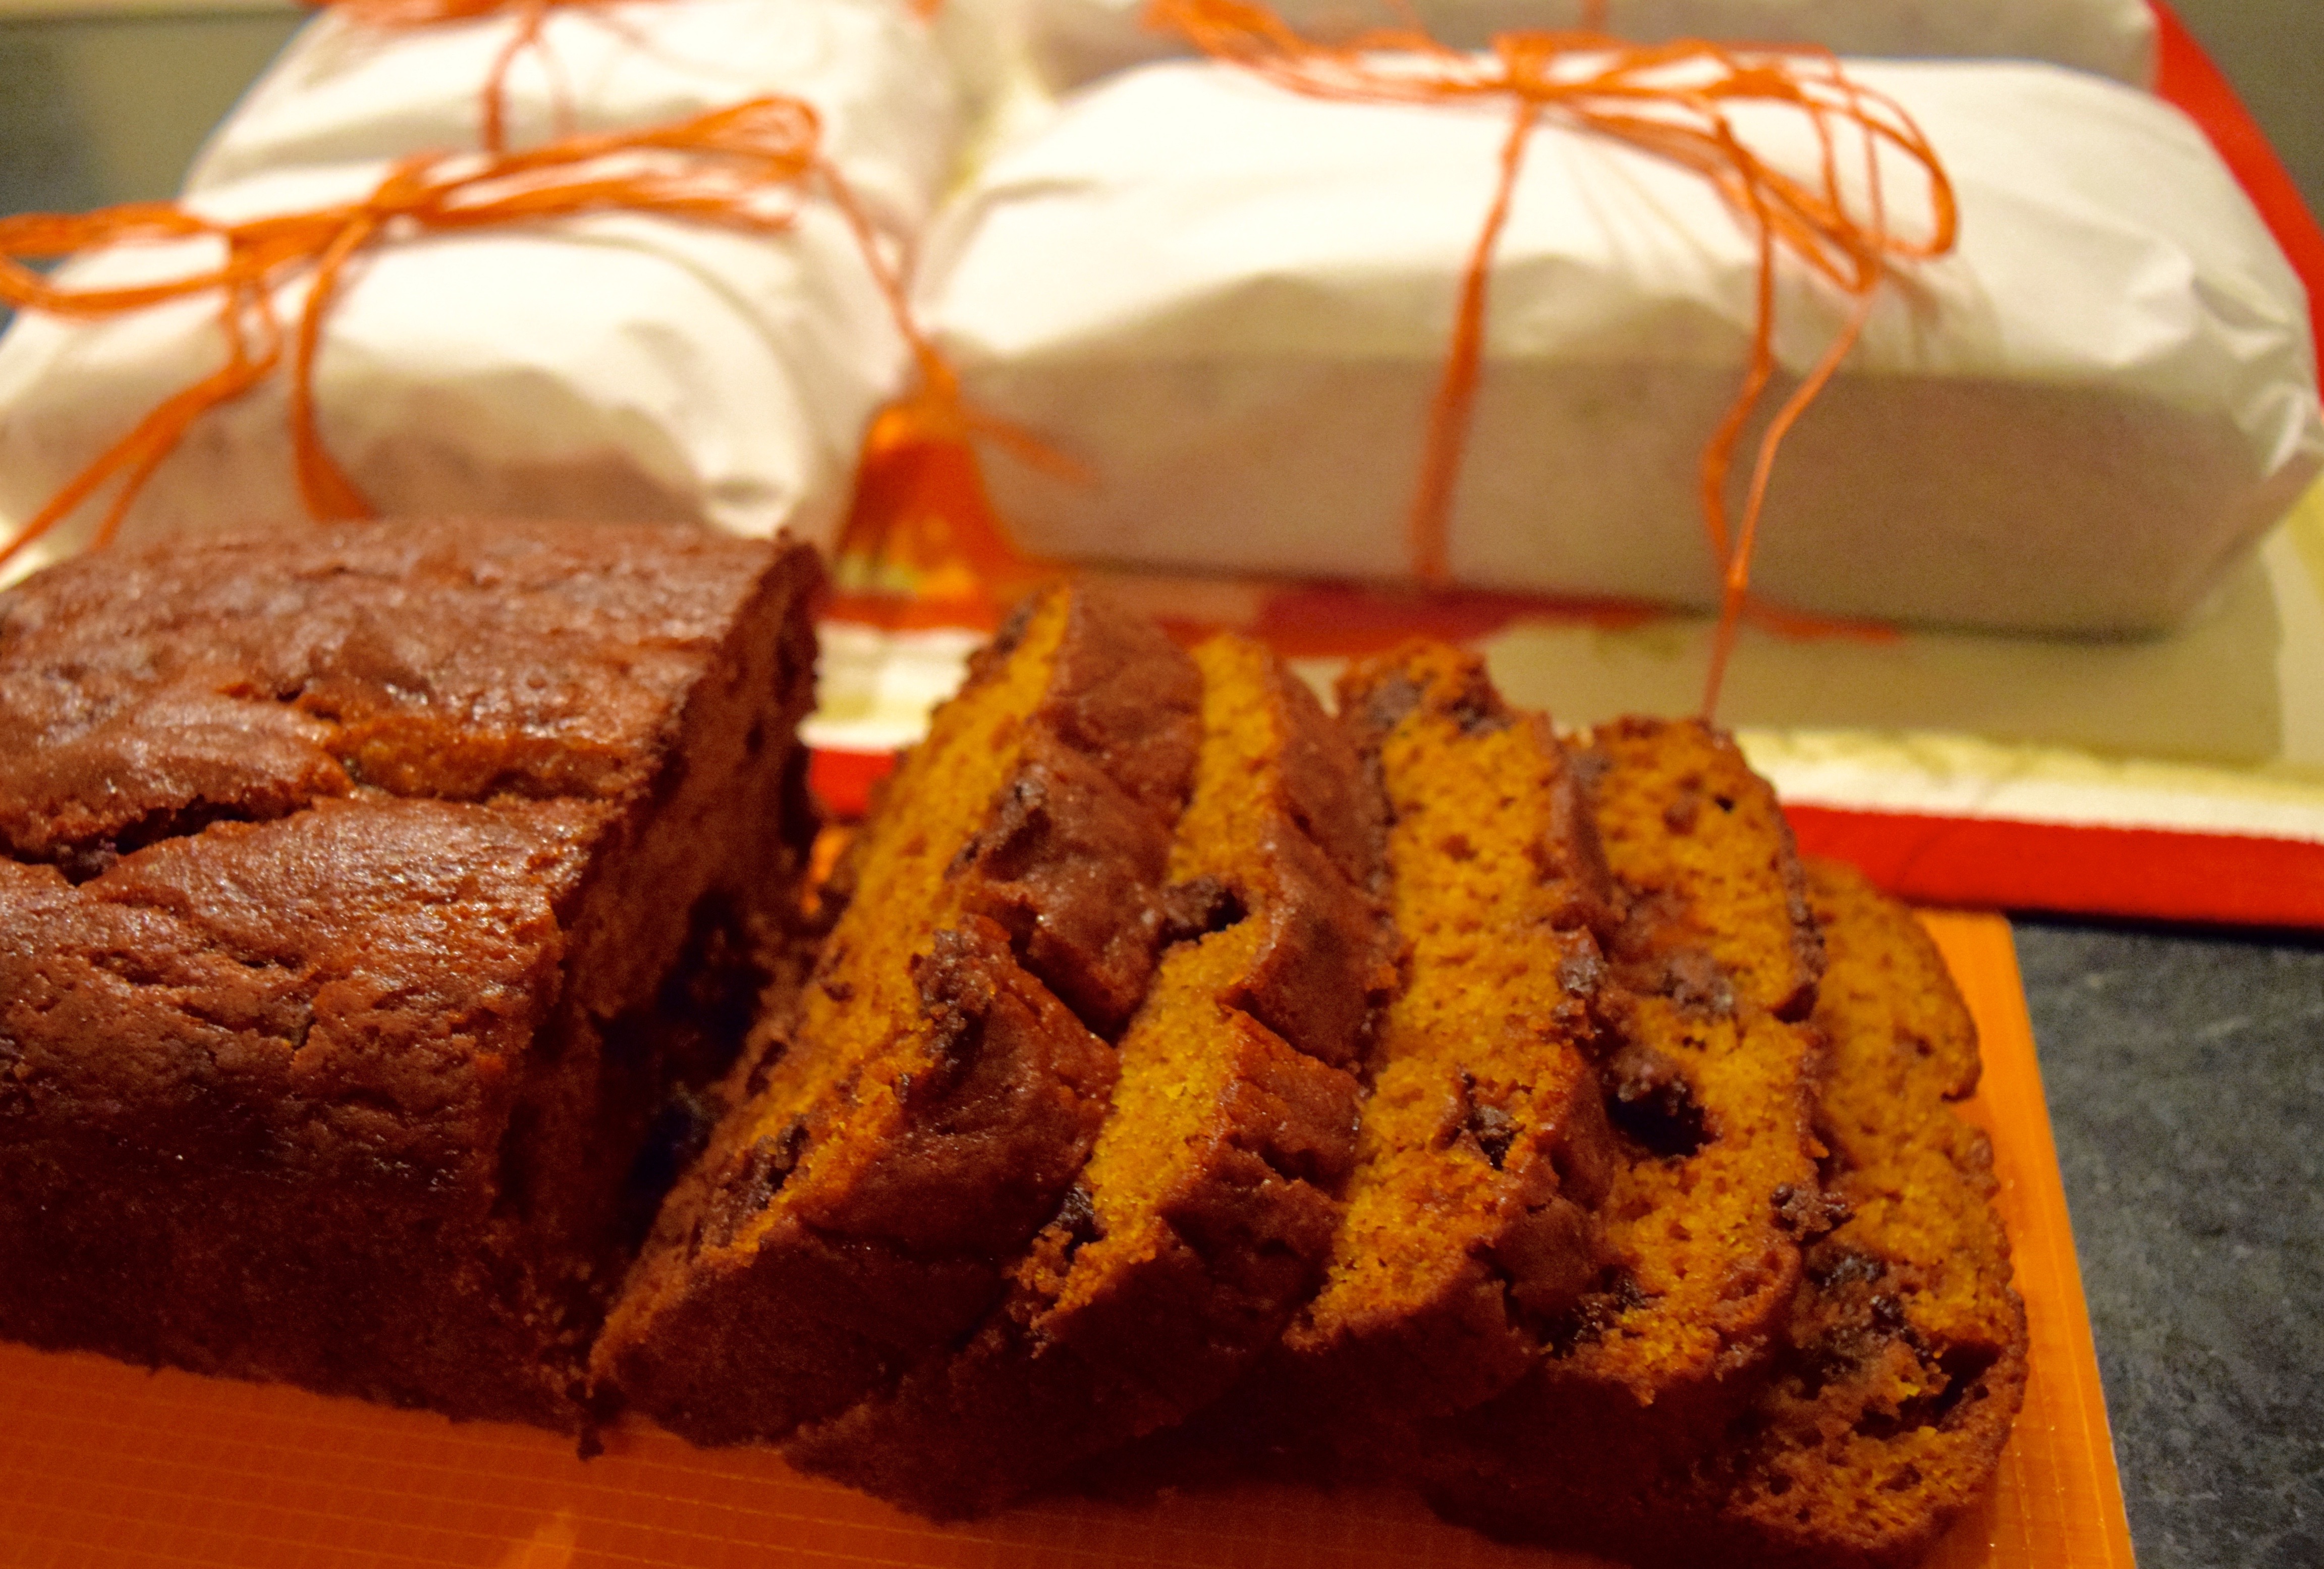
My cousin is famous for Marion’s Crazy Good Pumpkin Bread with Chocolate Chips.
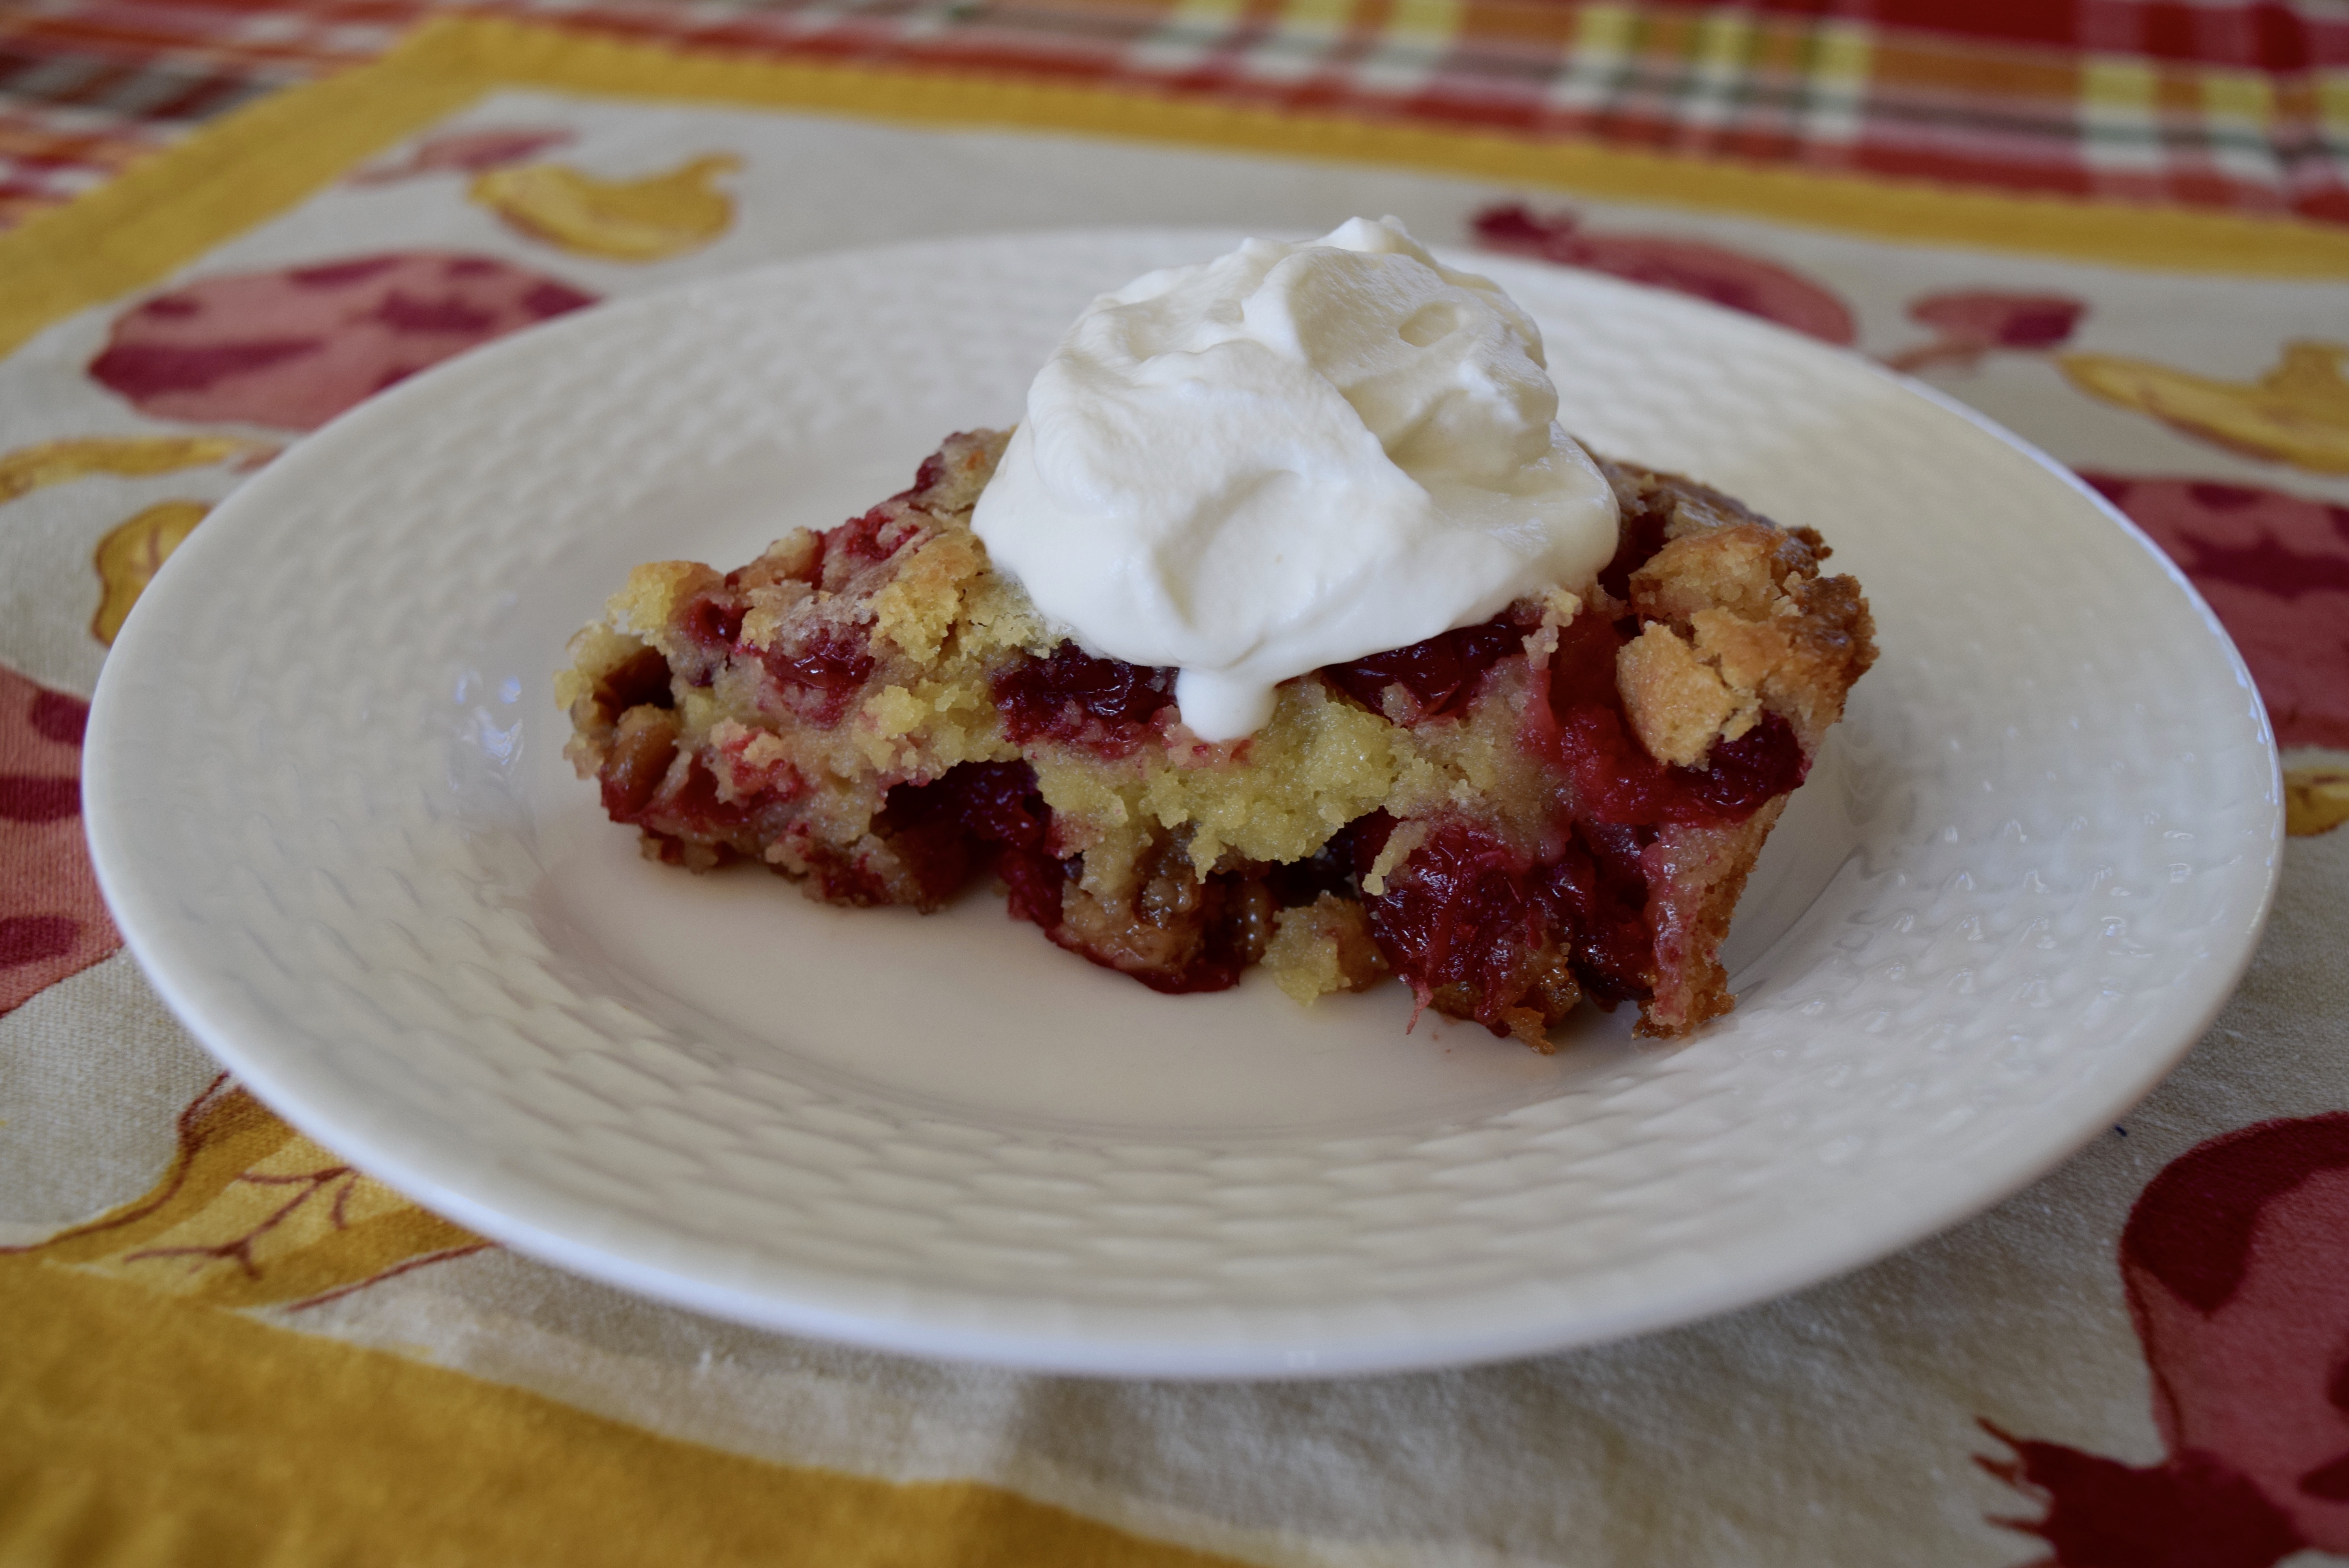
Erin McHugh, author of Pickleball, is Life, is featured in this Thanksgiving favorite, Mrs. Walker’s Cranberry Nut Pie.
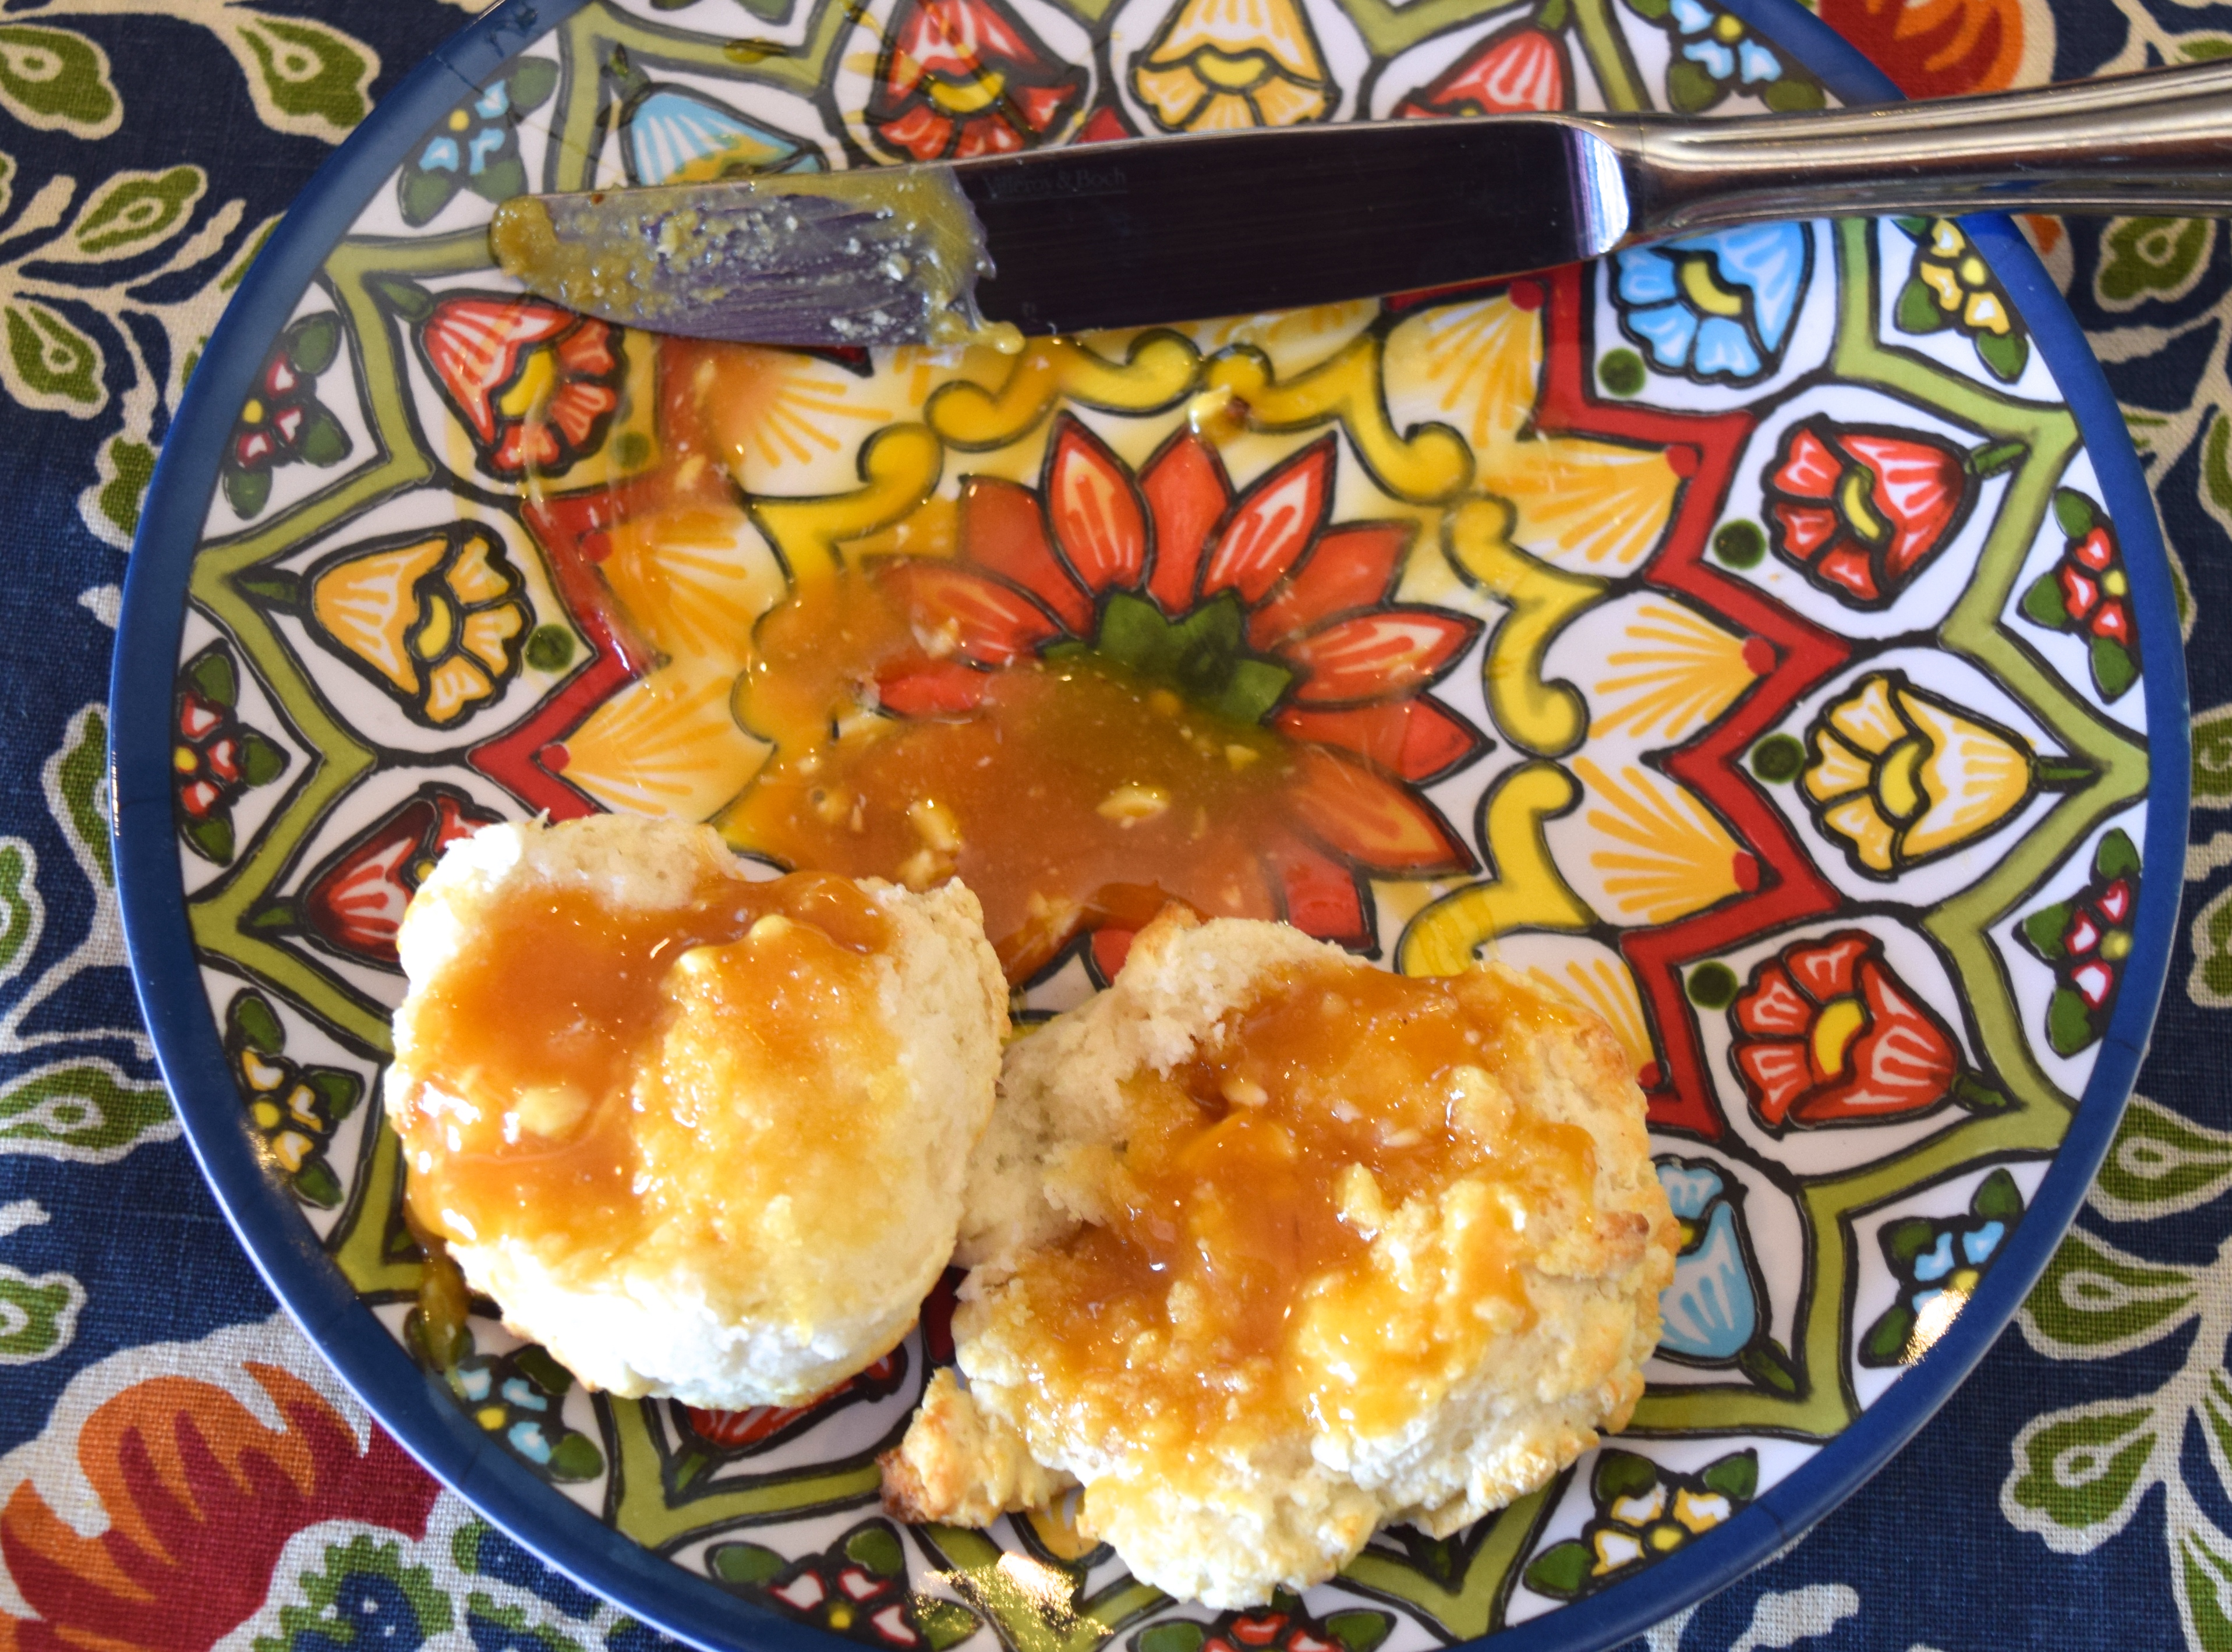
My husband, The Biscuit King, is famous for his step-by-step biscuit-making recipe the results of which are best slathered in butter and sorghum.
Follow Judy’s Chickens on Instagram and Pinterest @JudysChickens.
If you enjoyed this post, sign up to become a follower. If you do sign-up, press “confirm” on the follow-up letter sent to your email address. And feel free to share!!
© 2014-2022 Judy Wright. All rights reserved. Photos, videos, and text may not be reproduced without the written consent of Judy Wright.