Melissa’s Sweet Potato Casserole

The morning after my mother died a few months ago, my family and I were sitting around the table drinking coffee, still stunned, looking at our iPads and laptops, when one of my brothers said, “At least now Mom can go to Steve Jobs with all of her iPad questions.” We all burst out laughing. I still smile just thinking about it. We had a close relationship with our mother and embedded in that relationship was the job of answering her computer questions. Well, every year, a few days before Thanksgiving, I could expect an email from my mother that went like this, “Judy, could you send me the recipes?” I knew which ones they were: Mom’s Pumpkin Pie, Micky Kohn’s Pumpkin Cheesecake Pie, Grandma’s Cranberry Chutney and this one, Melissa’s Sweet Potato Casserole. Mom did not have a clue how to search her computer for them. In honor of Mom and to help my family get through the holidays, I plan to post the rest of Mom’s Thanksgiving recipes over the next few days. If there is a kitchen in heaven, she and Steve are by now best buds, and he’ll be stopping by her table that will be full of the family and friends who have gone before us. My brothers and I will be thankful we have her recipes and that we had the privilege of calling her Mom.

DSC_0192

I’ve been making this sweet potato casserole every Thanksgiving since 1994 when my children’s fabulous babysitter, Melissa, first gave it to me. Little did I know I would be making it every Thanksgiving for the rest of my life.

Yield: serves 12 as a main side dish or 20 as one of many side dishes

Ingredients:
4 pounds sweet potatoes, peeled
5 large eggs, beaten
½ cup granulated sugar
¾ cup (12 tablespoons, or 1-1/2 sticks) butter, melted
1 tablespoon vanilla extract
²/3 cup milk
½ cup orange juice
DSC_0086
Mise en Place:
DSC_0094
Directions: 
Preheat oven to 350º
Wash and peel sweet potatoes. Cut into 2-3 inch chunks and place in a large saucepan.
DSC_0482
Cover potatoes with cold water. Add two tablespoons of salt to the water.
DSC_0483
Bring water to a boil and cook for about 15 minutes or until sweet potatoes are fork-tender.
DSC_0022
Drain in a colander and allow to cool for about 30 minutes.
Place sweet potatoes in a mixing bowl and mix until mashed. Do not whip.
DSC_0075 DSC_0076
Add eggs, sugar, butter, vanilla, milk, and orange juice and mix until well blended on medium-low speed. Do not whip.
DSC_0103 DSC_0104
Transfer sweet potato mixture to an oven-safe 9x12x4 casserole. At this point, you could put the uncooked casserole into the refrigerator for up to one day as a make-ahead dish. Just be sure to allow it to come to room temperature before baking. Do not add toppings until after it has baked.
 DSC_0107
Bake until the top starts to turn light brown and a knife inserted in the center comes out clean. This usually takes about an hour in this deep casserole dish. If you are using two shallow casserole dishes, it could be ready in 30 minutes.
DSC_0158
The toppings below are optional. Because some of our guests may have a nut allergy, I generally opt for the marshmallow topping, but the nut topping is equally delicious.
Optional Marshmallow Topping:
When finished cooking, remove casserole from oven and add a layer of miniature marshmallows. Bake for another 10 minutes or until marshmallows become lightly browned.
DSC_0164 DSC_0187
Optional Nut Topping:
1 cup brown sugar
½ cup all-purpose flour
½ stick butter (4 tablespoons)
1 cup chopped pecans
Mix until crumbly. Sprinkle on top of cooked casserole. Bake for 10 minutes at 400º.
This casserole is good cold the next morning, and if you are anything like me, you’ll be thinking about grabbing a spoonful of it every time you walk by the refrigerator.

LET’S STAY CONNECTED!

Follow my photos of vegetables growing, backyard chickens hanging out, and dinner preparations on Instagram at JudysChickens.

Never miss a post: sign up to become a follower of the Blog.

© 2014-2017 Judy Wright. All rights reserved. Photos and text may only be used with written consent.

Roasted and Mashed Cauliflower

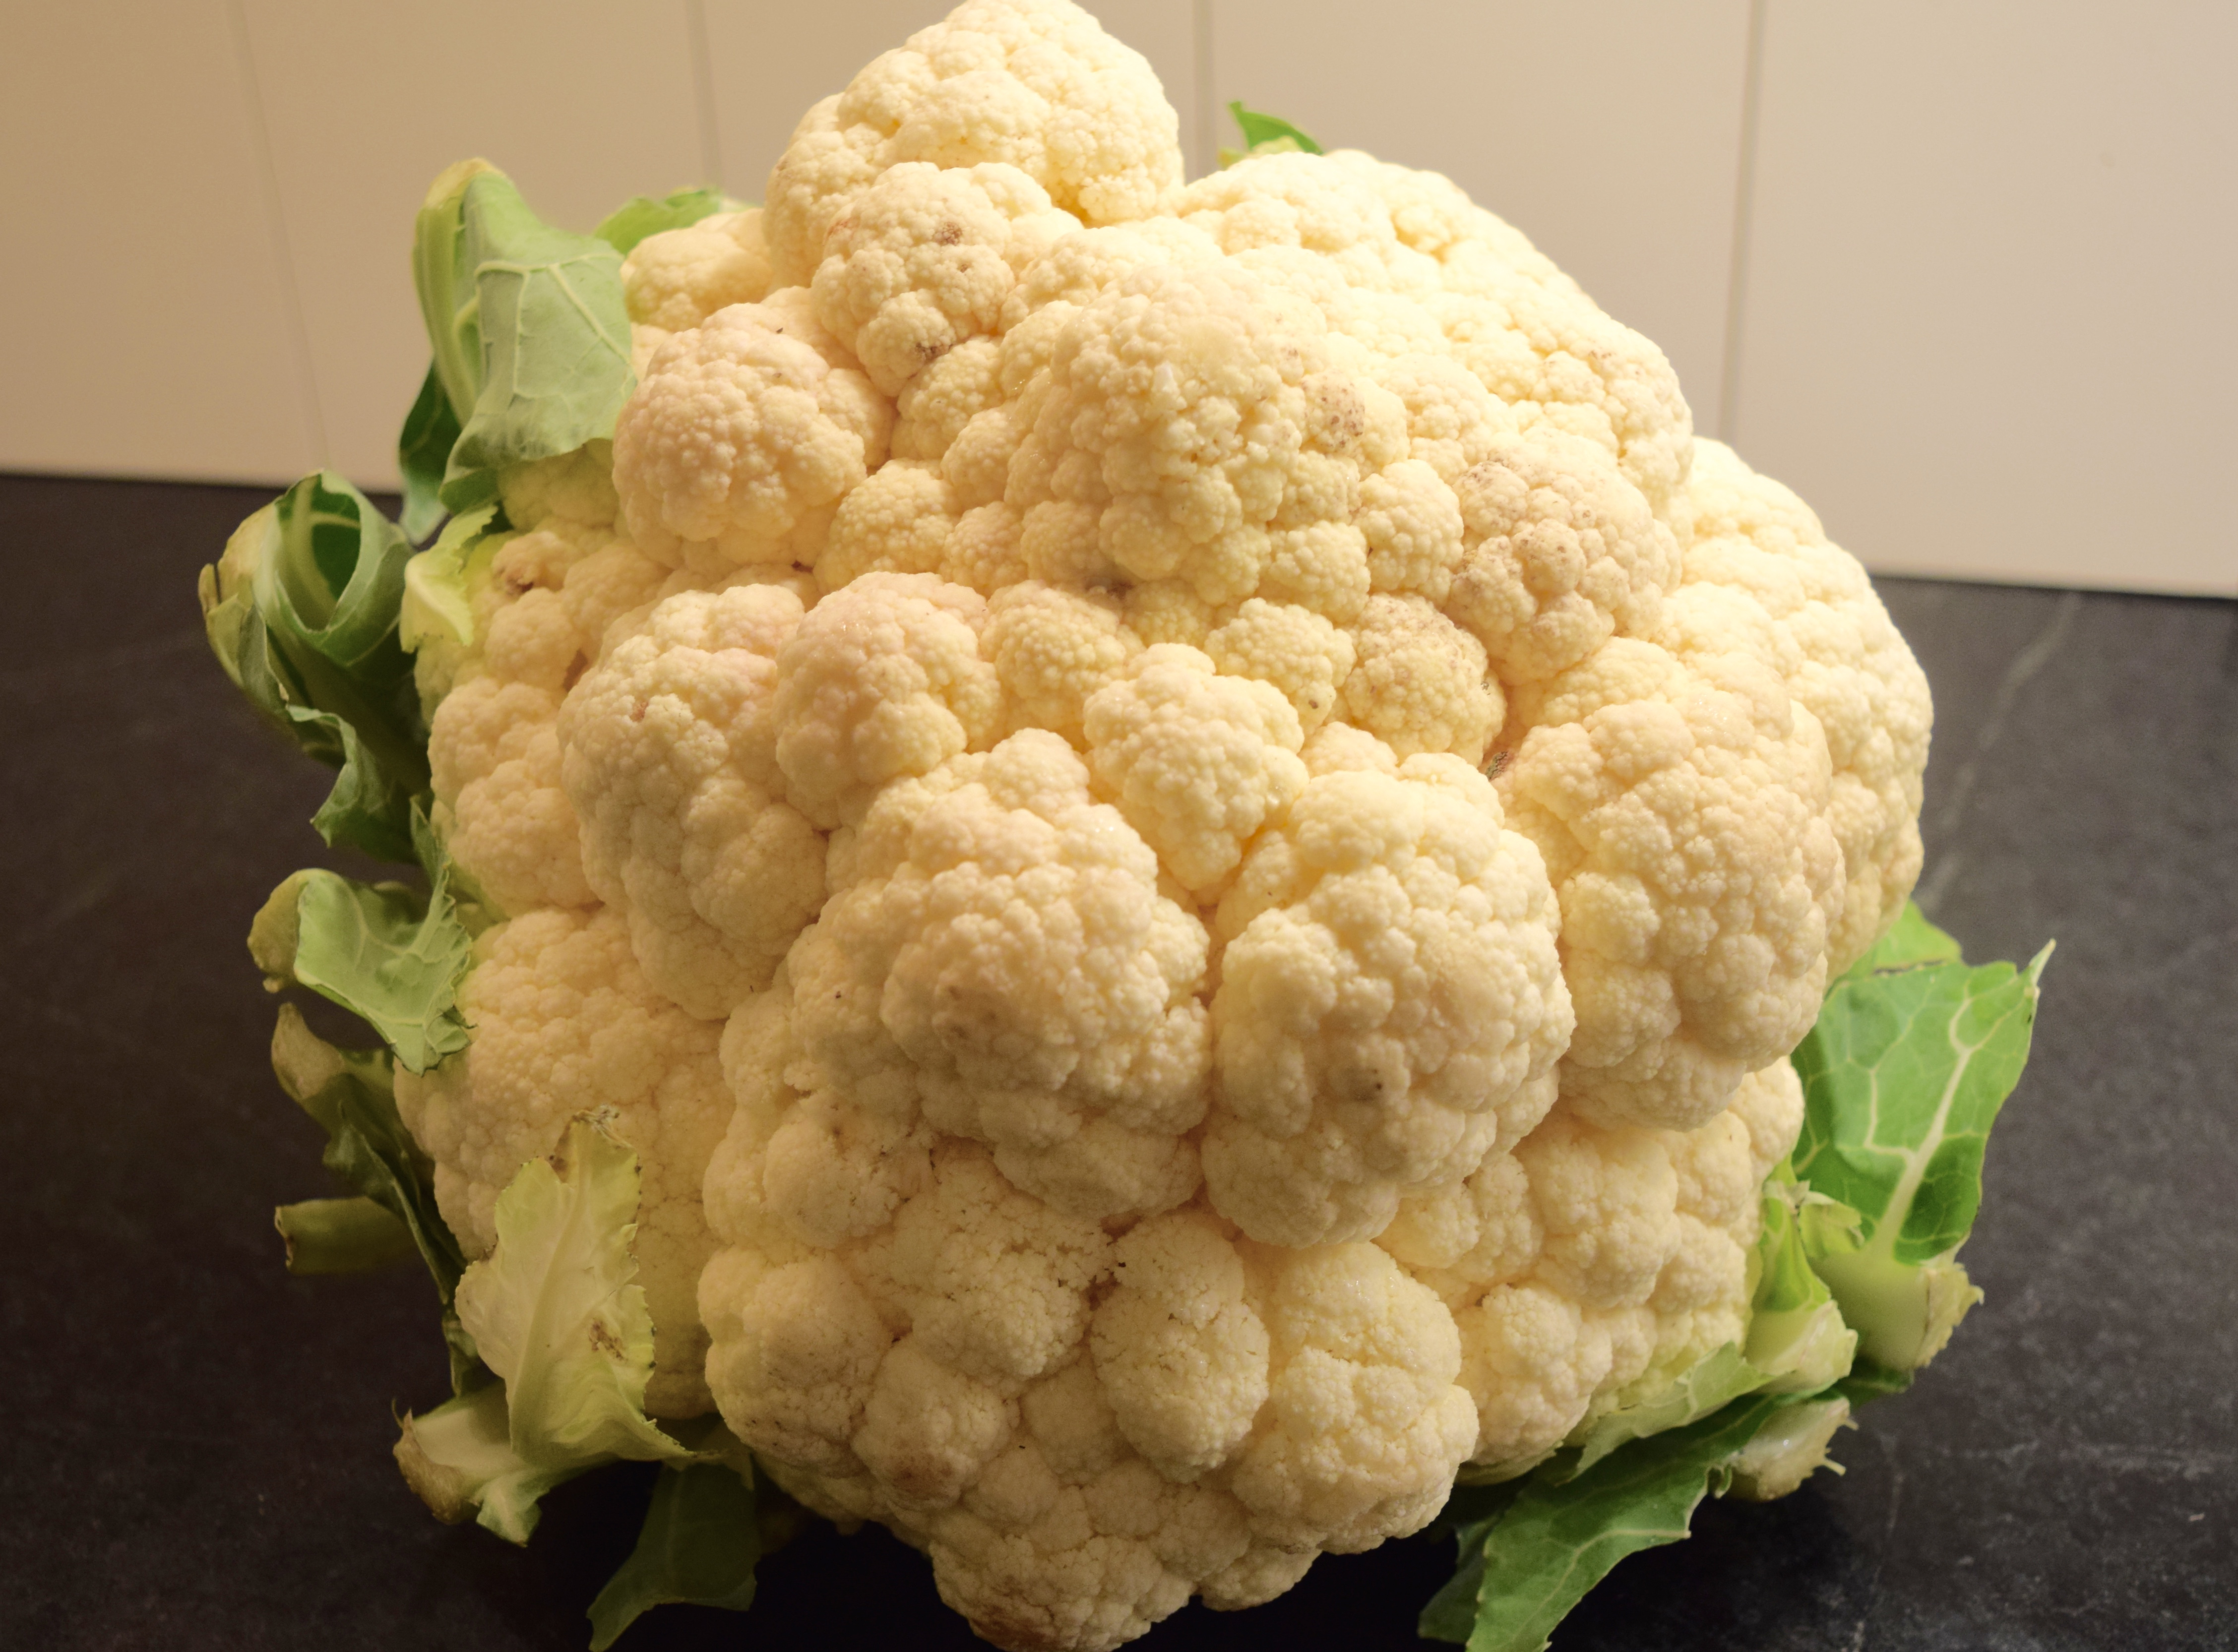
What do you do when you walk into a farm stand and see the most gorgeous, pearly white cauliflower you have ever seen in your life?

winter garden food mennonites

You buy two, ignoring your husband’s raised and questioning eyebrows. They are each ten inches high. He knows there is no room in the fridge, but you can’t help yourself; their color and texture are gorgeous. My mother always said, “Buy what you love and you’ll always find a way to use it.” She was talking about decorating her home and purchasing clothing accessories, but I feel the same way about vegetables.

winter garden food mennonites

I found the cauliflowers at my favorite Mennonite farm stand, Garden Patch Produce located at 1515 Buffalo-Cerulean Road in Cadiz, Kentucky. Do not bother to Google it as this electricity-free community of farmers adds up purchases with tally marks, so you can be sure they don’t subscribe to any form of electronic or print advertising. Note the “Bargain Table” along the back wall. It is full of yesterday’s vegetables at half price. There is no refrigeration in the building, so they don’t sell yesterday’s produce with their fresh produce.

DSC_0183

To Roast, Blanch or Saute the Cauliflower? That is the question.

That is the question I ask when I look at any vegetable when I’m getting ready to cook dinner.

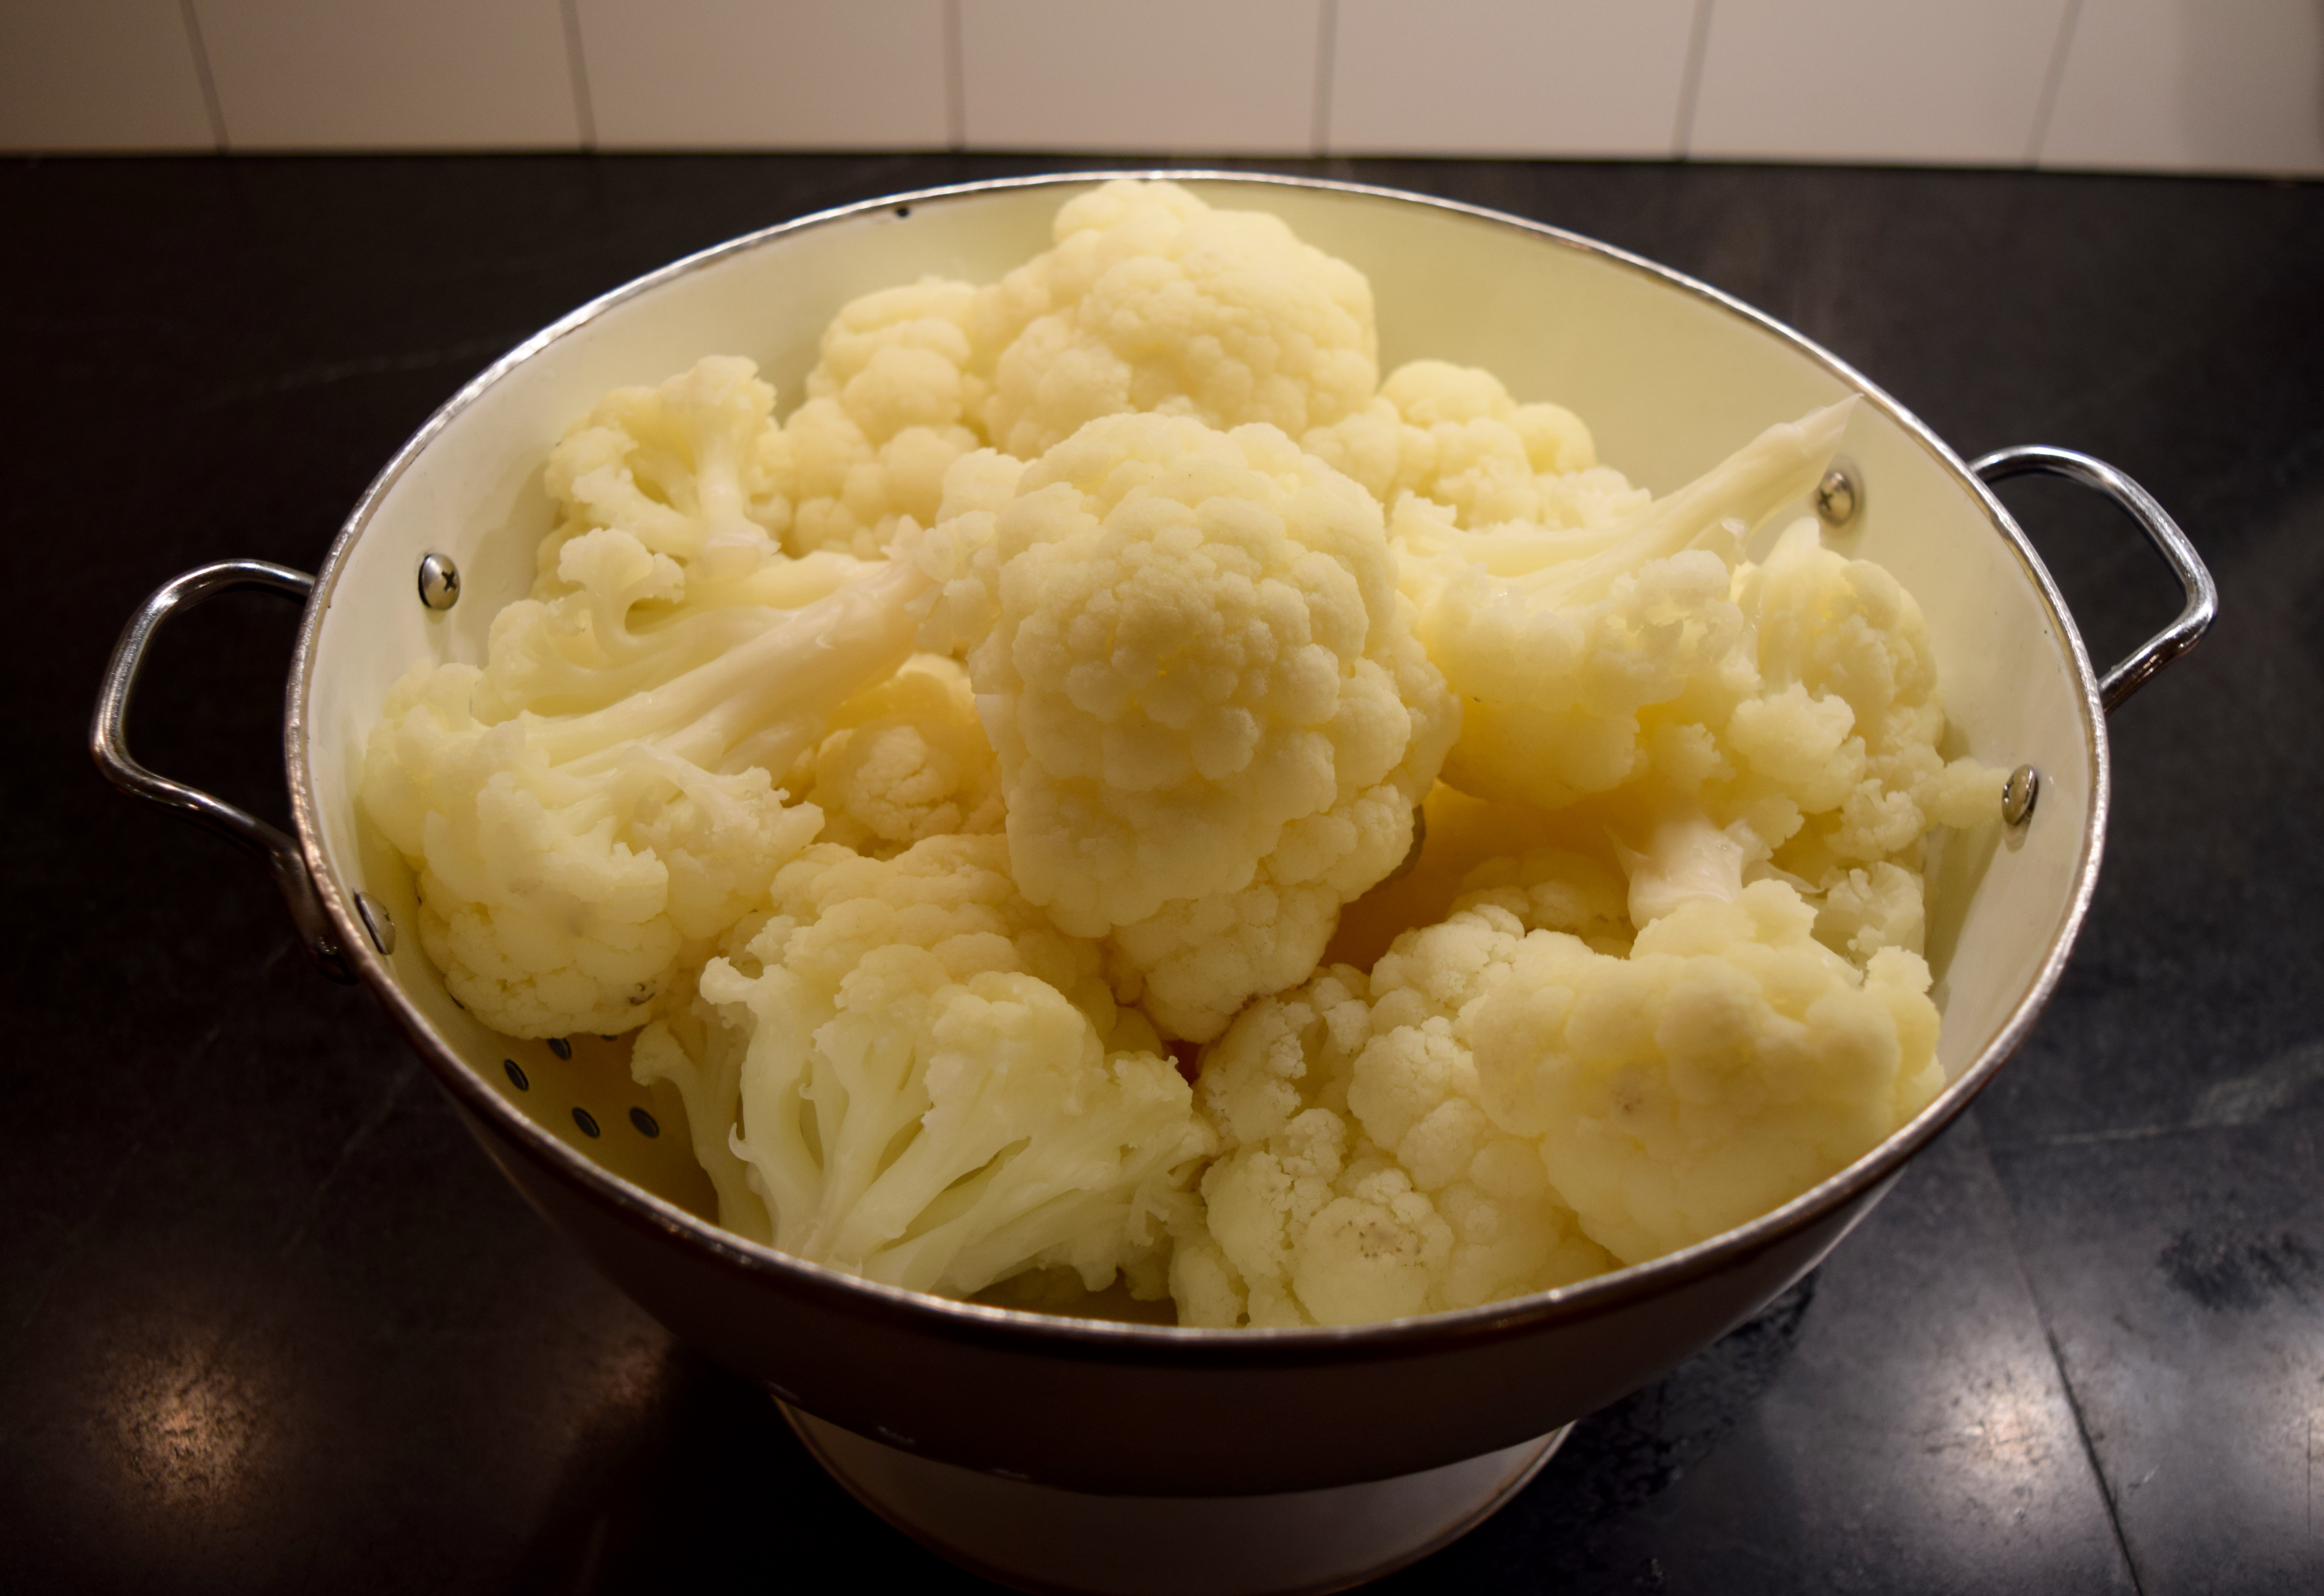
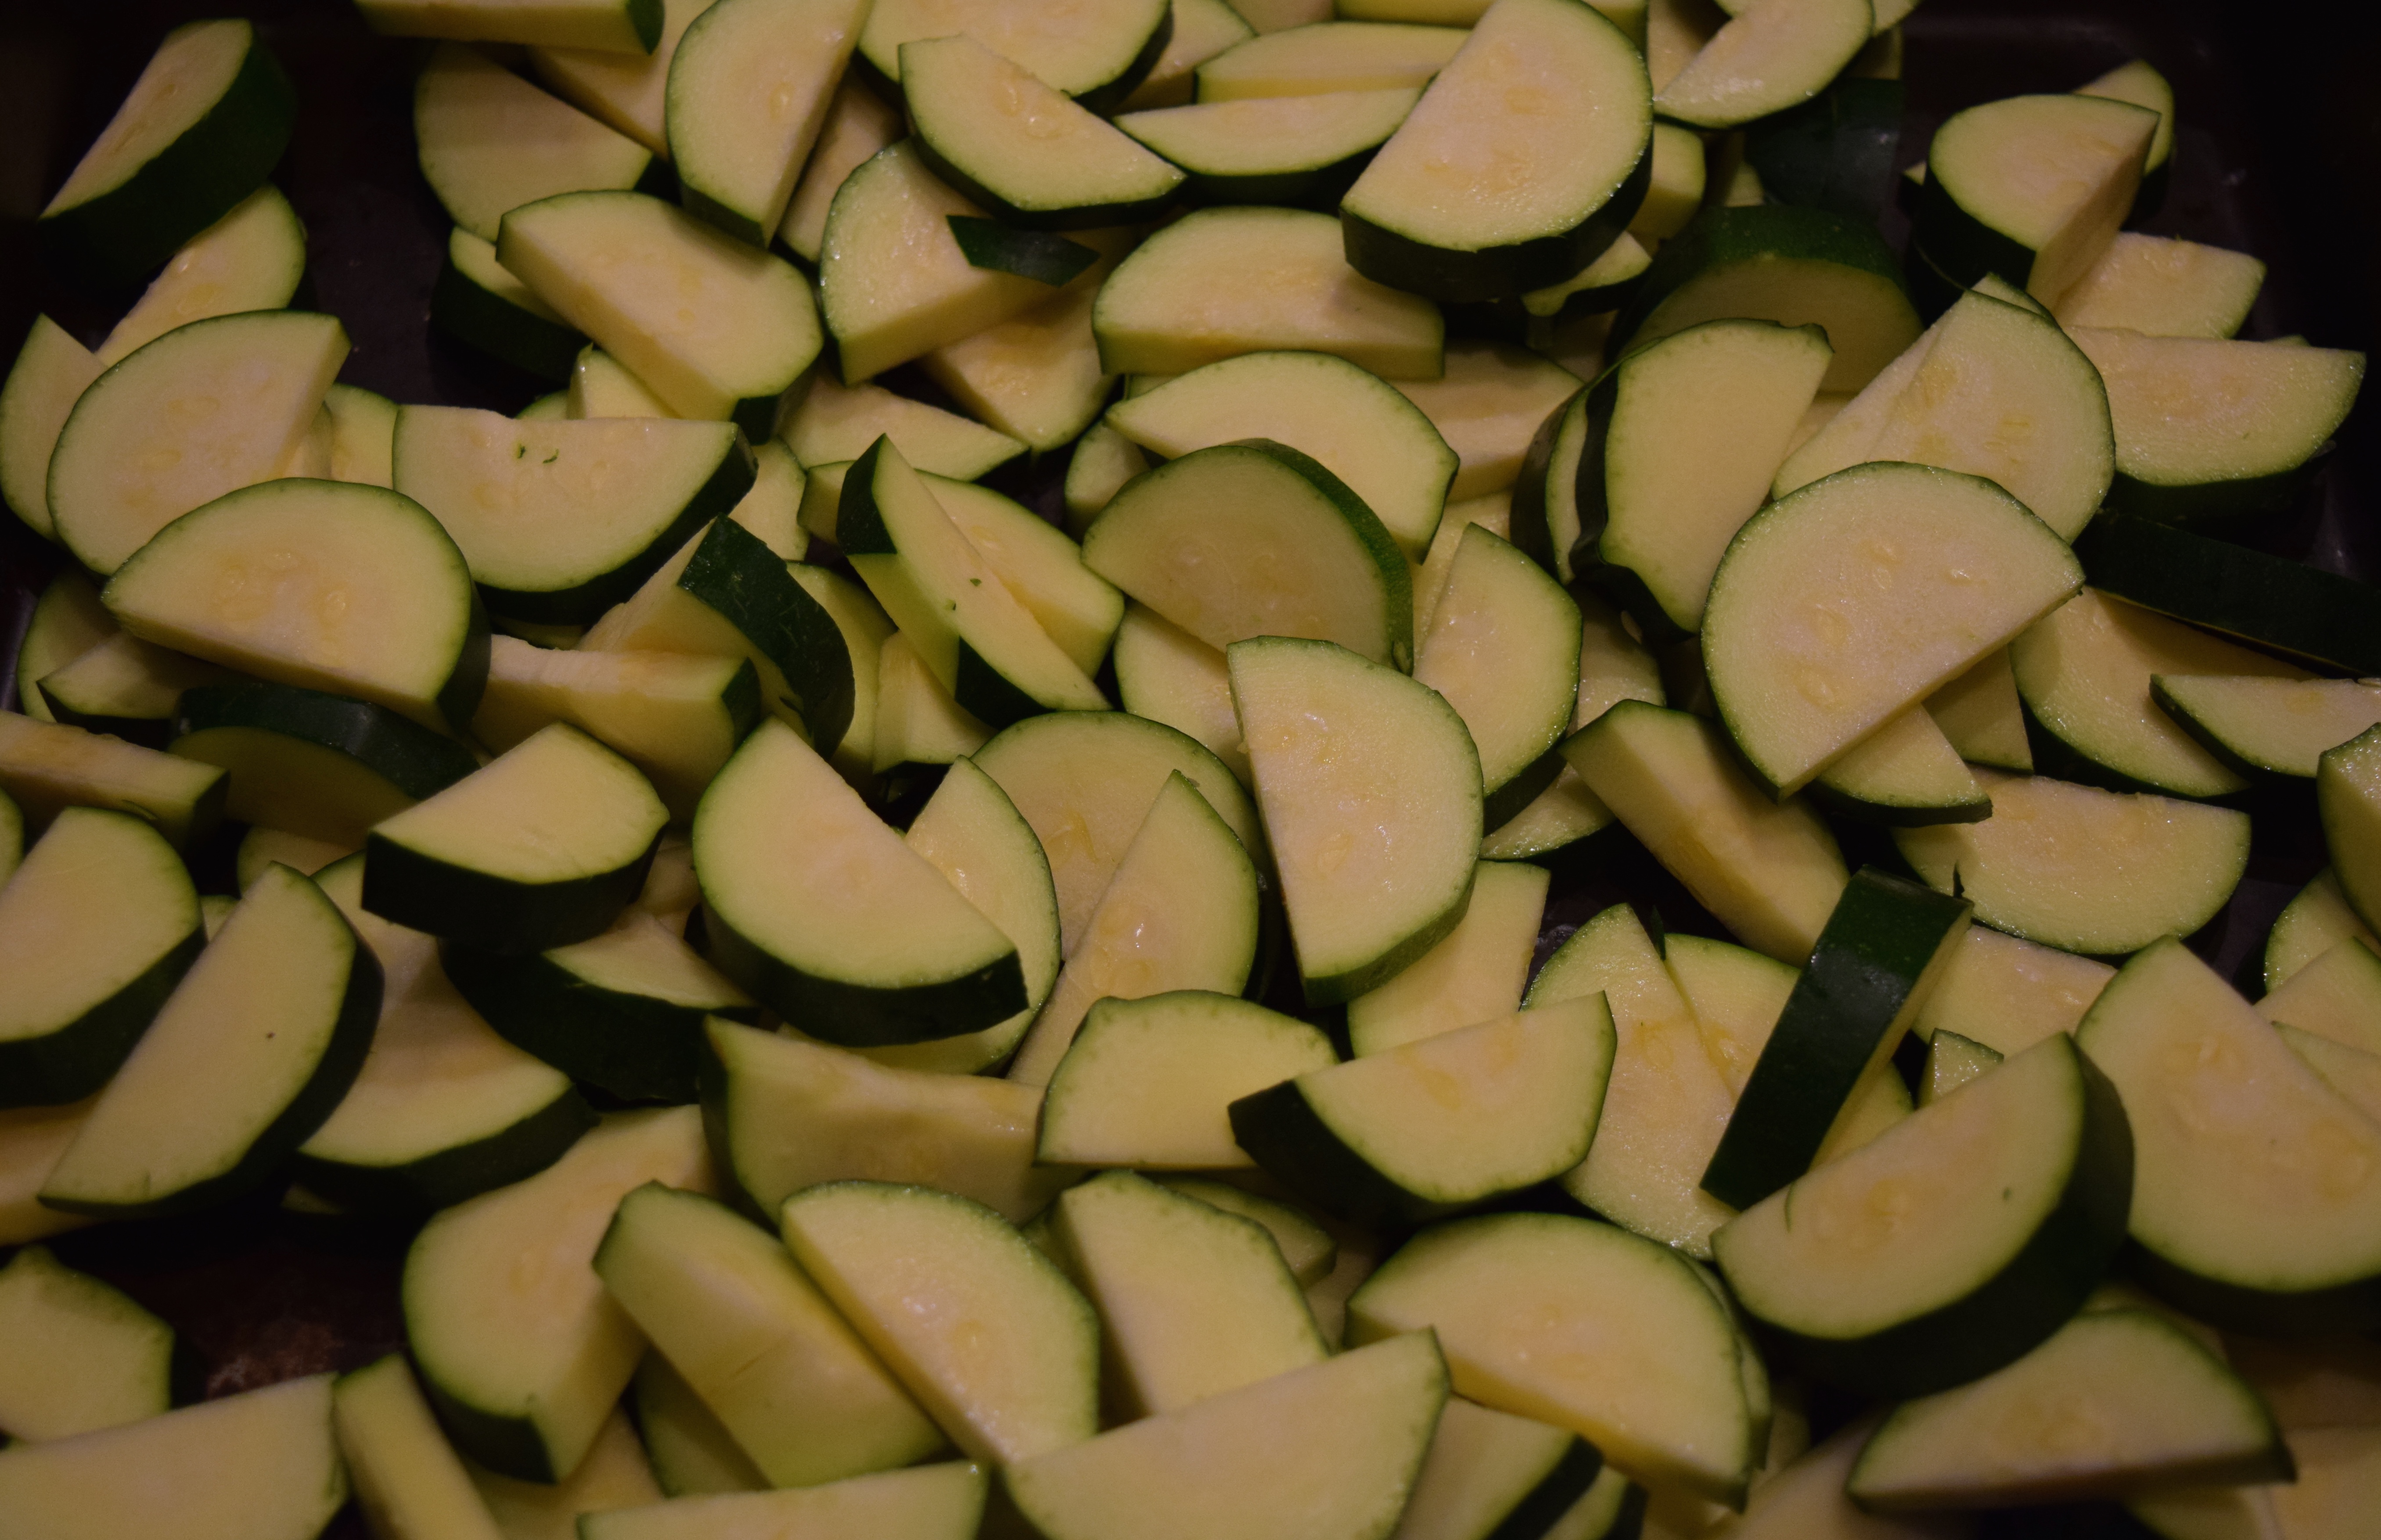
Regardless of which cooking method you choose, you’ll first need to prep the veggie. In this case, after washing the cauliflower, cut it in half and carve out the center core. As you do this, the florets will detach from the stem. You’ll need to chop the large florets in half for even cooking.

DSC_0716 DSC_0717 DSC_0718

One of the extra-large cauliflowers yielded three pounds of florets. It took two two-pound cauliflowers from Kroger to yield the same amount.

winter garden food mennonites

To Roast Vegetables:
Out of habit, and because it is easier, I decided to roast one of the cauliflowers. I  roast most vegetables in a hot 425º oven for about 30-45 minutes. I season them with these three ingredients that you may recognize from my blog posts A Simple Everyday Salad Dressing and Easy Roasted Salmon.

DSC_0282

  1. Chop the florets so they will all be about the same size for even cooking.
  2. Mix florets in a large bowl with 1/3 cup of olive oil and 1 teaspoon each of sea salt and garlic pepper. Toss until florets are well-coated. I tend to be heavy-handed with olive oil, and 1/3 cup is the minimum amount I would typically use.
  3. Bake on a parchment paper-lined baking sheet at 425º for about 40 minutes.  Toss once or twice while roasting to encourage even browning.

Roasted cauliflower should be called Disappearing Cauliflower or Gone in Sixty Seconds Cauliflower. When you roast vegetables at high temperatures like this, they caramelize as they cook and their natural sweetness emerges. It becomes like eating candy; you can’t stop until they are all gone.

DSC_0772

To Blanch Vegetables:
Officially, blanching is a method of cooking vegetables quickly by putting them in a pot of salted, boiling water for a short amount of time and then, if desired,  plunging them into a bowl of ice-cold water, a technique known as “shocking” which halts the cooking process. I hardly ever do the shocking step unless I’ve lost track of time, allowed the vegetables to boil too long, and need to stop them from cooking any longer and changing color to blah.

Why and when would you blanch a vegetable?
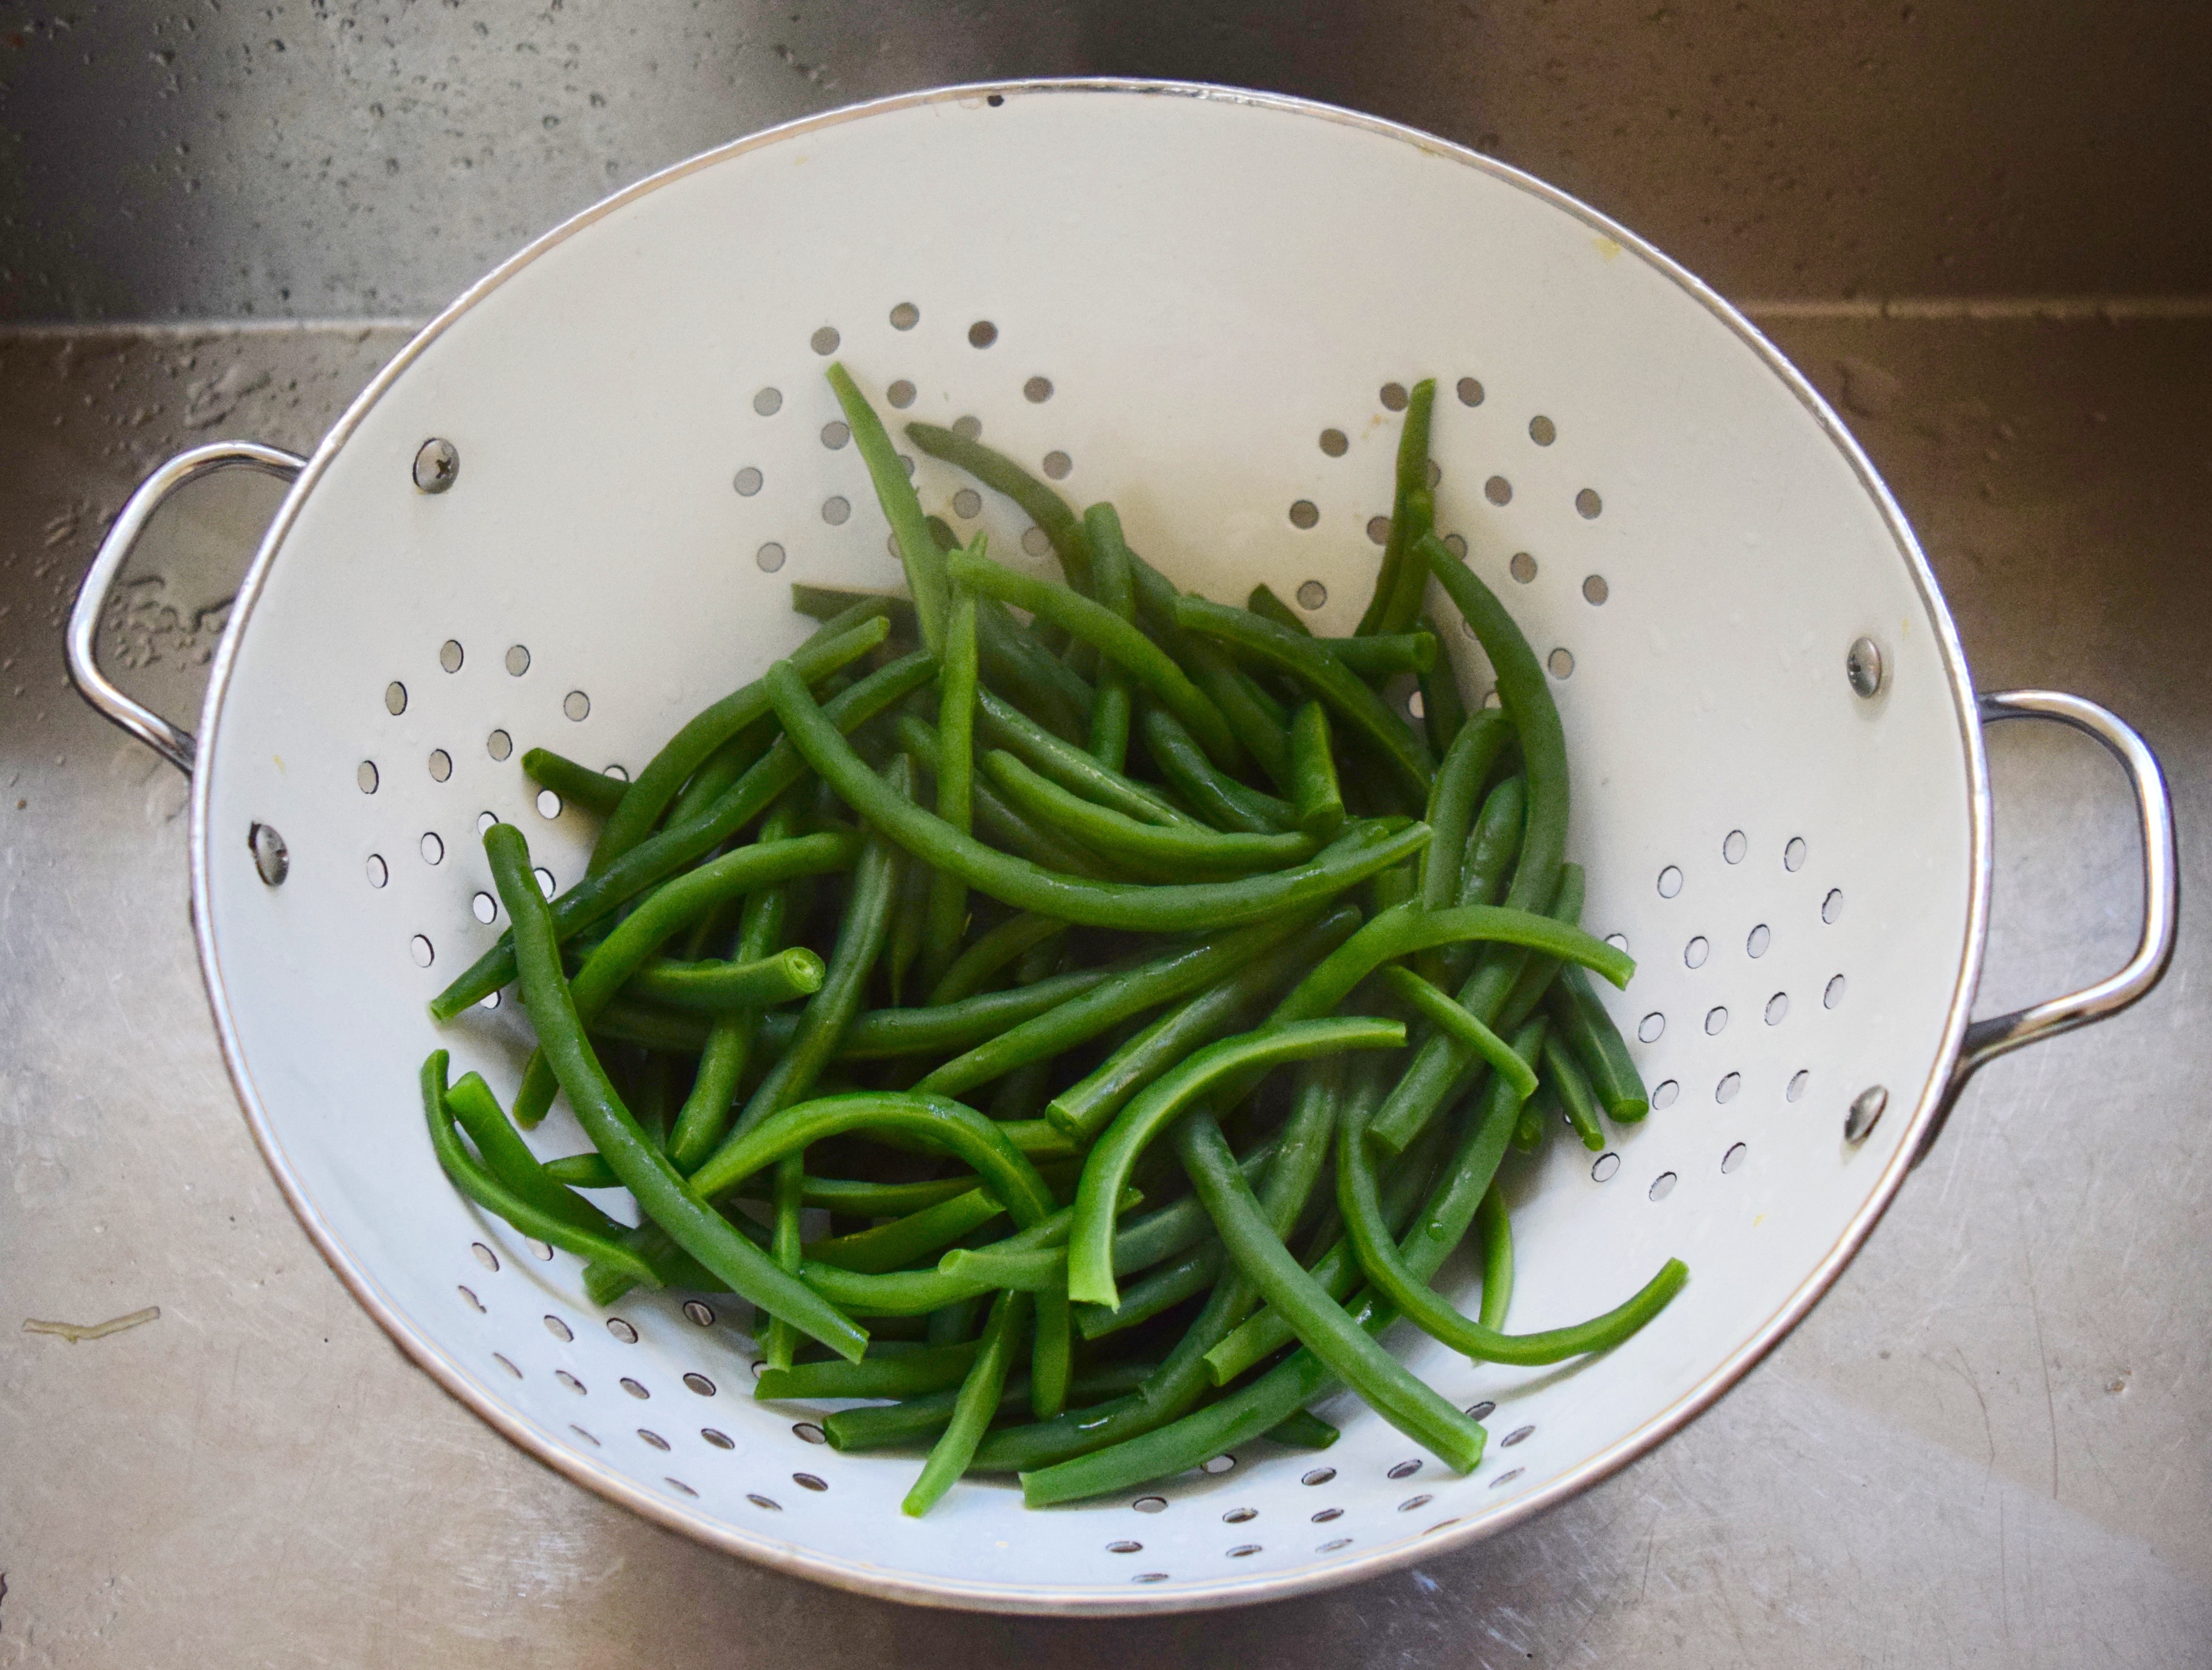
1) To retain color. Blanching string beans, for example, “fixes” the color as bright green. Alternatively, if you were to boil them for 15 minutes, they would turn that army green color that may not be as appealing.

DSC_0785 (1)  DSC_0786 (1)

2) To achieve “fork-tender” texture. Blanching cooks vegetables quickly so they don’t get water-logged, mushy and tasteless. Blanched vegetables are usually firm, hold their shape, and if you poke them with a fork, the fork tines will slide in easily indicating doneness.

DSC_0726  DSC_0737

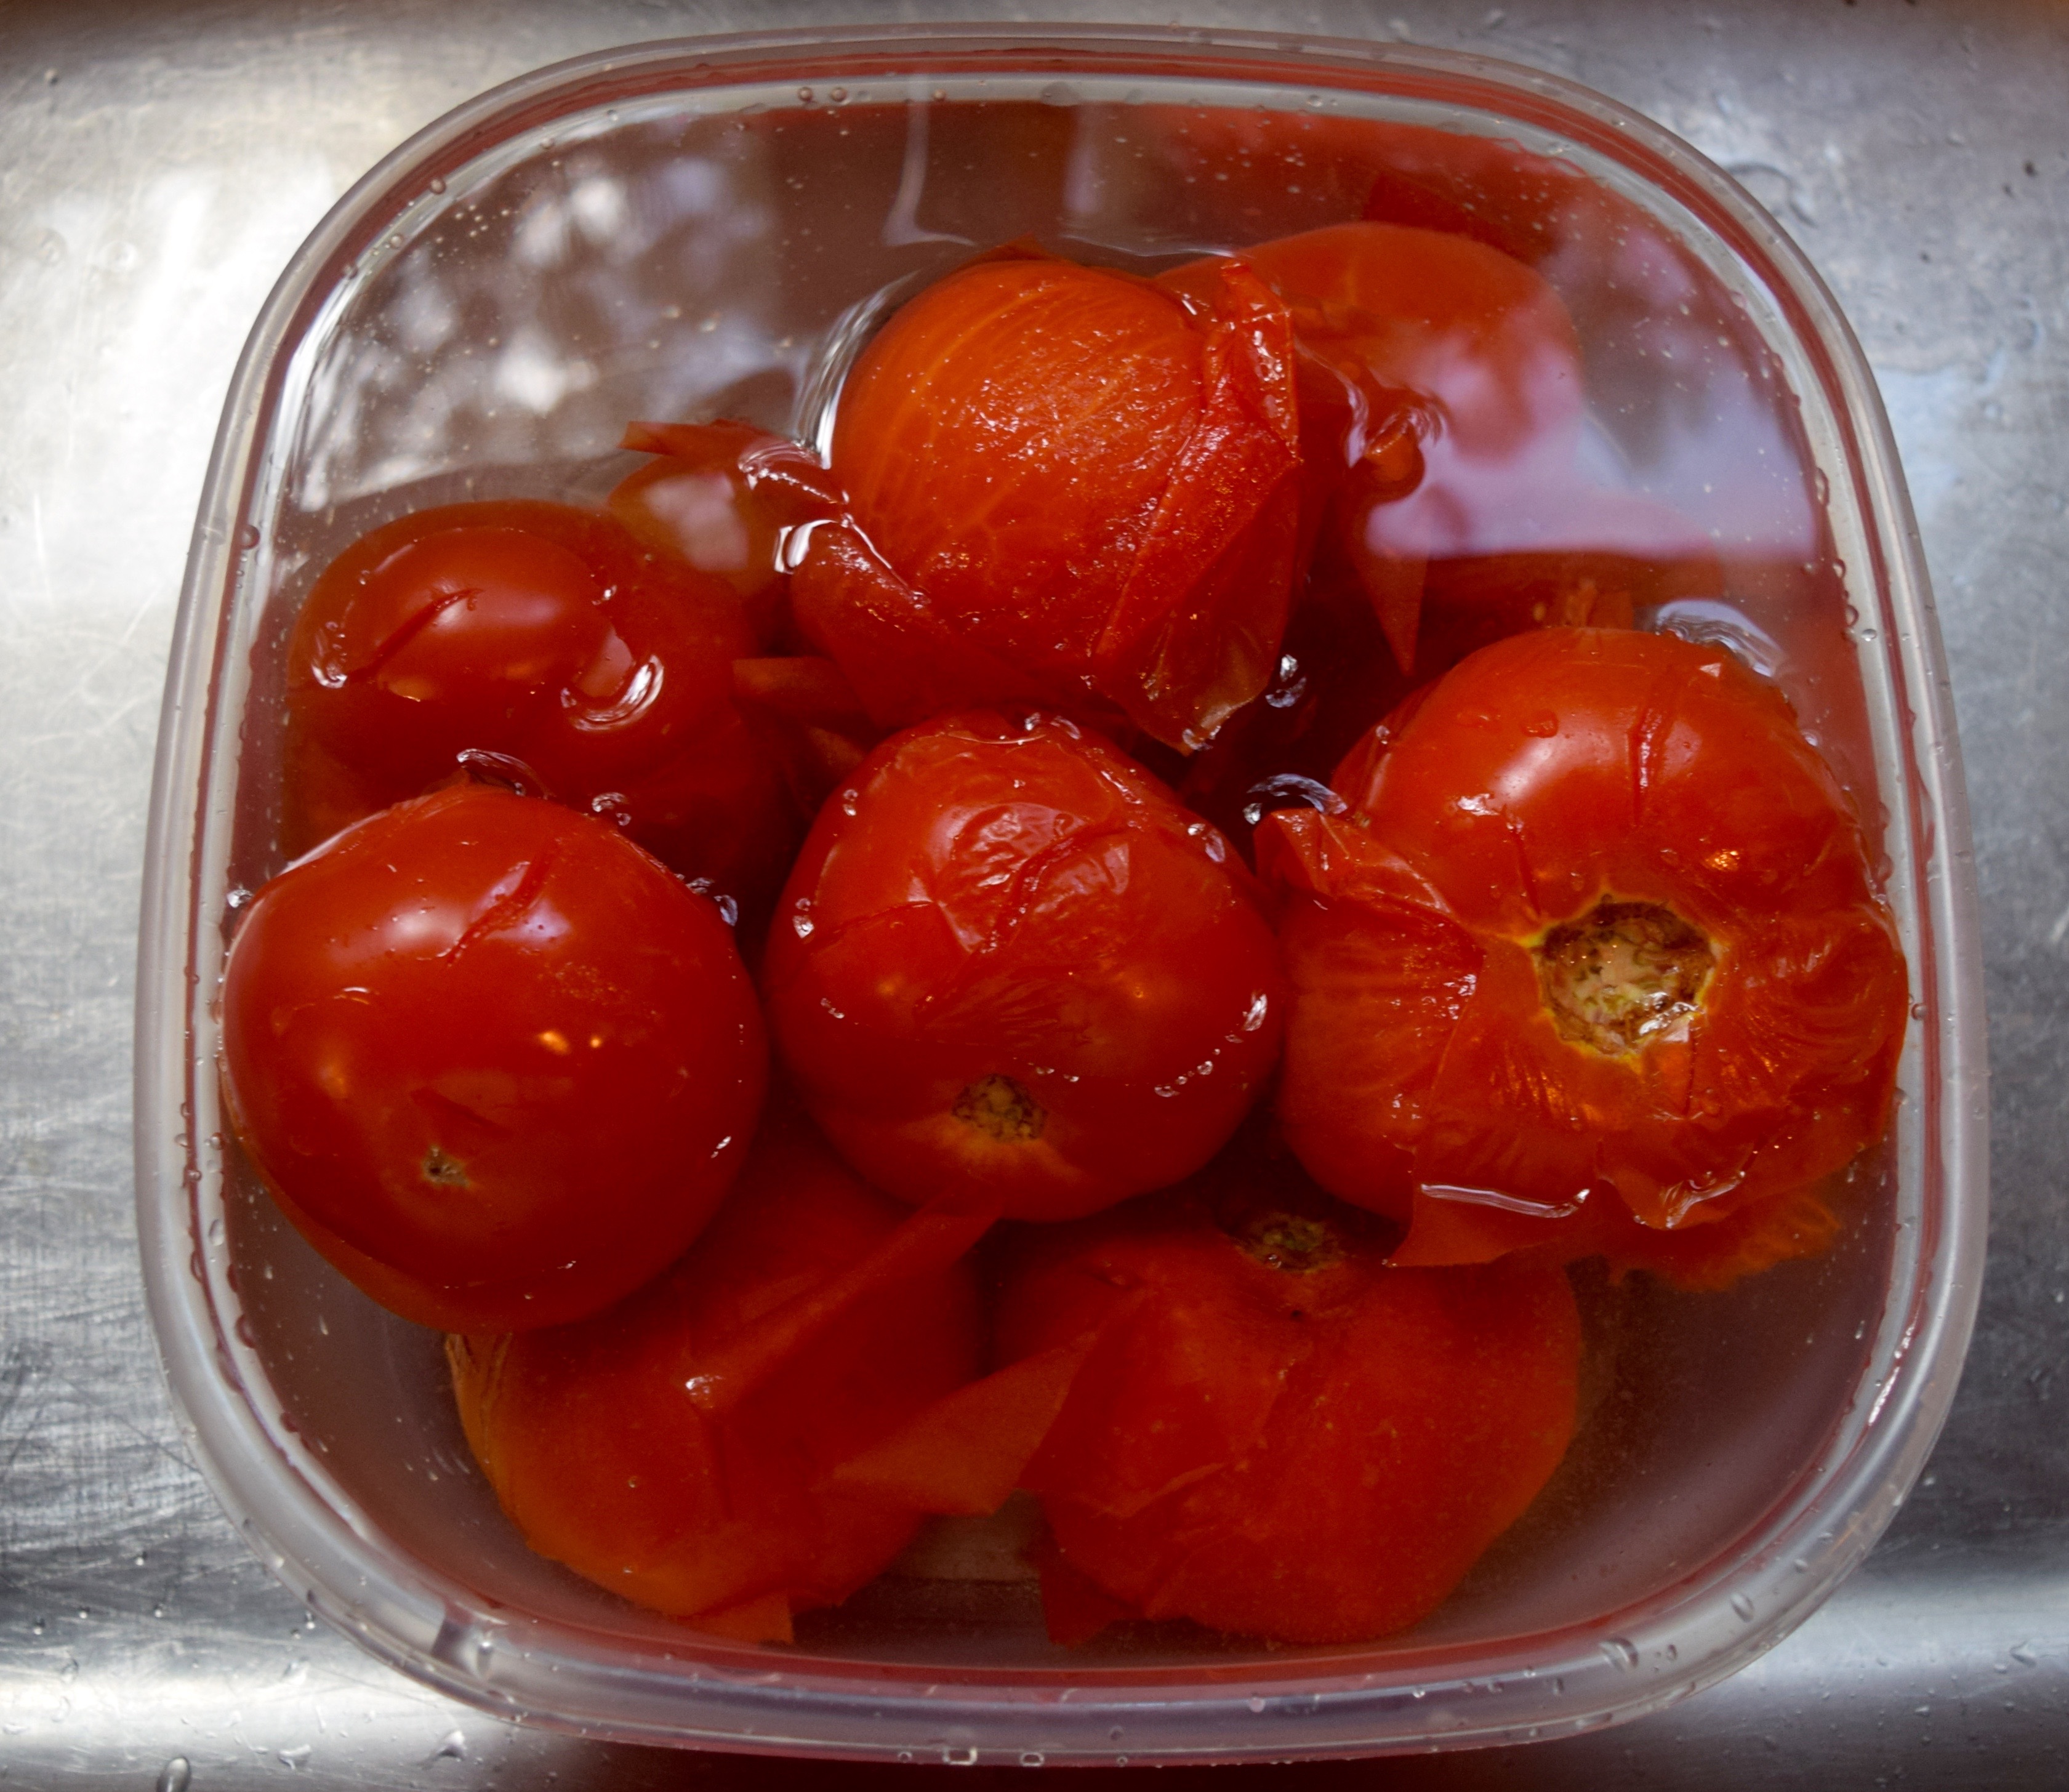
3) To loosen the skin off of a vegetable or fruit. Let’s say you want to peel a lot of tomatoes, or peaches, for canning purposes. An easy way to do so would be to boil them and then move them into a cold water bath. The skin will simply blister off.

DSC_0238  DSC_0246

4) To prepare vegetables for freezing. Blanching destroys enzymes that cause color, texture and flavor deterioration.

How I Blanch Vegetables
1) Fill a large pot with hot water. You’ll need enough water to cover the vegetables you plan to cook.
2) Add one tablespoon of salt to the water. Bring water to a full rolling boil.
3) Add washed and chopped vegetables, cover, and bring water to a second boil. It could take 3-5 minutes for the water to return to a boil. Once the water returns to a rolling boil, set your timer and cook for one minute.
4) Remove vegetables from heat and drain in a colander. Let vegetables stay in the colander for five minutes. Vegetables will continue to cook as they steam in the colander. The steam will also evaporate the moisture around the vegetables. If you do not wish for the vegetables to continue cooking, shock them in a container of cold water.

Mashed Cauliflower

Mashed Cauliflower

I’ve been hearing a lot about mashed cauliflower lately and decided to try making it. I read about five different recipes and came up with my plan. I had to tweak the plan quite a bit to get it to taste right. Let’s just say I now know my chickens like smashed cauliflower!

Ingredients:

DSC_0796

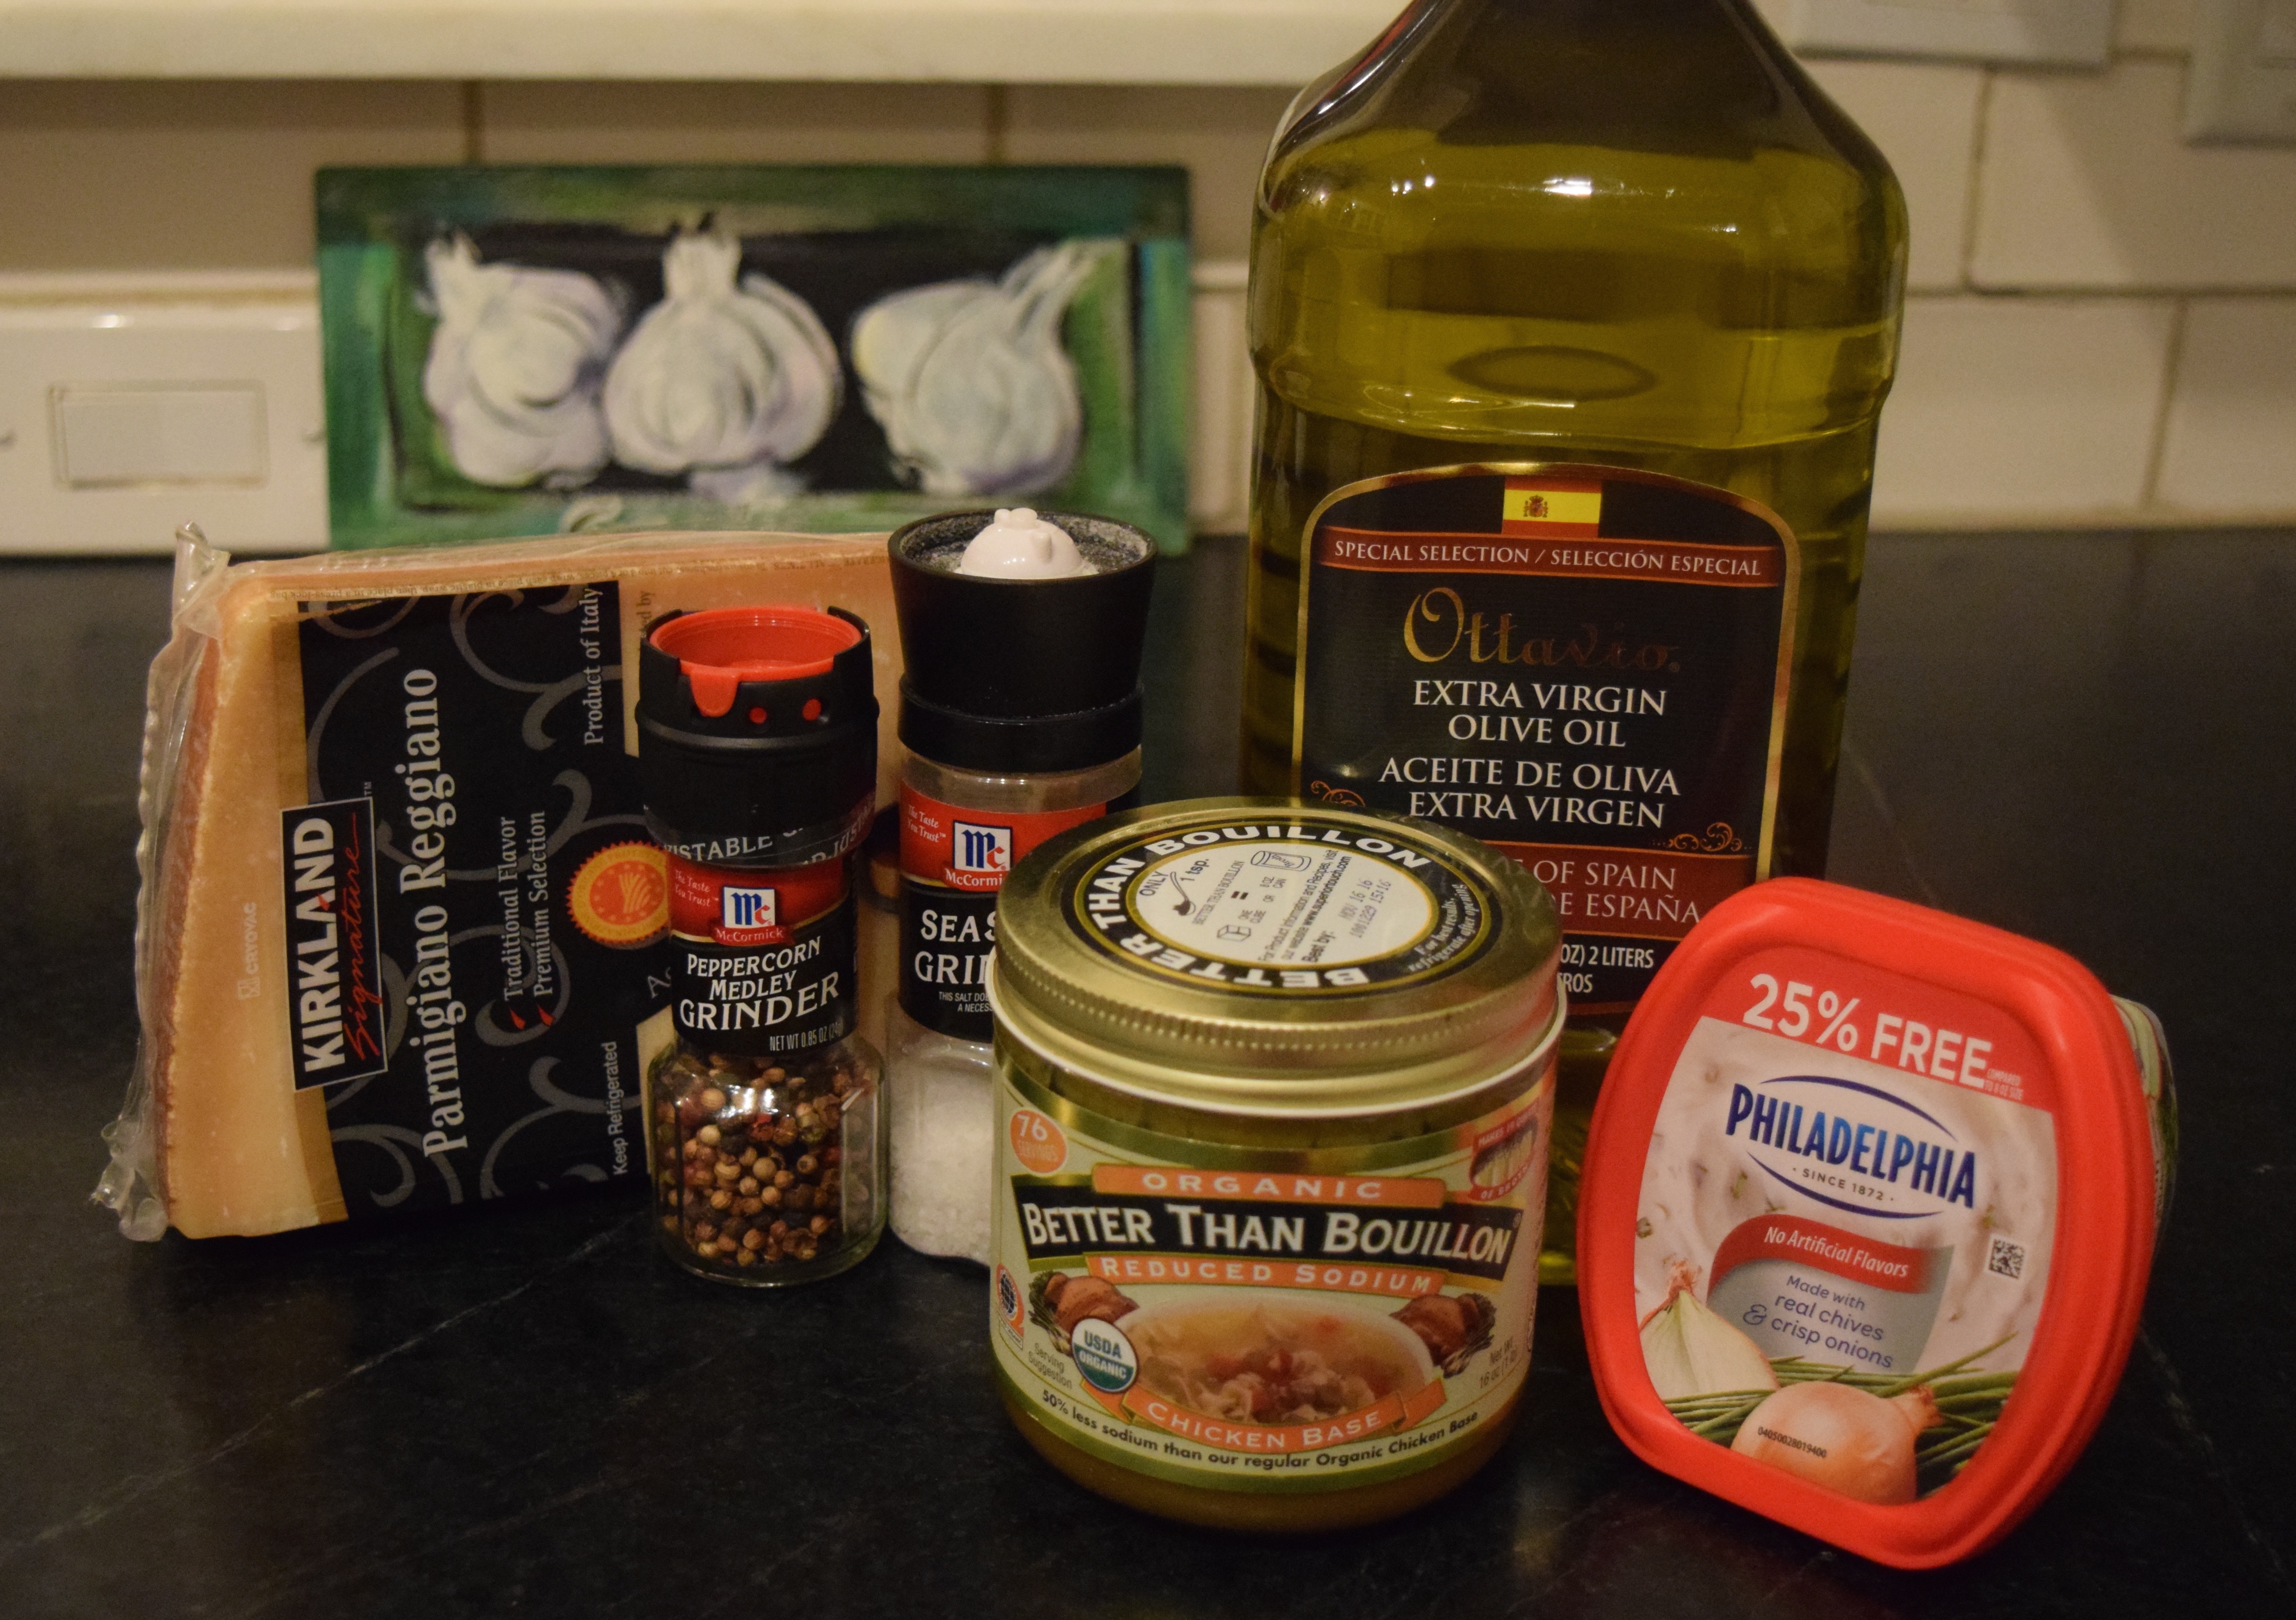
3 pounds blanched cauliflower florets
¼ cup cream cheese with chives and onion, or plain cream cheese
½ cup grated Parmesan
½ cup hot chicken broth
2 tablespoons olive oil
¼ teaspoon freshly ground black pepper
1 teaspoon sea salt

Put cooked florets in the food processor. I could only fit about ¾ of the florets in the bowl of my processor. Add olive oil, cheeses, chicken broth, salt and pepper. Process until chunky and then add remaining florets to the mix.

DSC_0740 (1)

Process until it looks like mashed potatoes.

Thanksgiving 2014

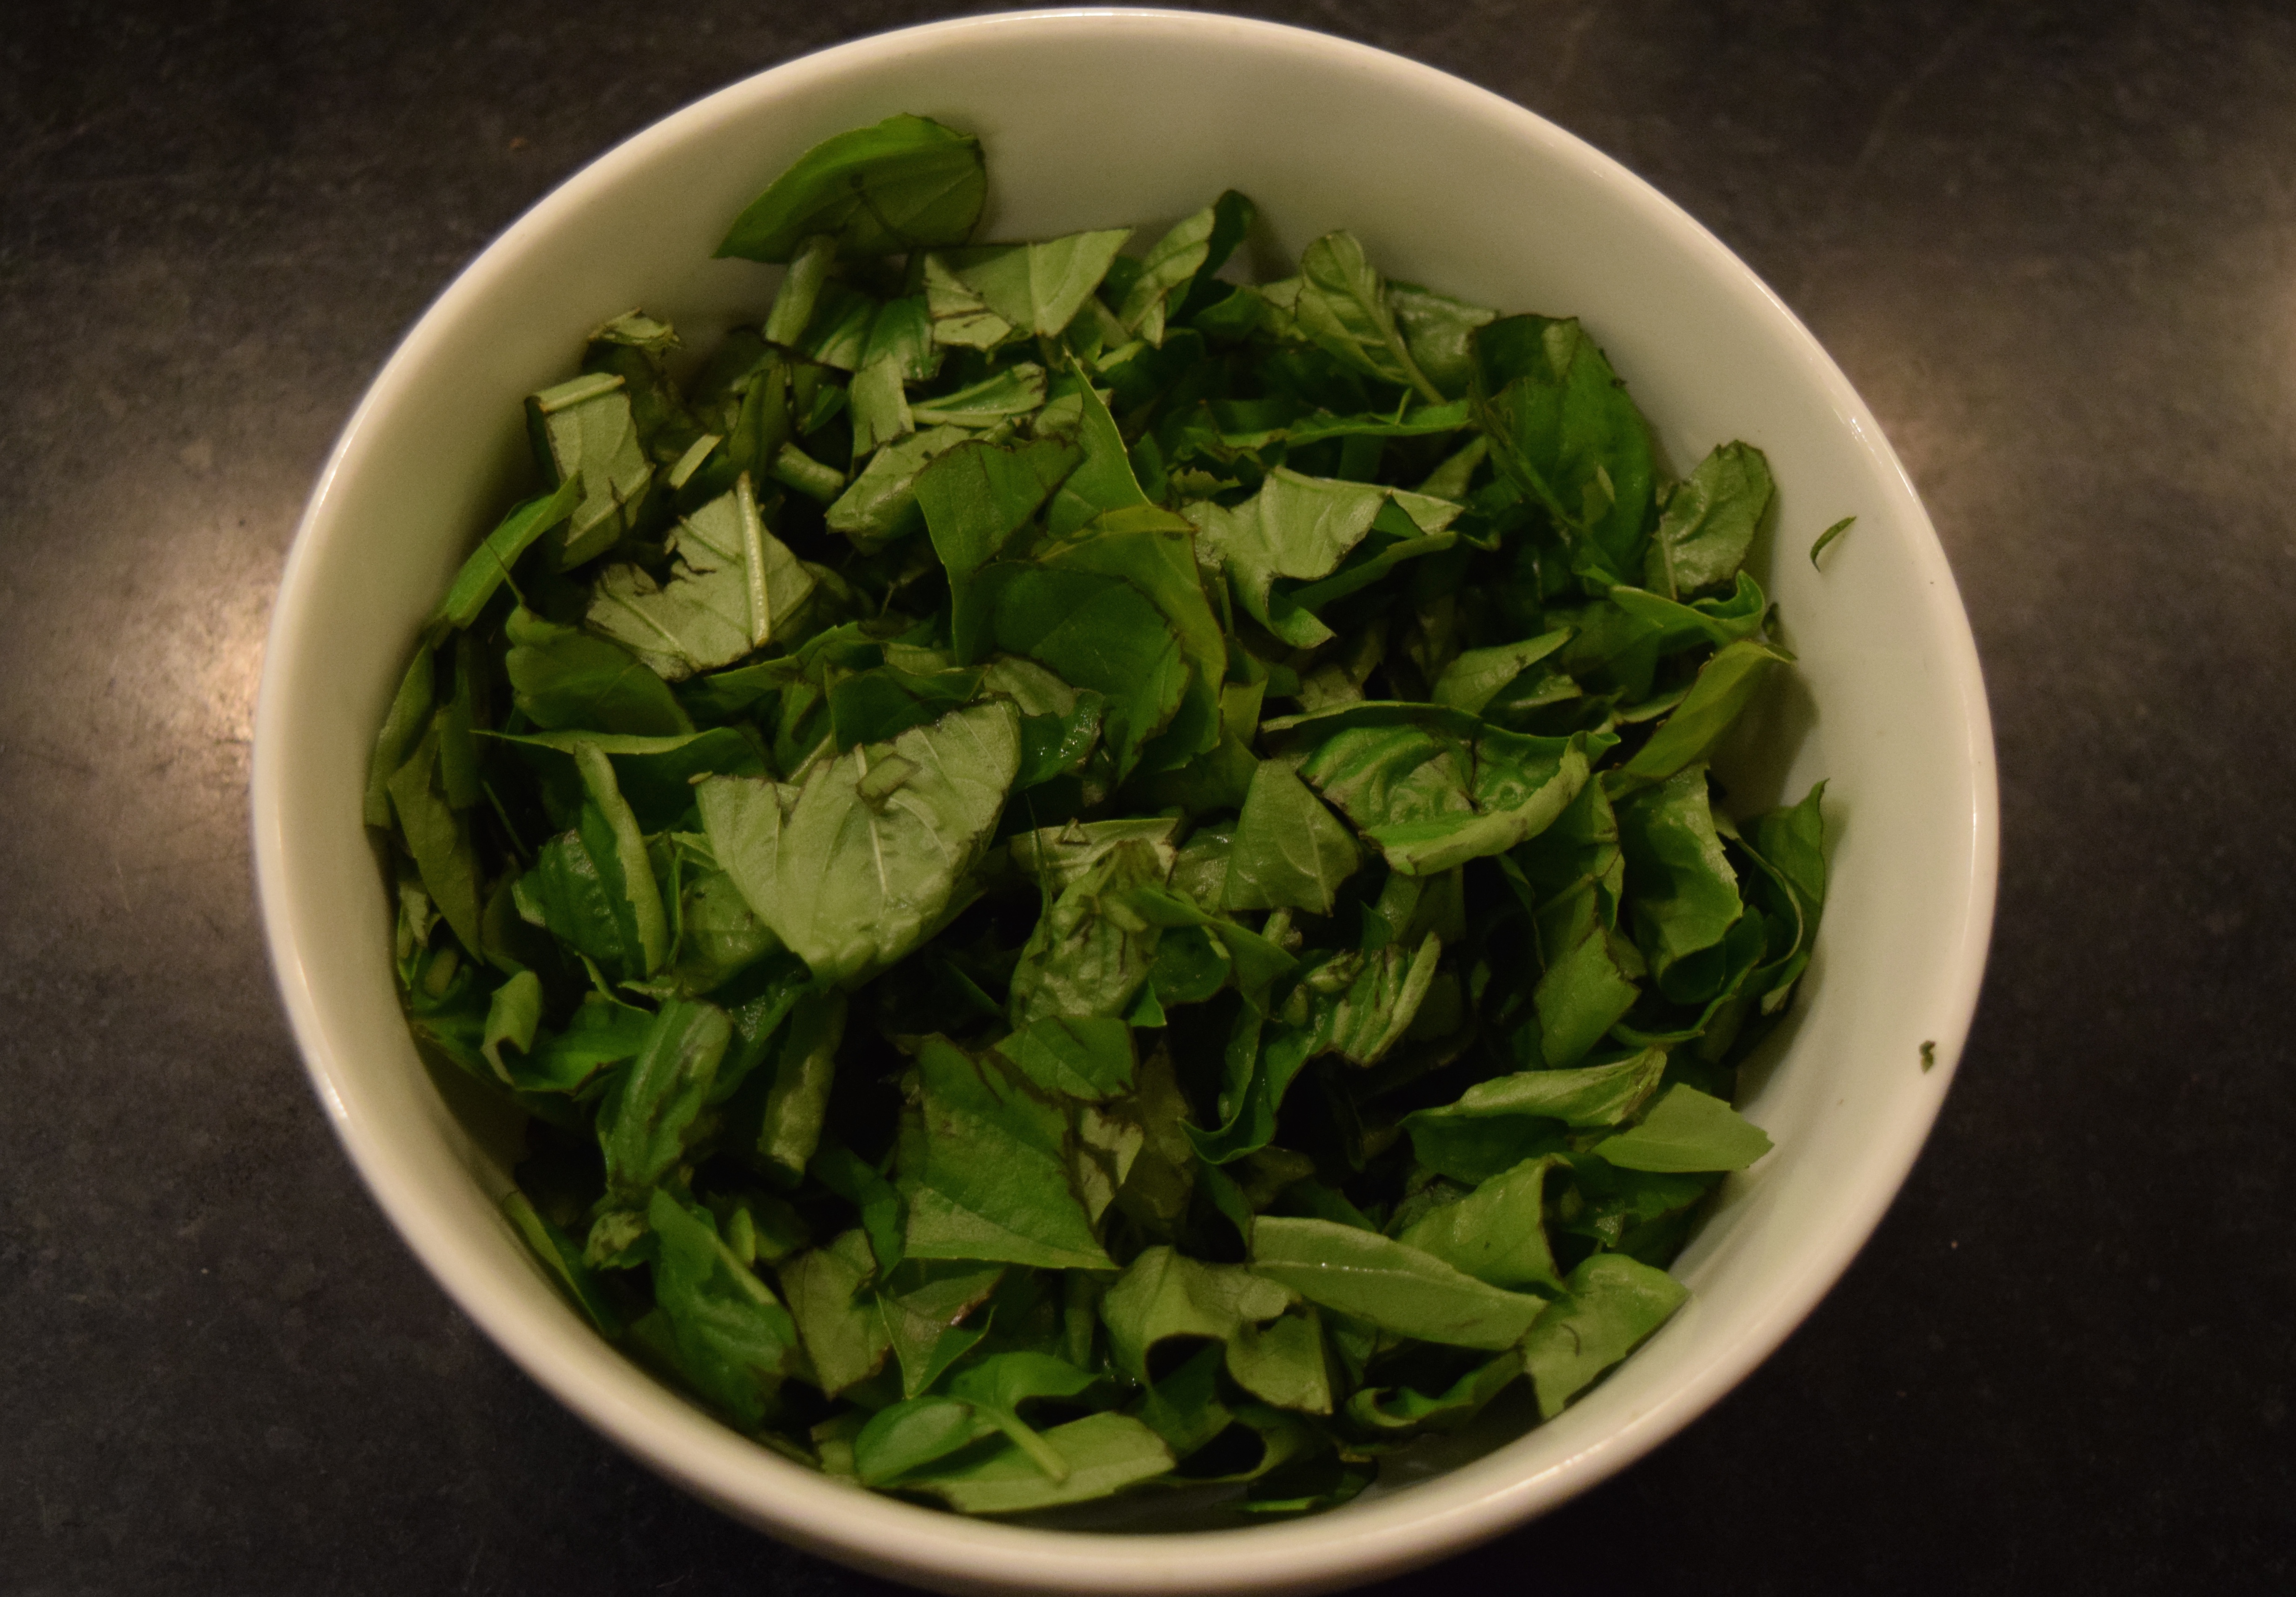
Serve hot. You may need to heat it up before serving as the mixture tends to cool down quite a bit in the food processor. I used cream cheese with onions because I already had it in the refrigerator. You could use plain cream cheese and add chopped herbs instead. I used chopped garlic chives as a garnish.

Make it Whole30

Whole30 has a version of this that includes 1/2 cup of coconut cream instead of other dairy products. Additionally, any Whole30 recipes that call for ghee, I use olive oil instead.

LET’S STAY CONNECTED!

Follow my photos of vegetables growing, backyard chickens hanging out, and dinner preparations on Instagram at JudysChickens.

Never miss a post: sign up to become a follower of the Blog.

© 2014-2017 Judy Wright. All rights reserved. Photos and text may only be used with written consent.

Roasted Ratatouille

Last week, I was getting ready to leave town which meant I had to harvest all the ripe vegetables from my garden. Once I had washed and laid them all out to dry there was no question what dish I was going to make; these vegetables pretty much told me I was making ratatouille. What else would I do with onions, eggplant, zucchini, sweet peppers, and tomatoes? These are classic ratatouille fare.

DSC_0655

Many villages in the Mediterranean have some version of this “vegetable stew,” but it was Julia Child, who, in her 1961 cookbook, Mastering the Art of French Cooking, made ratatouille a household name. If you are a purist, you may want to stop reading here as I no longer make ratatouille using the methods that Julia made famous.  I don’t peel and remove the seeds from the tomatoes, sweat the eggplants and zucchini and then sauté them each separately, and then, layer them all together in a casserole to stew for a while. Her process took too much time. The way I chop, mix, and roast it all together, is much quicker and more reflective of today’s farm to table mentality. I think Julia would approve.

Since I had a lot to do before leaving town, I was in get’ er done mode and was happy to work by myself in the kitchen. My family was watching a Nicole Kidman movie in the next room and I smiled as I listened to them tease my husband about his long-standing crush on Nicole, an infatuation that makes no sense to me; she is like a porcelain doll and I am not. My family knows my husband would secretly love to run into Nicole in Nashville. Once, my youngest son even texted him, “Quick, come to Whole Foods. I’m sitting next to Nicole and Keith.” To my husband’s credit, and since he was sitting with me, he didn’t budge.

Here is my no fuss way to make ratatouille. The ingredient amounts are vague because it truly doesn’t matter. I suggest looking at the picture above and approximating the quantities from that.

Yield: About 4 quarts

Ingredients:

DSC_0603
Onions – I used one bunch of green onions and a medium-sized red onion
Eggplants – I used a mix of Black Beauty and Ichiban varieties.
Zucchini – I used 4 thick ones.
2 large Sweet Bell Peppers
Tomatoes – I used an assortment of regular and cherry-sized.
Basil – I used 4 ten-inch bushy stalks.
Garlic – I used 2 heaping tablespoons of minced garlic from the jar.
Extra Virgin Olive Oil, about 1/2 cup, maybe even a little more
Salt and Pepper, to taste

Instructions:

I prepped all the vegetables as I went along. Refer to the pictures that follow to see how. I placed them in a 13 x 16 inch Calphalon roasting pan that’s about 4 inches deep. The order of layering doesn’t matter as they will all be stirred together before going into the oven.

Zucchini: leave the skin on and slice.

DSC_0604

Sweet Bell Peppers: remove core and seeds, chop into 1.5-inch dice.DSC_0605

Green Onions: slice the white part into 1/2 slices, and the green stalks into 1-inch pieces.

DSC_0606

Eggplant: remove ends, peel, and slice.

DSC_0607  DSC_0614

Tomatoes: remove the stem and white core, and chop as shown. No need to peel or remove seeds.

DSC_0615

Prep basil: remove leaves from stems and chop. Add to roasting pan.DSC_0293  DSC_0633

Mix it all up. Add olive oil, garlic, salt and pepper. I am usually generous with the olive oil. I learned that from my mother.

Roast at 400º for 40 minutes to an hour depending on the volume of vegetables used.

DSC_0166

To Serve:
I’ll put just about any roasted vegetable over pasta and the ratatouille was no exception. It was delicious. Be sure to sprinkle with Reggiano Parmesan.

I had about 2½ quarts of leftovers that went into the fridge. My husband served it over orzo as a side dish the next night, and on Saturday morning, he put what was left in his omelette.

DSC_0193.jpg

Epilogue: 
My family loved this meal. As we ate dinner, one of my sons said, “Nicole Kidman couldn’t have made this dinner, Mom.”  Thanks, son.

Make it Whole30
Skip the pasta and cheese and serve it as a side dish.

LET’S STAY CONNECTED!

Follow my photos of vegetables growing, backyard chickens hanging out, and dinner preparations on Instagram at JudysChickens.

Never miss a post: sign up to become a follower of the Blog.

© 2014-2017 Judy Wright. All rights reserved. Photos and text may only be used with written consent.