Family Dirt

One morning, many years ago, while my sons were still in grade school, our family was sitting around the breakfast table, and the conversation went something like this:

One son makes a comment about periods, of the female kind. His brother responds by saying, “You shouldn’t talk about periods when you don’t know what they are. Uh, what are they, Dad?”

My husband, who is historically quick with a good analogy, said, “You know how your mom gets her garden ready to plant every spring? She weeds the beds, turns the soil, and smooths out the dirt. She does all this to get the beds ready to plant seeds. A woman’s body is like a garden. Every month, it prepares a lining in the womb for a seed to get planted. Depending on whether or not the seed is fertilized, the womb either keeps the lining or lets it go. When it goes away, that’s when the woman gets her period.”

Wow. That was beautiful.

Two weeks later, I was driving the afternoon lacrosse carpool of 7th-graders when something was said about sex in the way-back of the Suburban. Sex? My ears perked up. That’s when I heard my son say,  “All I can say, is don’t ask my Dad about sex; I asked him about periods, and he started talking about gardening.”

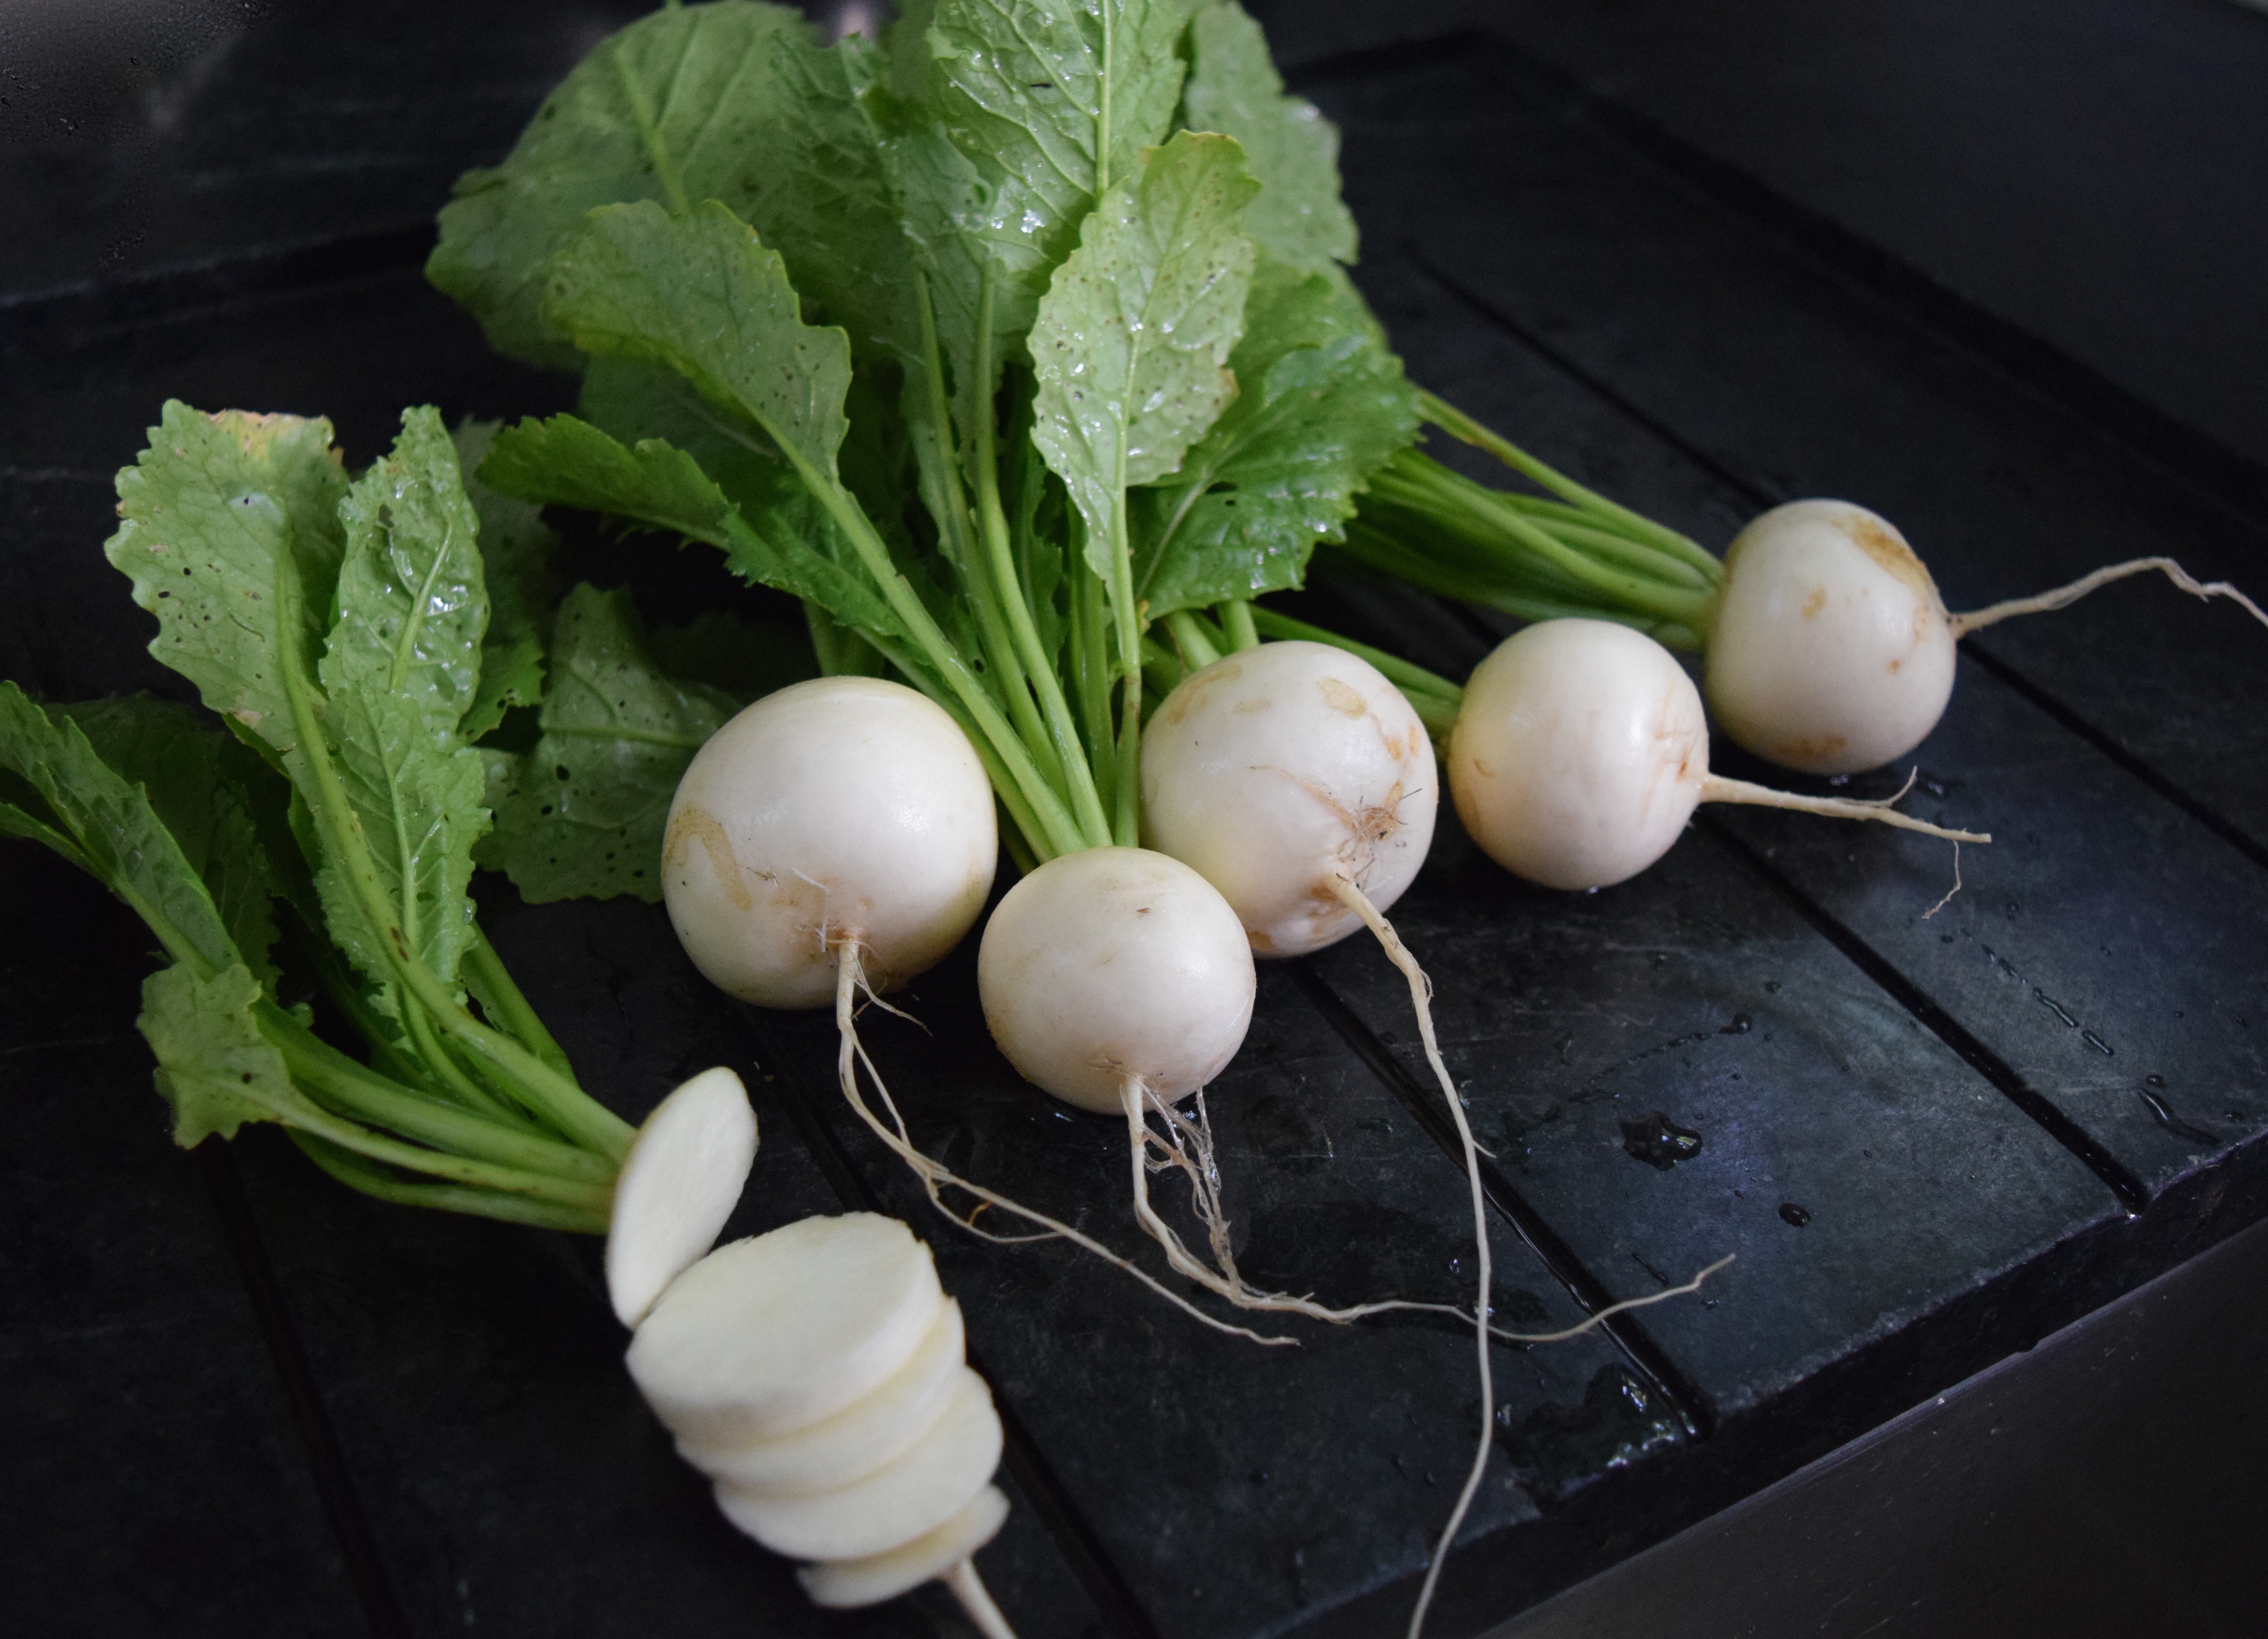
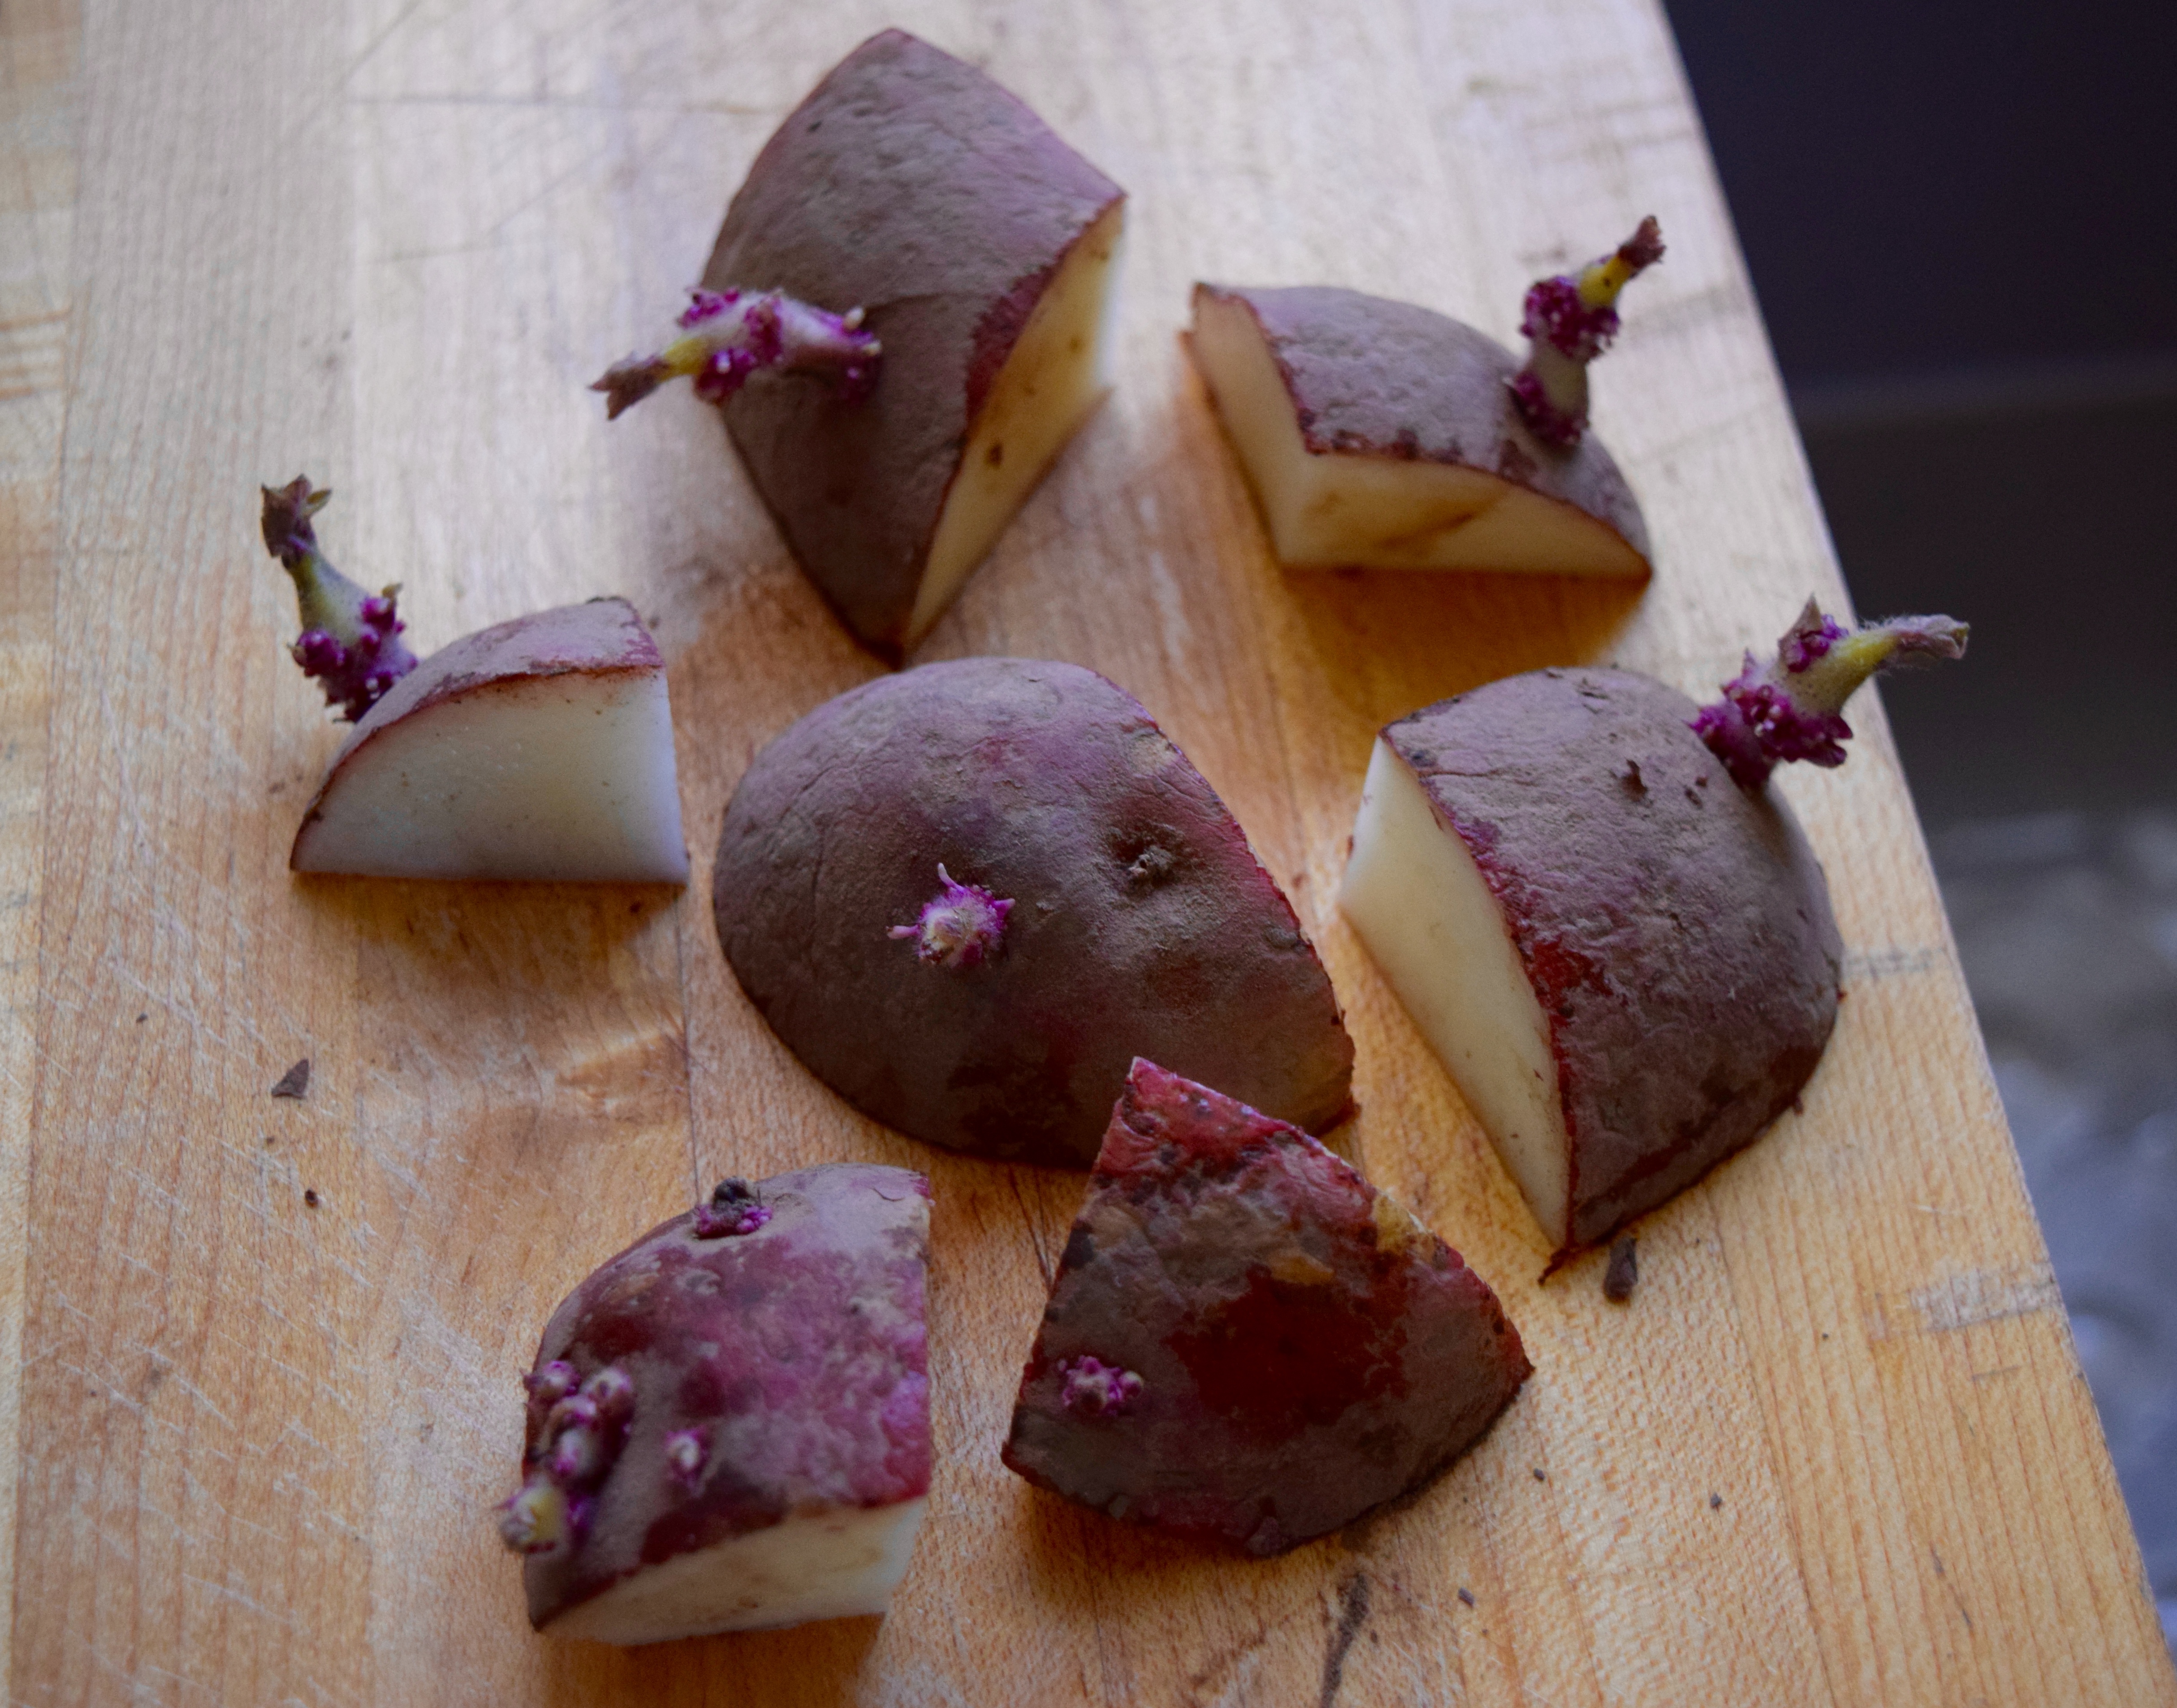
I think about that sweet conversation with longing and a smile that runs deep when I approach my scruffy garden every spring after a long winter’s absence. What to do first? When you raise vegetables, the first chore is to start getting your garden ready so you can get your peas in the ground around the first of March. How do farmers pick March 1 as the planting date? One method is to count back six weeks from the last average frost date which for our region is April 15th. Or, we can go by nature’s signals: when daffodils are in full bloom, plant potatoes, and when the forsythia starts to bloom, plant peas.

I knew the clean-up job would be more fun with company … My husband is a problem solver extraordinaire. My kids will tell you they grew up in a household where their Dad’s motto was, “Be a problem solver, not a problem identifier.” I grew up in a household with many problem identifiers, so ours was a perfect union. If I am manipulative in any way, it’s in the way I’ve learned to present projects to my husband as problems to be solved. I know I’ve succeeded when I see him pull out one of his pre-cut sections of an index card from his wallet. These homemade notecards are where he writes his to-do list. Once he starts making a list on these cards, I know the project is as good as done.

Here’s his list (the words in parentheses are mine):
Ethanol-free gas from Billy’s Corner (for tiller and pressure washer)
New spading fork (to turn leaves in beds)
Grass seed and straw (bare spots in yard)
8-inch galvanized spike nails (to remediate chicken problem)

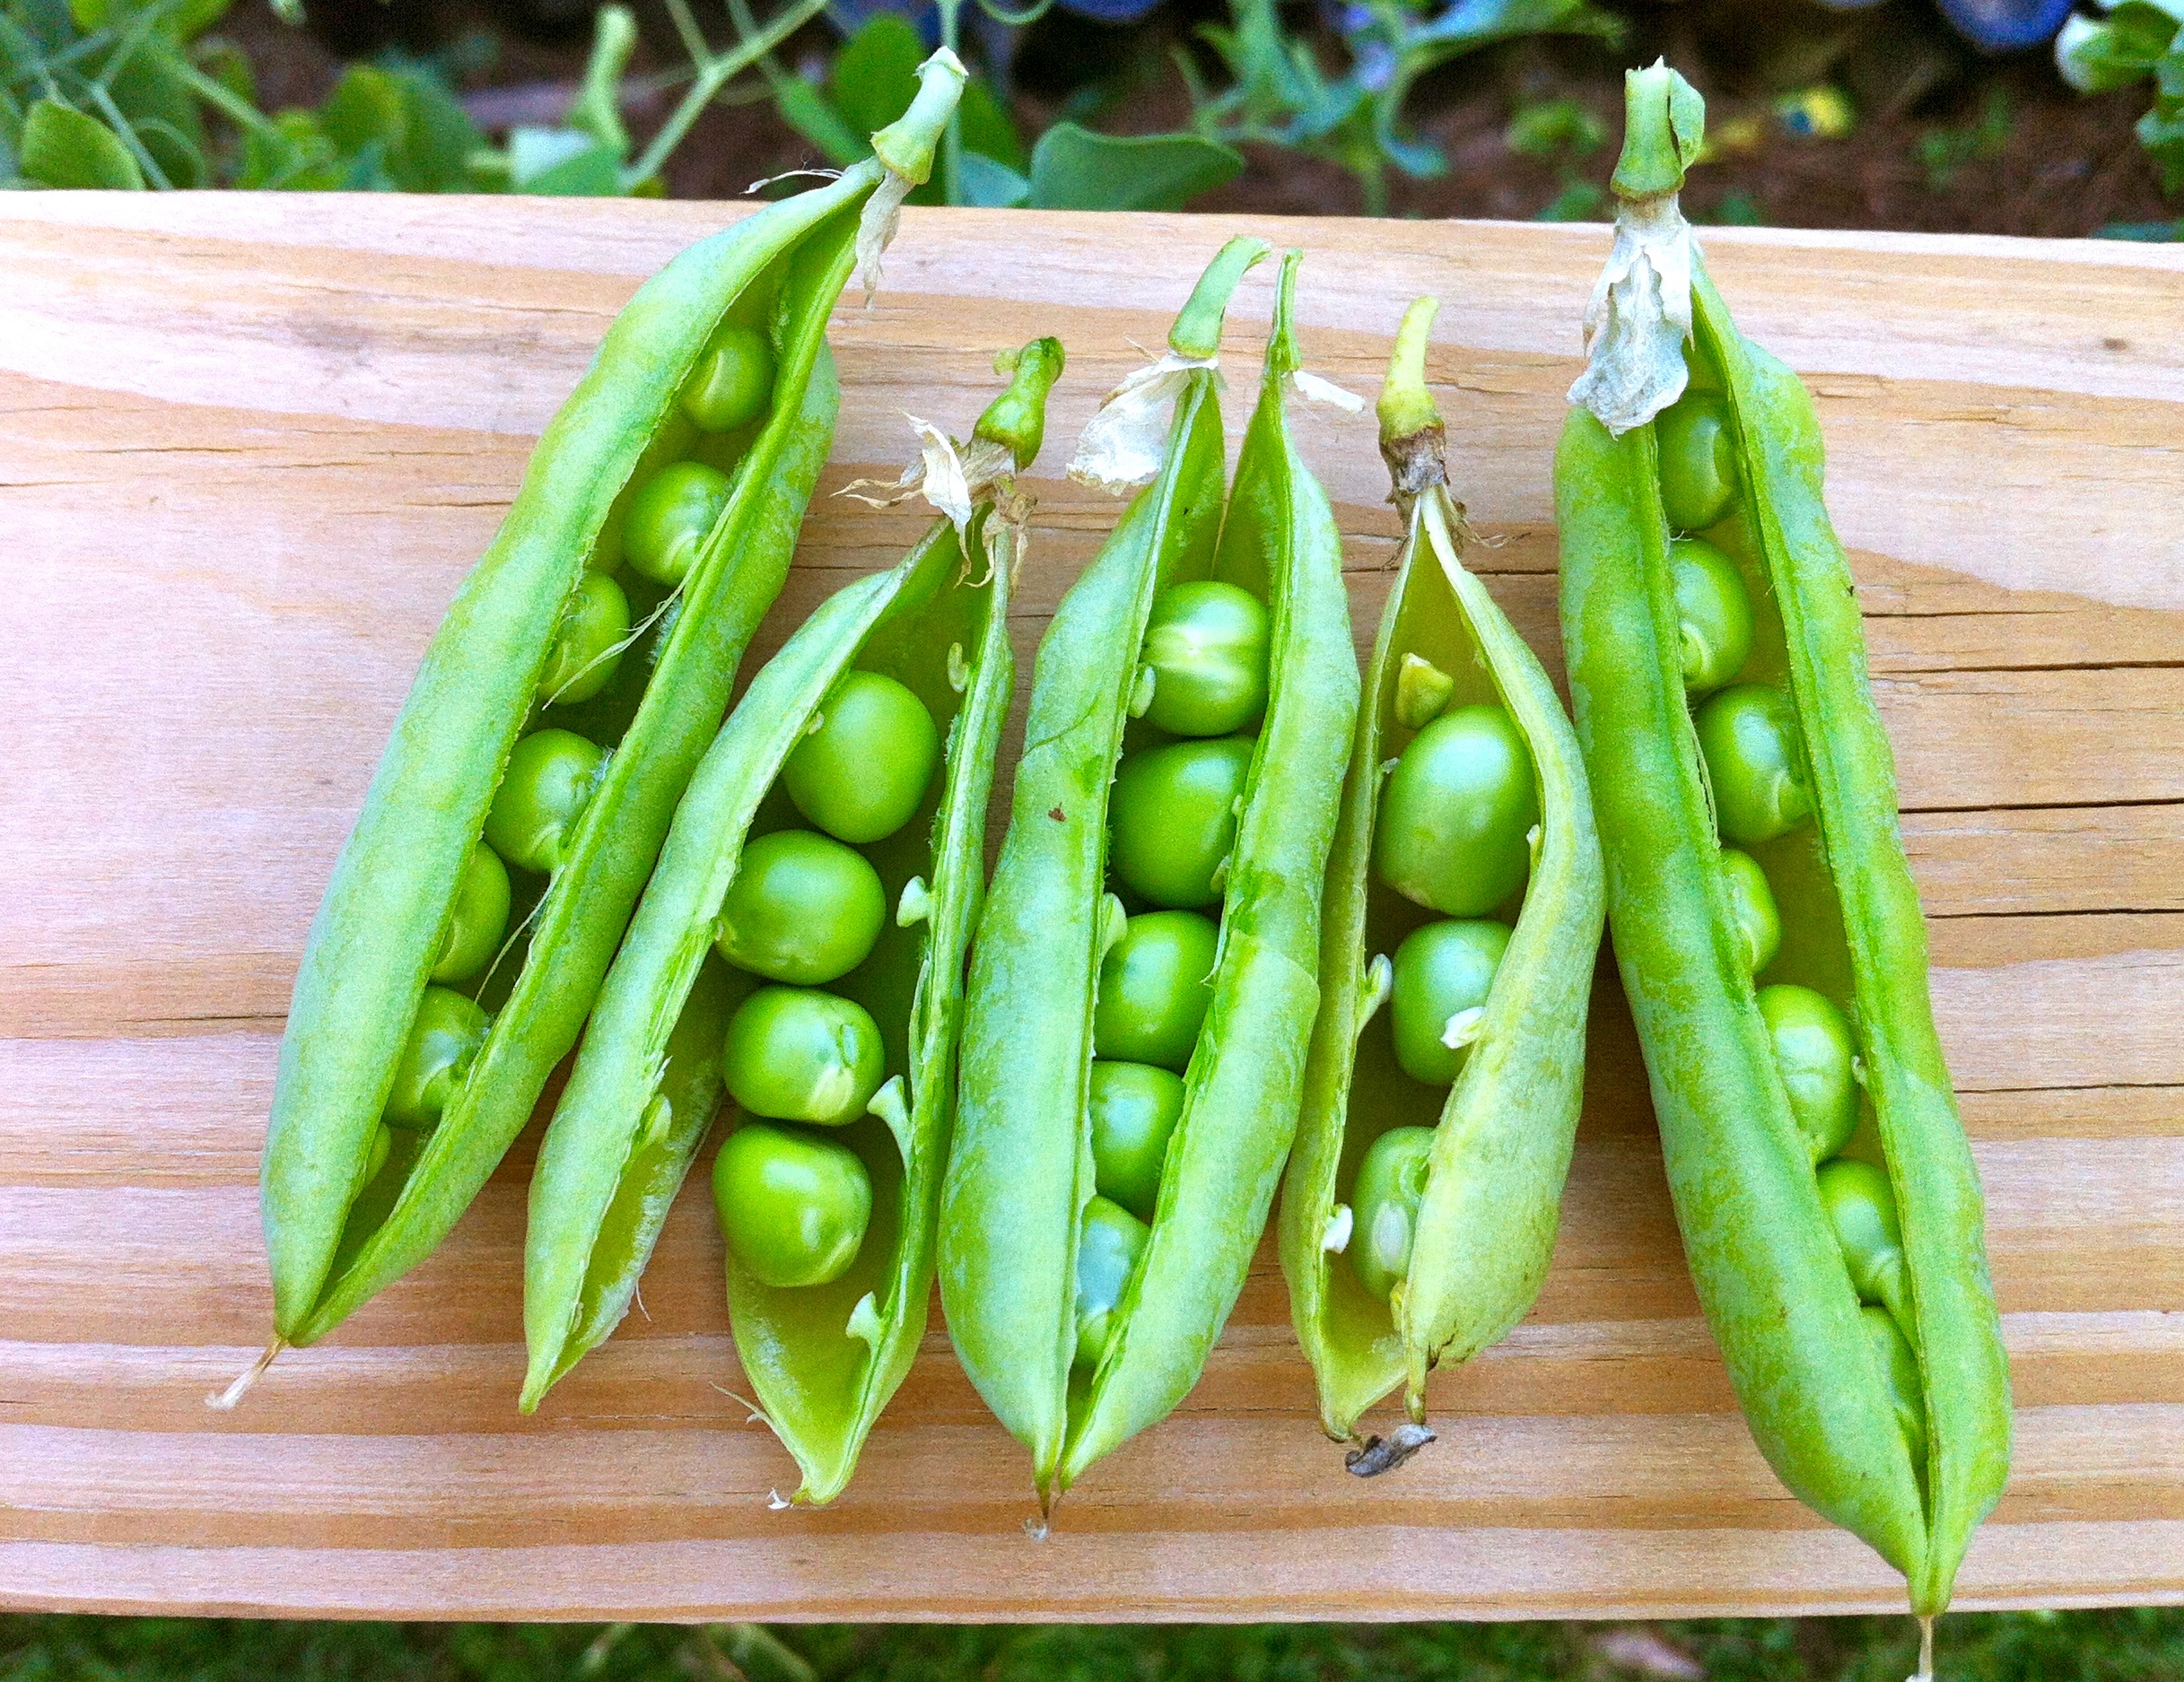
Here’s mine: pea seeds, plants for front flower pots

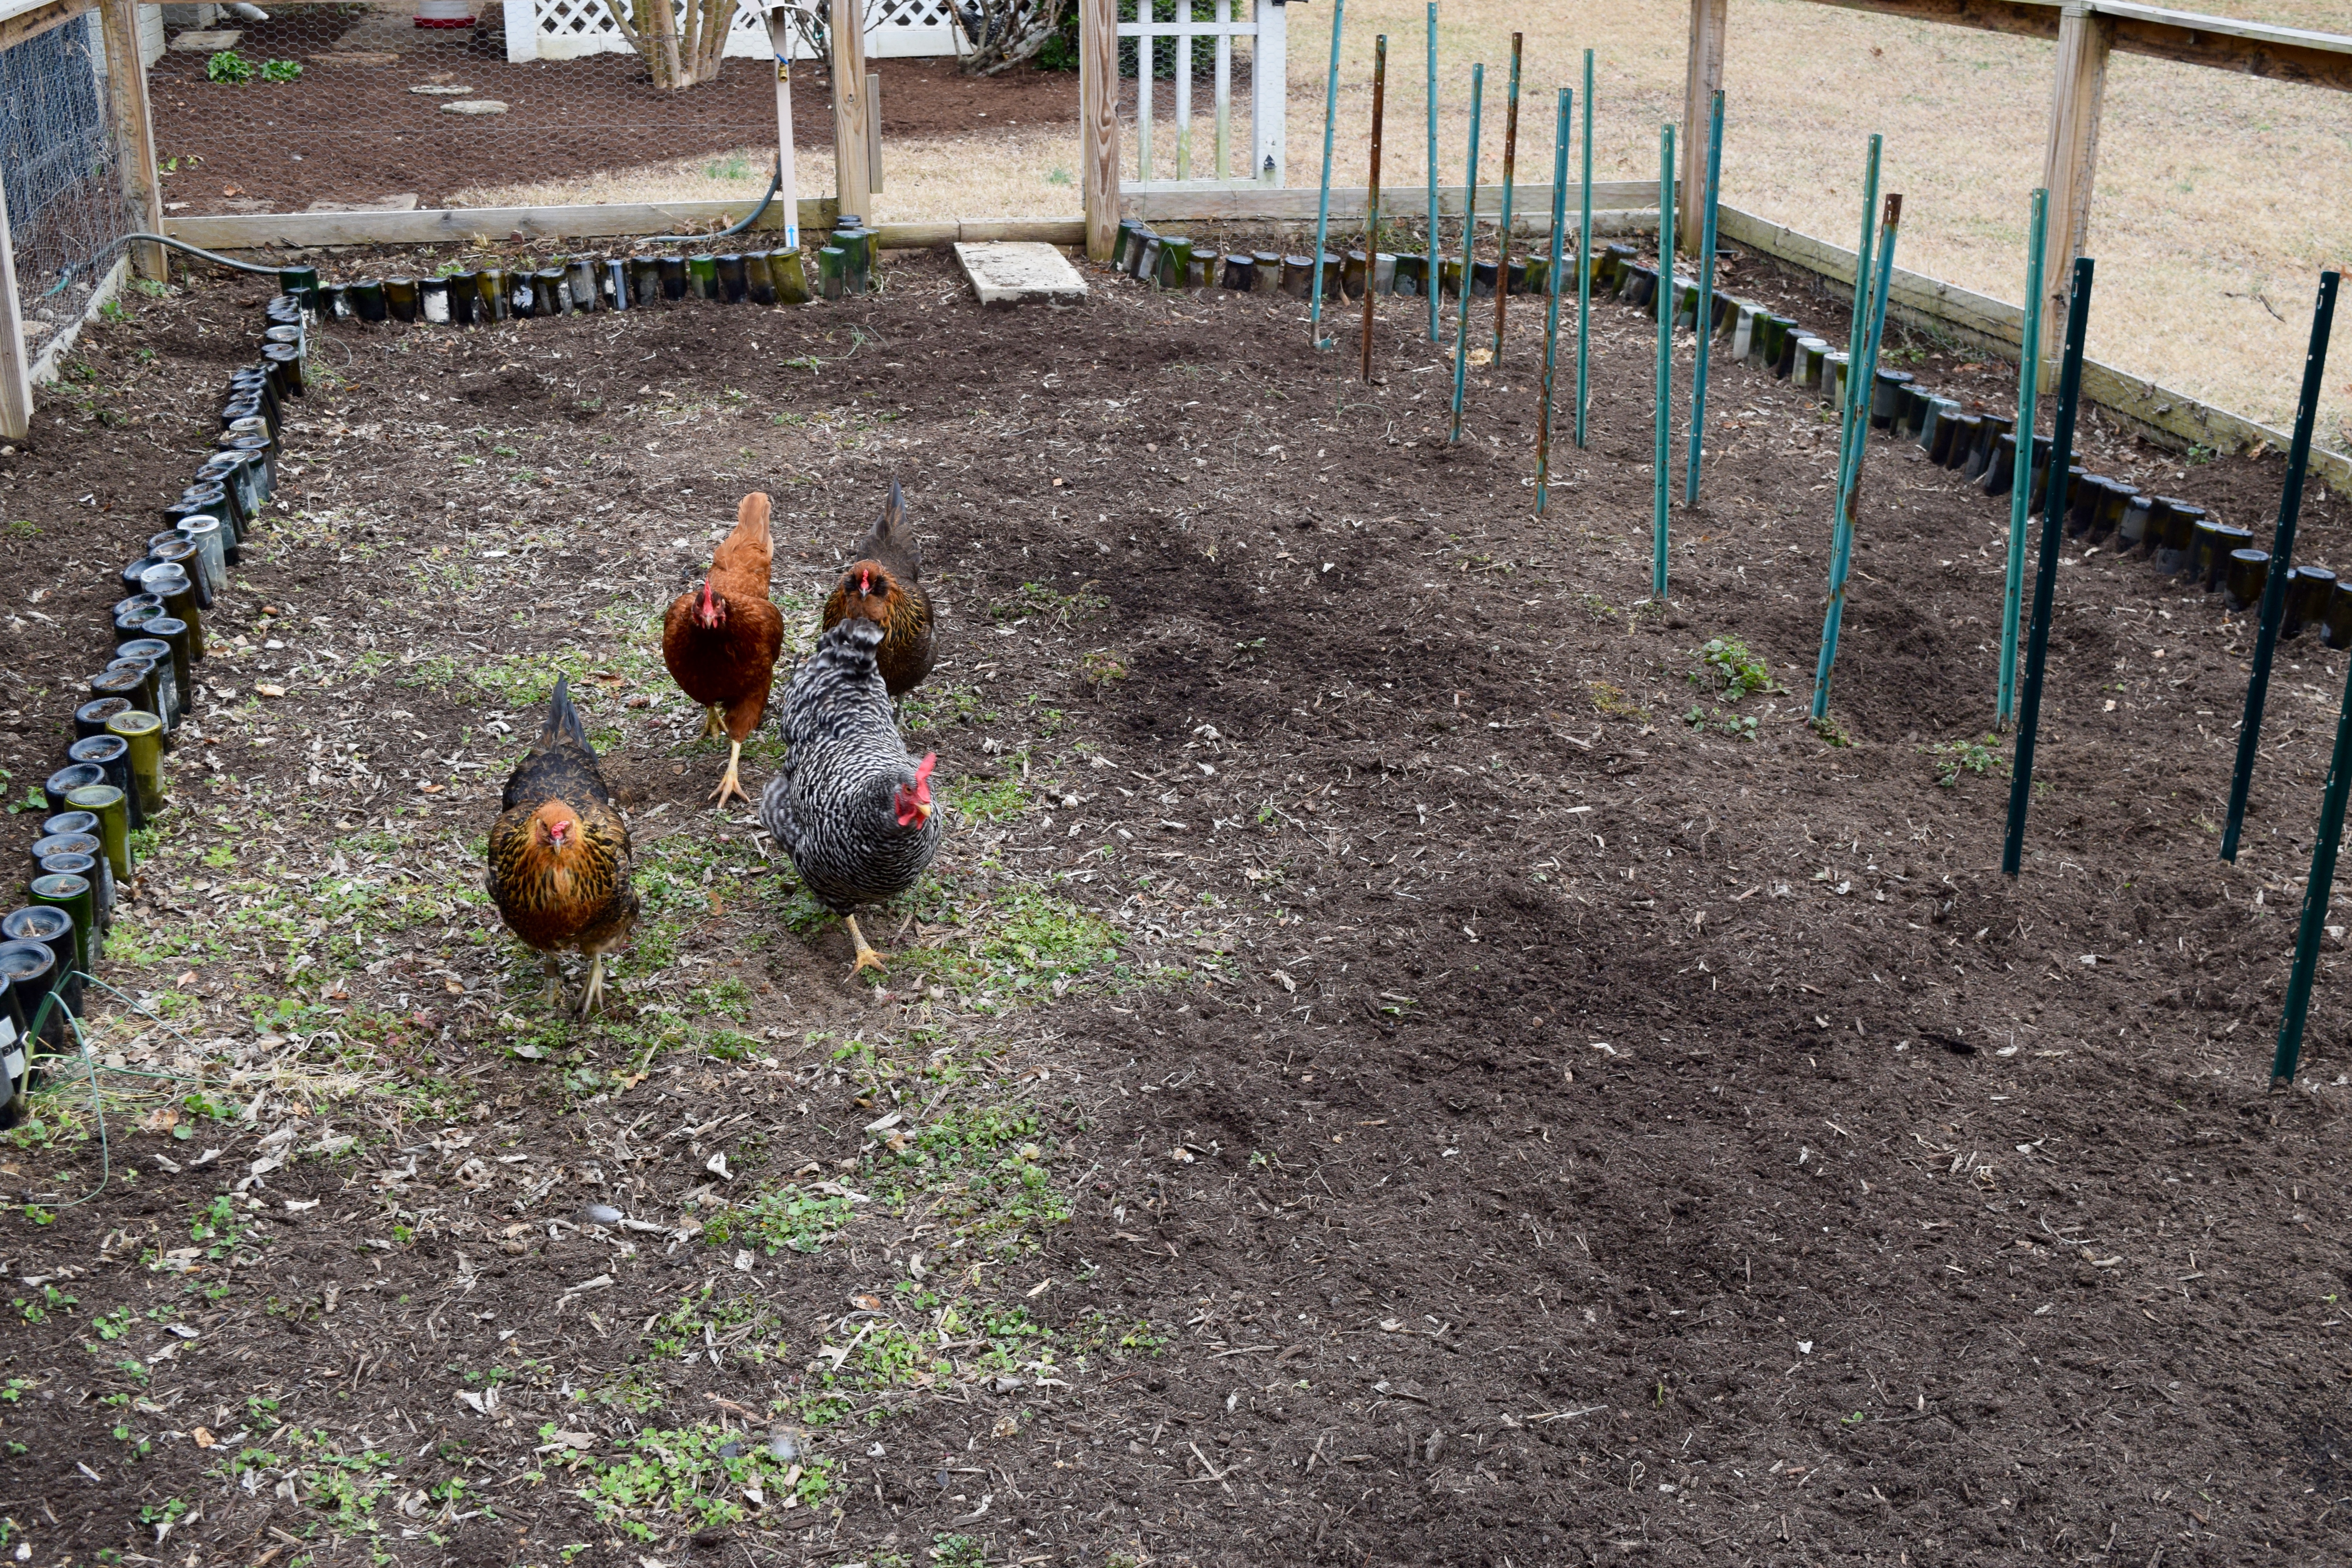
Here is a picture of my husband installing spike nails into the railing of the vegetable garden fence. This is his solution to finding a way to keep our chickens out of the garden. He is using strands of fishing line, strung between tall nails, to work as an added “invisible” fence. The idea is to keep the chickens from flying up onto the railing, using it as a landing platform, and then hopping down into the garden. In the chickens’ defense –and the chickens must be defended — it is not their fault they don’t know the difference between a vegetable garden and a compost pile. Unfortunately, it only takes five minutes for six chickens to trash a garden.
IMG_5599

Kitty was not happy with the chicken remediation project. She now has to slither along under the fishing line fence to get to where she is going, which let’s face it, is nowhere in particular. I consider that a very small price to pay to keep the chickens out of the garden. My friend, Kim Matthews, a massage therapist, says it probably feels good on her back, so no worries there.
IMG_5606 IMG_5611

Good Dirt

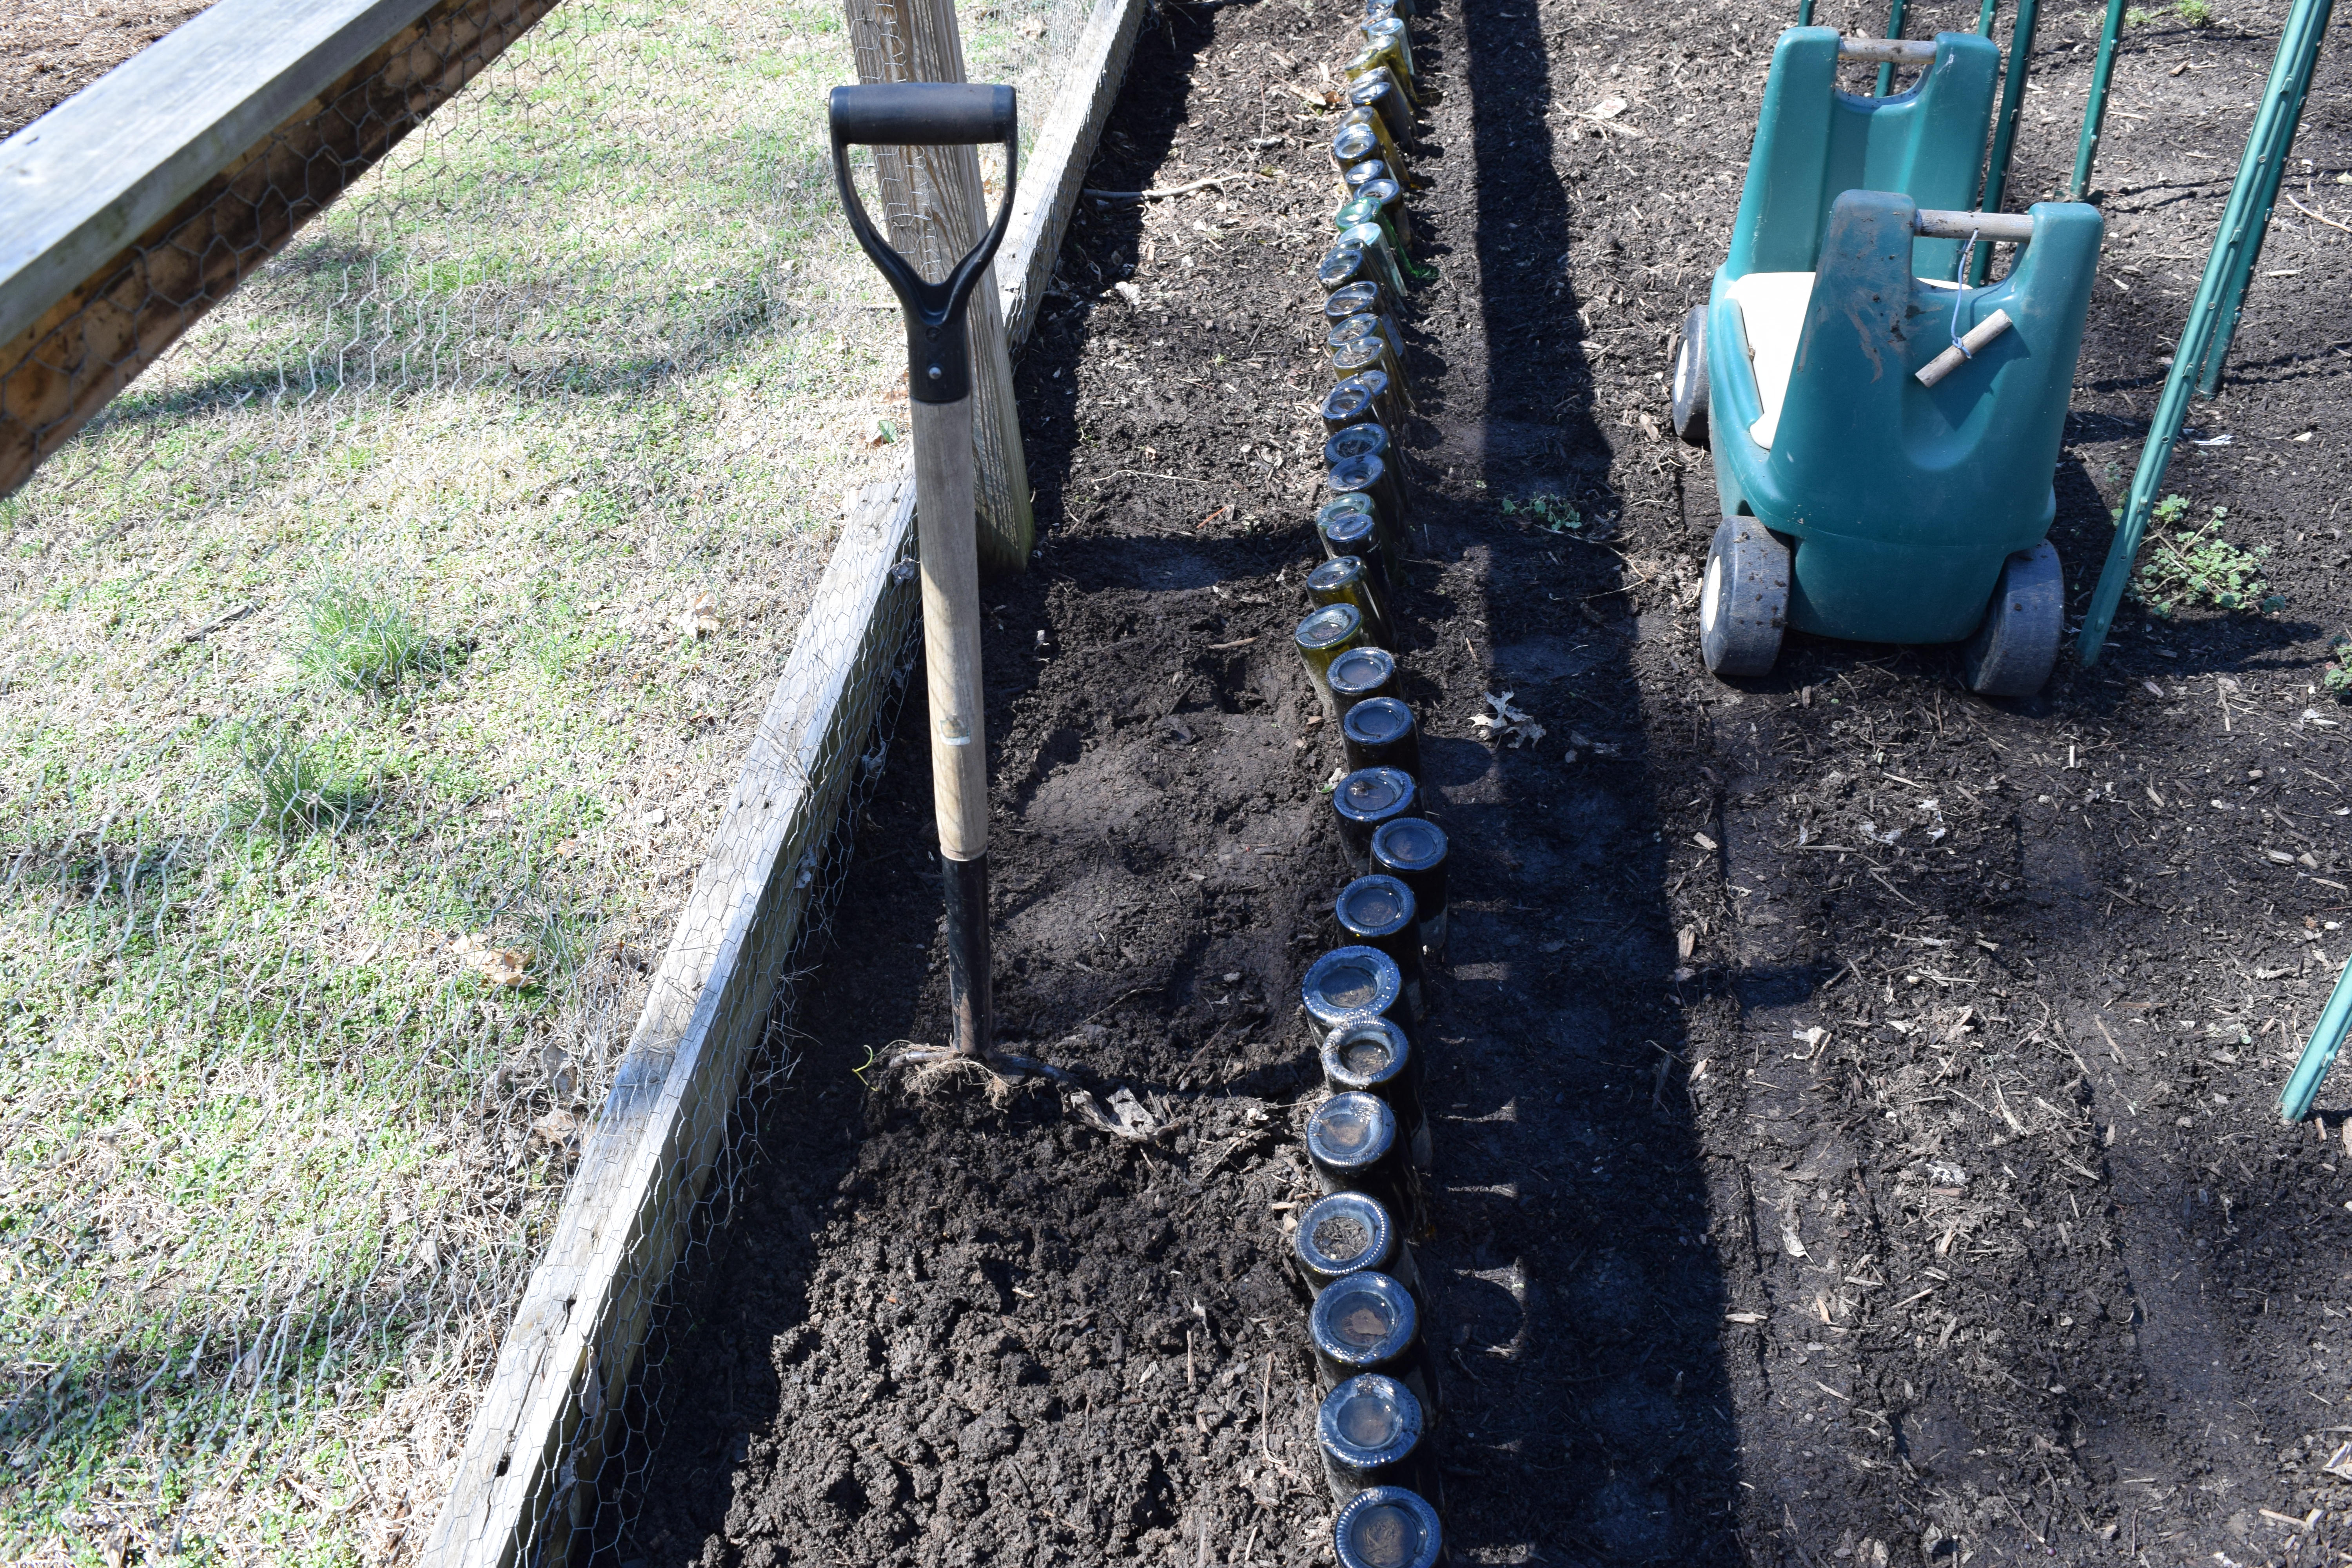
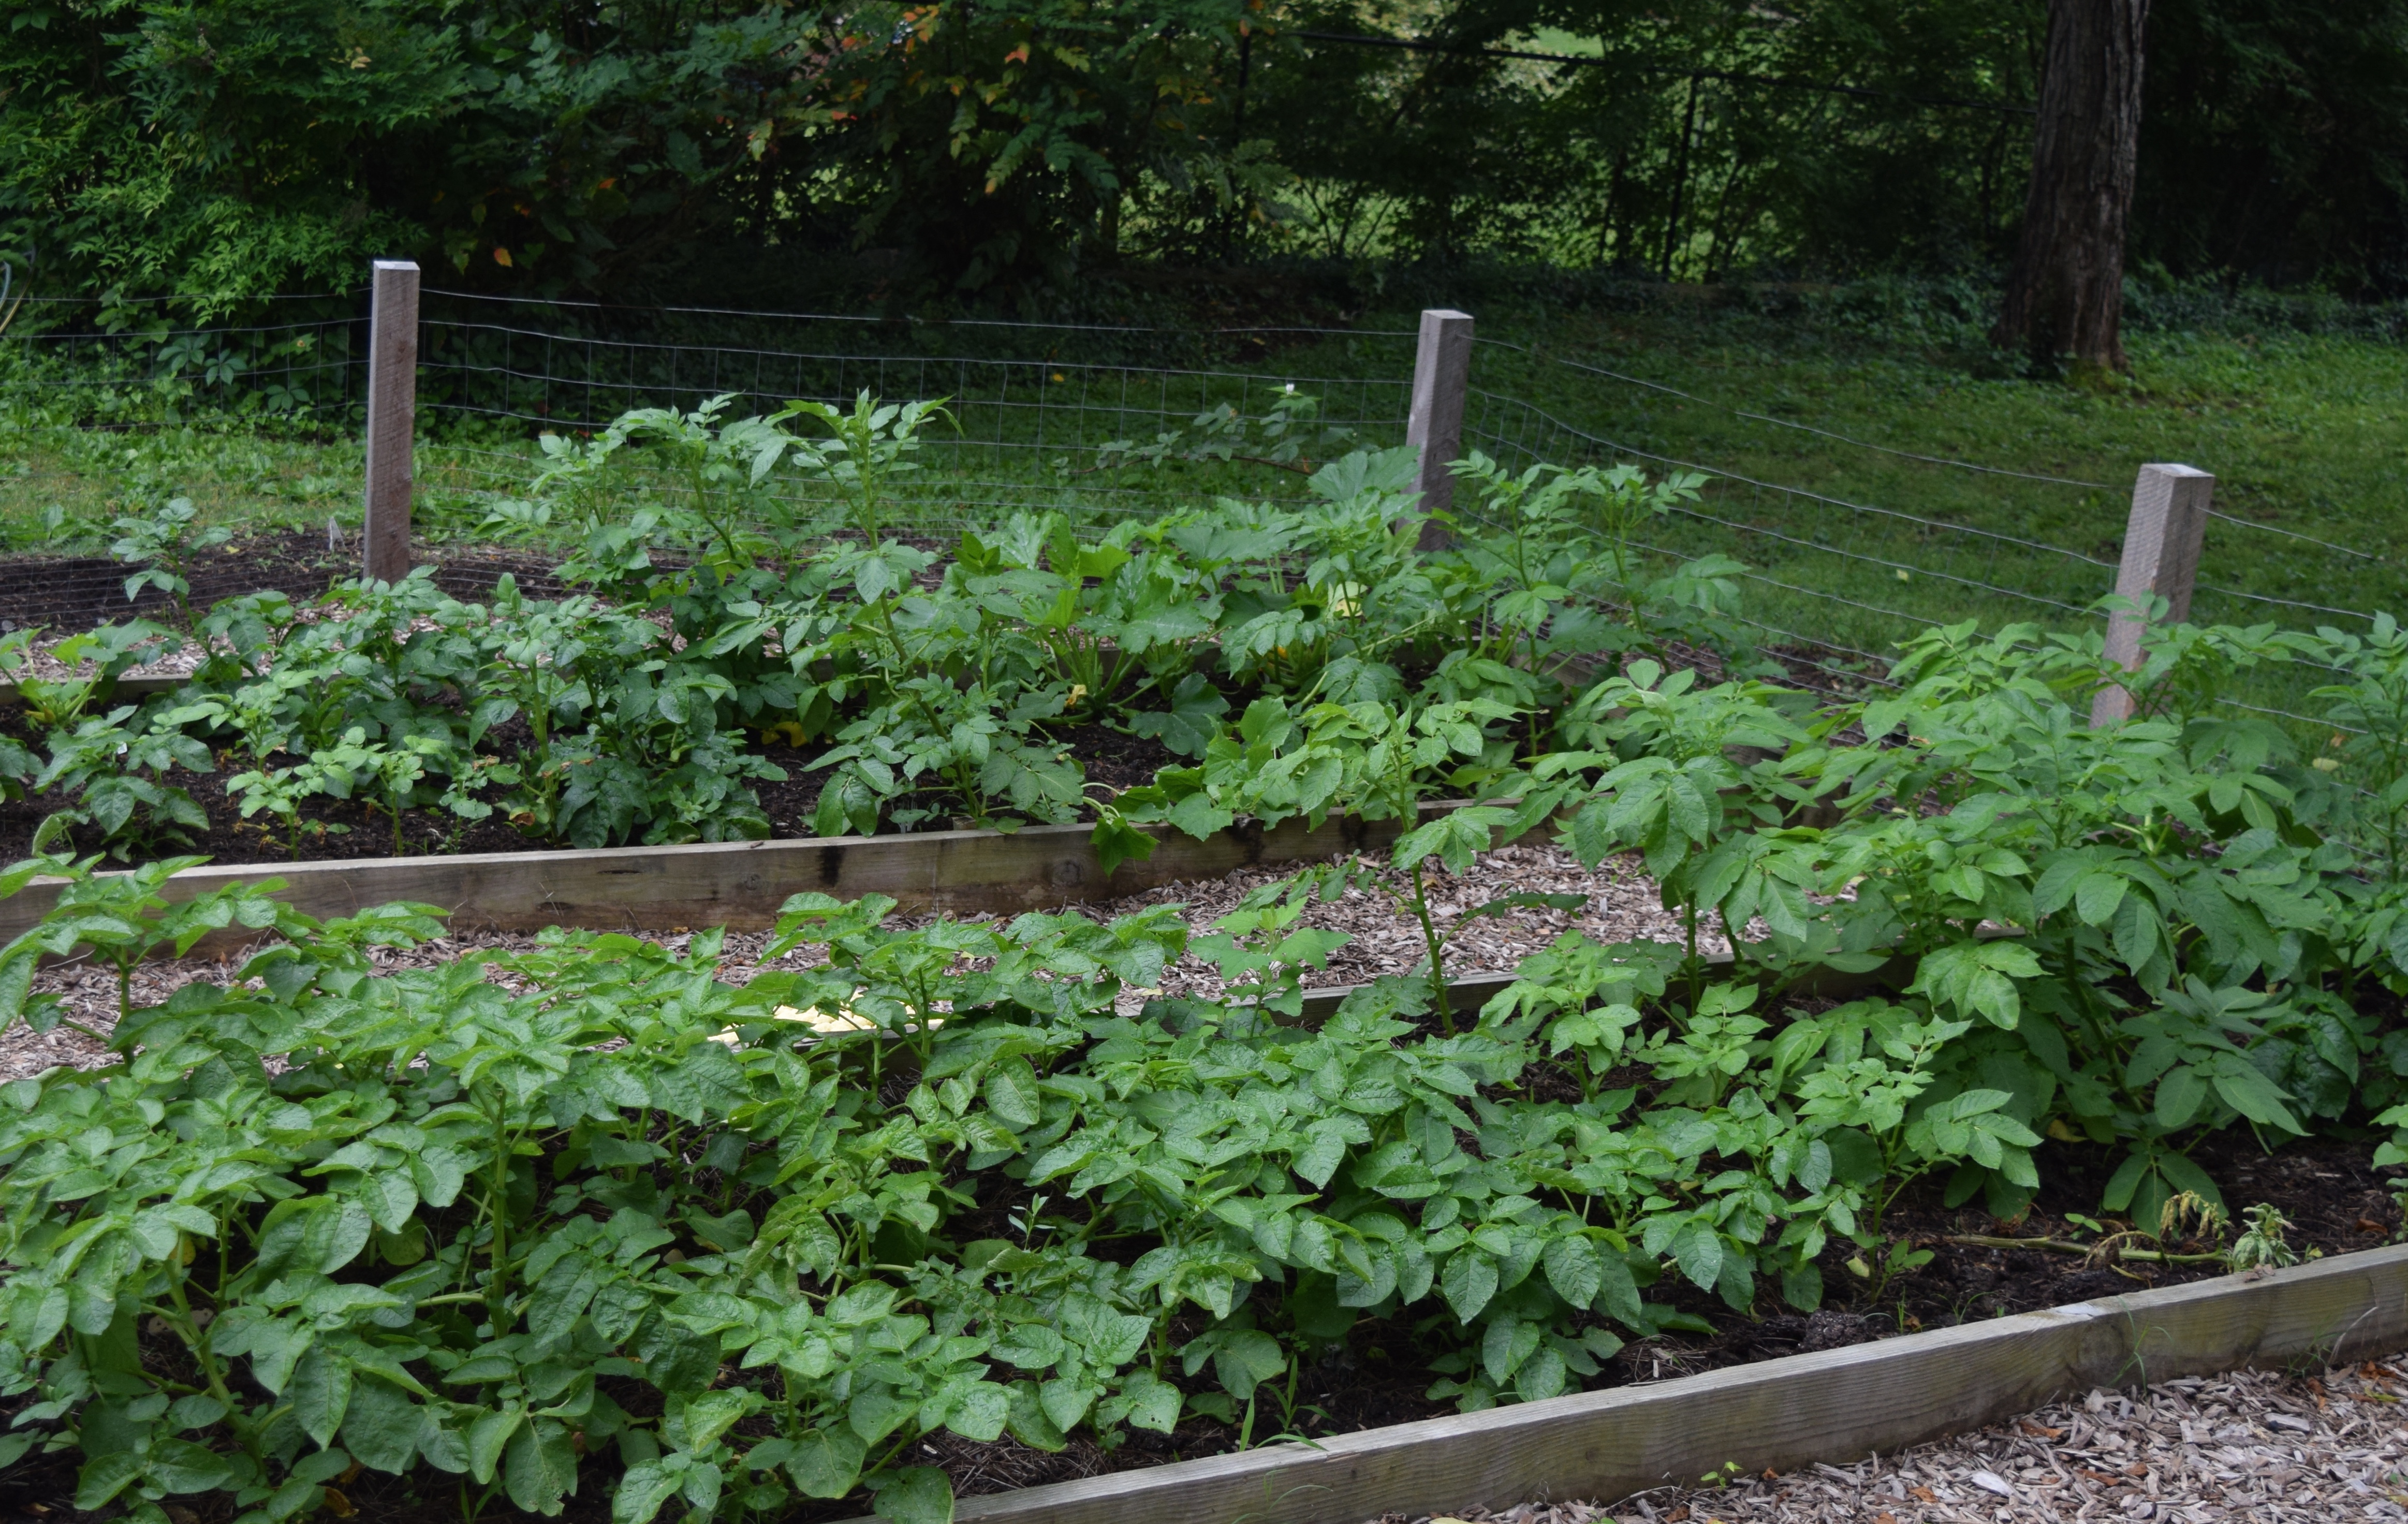
Much of what I did to get my soil ready “to plant the seed” occurred last fall when I mulched the beds with leaves. I typically pick up bags of leaves from the homes of friends. You can see from the middle photo that the back garden was still very productive on November 16th when I spread the leaf mulch. In the beds where greens were still growing, I tucked leaf mulch in between the plants and those crops lasted all the way to New Year’s Day when I harvested them for “prosperity”.
IMG_3971 IMG_3976 IMG_3977

I got these bags of leaves from my next door neighbor. You can see steam coming off the bags just three weeks later indicating they already had started composting in the bag.
DSC_0314 DSC_0099

I worked the leaves into the beds using a broadfork and a spading fork.
DSC_0099 

I use these tools instead of a tiller on established beds because I’m trying not to disturb the wormhole tunnels and root tracks left by old, pulled plants. These tunnels are nature’s way of building pathways into the soil that new roots in the future will follow as they grow. Remember, the looser the soil, the more extensive the root formation, and the more productive the plants will be.

Tools for loosening, turning, and leveling dirt: (left to right) Bow Leveling Rake,  Spading Fork, Johnny’s Broadfork, Mantis Mini-Tiller and Cultivator
DSC_0408

I use our mini-tiller to mix up the compost pile which is filled with dirt, vegetable scraps, egg shells, coffee grinds, chicken manure, shredded paper, and leaves. The compost pile is one of the few places I still use a tiller and welcome the chickens and their chicken-scratching ways.
DSC_0273

In the Master Gardeners of Davidson County program, we learned that dirt is made up of the following components: 50% water and air, 48.5% mineral matter (sand, clay) 1% organic matter (plant residue) and .5% living organisms (worms, fungi). If you think of dirt in terms of its components, it helps you to figure out what you need to do to amend your soil. You need microbes and organic matter in your soil to break down organic matter, and the microbes need water and air to do their job of enriching the growing medium for your plants.

Necessary Minerals in Soil:
Nitrogen is good for vegetative growth; it’s what make leaves turn green.
Phosphorous helps create new root growth and blooms. Blooms lead to seeds.
Potassium is good for stem and stalk strength, vigor and disease resistance.
Calcium is good for root formation.
Magnesium helps with the uptake of other elements.
Sulfur helps with protein formation and dark green color of plants.

Soil pH. The pH stands for potential Hydrogen:
Soil pH refers to the amount of hydrogen ions or acidity in the soil. As acid levels (Hydrogen ions) increase, soil pH decreases.The pH scale ranges from 0-14. Seven is neutral, <7 is acidic, >7 is alkaline. The average pH for Davidson County soil is 6.2, so our soil is on the acidic side, which is great if you are growing vegetables which prefer an acidic soil of 6 to 6.5. To increase the soil ph, you add lime. To decrease soil ph, you add sulfur. Plants need the pH to be correct so osmosis can occur at the cellular level allowing nutrients to travel from water into the plant.

Old Dirt

When my husband and I first got married, we lived in a third-floor walk-up on the top of Beacon Hill in Boston. We grew herbs in window boxes and tomatoes in buckets on the roof of the bow window of the unit below ours.  I’m sure when famed architect, Gridley J.F. Bryant designed our building in 1846, he did not intend for future residents to do this. God love our neighbor and building manager, Curtis Phelps for not putting the nix on our newlywed exuberance for gardening.
KellyGardeningPinckneyBoston judy pinckney garden boston

When we bought our first home in Nashville, we built a garden, using a reclaimed fence from our neighbors, the Bartholomews, and bricks for a pathway from our neighbors, the Robinsons. The chicken manure for the garden came from our friends, the Hudson’s chicken farm.
firstvegtablegardensneed firstvegtablegardensneed

New Dirt

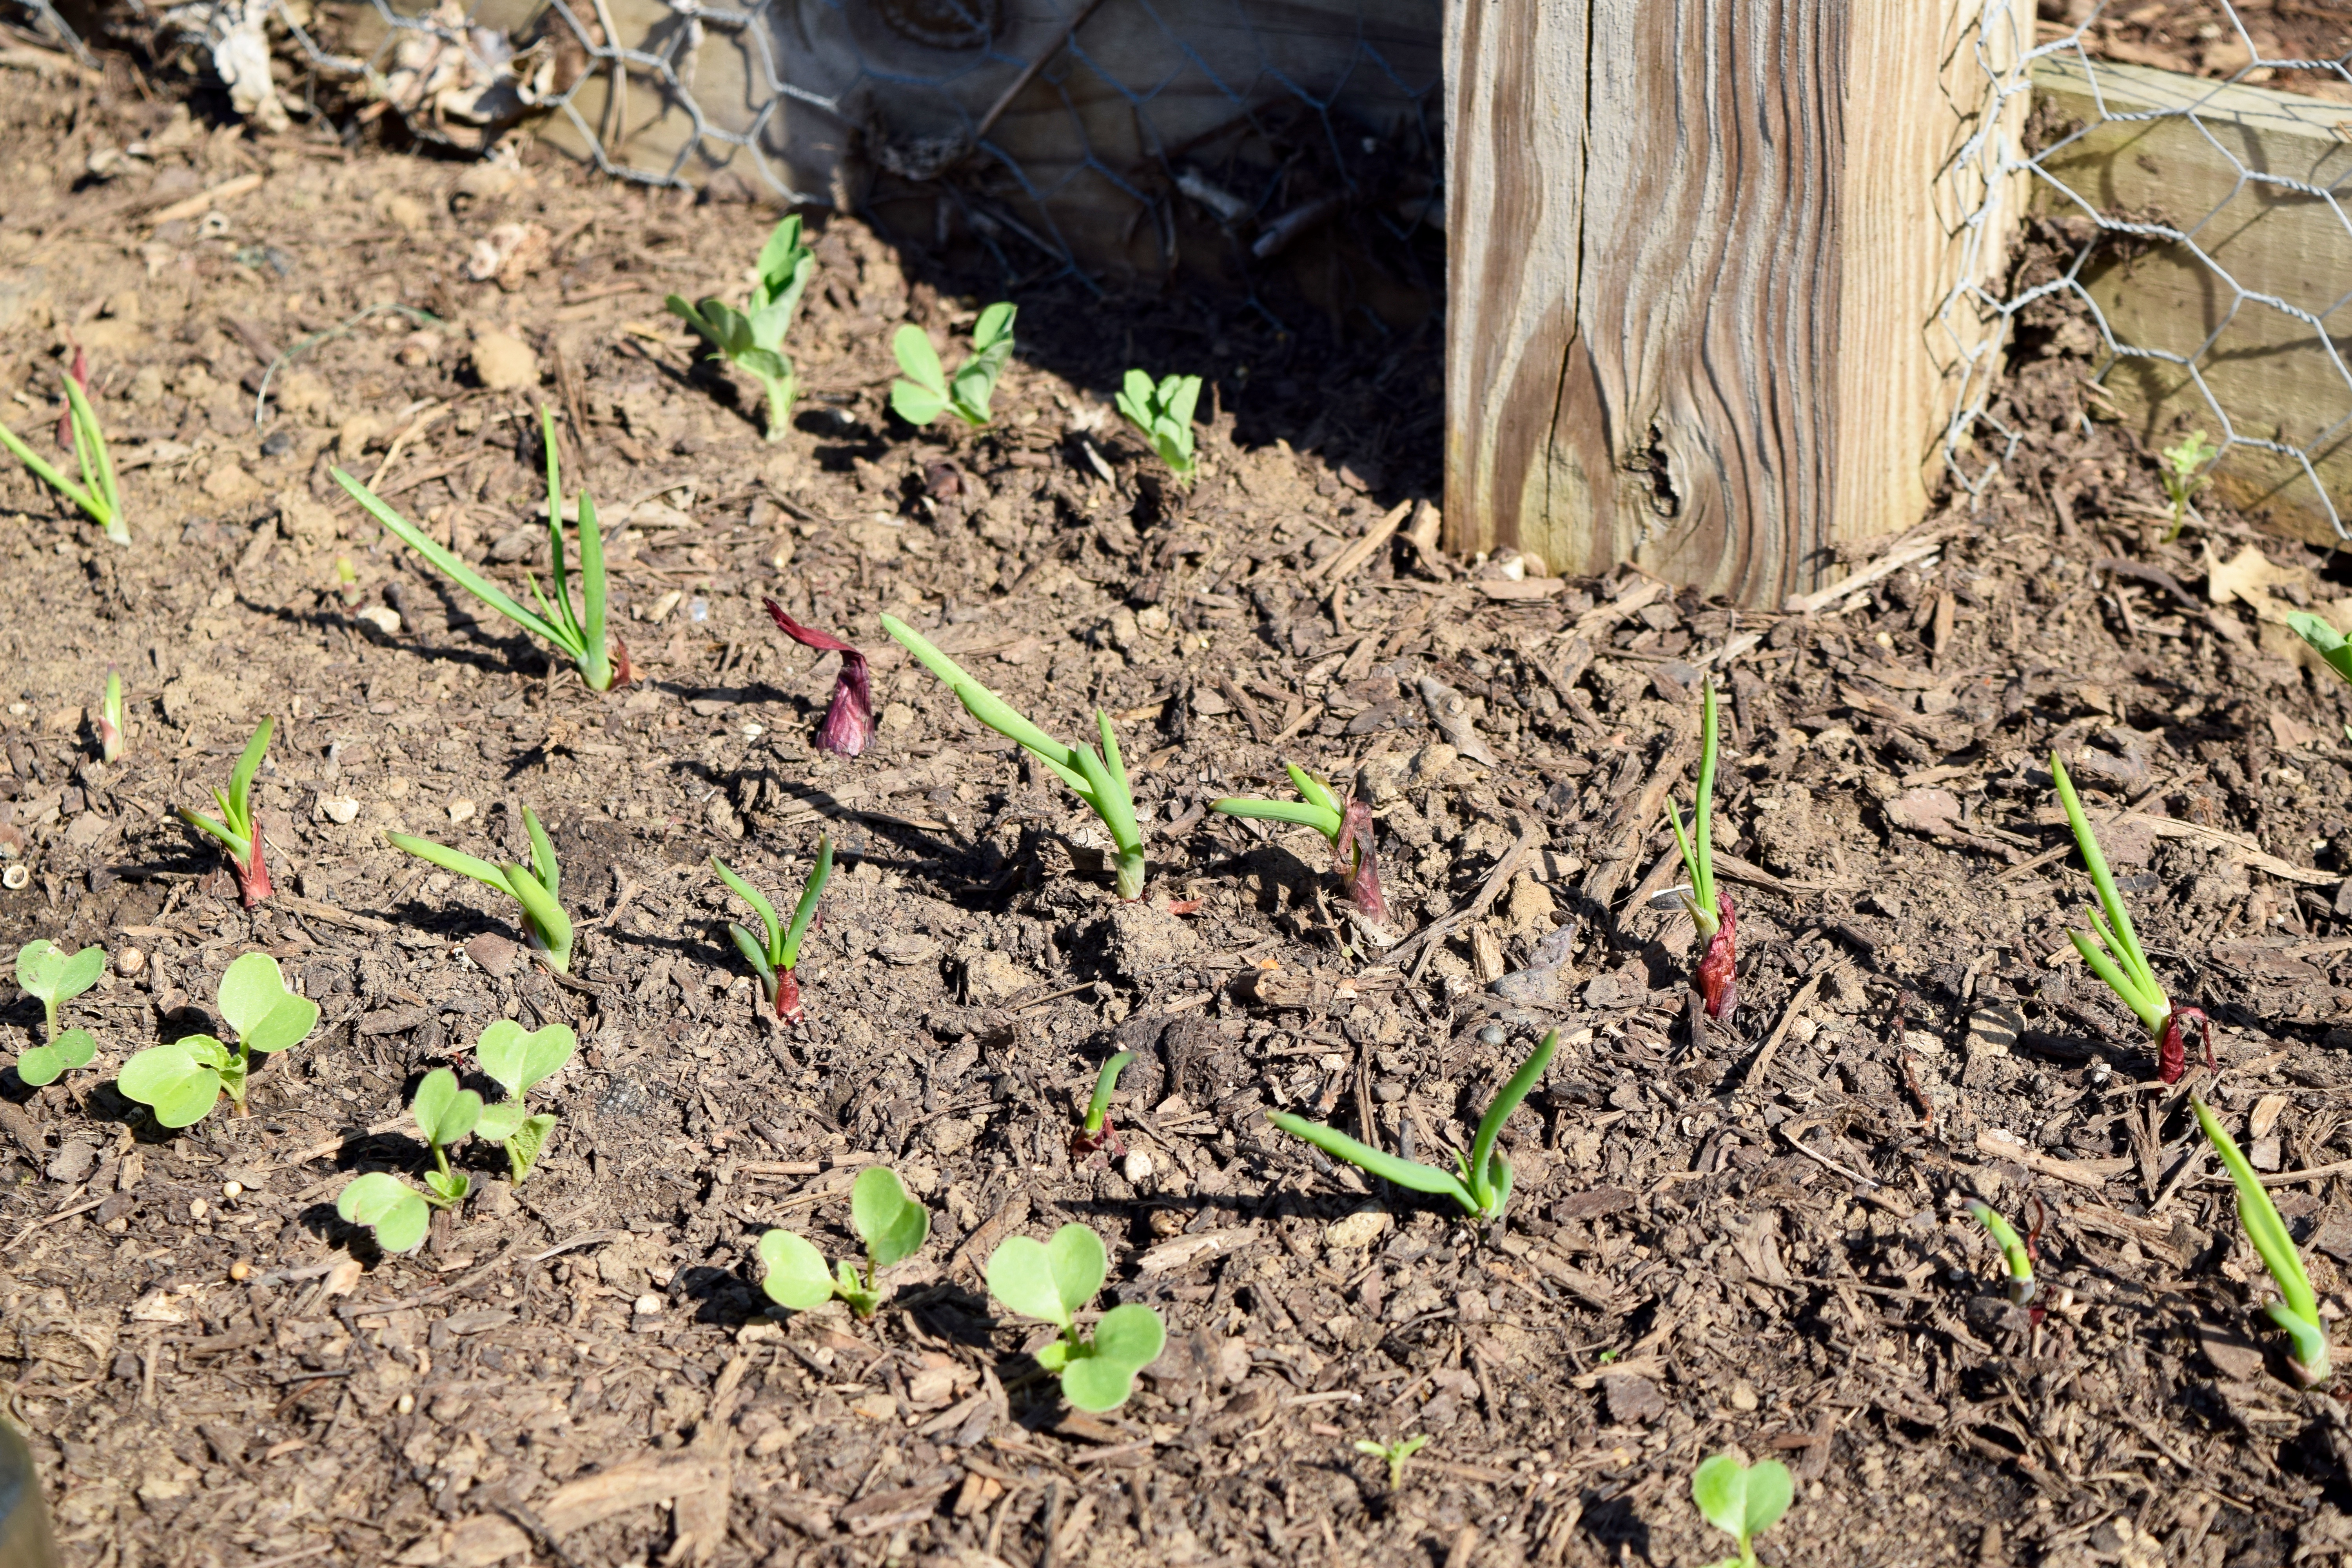
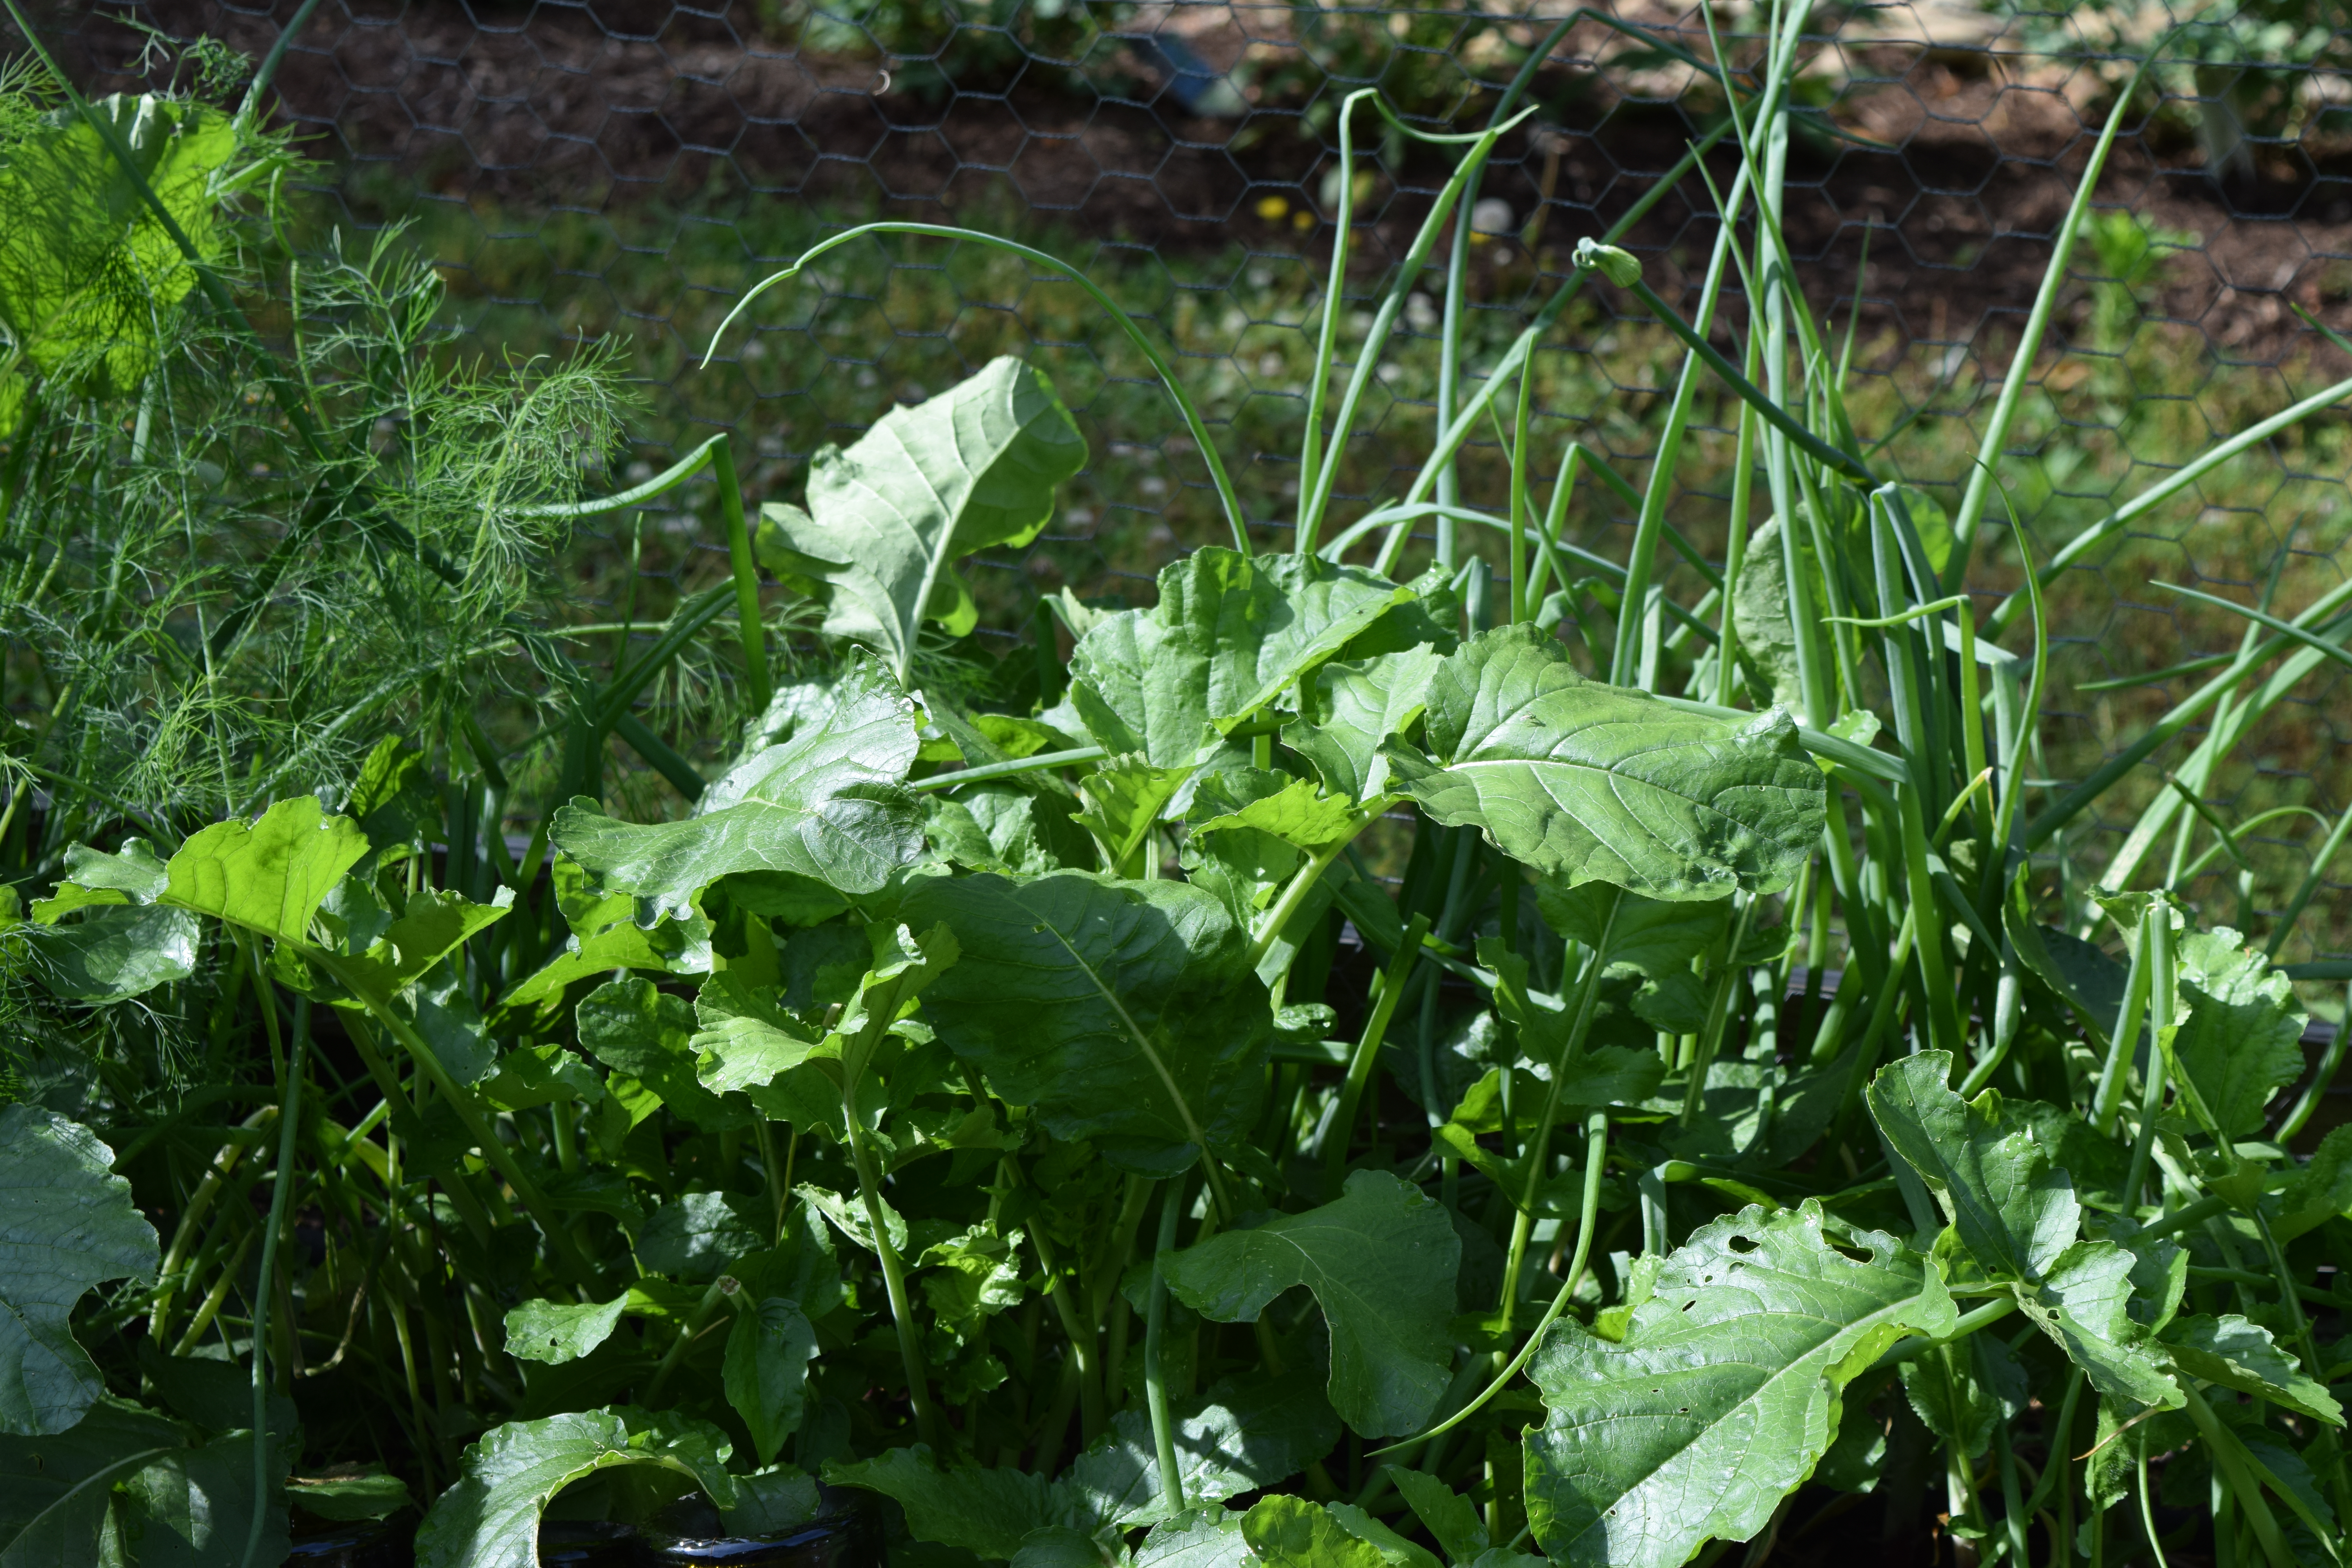
My garden beds are now ready to receive seeds and seedlings. The hardest work is done, and now it is time for the fun part: planting.
IMG_2105 DSC_0450
DSC_0404 DSC_0392

I think Gridley J.F. Bryant, having designed the overall grid-based street plan of Back Bay in Boston, would have at least approved of the orderliness of my vegetable gardens, if not the placement of tomato plants on his bow windows. As for my boys, now men, they’ve learned their Dad knows what he’s talking about and he’s their first text when they need advice. I, on the other hand, am the first person people call for family dirt.

Other Kitchen Garden Stories
Eulogy for a Chicken
Herb Porch Pots!
Spring Planting Guide for Your Kitchen Garden
Fall Planting Guide for Your Kitchen Garden
WWMD? A Bucket of Spring Veggies as a Centerpiece

LET’S STAY CONNECTED!

Follow my photos of vegetables growing, backyard chickens hanging out, and dinner preparations on Instagram at JudysChickens.

Never miss a post: sign up to become a follower of the Blog.

© 2014-2017 Judy Wright. All rights reserved. Photos and text may only be used with written consent.

Herb-Filled Porch Pots!

Do you like to cook with fresh herbs whenever possible? ✔︎

Do you need plants to fill your front entryway flower pots? ✔︎

Do you hate it when you buy fresh herbs, put them on the windowsill and slowly watch them wilt and die before you ever get to use them? ✔︎

Do you think purple flowers and green foliage are a gorgeous color combo? ✔︎

Me, too. Why not fill your front porch pots with cool weather herbs and pansies this spring?  They’ll be easy to water because of their proximity to your house, and they’ll make you happy every time you walk in or out the front door.

.

Ingredients for each flower pot:

1 arugula plant (for height)
1 rosemary plant
1 sage plant
1 oregano plant
1 parsley plant
1 cilantro or basil plant (spring: cilantro, summer: basil)
3 pansy or marigold plants (spring: pansy, summer: marigold)

Instructions:
Fill each flower pot with dirt. I put a 6-inch layer of foam packaging peanuts in the bottom of each pot. Arrange plants by putting the tallest in the center and the thin, floppy plants along the rim. This photo was taken March 1st

The temps dipped into the 20s one night, and I covered them. They survived just fine.

One year, it snowed on March 11th!

The pots flourished — April 12th.

I love the soft colors in this version.

And in this one, too.

When the plants start to get leggy, I move them to the herb garden. Typically, I move the pots away from the front of the house for the summer and bring them back out in November when I fill them with greenery.

Introducing the Summer Porch Pot as seen in Edible Nashville!

Doubles as a centerpiece!

Related Posts:
Spring Planting Guide for Your Kitchen Garden
Seed Starting in Recycled Milk Jugs @JudysChickens
How to Build a 4 x 4 Raised Garden Bed
Lemon Tree Very Pretty
Asteraceae: My Favorite Family of Pollinator Plants

LET’S STAY CONNECTED!

Follow my photos of vegetables growing, backyard chickens hanging out, and dinner preparations on Instagram @JudysChickens.

Never miss a post: sign up to become a follower of the Blog.

© 2014-2021 Judy Wright. All rights reserved. Photos and text may only be used with written consent.

Homemade Grape Jelly

I can’t believe I made GRAPE JELLY, that ubiquitous purple gooey staple of my youth.

DSC_0313

For Baby Boomers like me, long before we had five varieties of preserves in the refrigerator, we had one — Welch’s Grape Jelly. In the 1960s and 70s, my mother always had a two-pound jar of it in the cupboard and a five-pound tub of peanut butter. Every day, my brothers would come home from school, make two peanut butter and jelly sandwiches, add a stack of Oreos, place it all on a plate, and down it with a glass of milk — all as an afterschool snack. To this day, I can still visualize the sleeve of sliced bread collapsing as its contents were depleted within an hour of the boys coming home from school.

That memory got me wondering about PB&J sandwiches. You can read, A Brief History of the Peanut Butter and Jelly Sandwich HERE

Growing Grapes at Home

DSC_0002

Over the last 20 years, my husband has tried to grow grapes with only fair results. We often had a lot of foliage with very little fruit. About five years ago, he decided to get serious and built a trellis for the vines on the western end of our vegetable garden. We planted muscadine grapes, which we knew grew well in our area, and one lone purple grape, Champanel, similar to the Concord grape. This year, grape production from that one Champanel vine exploded.

March 15: Grapevines appear dormant.

vegetable gardening

April 12: First nodes, then buds appear on the vines as the outer leaf unfurls.

grape

April 30: Each green ball is a flower bud. The buds bloom into tiny white flowers that last one or two days before falling off and leaving the beginnings of individual grapes.

DSC_0770

grape

July 23: Almost ready to pick. I covered them with netting to keep the birds out.

IMG_1551

August 6: Harvest Day! Notice Marion, the Plymouth Bard Rock hen, eyeing the bowl of grapes on the ground. Chickens. Love. Grapes.

IMG_1664

We harvested eight pounds of grapes from that one plant. After washing and patting them dry, removing the stems, rotted fruit, and unripened grapes, we were left with about six pounds of edible grapes.

DSC_0198

Making Grape Jelly

All sweet jams and jellies are made essentially the same way. First, you simmer fruit to soften it and get it to release a naturally occurring gum-like “setting” agent known as pectin. Next, turn up the heat, add sugar, and bring the fruit juice to a rolling boil which evaporates some of the water, leaving a gelatinous substance we know as jelly.

Note: only use grapes that are sweet enough to eat! The only “fail” I have had with this recipe was to use grapes that looked ripe but hadn’t ripened to the point of tasting sweet off the vine. I was trying to beat the birds and harvested too early. I thought adding sugar would sweeten them, but the jelly tasted tart.

About Pectin

Different fruits have different amounts of pectin; crab apples have lots of pectin; grapes have very little. Thus, to get low-pectin varieties of fruit to set, you need to add pectin from another source. Otherwise, you end up overcooking the fruit’s good juices to get it to firm up. Additional pectin helps speed up the setting process.

The pluses of using pectin: Pectin helps jelly achieve a “set” quickly, resulting in a shorter cooking time, translating into a more intensely flavored jelly. Pectin helps the fruit’s color stay vibrant. Finally, using pectin results in a higher jelly yield because you boil it for a shorter time, allowing less evaporation of the fruit’s juices.

DSC_0335

Feel free to follow the directions on the pectin box, which calls for 3.5 pounds of cleaned grapes and 7 cups of sugar. You can buy grapes at the supermarket, too, by the way! Look for the darkest grapes you can find for the most intense flavor. You could also use 100% pure grape juice, but I have never tried that. I adjusted the recipe to fit the amount of grapes I harvested. I honestly had no idea if the proportion of grapes to sugar and pectin would work to achieve a set. I was thrilled when it did, and I have provided you with the exact amounts of ingredients I used for this batch.

My ingredients for 13 cups of jelly:

6.25 pounds of cleaned grapes which produced 7 cups of grape juice
9 cups sugar
1 box of pectin (1.75 ounce package)
1/2 teaspoon butter (to stop jelly from foaming while cooking.)

Instructions:

Before you start cooking, clean 16-ounce jelly jars in the dishwasher and have them ready to fill as soon as the jelly is finished cooking. You will also need new clean lids to heat-process the jars.

Pour grapes into a large pot. Do not add water.

DSC_0282

Using a potato masher, squish the grapes in the pot.

DSC_0284

Turn the heat on high. Grapes will release more juice as they are heated. Bring grapes to a gentle boil. Continue to simmer on low heat for 10 minutes.

Set up a sieve over a bowl and strain the juice. Here’s where I got lucky. I have had this vintage juice sieve in my basement for 10 years. I had picked it up at a yard sale because I thought it had nice lines. I had no idea about its specific purpose in the kitchen. When I saw cooks using it in jelly-making videos, I was thrilled to learn of its raison d’être and even more thrilled that I hadn’t konmaried it!

DSC_0006

Pour the crushed, cooked grapes through the juice sieve and swirl the dowel to push the juice through the holes.

DSC_0293

The seeds and skins remain in the well of the sieve and can be composted.

DSC_0297

Here’s an action video:

Error
This video doesn’t exist

The juice and pulp settle in the bowl.

DSC_0310

Take the juice and pour it back into the clean pot. Add butter and pectin and bring to a boil over high heat. Stir frequently.

When the jelly reaches the point of boiling rapidly, add the sugar and stir to dissolve. Nine cups seem like a lot of sugar, but that’s what it takes to get the jelly to achieve a good set. Boil rapidly for one minute, stirring constantly. Start timing when the juice returns to a rapid, rolling boil (a boil that doesn’t stop bubbling when stirred). After one minute, remove from heat.

DSC_0312

Ladle jelly immediately into prepared jars.

DSC_0004

Cover jars with clean lids. At this point, you may choose to place the sealed jars in a boiling water bath to preserve them through the process of pasteurization, or you can store them in the refrigerator unprocessed for immediate use. Since each of my jars was going to family and friends to be used right away, I didn’t bother to process them.

DSC_0326

IMG_1840 (1)

We prune our grapevines way back at the end of the season, leaving us with many long and winding grapevines. I stripped the leaves off and made grapevine wreaths. Now, I get why Martha does this kind of stuff. The long vines were begging to be made into something.

The final fall harvest from last year.

garden harvest before freeze

Early Fall Favorite Posts:
Baked Ziti with Roasted Eggplant, Mozzarella, and Marinara Sauce
Italian Sausage, Peppers, Onion, and Potato Sheet Pan Supper
Award Winning Buffalo Chicken Chili
Putting Your Garden to Bed with a Blanket of Cover Crops
Marion’s Crazy Good Pumpkin Bread with Chocolate Chips
Mrs. Walker’s Cranberry Nut Pie
How Local Canola Crops are Grown

LET’S STAY CONNECTED!

Follow my photos of vegetables growing, backyard chickens hanging out, and dinner preparations on Instagram at JudysChickens.

Never miss a post: sign up to become a follower of the Blog.

© 2014-2023 Judy Wright. All rights reserved. Photos and text may only be used with written consent.

Spring Planting Guide for Your Kitchen Garden

A hot pink and green salad. Mother Nature is a creative genius.
DSC_0342This is a close up of the salad we had for dinner this week. We call it the Lily Pulitzer Salad. Every part of it came out of our garden: lettuce, radishes, pea pods, dill, green onions, and tasty radish flowers. I am beaming with delight! To think, these vegetables all started as SEEDS that grew in DIRT, and now they’ve become something delicious, nutritious, and gorgeous! #whywedoit

Here is the newly seeded front garden on Sunday, March 15th.
DSC_0042

Here it is ten weeks later.
DSC_0451

This garden space is 20 by 30 feet. The fence was made using a roll of four-foot chicken-wire framed by wooden posts. Eighteen-inches in from the fencing, I “planted” a necklace of recycled upside-down wine bottles to separate the planting space from the footpath. Because this garden space is never walked on, there is no soil compaction, thus no need for tilling. I reserve the center of the garden for summer crops.

The first vegetable I plant is always peas. I plant them sometime between Valentine’s Day and March 15th, depending on the weather. A few weeks before planting, I invite the chickens inside to scratch up the dirt as they look for bugs (tilling), eat the CHICKweed (weeding), and leave their nutrient-rich poop (fertilizer) — a free-for-all for them and a bonanza for me!
Veg garden

To prepare the necklace for planting, I use a pitchfork to lightly aerate the soil, trying to not disturb old roots and worms who do the bulk of the work of loosening the soil during the winter.
DSC_0528

Next, I plant peas along the fence for support, spring onion sets in the middle, and one row of radishes next to the bottles. I was careful to space the radish seeds four inches apart for better root formation this season. I planted many different varieties of radishes.

March 15th

March 30th

April 17th

April 30th

Here is What I Planted Inside the Front Necklace Garden:

Sugar Ann Peas
There is an old gardening tradition that says to plant your peas on Valentine’s Day. That is always the goal, but seldom the reality. This year was no exception. In fact, we were iced-in for most of February, and I didn’t get to plant anything until mid-March. This may be the reason my Sugar Ann peas failed so miserably. The other reason is they probably got crowded out by the quick growth of the onions and radishes in front of them. Next year, I may start the peas two weeks earlier than the onions and radishes or soak the peas before planting for quicker germination.

I typically plant two varieties of peas: a sugar snap and a snow pea. They grow in the same way. And both need vine support.

May 21

Sugar Snaps are an edible-podded cultivar that have plump peas inside. They are a cross between shelling English peas and snow peas. They are super sweet and hardly ever make it to the kitchen.

vegetable gardens vegetable gardening

Snow peas also have flat edible pods and are not as sweet as snap peas.

5:28meltingsugar

They are often used in Asian cooking. Look for a “stringless” variety. The chickens love pea plants and often eat whatever pokes out of the fencing.


Spring Onions (aka Scallions or Green Onions)
Sets planted 3/15. Harvest started six weeks later and is ongoing. I plant the purple variety because I love the color, and you can’t find them in a grocery store. I planted 200 sets this year; I cannot get enough of spring onions.

For more information on growing spring onions, radishes, and turnips, go to my blog post, Urban Farming Part 1: Fall Planting.

“Easter Egg” Radishes
Seeds planted 3/15. 30 days to maturity. Started harvesting on 4/17. Sweet, mild, crispy, and colorful. Flowers and leaves are edible.

spring garden

“Red Meat” Radish (aka “Watermelon” Radish)
Planted 3/15. 50 days to maturity. Started harvesting on May 18. Crisp, have more of a bite, and have a beautiful hot pink color inside. Their leaves and flowers are edible, too.

Cauliflower and Broccoli
On each end of the rectangular garden, I planted cauliflower and broccoli seedlings. Both crops were a failure. Something ate all the leaves within one week of planting. Every spring, I swear I will not grow these two vegetables, and every year I cave when I see them at the garden center. I remember the glory days when I grew gorgeous broccoli plants but forget about the pesticides I used to keep insects away. Now that I have free-range chickens, I do not use any insecticides (or herbicides) in my backyard. I often joke that my hens keep me honest whenever I get tempted.

Here is What I Planted in the Back Raised Bed Garden:

“Premier Blend” Kale
Seeds planted March 23. Days to maturity: 28 baby-size, 55 bunching. Harvesting began in late April.
IMG_0607

“Bright Lights” Swiss Chard
Seeds planted 3/23. Days to maturity: 28 baby-size, 55 bunching. Harvesting began 5/26
IMG_0588

“Hakurei Hybrid” Turnips
Seeds planted 3/23. Days to maturity: 38. Harvesting began 5/26

These small, white, crisp, sweetish turnips have been the tastiest surprise of all the vegetables growing in my garden. When sliced, they can be used as low-cal scoops for dips like hummus. As with other turnip varieties (and radishes), you can cook the greens. I like to sauté them with green onions and garlic in olive oil.

Beets 
Planted as seedlings 4/2. Days to maturity 55. I haven’t started harvesting the beets yet because they are still small. I have, however, been harvesting the beet greens. I should have separated the seedlings when I first planted them for better root ball formation. New gardening rule: all plants with edible roots need to be planted with sufficient space around them for root ball formation!
DSC_0447

“Red Norland” and “Yukon Gold” Seed Potatoes
Sets planted 3/16. Harvesting began 5/26.  To prep seed potatoes for planting, slice the potatoes into 2″ chunks with 1-2 “eyes” each. This is called “chitting.”

vegetable gardening

Allow to dry out for a couple of days to form calluses to help prevent sets from rotting in the soil.

vegetable gardening

When the potato leaves turn yellow, it’s time to harvest, but you can start digging for “new potatoes” long before that.

April 4th

May 19th
garden 5/19

May 25th
IMG_0585

Every bit of this colorful food was harvested on April 17th!

DSC_0504

Related Articles:
Seed Starting in Recycled Milk Jugs @judyschickens
How to Build a 4 x 4 Raised Garden Bed
Spring Porch Pots!
Morning Rounds in the Garden, April
Morning Rounds in the Garden, May
Fall Planting Guide for Your Kitchen Garden
WWMD? A Bucket of Spring Veggies as a Centerpiece
Edible Landscaping with Nashville Foodscapes

LET’S STAY CONNECTED!

Follow Judy’s Chickens on Instagram and Pinterest @JudysChickens.

If you enjoyed this post, consider becoming a follower. Be sure to press “confirm” on the follow-up letter sent to your email address.

© 2014-2021 Judy Wright. All rights reserved. Photos, videos, and text may not be reproduced without the written consent of Judy Wright.