This Mother Hen whose children have flown the coop has been madder than a wet hen lately. While I might wish to wring a few necks down at the State House, I’ve opted instead to shake some tail feathers and head on downtown with my birds of a feather mom-friends to ruffle a few feathers (non-violent protests) and hopefully assuage my feelings of intense grief, anger, and disbelief over the events of the last few weeks here in Nashville.
Chicken Idioms
How have chicken idioms become such a widespread reflection of everyday moments of craziness, hardship, joy, and humor? Although backyard chicken husbandry has been around for centuries, it took a giant leap forward during WWI and WW2 when the Department of Agriculture asked Americans to keep two hens per household member per family as a civic duty.
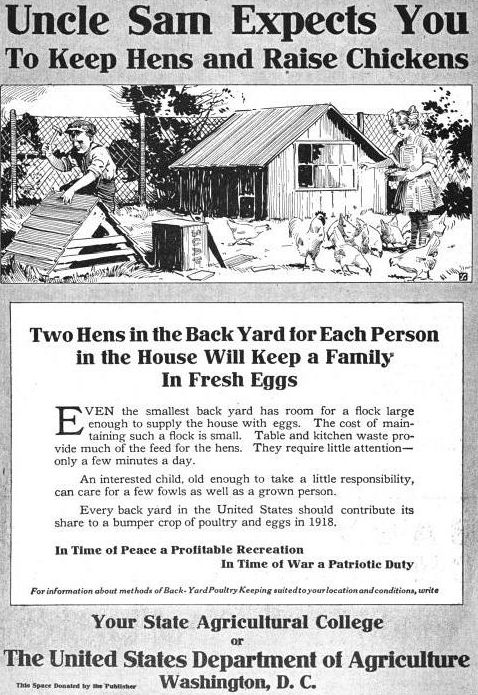
Citizens responded, and suddenly, grandmothers around the country were telling their grandchildren to stop all that cackling and get to sleep or to not count their chickens before they hatch. Chickens are fun to watch and have about ten behaviors they repeat daily. Using chicken idioms became a colorful way to describe human behavior and teach life lessons.
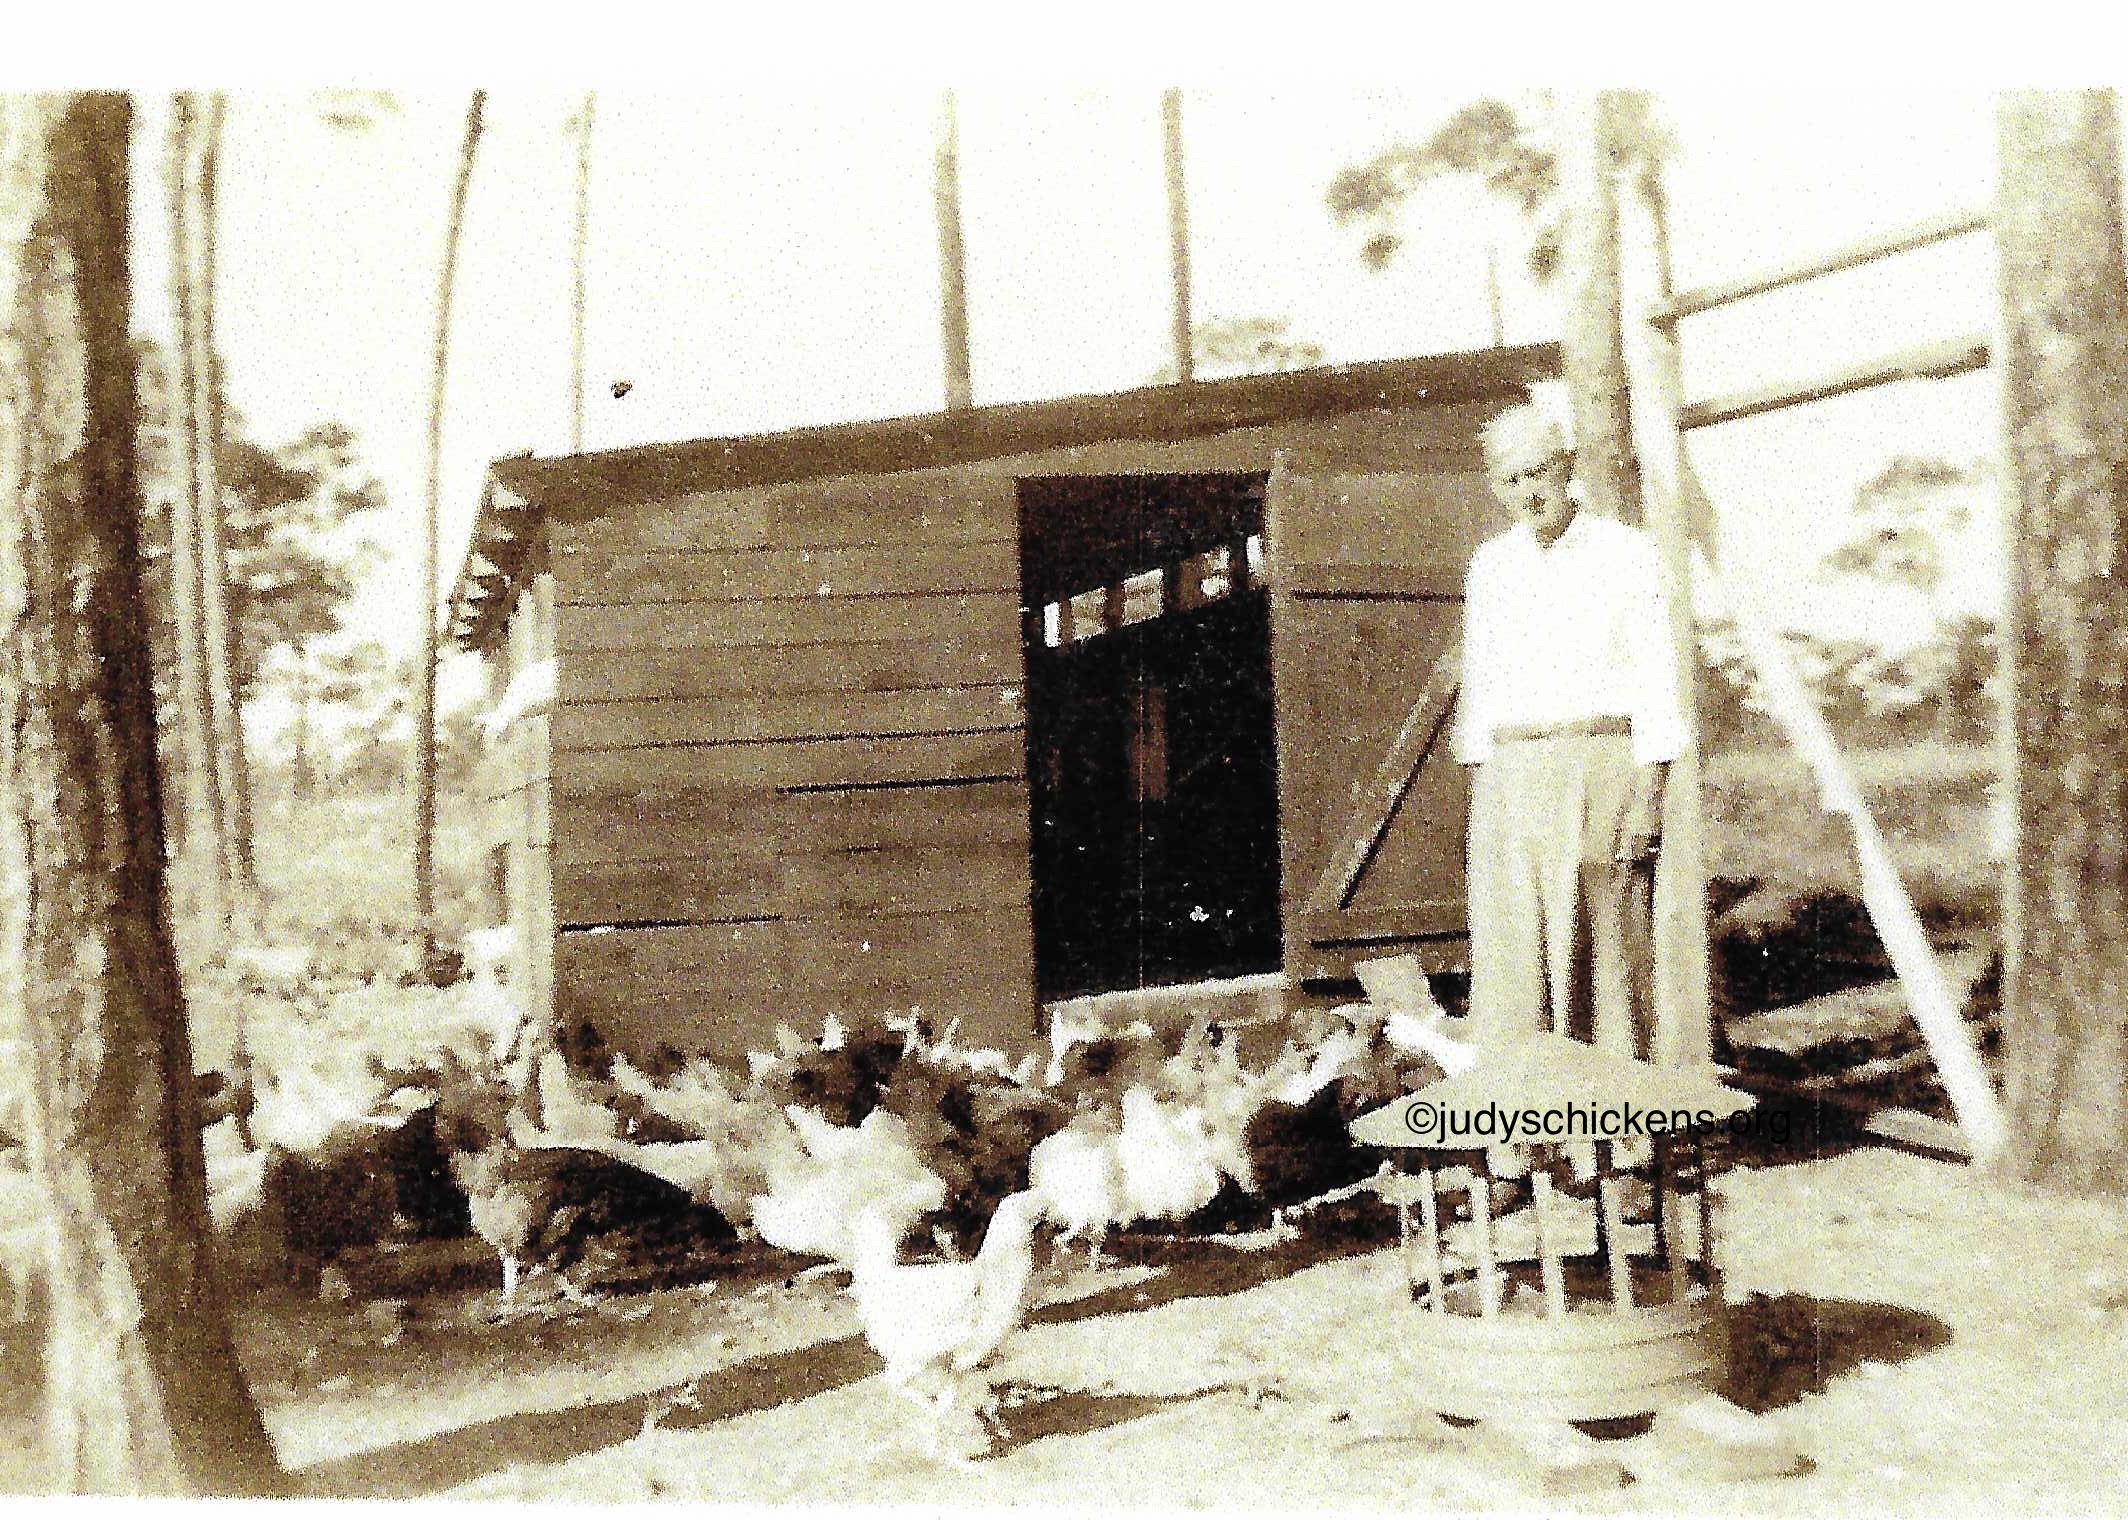
My friend Joanne Knight sent me these photos of her grandparents’ backyard chicken coop and flock during WW2.
About ten years ago, songwriter and mindfulness educator, Ginger Sands, sent me a list of chicken idioms. My husband and I have been adding to it for years. Here is our list. Add to it as you wish!
Chicken Behavior:

Birds of a feather flock together
Pecking order (social hierarchy based on who has access to good things first)
Wring your neck
Ruffle someone’s feathers.
Run around like a chicken with its head cut off
The feathers were flying
Get up with the chickens (get up early)
Madder than a wet hen
Winner winner chicken dinner
Scratching out a living
Shake some tail feathers (get moving)
Chickening out
The early chicken gets the worm
Stop cackling (the raucous noise a hen makes after laying an egg)
Eggs
Good egg
Bad or rotten egg (one rotten egg can spoil the batter)
Golden egg
Nest egg
Walking on eggshells
Egg on your face
The yolks on you
Laid an egg (failed miserably)
Egg someone on
Hens

Mother hen
Henpecked
Scarce as hen’s teeth (hens don’t have teeth)
Hen party at the hen house
Chicken chat
Chick flick
Playing chicken (often dangerous, it’s a challenge of who will give in first)
Chicken fight (a wrestling game)
Doing the “Funky Chicken” (a dance)
Nobody here but us chickens
Hen Chicks (Hat tip to writer, Carrington Fox, for our group’s name and the word “Hensplaining!)
Roosters

Cocky
Cock and bull story (improbable)
Cock of the walk (a bossy person)
Cockfight
Something to crow about (to brag)
Nests/Coops/Roosts

Feeling cooped up
Empty nest syndrome
Nesting (making a home)
Leave the nest
Flew the coop
Coming home to roost (come home to deal with the consequences)
Rules the roost (Who’s in charge?)
Broody (when a hen sits on a clutch of eggs and does nothing else for days)
Fox guarding a henhouse (an action that invites disaster)
Feather one’s nest (broody hens pluck their own feathers to soften their nest)
Henhouse syndrome (when predators kill more than they need)
Insults

Being chicken (cowardly)
Chicken-hearted
chicken-livered
Chicken s**t
She’s no spring chicken (baby chicks hatch in spring)
That’s chicken feed (insignificant or cheap)
Can’t boil an egg (can’t cook at all)
Dumb cluck
Fussing like an old hen
Chicken Little (an alarmist)
Rubber chicken circuit (a monotonous round of dinners)
Questionable Behavior

Playing chicken (often dangerous, it’s a challenge of who will give in first)
Chicken fight (a wrestling game)
Doing the “Funky Chicken” (a dance)
Nobody here but us chickens
Philosophy and Proverbs
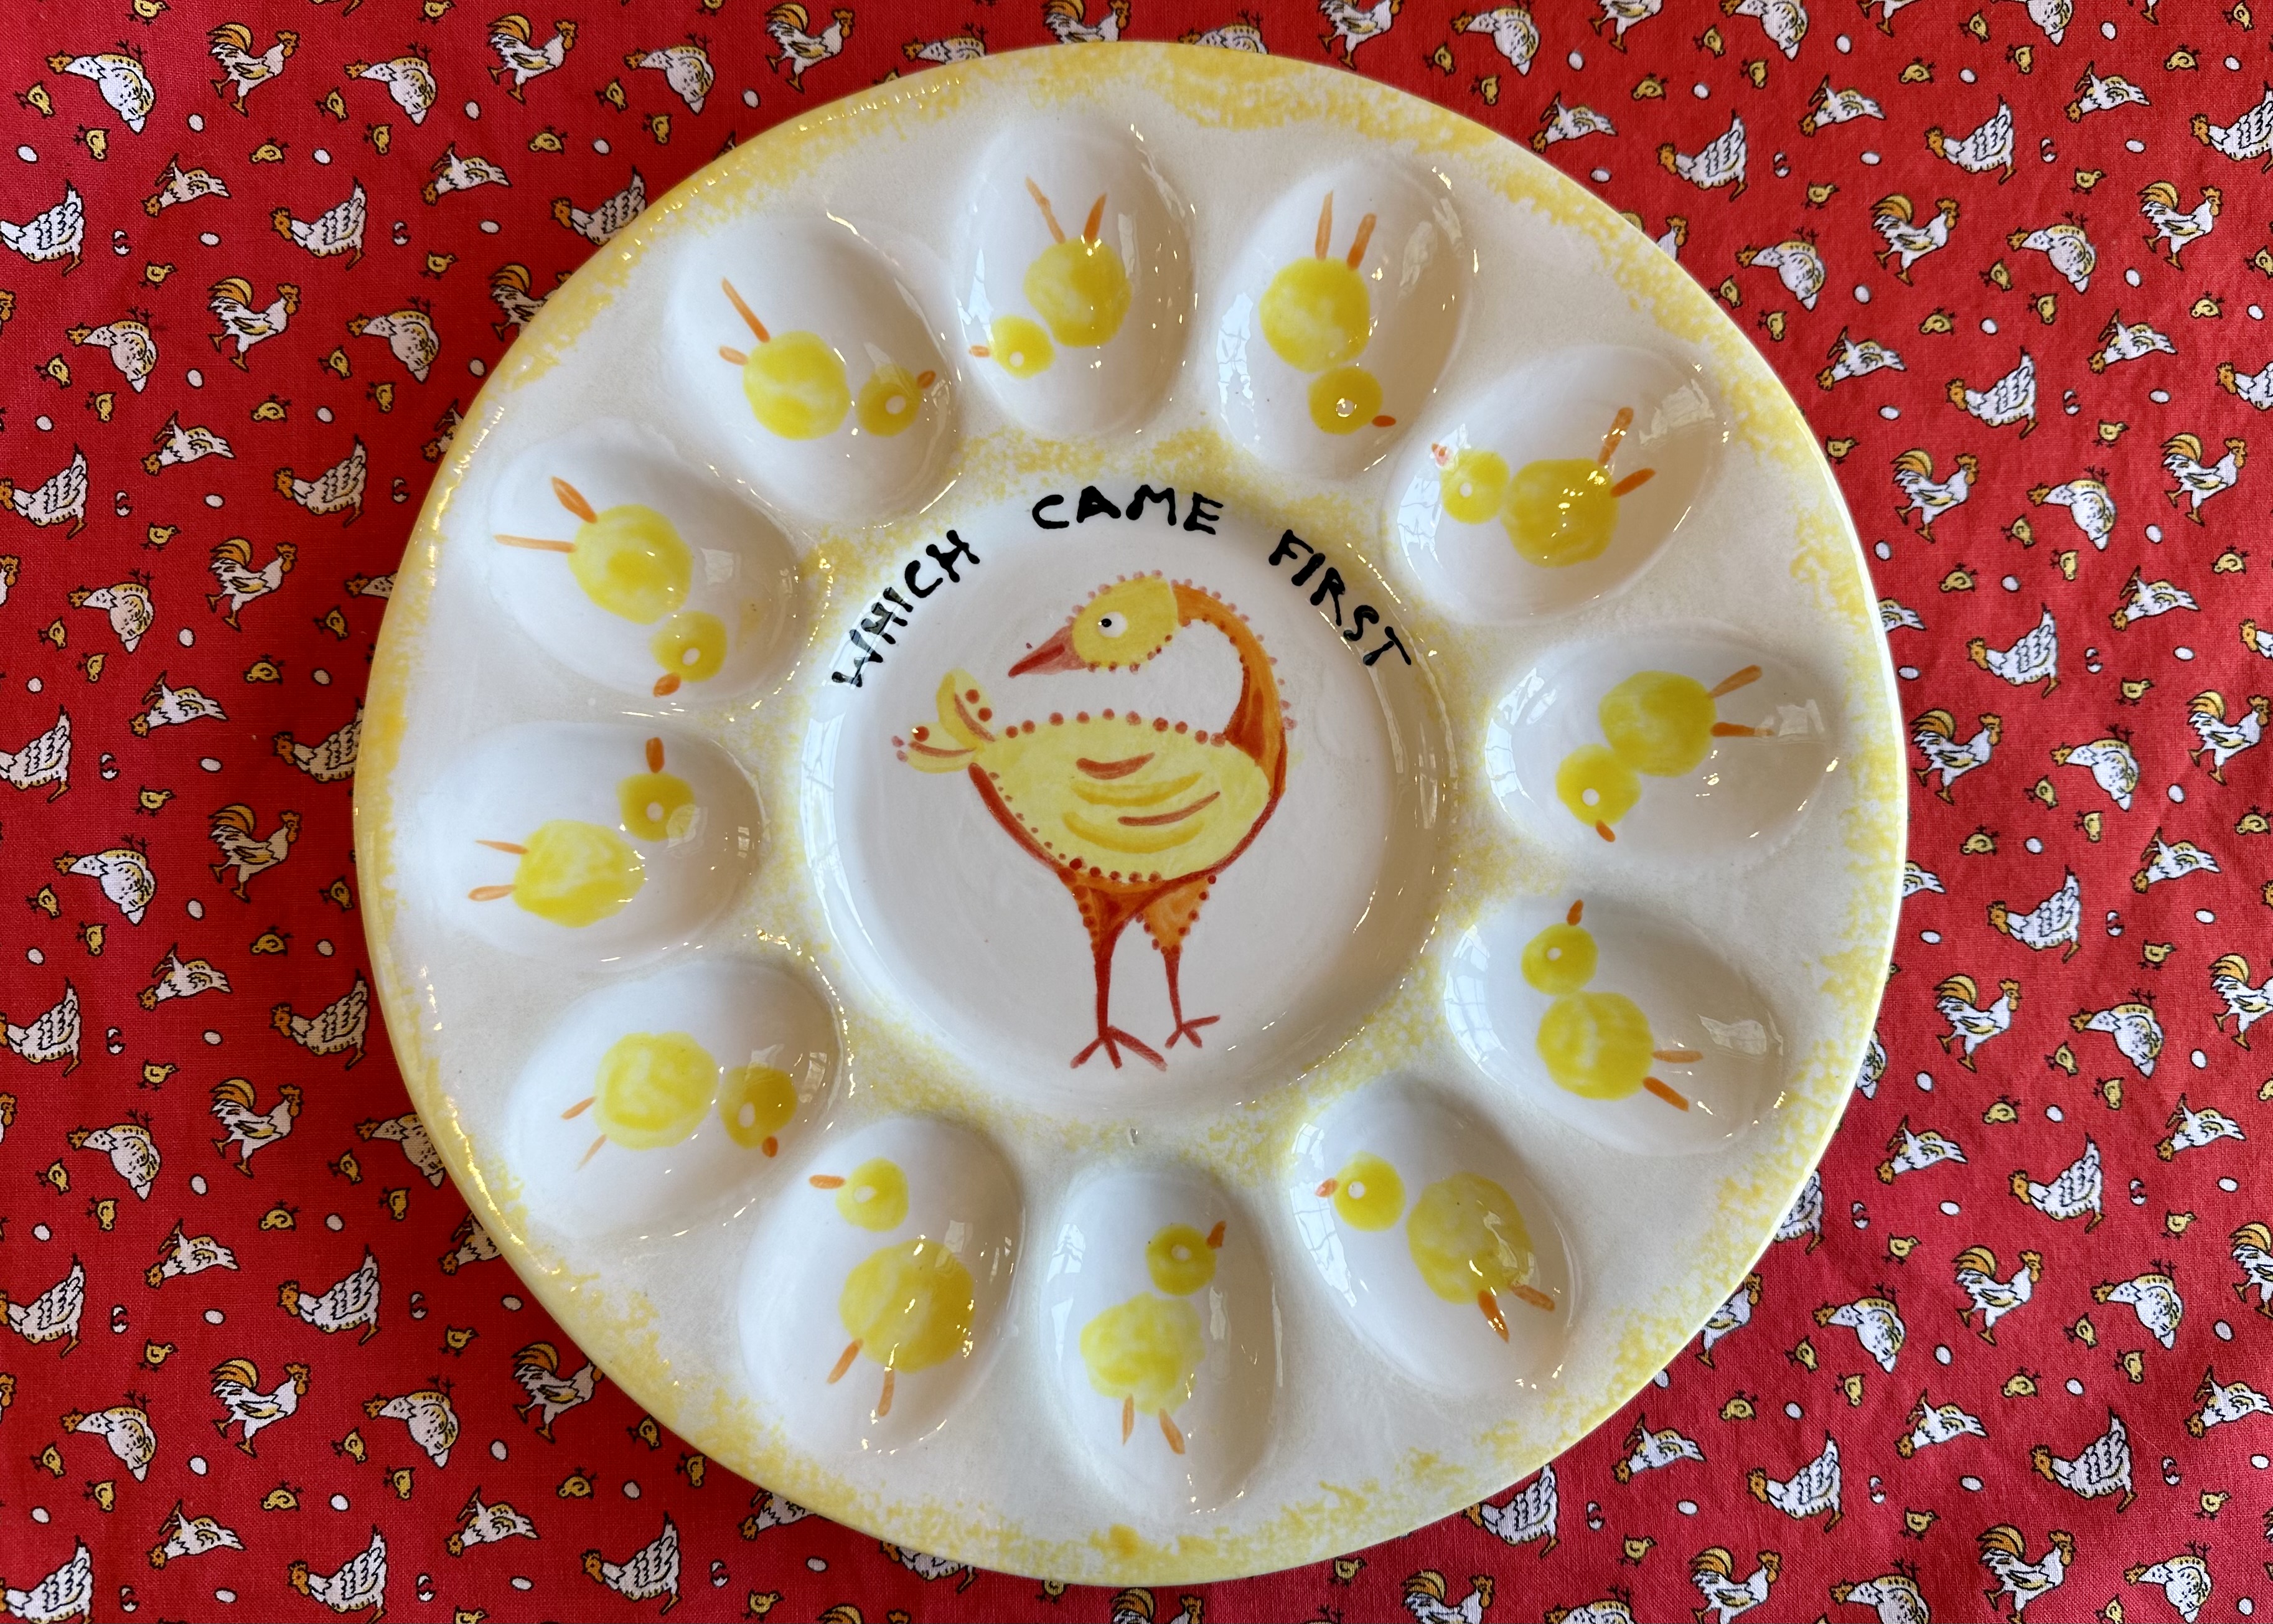
Which came first, the chicken or the egg? (Corabel Shofner created the plate!)
“It’s a chicken and egg problem.”
Don’t put all your eggs in one basket
Don’t count your chickens before they hatch
A chicken in every pot (suggestive of prosperity)
The rooster may crow, but the hen delivers the eggs
You cannot make an omelet without breaking eggs.
He that would have eggs must endure the cackling of hens
Thinking about keeping chickens in your backyard?
Watch this episode of Nashville Public Television’s Volunteer Gardener:

For Related Chicken Posts:
Eulogy for a Chicken
Chicken Chat on Facebook LIVE!
How to Tell If an Egg Is Fresh or Hard-Boiled
Quiche Lorraine with Bacon and Kale
50 Ways to Make a Frittata
Follow Judy’s Chickens on Instagram and Pinterest @JudysChickens.
If you enjoyed this post, sign up to become a follower. If you do sign-up, press “confirm” on the follow-up letter sent to your email address. And feel free to share!!
© 2014-2023 Judy Wright. All rights reserved. Photos, videos, and text may not be reproduced without the written consent of Judy Wright.