My Kids’ Favorite Sautéed Carrots

Carrots are naturally sweet, have glorious color, and are tasty raw or cooked. What more could you ask for in a vegetable? More often than not, I use carrots as an aromatic to build layers of flavor into stews and soups, but if I’m going to serve them as a side dish, this is how I prepare them. While not necessary, adding the tablespoon of sugar or honey at the end will enhance the natural sweetness of the carrots.  The red wine vinegar provides the acidic bite. Together, the sugar and vinegar, create a sweet and sour taste that makes these carrots addictive!

Ingredients:
DSC_0805

3 pounds carrots (weight before prepping)
1 pound sweet onions, thinly sliced
3 tablespoons extra virgin olive oil
2 tablespoons butter
½ teaspoon sea salt
2 tablespoons red wine vinegar
2 tablespoon sugar or honey

Mise en Place:
DSC_0858

Instructions:

Prep the vegetables:

Wash, peel and remove the root end from each carrot. Slice carrots about ¼-inch thick.
DSC_0828

Wash, peel and remove the root end from each onion. Slice thinly. I do it all the slicing in a food processor.
DSC_0842

Food processor blade care:

I’m terrified of sharp blades, especially this one from the food processor.
DSC_0821 DSC_0848

I once cut myself while handling it and still shudder whenever I think about that cut. It is the reason I am meticulous about how I store the blade. I always place the red “danger” label over it  and store it in its own plastic bag.
DSC_0813 DSC_0815

Cook the vegetables:

Coat the bottom of a deep 12-inch sauté pan with olive oil and butter. Heat until hot but not smoking and add carrots and onions. Mix.
DSC_0860

Sauté covered for 30 minutes, stirring every five minutes. When done cooking, add salt, vinegar, and a little sugar and mix well. Let rest for 15 minutes in the pan to allow flavors to meld. Stir and serve.
DSC_0875

These carrots are good served hot, at room temperature, or cold.

Kids will love them. I promise.

DSC_0908

LET’S STAY CONNECTED!

Follow my photos of vegetables growing, backyard chickens hanging out, and dinner preparations on Instagram at JudysChickens.

Never miss a post: sign up to become a follower of the Blog.

© 2014-2019 Judy Wright. All rights reserved. Photos and text may only be used with written consent.

Auntie Terry’s Italian Fried Cauliflower

“Granddaddy ate them by the bucketful,” said his daughter, Rachelle.  I know for a fact that my Mom’s cousins, Mary Lou, Angela, Phil, Jeannie, and Paula, will be making them on Christmas Eve. I have wonderful memories of going to my Auntie Terry’s house on holidays and eating them. I’m talking about fried cauliflower. We are a family that loves fried cauliflower and fried celery, broccoli, and carduna if we are lucky enough to find it.

This is a family favorite. When my children gush over something I’ve made and then ask how to make it, I know it is time to blog it. I want the next generation to learn how to make the family favorites.

Here is my grandmother’s recipe given to me by Mom’s sister, Auntie Terry.

Yield: 18 Fried Cauliflower Patties

Ingredients:
DSC_0385
1 head cauliflower
6 large eggs
1 teaspoon sea salt
½ teaspoon ground pepper
1 teaspoon baking powder
2 teaspoons minced garlic
¼ cup chopped parsley (or 2 tablespoons each, parsley and basil)
3/4 cup (3½ ounces) grated Parmigiano-Reggiano or Romano
¾ cup all-purpose flour
½ olive oil mixed with ½ canola oil for frying
Lemon slices (optional)

Mise en Place:
DSC_0431

Prep the Cauliflower for Cooking:
DSC_0337

Cut cauliflower into half-inch slices. Cut out the center stem. This will leave you with many small, sliced florets.
DSC_0338 DSC_0339

Blanch Cauliflower:
Fill a medium-large pot with 3 quarts of hot water. Add 2 tablespoons of salt. Bring to a boil. Add florets and bring to a rolling boil. Allow to boil vigorously for 1½ minutes.
DSC_0340

Remove florets from heat and drain through a colander. Leave florets in the colander and cover. Allow to steam, covered, for at least five minutes. The beauty of this method of cooking the florets is they will be uniformly cooked and not mushy or waterlogged.
DSC_0393

Prepare the Egg Batter:
First, add eggs to a mixing bowl and beat. Add everything else but the flour and mix for about 30 seconds.
DSC_0432

Add flour and mix for about 15 seconds more. The reason to add the flour last is you don’t want to “awaken” the flour’s gluten by mixing it too much.
DSC_0435

Add cooked and cooled cauliflower to the egg mixture and gently stir with a spatula until the cauliflower is well coated.
DSC_0440

Fill a 12-inch sauté pan with about one cup of olive oil. You will be sautéing the vegetables, not deep-frying them. Set the heating temperature to medium. Let oil heat for a few minutes. Do not let the oil get smoking hot.

How to Test for Correct Oil Temperature
The best way to test if the oil is hot enough is to dribble batter into it. If the batter sizzles, the oil is hot enough. If the batter immediately turns brown, it is too hot. In that case, remove the pan from heat and let the oil cool down some.
DSC_0415 DSC_0416

If the oil is too hot, the patties’ interior will remain doughy while the exterior turns crisp. If the temperature isn’t hot enough, the batter will become like a sponge, sop up the oil, and the patties will taste bland. Plan on the patties cooking for a total of four to five minutes.
DSC_0444 DSC_0447

Remove cauliflower from pan with a slotted spoon. I tap the spoon against the inside edge of the pan to release as much oil as possible. Drain cauliflower on paper towels. This recipe makes three batches of six cauliflower patties.
DSC_0367

Serve hot, warm, or cold. They are amazing at any temperature. When they are still warm, I like to squeeze lemon juice on each one before I eat it. I think it catapults the flavor to another level of deliciousness!
DSC_0505

My relatives, who have made these for a lifetime, have assured me there will come a time when I will be able to make the batter without measuring it, as they do. Paula gave me the best advice about the consistency of the batter: “the batter should be thick enough to coat the cauliflower and still allow it to run off slowly like pancake batter would.” She also starts off each batch by frying a little of the batter (without cauliflower) to taste test if she’s gotten the batter’s seasonings correct since she makes her batter with Bisquick and without measuring the ingredients.

A photo of my grandparents. Grandma made all of her aprons.

Hollywood fl ? date

Other yummy veggies:
Roasted Ratatouille
Cauliflower Three Ways: Roasted, Blanched and Mashed
Roasted Butternut Squash, Brussels Sprouts, and Cranberries
Amazingly Delicious Sautéed Carrots
Roasted Spaghetti Squash with Asparagus and Chicken

LET’S STAY CONNECTED!

Follow my photos of vegetables growing, backyard chickens hanging out, and dinner preparations on Instagram at JudysChickens.

Never miss a post: sign up to become a follower of the Blog.

© 2014-2020 Judy Wright. All rights reserved. Photos and text may only be used with written consent.

50 Ways to Make a Frittata

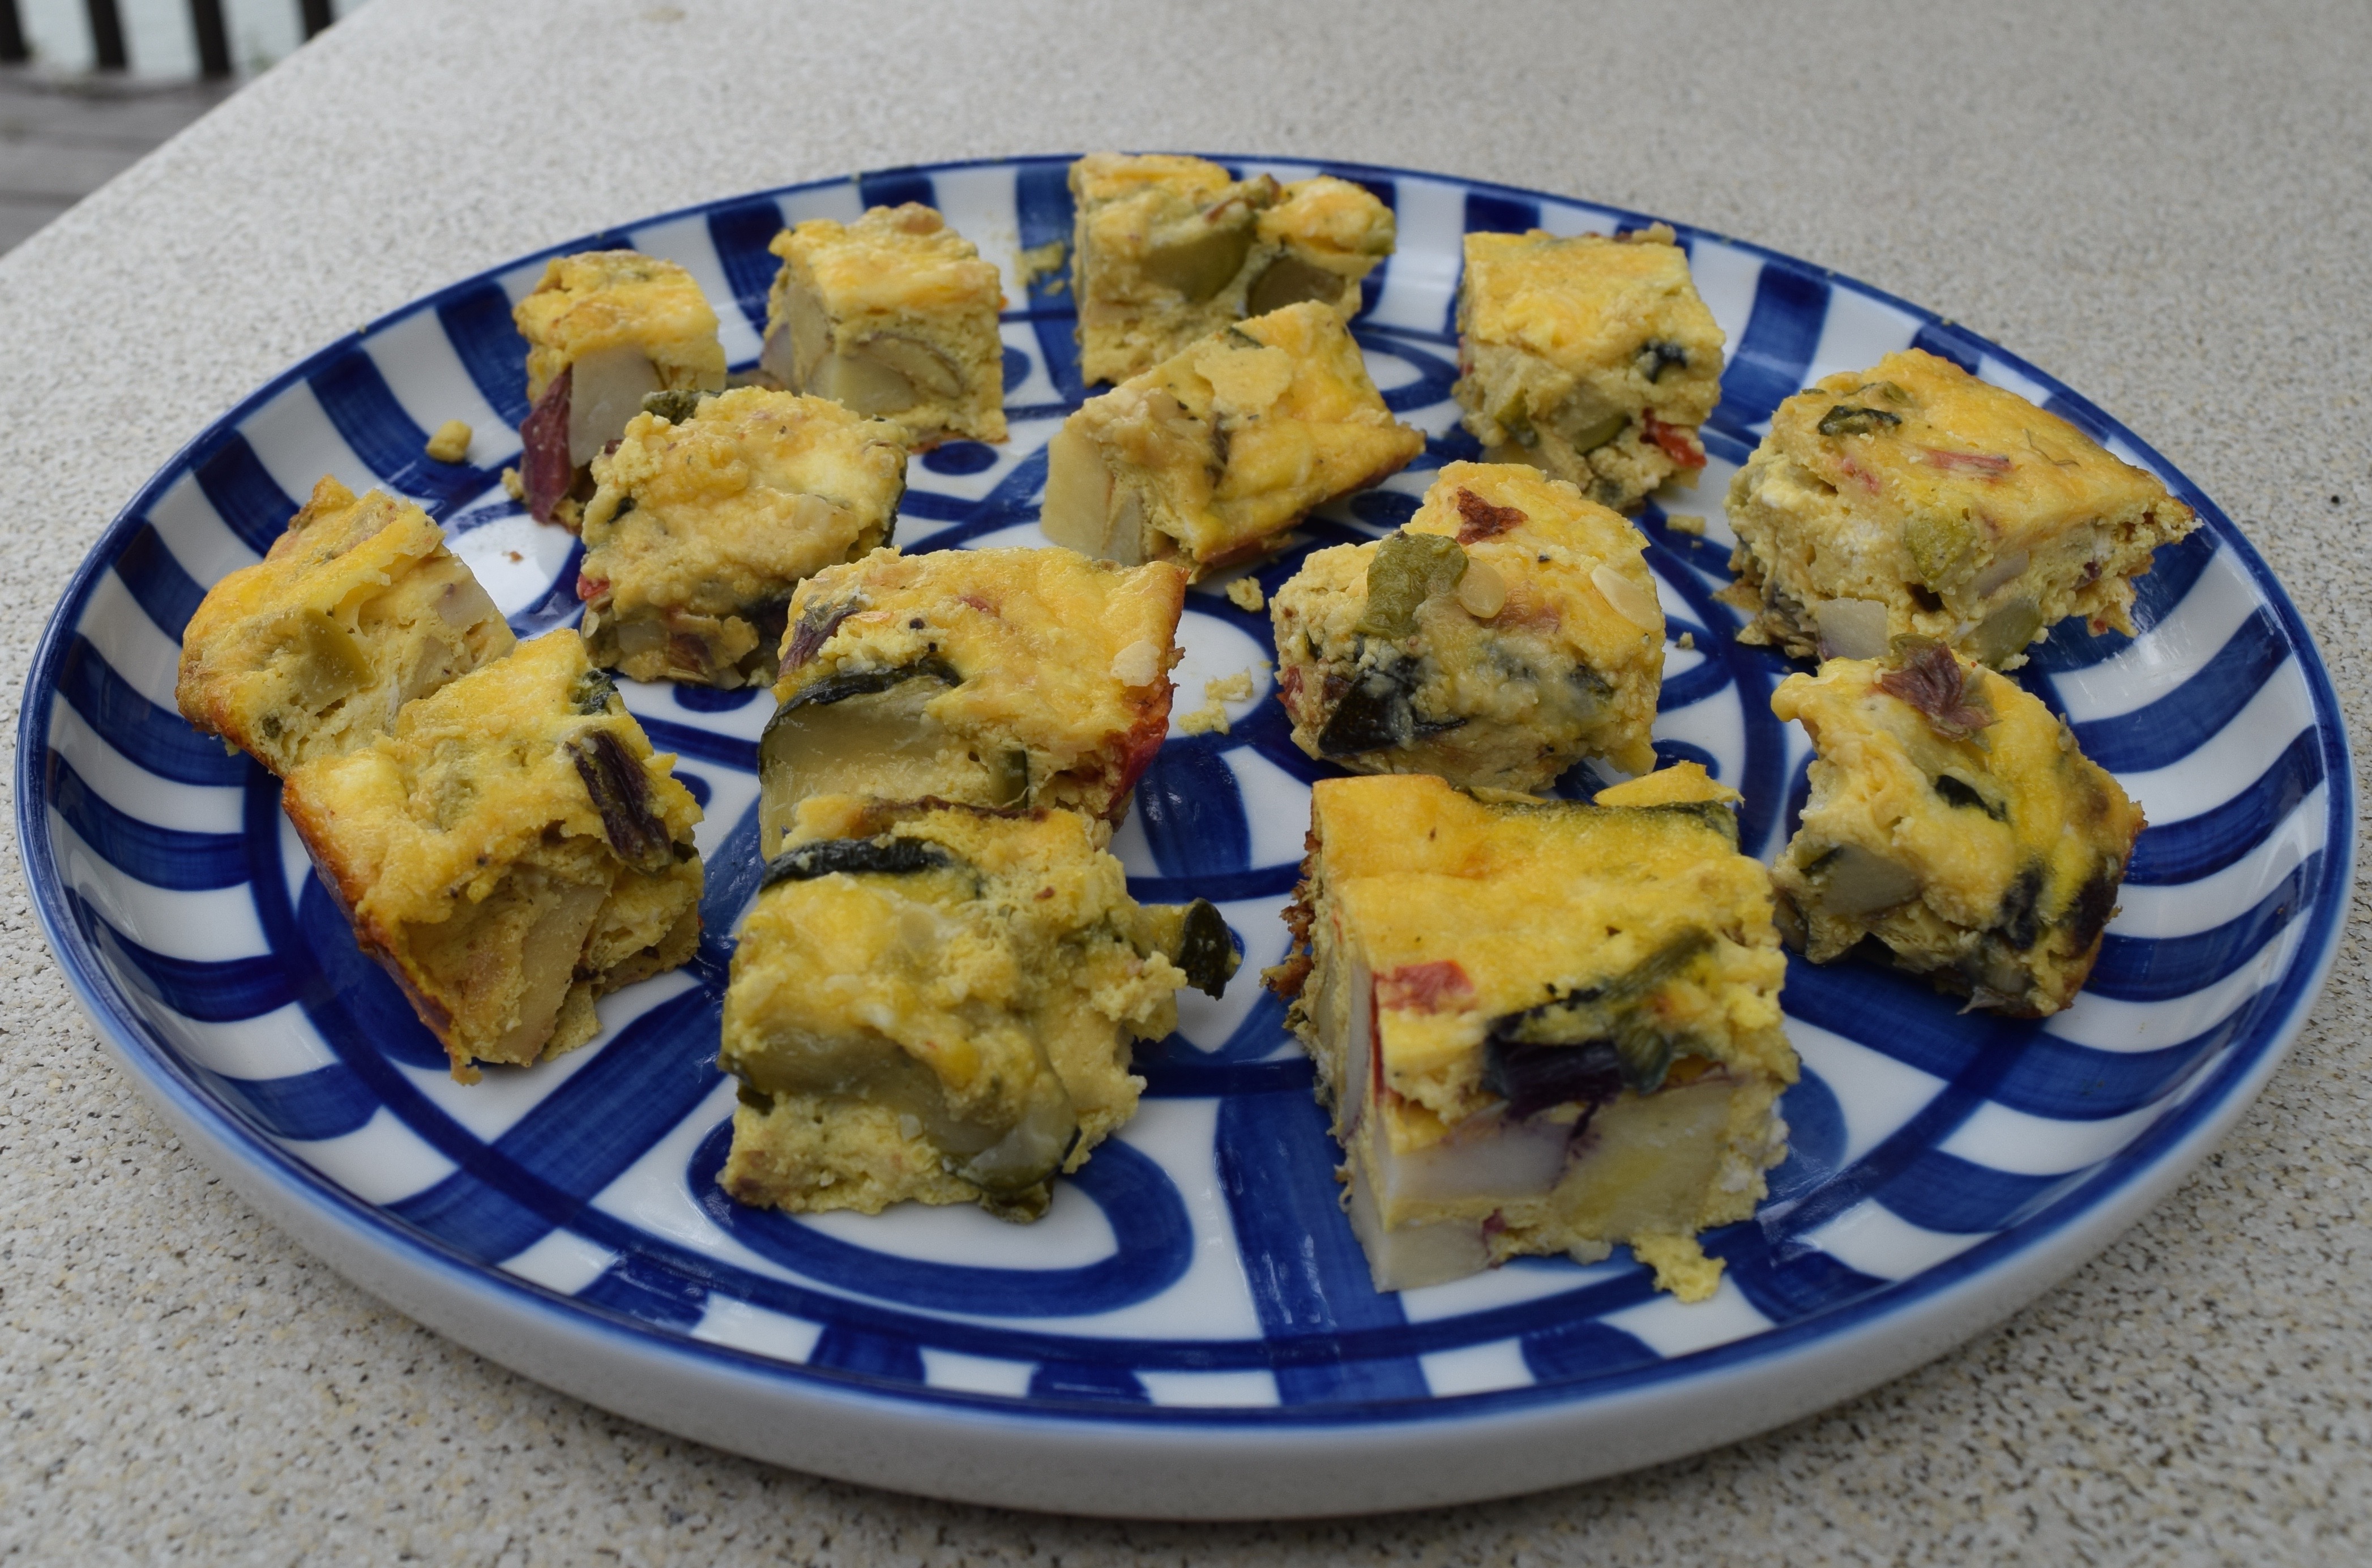
A few months ago, I was visiting Cleveland and took a cooking class at The Western Reserve School of Cooking. One of the dishes we made with owner and chef Catherine St. John was an oven-baked version of the classic Italian frittata. Frittatas can be served for any meal or as an appetizer. They are firm in texture and easily cut into squares when served at room temperature. They also provide a great way to use up leftovers.

DSC_0977

Chef Catherine taught us to sauté the vegetables, pour them into a baking dish, add the egg and cheese mixtures, and bake for 20 minutes.

DSC_0009

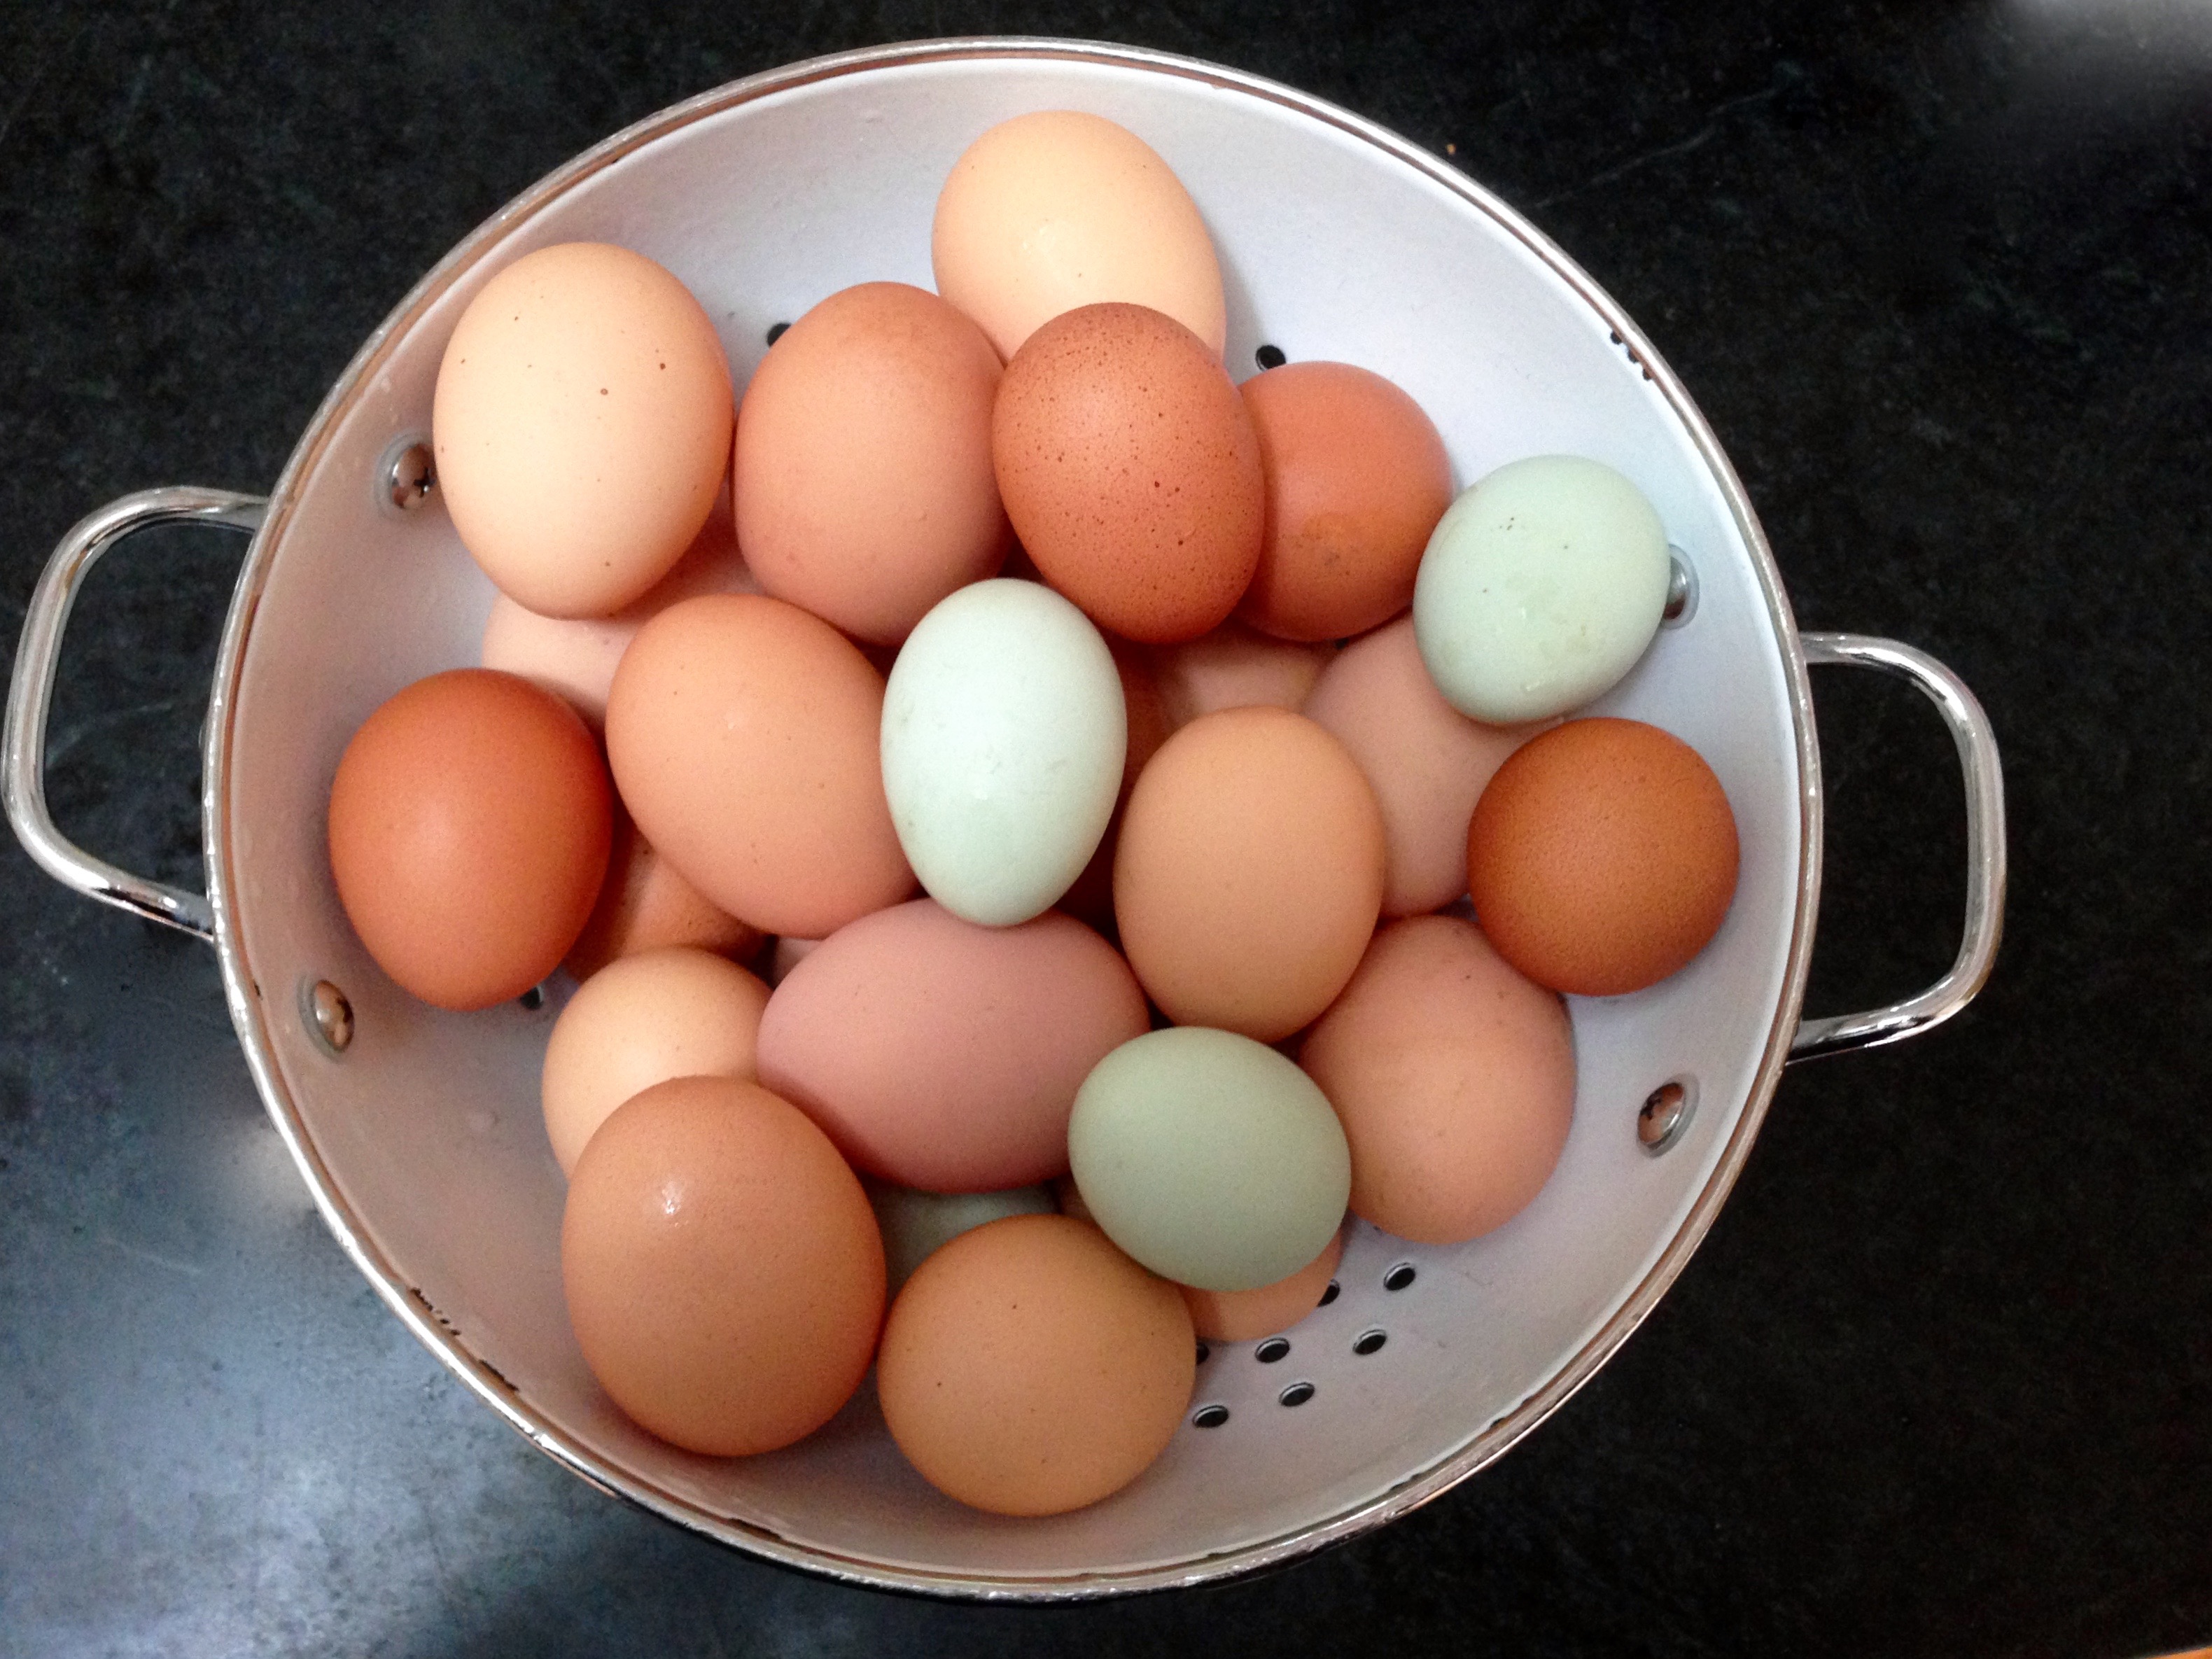
We have many eggs here at Judy’s Chickens, so we make this one-pot meal a lot!

IMG_8581

After making this meal a few times, I developed a foolproof formula for making the dairy mixture of the frittata: 12 large eggs, 1/2 cup whole milk, cream, or ricotta, 1 heaping cup of shredded cheese, and 1/4 cup of Parmesan. Pour this over any medley of cooked vegetables that loosely fills your lasagna pan to about the one-inch mark.

DSC_0747

Here’s a recipe to get you started.

Ingredients:

DSC_0723

The Egg and Cheese Mixture:
12 large eggs
½ cup ricotta, whole milk, or cream
1 tsp salt
½ teaspoon pepper
¼ cup grated Parmesan
1 heaping cup of any cheese, shredded

The Veggie Mixture:
4 cups potatoes (about 4 medium or 1½ pounds), diced or shredded
1½ cups green onions with tops, about 5 sliced
½ red bell pepper, about ½ cup, seeded and diced
1 heaping tablespoon of minced garlic (from the jar is fine)
2 cups cooked leftover vegetables such as zucchini, summer squash, broccoli, or cauliflower, OR any uncooked greens such as spinach, chard, or kale
⅓ cup extra virgin olive oil

Instructions:
Preheat oven to 350º

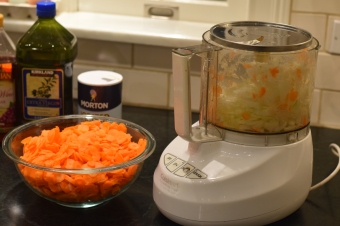
Chop all the fresh veggies. I used buttery Yukon and red potatoes, sweet red bell pepper, green onions with stalks, and minced garlic.

DSC_0730

Sauté garlic, onion, pepper, and potatoes in olive oil, on medium heat, in a 12-inch non-stick skillet for about 10 minutes or until the potatoes are tender but still firm.

DSC_0738

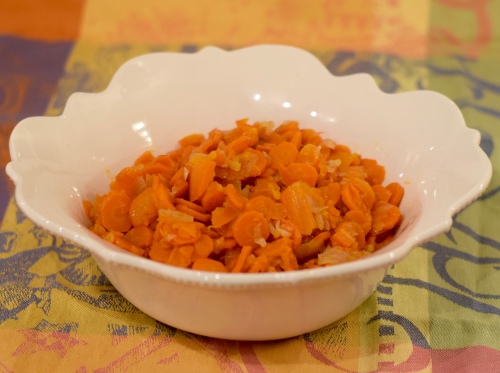
Stir in drained leftover cooked veggies and heat until warm. I used leftover roasted zucchini and summer squash with green onions and garlic. Spread vegetable medley evenly in a lasagna pan.DSC_0747

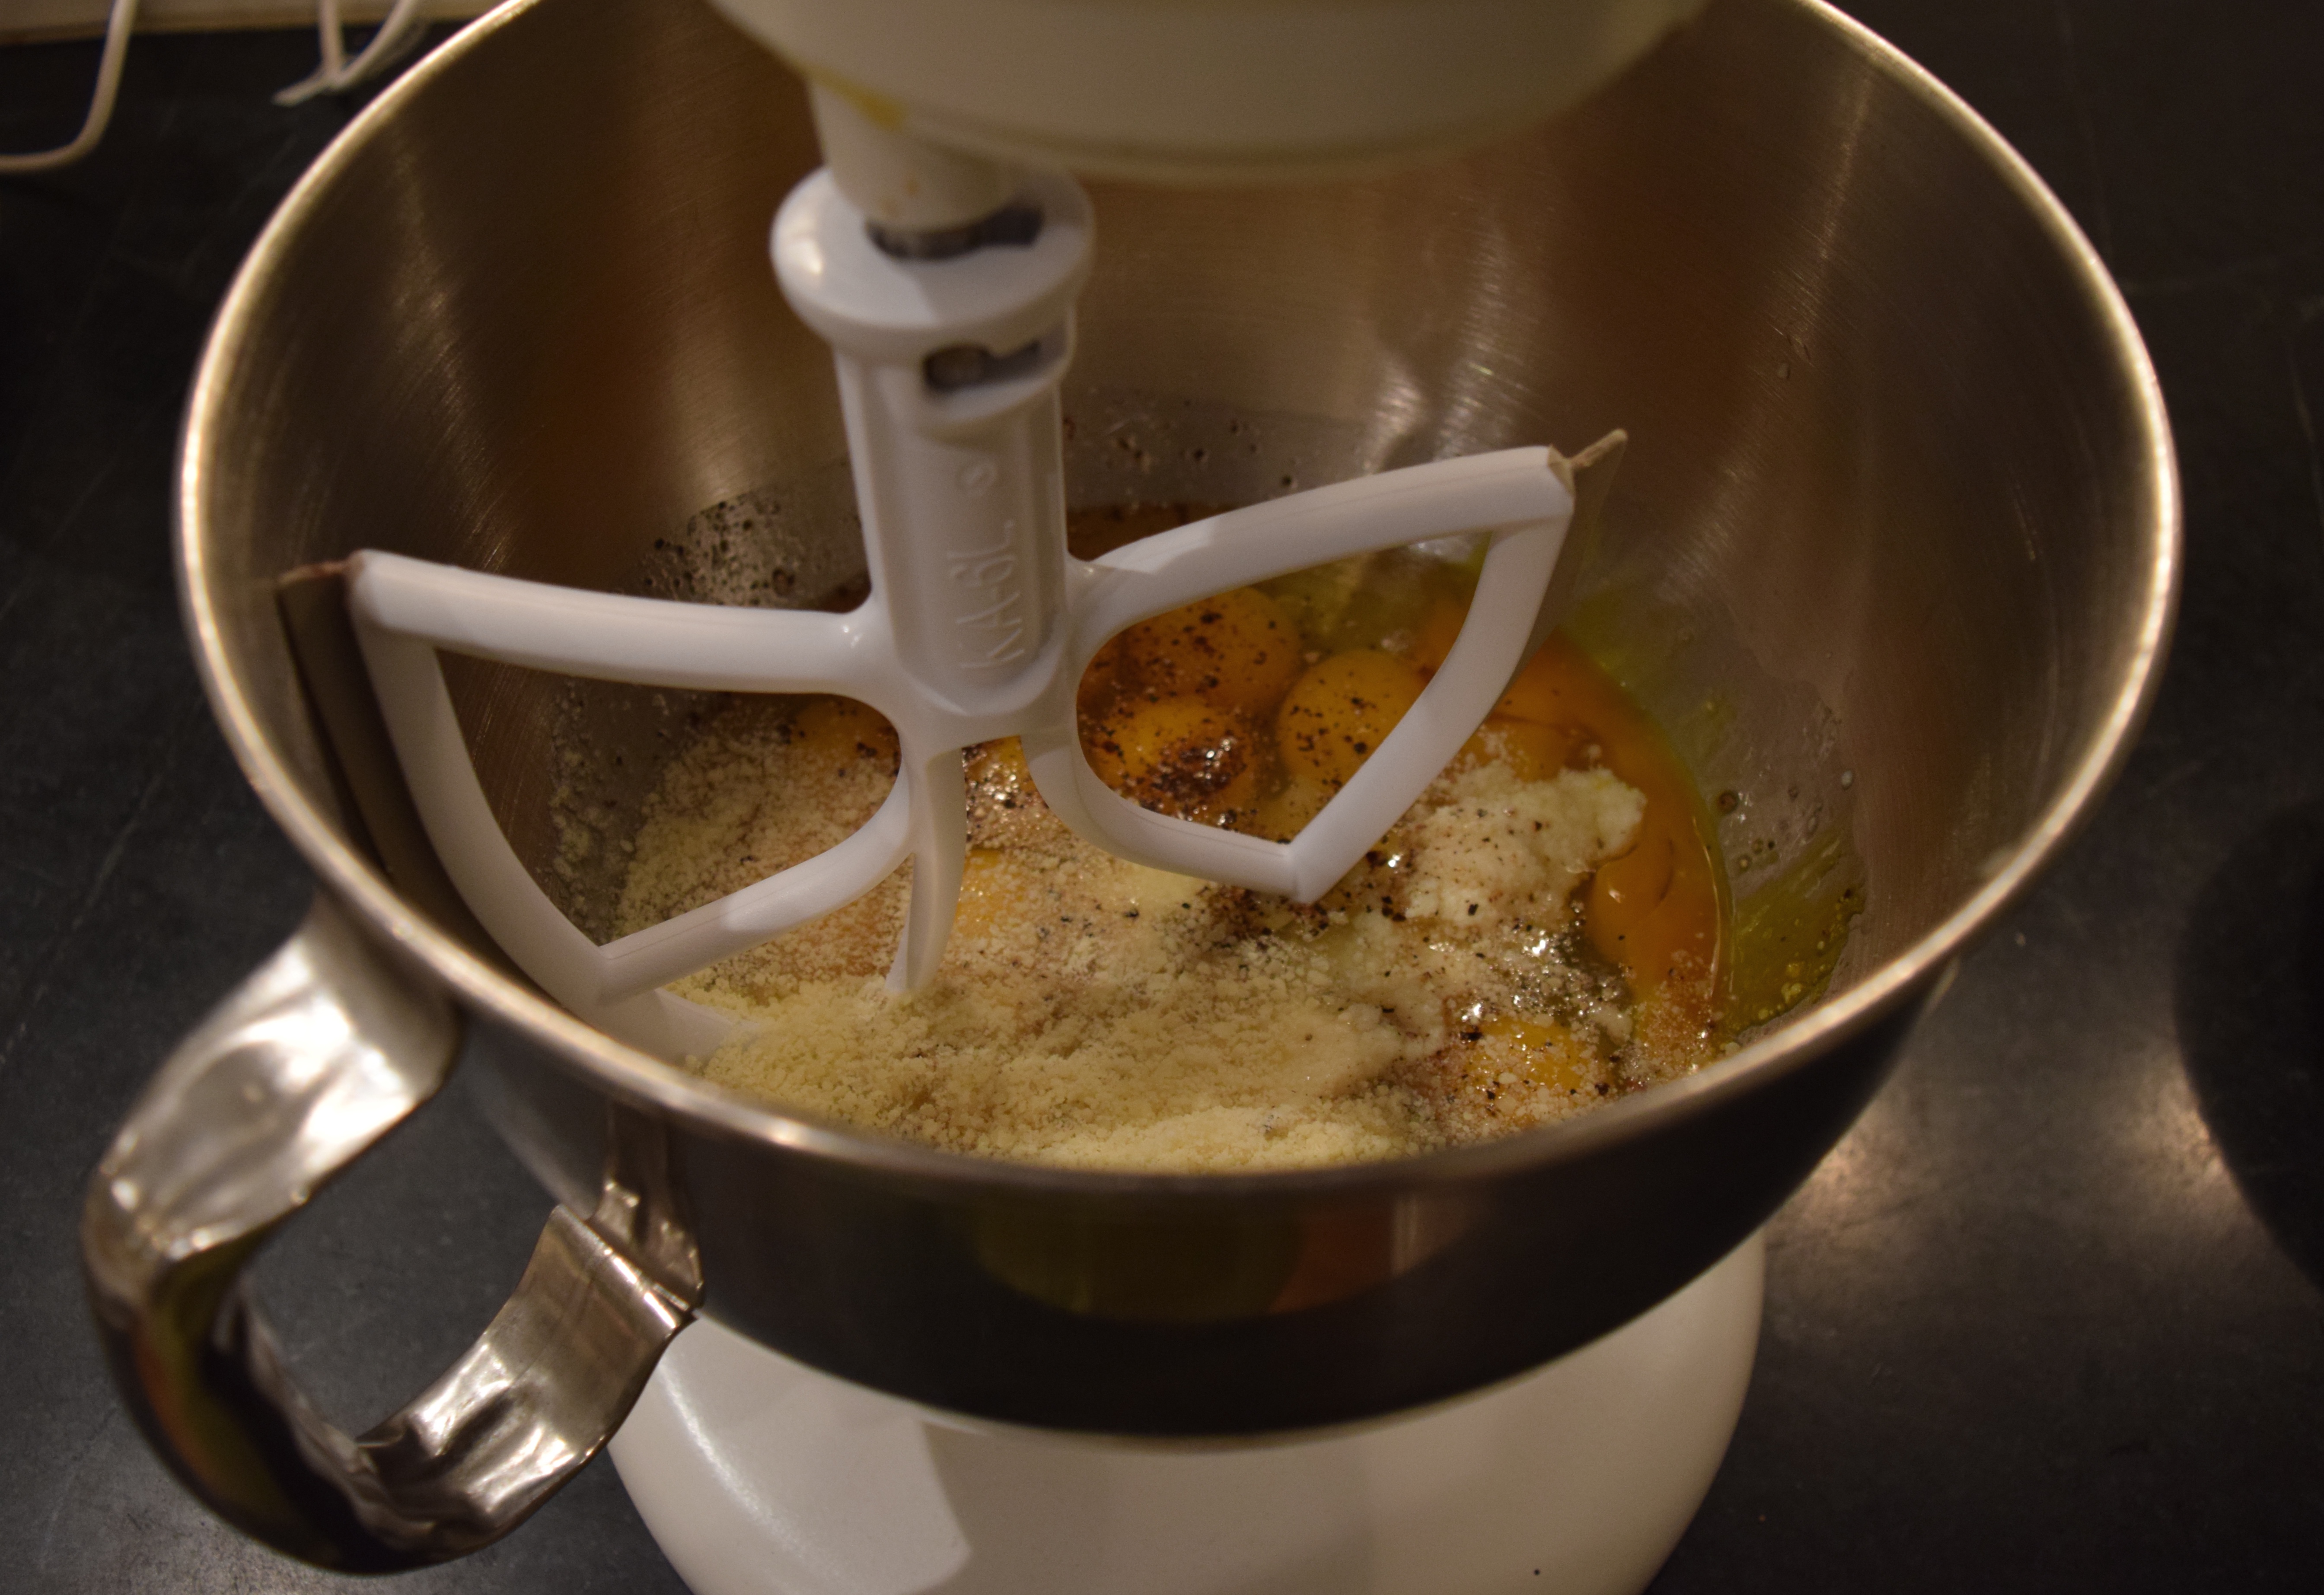
Mix eggs, milk, cream or ricotta, Parmesan, salt, and pepper and pour over vegetables.

DSC_0304 DSC_0745

Add shredded cheese and poke it into the vegetables and egg mixture. DSC_0748

Bake for 30 minutes in a preheated oven. Insert the knife tip in the center to test for doneness. If it comes out clean, remove the frittata from the oven. If not, cook for another 5 minutes and check again. Repeat until done.

DSC_0749

Another frittata version: potatoes, kale, green onion, zucchini, and a lone radish

This was one day’s pickings from the garden. I decided, as a trial, to throw all of it into the frittata along with dairy ingredients to see if it would work. I tried fresh kale. It was delicious.

DSC_0257

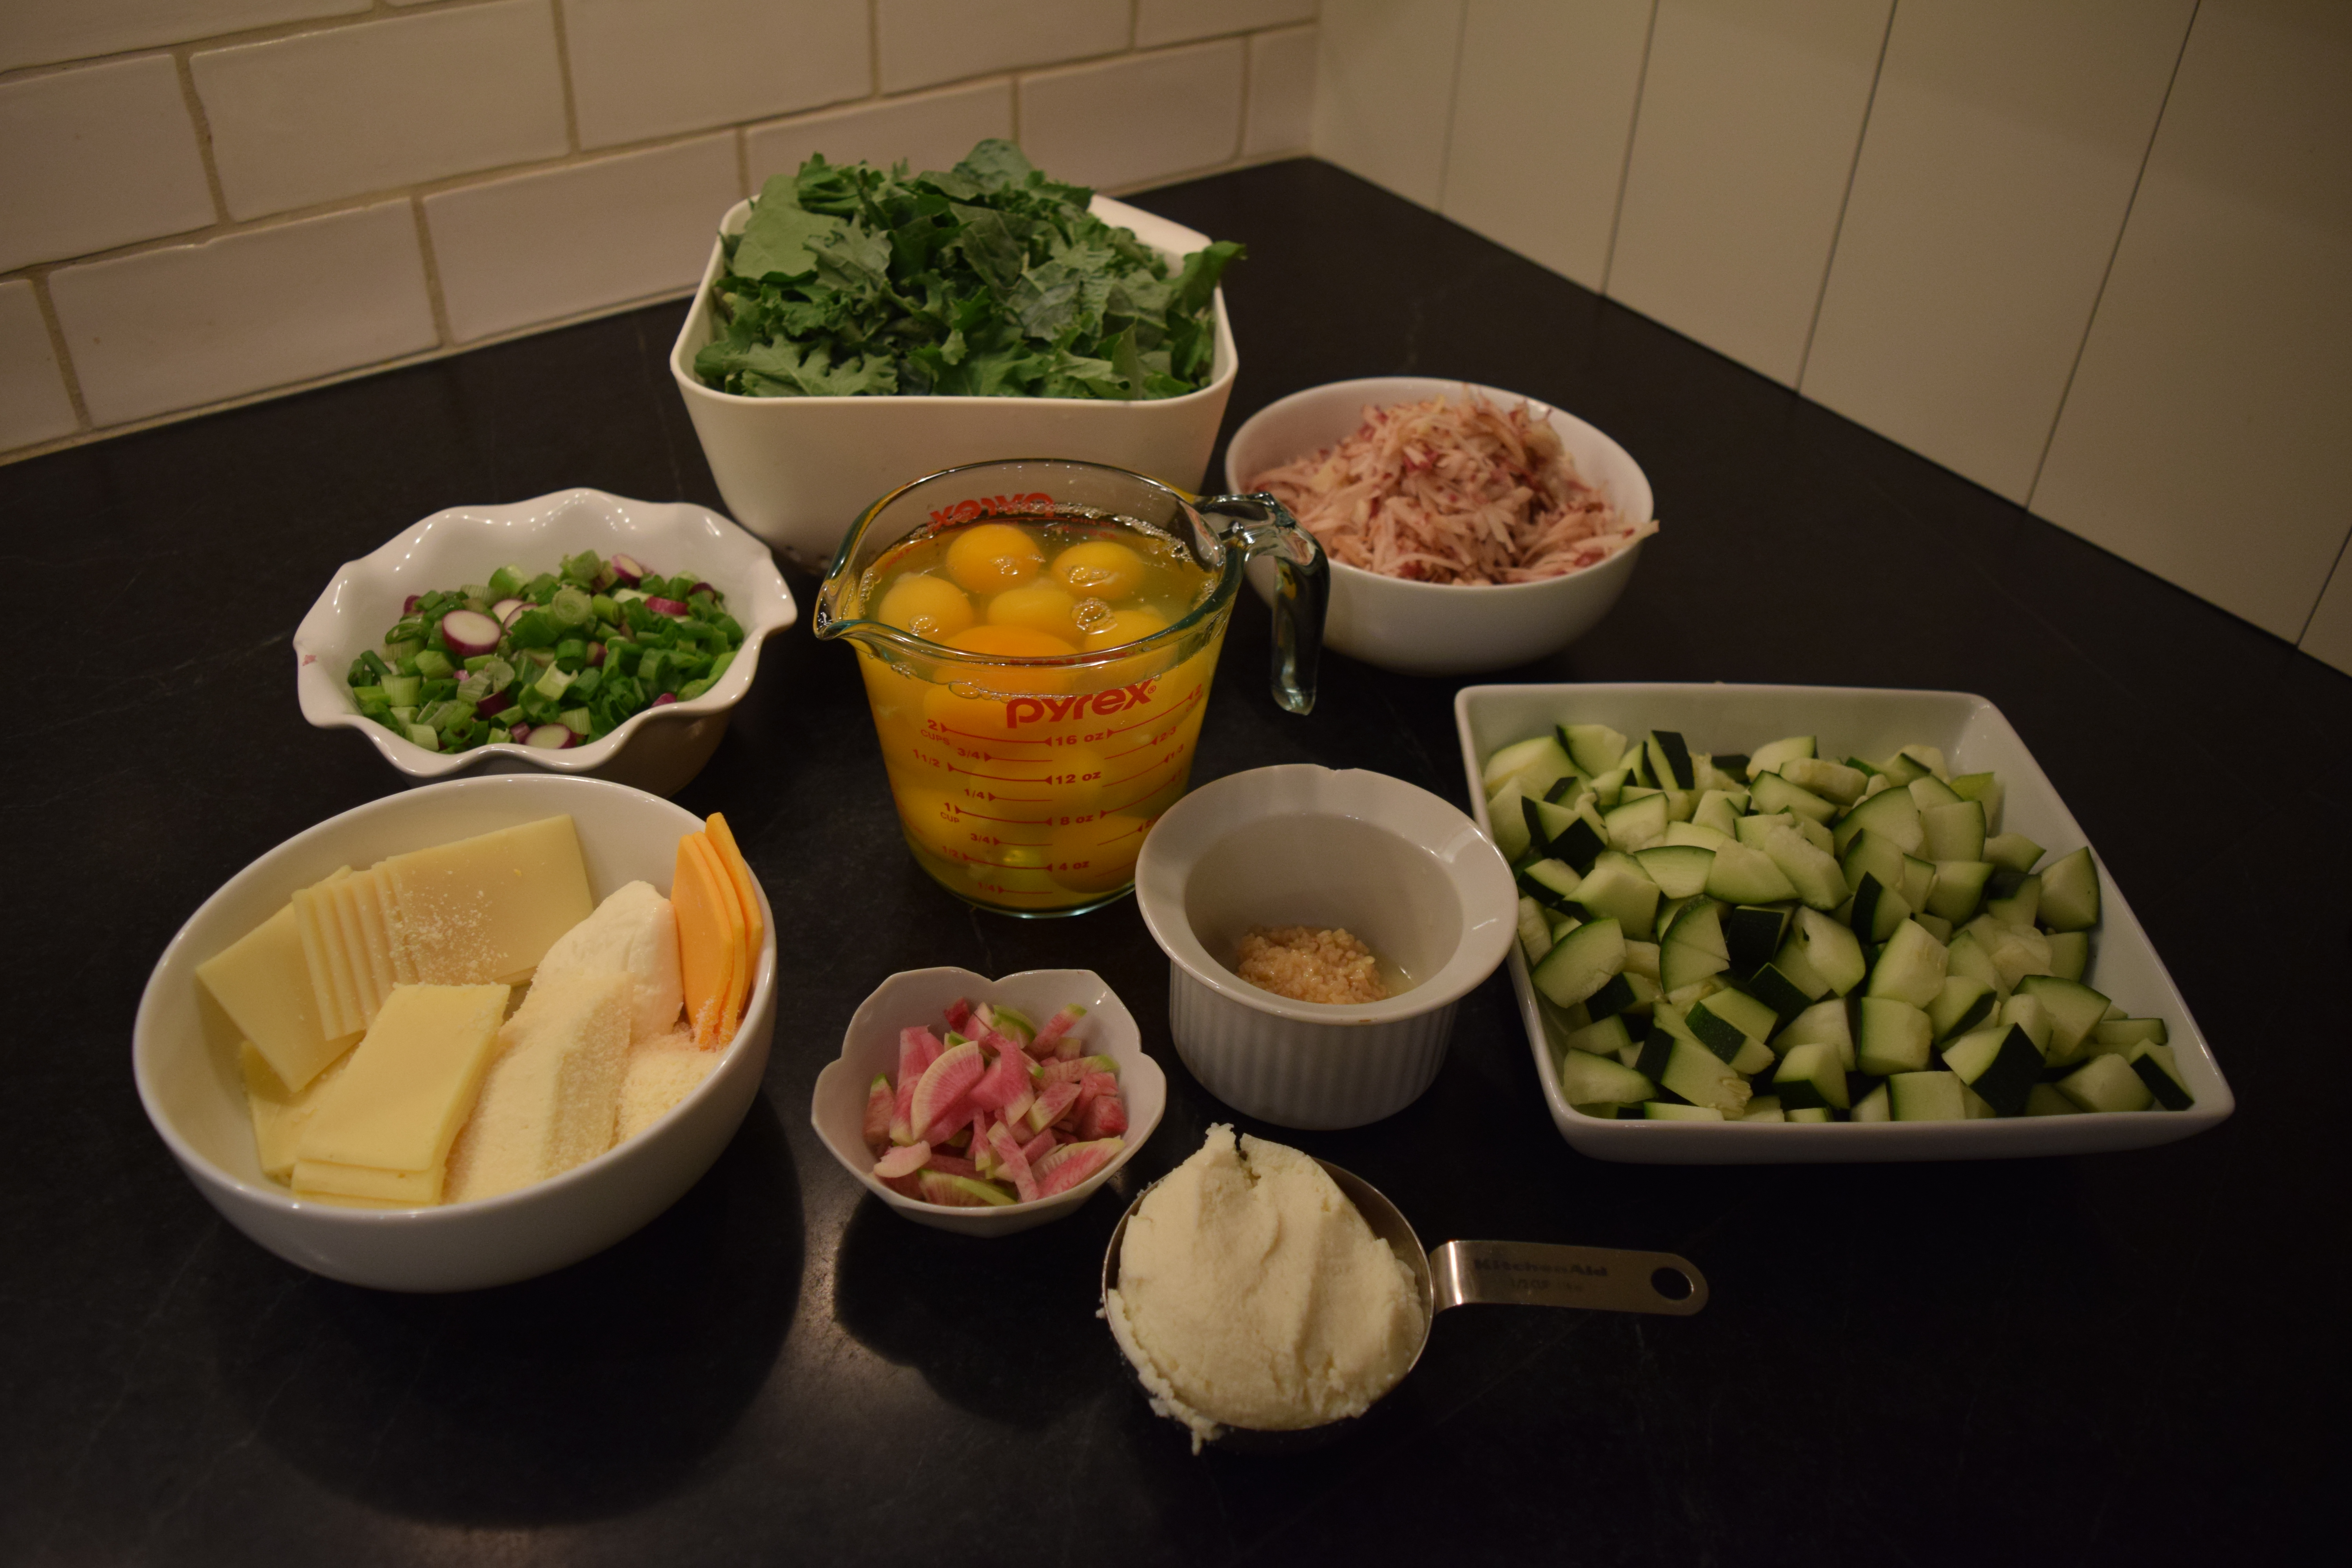
Here it is, all prepped.

DSC_0293

Here is how I prepped the vegetables:

Green onions
DSC_0266 DSC_0268 DSC_0270

A lone watermelon radish
DSC_0261  DSC_0263 DSC_0274

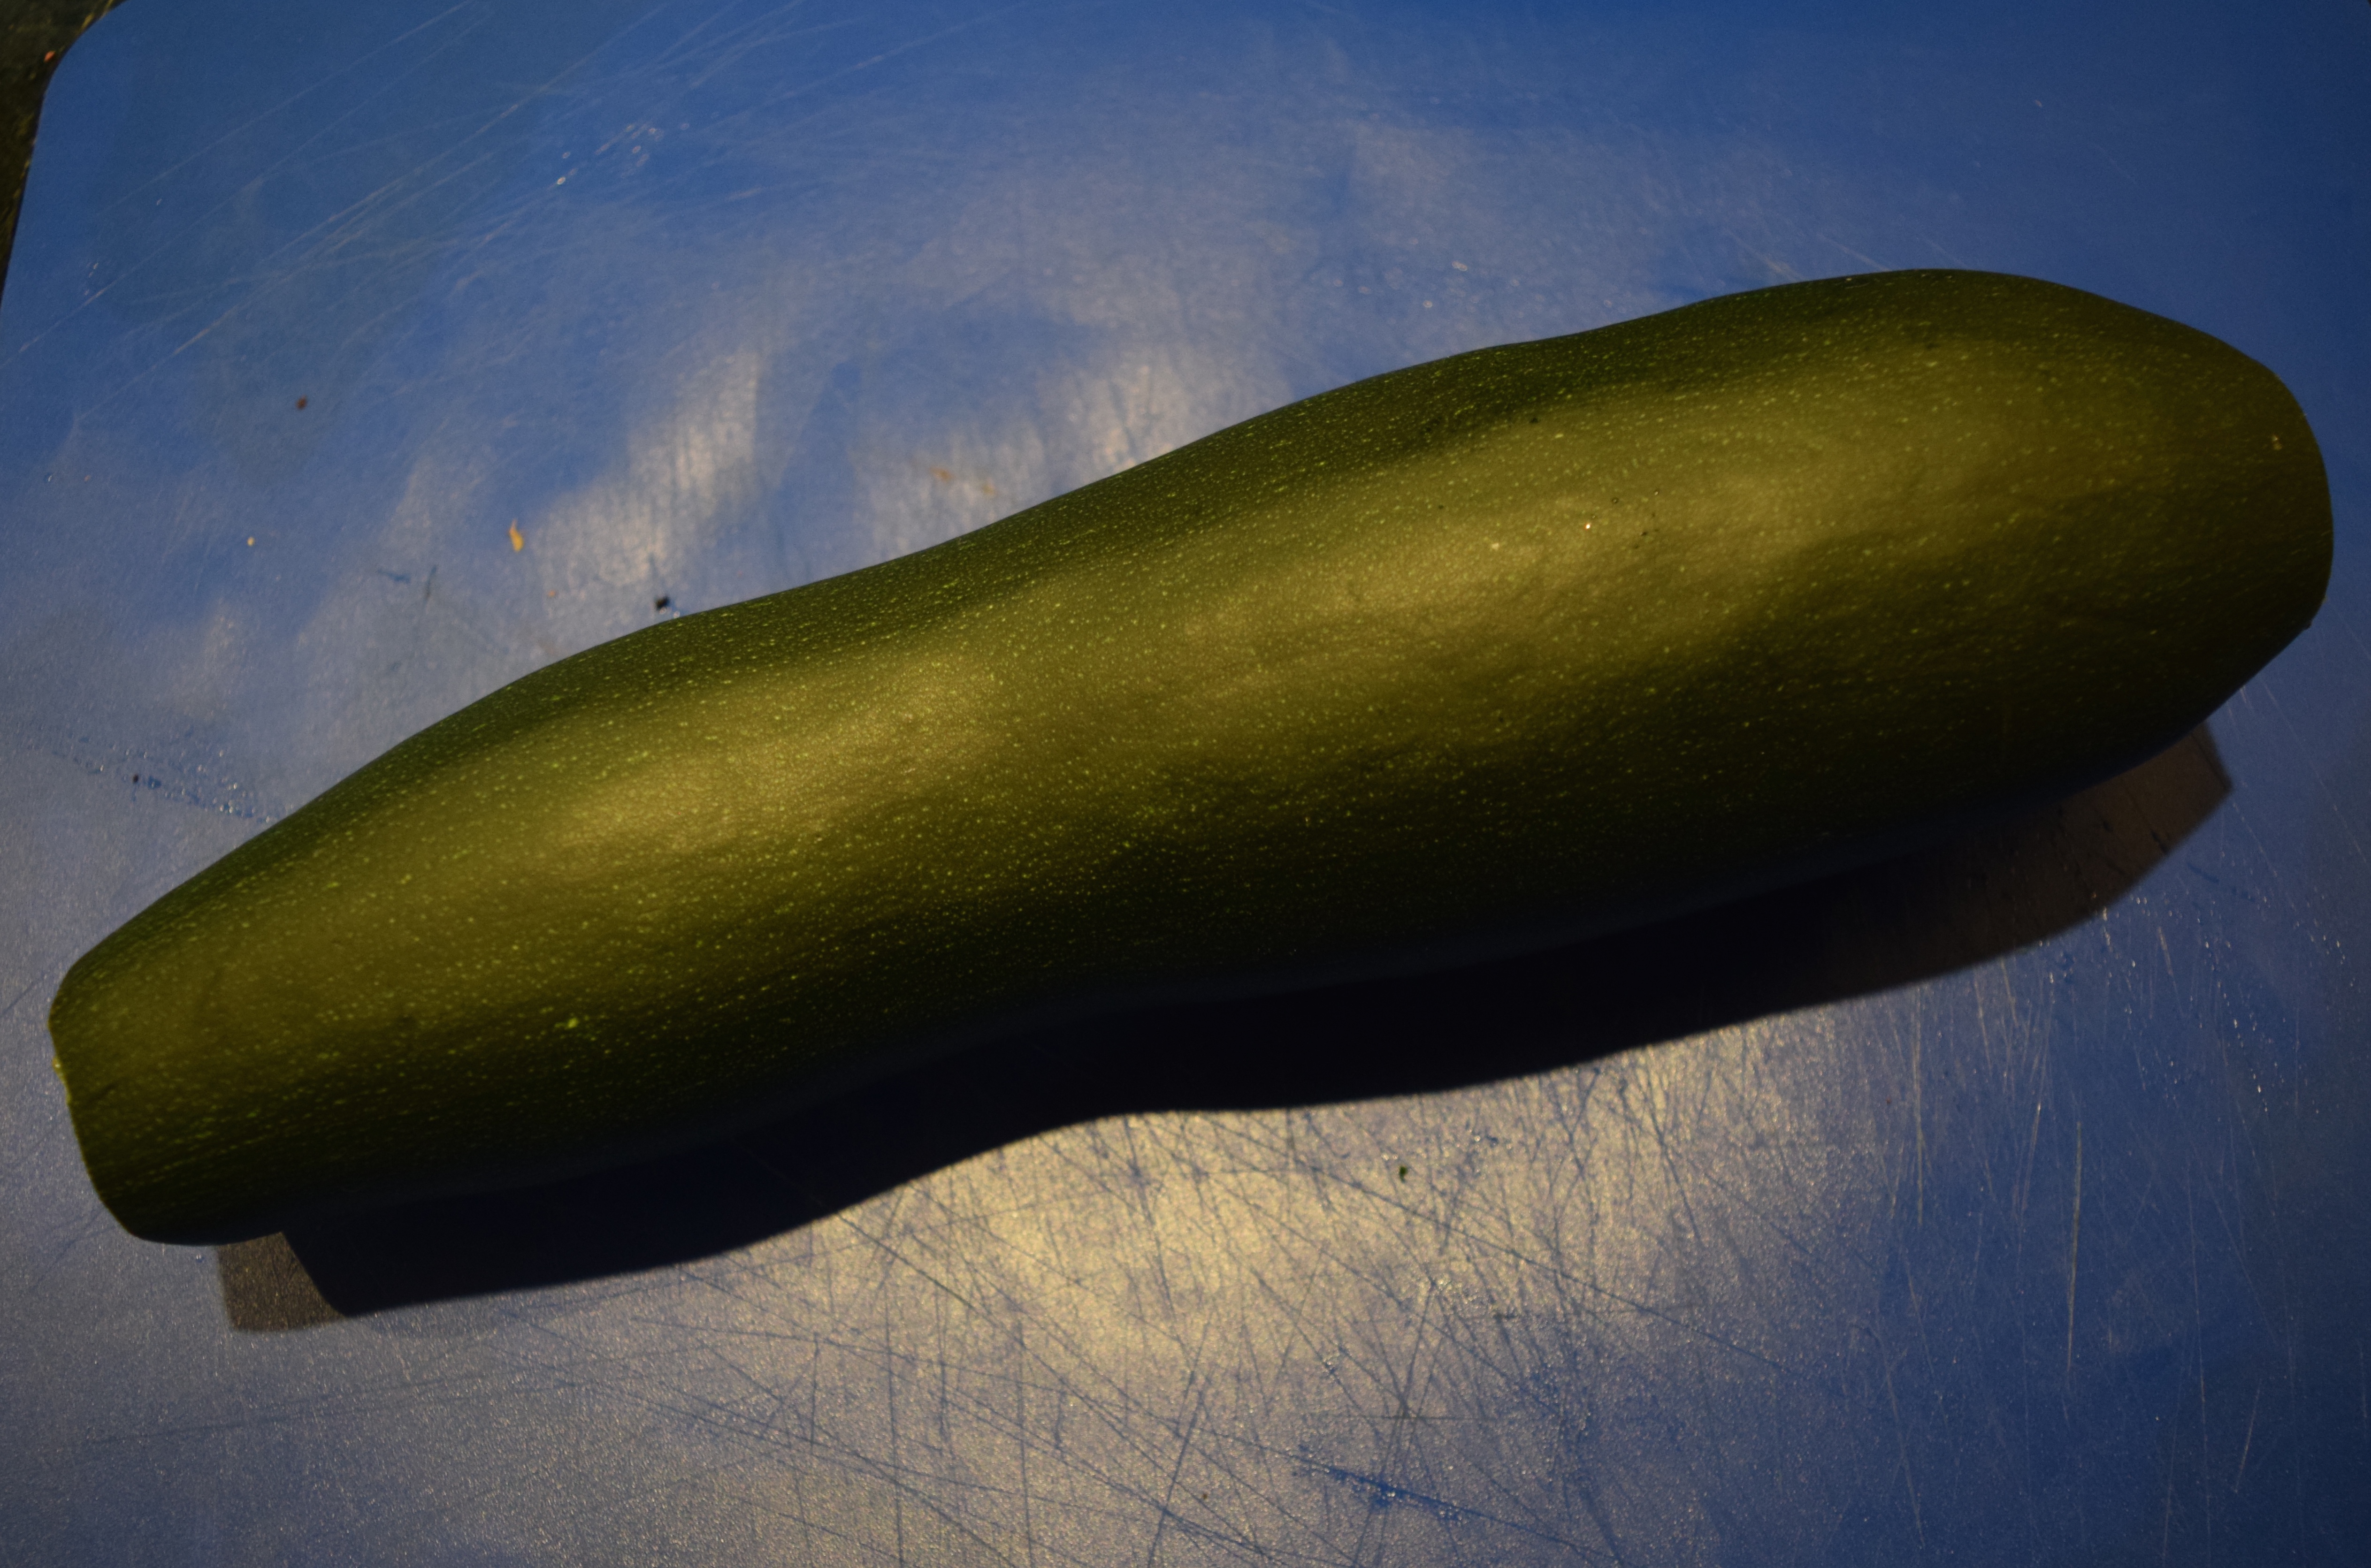
My first zucchini of the season!
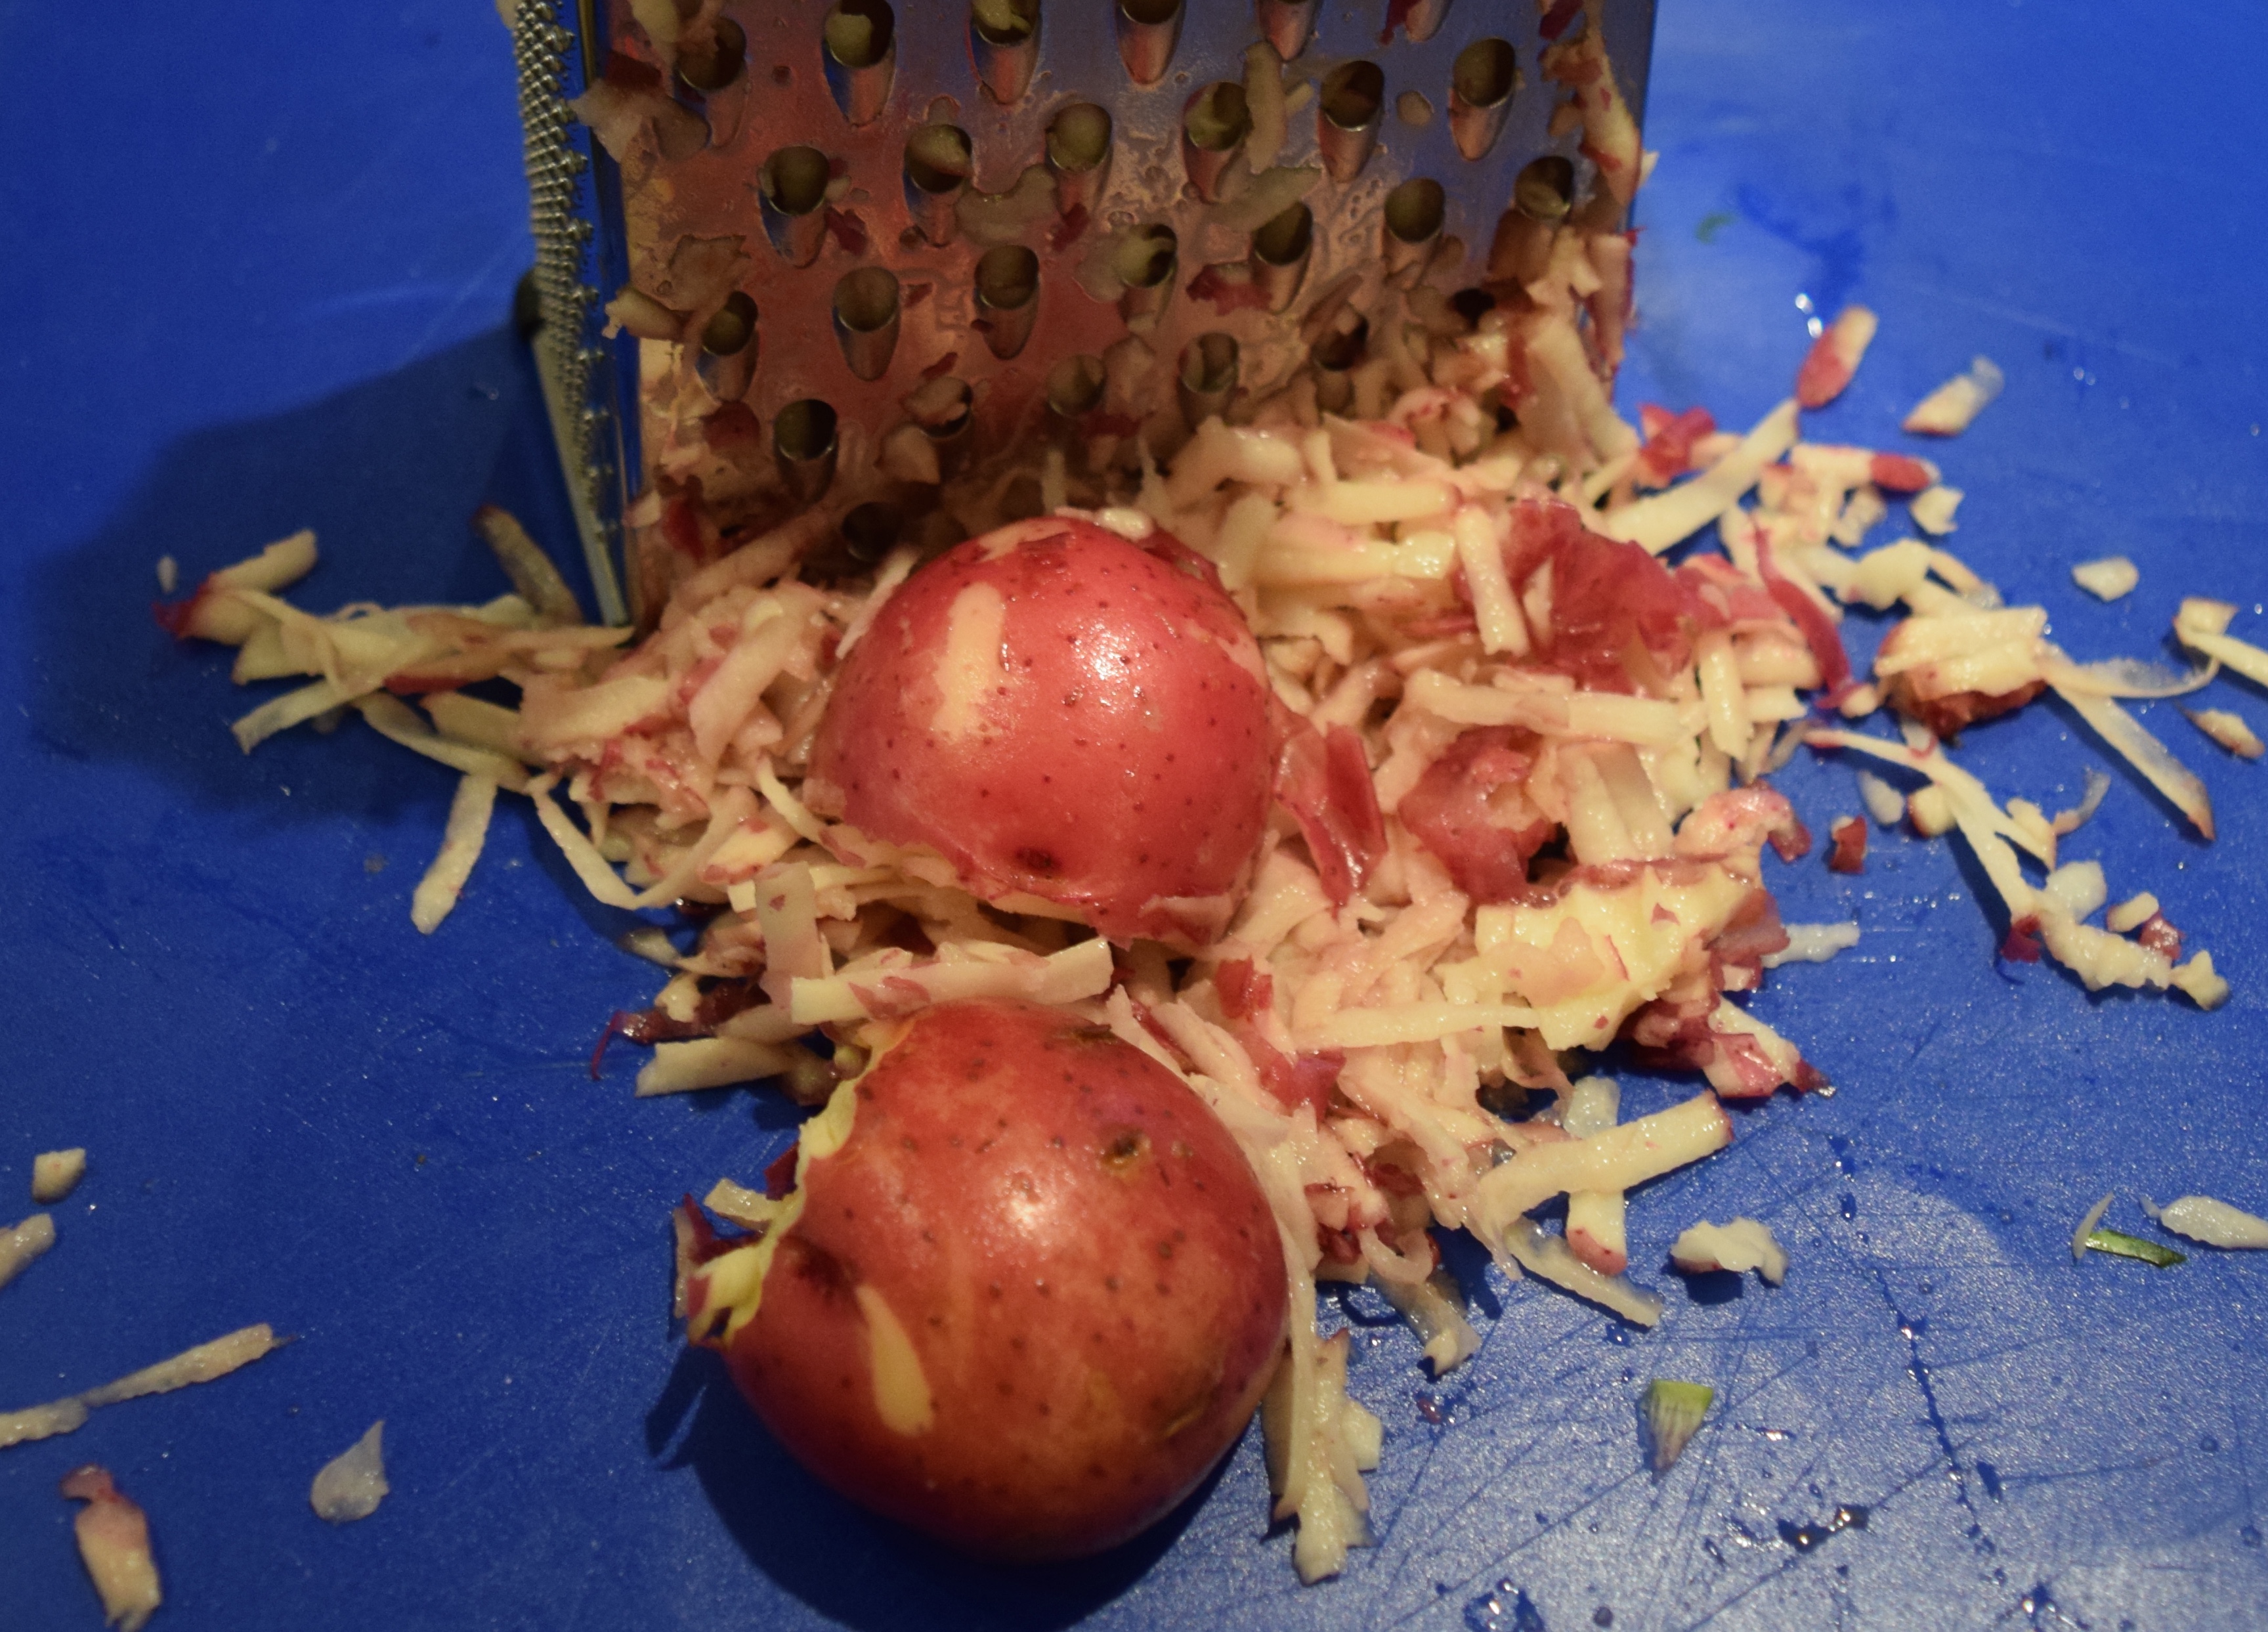
DSC_0284 DSC_0285

Shredded potatoes
DSC_0277 DSC_0280

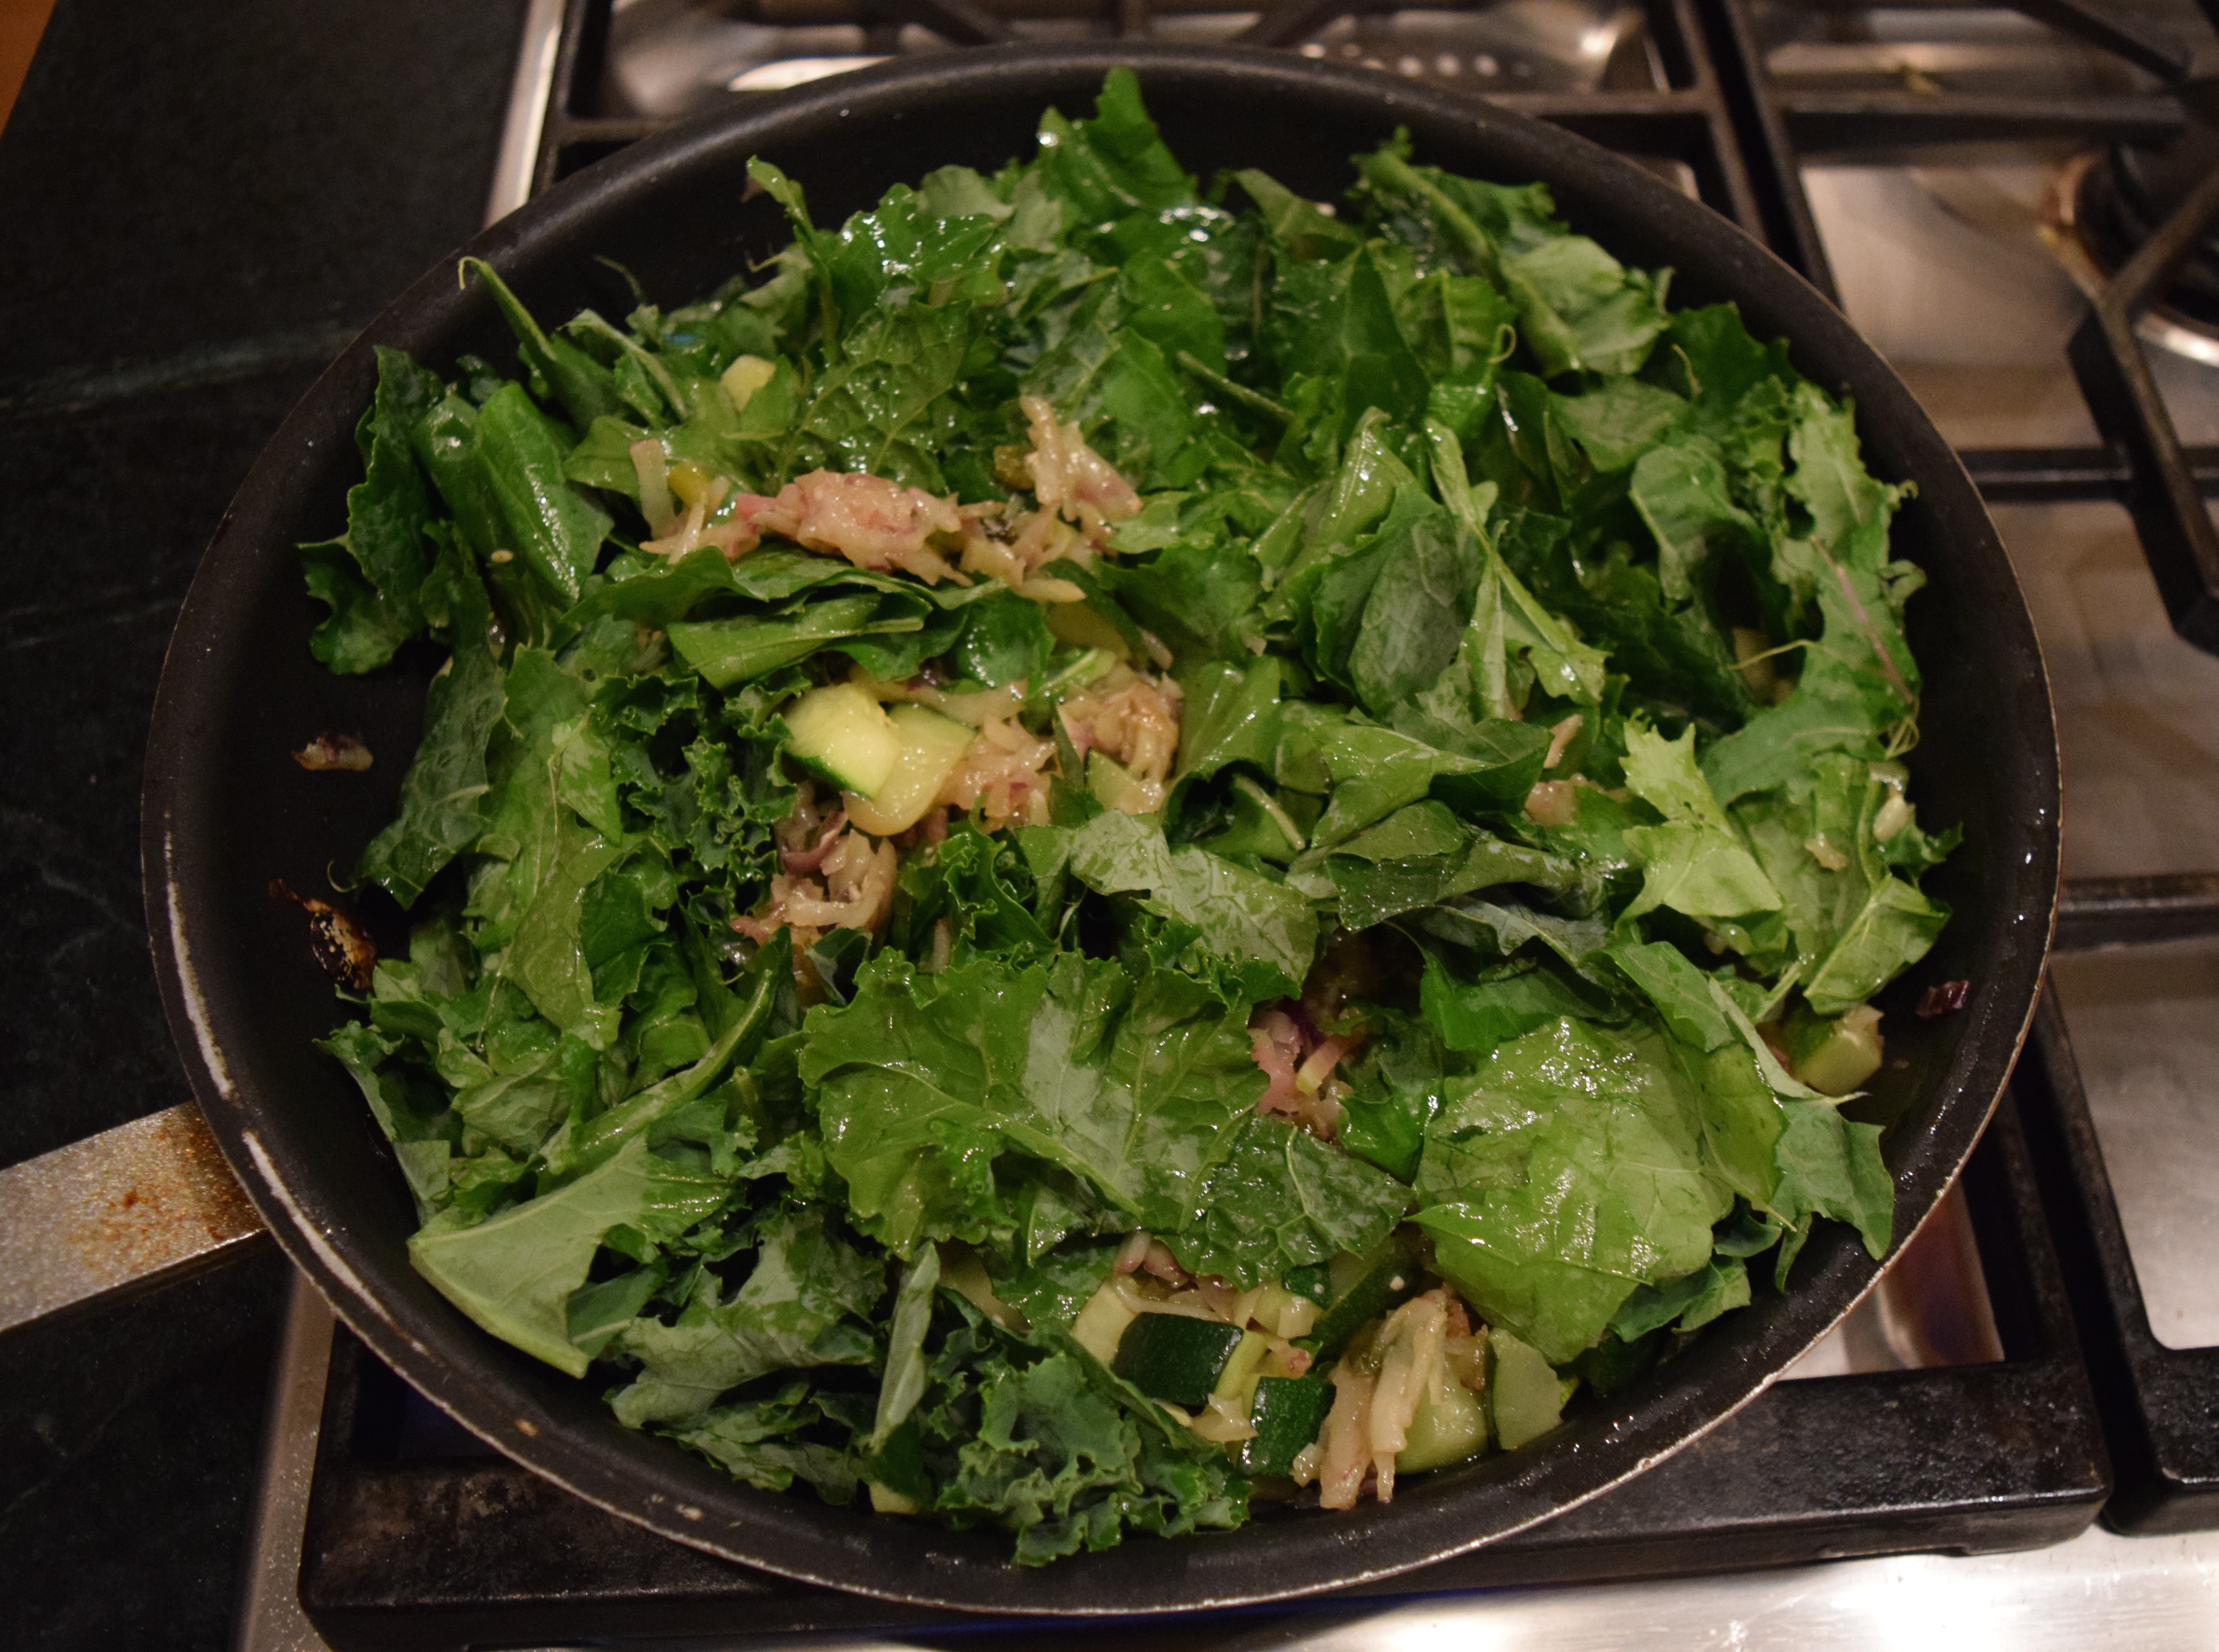
I trimmed the tough stem off each kale leaf.

DSC_0282

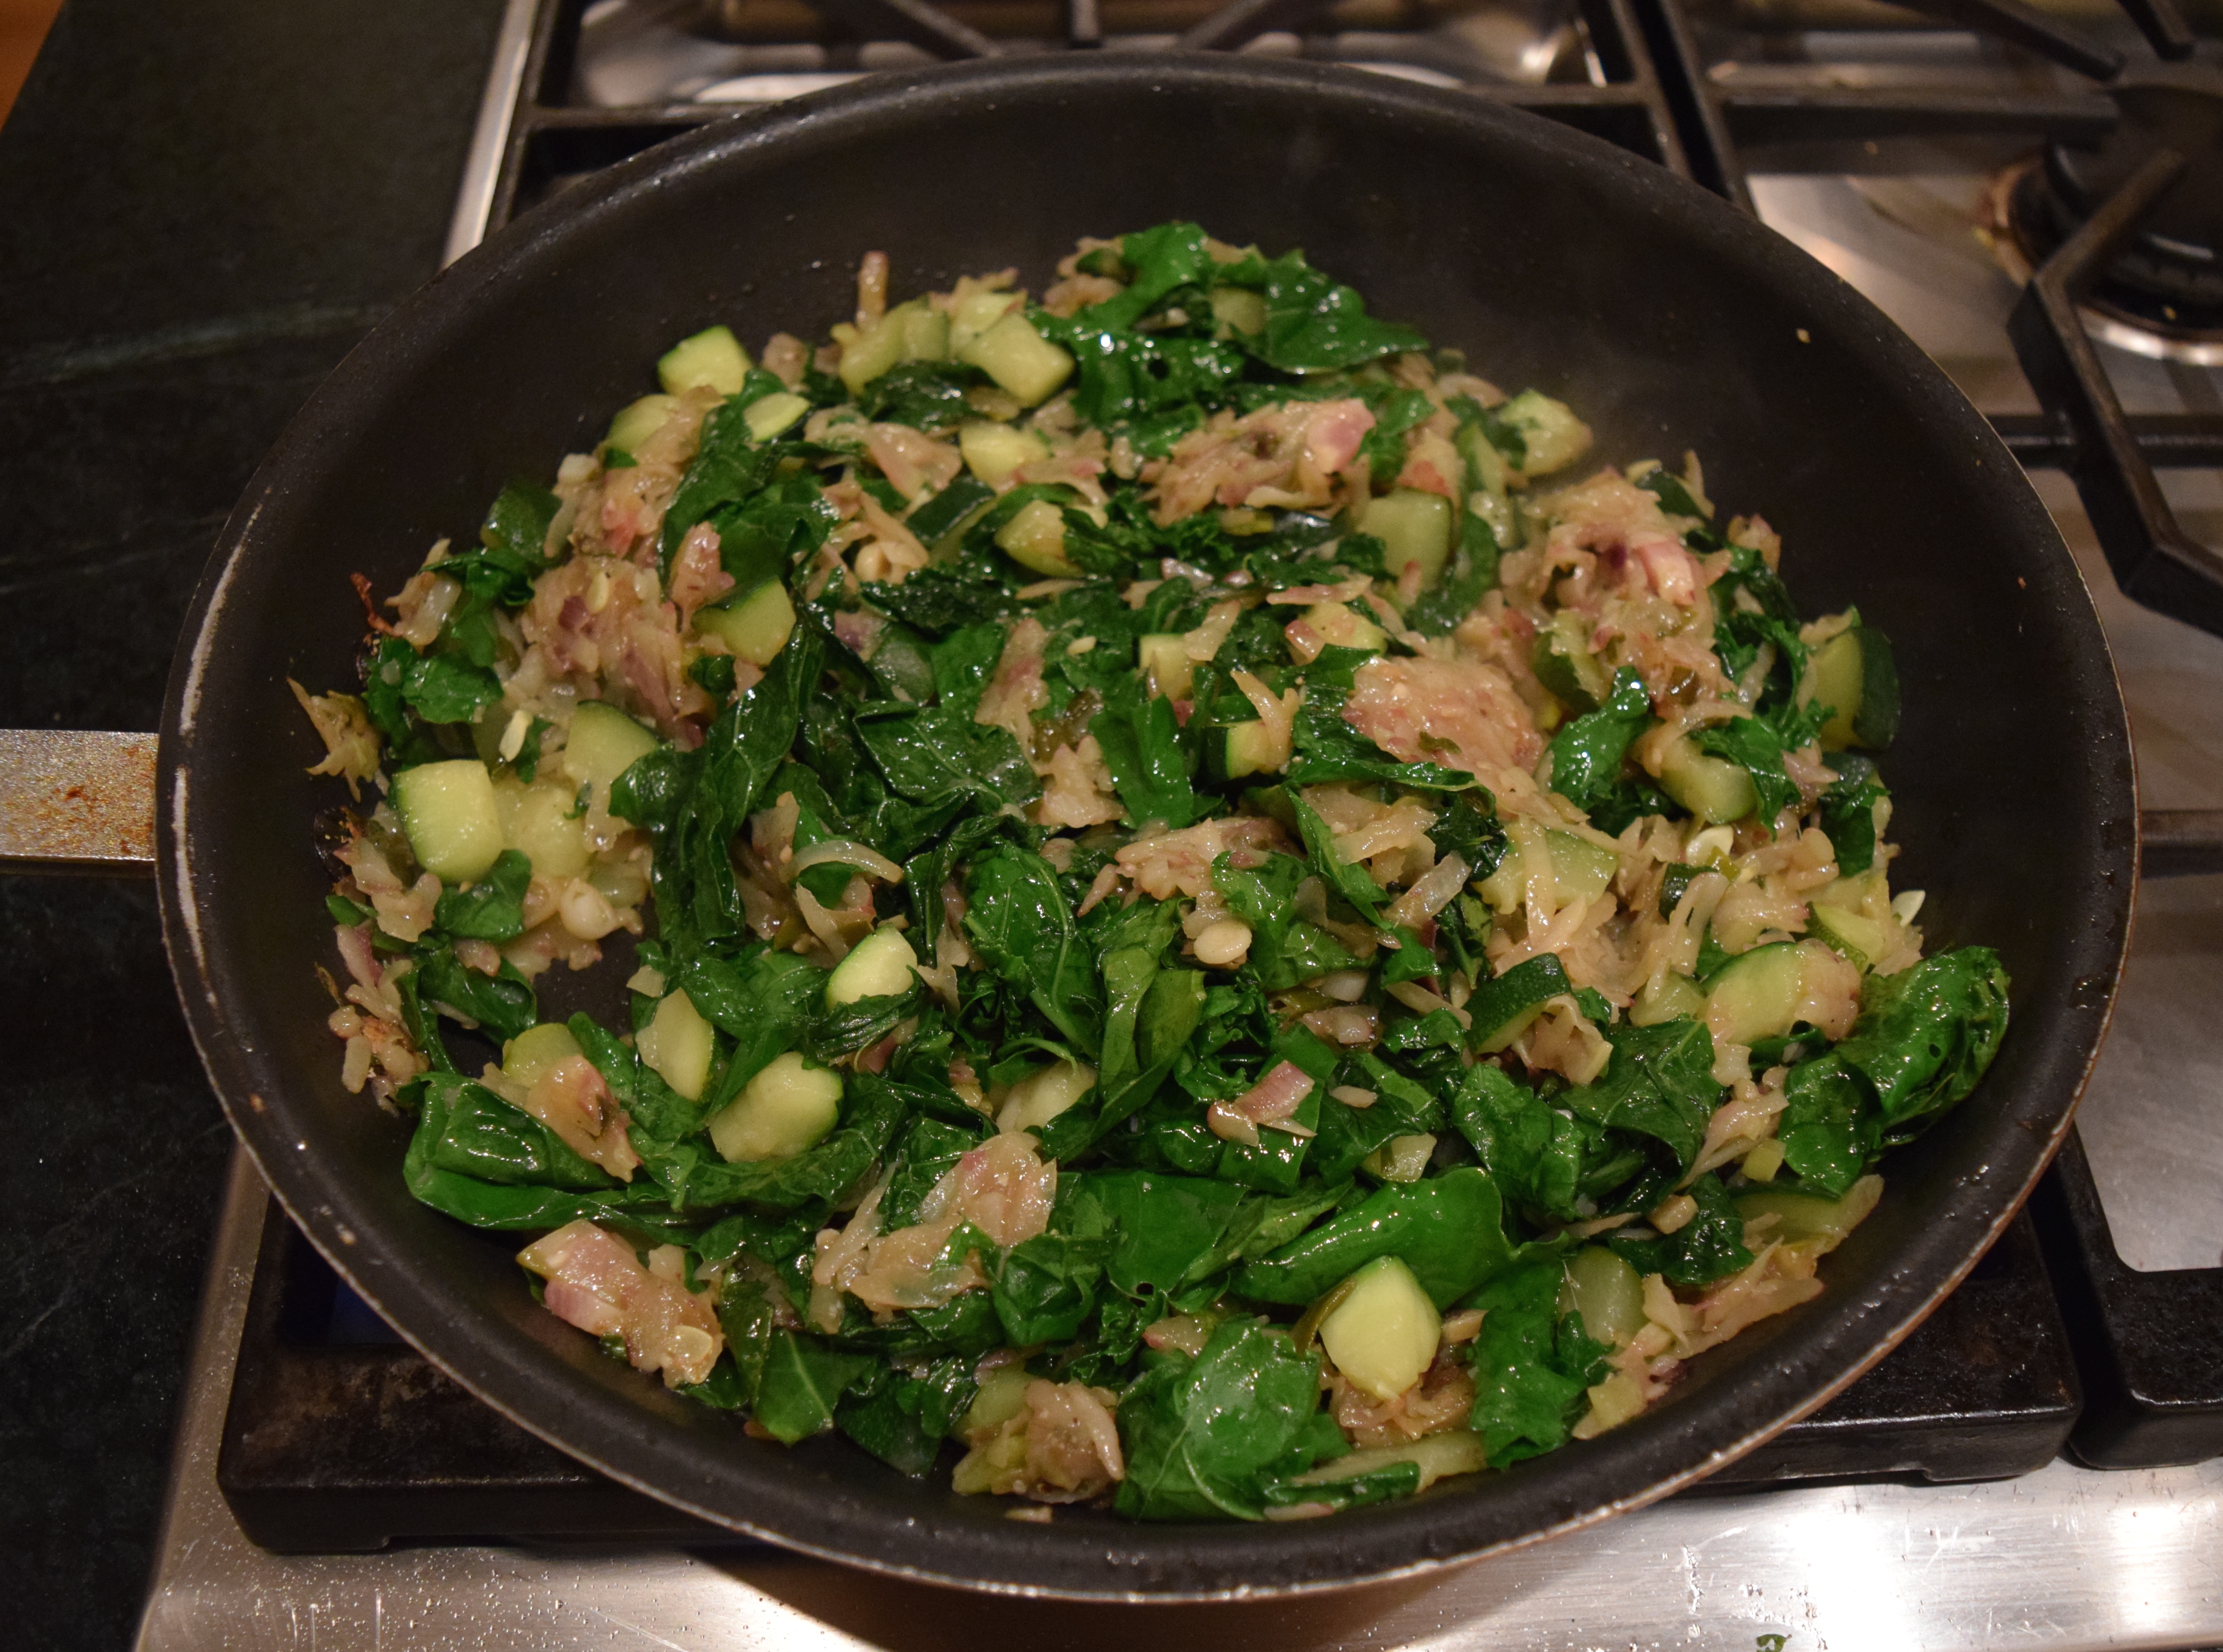
I tore the leaves into 3-inch pieces, added them to the vegetable sauté last, and cooked them for one minute until wilted. Chard, collards, or spinach would also work well here. Be sure to remove the thick stems from the collards or chard.

DSC_0312 DSC_0313

Notice how when the frittata first comes out of the oven, it is like a soufflé, all puffed up and fluffy. It will fall after about 5 minutes. I think the frittata is tastiest when it is still light and fluffy like this, but as I have said, it is still excellent later in the day at room temperature or even cold from the fridge.

DSC_0320

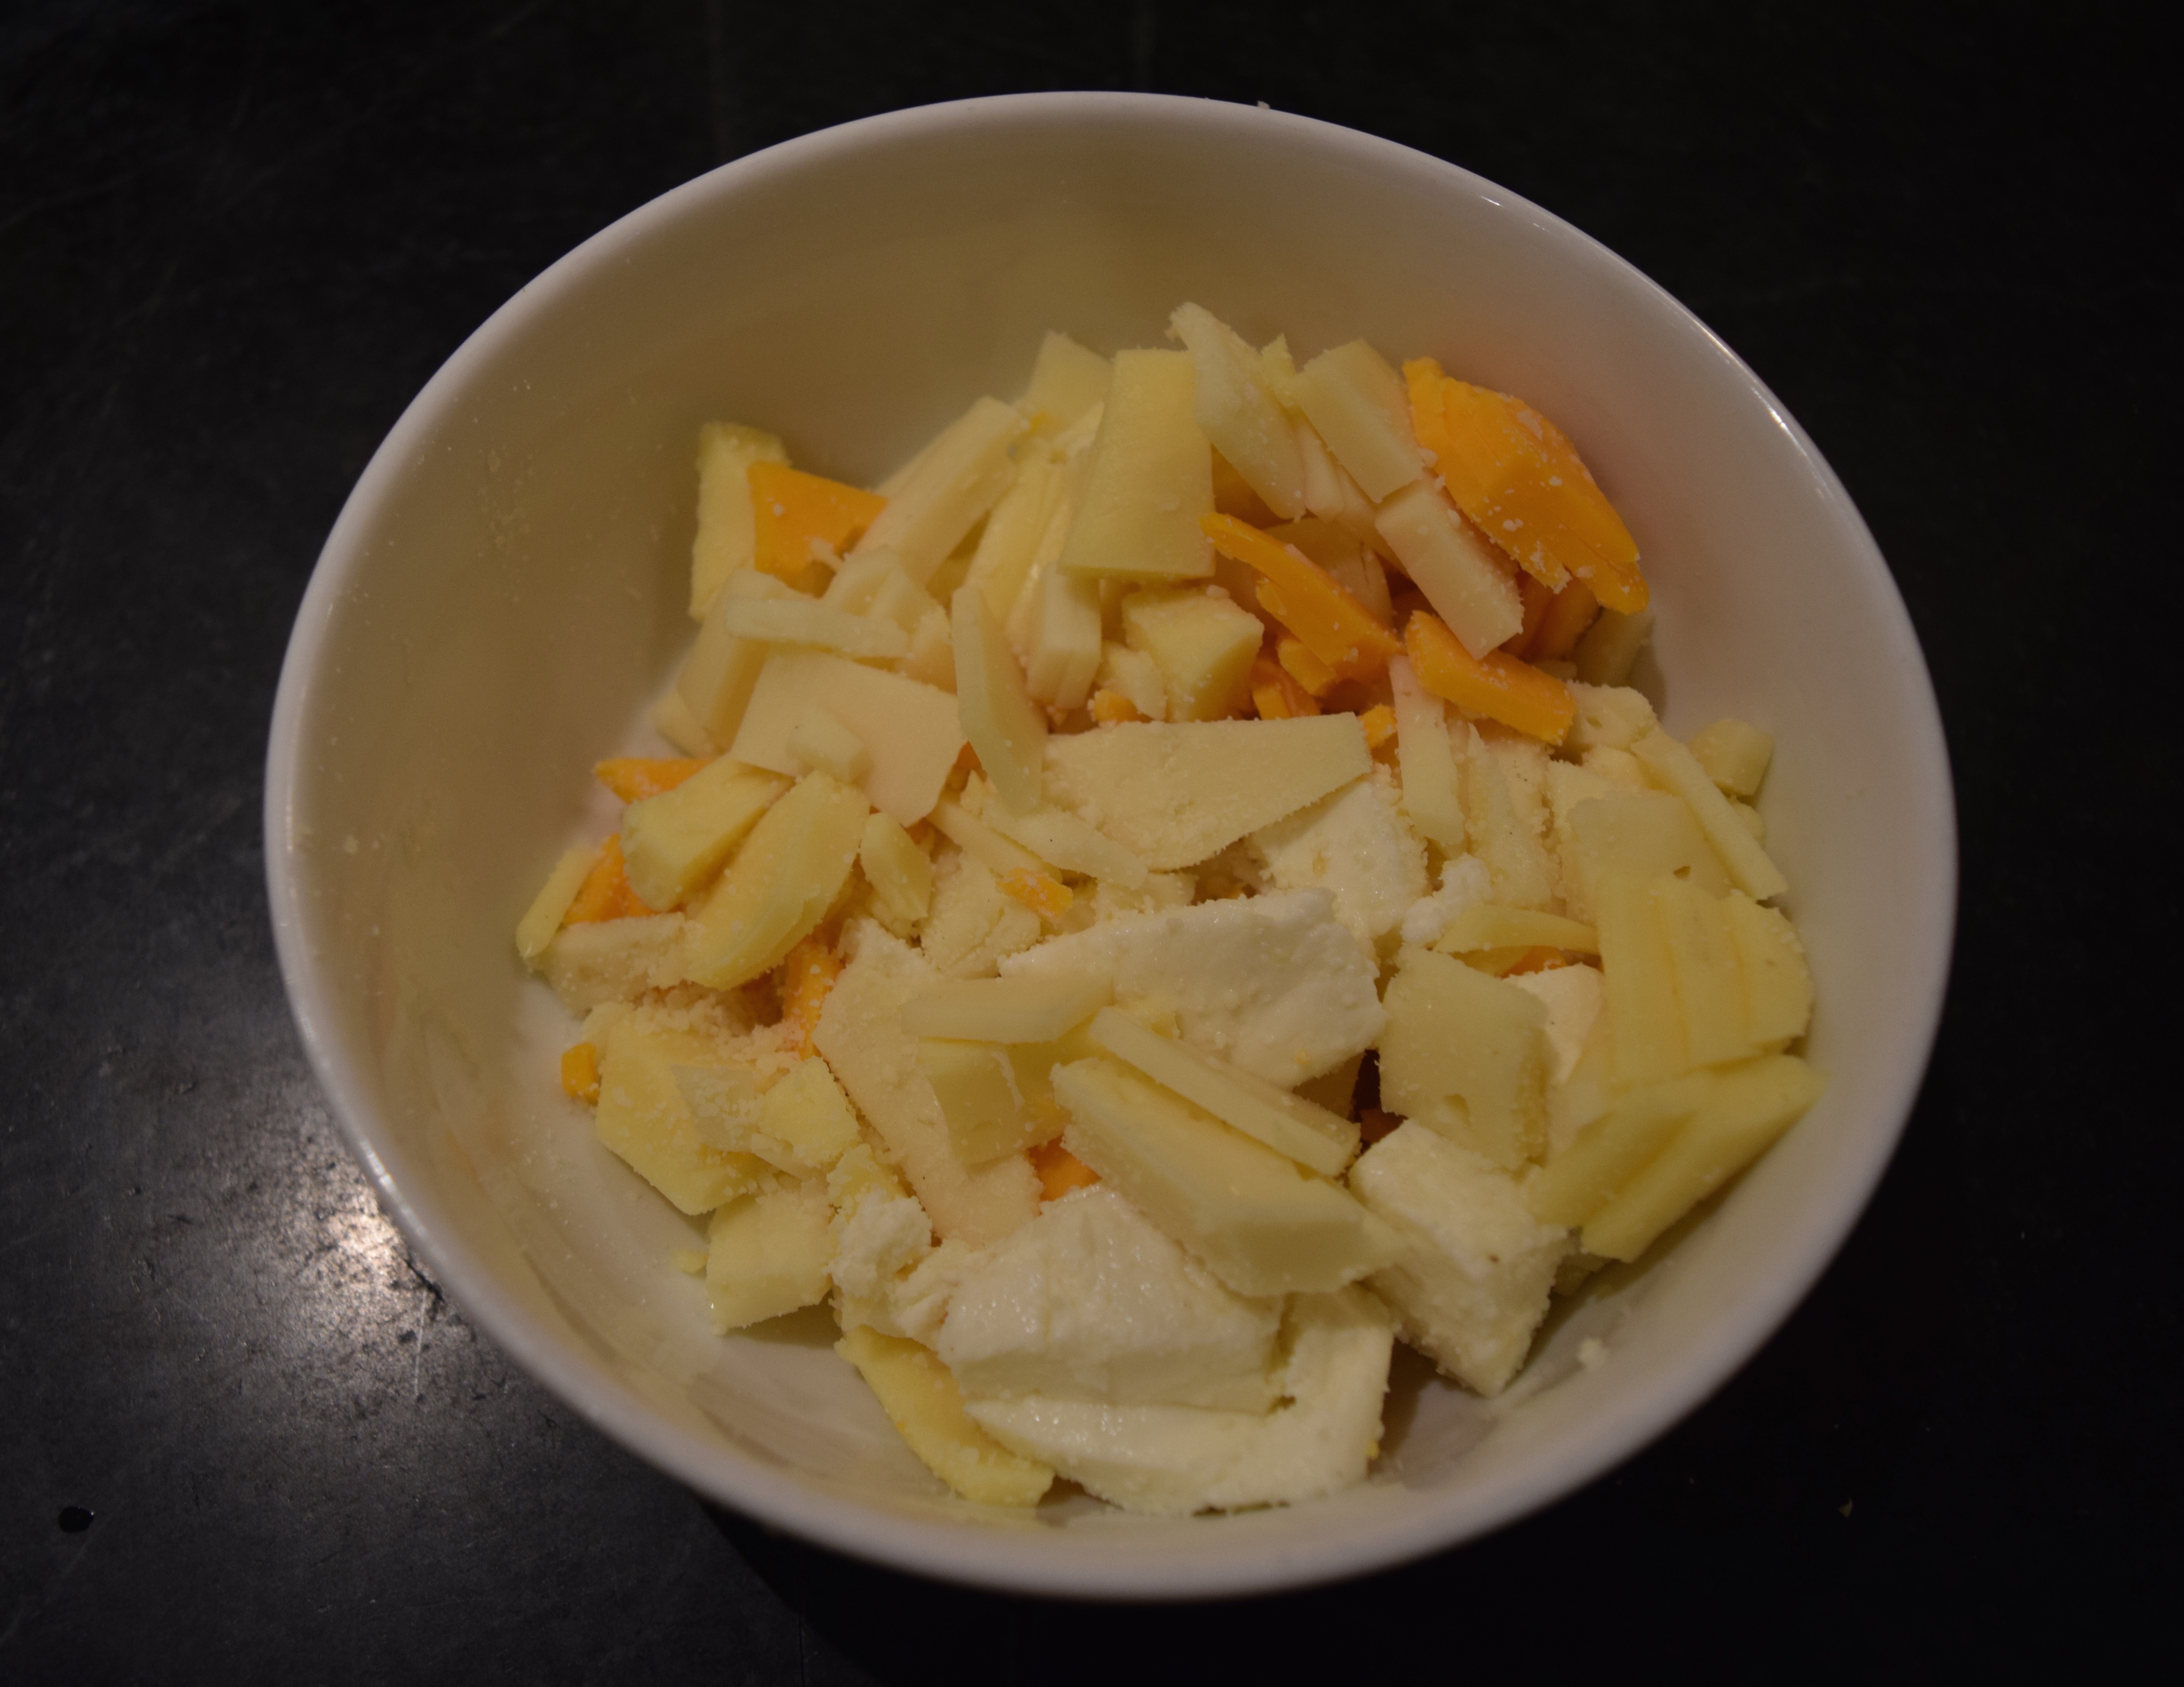
Once, I mixed a bunch of cheeses left over from a cookout and used them for the cheese portion of the recipe. This worked just fine.
DSC_0314

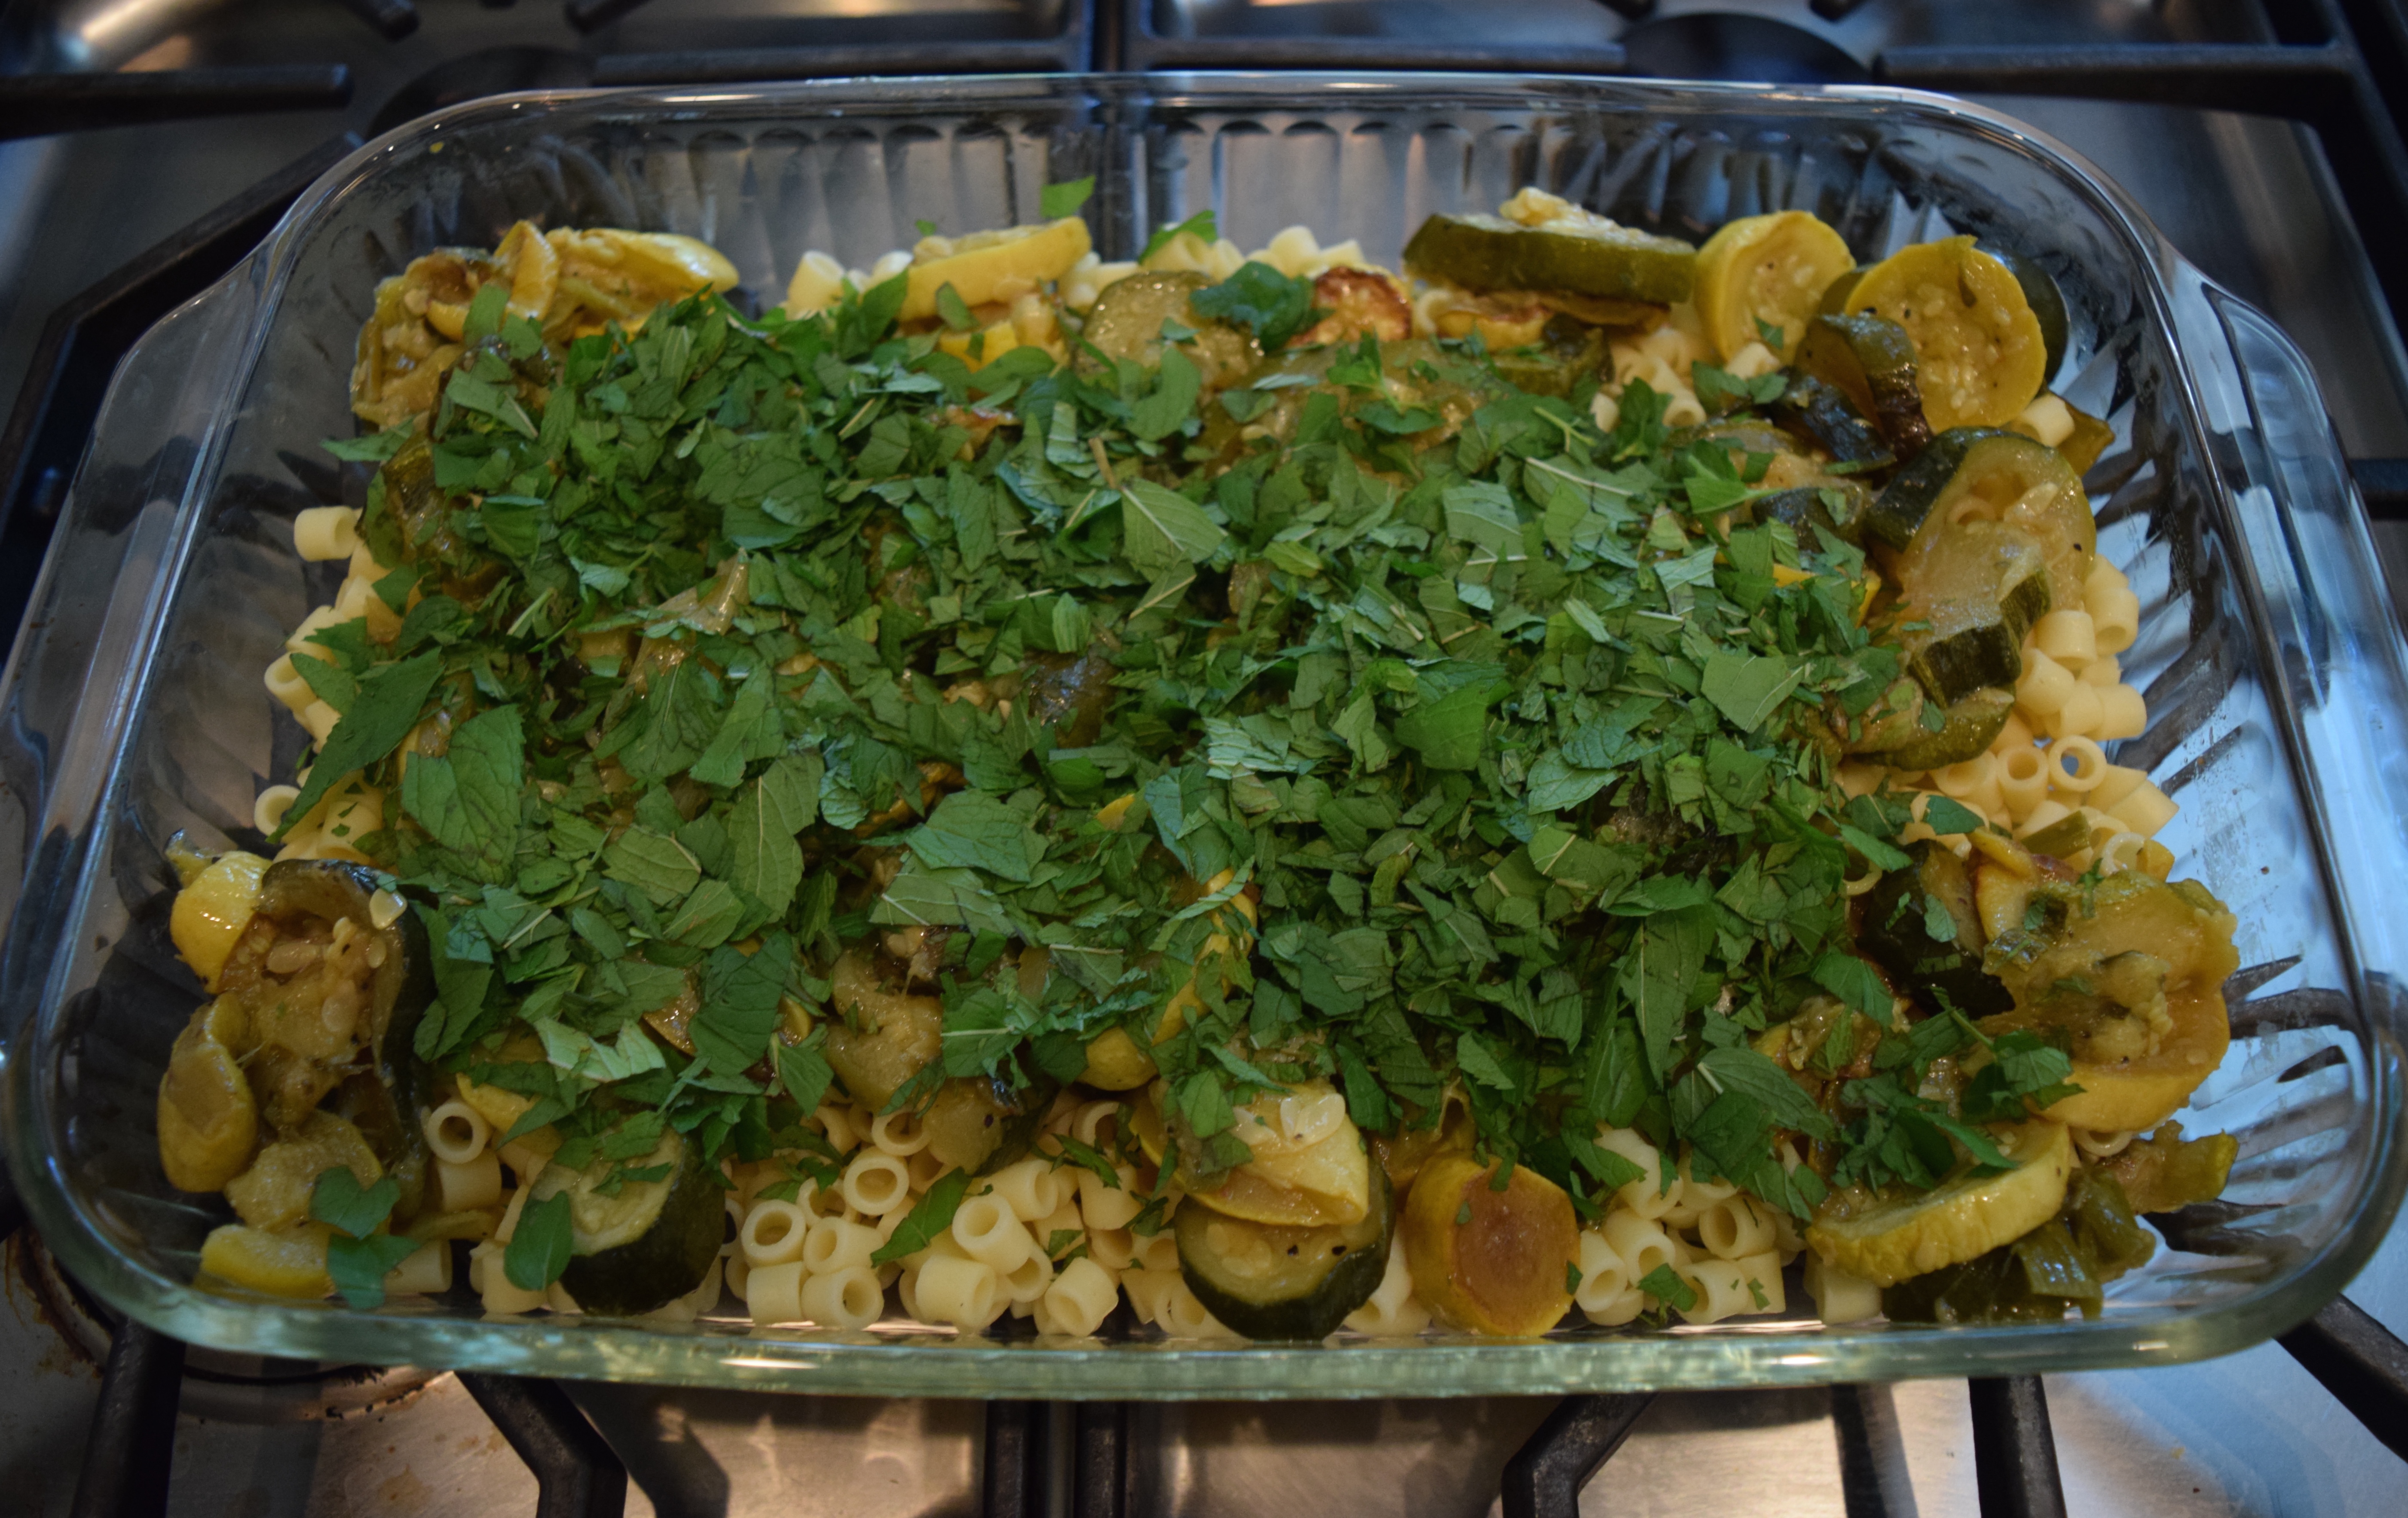
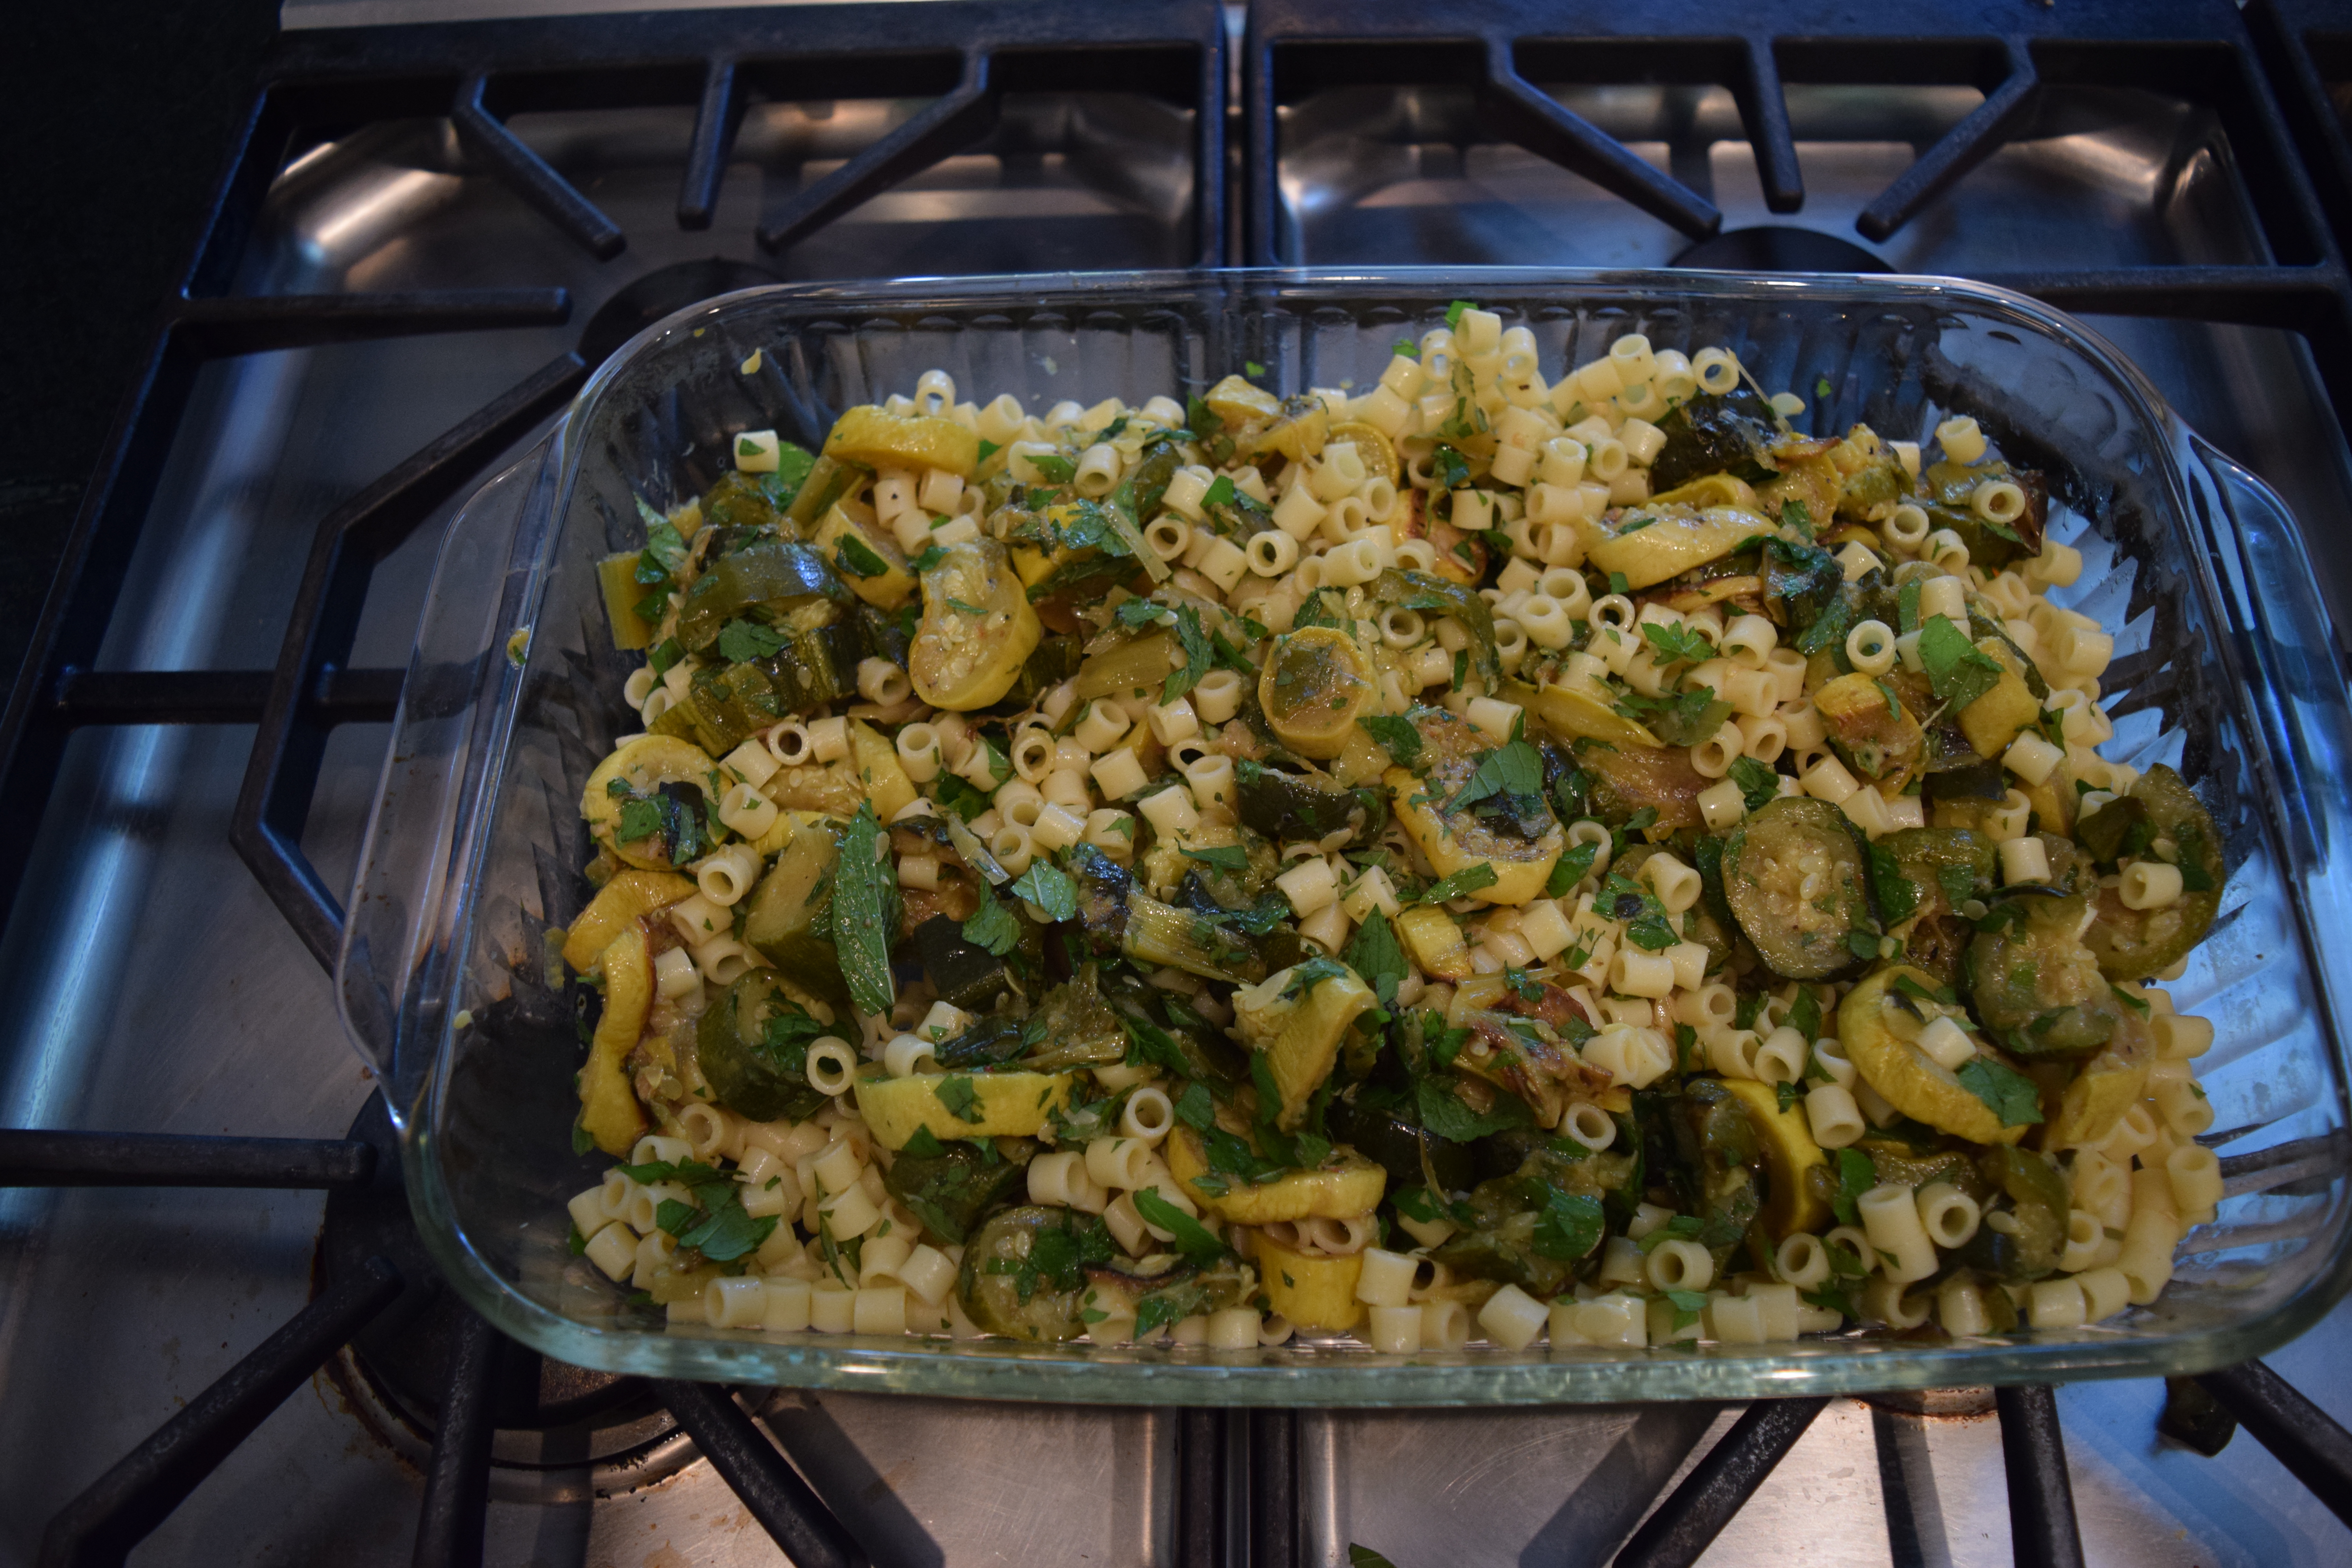
Another frittata version: leftover ditalini pasta and roasted zucchini, summer squash, and leeks, with fresh, chopped mint

I increased the amount of cheese for this version:
12 eggs, 1/2 cup ricotta, 1 teaspoon salt, 1/2 teaspoon pepper, 1 cup Parmesan, 2 cups mozzarella
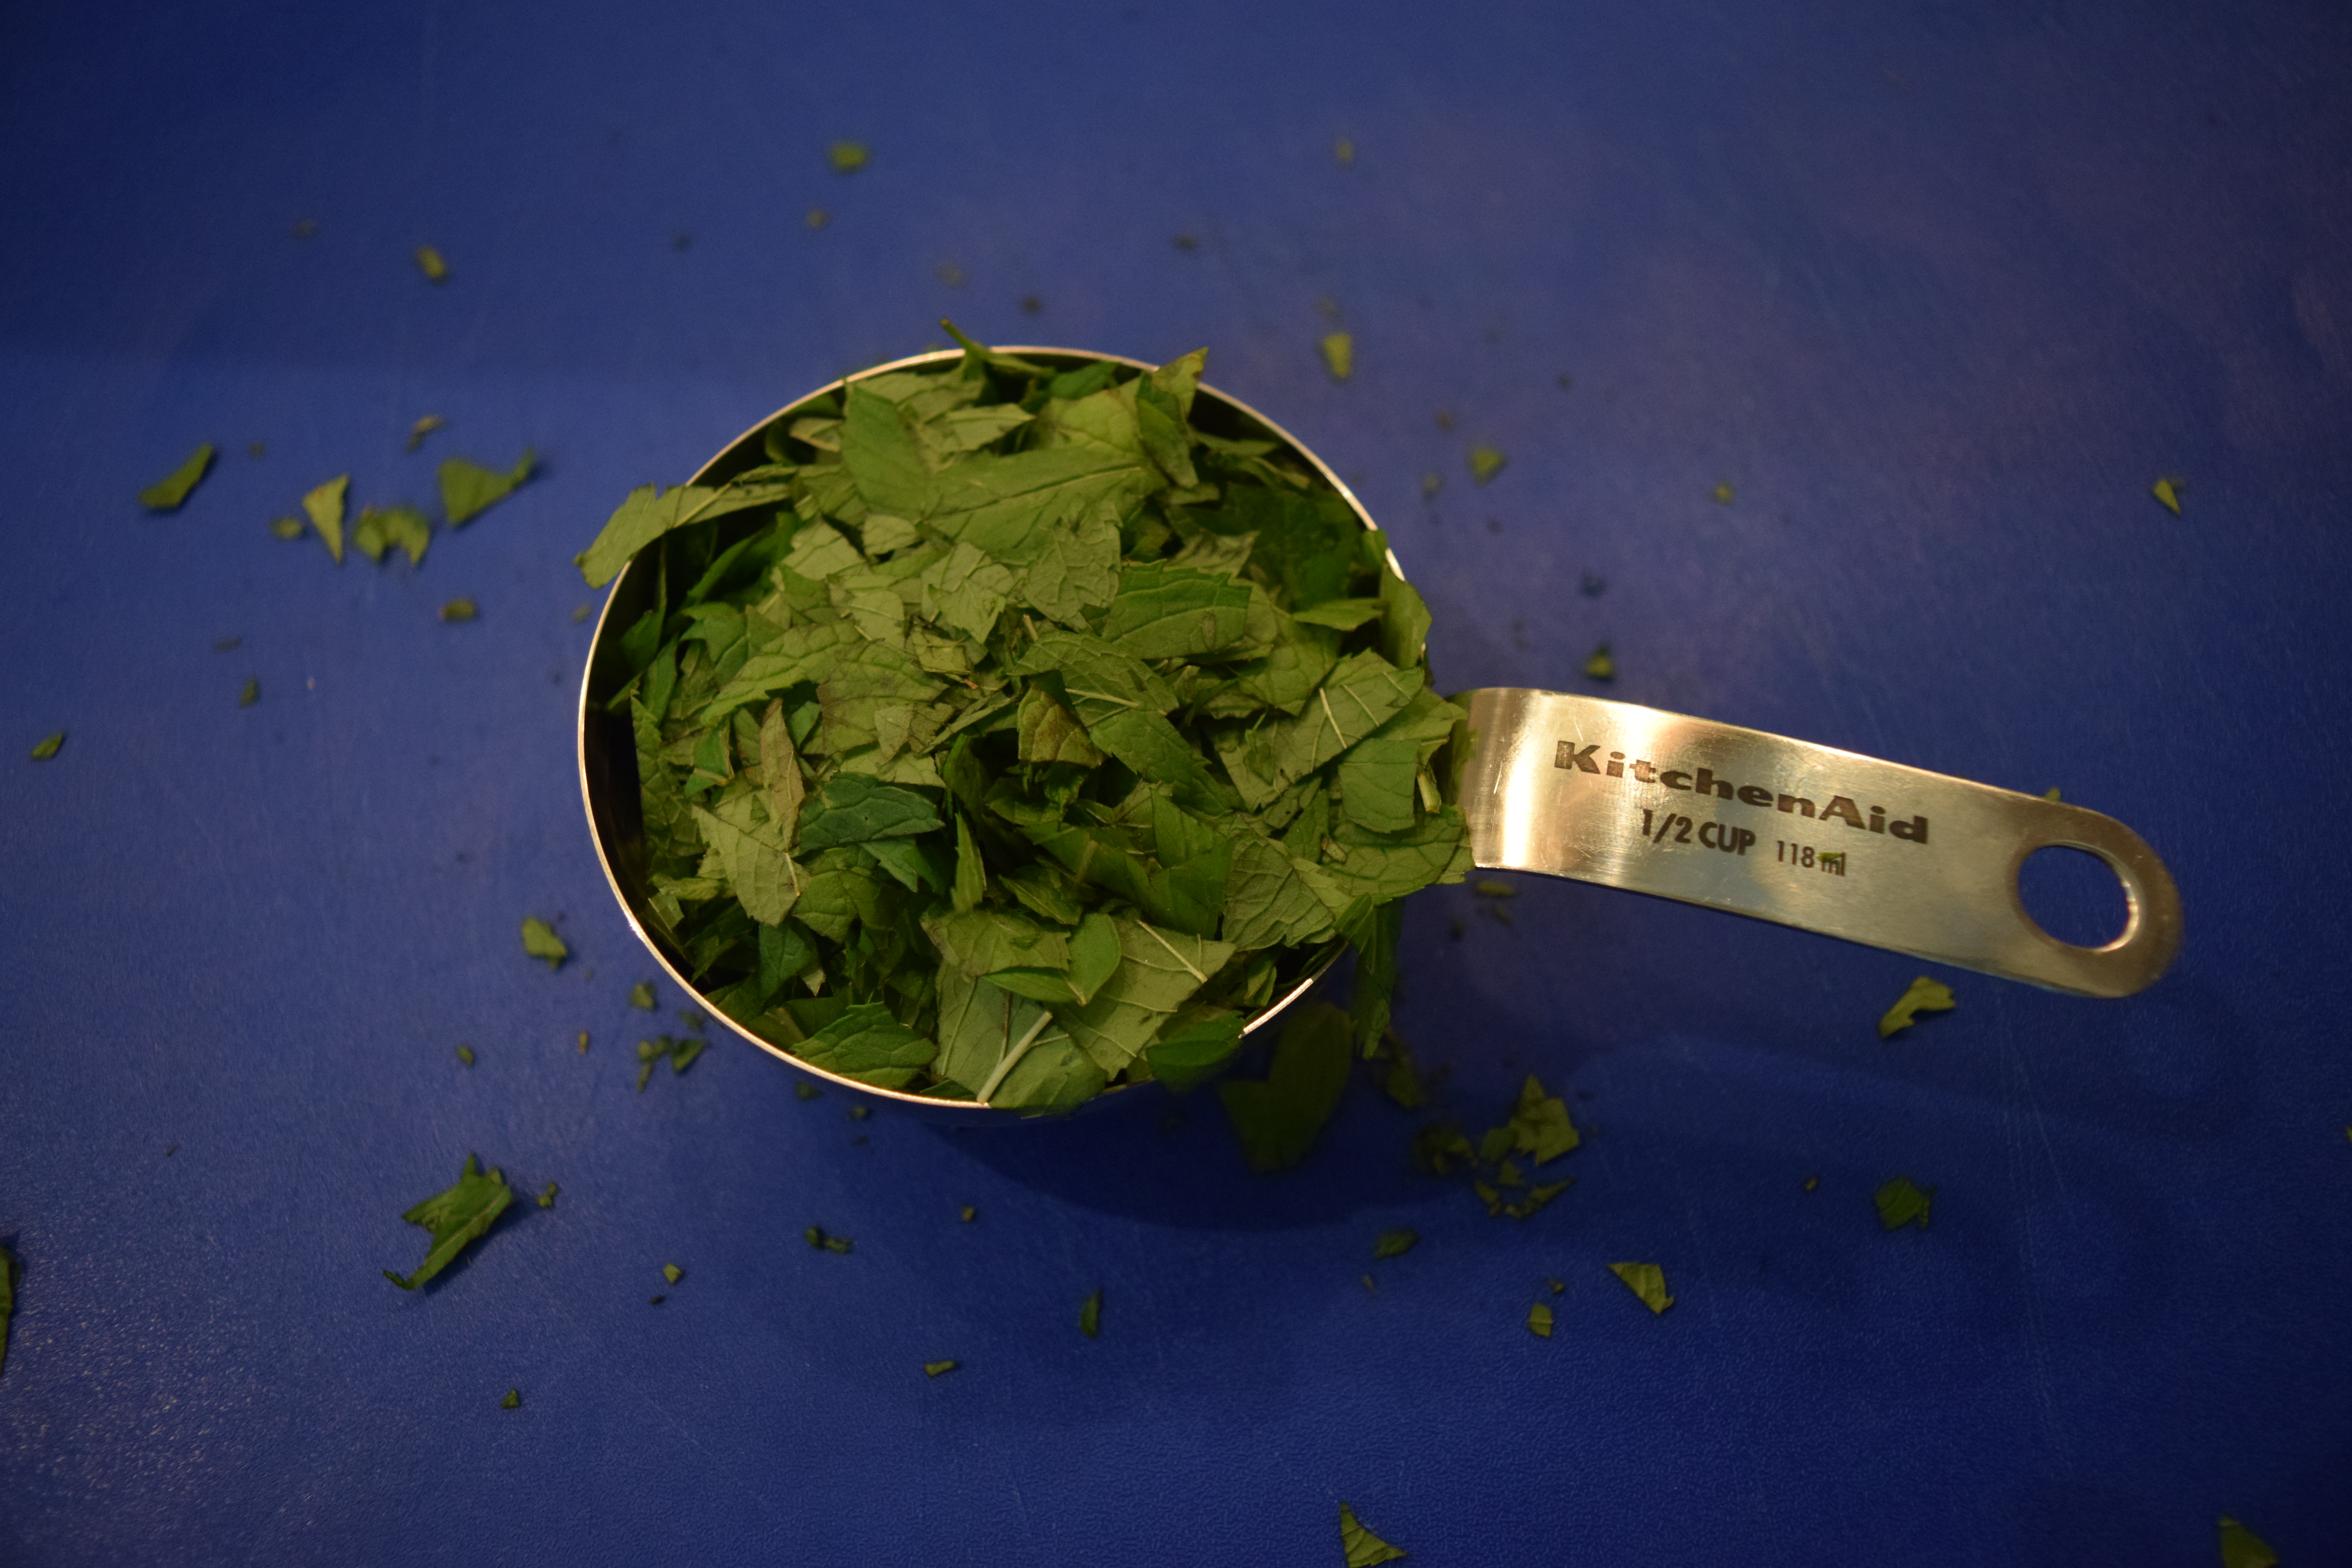
4 cups cooked pasta, 4 cups roasted zucchini with leeks, 1/2 cup chopped mint

DSC_0984

Prepping the mint

DSC_0993 DSC_0995

Prepping the mozzarella

DSC_0001  DSC_0004  DSC_0005

The four stages of combining and baking the frittata:DSC_0998 DSC_0999    DSC_0006 DSC_0012  

Melty goodness!

Other delicious foods to serve at breakfast
Fruit and Nut Bread
The Biscuit King
Very Berry Clafoutis
Quiche Lorraine with Bacon and Kale
Sorghum, Seeds, and Grains Granola
How to Make Grape Jelly (and Grow the Grapes)

LET’S STAY CONNECTED!

Follow my photos of vegetables growing, backyard chickens hanging out, and dinner preparations on Instagram at JudysChickens.

Never miss a post: sign up to become a follower of the Blog.

© 2014-2021 Judy Wright. All rights reserved. Photos and text may only be used with written consent.

Test Your Sense of Smell

This is so cool. Pinch your nose and, then, place a jellybean on your tongue. Start chewing it. You can tell that it is sweet, but can you tell what flavor it is? Heck no! That’s what I discovered when a docent at the marvelous, wish-it-would-come-to-Nashville exhibit, Food: Our Global Kitchenhanded me a cinnamon jellybean and asked me to do likewise. I tasted nothing. Then she told me to unplug my nose and suddenly a burst of flavor hit me. It was startling and very much an “aha” moment. All those years of telling children to hold their noses so they wouldn’t taste yucky meds and I never once questioned why that advice worked.

This traveling exhibit, curated by the American Museum of Natural History in New York, is all about the history and culture of growing and preparing food explored from a global perspective. The exhibit needs to come to Nashville with all of its farm to table restaurants, a climate conducive to growing vegetables almost year round, and a growing population of immigrants. Here’s the link to info on getting the exhibit to a space near you!

DSC_0267

So what happened?

Here’s a scientific explanation from Newton’s Apple,  “Seventy to seventy-five percent of what we perceive as taste actually comes from our sense of smell. Taste buds allow us to perceive only bitter, salty, sweet, and sour flavors. It’s the odor molecules from food that give us most of our taste sensation. When you put food in your mouth, odor molecules from that food travel through the passage between your nose and mouth to olfactory receptor cells at the top of your nasal cavity. If mucus in your nasal passages becomes too thick, air and odor molecules can’t reach your olfactory receptor cells.”  That’s why when you are sick with a stuffy nose almost everything tastes the same; your brain can’t receive any signal identifying the odor and the odor molecules remain trapped in your mouth. [That’s when you should pray that someone brings you a nice bowl of Sick Soup.]

And a graphic from Planet-Science:

smell and taste_304x323

The more you know–an old wives tale about plugging your nose to take your medicine, explained.

LET’S STAY CONNECTED!

Follow my photos of vegetables growing, backyard chickens hanging out, and dinner preparations on Instagram at JudysChickens.

Never miss a post: sign up to become a follower of the Blog.

© 2014-2020 Judy Wright. All rights reserved. Photos and text may only be used with written consent.