My Favorite Silver Palate Chili

Thirty years ago, when I was a newlywed living and working in Boston, Julee Rosso and Sheila Lukins’s The Silver Palate Cookbook was the “it” cookbook. Just as in 1961, when Julia Child made learning French cooking techniques attainable for home cooks with Mastering the Art of French Cooking, Rosso and Lukins, in 1982, introduced the next generation of home cooks to a style of gourmet cooking using simple instructions and fresh ingredients.

Their recipes were so accessible, flavorful, and sophisticated that an expanded language of food emerged. Suddenly, phyllo triangles, tarragon chicken, hummus, arugula, red leaf lettuce, colorful pinwheel fruit tarts, and blueberry and walnut oil vinaigrette, became de riguer at luncheons and dinner parties across the country. As an indicator of how unconventional their ingredients were there was an asterisk next to “balsamic vinegar” in one recipe, indicating it could be found in “specialty food shops.”

The Silver Palate Cookbook authors gave my peers and me the confidence to experiment with unfamiliar ingredients. It is hard to describe how accomplished I felt, as a cook, the first time I made Silver Palate classics like Chicken Marbella and Raspberry Chicken, both notable for their beautiful presentations and multiple layers of flavor. The authors made time spent in the kitchen an adventure; an adventure that continues to this day.

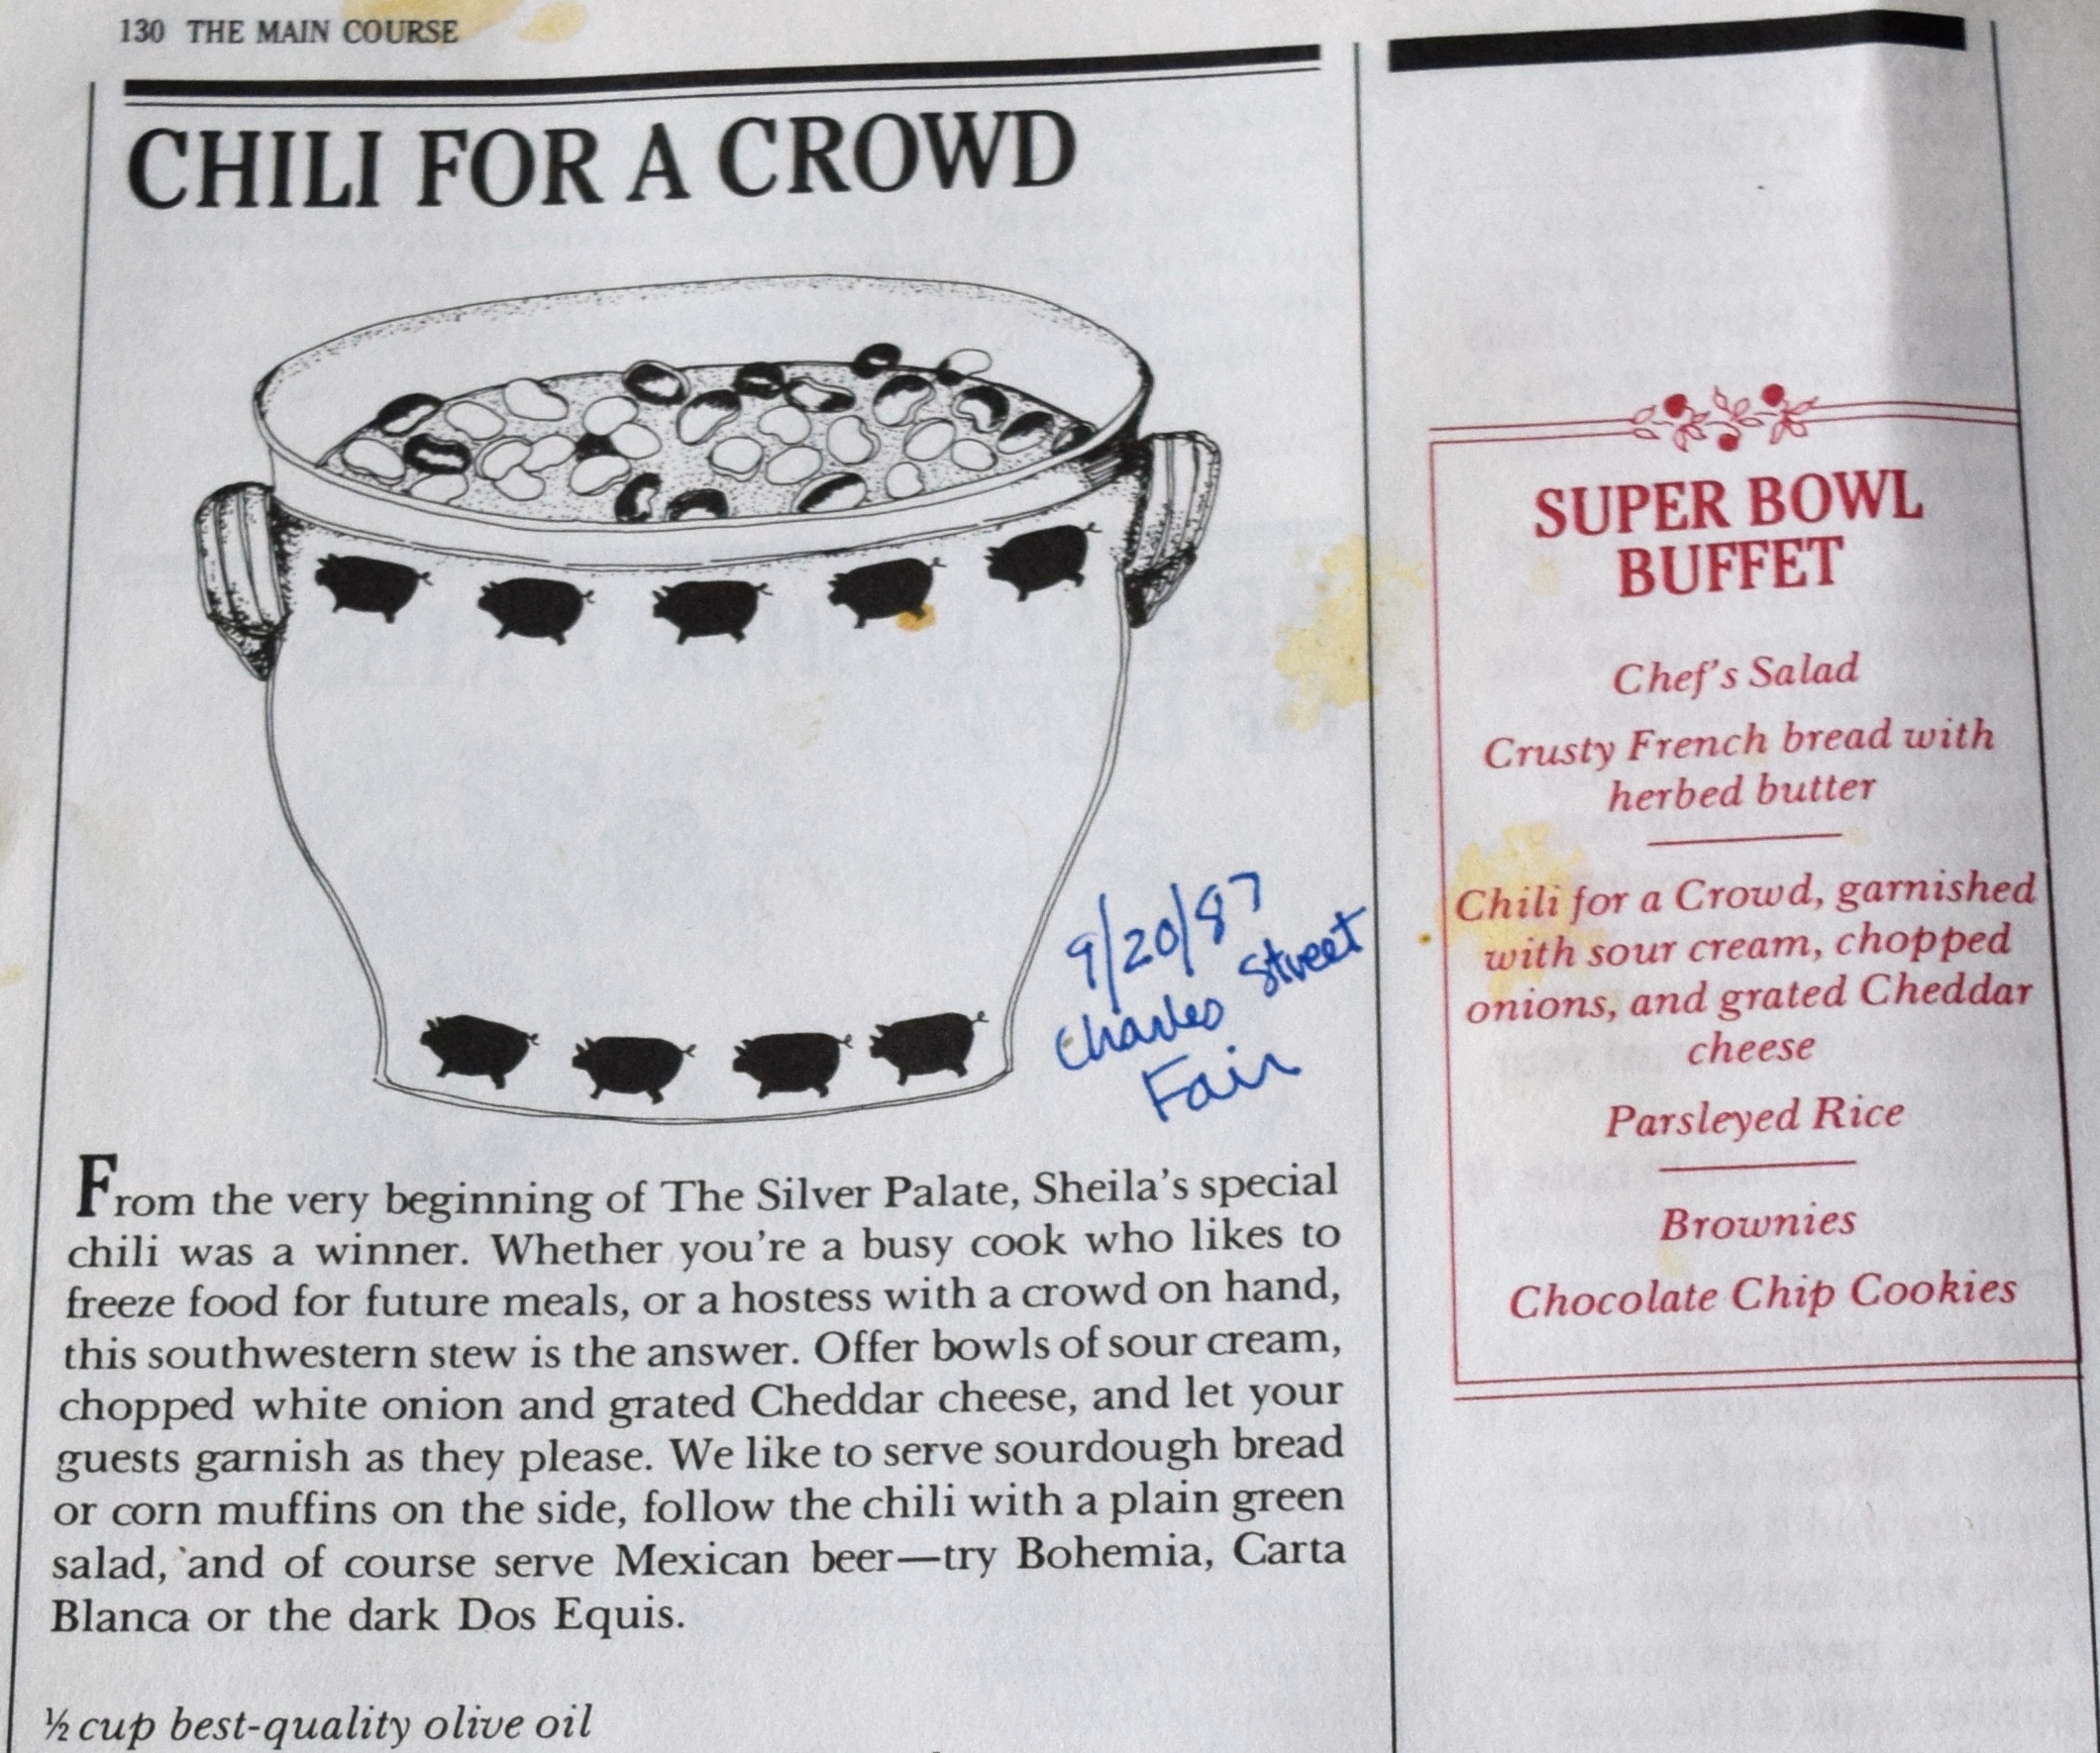
This chili recipe, with a few adaptations, continues to be my favorite chili. It is loaded with wonderful flavors like dill, cumin, citrus, Dijon, and wine. It is A-mazing. Be warned: it makes a lot of chili — feel free to cut the ingredient amounts in half.

DSC_0247

Yield: 8 quarts or 32 cupfuls

Ingredients:

fullsizerender

½ cup extra-virgin olive oil
2 pounds sweet onion, chopped
¼ cup minced garlic
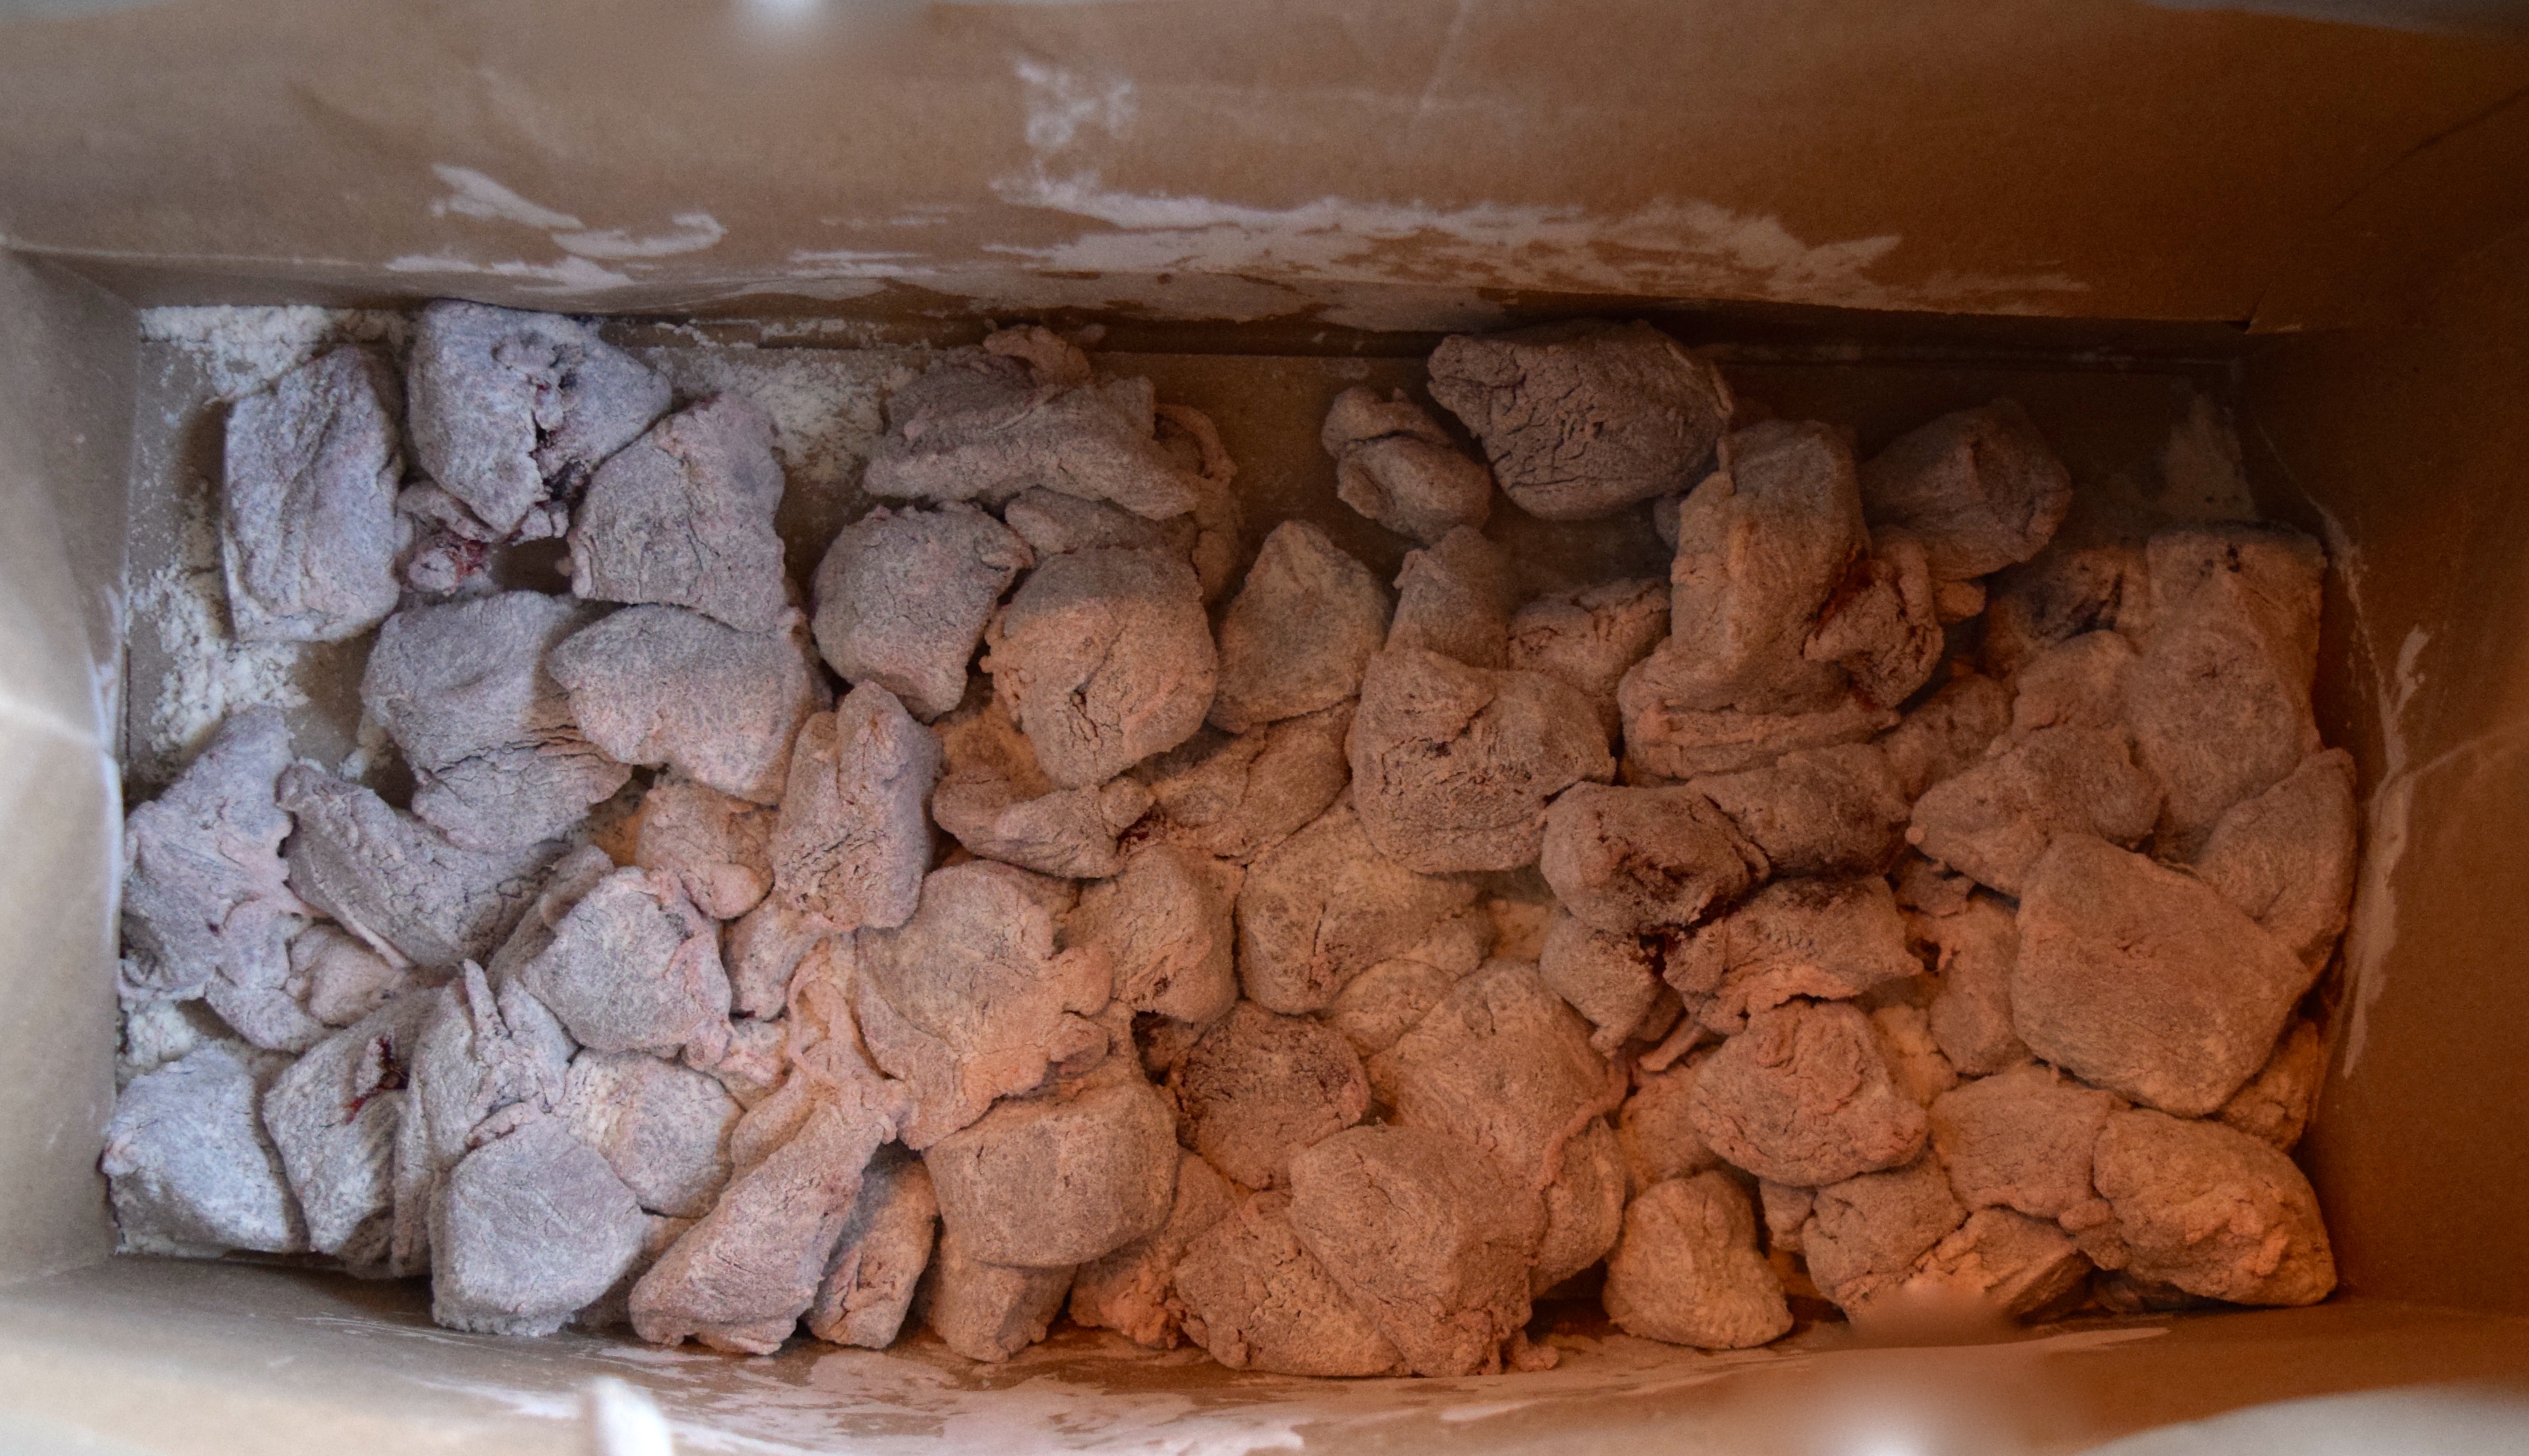
3 pounds sweet Italian sausage, removed from casings
6 pounds lean ground beef
3 15-ounce cans (about 5 cups) dark red kidney beans, drained, unrinsed
4  28-ounce cans crushed Italian plum tomatoes (plus ¼ cup water/per can, to rinse can)
2  12-ounce cans tomato paste (plus ¼ cup water/per can, to rinse can)
½ cup Dijon mustard
½ cup red wine
¼ cup (1 large lemon) freshly squeezed lemon juice
¼ cup sea salt
1½ tablespoons ground black pepper
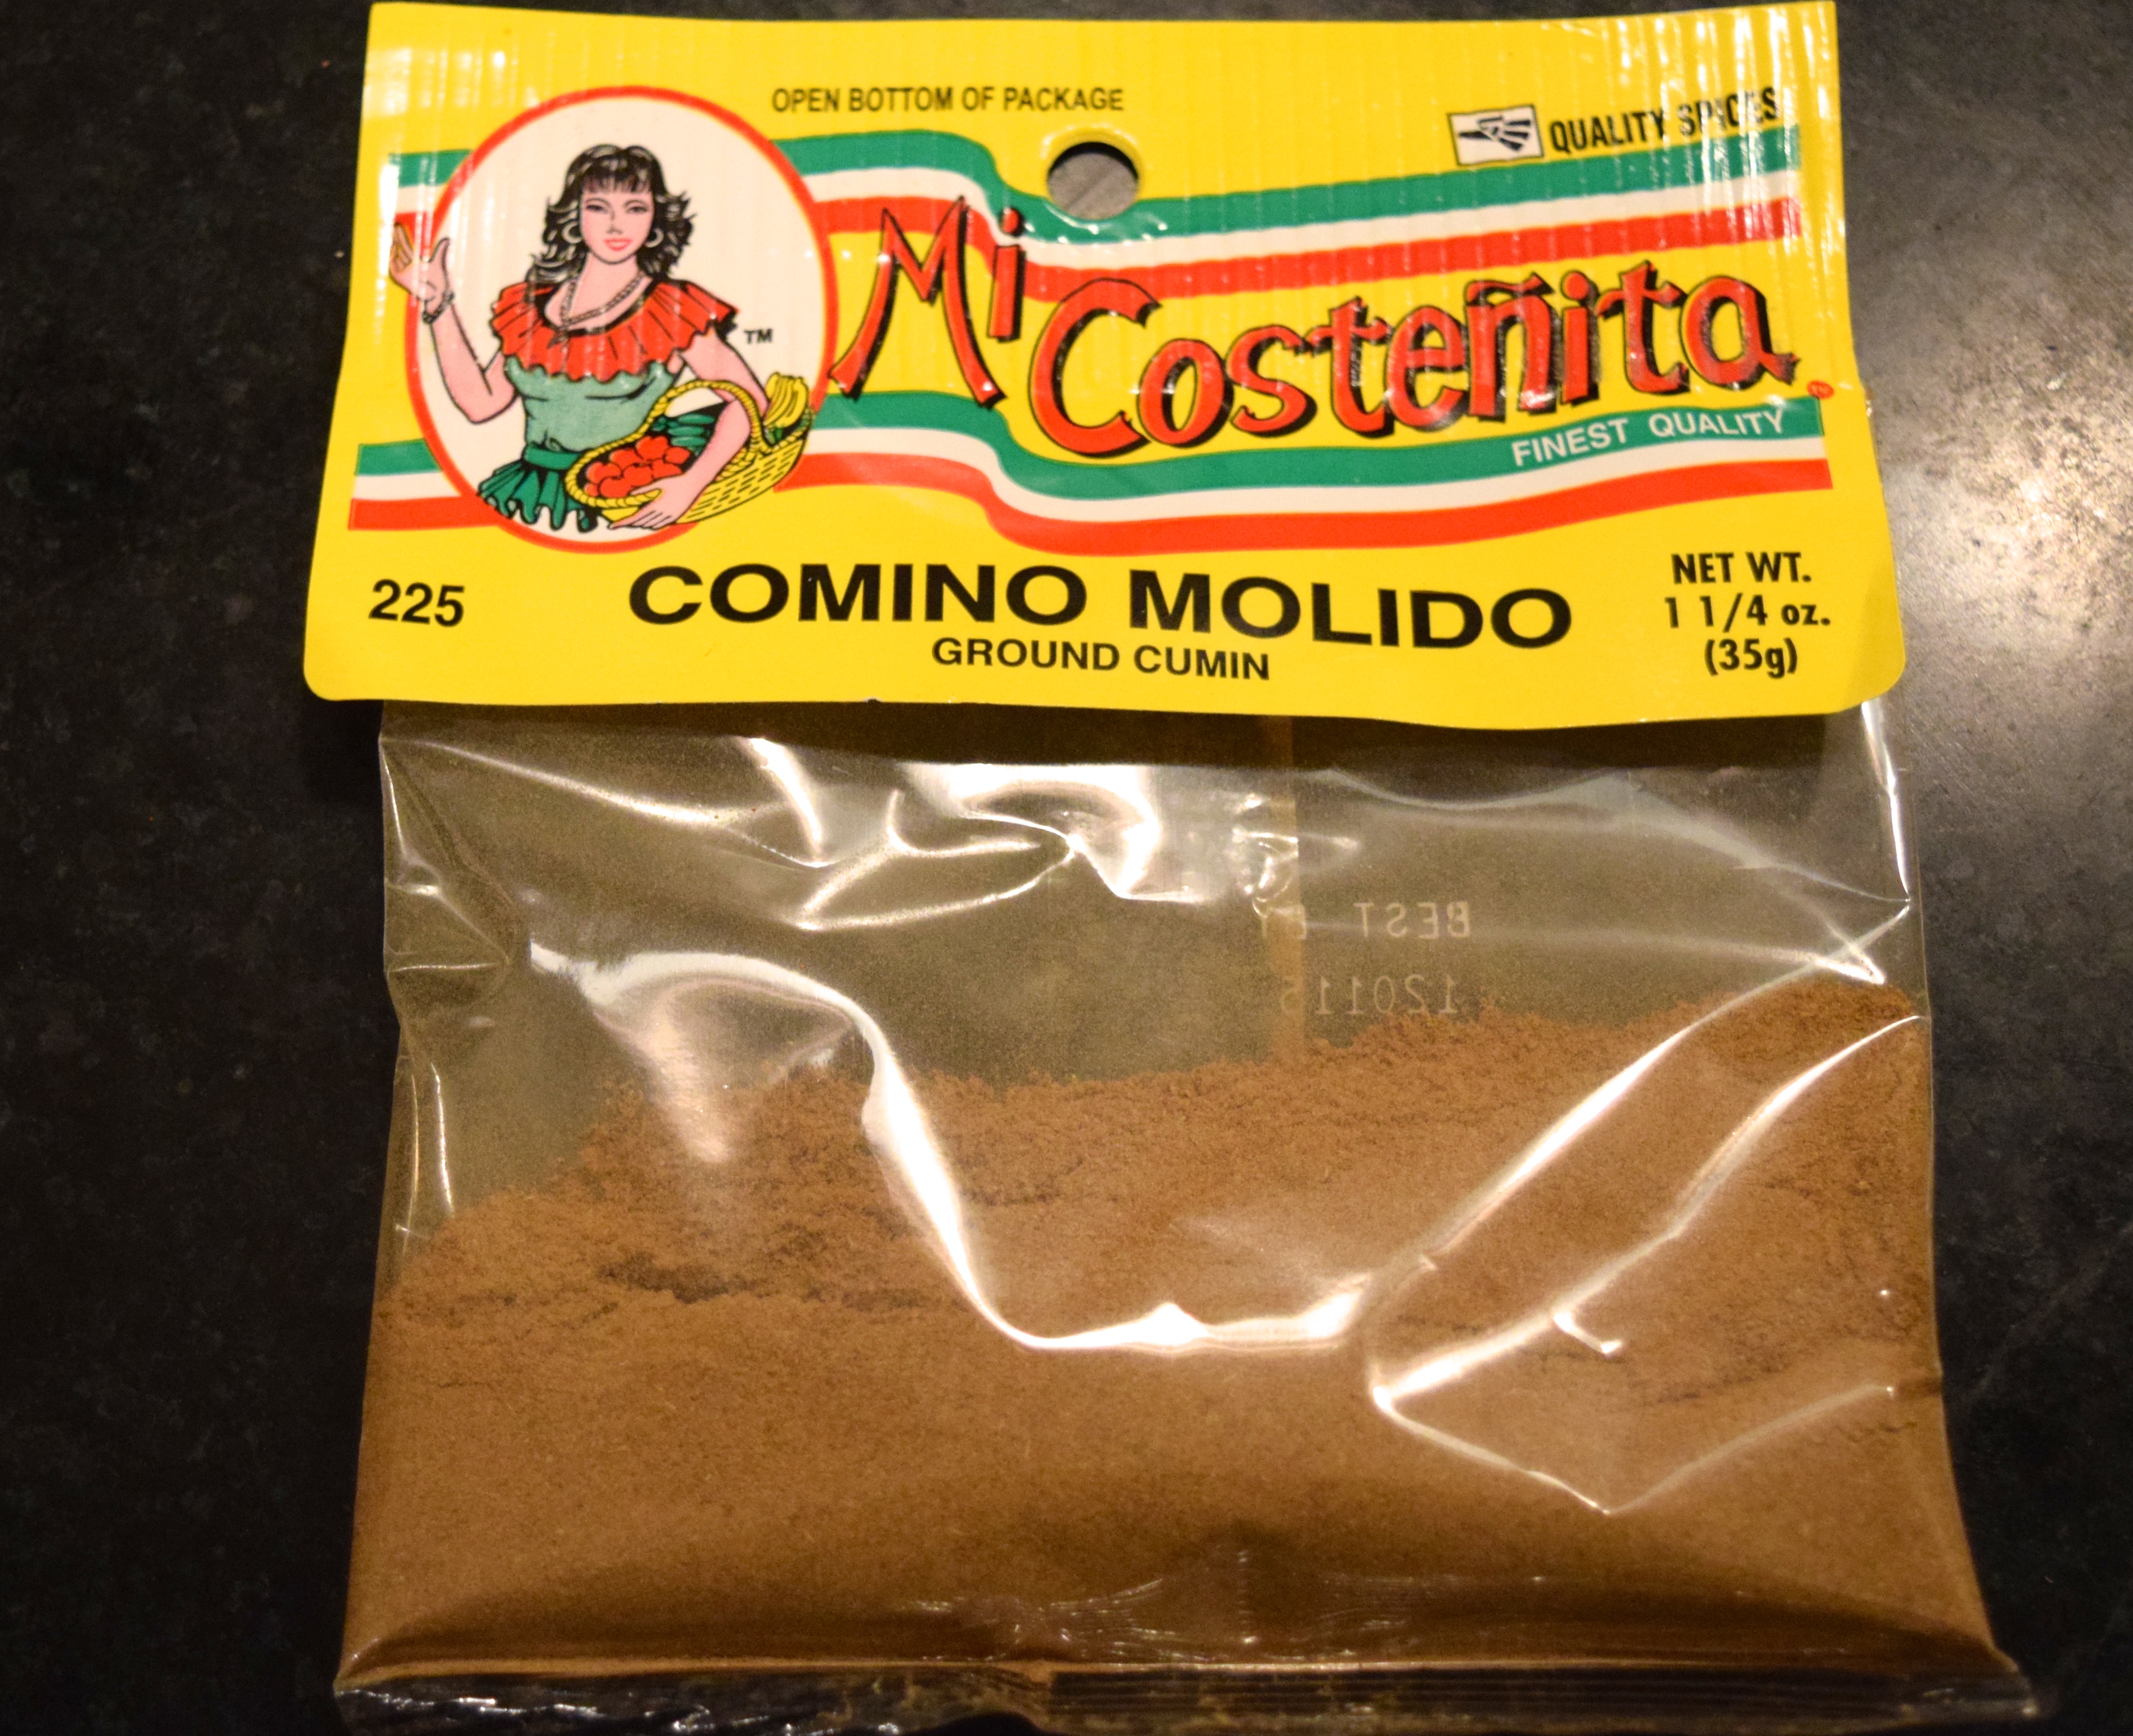
3-ounce can ground cumin seed
4-ounce can plain chili powder
¼ cup dried basil
¼ cup dried oregano
½ ounce (1 cup) fresh chopped dill, stems removed
1 ounce (1 cup) fresh chopped Italian flat-leafed parsley, stems removed
4  6.5-ounce cans pitted black olives, coarsely chopped

A few words about the ingredients …

Sausage: I use Premio’s Sweet Italian Sausage in this recipe. I buy it at Costco. The sausages are fabulous grilled or cooked in a Sunday tomato sauce.

DSC_0441

Spices: You can go to the international aisle of most grocery stores and find spices at one-third the cost of those sold in the regular spice aisle?

DSC_0339

Technique Tip: How to use a fat separator:
Fat separators are pitchers with pouring spouts set into the base. Since water is denser (has more mass per unit of volume) than fat, the water-based juices sink to the bottom, and the fat floats to the top. With the spout on the bottom, it is easy to save and pour out the juice while retaining the fat in the container. Remember to stop pouring the liquid just before the fat enters the spout hole in the base. The straining basket on top keeps solid particles from falling into the container and clogging the spout hole.

dsc_0576

If you don’t have a fat separator, pour the liquid into a one-quart measuring container, chill it in the refrigerator, and scoop off the yellow congealed fat that floats to the top. Pour the meat juice back into the pot. If you want to feel really virtuous, take a look at how much fat you have eliminated from the pot of chili. Nice.

dsc_0661

Instructions:

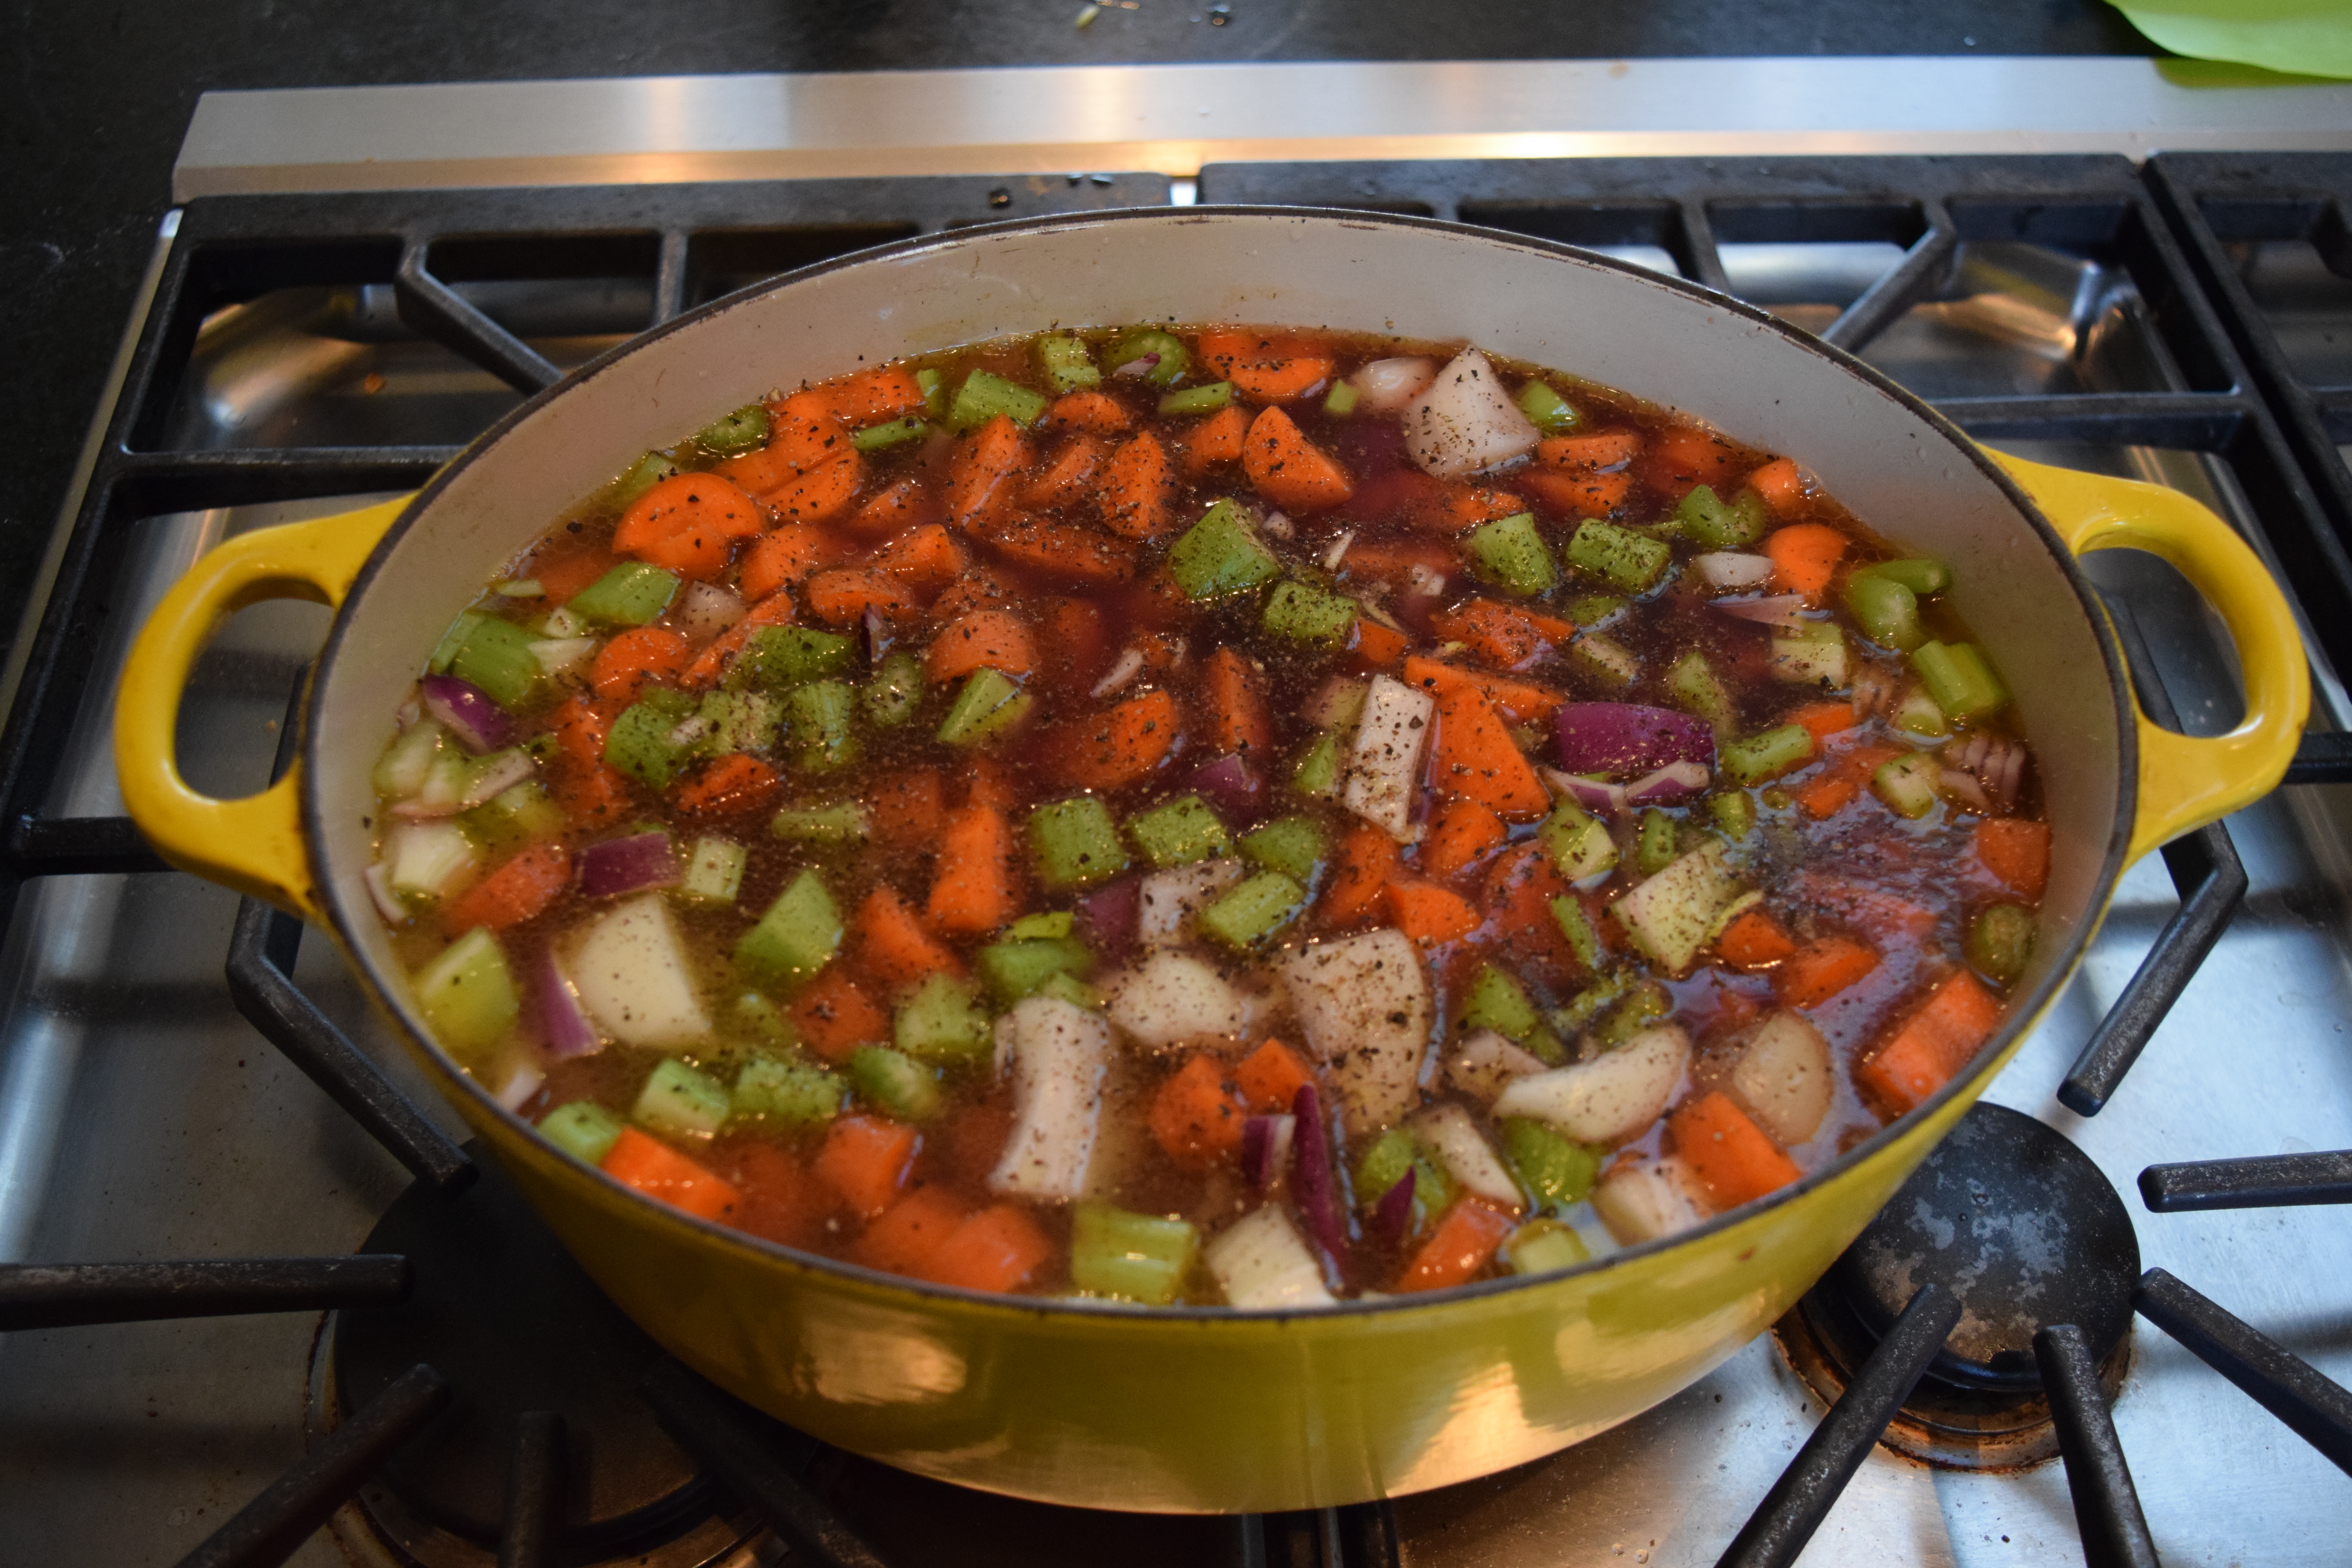
Add olive oil to a large, heavy-bottomed stockpot.  Add onions and garlic and sauté until tender and translucent, about 10 minutes.

dsc_0549

While onions are cooking, squeeze sausage out of its casings and crumble. Sauté meat in a 6-quart, or larger sauté pan until evenly browned.

dsc_0551

Next, we want to get rid of the fat from the cooked meat but keep the meat’s juices. Here’s a way to do it: Make a well in the center of the meat mixture. A golden liquid will quickly fill the well. Use a ladle to remove the fat to a large fat separator. Keep scooping until all the liquid is gone.

dsc_0561

After juices settle to the bottom of the fat separator, pour them (about 2 cups) back into the stockpot. Discard fat that remains. This is extra step is a time-consuming process but worth it to retain the two cups of meat juice that would have been lost had you simply drained the meat into a colander.

dsc_0572

Prepare a mise en place for the remaining ingredients. This is very helpful when there are so many add-ins that need to be measured. Otherwise, it’s easy to lose track of which ingredients have already been added to the pot.

dsc_0314

Add all ingredients except the olives to the meat and onion mixture. Rinse each can of tomatoes with ¼ cup of hot water and add that to the pot.

So many lovely ingredients in this chili!

dsc_0620

Simmer chili for 20 minutes on low heat stirring frequently.

Add coarsely chopped olives, stir, and cook for another 5 minutes.

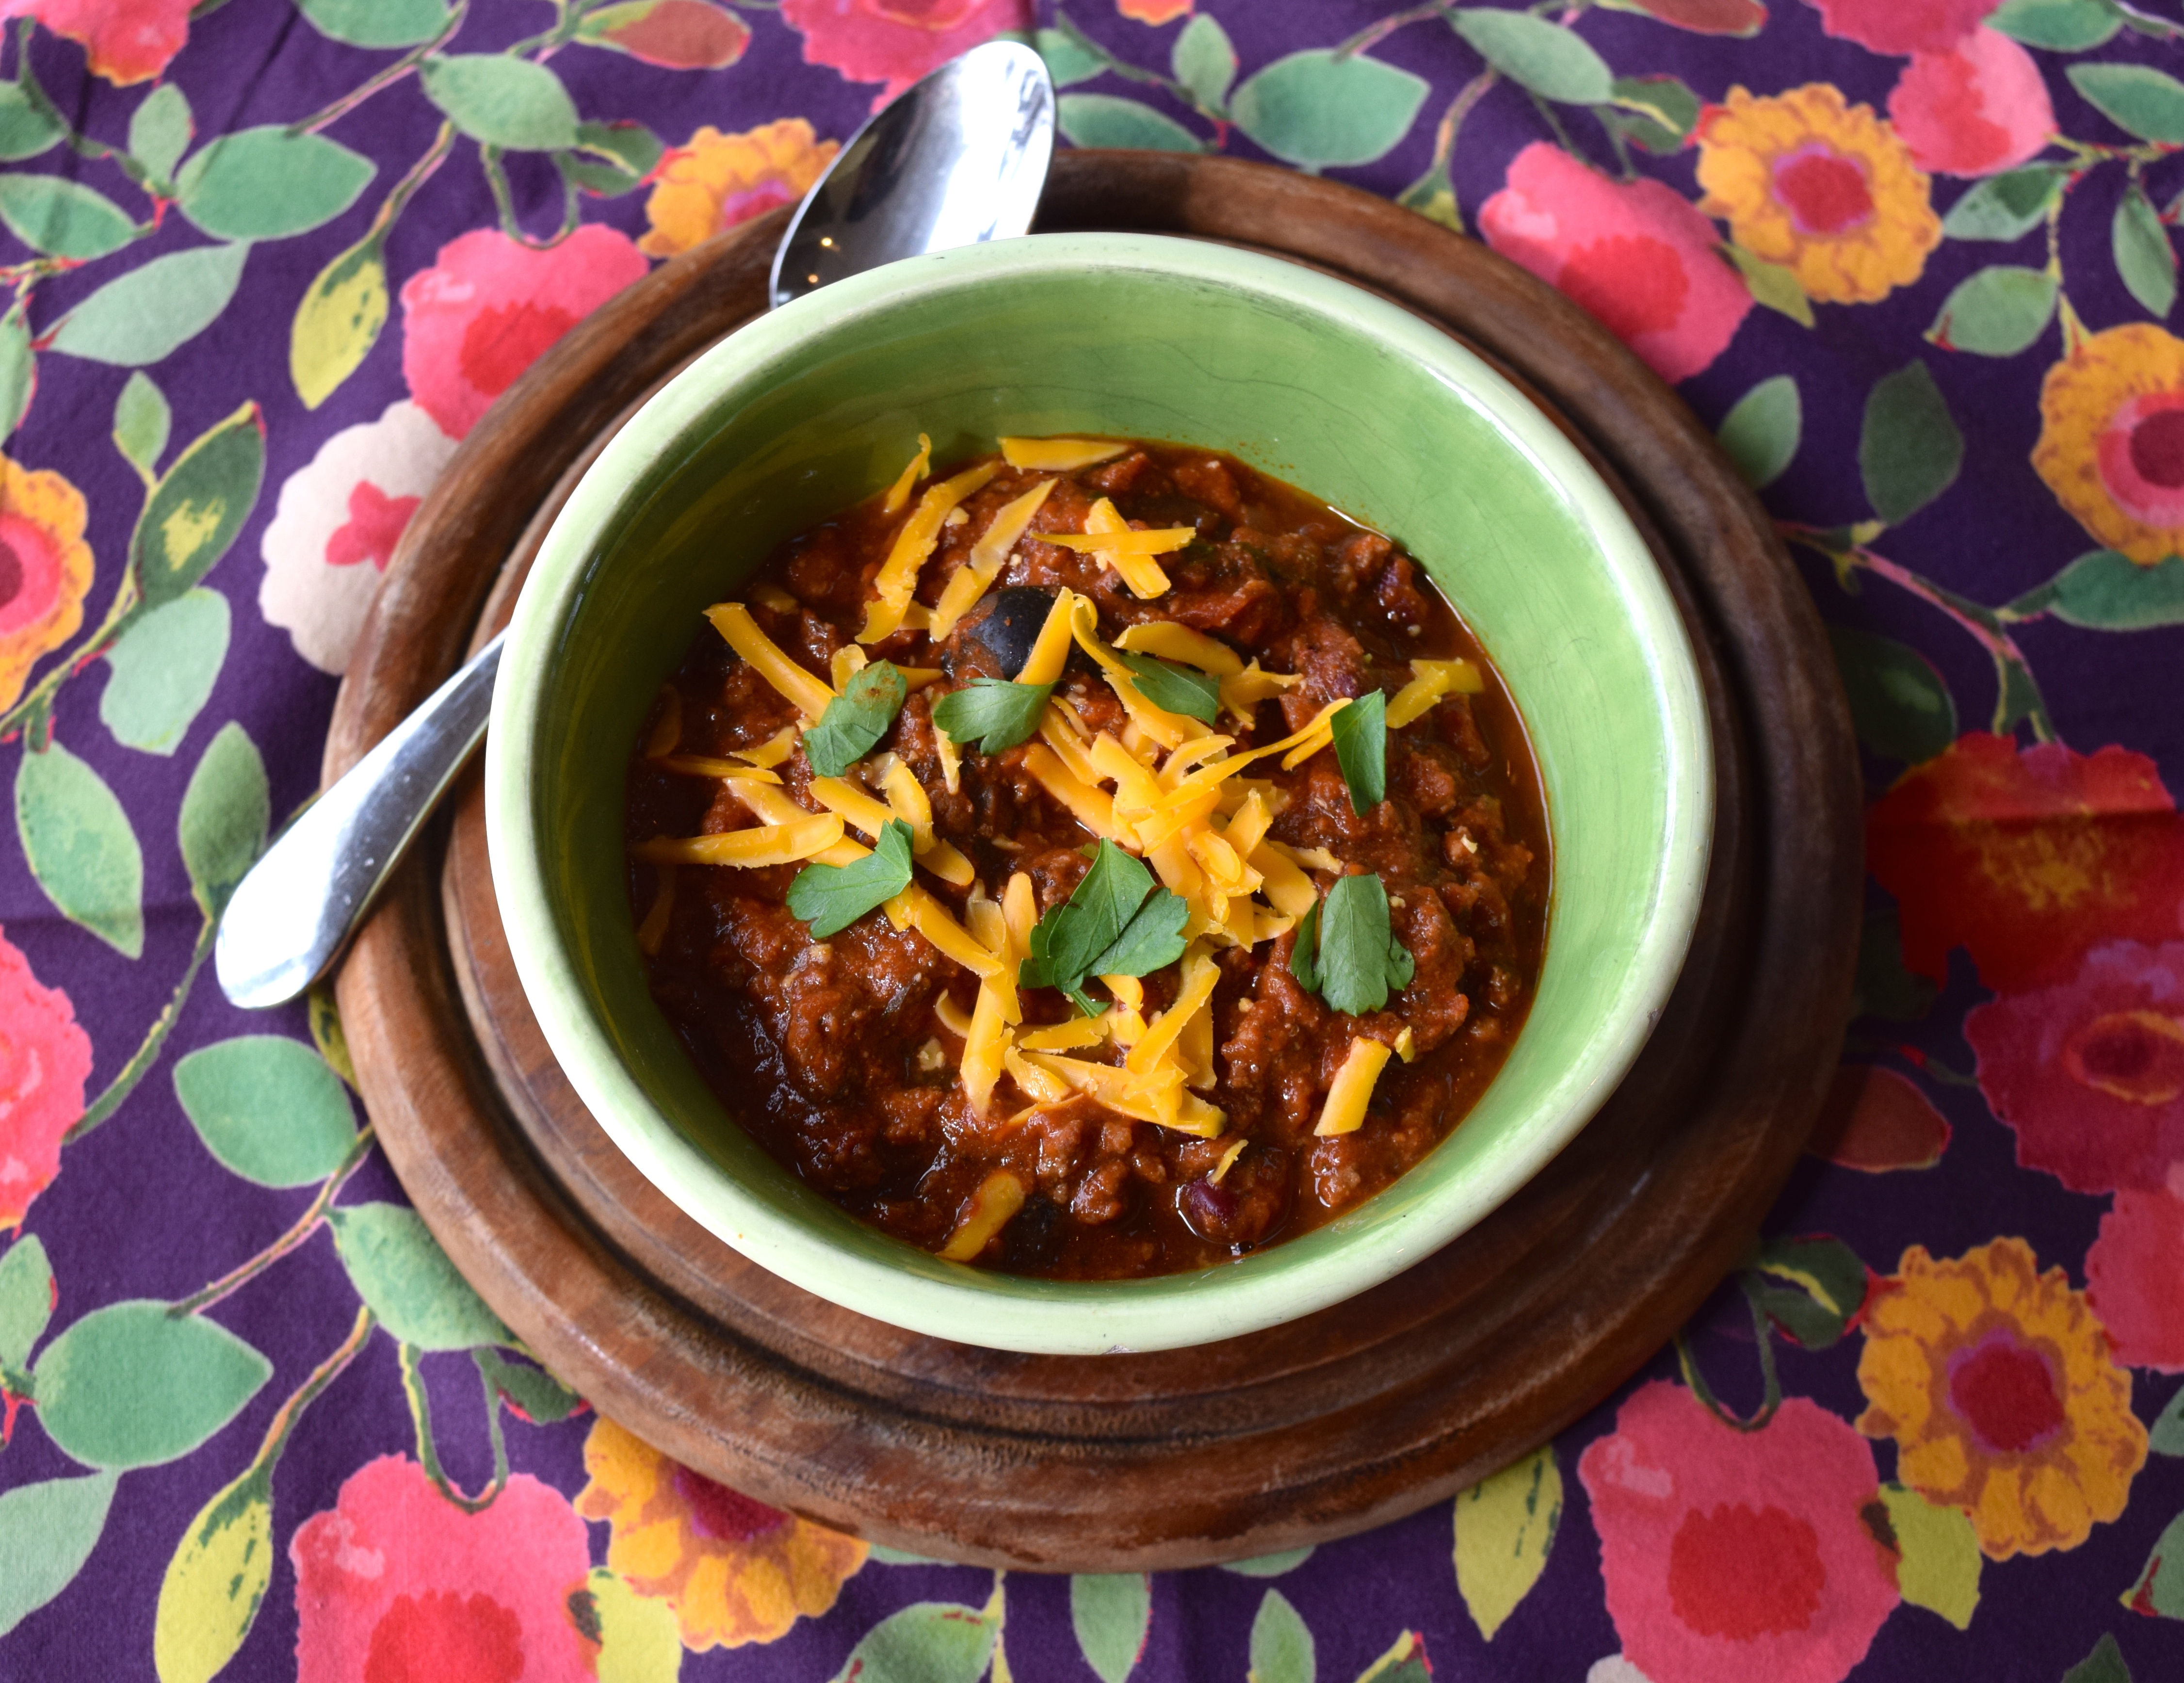
Serve with bowls of garnish such as shredded cheddar cheese, sliced green onions, chopped parsley, and sour cream. Serve over rice, if desired.

chili

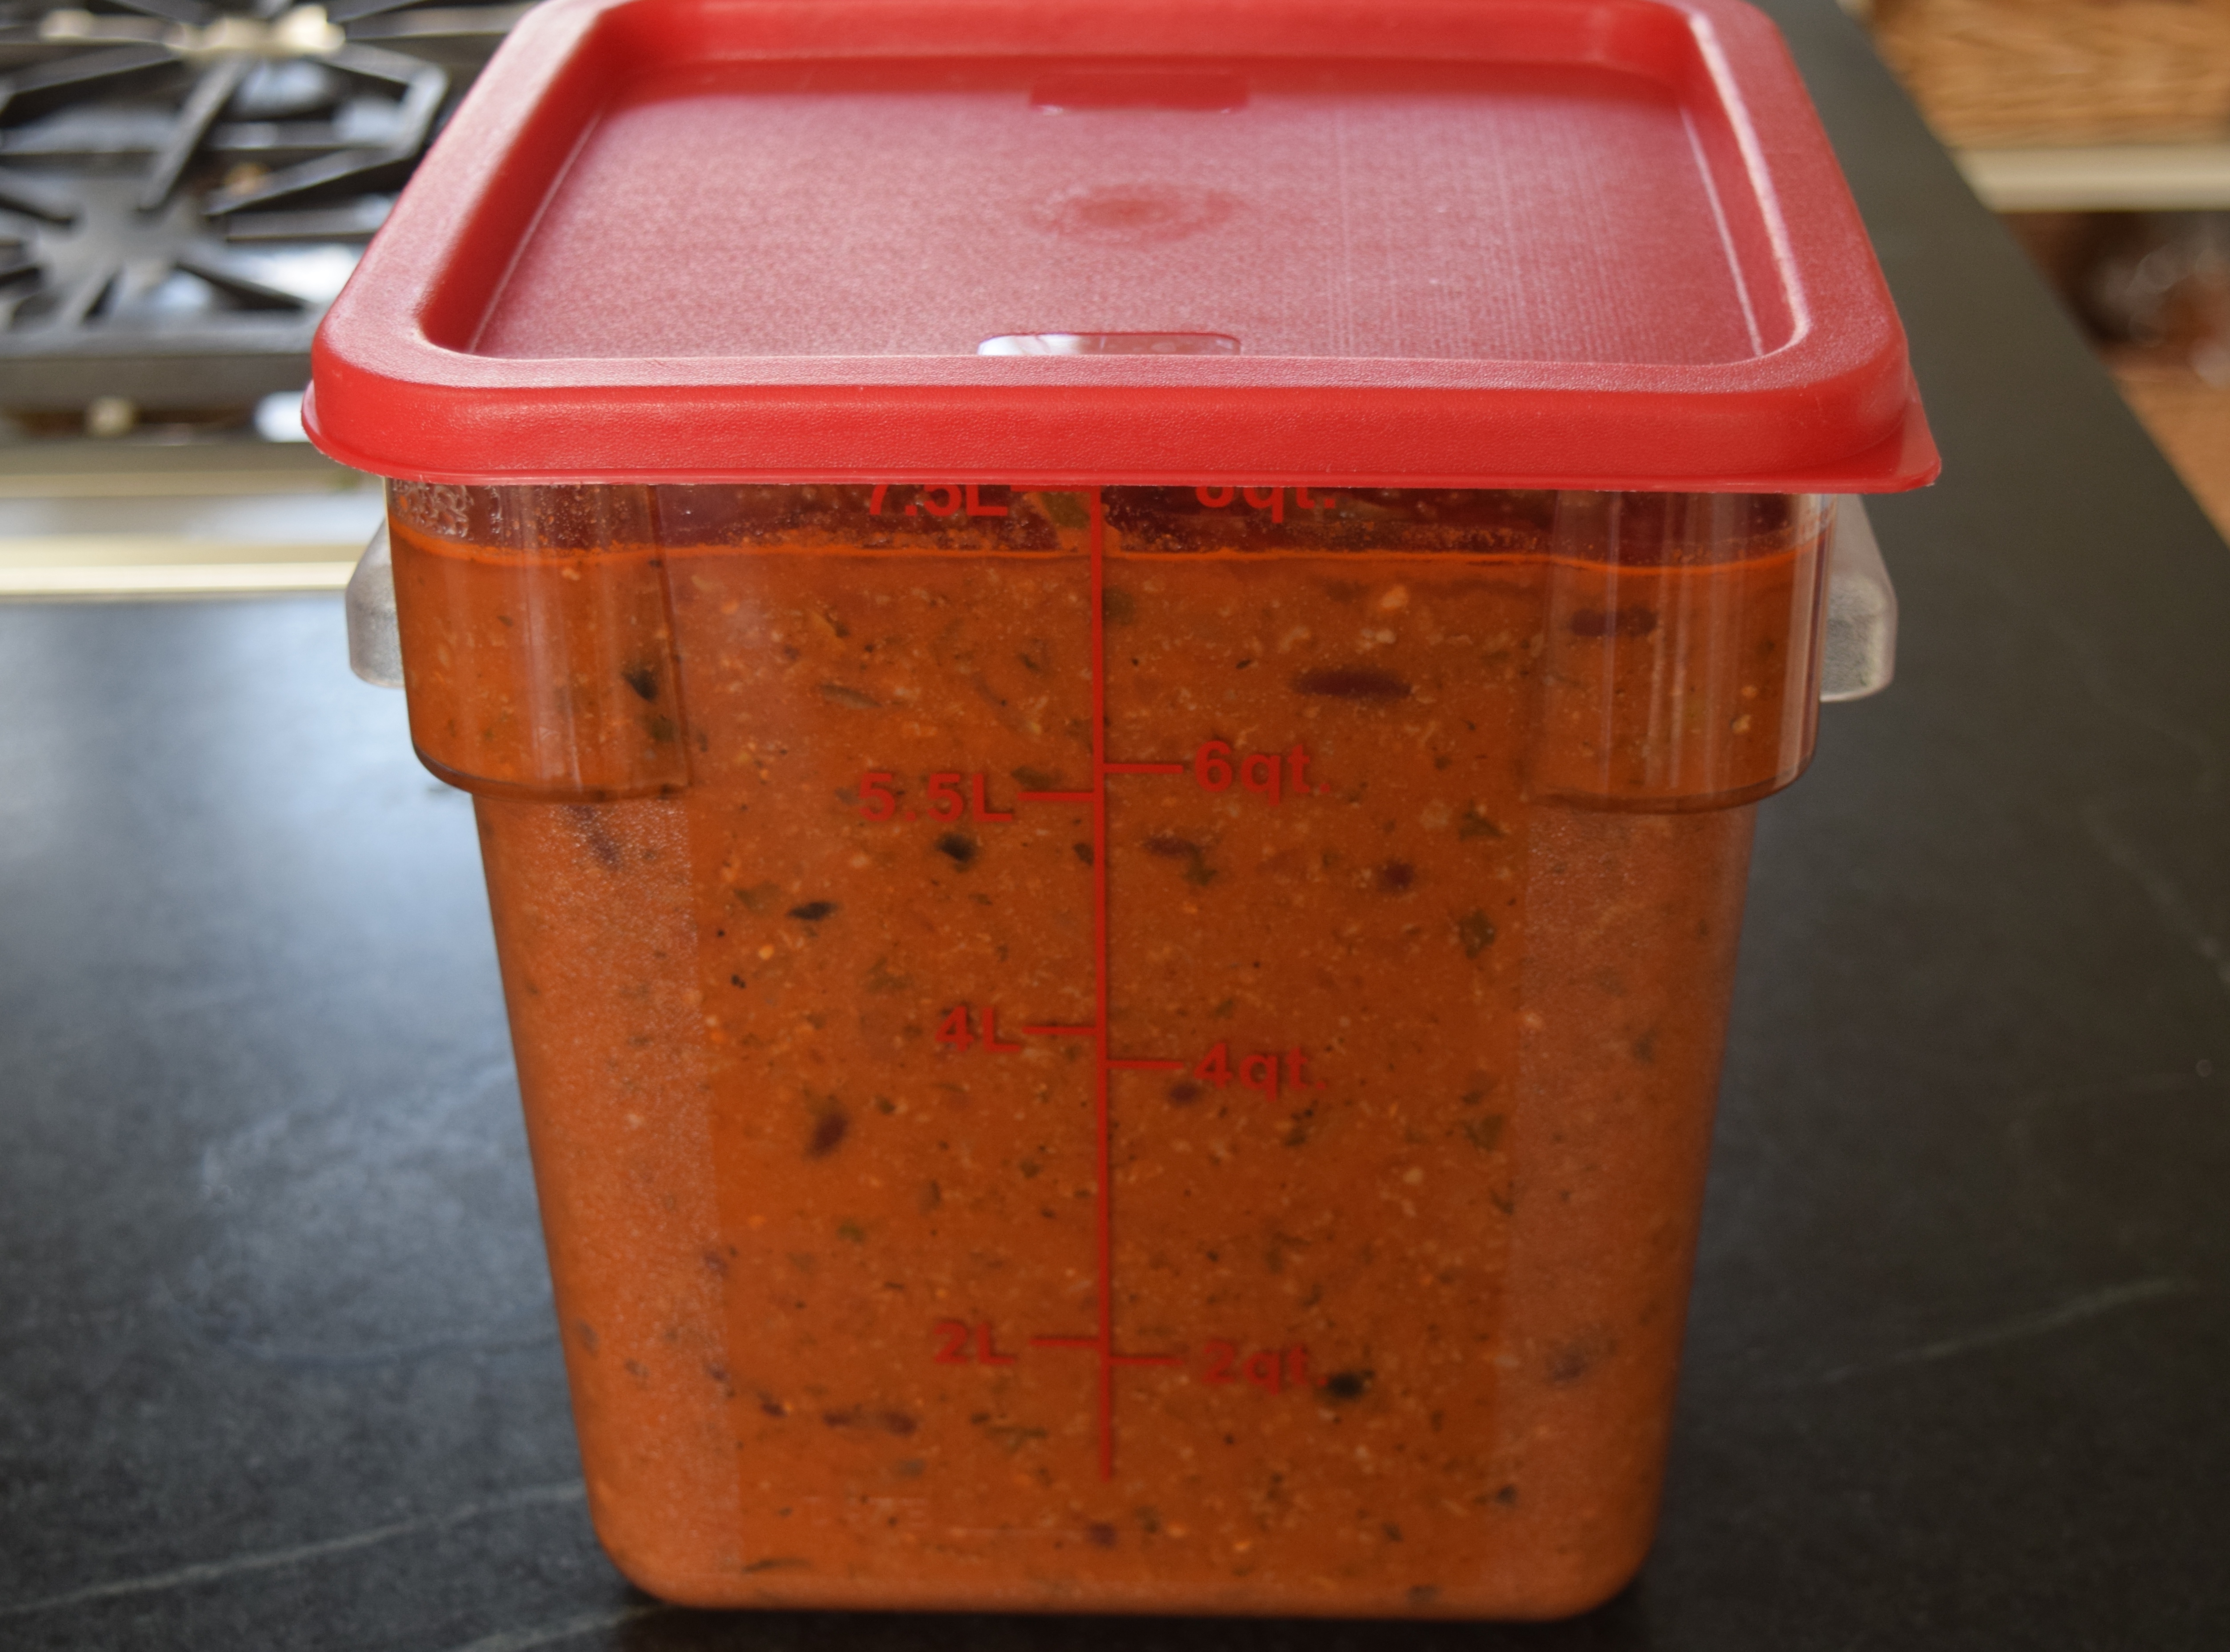
This chili can be made ahead of time and stored in the refrigerator.

DSC_0444

You might also like these other soups, chilis, and stews:
Lisa’s Award Winning Buffalo Chicken Chili
Kelly’s Duck Stew
Bruce’s Turkey and Sausage Gumbo
Aunt Bridget’s Chicken Soup with Little Meatballs
Chicken Stock from Rotisserie Chicken Bones
Roasted Butternut Squash Soup

Always check the website for the most current version of a recipe or pattern.

If you enjoyed this post, become a subscriber! Be sure to confirm the subscription on the follow-up letter sent to your email address.

Follow Judy’s Chickens on Instagram and Pinterest @JudysChickens.

© 2014-2018 Judy Wright. All rights reserved. Photos, videos, and text may only be reproduced with the written consent of Judy Wright.

Kelly’s Duck Stew

I was sitting in church, studying the congregation, and wondering, WHO has too many ducks in their freezer? Duck season was over, and we had no ducks. I was craving my husband’s duck stew. I knew there were people in Nashville who had too many ducks in their freezer. I’ve been there.

Duck Stew

As the service ended, my friend Greer came up to me and said, “By any chance, could The Nashville Food Project use a freezer-full of ducks?” I laughed out loud and told Greer about my daydreaming moment in church. I told her TNFP would love to have them, and by the way, could she spare eight breasts for us?  The next morning, Greer donated the frozen duck breasts to the ever-resourceful, Anne Sale, TNFP’s Meals Coordinator. It was a win-win-win-win-win situation: Greer got her freezer space back, her husband, David, a volunteer at TNFP, felt good about donating his ducks to a worthy cause, Anne got a free source of protein for TNFP’s meal planning, many Nashvillians were nourished by the donated meat, and my family and I got to enjoy a bowl of my husband’s duck stew. Blessings all around.

Yield: 5 quarts

Ingredients:
Duck stew roux
8 duck breasts (2 pounds- they each weigh about 4 ounces), cut into 1″ chunks
1 cup all-purpose flour
1 teaspoon salt
1 teaspoon pepper
1 stick butter (½ cup)
6 celery stalks, sliced (about 3 cups)
2 large onions, coarsely chopped (about 5 cups)
10 carrots, sliced (about 3½ cups)
1 cup apples, minced, or use applesauce
10 cups chicken broth
2 cups red wine
2 pounds white potatoes chopped into 1-inch chunks (about 8 cups)
2 teaspoons each salt and pepper, or to taste

Prep the duck meat and veggies:
Chop the breasts into bite-sized pieces. Duck stew roux

Put the flour, salt, and pepper into a paper bag, add duck pieces and shake to evenly coat each piece of meat. Discard excess flour. Set aside the coated meat.
Duck stew roux

Here my husband is teaching my son how to make duck stew.

Wash and scrub the veggies. There is no need to peel them. Coarsely chop the onions, slice the celery and carrots thickly, and mince the peeled apple. Set veggies aside.

Prepare the stew:
Melt butter in a sauté pan or in the bottom of a 6-quart Dutch oven.

Duck stew roux

Add floured and seasoned meat to pan and brown on all sides.

Add meat and juice to a stockpot or Dutch oven. Deglaze the sauté pan with ¼.cup red wine and add to pot. Add onions, celery, carrots, and apple. DSC_0627

Add broth. Add salt as needed, lots of cracked pepper, and red wine.
DSC_0635

Cover and simmer on the stove for about 2 hours, then add potatoes and cook for an additional hour. We used sweet potatoes this time, but found the stew to be too sweet and now only use white potatoes.

Duck stew roux

My husband serves the stew over a wedge of homemade cornbread placed in the bottom of each person’s bowl. We add a garnish of sliced green onions and parsley on top. Sometimes we add crumbled cornbread, as well. Delicious!

Related Posts:
Chicken Stock from Rotisserie Chicken Bones
Bruce’s Turkey and Sausage Gumbo
Aunt Bridget’s Chicken Soup with Little Meatballs
Mrs. Lombard’s Portuguese Kale Soup
Pasta e Fagioli

Don’t miss a recipe! Become a subscriber and have every post delivered to your Inbox.

Follow Judy’s Chickens on Instagram and Pinterest @JudysChickens.

Remember to always check this website for updated versions of a recipe.  

© 2014-2025 Judy Wright. All rights reserved. Photos, videos, and text may only be reproduced with the written consent of Judy Wright.

Lily’s Red Velvet Cake

I enjoy making special-request cakes for loved ones on their birthdays. I was especially delighted when my son asked me to make a red velvet cake for his girlfriend, Lily, when she turned 21. I browsed through several cookbooks looking for a good recipe. My first three attempts were not pretty. The turning point came when I added strong coffee to the batter. It boosted the chocolate flavor in extraordinary ways. Now I look for reasons to make this cake!

This year, I gussied up the cake for Christmas Eve with pomegranate seeds and rosemary sprigs! So pretty!

While researching red velvet cakes, I learned the Adams Extract Company, maker of food coloring and flavor extracts, is credited with making this cake popular during the Depression. As a marketing strategy, the company placed point-of-sale tear-off Red Velvet Cake recipe cards under the grocery store shelf’s food coloring bottles. The idea took off, and Red Velvet Cakes became all the rage.

Cake Ingredients:
DSC_0084
2 cups granulated sugar
1 cup canola oil
2 large eggs, room temperature
1 cup buttermilk, room temperature (not low-fat)
2 teaspoons vanilla extract
1 ounce (2 tablespoons) red food coloring
1 teaspoon white distilled vinegar
½ cup freshly brewed warm coffee
2½ cups all-purpose flour
1 teaspoon salt
1 teaspoon baking powder
1 teaspoon baking soda
3 tablespoons unsweetened cocoa powder

Mise en Place:
DSC_0085

Instructions:
Preheat oven to 350º. Place a cooking rack in the center of the oven.

Prepare Cake Pans with Liners:
Grease two 8 or 9-inch cake pans or a bundt cake pan with cooking spray or butter. Dust insides with flour. Tap pans upside down over a trash can to remove excess flour.
Red Velvet cake

If making a layer cake, line the pans with parchment paper (waxed paper will work) as extra insurance the cake will not stick to the pan. Even when I grease the living daylights out of cake pans, some cakes still want to stick to the bottom. This is one of them. Liners guarantee they will drop out easily.

How to Make Liners for Cake Pans:
Draw an outline of the cake pan on two sheets of parchment. Cut out the paper disks. If you trim to just inside the outline, your disks should fit nicely inside the pans. Place a liner inside each pan.
 Red Velvet cake

Make the Cake Batter:
Beat together the oil, sugar, and eggs for three minutes at medium speed.
DSC_0090

Add the rest of the wet ingredients to the mixing bowl: buttermilk, vanilla, food coloring, vinegar, and coffee. Mix on medium-low speed for one minute. The batter should appear smooth. Beware, any speed higher than medium-low will cause red batter to spread all over you and your kitchen!
Red Velvet cake

In a separate bowl, mix dry ingredients with a whisk: the flour, chocolate, salt, baking soda, and baking powder. Spoon one-third of this dry mixture at a time into the mixing bowl and stir at low speed until the flour disappears. Scrape the sides of the bowl with a spatula as you mix. Mix until dry ingredients are fully incorporated into the batter.
red velvet cake  Red Velvet cake

Pour batter evenly into the two prepared pans.
Red Velvet cake

Place pans on the middle rack of the oven and bake for 25-30 minutes, rotating pans halfway through cooking. Use a knife to check cake centers for doneness. If the knife comes out clean, the cake is done. If not, set the timer for five more minutes and recheck. Be sure to test each pan. When done, remove pans from oven and cool for 5 minutes.
Red Velvet cake

Next, run a knife around the edges of the pans to release cakes from sides. Turn pans upside down on a cooling rack and peel off the parchment paper. Invert cakes and cool to room temperature. Once cool, store in plastic bags until ready to use or frost them.
Red Velvet cake Red Velvet cake

Butter and Cream Cheese Frosting

Ingredients:
DSC_0124

1  8-ounce bar cream cheese, softened
½ cup  (1 stick) butter, softened
1  teaspoon pure vanilla extract
3¾ cups (1 pound box) confectioners’ sugar
2-3 tablespoons whole milk

Instructions:
Beat butter and cream cheese together in a mixing bowl on medium-high speed until smooth.
frosting Red velvet cake

Add sugar and beat until fluffy.
frosting Red velvet cake

Add vanilla and beat 30 seconds more. Add milk, one tablespoonful at a time, to thin frosting to desired spreading consistency.

frosting Red velvet cake
How to Frost a Cake
Line the edges of a cake plate with parchment paper or plastic wrap.
Red velvet cake
Place the first cake layer down. Scoop up 25% of the frosting and spackle it across the top with a long metal icing spatula.
 Red velvet cake
Place the top cake layer, smooth side up, over the frosted layer. Place the remaining frosting on top and use it to frost the sides and top of the cake.
IMG_5417
DSC_0048
Remove liners from cake plate. Let frosted cake sit for an hour or two before serving so flavors can meld. I like to serve this cake chilled.

Recently, I needed an elegant cake that would serve twenty. I decided to make a taller version of the cake by preparing one and a half recipes. This gave me three 9-inch layers. I increased the frosting recipe by half. The cake looked beautiful and regal on the dessert buffet. Sadly, I didn’t get a photo.

Triple Decker Cake Ingredients List
(I’ve done the math for you –and for me)

3¾ cups all-purpose flour
1½ teaspoon salt
1½ teaspoon baking powder
1½ teaspoon baking soda
4½ tablespoons unsweetened cocoa powder
3 cups sugar
1½ cup canola oil
3 large eggs, room temperature
1½ cup buttermilk, room temperature (not low-fat)
3 teaspoons vanilla extract
1½ ounce red food coloring
1½ teaspoon white distilled vinegar
¾ cup freshly brewed, plain, warm coffee

IMG_5377

I LOVE when readers send photos of their creations from the blog. Here’s one from our friends-who-are-family, Markham and Cati, who made red velvet cupcakes for Valentine’s Day. I couldn’t love them more!

Other Great Cakes
Chocolate Birthday or Valentine’s Day Cake

A Cake for All Seasons

Mom’s Monkey Bread, circa 1970

Marion’s Crazy Good Pumpkin Bread with Chocolate Chips

Old-Timey Vanilla Bunny Cake

If you enjoyed this post, please share it with a friend and become a follower!

Follow Judy’s Chickens on Instagram and Pinterest @JudysChickens.

Always check my blog for the latest version of a recipe.

© 2014-2021 Judy Wright. All rights reserved. Photos, videos, and text may only be reproduced with the written consent of Judy Wright.