Roasted Patty Pan Squash

Patty Pan, Scalloped, and Flying Saucer are all perfect names for this whimsical variety of summer squash known for its ornately scalloped edges and shades of color ranging from pale yellow, to variegated yellow and green, to dark green. The color of this particular variety, called “Flying Saucer,” is temperature dependent — it will turn green when temps become very hot in the summer.

Patty Pans are kin to other varieties of summer squash such as zucchini, yellow crooknecks, and “Cubes of Butter” all of which ripen between June and September.

Summer squashes are thin-skinned with tender interiors. They can be eaten raw with their peel intact. Compare that to mature winter squashes such as butternutacorn, spaghetti, and pumpkin, with their hard outer skins, firm interior flesh, and fibrous seeds. They need a little more attention when cooked, but man, are they good, too!!


How to Grow Patty Pans

I grew these patty pans with my other summer squashes in a 4 x 13 foot raised bed. I planted the seeds on April 3rd and started harvesting around June 10th. Here is how the bed looked on April 8th, (the day they germinated), May 10th, and on June 10th when I started harvesting. One plant will bear two to three successive harvests before dying off.

It is best to pick patty pans when they are less than 4 inches in diameter.

How to Cook Roasted Patty Pan Squash (and other varieties of summer squash)

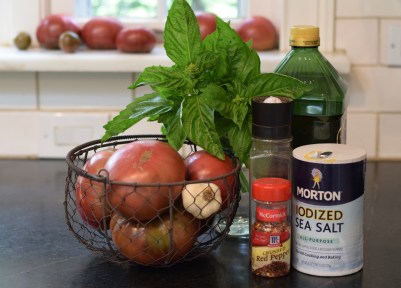
For roasting most vegetables, I think Mary Kane’s (aka Mom’s) trinity of McCormick’s Garlic Pepper, fine sea salt, and extra-virgin olive oil is a surefire way to a successful dish.

My mother was a fantastic cook whose nightly dinners were legendary. A big tip was to keep dinner simple. Basically, she prepared a protein, a starch and a vegetable or two every night. There were no fancy sauces or ingredients for which she had to spend hours searching. Her daily ten-mile drive to Walkers Roadside Stand, along the bucolic Sakonnet River in Little Compton, R.I. was more of a peaceful escape than a trip to hunt down ingredients.

IMG_0142

She learned early on that roasting vegetables enhanced their natural goodness, and that includes sweetness. I, in turn, learned by cooking by her side most of my life.

PC310065

Ingredients

2 pounds Patty Pan squash
2 tablespoons extra virgin olive oil
¾ teaspoon fine sea salt (or, to taste)
¾ teaspoon garlic pepper
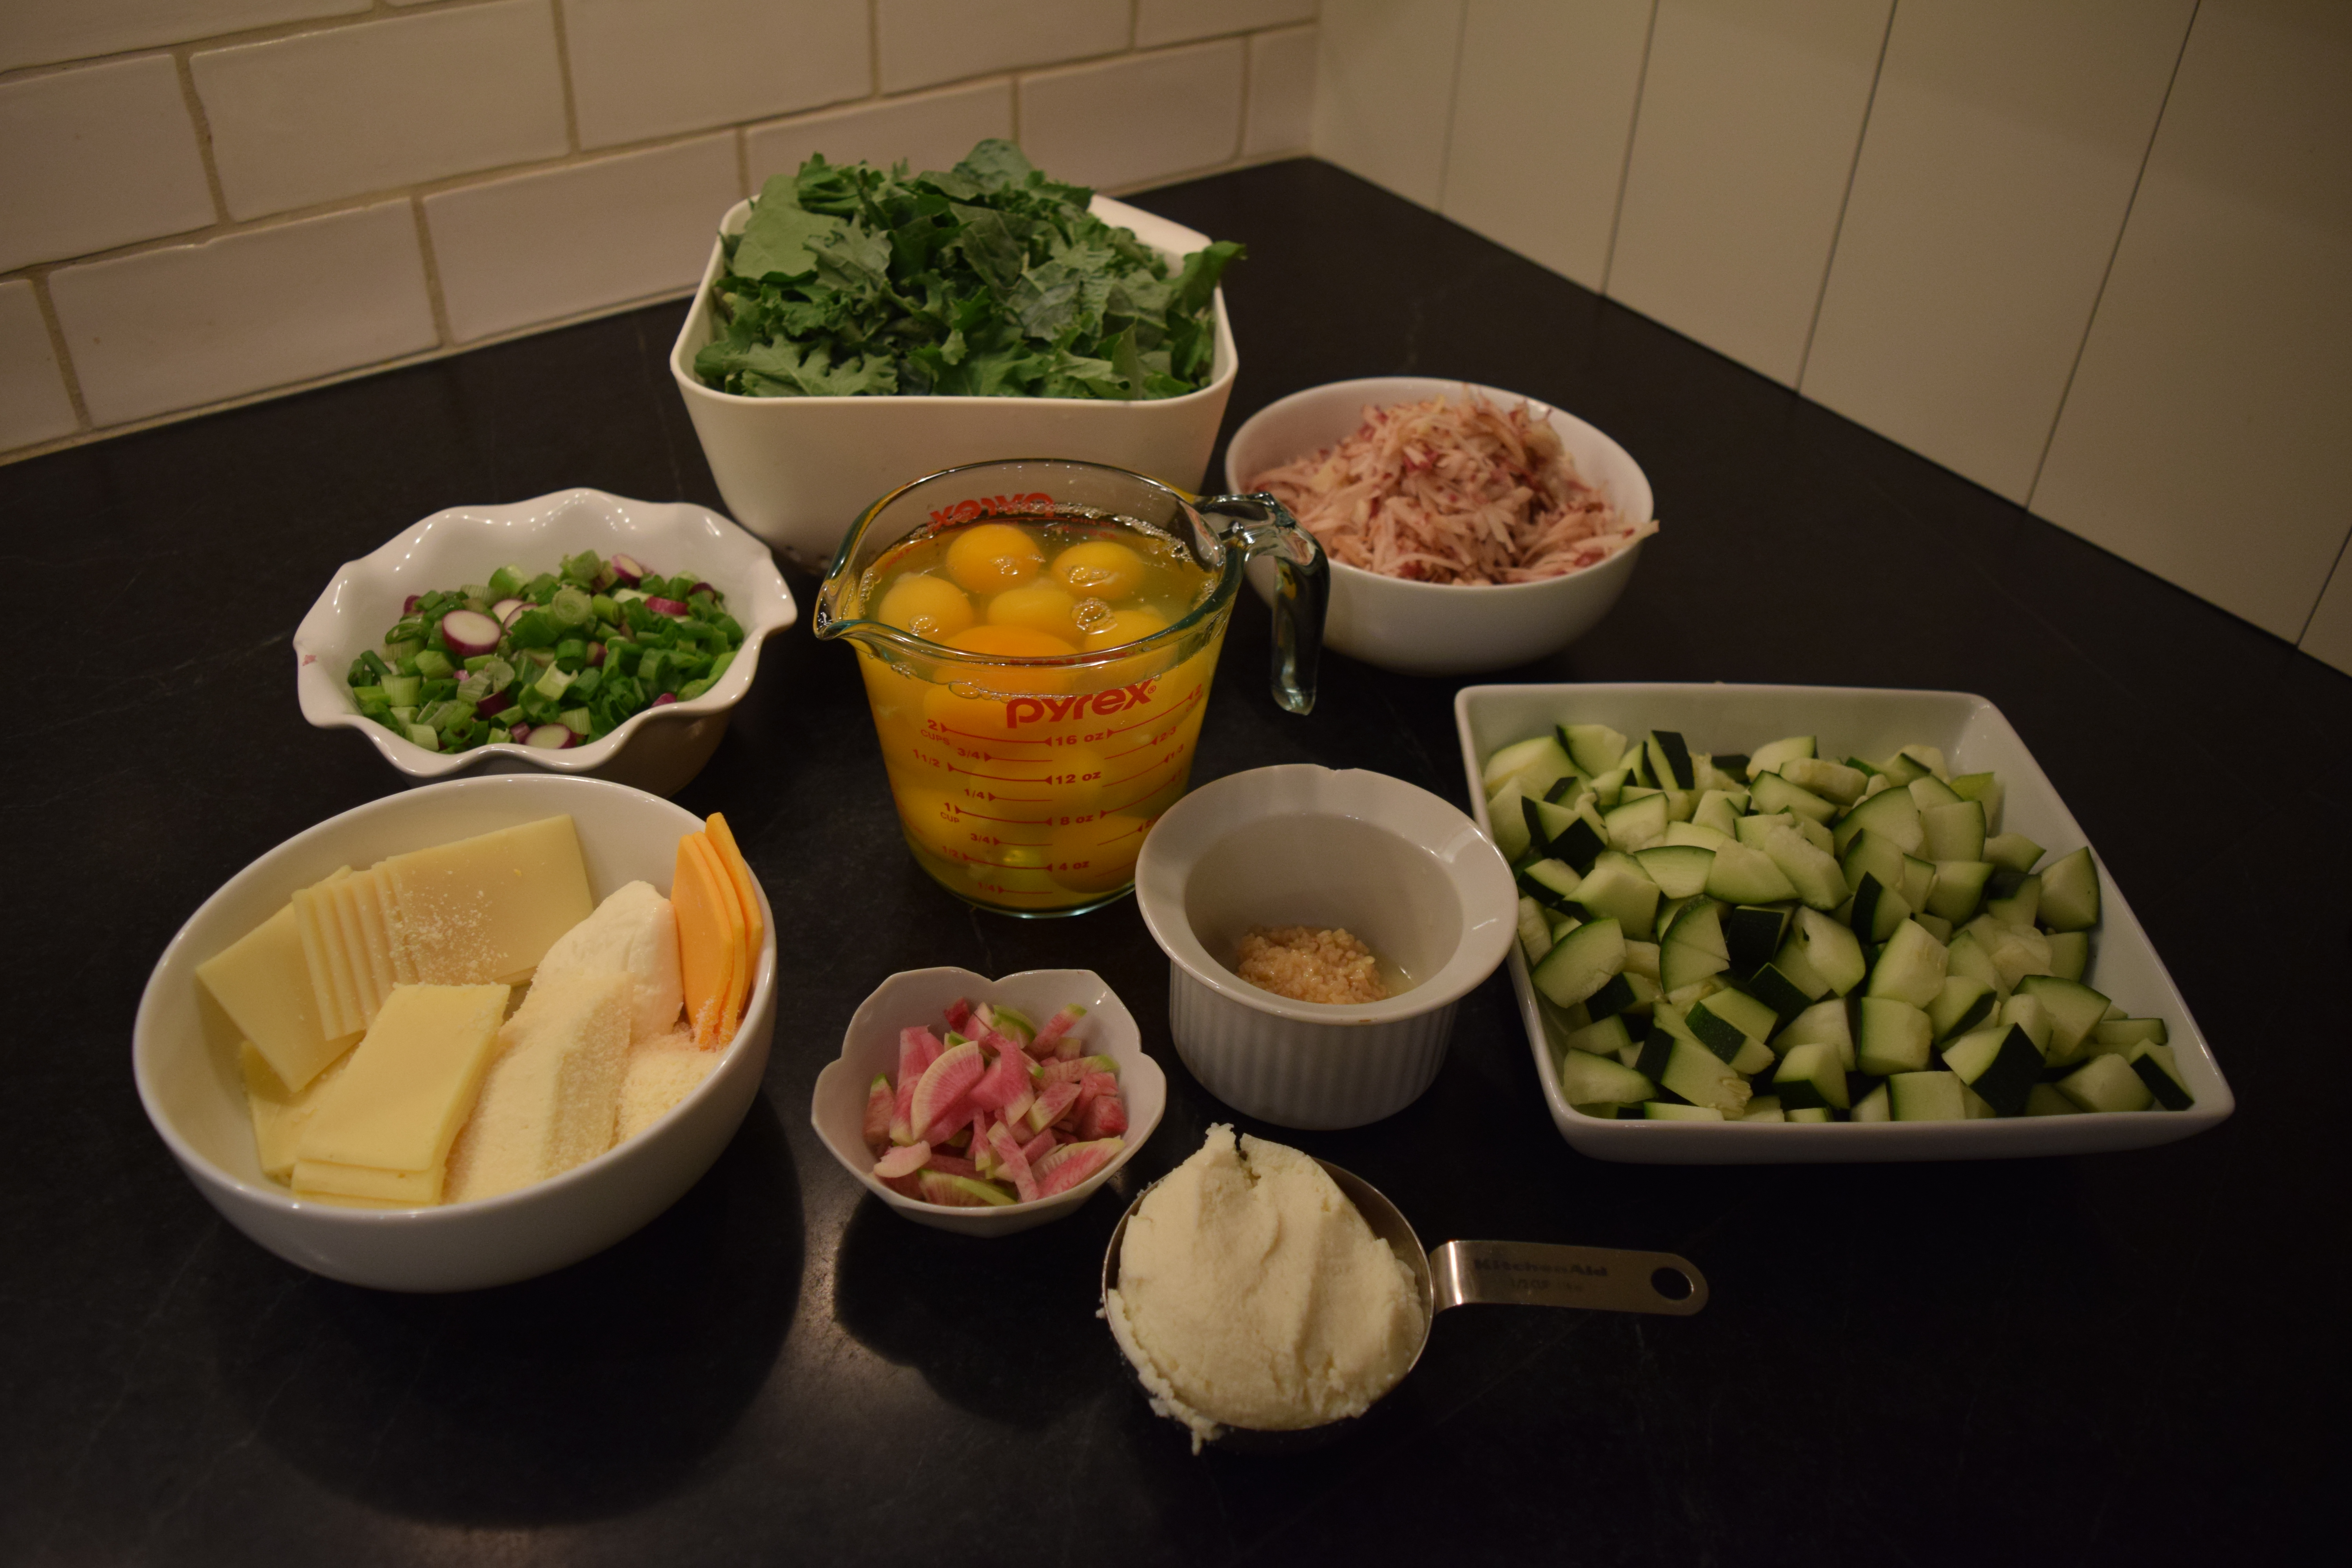
Mise en Place

Instructions

Preheat oven to 400º.

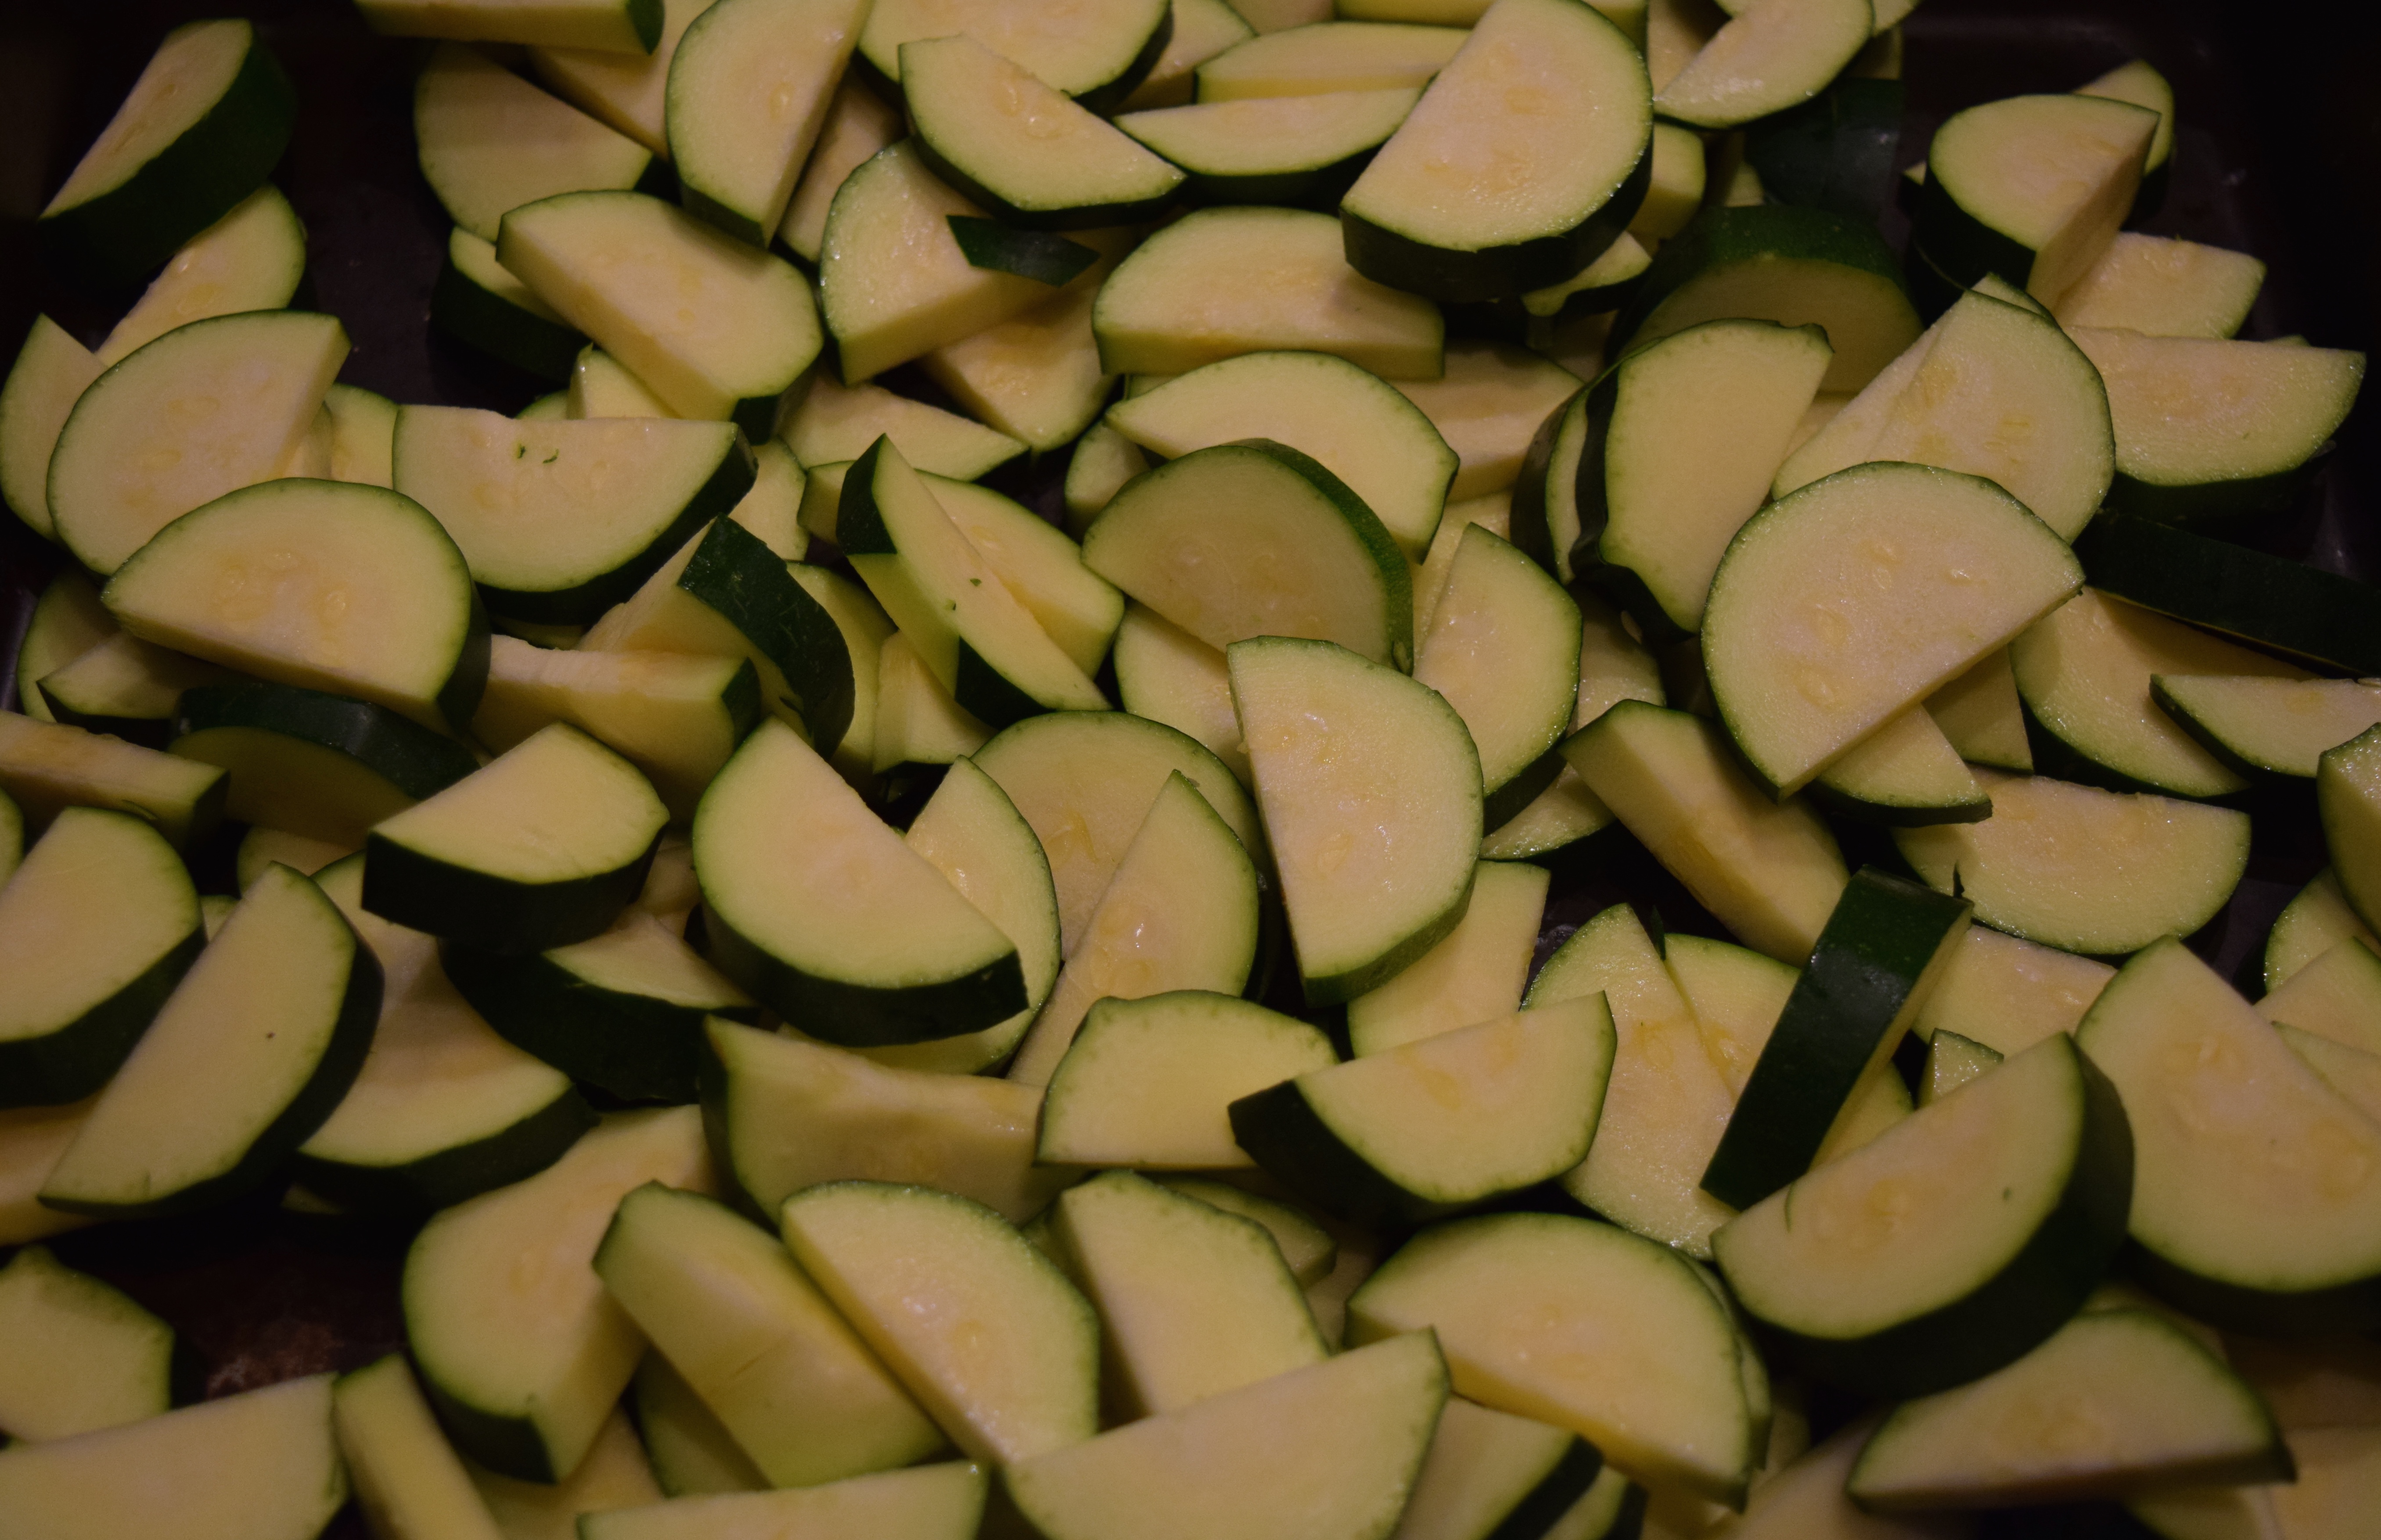
Wash and dry veggies and cut off stems. Slice each squash into three segments.

Place slices in a bowl and toss with Mary Kane’s Trinity.

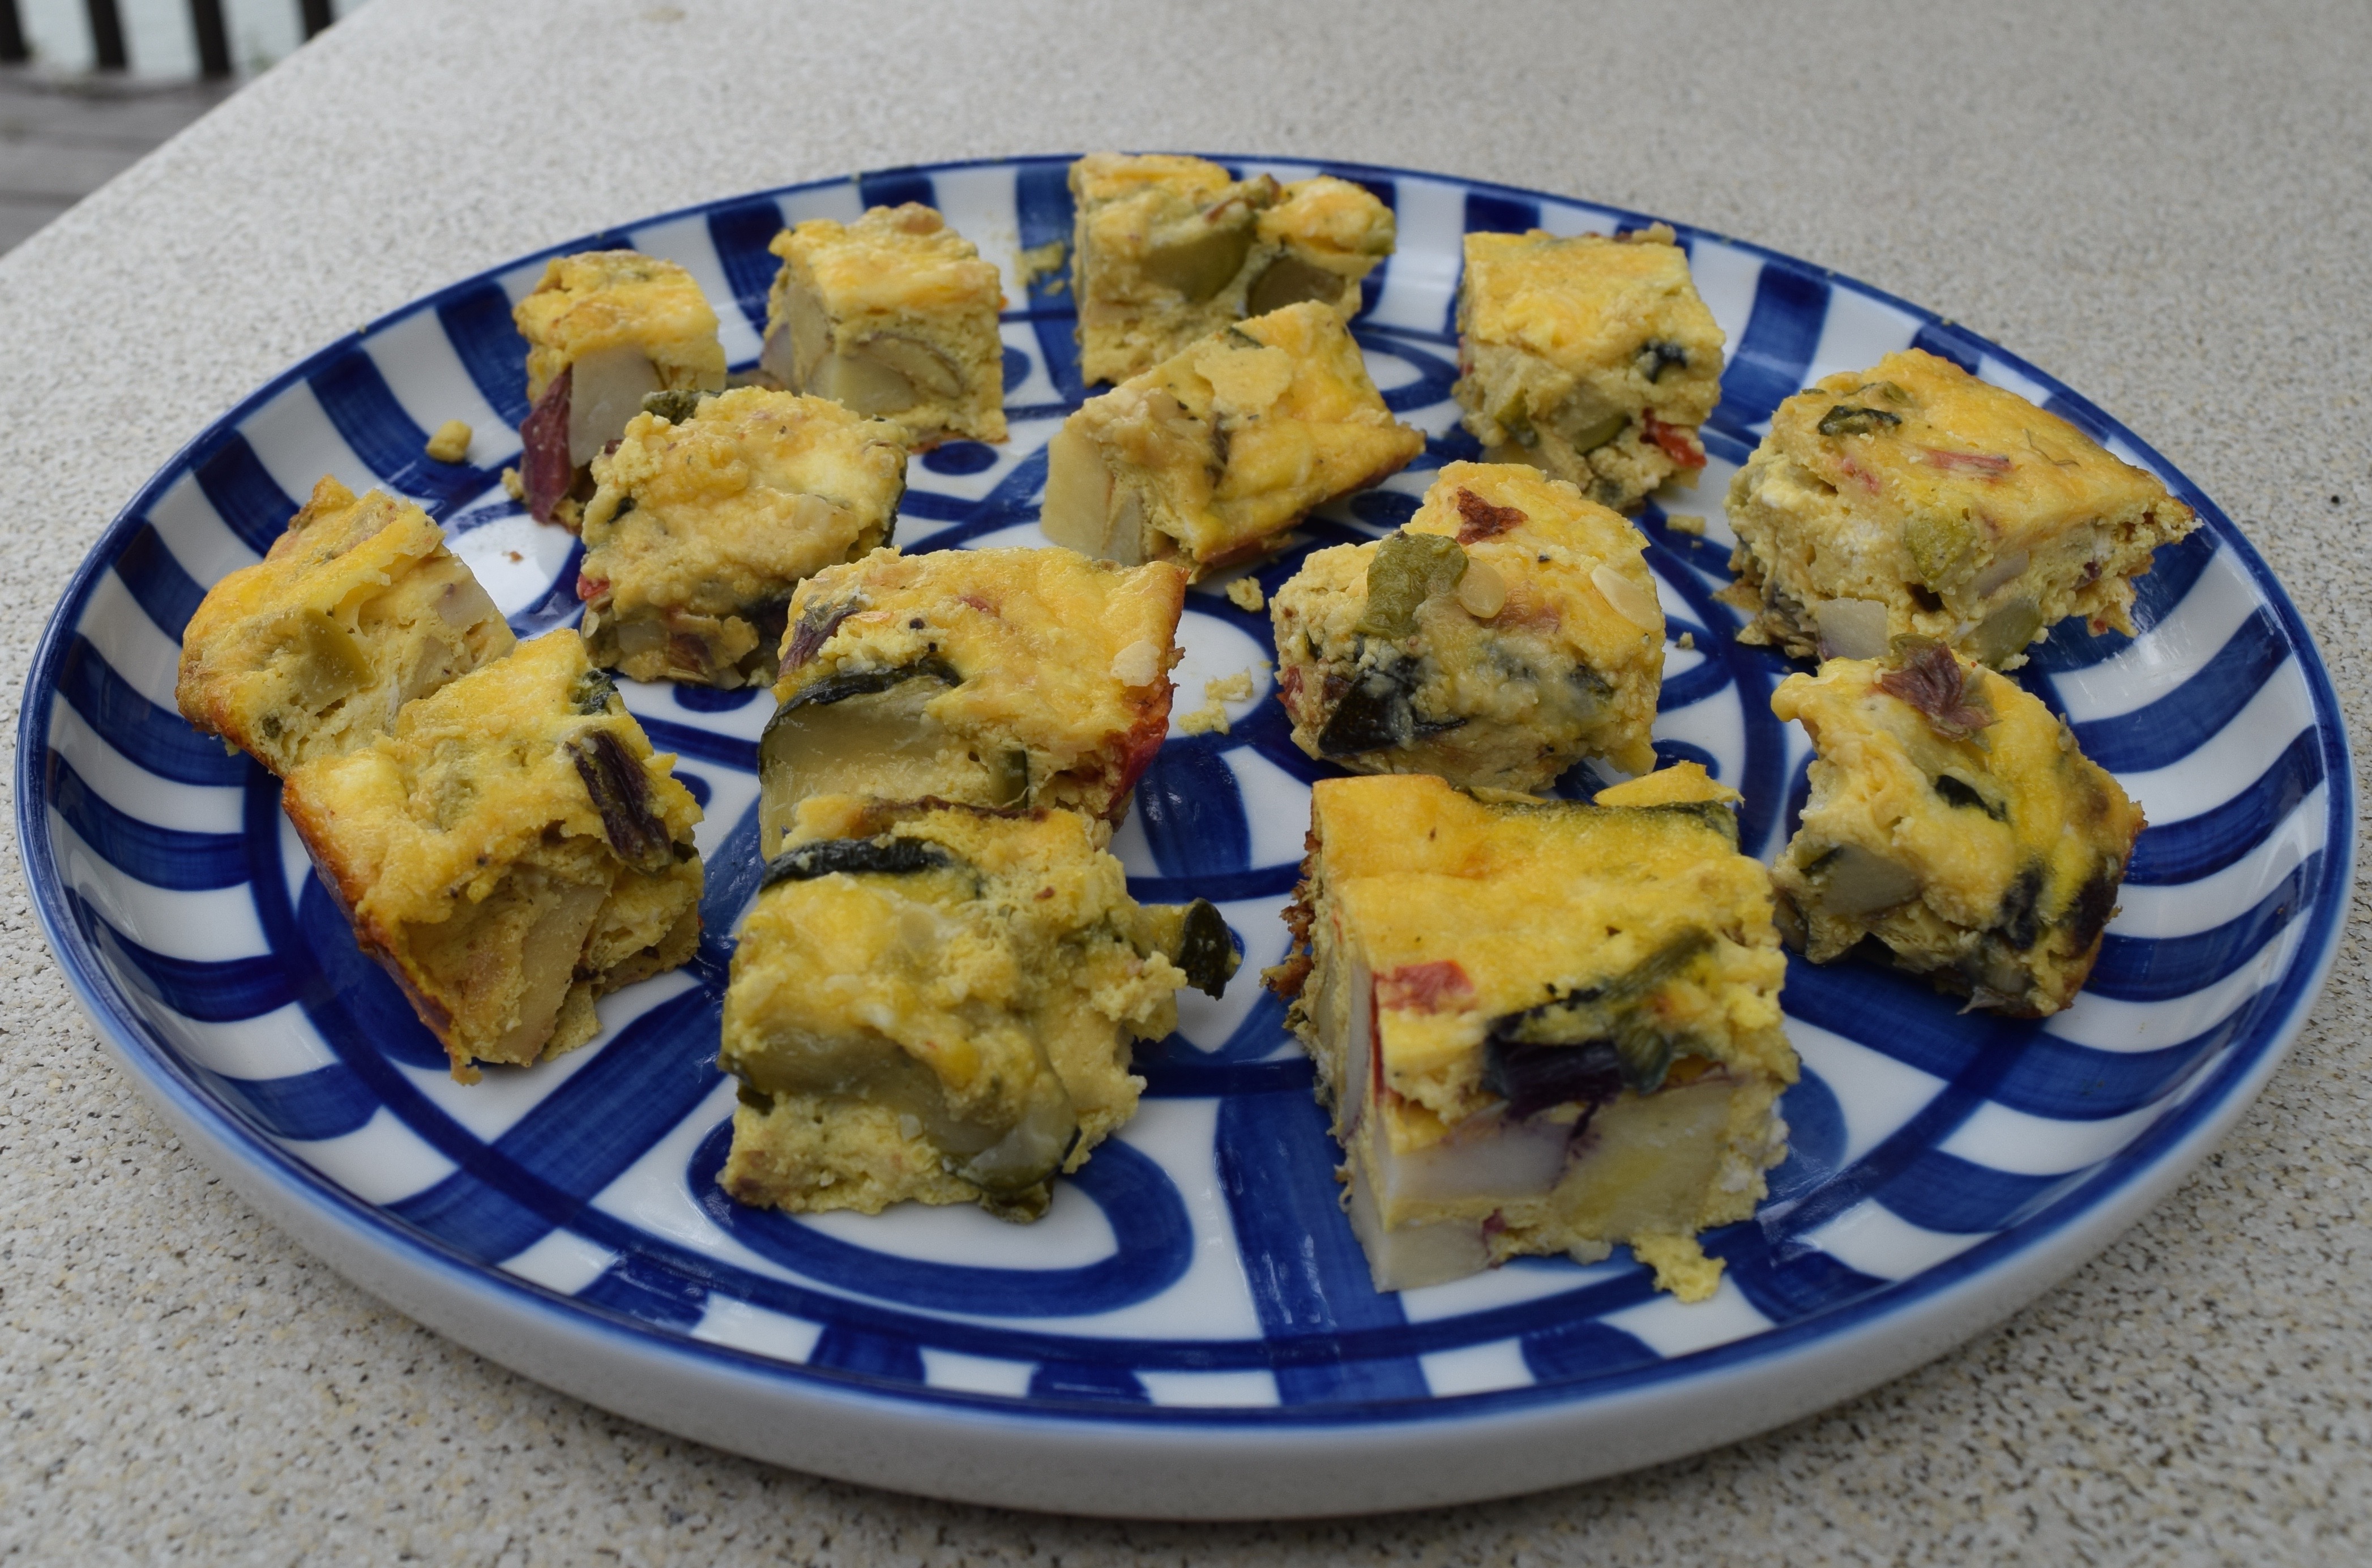
Arrange slices in a single layer in a large parchment-lined roasting pan.

Roast for 40-45 minutes. Flip over halfway if you want both sides browned. I don’t bother with this extra step.

I love the unique squashy taste and denseness of these Patty Pan slices.

Serve squash with:
Cooking Dinner in an Unfocused Way, or Ode to the Rice Cooker
Easy Roasted Salmon with Olive Oil and Garlic Pepperor
Lemony Grilled Chicken Breast
Very Berry Clafoutis or Ellen’s Most Moist Zucchini Bread for dessert

Always check the website for the most current version of a recipe.

© 2014-2017 Judy Wright. All rights reserved. Photos and text may only be used with written consent.

Spiralized Zucchini with Fresh Marinara Sauce

The garden tomato, cucumber, and zucchini glut is upon us, and I am driven to distraction figuring out ways to keep up with the produce as it comes in.

My favorite way to prepare the tomatoes is to make a batch of marinara sauce using this recipe from my blog. This is a quick sauce that can be made in the time it takes to boil a pot of water and cook a pound of pasta. The sauce freezes well and is a delight to eat in the middle of winter.

For the cukes, I’ve been making refrigerator pickles. My family adores them. They are especially delicious served over BBQ or hamburgers.

For the abundance of zucchini and summer squash, I’ve been experimenting with a Kitchen Aid spiralizer, and by experimenting, I mean having fun making oodles of zoodles at warp speed.  I spiralized all these varieties of squash in a few minutes

into this:

I’ve spiralized beautiful red and gold beets to add to salads.

I’ve spiralized apples for apple pie.

I’ve spiralized zucchini to make lasagna-sized noodles.

Even at The Nashville Food Project, where I am a volunteer chef, the prep team now spiralizes much of the thousands of pounds of donated zucchini to make fantastic meals like this one.

Spiralizers:

My first spiralizer was this simple-to-use handheld OXO device.

Later, I advanced to this deluxe Kitchen Aid attachment.


Ingredients:
1 batch of Fresh Marinara Sauce
3 pounds of zucchini (or summer squash)
Reggiano Parmesan cheese

Instructions:
Prepare the marinara sauce as described in the blog post.

DSC_1387

Wash zucchini or squash and cut off blossom tip and stem. Use a spiralizer to create noodles.

Add spiralized noodles to hot marinara sauce in increments. Stir in more noodles as the each batch softens and collapses into the sauce.

Cook zoodles for about 5 minutes.

Sprinkle with Reggiano Parmesan cheese and serve.

Other Recipes Using Summer Vegetables and Fruit:
Roasted Ratatouille
Roasted Roma Tomatoes
Roasted Beet Salad
String Bean Salad
Amazingly Delicious Sautéed Carrots
Fresh Marinara Sauce with Pasta
Rachelle’s Italian Sausage, Onions, and Peppers
Yummy Shepherd’s Pie
50 Ways to Make a Frittata
Ellen’s Most Moist Zucchini Bread
How to Make Grape Jelly (and grow the grapes)
Very Berry Clafoutis

LET’S STAY CONNECTED!

Follow my photos of vegetables growing, backyard chickens hanging out, and dinner preparations on Instagram at JudysChickens.

Never miss a post: sign up to become a follower of the Blog.

© 2014-2017 Judy Wright. All rights reserved. Photos and text may only be used with written consent.

Roasted Ratatouille

Last week, I was getting ready to leave town which meant I had to harvest all the ripe vegetables from my garden. Once I had washed and laid them all out to dry there was no question what dish I was going to make; these vegetables pretty much told me I was making ratatouille. What else would I do with onions, eggplant, zucchini, sweet peppers, and tomatoes? These are classic ratatouille fare.

DSC_0655

Many villages in the Mediterranean have some version of this “vegetable stew,” but it was Julia Child, who, in her 1961 cookbook, Mastering the Art of French Cooking, made ratatouille a household name. If you are a purist, you may want to stop reading here as I no longer make ratatouille using the methods that Julia made famous.  I don’t peel and remove the seeds from the tomatoes, sweat the eggplants and zucchini and then sauté them each separately, and then, layer them all together in a casserole to stew for a while. Her process took too much time. The way I chop, mix, and roast it all together, is much quicker and more reflective of today’s farm to table mentality. I think Julia would approve.

Since I had a lot to do before leaving town, I was in get’ er done mode and was happy to work by myself in the kitchen. My family was watching a Nicole Kidman movie in the next room and I smiled as I listened to them tease my husband about his long-standing crush on Nicole, an infatuation that makes no sense to me; she is like a porcelain doll and I am not. My family knows my husband would secretly love to run into Nicole in Nashville. Once, my youngest son even texted him, “Quick, come to Whole Foods. I’m sitting next to Nicole and Keith.” To my husband’s credit, and since he was sitting with me, he didn’t budge.

Here is my no fuss way to make ratatouille. The ingredient amounts are vague because it truly doesn’t matter. I suggest looking at the picture above and approximating the quantities from that.

Yield: About 4 quarts

Ingredients:

DSC_0603
Onions – I used one bunch of green onions and a medium-sized red onion
Eggplants – I used a mix of Black Beauty and Ichiban varieties.
Zucchini – I used 4 thick ones.
2 large Sweet Bell Peppers
Tomatoes – I used an assortment of regular and cherry-sized.
Basil – I used 4 ten-inch bushy stalks.
Garlic – I used 2 heaping tablespoons of minced garlic from the jar.
Extra Virgin Olive Oil, about 1/2 cup, maybe even a little more
Salt and Pepper, to taste

Instructions:

I prepped all the vegetables as I went along. Refer to the pictures that follow to see how. I placed them in a 13 x 16 inch Calphalon roasting pan that’s about 4 inches deep. The order of layering doesn’t matter as they will all be stirred together before going into the oven.

Zucchini: leave the skin on and slice.

DSC_0604

Sweet Bell Peppers: remove core and seeds, chop into 1.5-inch dice.DSC_0605

Green Onions: slice the white part into 1/2 slices, and the green stalks into 1-inch pieces.

DSC_0606

Eggplant: remove ends, peel, and slice.

DSC_0607  DSC_0614

Tomatoes: remove the stem and white core, and chop as shown. No need to peel or remove seeds.

DSC_0615

Prep basil: remove leaves from stems and chop. Add to roasting pan.DSC_0293  DSC_0633

Mix it all up. Add olive oil, garlic, salt and pepper. I am usually generous with the olive oil. I learned that from my mother.

Roast at 400º for 40 minutes to an hour depending on the volume of vegetables used.

DSC_0166

To Serve:
I’ll put just about any roasted vegetable over pasta and the ratatouille was no exception. It was delicious. Be sure to sprinkle with Reggiano Parmesan.

I had about 2½ quarts of leftovers that went into the fridge. My husband served it over orzo as a side dish the next night, and on Saturday morning, he put what was left in his omelette.

DSC_0193.jpg

Epilogue: 
My family loved this meal. As we ate dinner, one of my sons said, “Nicole Kidman couldn’t have made this dinner, Mom.”  Thanks, son.

Make it Whole30
Skip the pasta and cheese and serve it as a side dish.

LET’S STAY CONNECTED!

Follow my photos of vegetables growing, backyard chickens hanging out, and dinner preparations on Instagram at JudysChickens.

Never miss a post: sign up to become a follower of the Blog.

© 2014-2017 Judy Wright. All rights reserved. Photos and text may only be used with written consent.

50 Ways to Make a Frittata

A few months ago, I was visiting Cleveland and took a cooking class with friends at The Western Reserve School of Cooking. One of the dishes we made with owner and chef, Catherine St. John, was an oven-baked version of the classic Italian frittata, traditionally cooked on the stovetop. This baked version is an easier method to use when feeding a crowd for breakfast or dinner. It’s perfect for the holidays.

DSC_0015

Frittatas are very similar to omelets; they’re just not folded over. They are also firmer in texture and when cut into squares and served at room temperature,  are quite portable for serving at lunch, or as an appetizer. They provide a great way to use up fresh vegetables and leftovers from the refrigerator, too.

DSC_0977

I learned from Chef Catherine to first sauté vegetables in a non-stick skillet, then pour them into a 9 by 13-inch baking dish, add egg and cheese mixture, and bake for 20 minutes in the oven. Since learning to make frittatas in this way, I’ve been making them about once a week.

DSC_0009

Preparing frittatas makes me feel very in touch with my Sicilian roots where egg dishes were the norm and roast chicken was not; in the olden days, people didn’t typically eat the chickens that laid their eggs! We relate to that philosophy at our house; we eat lots of egg dishes thanks to our backyard flock of free-range pasture-fed chickens.

IMG_8581

I’ve developed a fool-proof egg mixture that is easy to remember for my frittatas: 12 large eggs, 1/2 cup whole milk or cream or ricotta, 1 heaping cup of shredded cheese, and 1/4 cup of Parmesan — added to any variety of cooked vegetables that will loosely fill your lasagna pan to about the one inch mark. The vegetables need to be pre-cooked so they do not water down your frittata while baking.

DSC_0747

Here’s a recipe to get you started. You’ll be improvising in no time.

Ingredients:

DSC_0723

The Egg and Cheese Mixture:
12 large eggs
½ cup ricotta, whole milk, or cream
1 tsp salt
½ teaspoon pepper
¼ cup grated Parmesan
1 heaping cup any cheese, shredded

The Veggie Mixture:
4 cups of potatoes (about 4 medium or 1½ pounds), diced or shredded
1½ cups green onions with tops, about 5, sliced
½ red bell pepper, about ½ cup, seeded and diced
1 heaping tablespoon minced garlic (from the jar is fine)
2 cups any cooked leftover vegetable such as zucchini, summer squash, broccoli, or cauliflower, OR any uncooked greens such as spinach, chard or kale
⅓ cup extra virgin olive oil

Instructions:
Preheat oven to 350º

Chop all the fresh veggies. Here, I’ve used fresh, thin-skinned, buttery Yukon potatoes and red potatoes, red bell pepper, green onions with their stalks, and minced garlic (shown here in a tablespoon).

DSC_0730

Sauté garlic, onion, pepper, and potatoes in olive oil, on medium heat, in a 12-inch non-stick skillet for about 10 minutes, or until the potatoes are tender, but still firm.

DSC_0738

Stir in drained leftover cooked veggies and heat until warm.  In this frittata, I used roasted zucchini and summer squash with green onions and garlic that I had in the fridge.

DSC_0742

Spread your vegetable medley evenly into a lasagna pan.DSC_0747

Mix together eggs, ricotta, Parmesan, salt and pepper and add mixture to the lasagna pan. I use ricotta for this dish because we keep reduced-fat milk in our fridge and it’s not substantial enough for this recipe.  I do, however, always have ricotta in the fridge, and it’s a tasty substitute. If I had cream, I would use it. Remember, I like to use what I have on hand to make this recipe, and as such, I improvise quite a bit to not have to run to the grocery store for an ingredient. It’s a dumb game I play — using up what’s in the fridge; I hate throwing away food!

DSC_0304 DSC_0745

Add shredded cheese and mix it into the vegetables and eggs. Be sure to use a spatula to spread the egg mixture into all the crevices.DSC_0748

Put in oven and bake for 30 minutes. Insert knife point into the center to test for doneness. If it comes out clean, remove from oven. If not, cook for another 5 minutes and check again. Repeat until done.

DSC_0749

Another frittata version: potatoes, kale, green onion, zucchini, and a lone radish

This was one day’s pickings from the backyard. I decided, as a trial, to throw all of it into a frittata along with the dairy ingredients to see if it would work. Instead of using leftover vegetables, I tried fresh kale. It was delicious.

DSC_0257

Here it is, all prepped.

DSC_0293

Here is how I prepped the vegetables:

Green onions
DSC_0266 DSC_0268 DSC_0270

A lone watermelon radish
DSC_0261  DSC_0263 DSC_0274

My first zucchini of the season!
DSC_0284 DSC_0285

Shredded potatoes
DSC_0277 DSC_0280

I trimmed the stem off of each large kale leaf because it was thick and would take longer to cook.

DSC_0282

Then, I tore the leaves into 3-inch pieces. I added the kale leaves to the vegetable sauté last, and only cooked them for one minute until wilted. Chard, collards, or spinach would also work well here. Be sure to remove the thick stems from the collards or chard.

DSC_0312 DSC_0313

Notice how when the frittata first comes out of the oven, it is like a soufflé, all puffed up and fluffy. It will fall after about 5-10 minutes. I think the frittata is tastiest when it is still light and fluffy like this, but as I have said, it is still excellent later in the day at room temperature, or cold from the fridge.

DSC_0320

Once, I had a bunch of different cheeses leftover from a cookout and used all of them for the cheese portion of the recipe. This worked just fine.
DSC_0314

Another frittata version: leftover ditalini pasta and roasted zucchini, summer squash, and leeks, with fresh, chopped mint

I increased the amount of cheese for this version:
12 eggs, 1/2 cup ricotta, 1 teaspoon salt, 1/2 teaspoon pepper, 1 cup Parmesan, 2 cups mozzarella
4 cups cooked pasta, 4 cups roasted zucchini with leeks, 1/2 cup chopped mint

DSC_0984

Prepping the mint

DSC_0993 DSC_0995

Prepping the mozzarella

DSC_0001  DSC_0004  DSC_0005

The four stages of combining and baking the frittata:DSC_0998 DSC_0999    DSC_0006 DSC_0012  

Melty goodness!

Other delicious foods to serve at breakfast
Fruit and Nut Bread
The Biscuit King
Very Berry Clafoutis
Quiche Lorraine with Bacon and Kale
Sorghum, Seeds, and Grains Granola
How to Make Grape Jelly (and grow the grapes)

LET’S STAY CONNECTED!

Follow my photos of vegetables growing, backyard chickens hanging out, and dinner preparations on Instagram at JudysChickens.

Never miss a post: sign up to become a follower of the Blog.

© 2014-2017 Judy Wright. All rights reserved. Photos and text may only be used with written consent.