How to Build a 4 x 4 Raised Garden Bed

In the beginning, the naive among us, and that was a lot of us, thought COVID would be a passing thing. I would never have believed I would be unable to visit, hold, and smother my grandchildren with kisses for so many months. In June, when the number of new COVID cases dipped, my husband and I got in the car and drove south, first to Hartwell, Georgia to visit and hug one son and then on to Orlando to see another.

While we drove (and listened to cookbook author Ruth Reichel’s delightful novel, Delicious!), I got to thinking about a way I could stay connected to my grands that was symbolic of times we shared when they lived down the road from us. I thought about this photo that I keep on my kitchen windowsill. You’ve gotta love a two-year-old superhero who wears a diaper.

The photo became my inspiration for a COVID project I hoped would provide outdoor fun for my grandchildren. I wanted to build them a vegetable garden so they could experience the anticipation and joy that comes with watching a seed unfurl its leaves as it pokes out of the ground. That you get to eat the food you grow is secondary to the miracles and discoveries that happen every day in a garden.

Meanwhile, my husband, the builder in the family, was like yeah, yeah … But what is your plan, Judy? Plan? I had no plan. I am more of a make-it-up-as-you-go kind of person. I drew up something for him on a napkin that he translated into a plan.

My Plan:

His:

We went to Home Depot to get supplies.

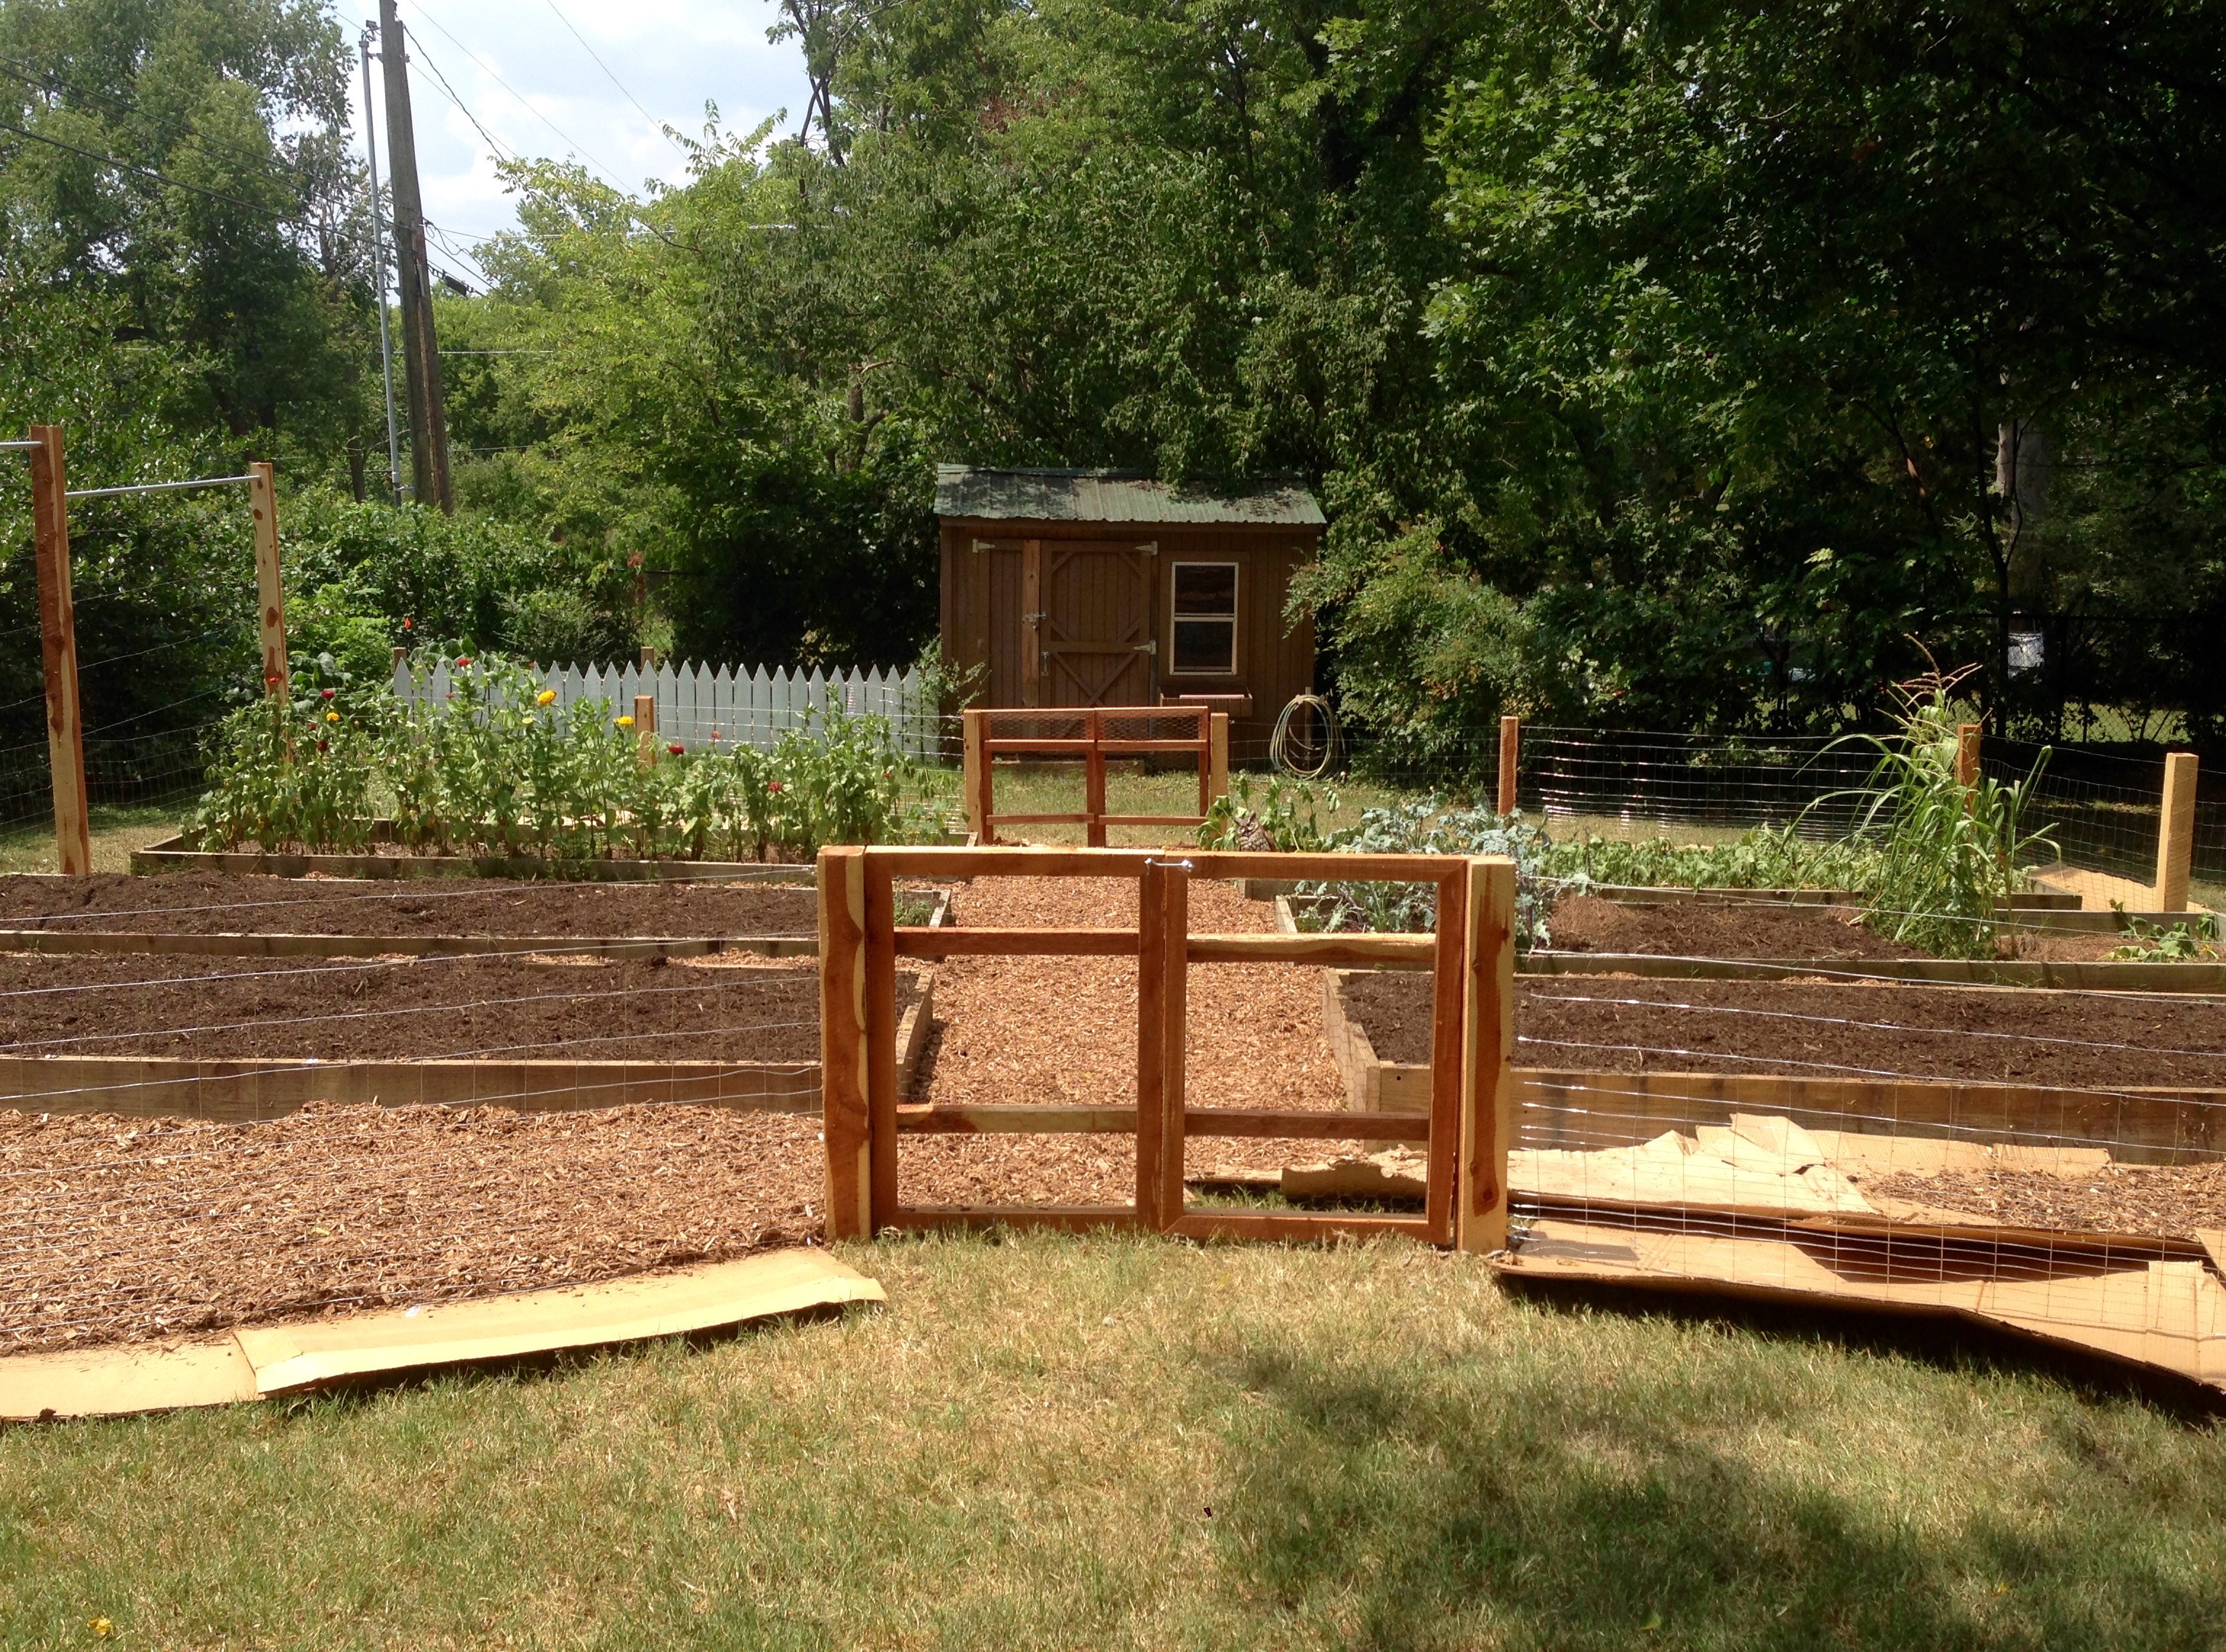
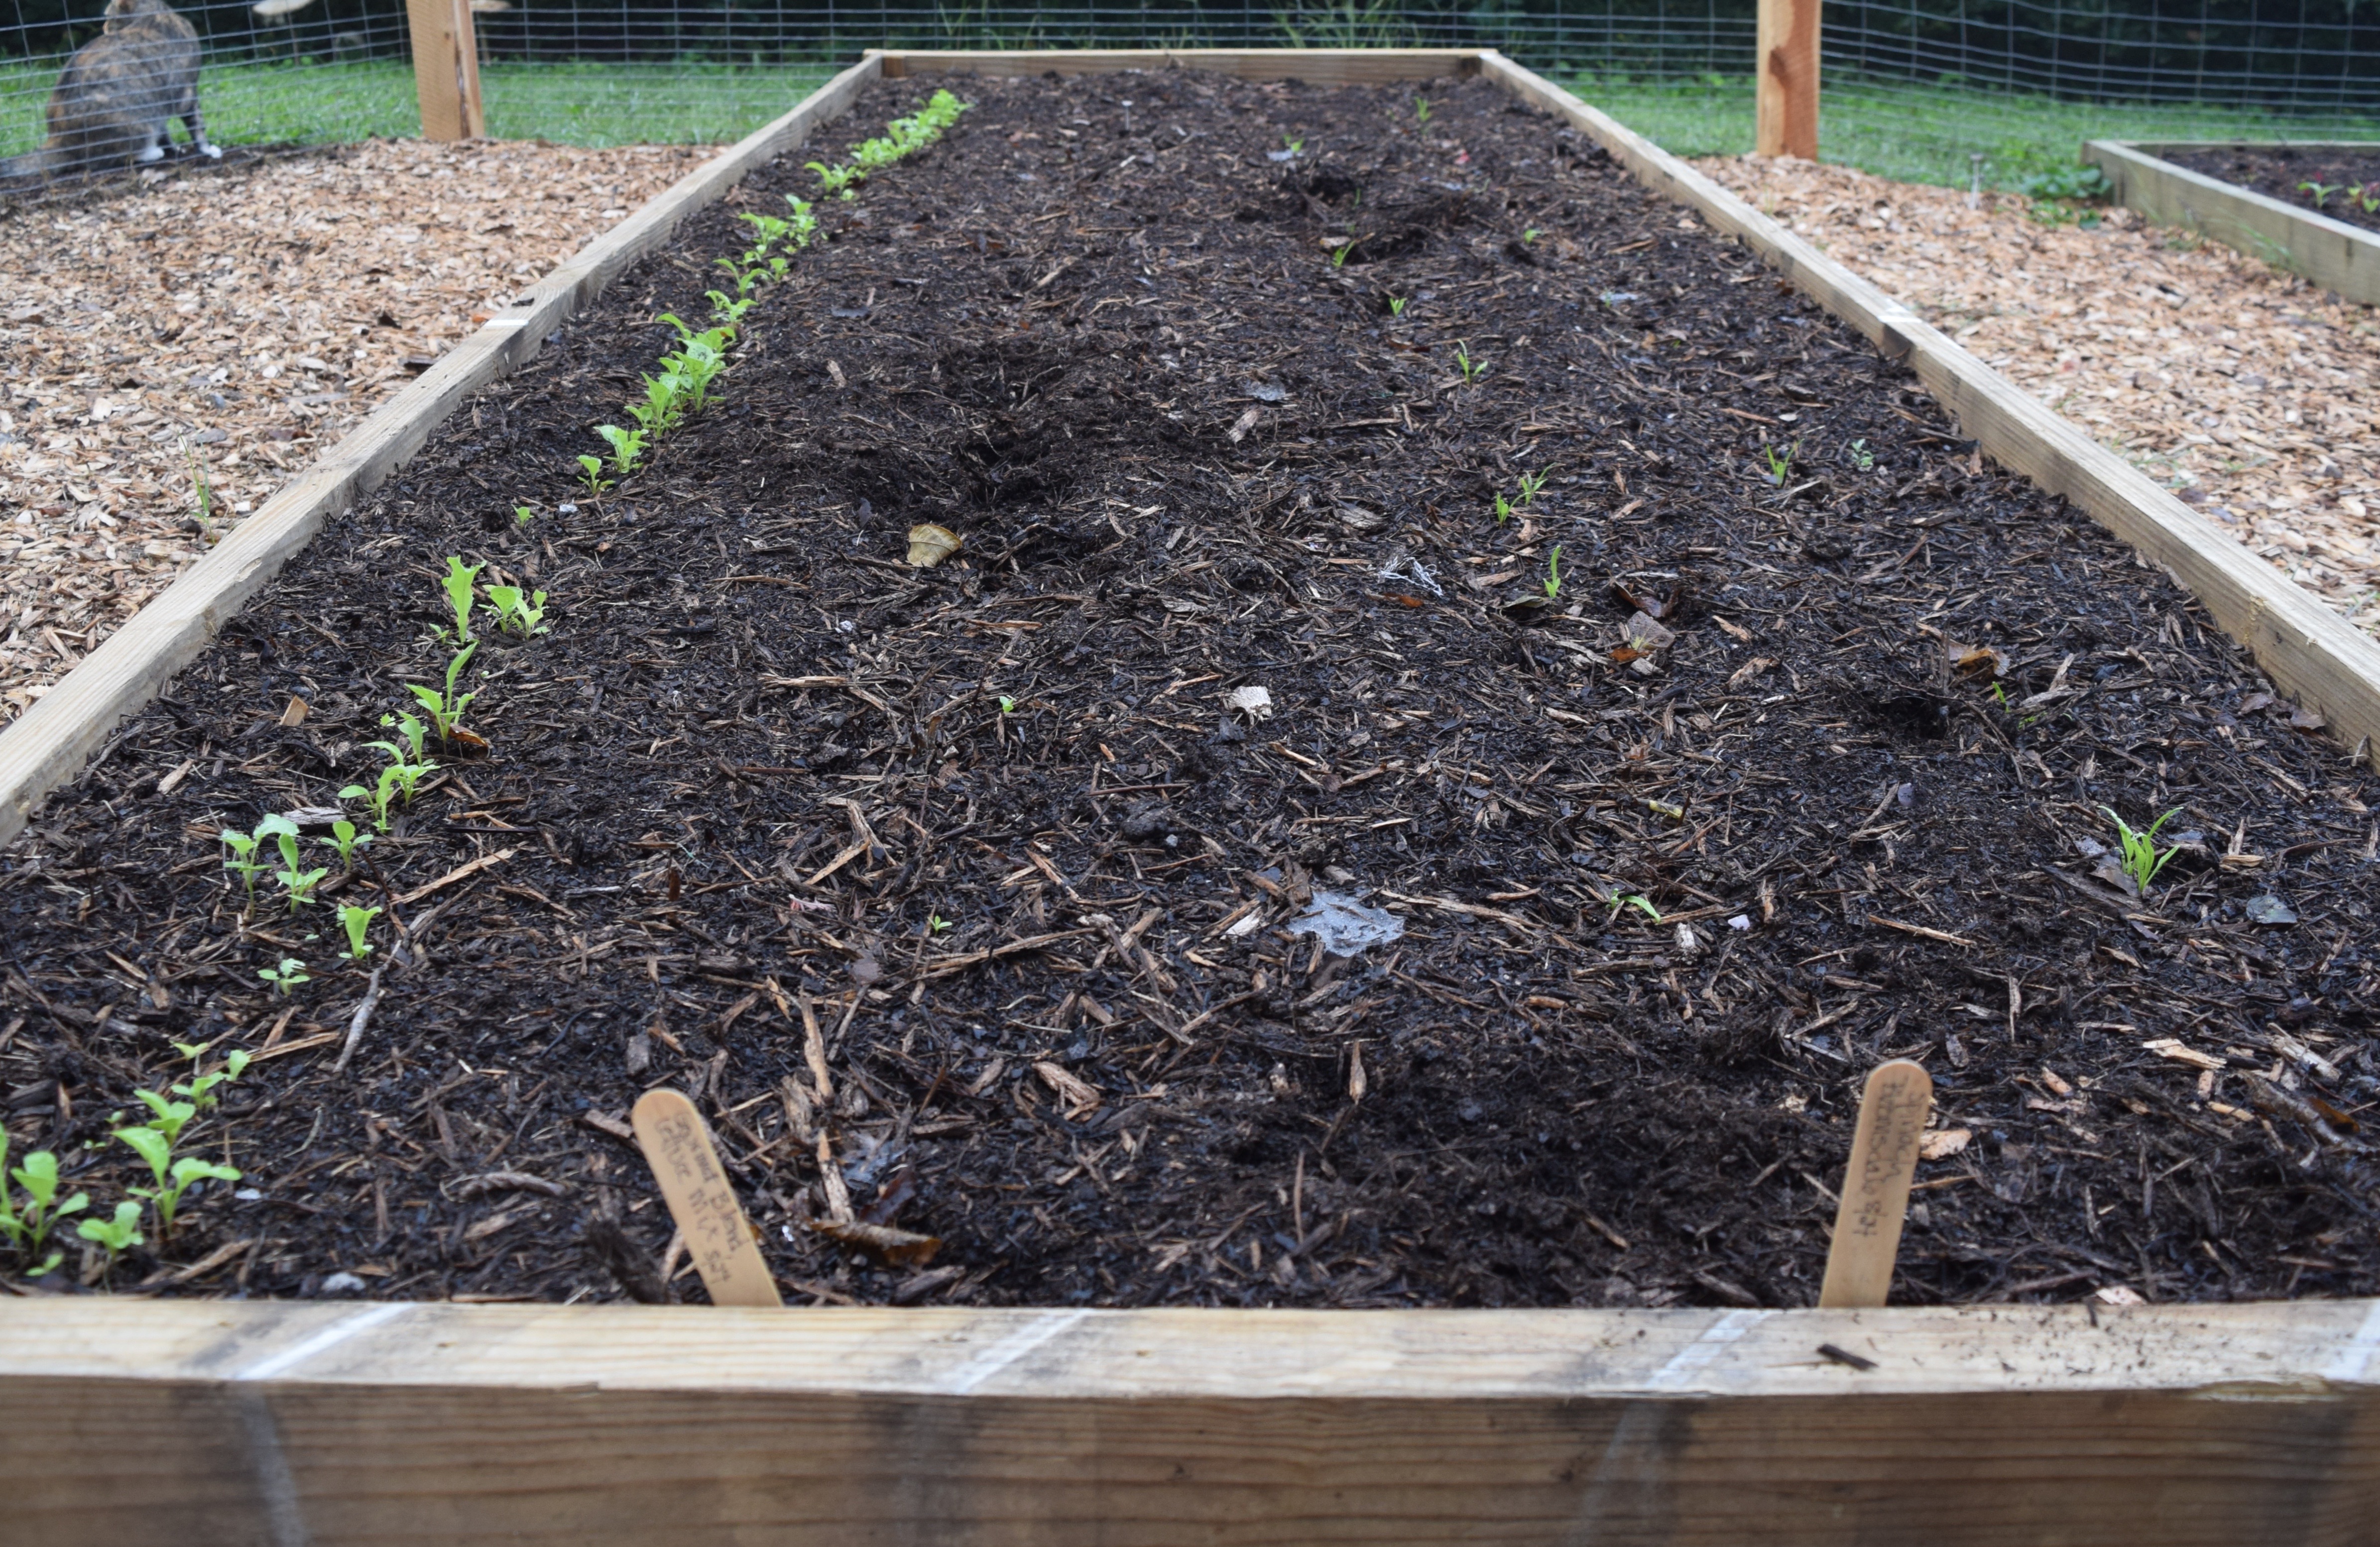
Here is what we built in one afternoon.

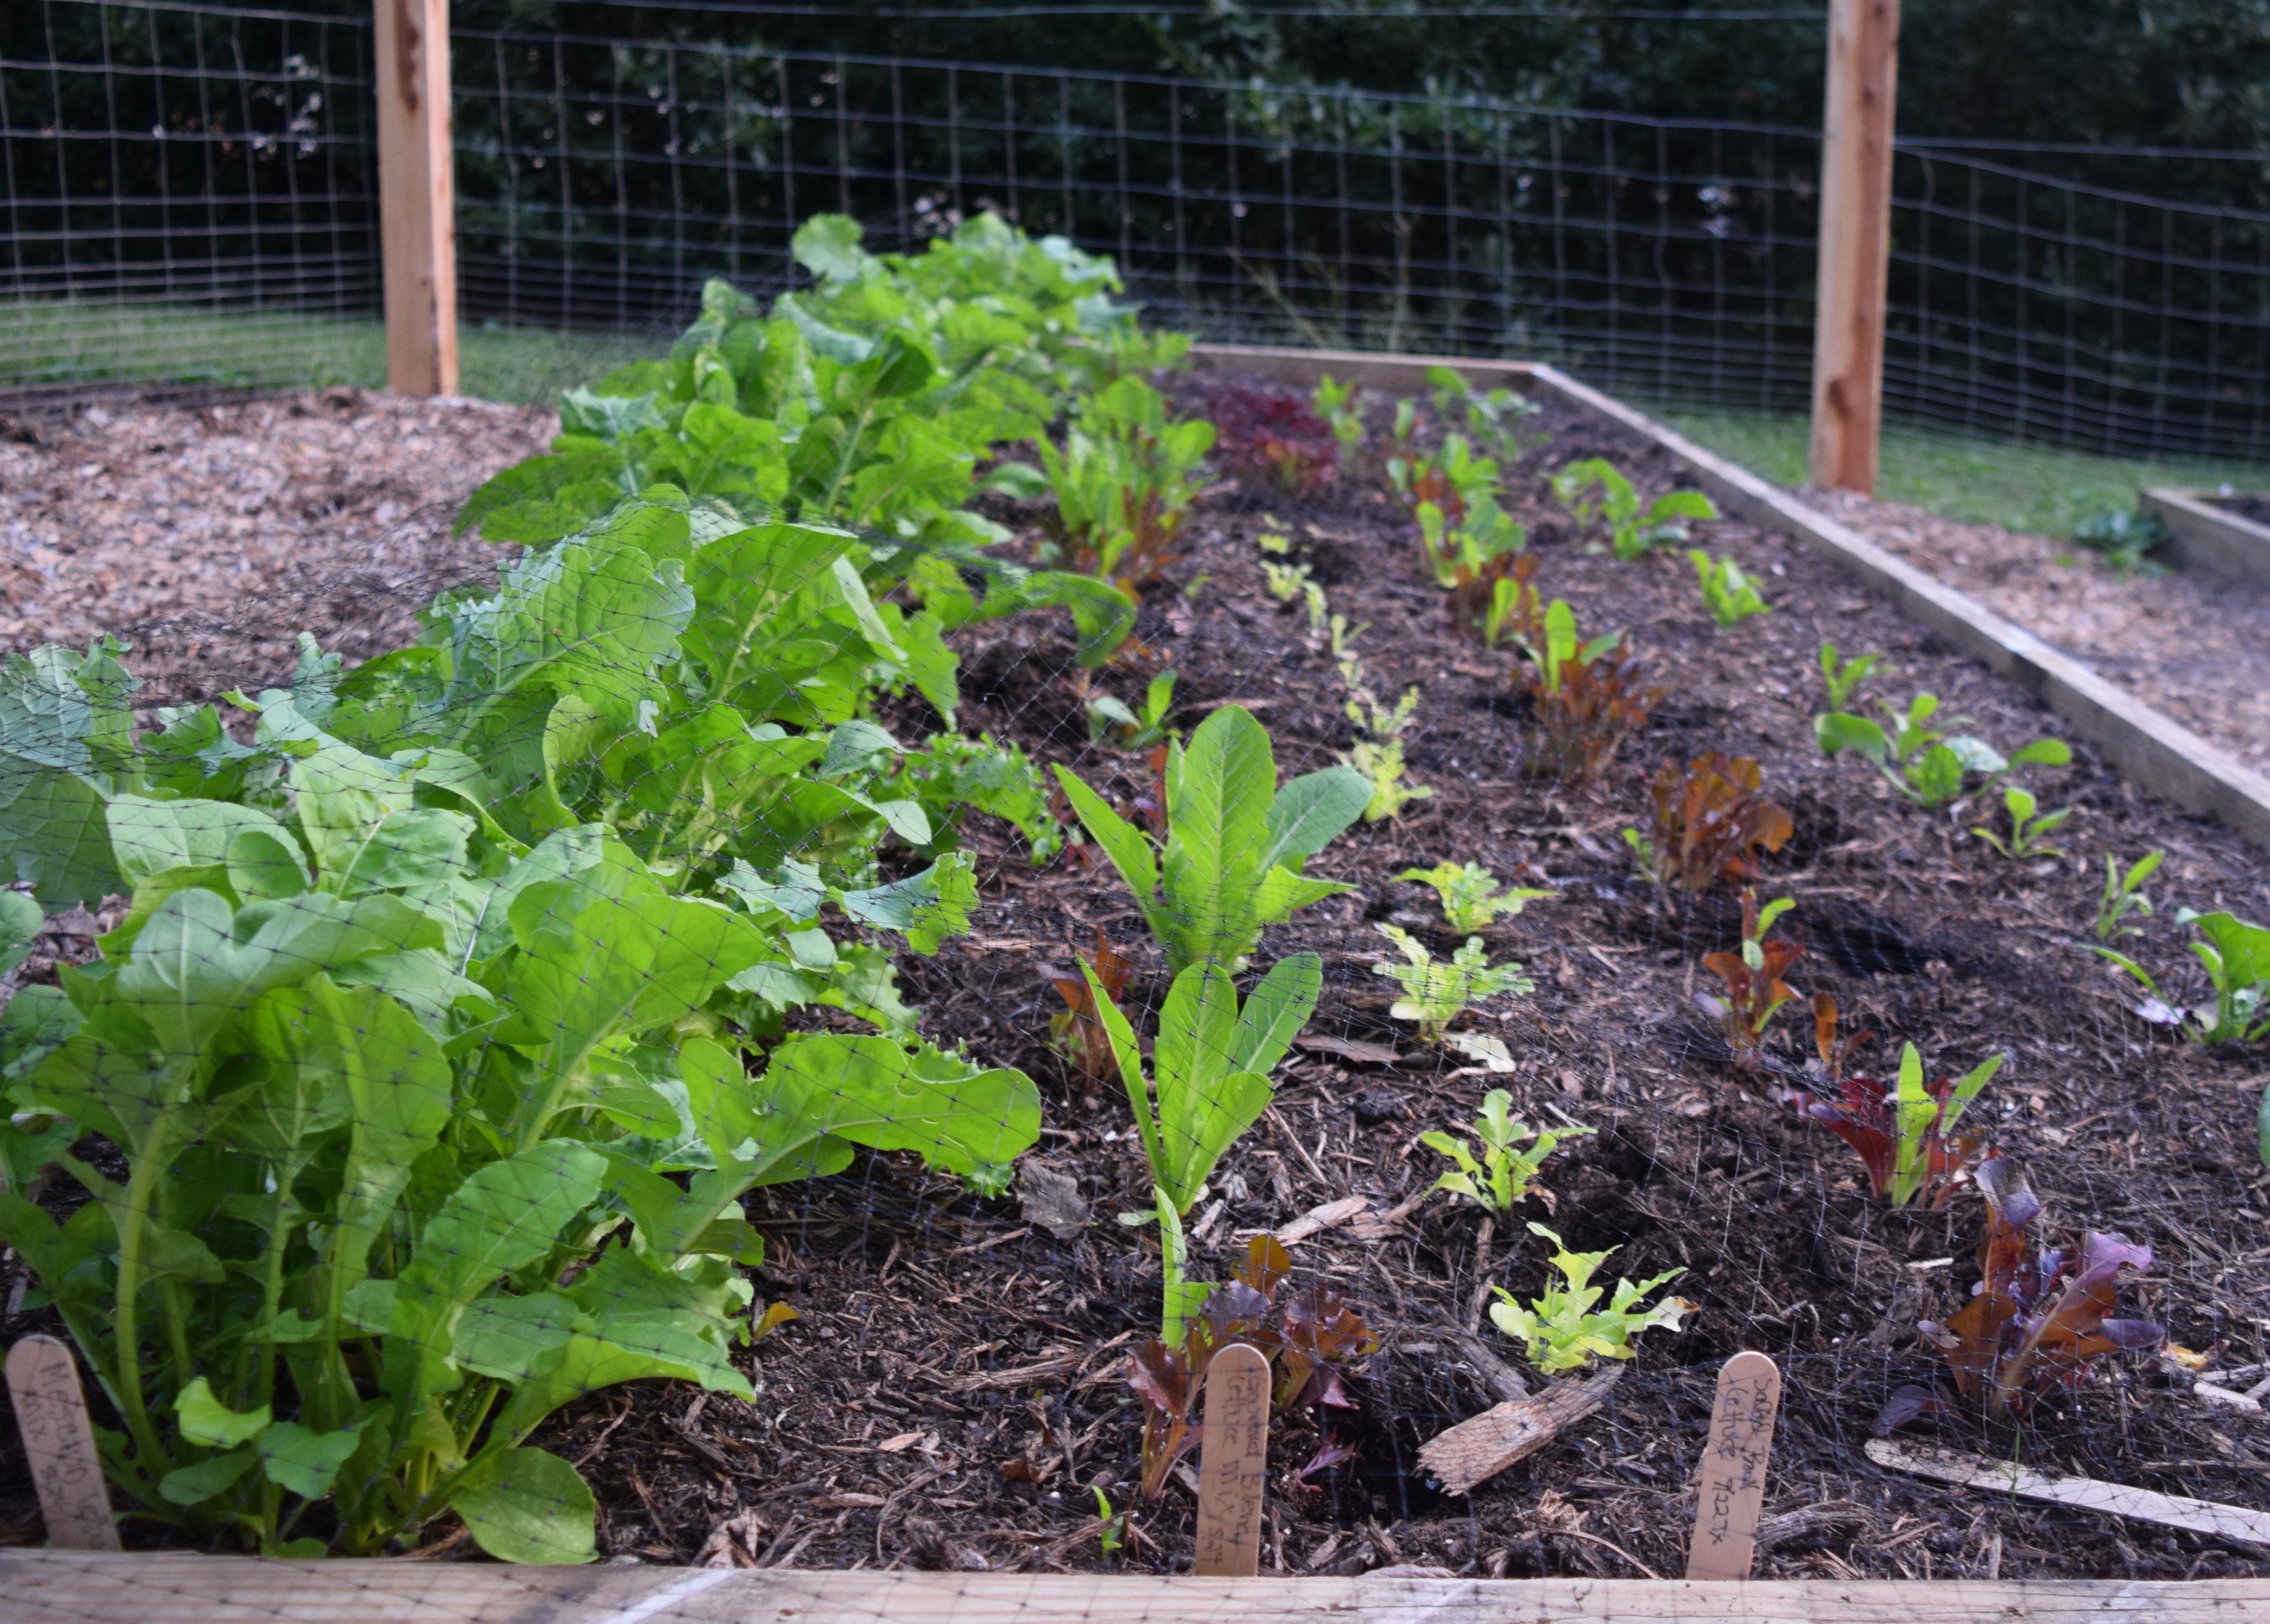
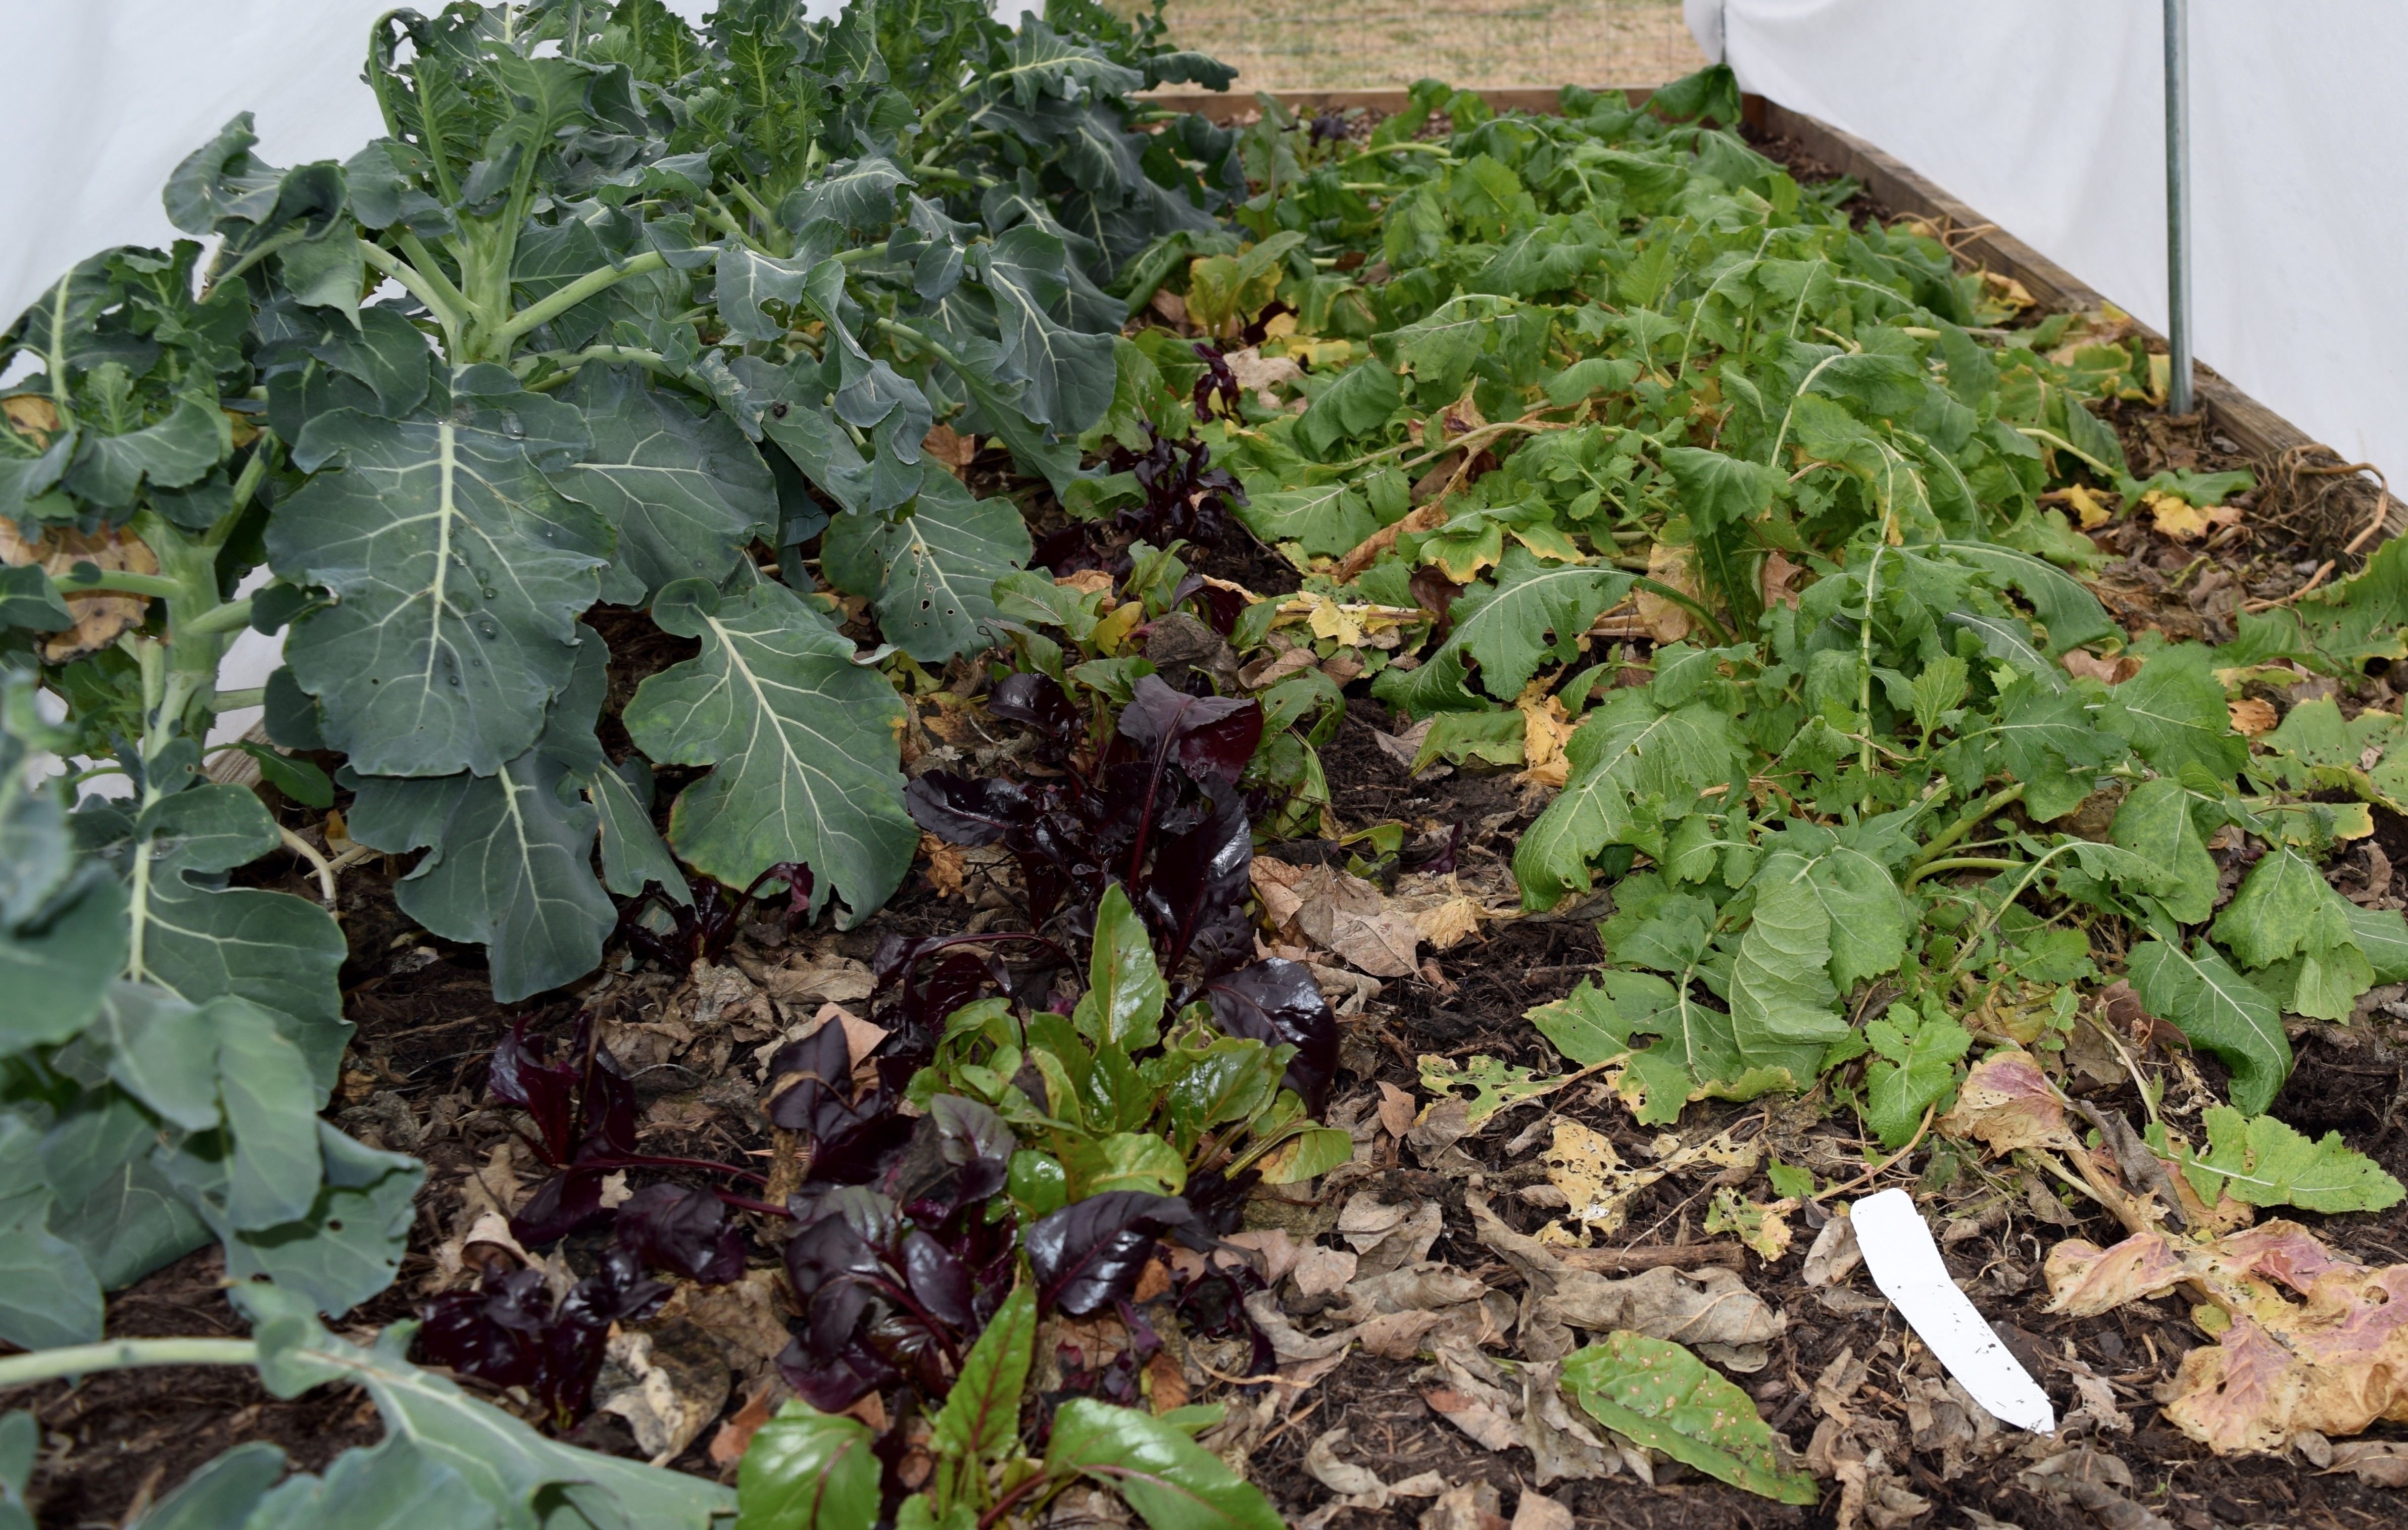
Here is how it looked two months later.

How We Built the Garden

First things first — before you get started building a space for a garden, look for a sunny spot with easy access to water. Next, write up a list of plants you want to grow.

And we’re off…

We bought two eight-foot cedar boards that were 8″ in height. Do not use pressure-treated lumber as the chemicals that keep the wood from rotting will leach into the soil over time.

By all means, let a staff person cut the boards into 4-foot lengths for you. Also, look around for a big piece of cardboard to line the bottom of your garden.

You will need a box of three-inch screws. And, if you are going to divide your garden into squares, you’ll need string and thumbtacks. I would not recommend the twine shown here. It disintegrated within two months.

Next, head to the garden center to purchase soil. To keep costs down, we bought inexpensive topsoil and composted manure for the bottom layers and saved the richer raised-bed soil for the top. You will also need to buy a bag of all-natural “sandbox” sand to help with soil drainage.

The formula for calculating how many cubic feet of soil to buy is as follows. Volume = length x width x height. All the numbers need to be in the same type of units- in this case, feet. Thus, 4 x 4 x .67 (8 inches = 8/12 =.67) equals 11 cubic feet. We bought 12 CF because once you water the soil, it gets compacted, and you need a little more volume to fill it. Soil bags come in cubic feet.


If you don’t have a drill, it’s going to be harder to put your raised bed together. You could simplify the process by buying lumber and specialized cement blocks or use a raised-bed kit.

Instructions in Pictures
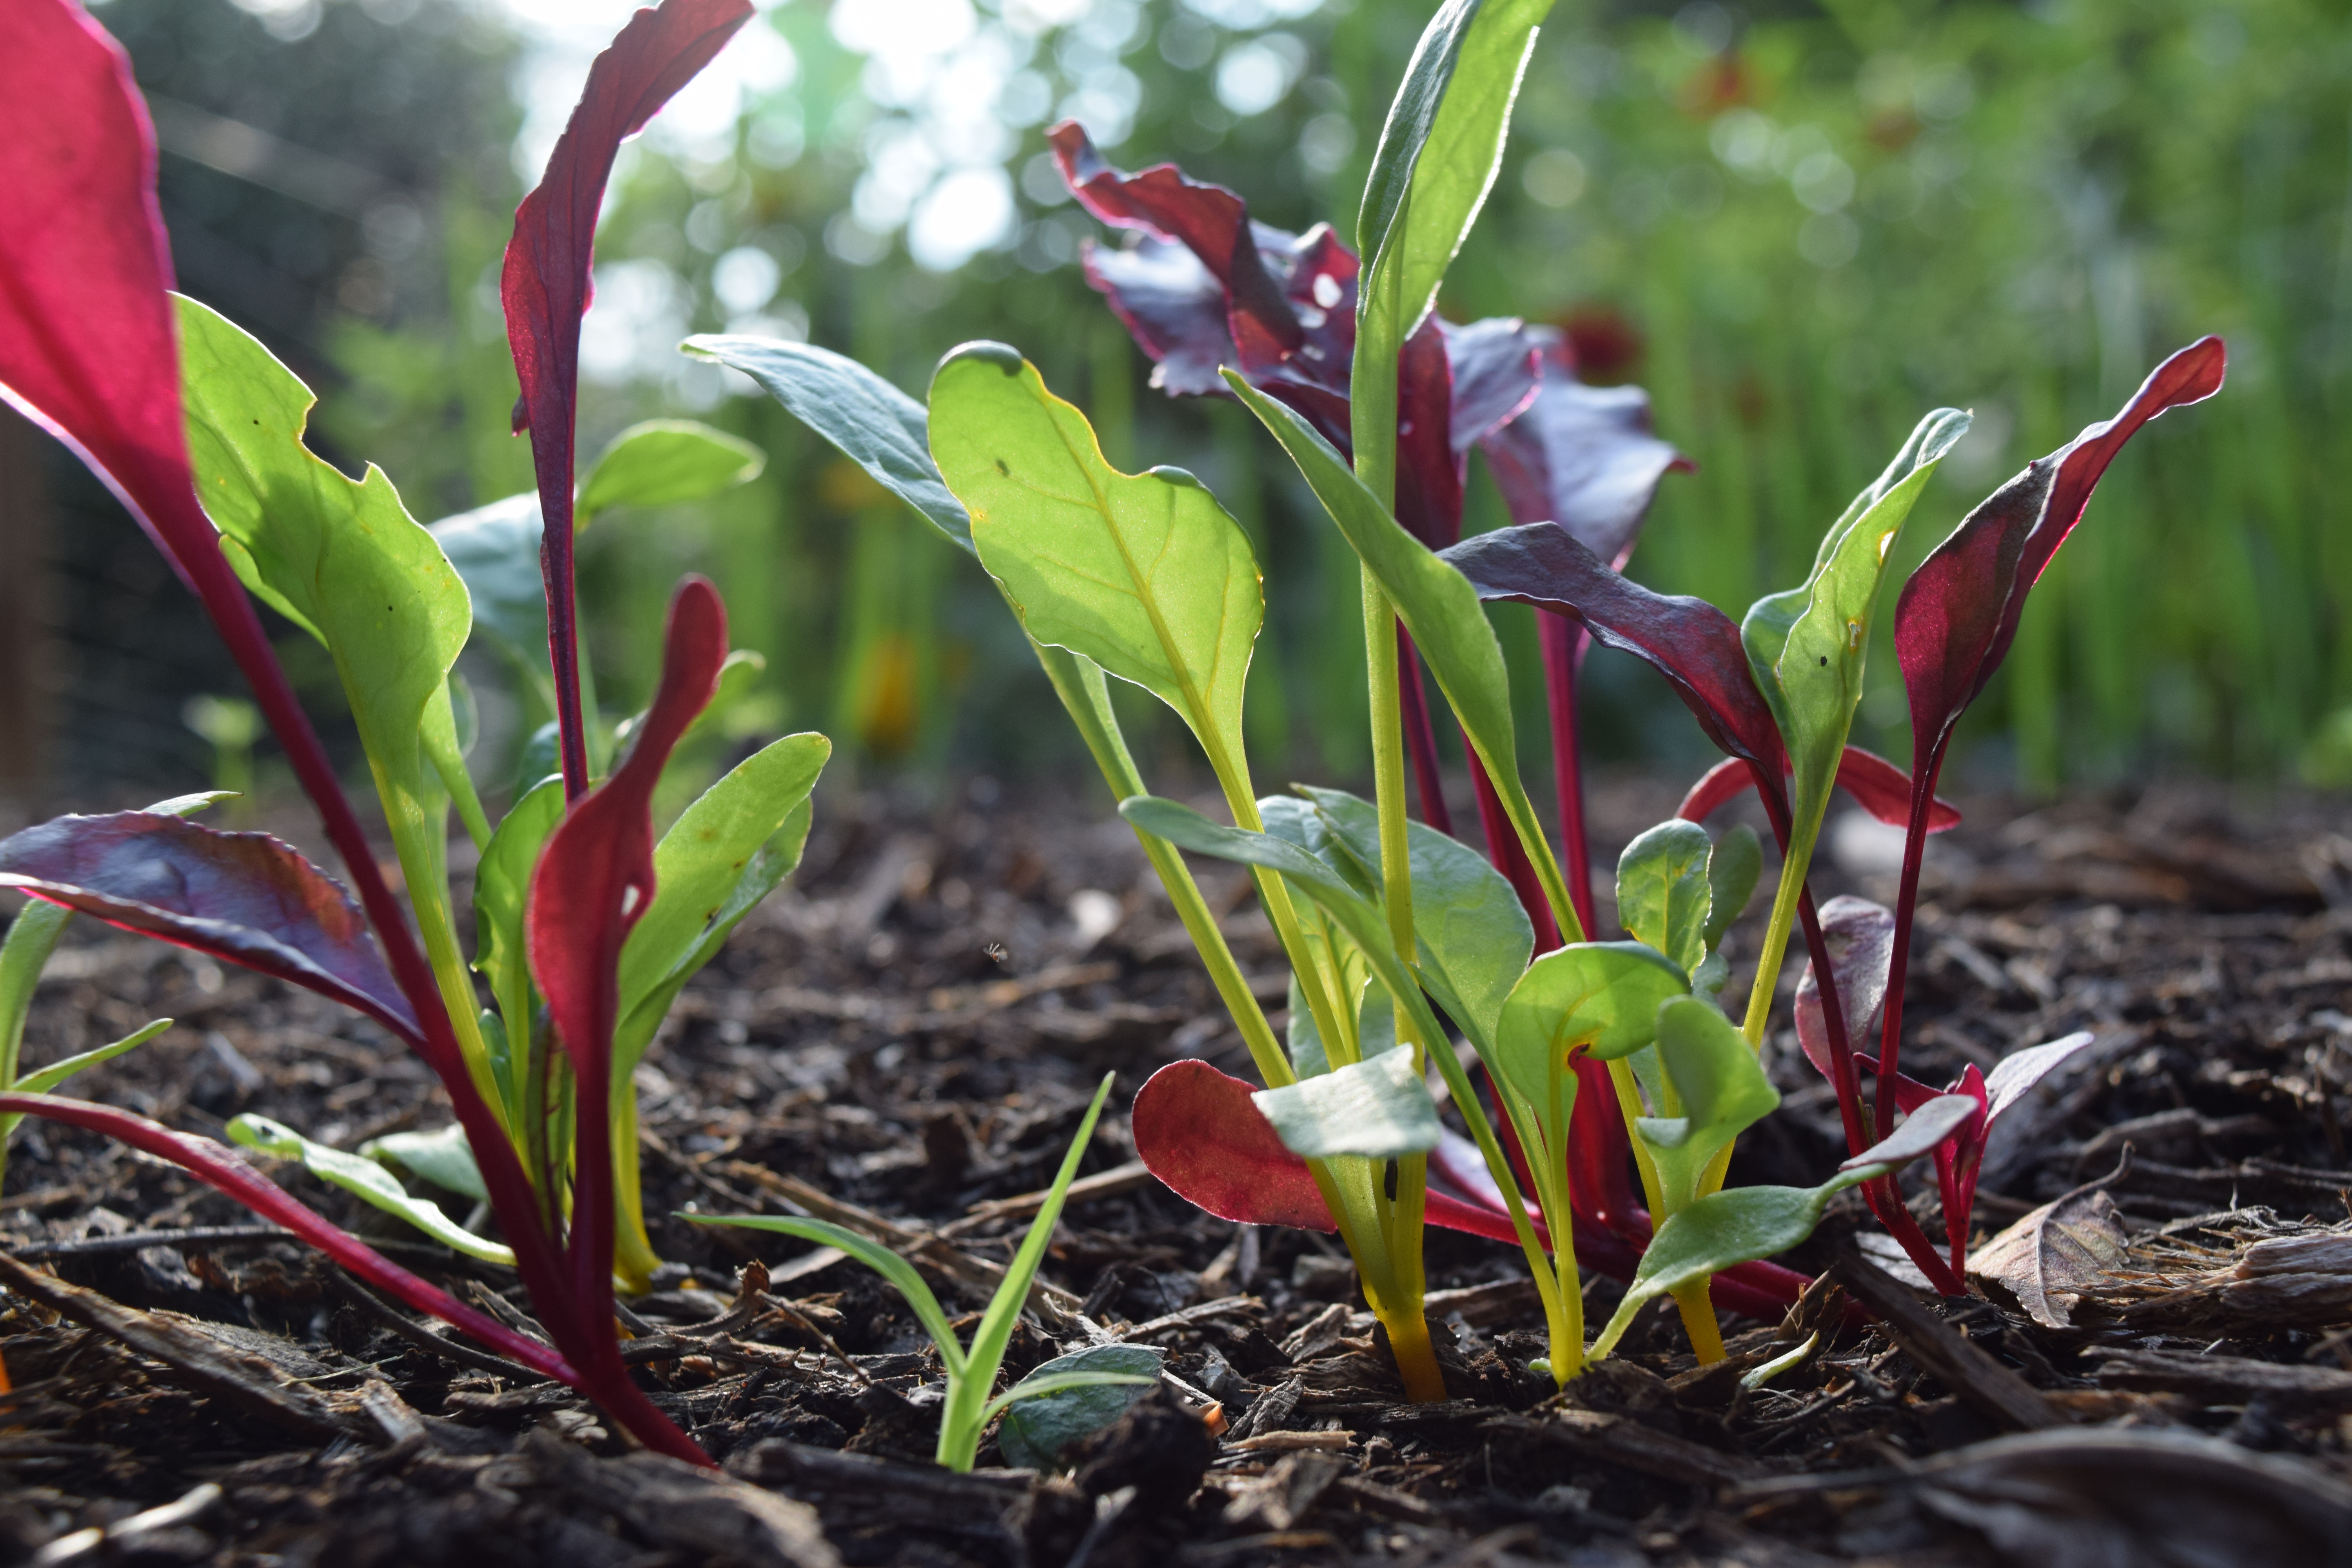
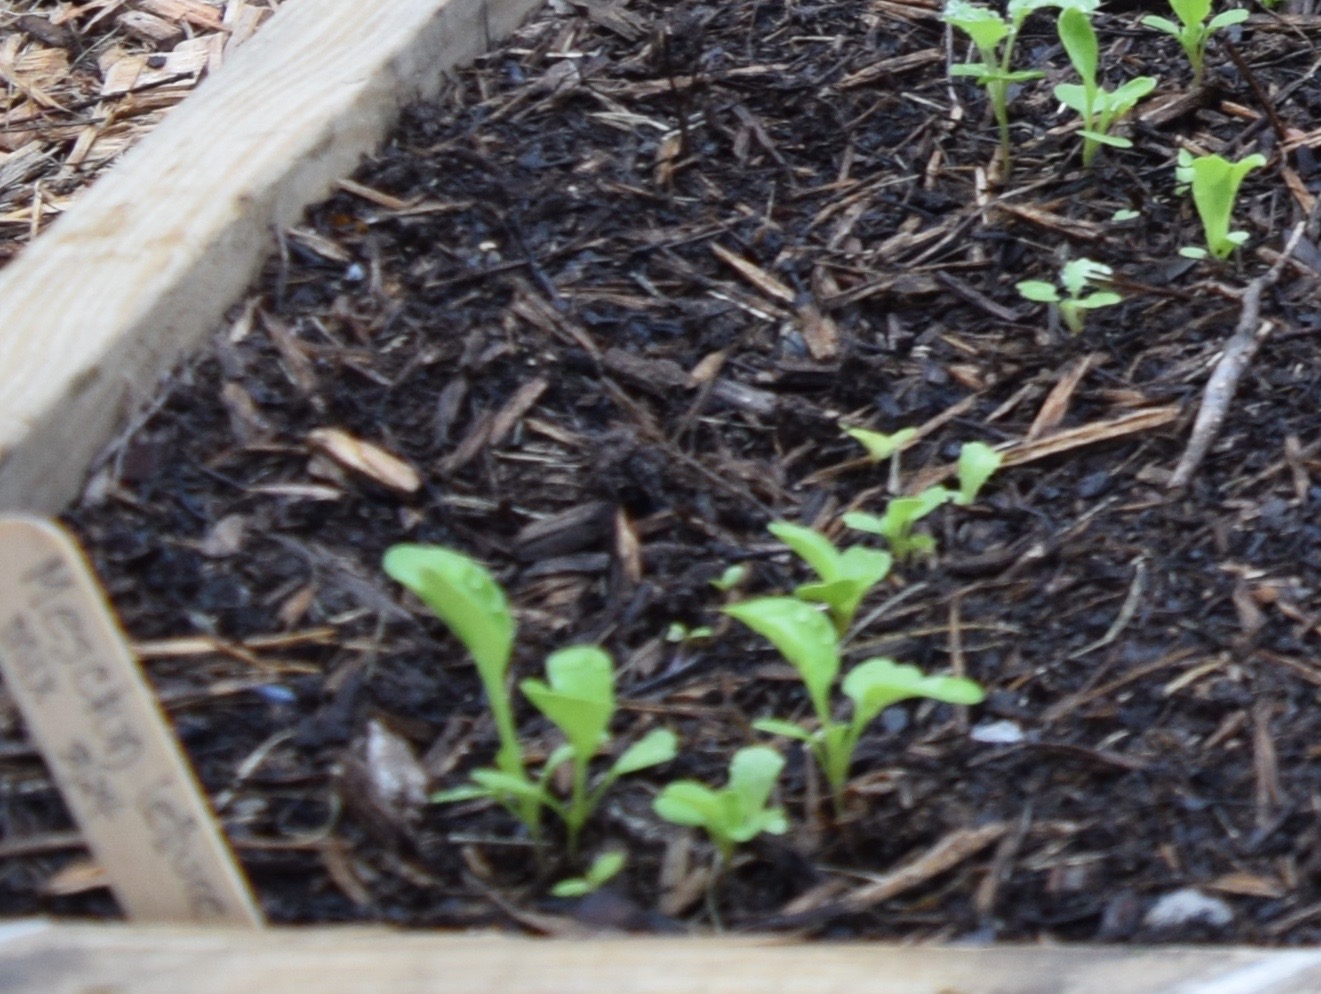
Planting the Seeds

Stopping to Smell the Flowers

Watering the Garden

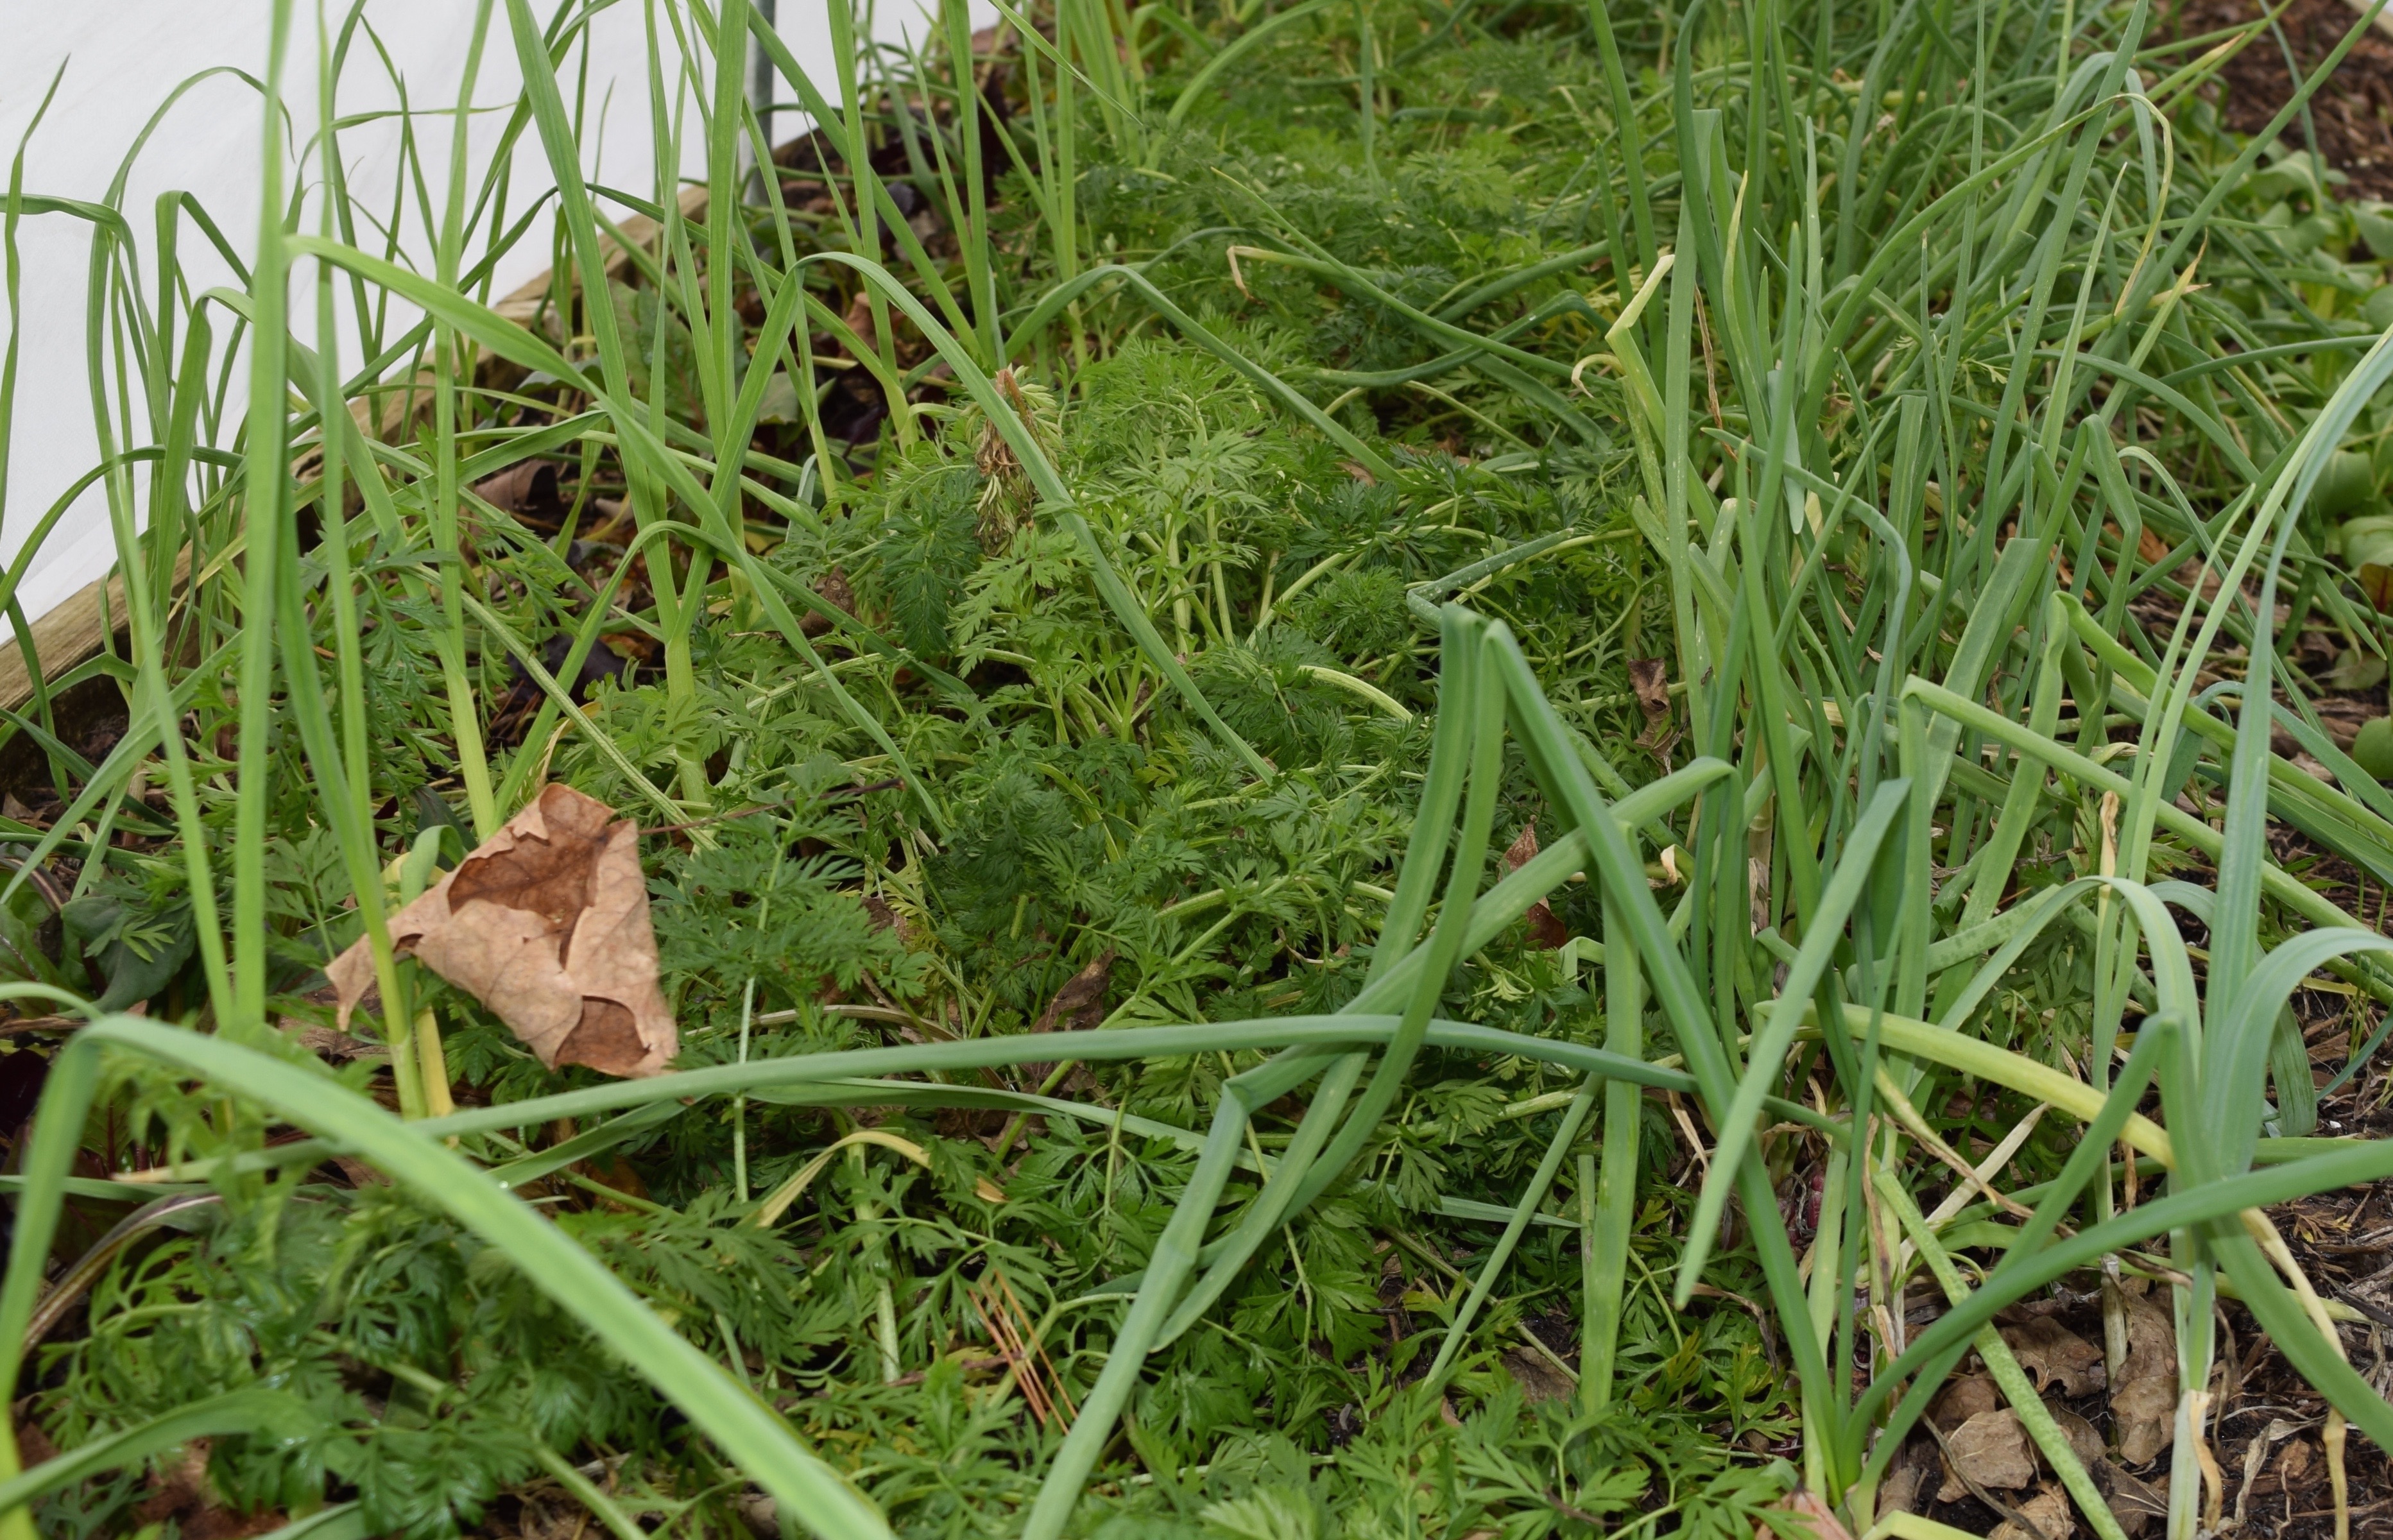
One of the discoveries – snake beans that germinated in three days!
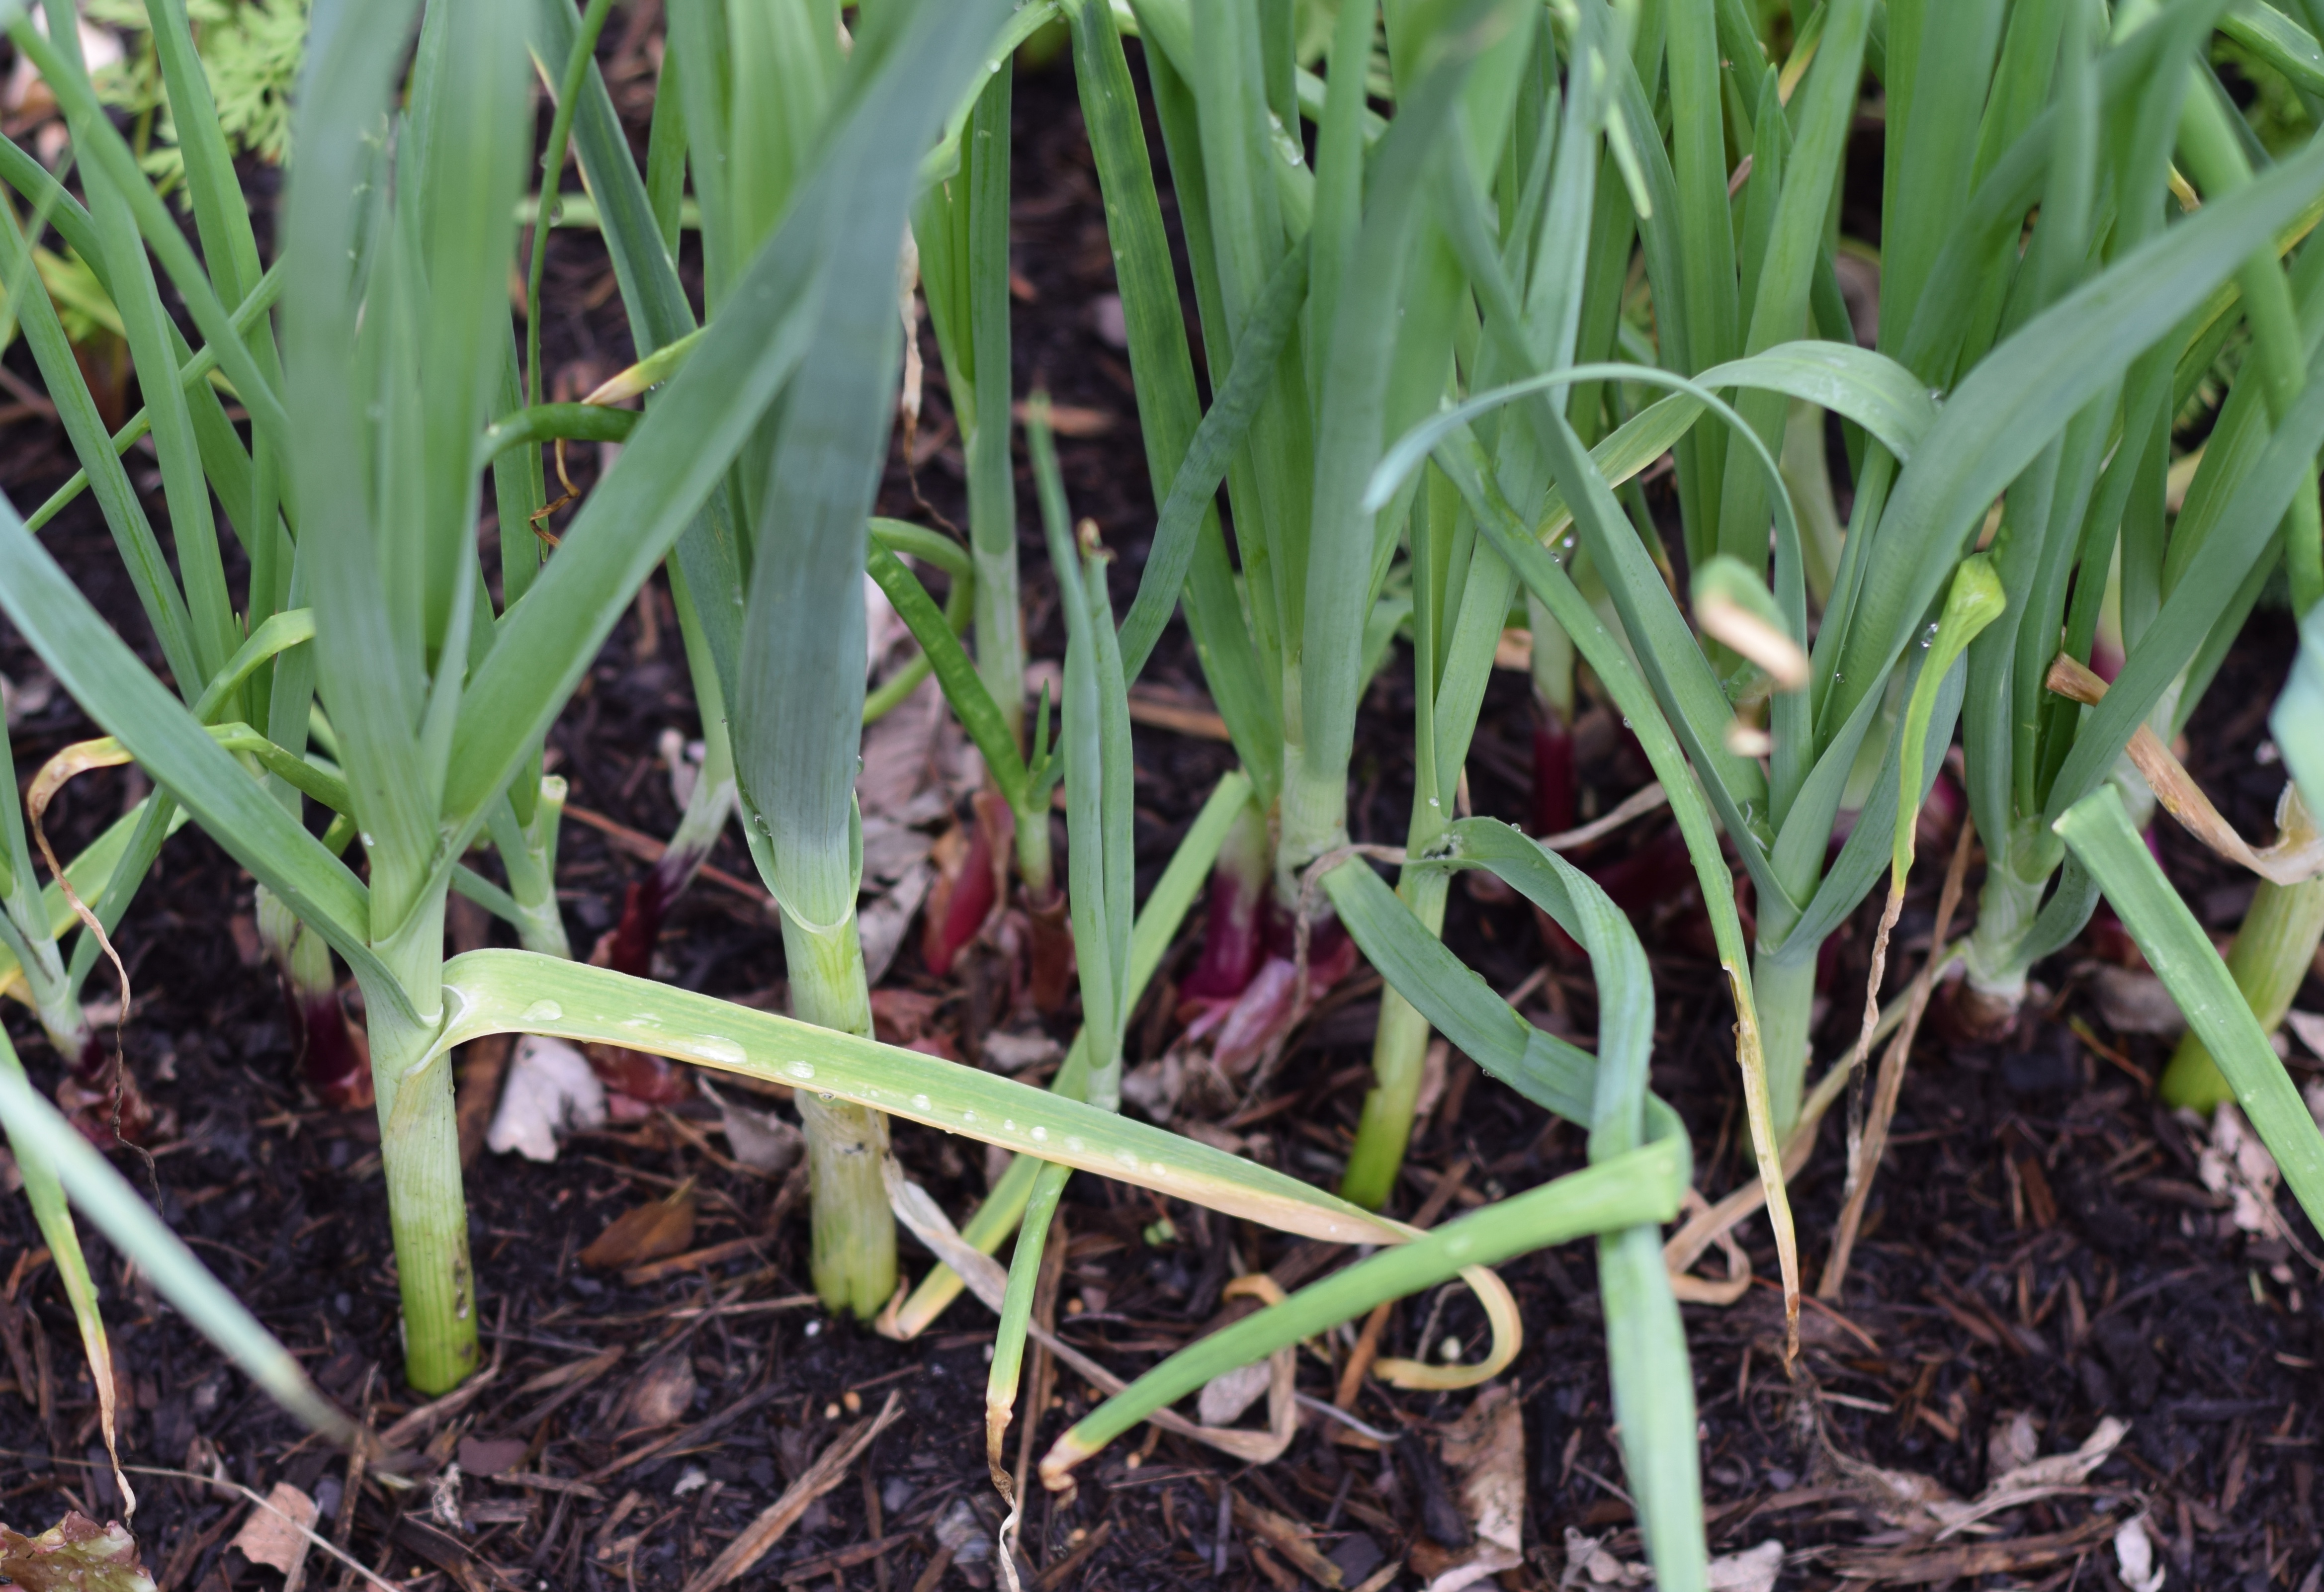
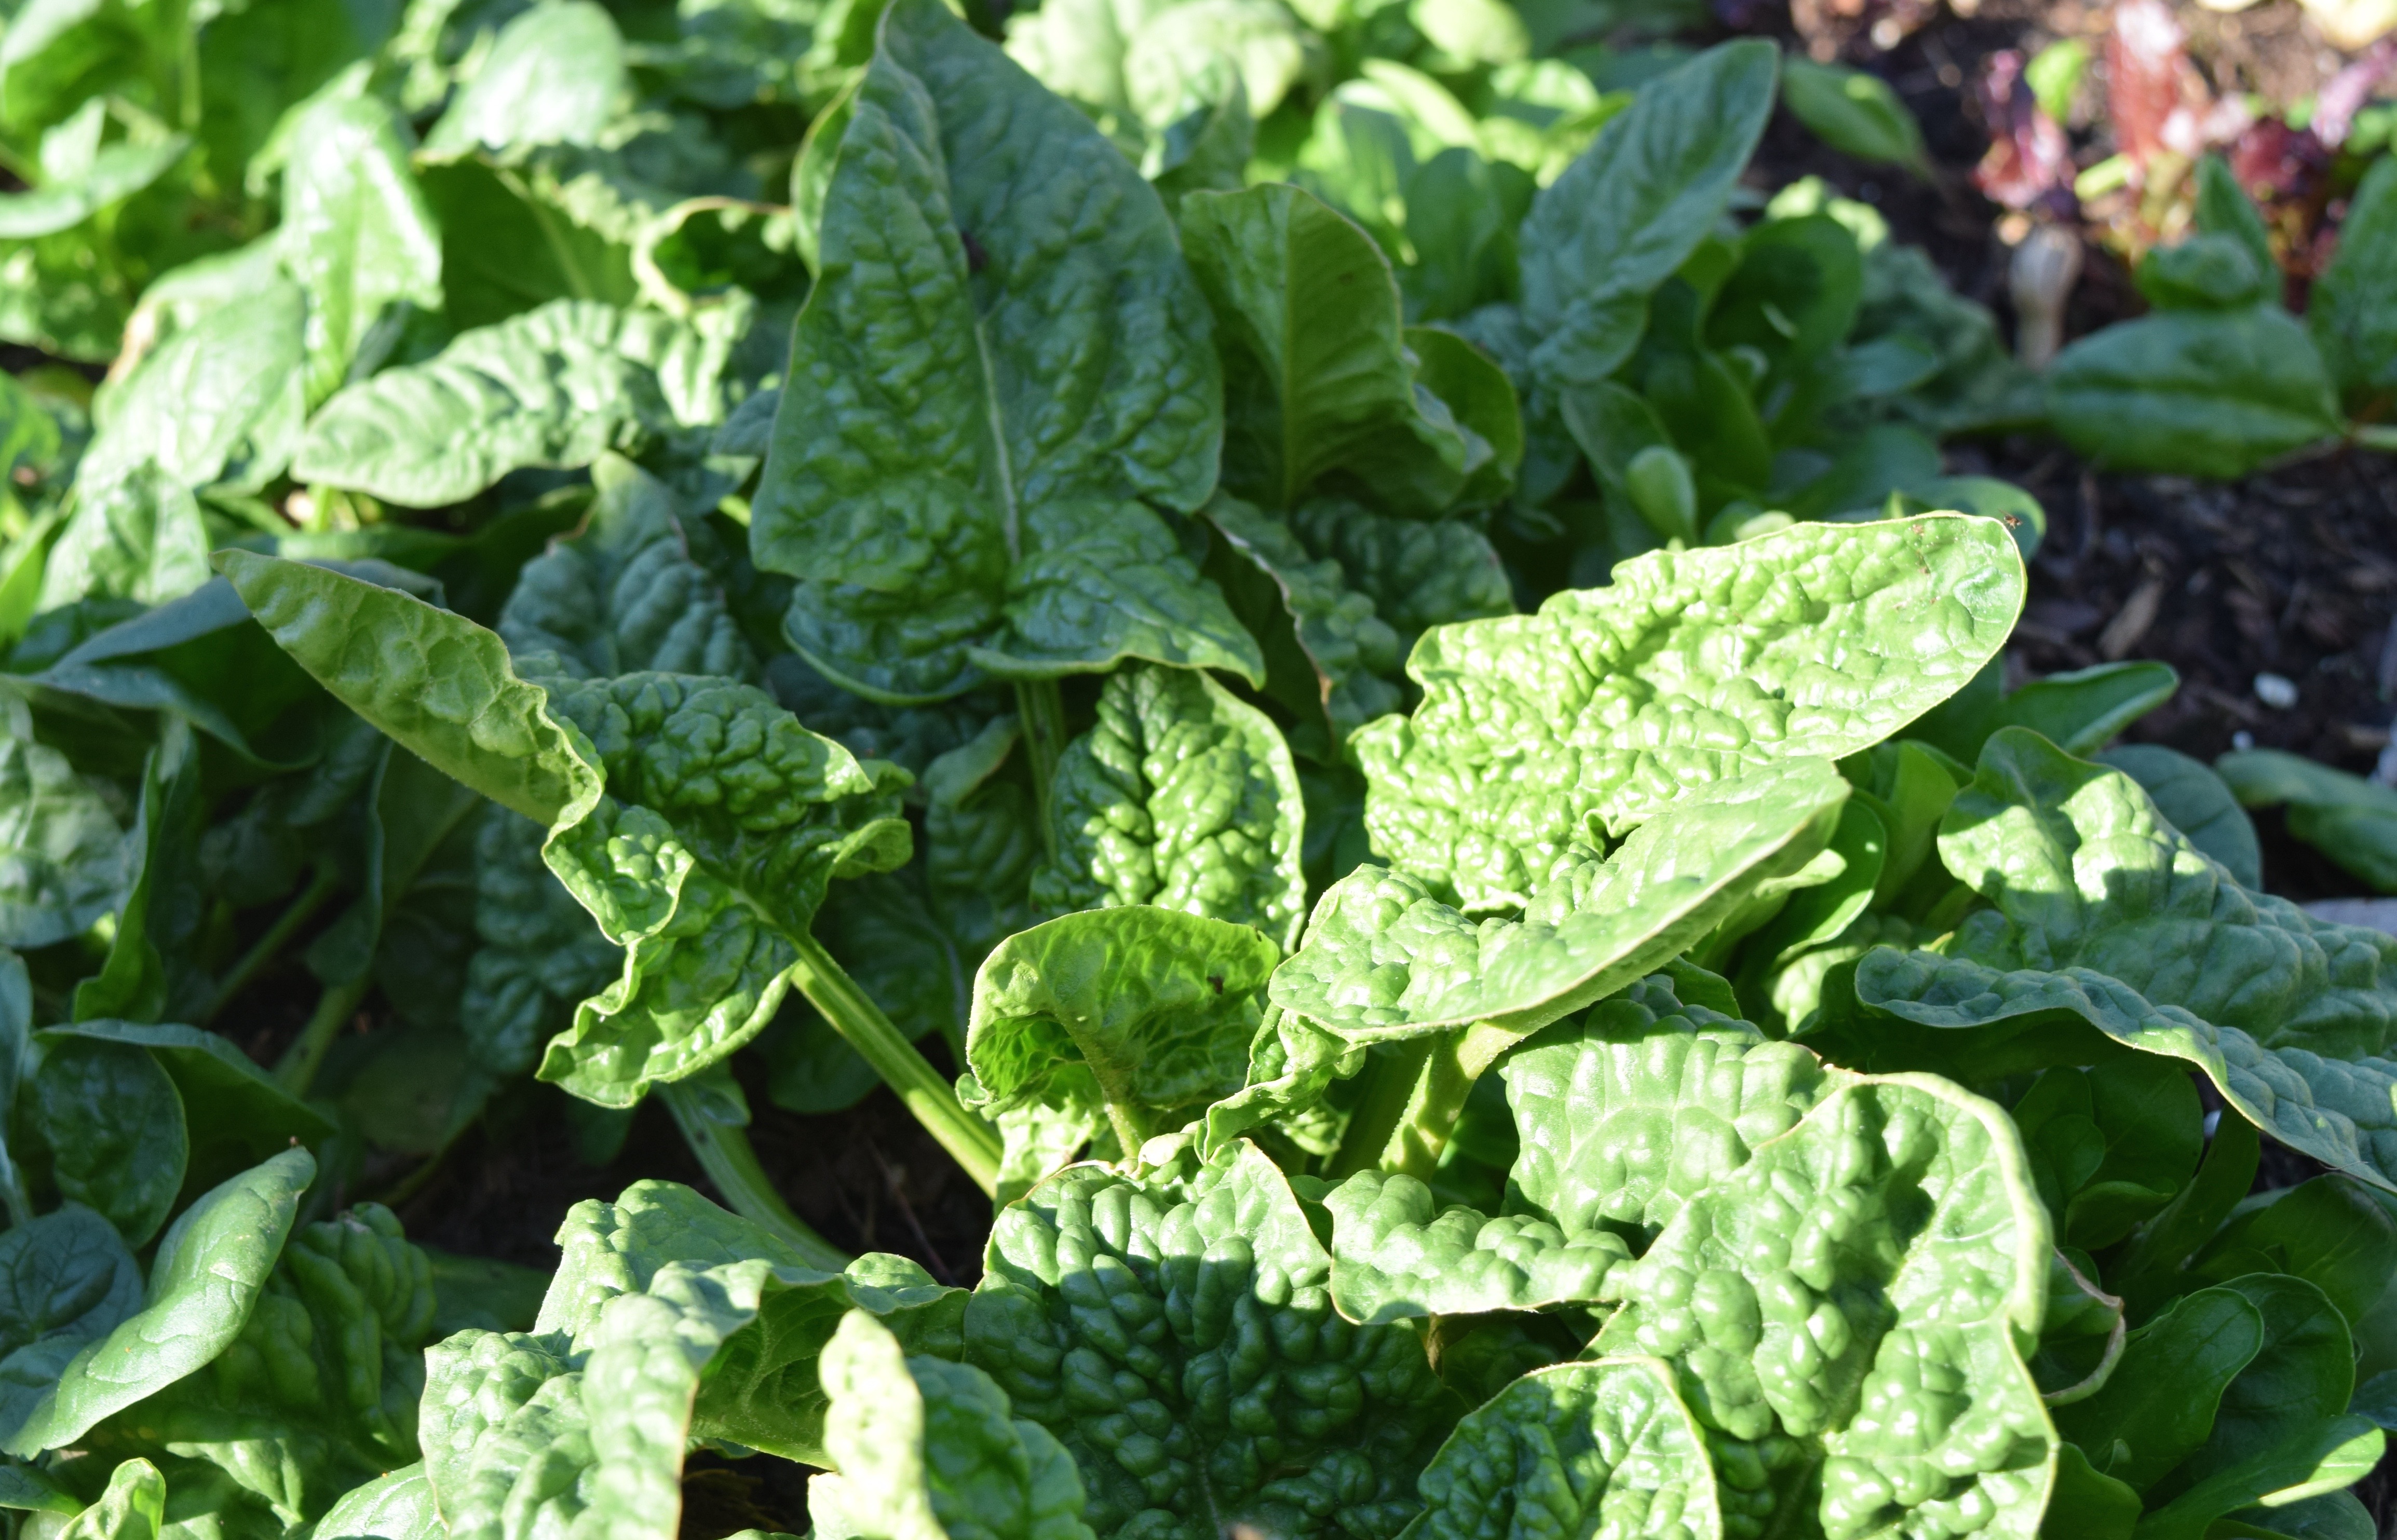
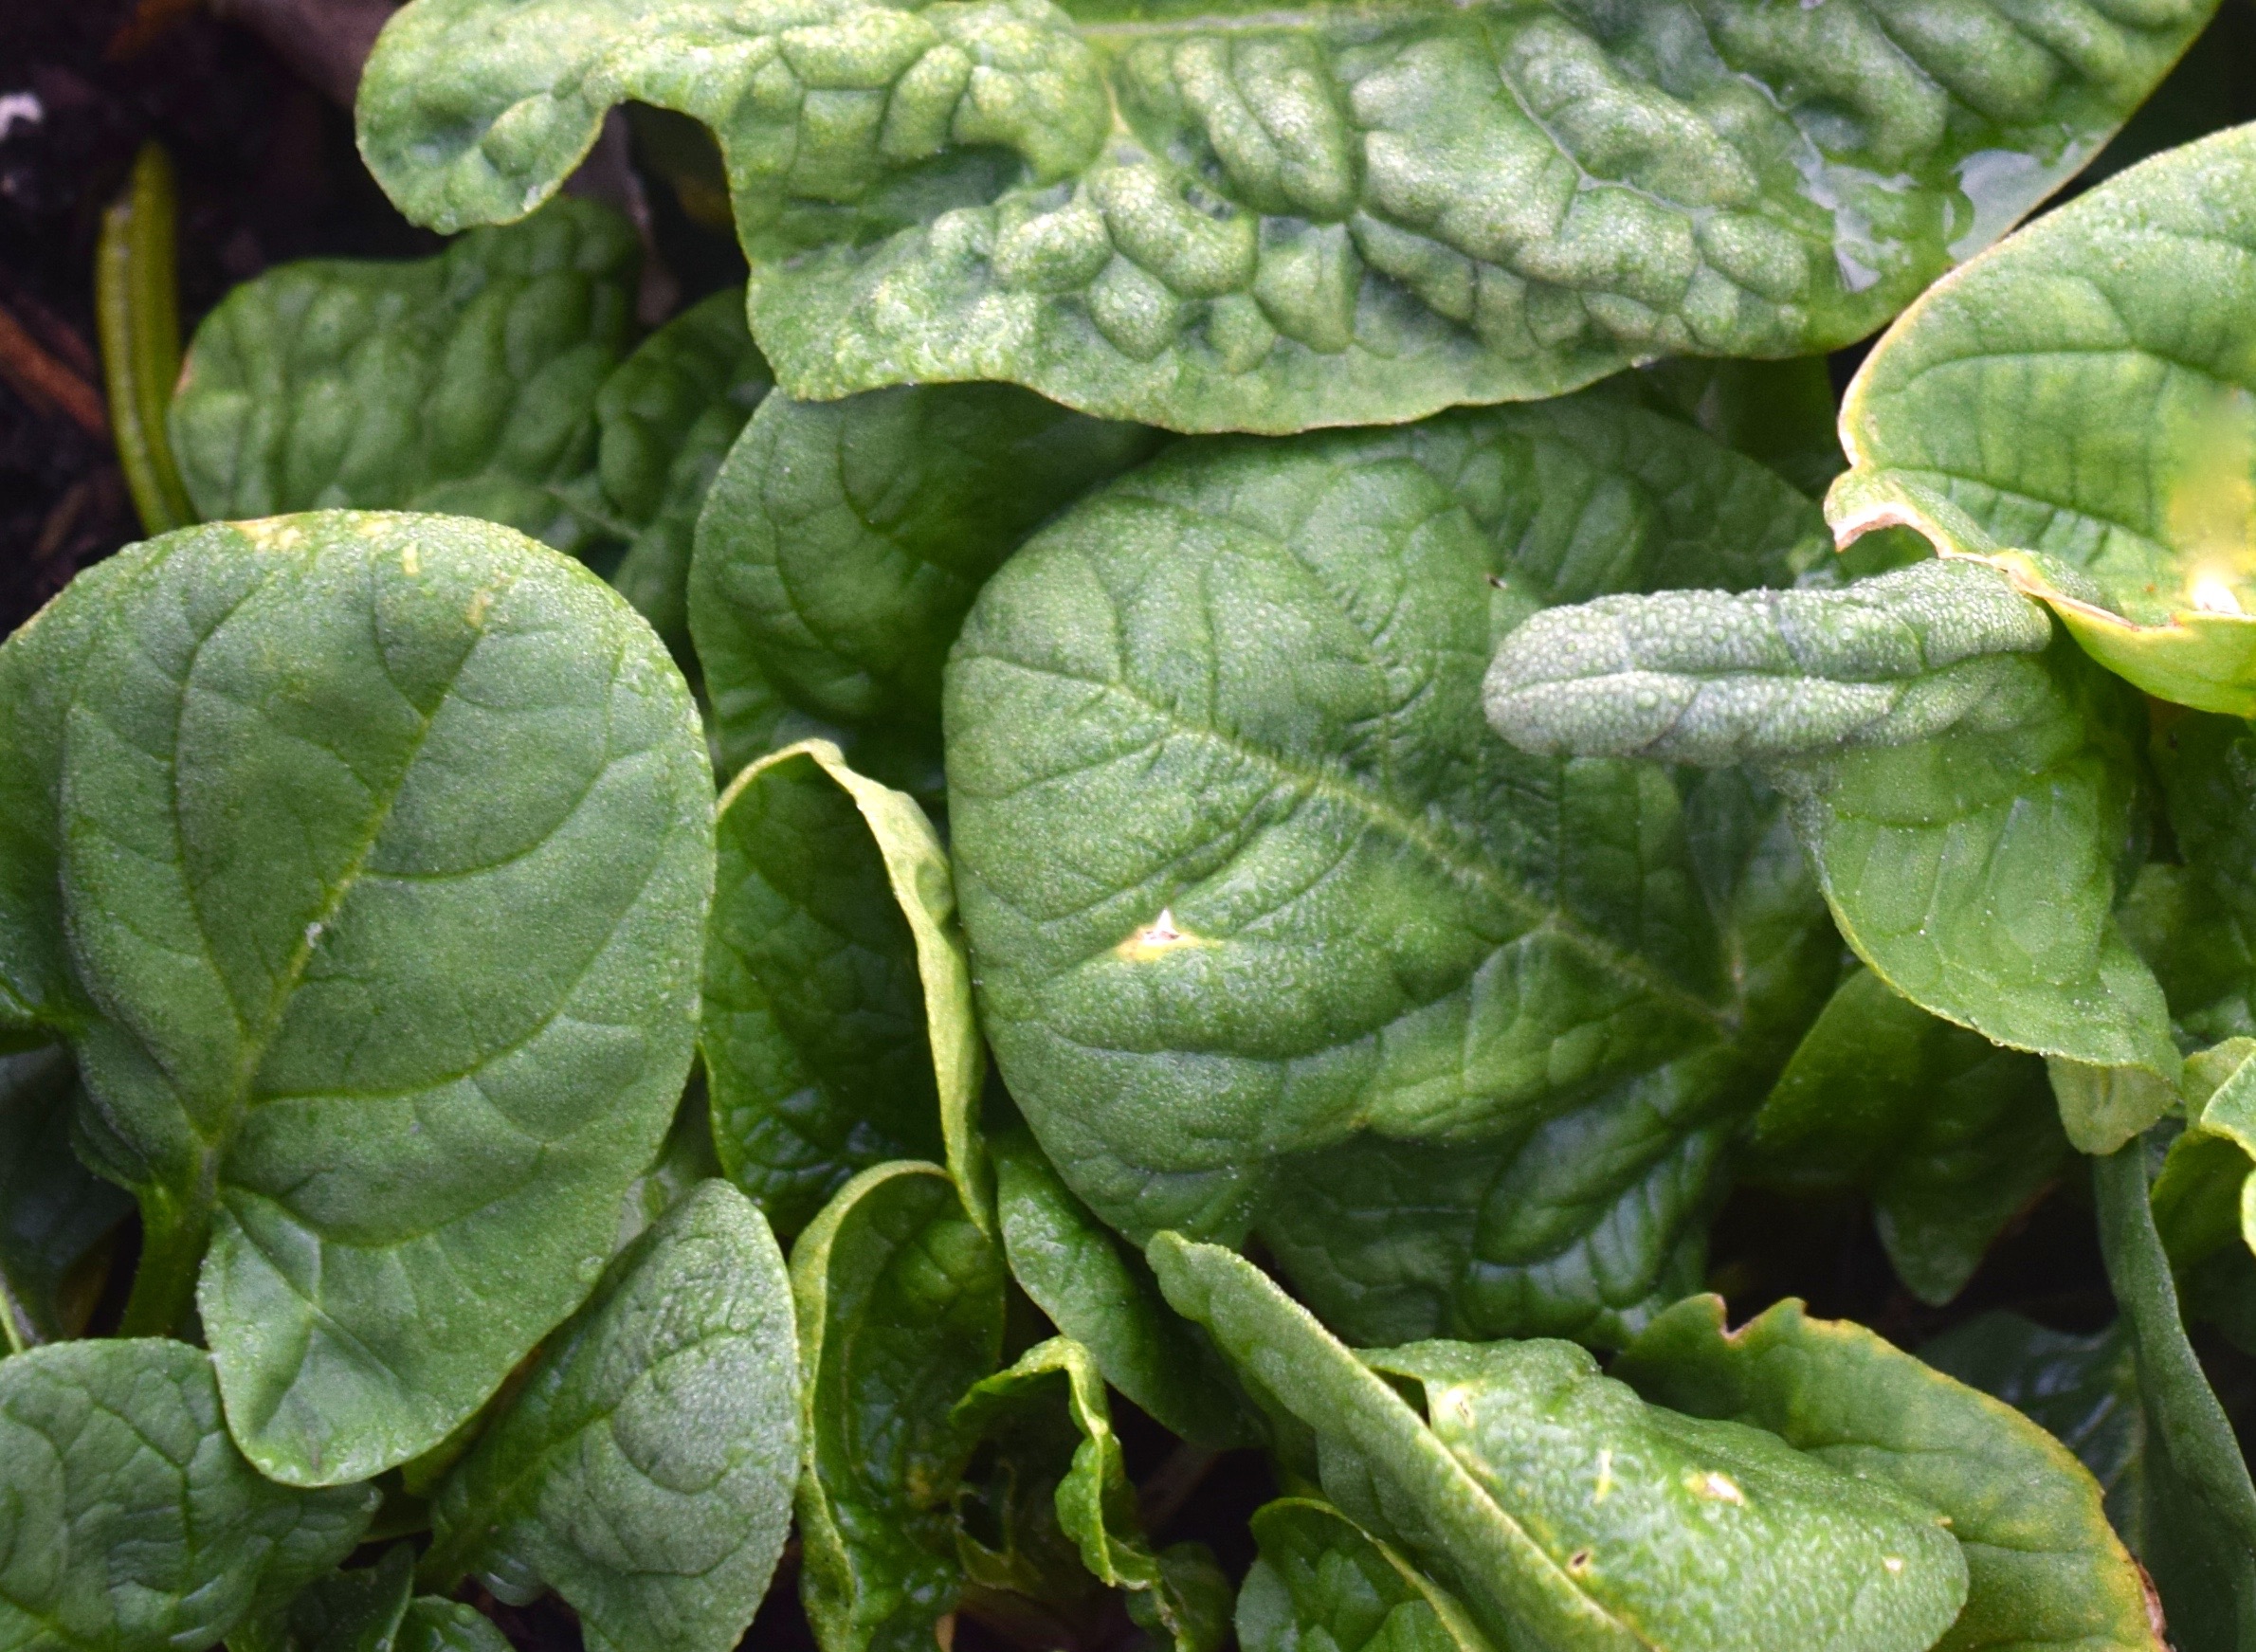
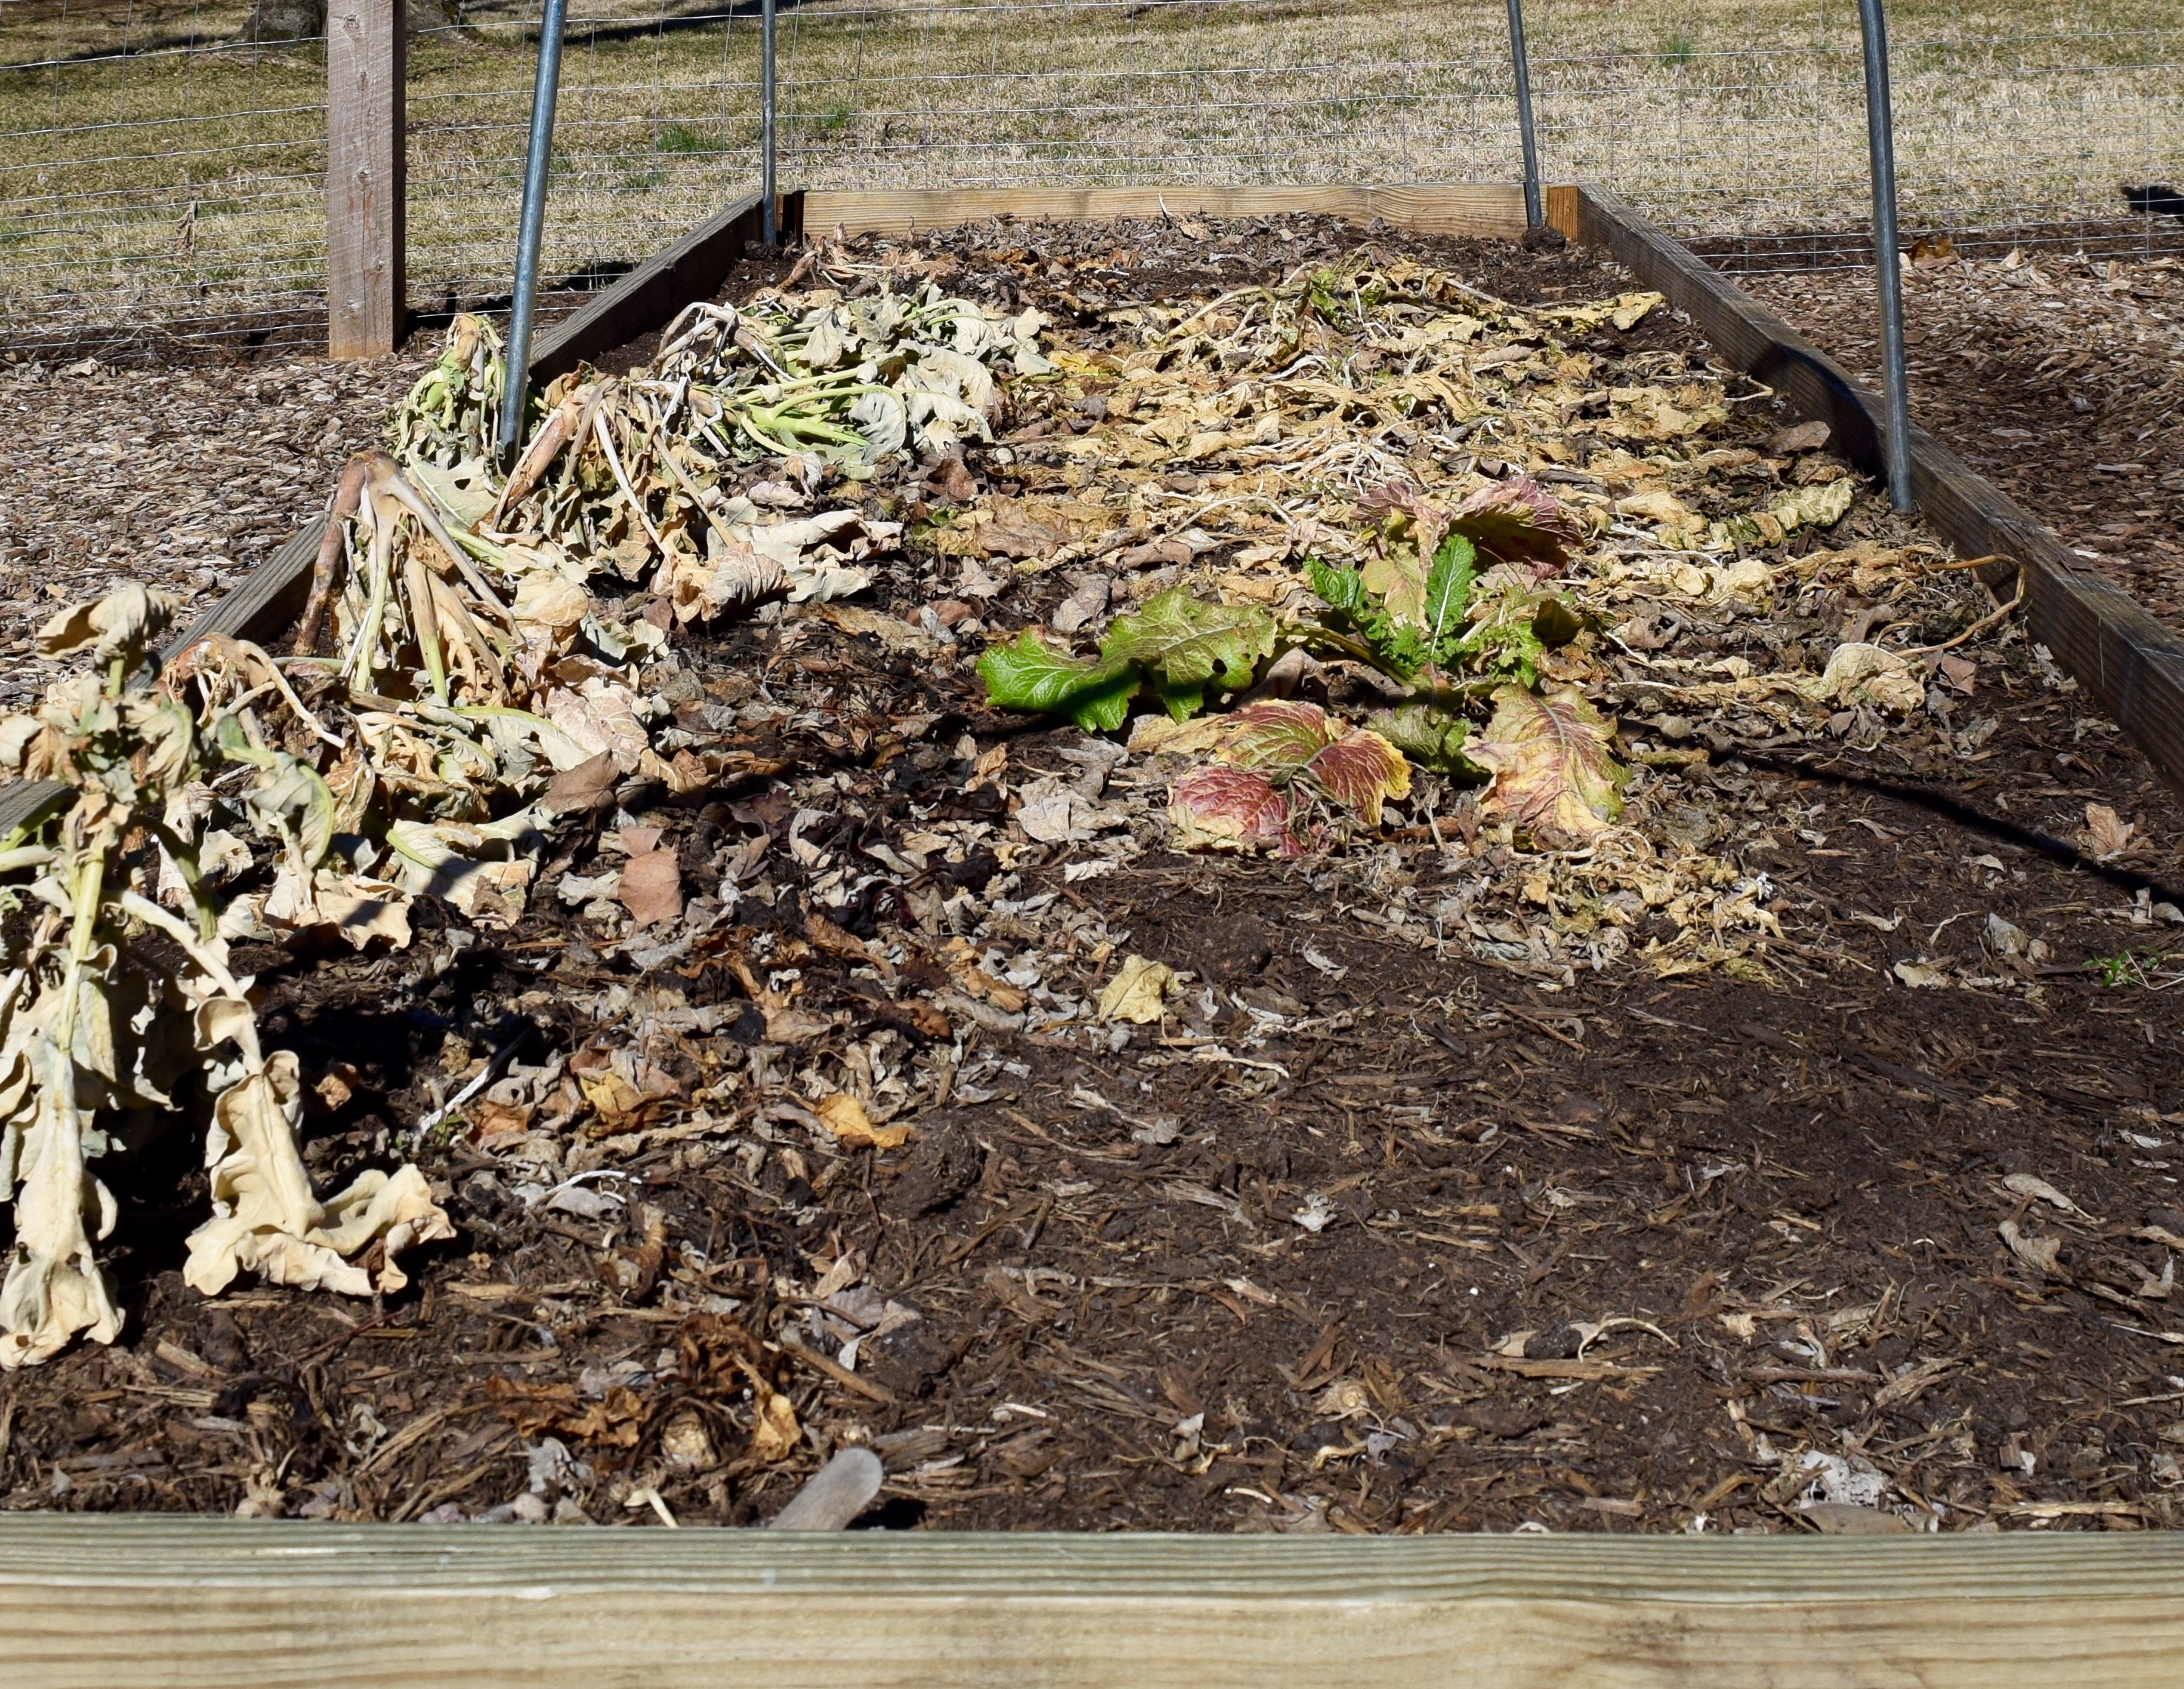
Two Months Later

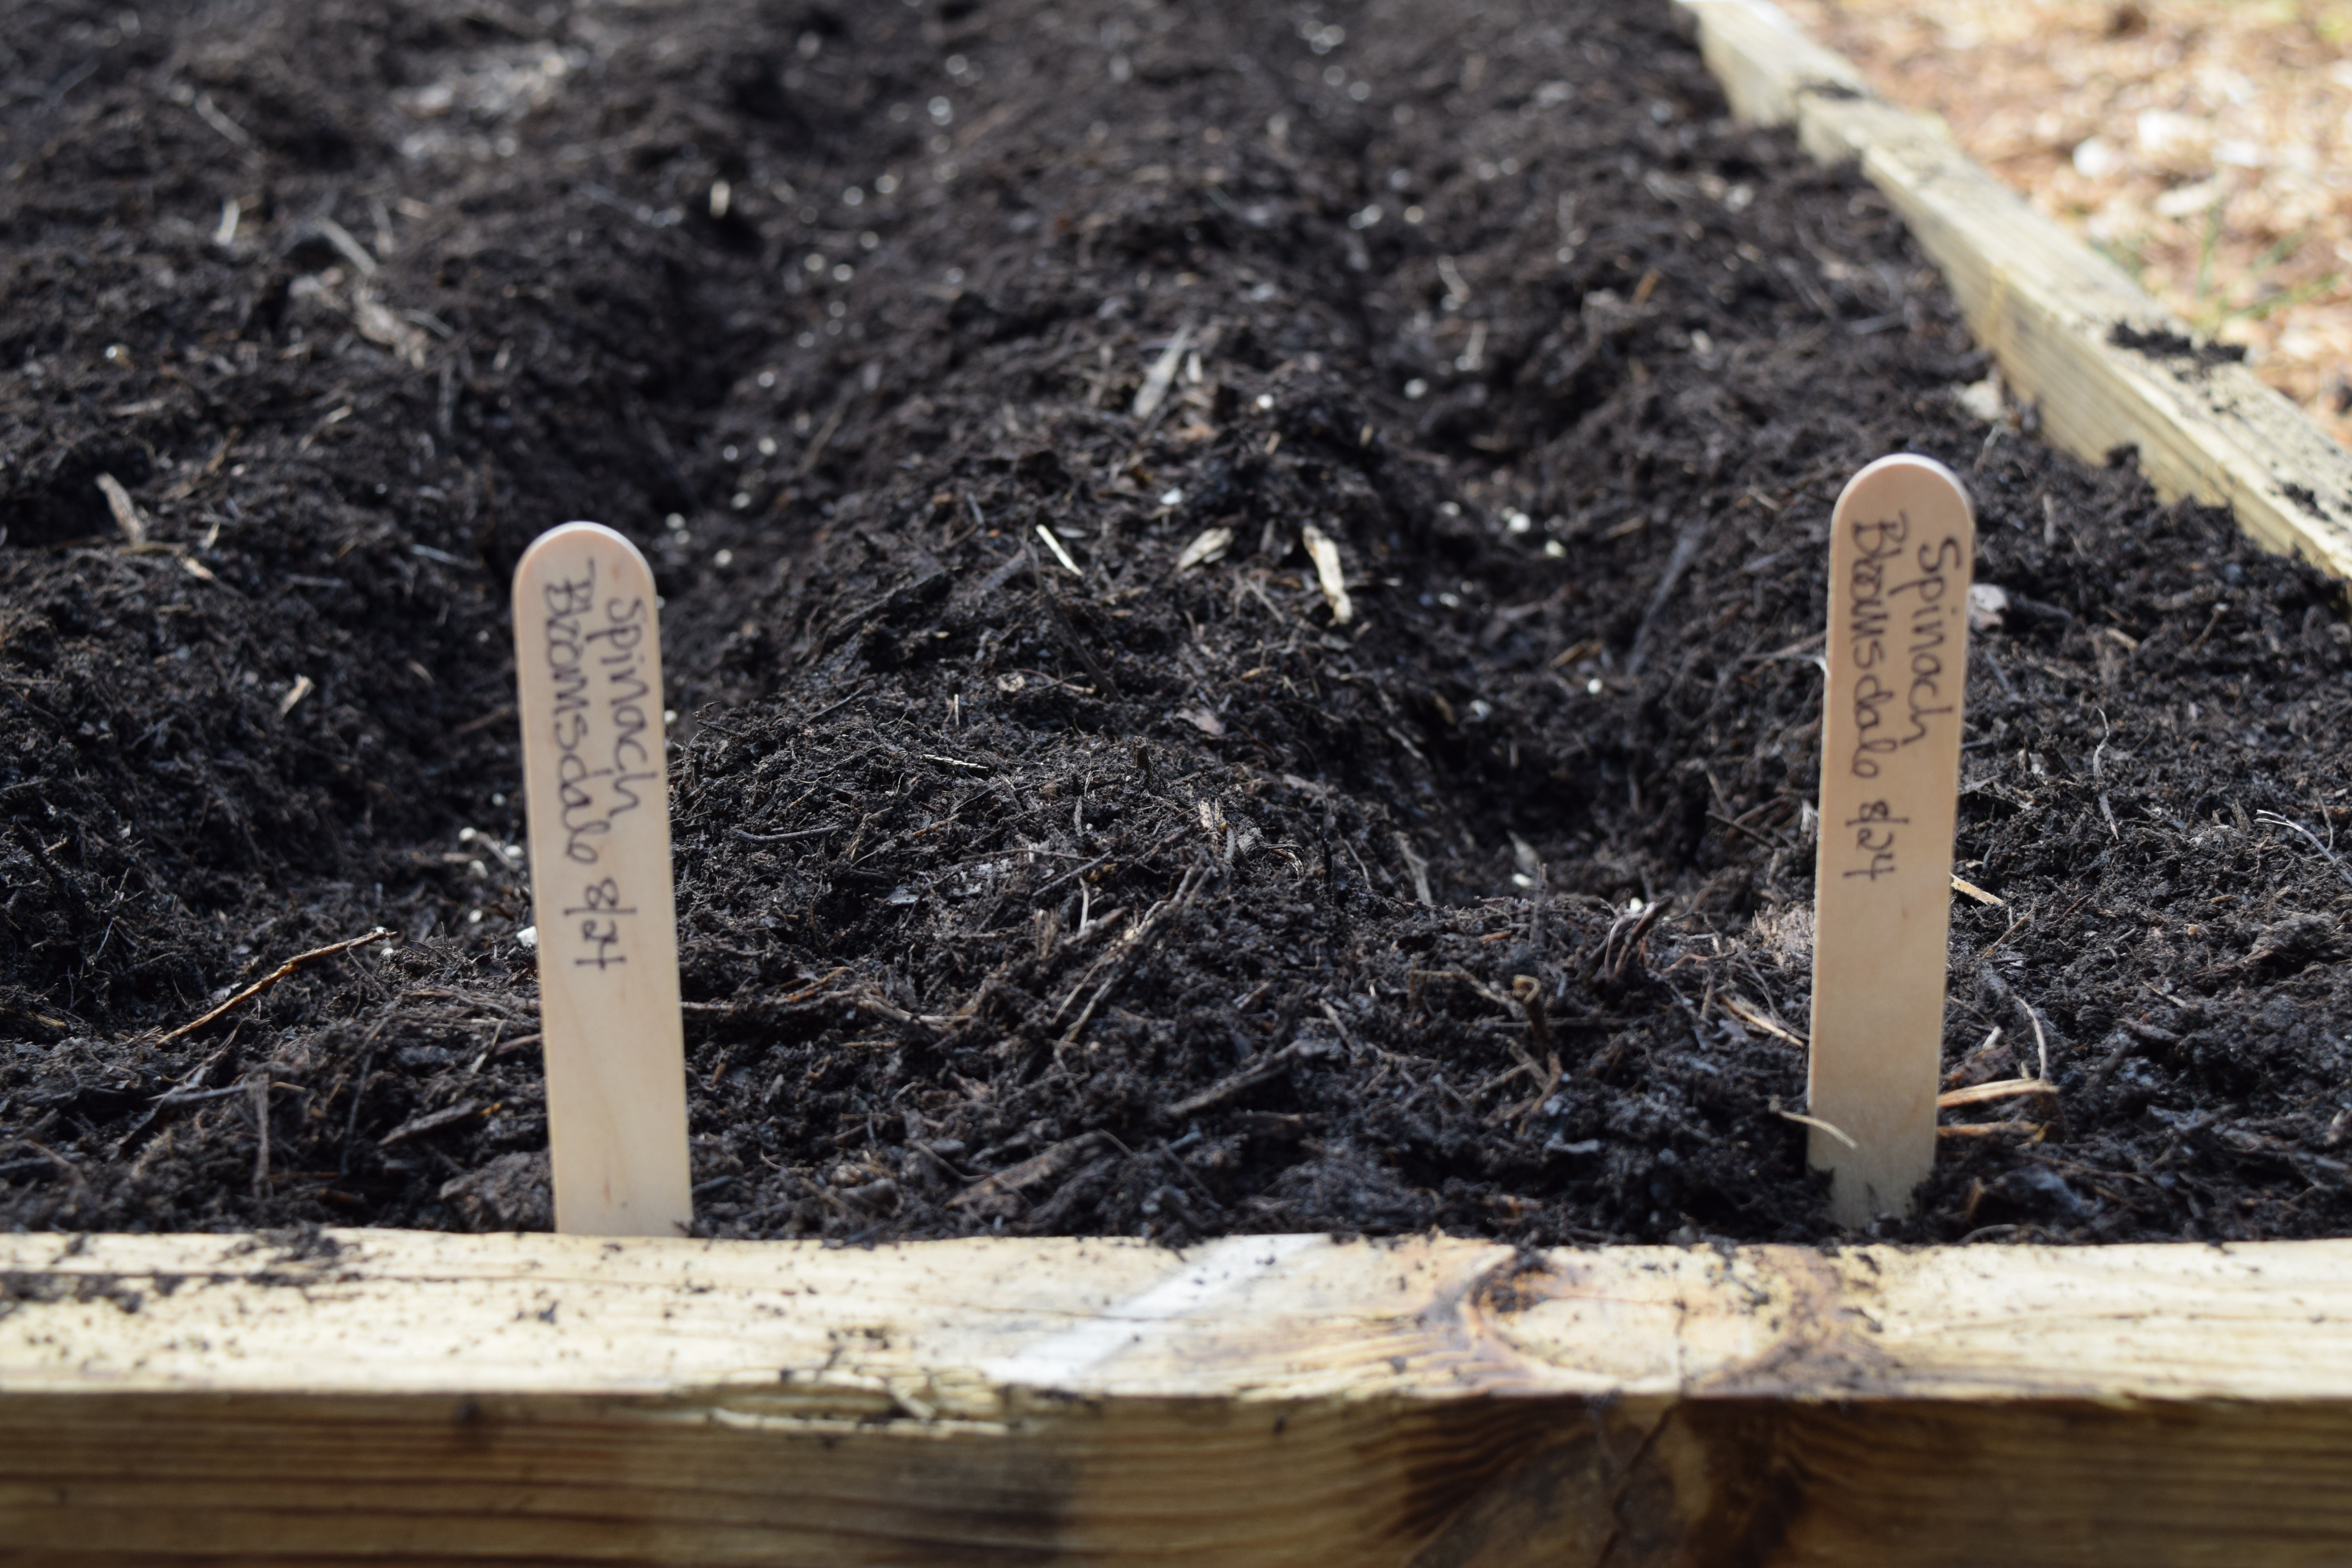
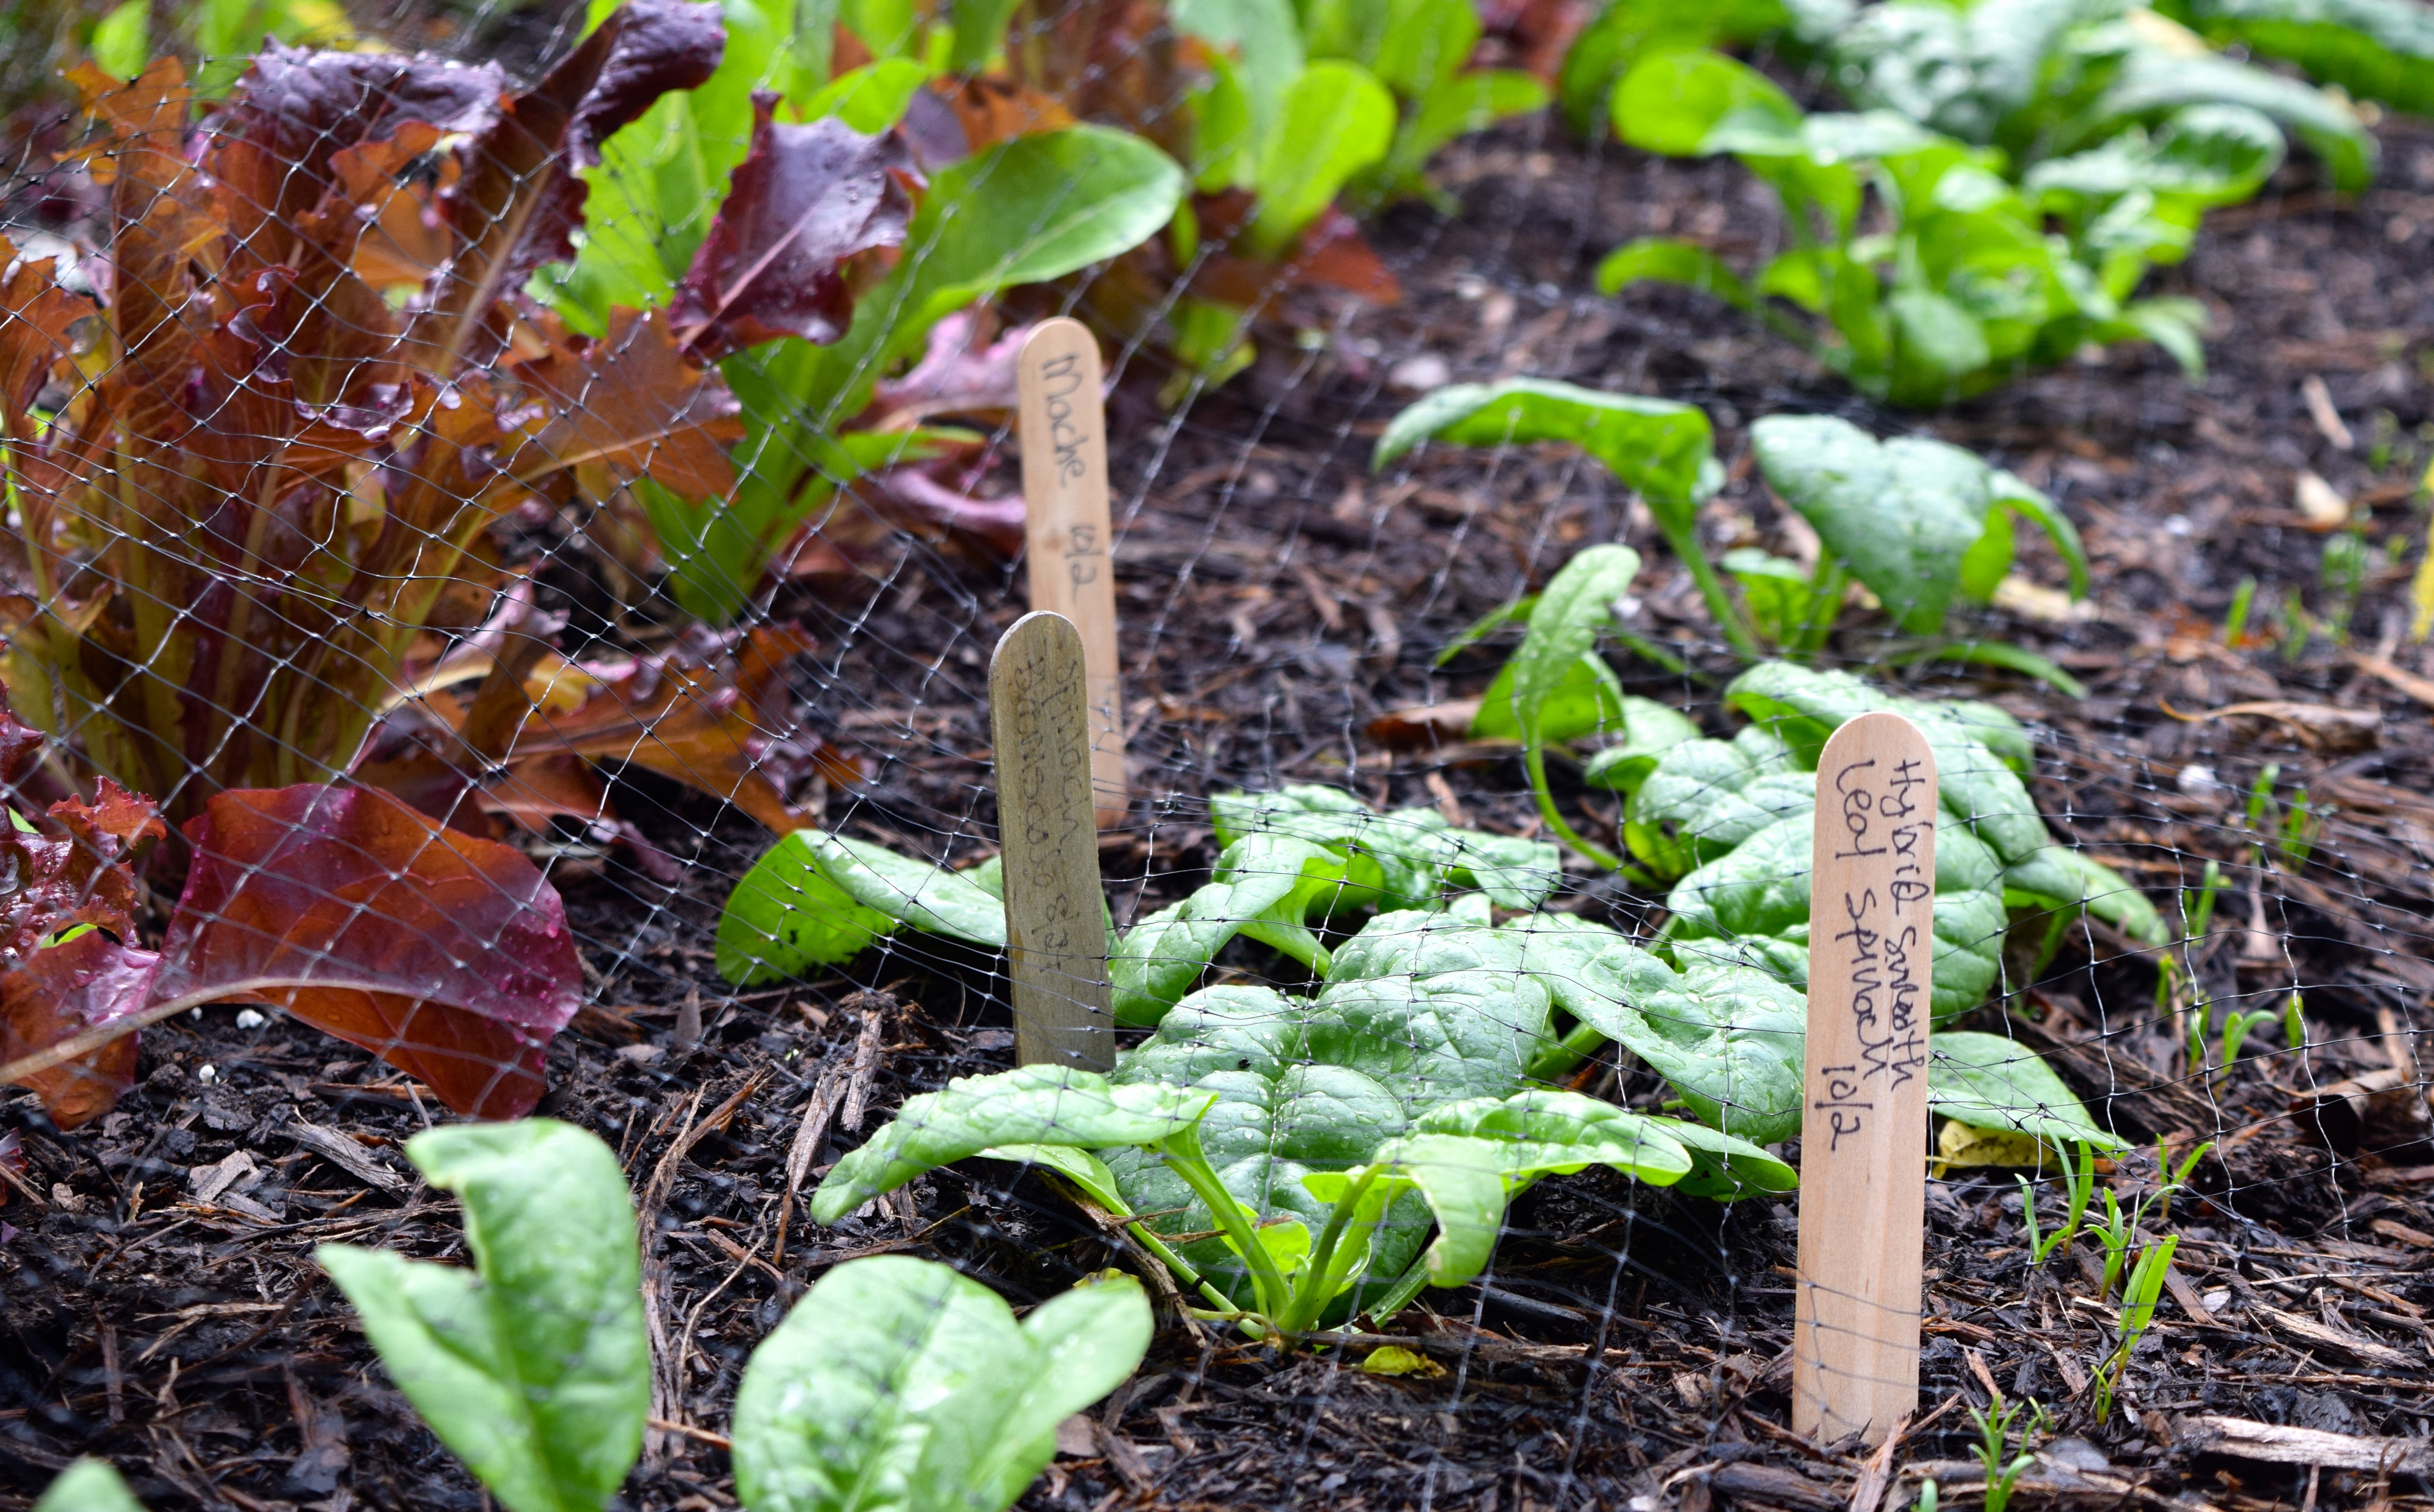
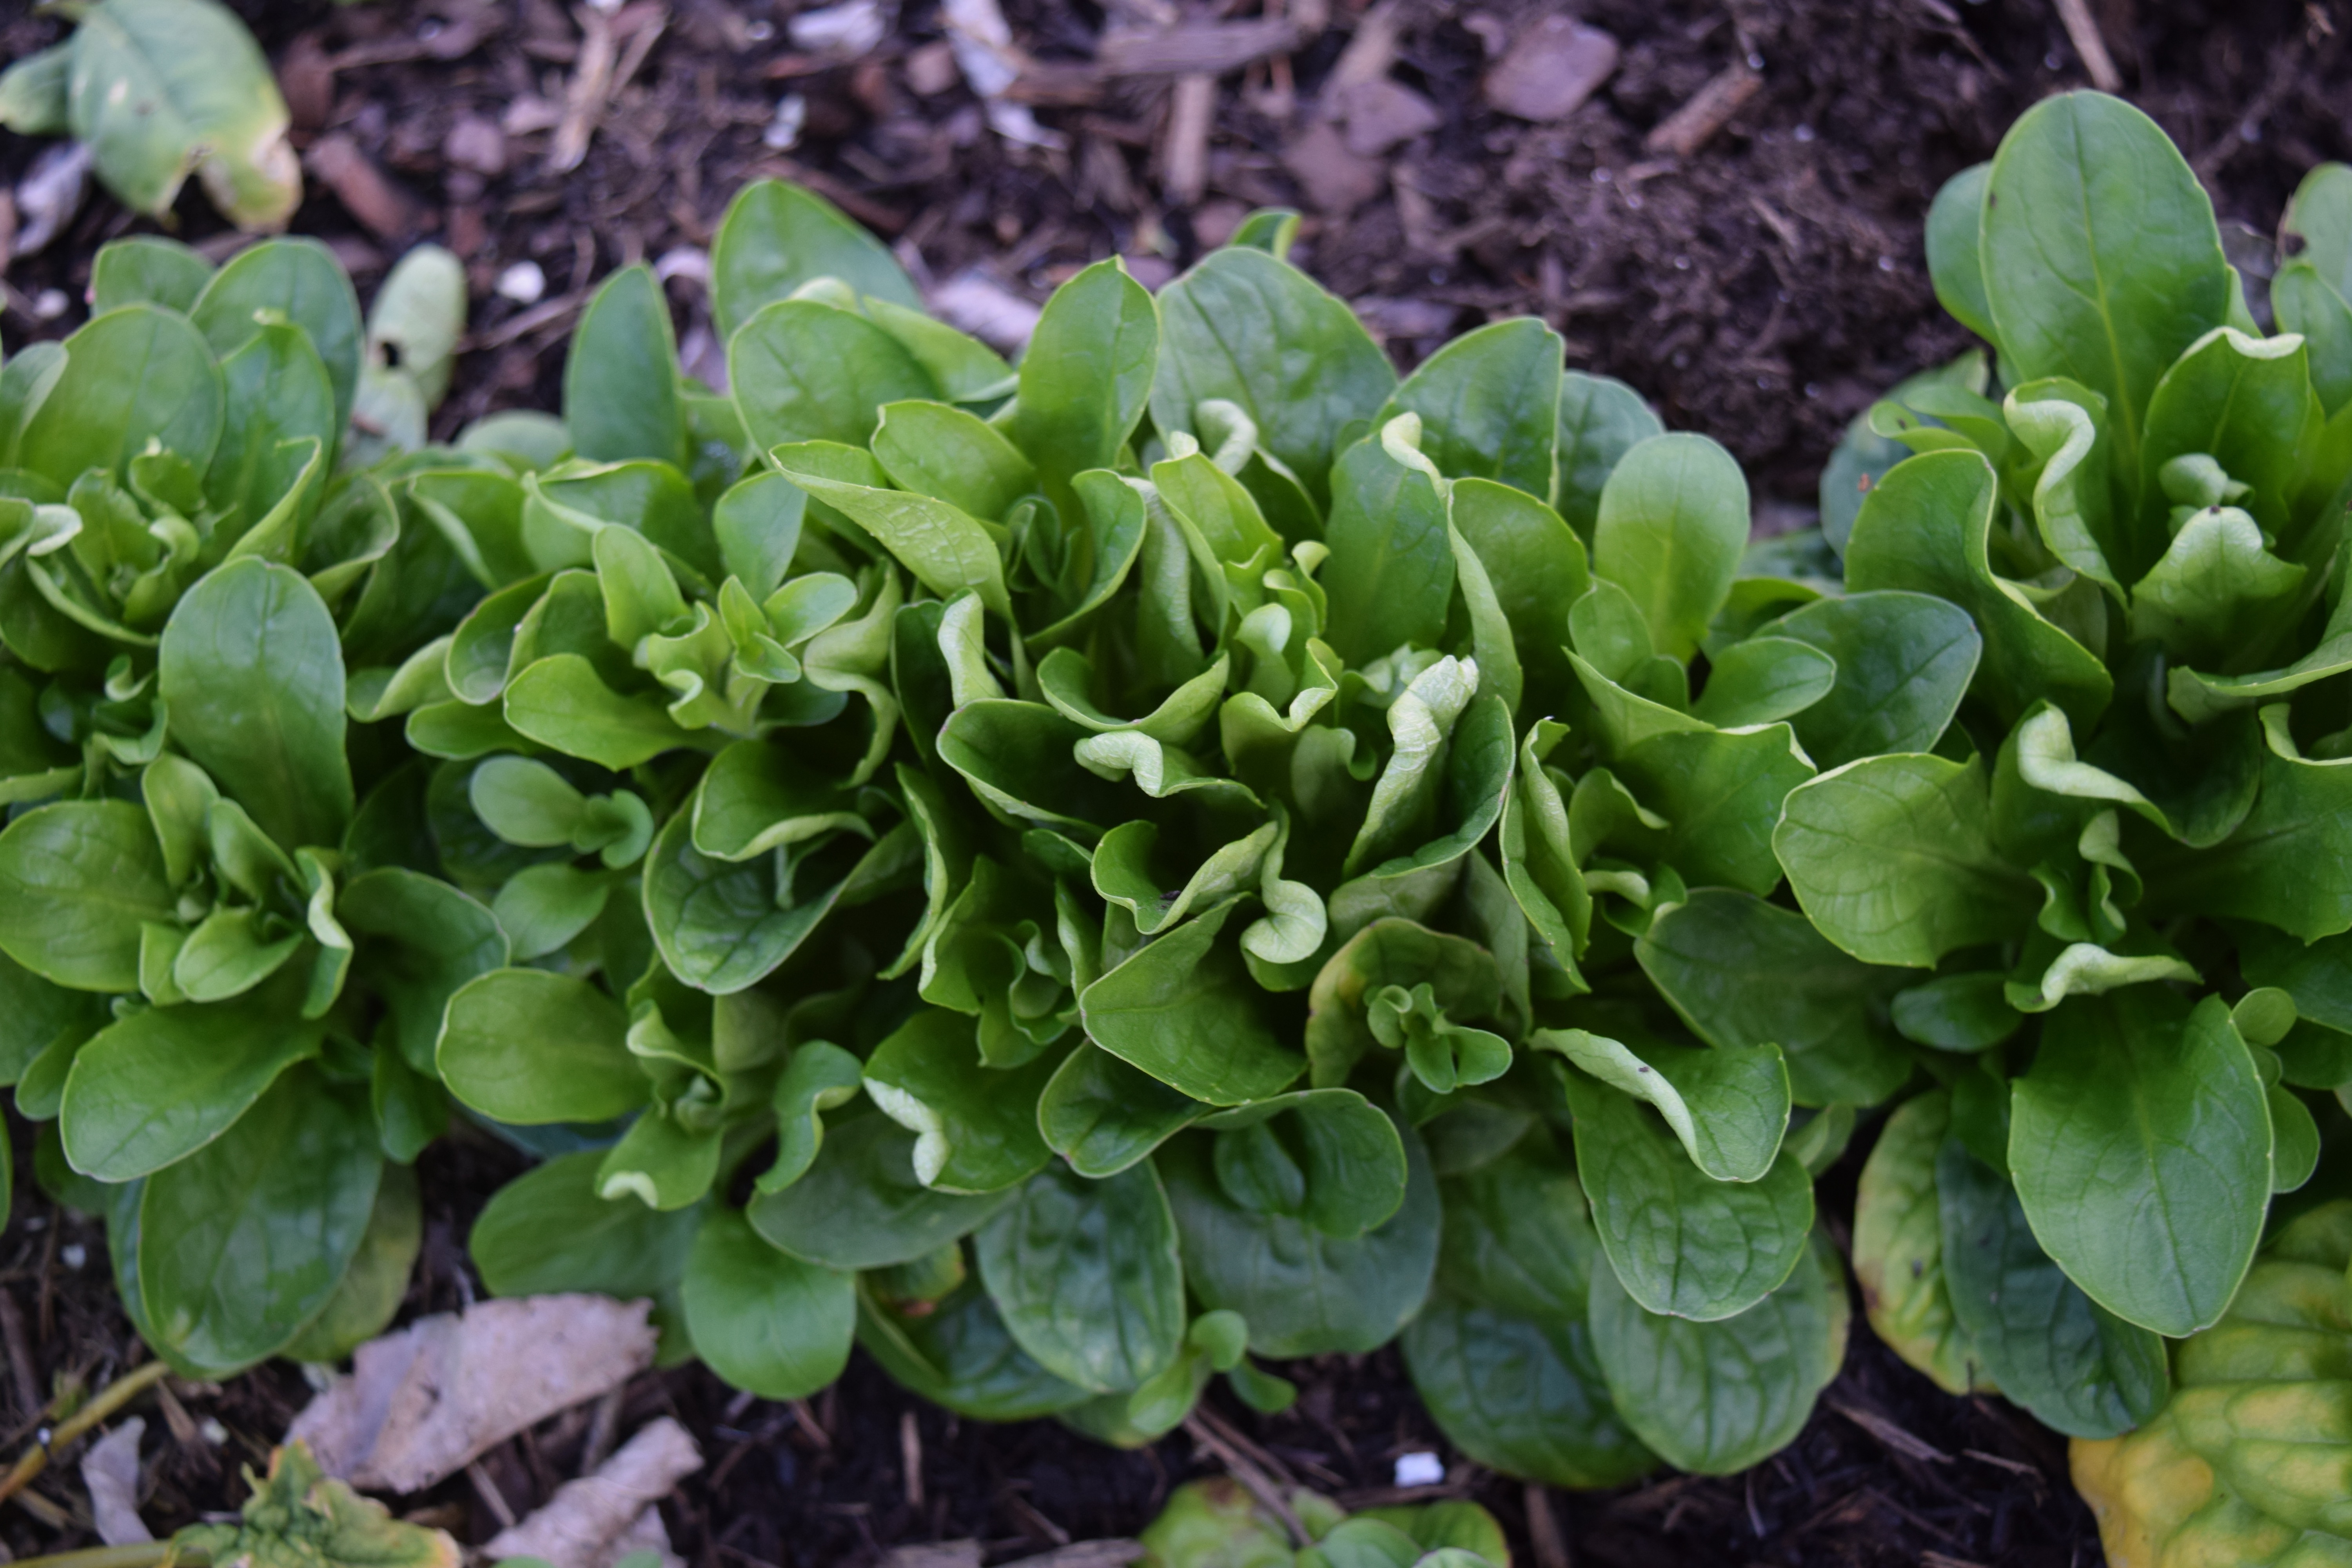
Last week, we planted a few cool-weather seeds.

One day, while the children were on a walk with their parents, they passed this patch of pineapple plants. The homeowner gave them a pineapple and told them to cut off the top and stick it in the dirt to grow their own. I never thought about how pineapples grew.

I think my son and DIL have gotten the “growing edibles” bug because, in addition to planting the pineapple, they have added three fruit trees to their backyard: guava, mango, and fig, and planted seeds to grow cosmos which attract bees and butterflies and my granddaughter. She loves to pick flowers!

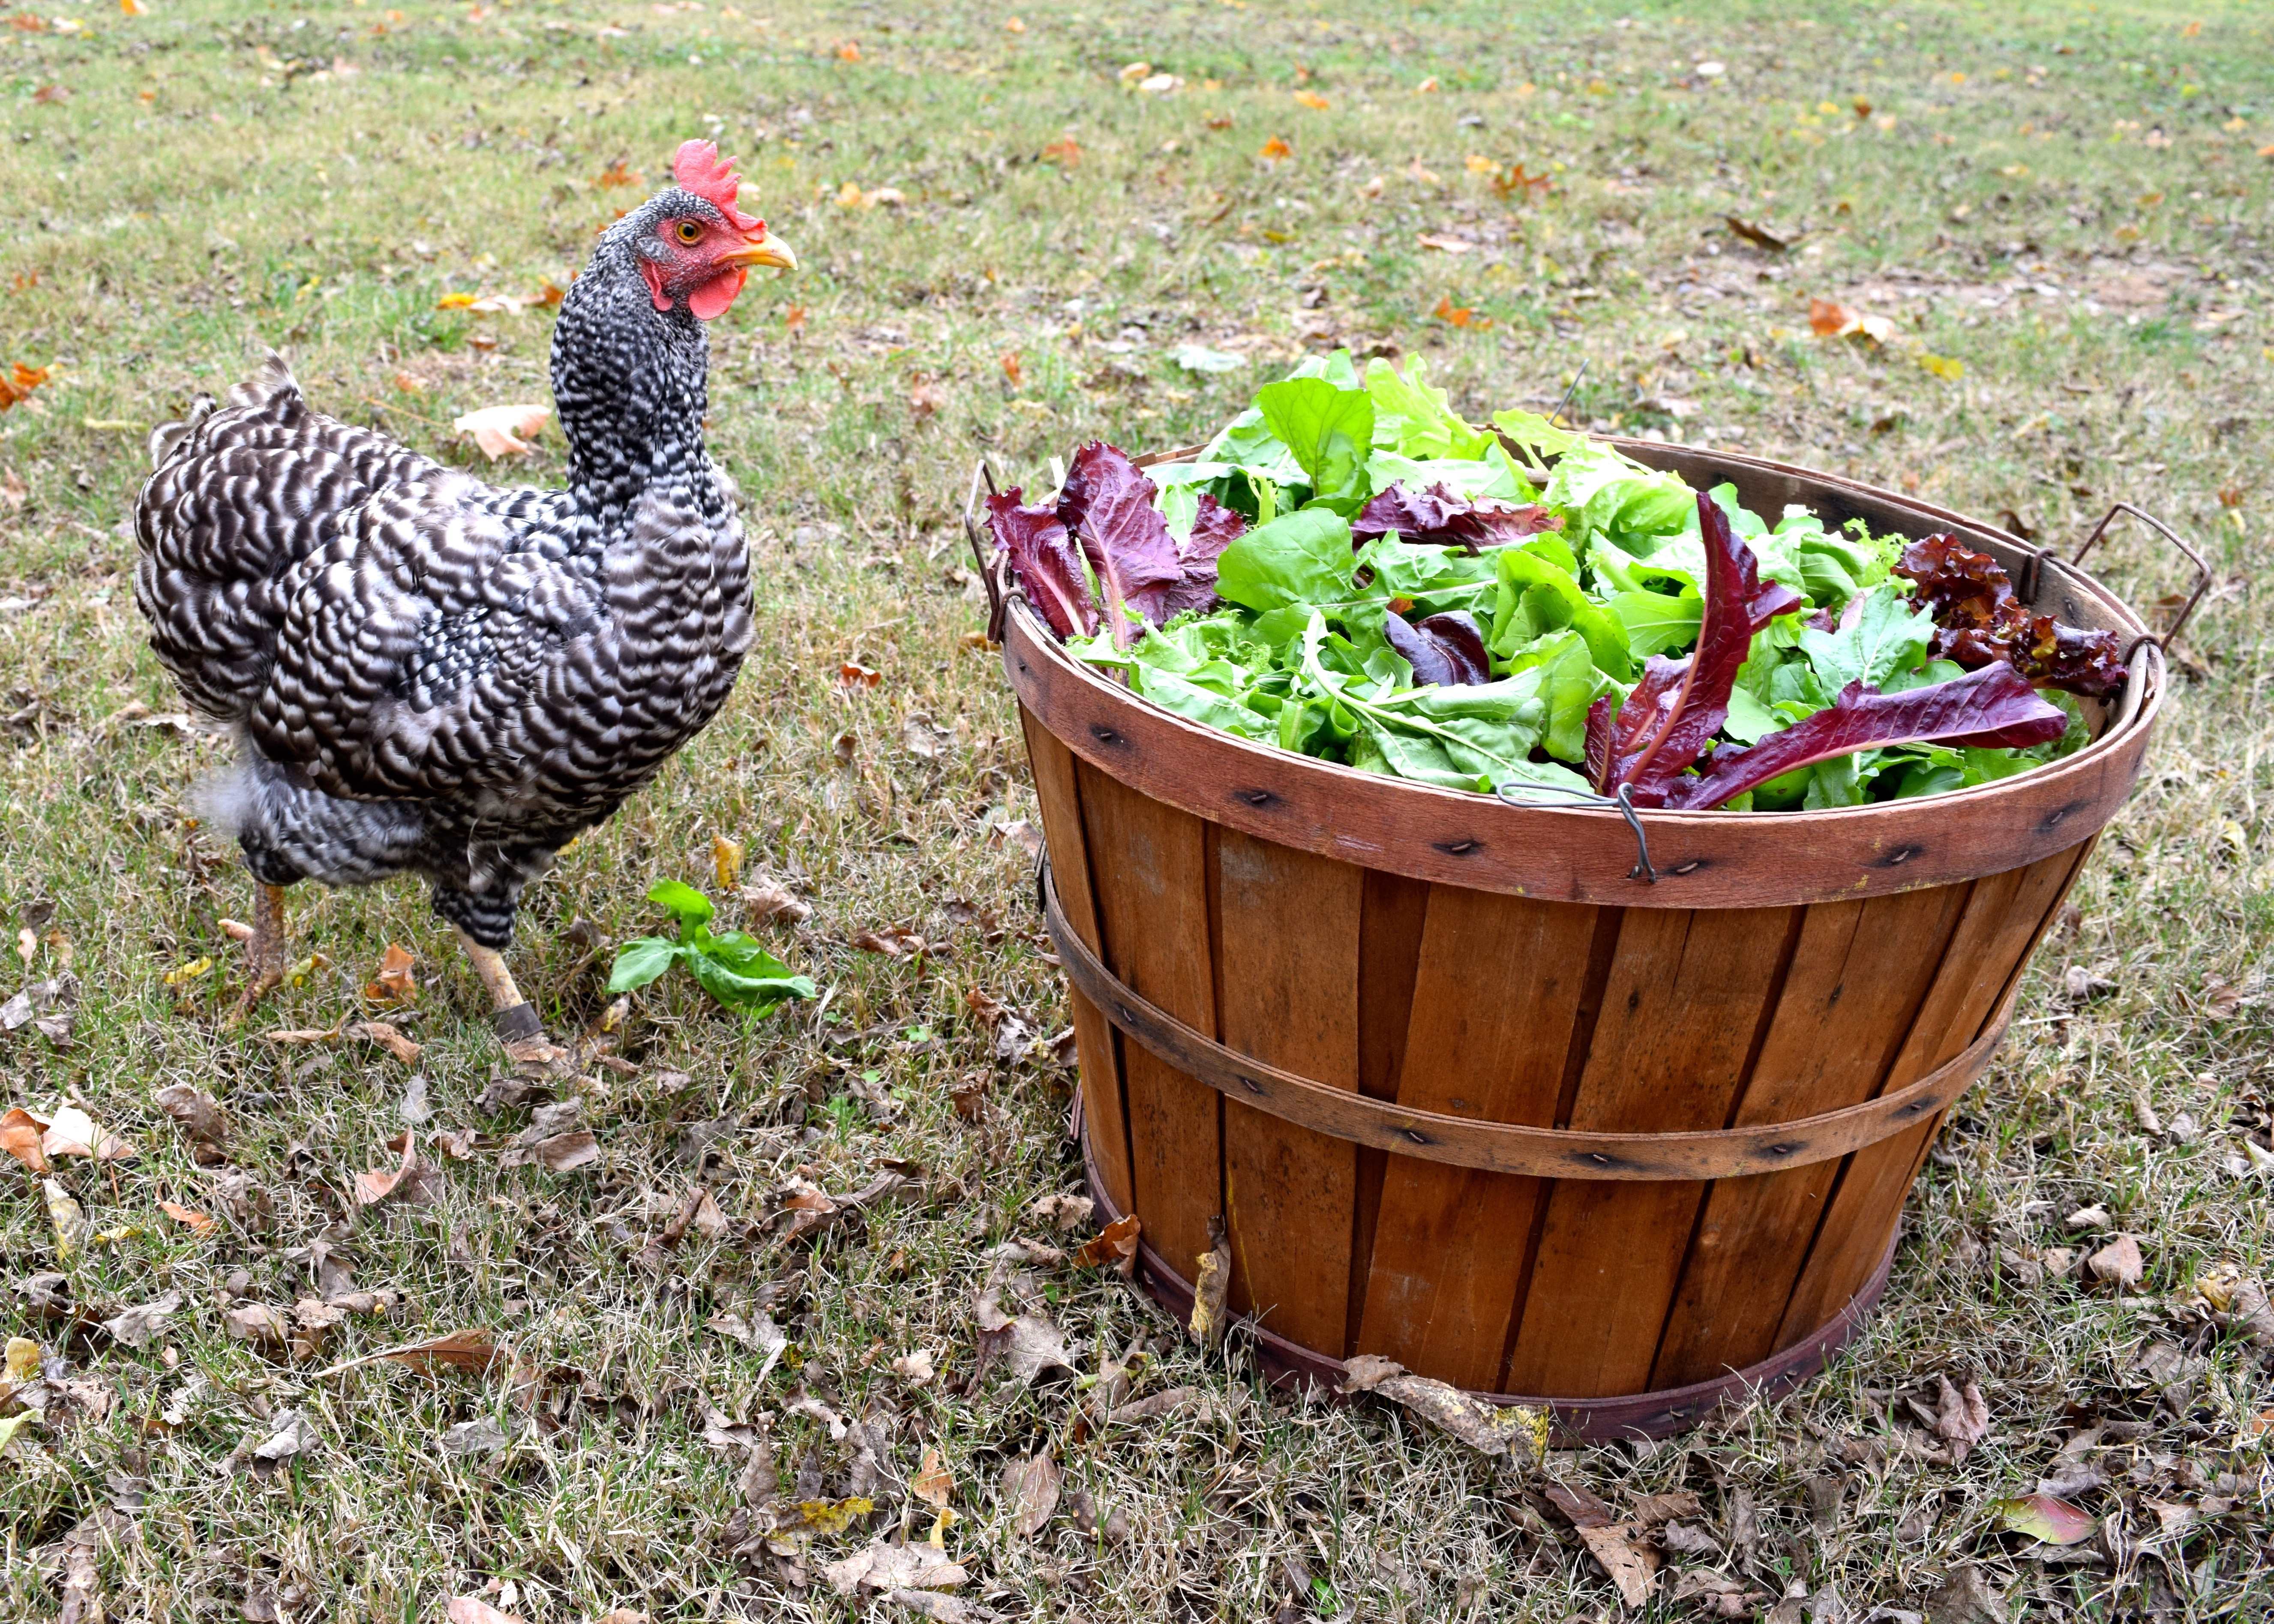
Nothing could make me happier than to pass on my passion for growing food to my family. Now, when I FaceTime with my grands, they often take the phone outside to show me their garden. It keeps us all happy and connected when we can’t be together for hugs. My friend, the Reverand Susan Masters, put this notice on her Facebook page. She, like me, is a hugger!

Related Posts:
Edible Landscaping with Nashville Foodscapes
Family Dirt
Fall Planting Guide for Your Kitchen Garden
Putting Your Garden to Bed with a Blanket of Cover Crops

Follow Judy’s Chickens on Instagram and Pinterest @JudysChickens.

Always check my blog for the latest version of a recipe.

If you enjoyed this post to become a follower, please be sure to press “confirm” on the follow-up letter that will be sent to your email address.

© 2014-2020 Judy Wright. All rights reserved. Photos, videos, and text may only be reproduced with the written consent of Judy Wright.

Fall Planting Guide for Your Kitchen Garden

About 10 years ago, we had the deck on the side of our home dismantled. The contractor who did the work asked if he could have the twenty 12 x 2 x 13-foot pressure treated wood boards that had previously supported the deck floor. I didn’t know much about reclaiming used wood, but I remember thinking, If he wants it, maybe I should want it. I had him put the boards under our porch until I could figure out another use for them.

Many years later, I was looking at a barren, sunny area in my backyard and had a vision for a way to get more garden space for my vegetables — make raised beds using those old boards. I had a handyman build four 4 x 13-foot beds for me. Last summer, Jeremy Lekich, owner of Nashville Foodscapes, built two more raised beds and filled all six of them with his gorgeous, dark, chocolate-colored compost. Next, Jeremy and his team built a beautiful, simple, chicken-proof fence around the beds.

My compost bed is located behind the white picket fence in the photo above. The chickens have open access to it and it’s the first place they run to when I let them out in the morning.

Here is a photo of the same garden taken September 25, 2015

img_1900

I love the way Jeremy used inch-thick cardboard to smother and kill the crabgrass underneath the woodchip-covered paths in the new garden rather than using chemicals to do the same job. Now that I’ve become more educated by the fabulous education department of The Cumberland River Compact regarding water quality, runoff and watershed issues, I’m much more conscious about the use of chemicals that can leach into our soil and eventually into our ground water.

fall garden

On August 24, 2014, I planted a fall vegetable garden in three of the raised boxes with the intention of using hoops and agriculture cloth to protect the beds as we moved into winter. It was one big experiment and it was fun. First of all, I loved checking the garden beds every morning to see if seedlings had pushed through the dirt and unfurled their first leaves. Just knowing they were under there getting ready to pop kept me in a state of happy anticipation; I have been known to get on my hands and knees to inspect the earth in search of those first glimmers of green. Later, as it became colder in the winter, it was thrilling to go to the back garden and pick green onions and spinach from those same beds when a recipe called for them. Even with this year’s harsh winter: an early freeze in November, another one in January, and then a two-week freeze in February, many of the vegetables survived and perked up in March for an abundant spring harvest.


For those of you who are thinking of planting a fall/winter garden, I kept a photo journal of the project knowing a picture is worth many words. For each raised bed, I used four sequential pictures of how the plants looked as the weather temperature changed.

The raised bed series of photos were taken on 9/4, 10/9, 12/31 (taken from inside the covered garden, opposite direction), and 3/15, the day I took the protective cloth off.

Raised Bed #1, Root Vegetables
Left to Right: garlic, beets, garlic, carrots, green onions, leeks

fall garden  DSC_0117 winter vegetable garden  vegetable garden

Garlic
Garlic cloves planted 9/15. Only about 15% of the plants survived the February freeze. The ones that survived are still forming their bulbs. In March, I added more garlic cloves. They should all be ready for harvest in August. Next year, I will mulch them with straw.

IMG_7567  IMG_0158

“Colorful Beet Mix”
Seeds planted 8/24. We started snipping leaves for salads in October. None of the plants survived the February freeze. Next year, I will mulch them with straw.

fall garden  DSC_0962

Green Onions (aka Scallions or Spring Onions)
I planted two rows of onion “sets” on 9/1 and two rows of onion seeds on 8/24 (on the right side). If you look closely, you can see the faint strands of green seedlings. Unfortunately, the young seedlings didn’t make it through the winter. We started harvesting green onions from the sets in November and continue to do so even now.

fall garden  DSC_0950

“Kaleidoscope Carrots”
Seeds planted 8/24. Harvested through early May. The carrots had beautiful color, but were thin and not as flavorful as I had hoped.

fall garden  Version 2

Leeks
Seedlings planted 9/15. Harvesting now.

IMG_0565  DSC_0113

Raised Bed #2, Greens
Left to right: many lettuce varieties, mache, and spinach

fall garden  Fall garden winter vegetable garden  Veg garden

“Mesclun Lettuce Mix”
Seeds planted 8/24. This was the first seed to germinate in my fall garden. I pretty much watched it unfurl.

fall garden  fall garden

“Gourmet Blend Lettuce Mix”
2 rows of seeds planted 8/24. By 9/18 only a third of the seeds had germinated. A huge difference from the Mesclun Mix on the left in the second photo.

fall garden  fall garden

On 9/22  I bought “Salad Bowl Mix” seedlings and filled in the empty spaces created by the spotty germination of the Gourmet Blend Mix. We started eating lettuce by mid-October. Surprisingly, many of the red oak leaf lettuce plants survived the hard freezes. Note to self, plant more red, oak leaf lettuce plants in the fall!

fall garden  greens fall garden

“Bloomsdale Spinach”
2 rows of seeds planted 8/24. Only half the seeds germinated so I consolidated the two rows into one. We harvested the Bloomsdale crinkly spinach leaves all winter. The plants started to bolt May 3rd and I pulled them.

Seeds planted. new garden beds  vegetable gardening

“Hybrid Smooth Leaf Spinach” 
Seeds planted 10/2 to the right of the Bloomsdale spinach. We continue to harvest this variety now. Note those smooth leaves. Just sayin’.

 Fall garden  bridget soup

Mache (aka Corn Salad)
Seeds planted 10/2. Harvested March-April. Plants started flowering in late April and I pulled them. Mache is a good cold weather lettuce alternative.

greens new gardens plants  

Raised Bed #3, Root Vegetables with Edible Tops
Left to right: Broccoli, beets, turnips, radishes

fall garden  DSC_0655  winter vegetable garden  Veg garden

“Sparkle” & “Champion” Radishes
Seeds planted on 8/24. The crop failed because radish seeds were planted too close to one another and a ball couldn’t form. I should have thinned them out when they were seedlings. At the time, I didn’t think thinning mattered. I’ve learned my lesson. The same problem happened with the turnips — no ball formation. The crop wasn’t a total failure because I was able to harvest greens from each plant. Yes, you can eat the tops of radishes. Some varieties taste better than others.

fall garden  

“Purple Top White Globe Turnips”
Seeds planted 8/24 (on left). Started harvesting turnip greens just one month later! As mentioned above, the plant did not form a turnip ball in its root. Instead, the roots were long and thin as in the picture above.

fall garden  fall garden

“Colorful Beet Mix”
Seeds planted 8/24.  None of these plants survived the freeze.

Broccoli
Seedlings planted 10/2. The broccoli did not make it through the freeze.

What I learned
-I now know which plants are the most cold-hardy: spinach, mache (corn salad), green onions, leeks, and carrots. I think the beets, kale*, and garlic could have made it, had I mulched them with straw.

– When you plant tiny seeds, such as radishes and turnips, plant them separately, each a few inches apart, OR, direct seed them haphazardly and thin them as they mature, OR, as The Barefoot Farmer suggested to me, mix them with sand and scatter them in the row.

-Kale* I had a 4th bed with kale in it that I threw a tarp over at the last minute when it turned cold. It didn’t stand a chance with the blue tarp, as the sunlight was totally occluded. This fall, I will do a better job of planning which plants I put under the protective cloths. For example, I’d like to add a few hardy herbs to the mix, such as rosemary, parsley, and sage.

-When I bought the protective cloth, I didn’t plan on the extra amount of cloth it would take to cover the ends of each “tunnel” which was about another six feet of fabric per tunnel. I covered the first two beds just fine, but ran out of fabric by the third tunnel. That last bed, the one with the broccoli, had open ends and nothing survived in it because of the draft. If you are purchasing protective cloth for the winter, remember to add extra fabric for the ends. I bought the ag cloth and hoops, as well as many of the seeds and seedlings, at Gardens of Babylon next to the Farmers Market.

DSC_0266

How cold was it?
Even the eggs froze!

Frozen egg  IMG_7034

I harvested this basket of greens on November 12th, the night before our first hard freeze.

chicken greens fall garden chicken greens fall garden chicken greens fall garden chicken greens fall garden

Other Posts About Farming
Spring Planting Guide for Your Kitchen Garden
Family Dirt
Herb Porch Pots!
How to Make Grape Jelly (and grow the grapes)
WWMD? A Bucket of Spring Veggies as a Centerpiece
How Canola Oil is Made (from plants grown locally)
The Tobacco Barns of Trigg County


LET’S STAY CONNECTED!

Follow my photos of vegetables growing, backyard chickens hanging out, and dinner preparations on Instagram at JudysChickens.

Never miss a post: sign up to become a follower of the Blog.

© 2014-2017 Judy Wright. All rights reserved. Photos and text may only be used with written consent.