The first year that I noticed my two crab apple trees were loaded with fruit, it was because my mother was outside cutting branches from them to use in floral arrangements for a party.

My mother would make beautiful arrangements from random plants when she visited; crab apple decorations shouldn’t have surprised me. What did surprise me was the trees were loaded with gorgeous, red fruit and the fruit was edible. The next year, I picked every last crab apple off those trees and canned my first jars of crab apple jelly.
Growing Crab Apples
We have two crab apple trees in our backyard, both planted by the Nashville Electric Service through their Tree Replacement Program. It took about five years for them to start producing fruit. They are hardy and do not require extra care.
The trees bloom in mid-April.

If pollinated, they set their fruit in early May.

The fruit starts ripening in September and is ready for harvest by mid-October.

Harvest day
This fall, when I went to check on my trees for fruit, they were bare. I have no idea what happened; the trees were loaded in early August. Fortuitously, my good friend Deb Hudson’s, crab apple tree was full of fruit and my husband and I were able to pick fourteen pounds in no time.

It’s raining crab apples, hallelujah!

Making Jelly
Jelly is made from the strained juice of cooked whole fruit, whereas jam is made with thin-skinned berries or tree fruits (the ones with easily extracted nuts, i.e. peach) that are crushed and the pulp retained. Both jellies and jams use a high concentration of sugar as the preserving agent and rely on pectin for the congealing or thickening agent.
Making jelly requires two cooking steps. First, fruit is cooked and strained to release the pectin from the fruit’s cell walls. Second, the pectin-laden juice is boiled vigorously with sugar until the sugar and water concentration hit the sweet spot — the point at which the mixture will congeal when it is at room temperature.
That sweet spot is known as the “set point” in the world of jelly-making. If you cook the jelly mixture past the set point, you end up with hard candy. If you don’t cook it long enough, you end up with a fruity syrup. Get it right, and you have a home-made delicacy at the ready in your refrigerator. This very small risk of utter failure, that, let’s face it, is of no consequence to the world, is one of the things that make successful jelly-making such a thrilling and deeply satisfying experience for cooks.
Establishing the set point can be tricky. There’s a reason you never see the direction “cook jelly until it sets” in a cookbook. If you cooked the fruit mixture until it thickened to a gel, by the time it cooled, it would indeed be hard candy. Instead, you need to learn how to test for the set point while you are cooking so you can remove the mixture from the heat at the correct time. Fortunately, cooks have developed a few time-honored methods for making this determination that we’ll get to.

To improve your chances of achieving a good set, it helps to understand the key players in the process: pectin, sugar, and acid.
Pectin Demystified
The word pectin comes from the Greek “pekitikos” and means curdled or congealed. As fruit is cooked, its cells expand and rupture, releasing pectin into the pulp. Pectin strands are complex chains of carbohydrates found in the leaves, stems, flowers, and fruits of plants. Pectin gives structure to plants. Accordingly, as fruit becomes overripe, its pectin content diminishes, and the fruit looses its shape. Jelly is made from a balanced mixture of strained fruit juice and sugar, held together by a webby network of these long pectin strands.
Before you begin making jelly, it helps to have an idea about the natural pectin content of the fruit you are preserving. Check out this chart to learn the pectin and acid content of most fruits. One thing you will notice right away is that pectin and acid levels often correspond to one another.
Acid? What’s acid got to do with it?
Acid helps release pectin from fruit. Later, it helps with the gelling process by creating the right environment for pectin strands to bond. It also improves the color and flavor of jelly. Some fruits are acidic by nature, especially the tart ones like crab apples and cranberries. Others, like pears and strawberries, are sweet and subsequently lower in acid. They often need an outside source of ascorbic acid. Lemon juice is the most common acidifier used when making jams and jelly.
Sugar
Sugar is a mighty natural preservative. It is right up there with salt as an ingredient that will draw out moisture from fruit and stop micro-organisms from growing and spoiling food. Don’t add sugar to fruit until after it has softened as sugar inhibits the release of pectin. Once the fruit is softened and ready to be boiled down, the addition of sugar helps the pectin to gel.
Fruit juice needs sugar, and lots of it to preserve fruit for long-term storage. As a rule of thumb, add sugar to juice using a 1:1 ratio (one cup juice gets one cup sugar) for high-pectin, high-acid fruits. You can play around with this amount as you gain experience with the various amounts of pectin and acid in fruit.
Testing for Set Point
To test for set point, first take the pot off the heat. I use the “flake” or “sheeting” test. Scoop up about a teaspoonful of hot liquid with a wooden spoon. Let the liquid sit there for five seconds to cool slightly and then tilt the spoon and watch the liquid drip. In the beginning, the drops will drip in a steady stream indicating the liquid needs to boil more. Soon, the drops will form into tiny triangles indicating the pectin network is forming. When the mixture is ready, the last drops pouring off will run together. This is known as sheeting.
By removing the test liquid from the heat and air-cooling it, you’ve given yourself a quick glimpse of what the liquid will do when it cools down to room temperature. You’ve made an educated guess.
Photo Timeline of Sheeting Test
11:36 (stream), 11:54 (small triangle drop), 12:02 (sheeting). Know that the timing is different for every batch of jelly as it all has to do with how much water needs to be evaporated from the juice and how long that will take.


Take a look at my post on making grape jelly to learn about making jelly that requires the addition of commercial pectin.
Recipe for a Small Batch of Crab Apple Jelly
My husband and I made two batches of jelly; one was a small batch that used 3.5 pounds of apples and the other was a large batch that used the remaining 10.5 pounds. It took 12 minutes for the small batch to reach set point and 45 minutes for the large batch. The difference in time was due to the large amount of water that had to be evaporated from the large batch.
Before you start cooking wash jelly jars in the dishwasher. You want the jars to be warm when you fill them. Boil the lids in water for five minutes before using. Use tongs to handle jars and lids.

Small Batch Jelly Yield: 6 cups
Ingredients:
3½ pounds firm, crab apples (8-9 cups) which yield 3½-4 cups of juice
Enough water to be level with apples in the pot (3-4 cups)
3 5-inch sprigs fresh rosemary
zest of half a lemon
about 4 cups granulated sugar (1 cup sugar: 1 cup juice)
Mise en place for cooking the fruit

Mise en place for cooking juice and sugar mixture to make jelly

Instructions
First: Cook the Fruit
Wash crab apples and remove leaves and most of the stems. Inspect fruit for rot and black spots. Discard less than perfect fruit.
Place apples, zest, and rosemary in a 6-8 quart stainless steel saucepan. Pour water into the pot until it is level with the crab apples, about 3-4 cups. Do not add sugar, yet.

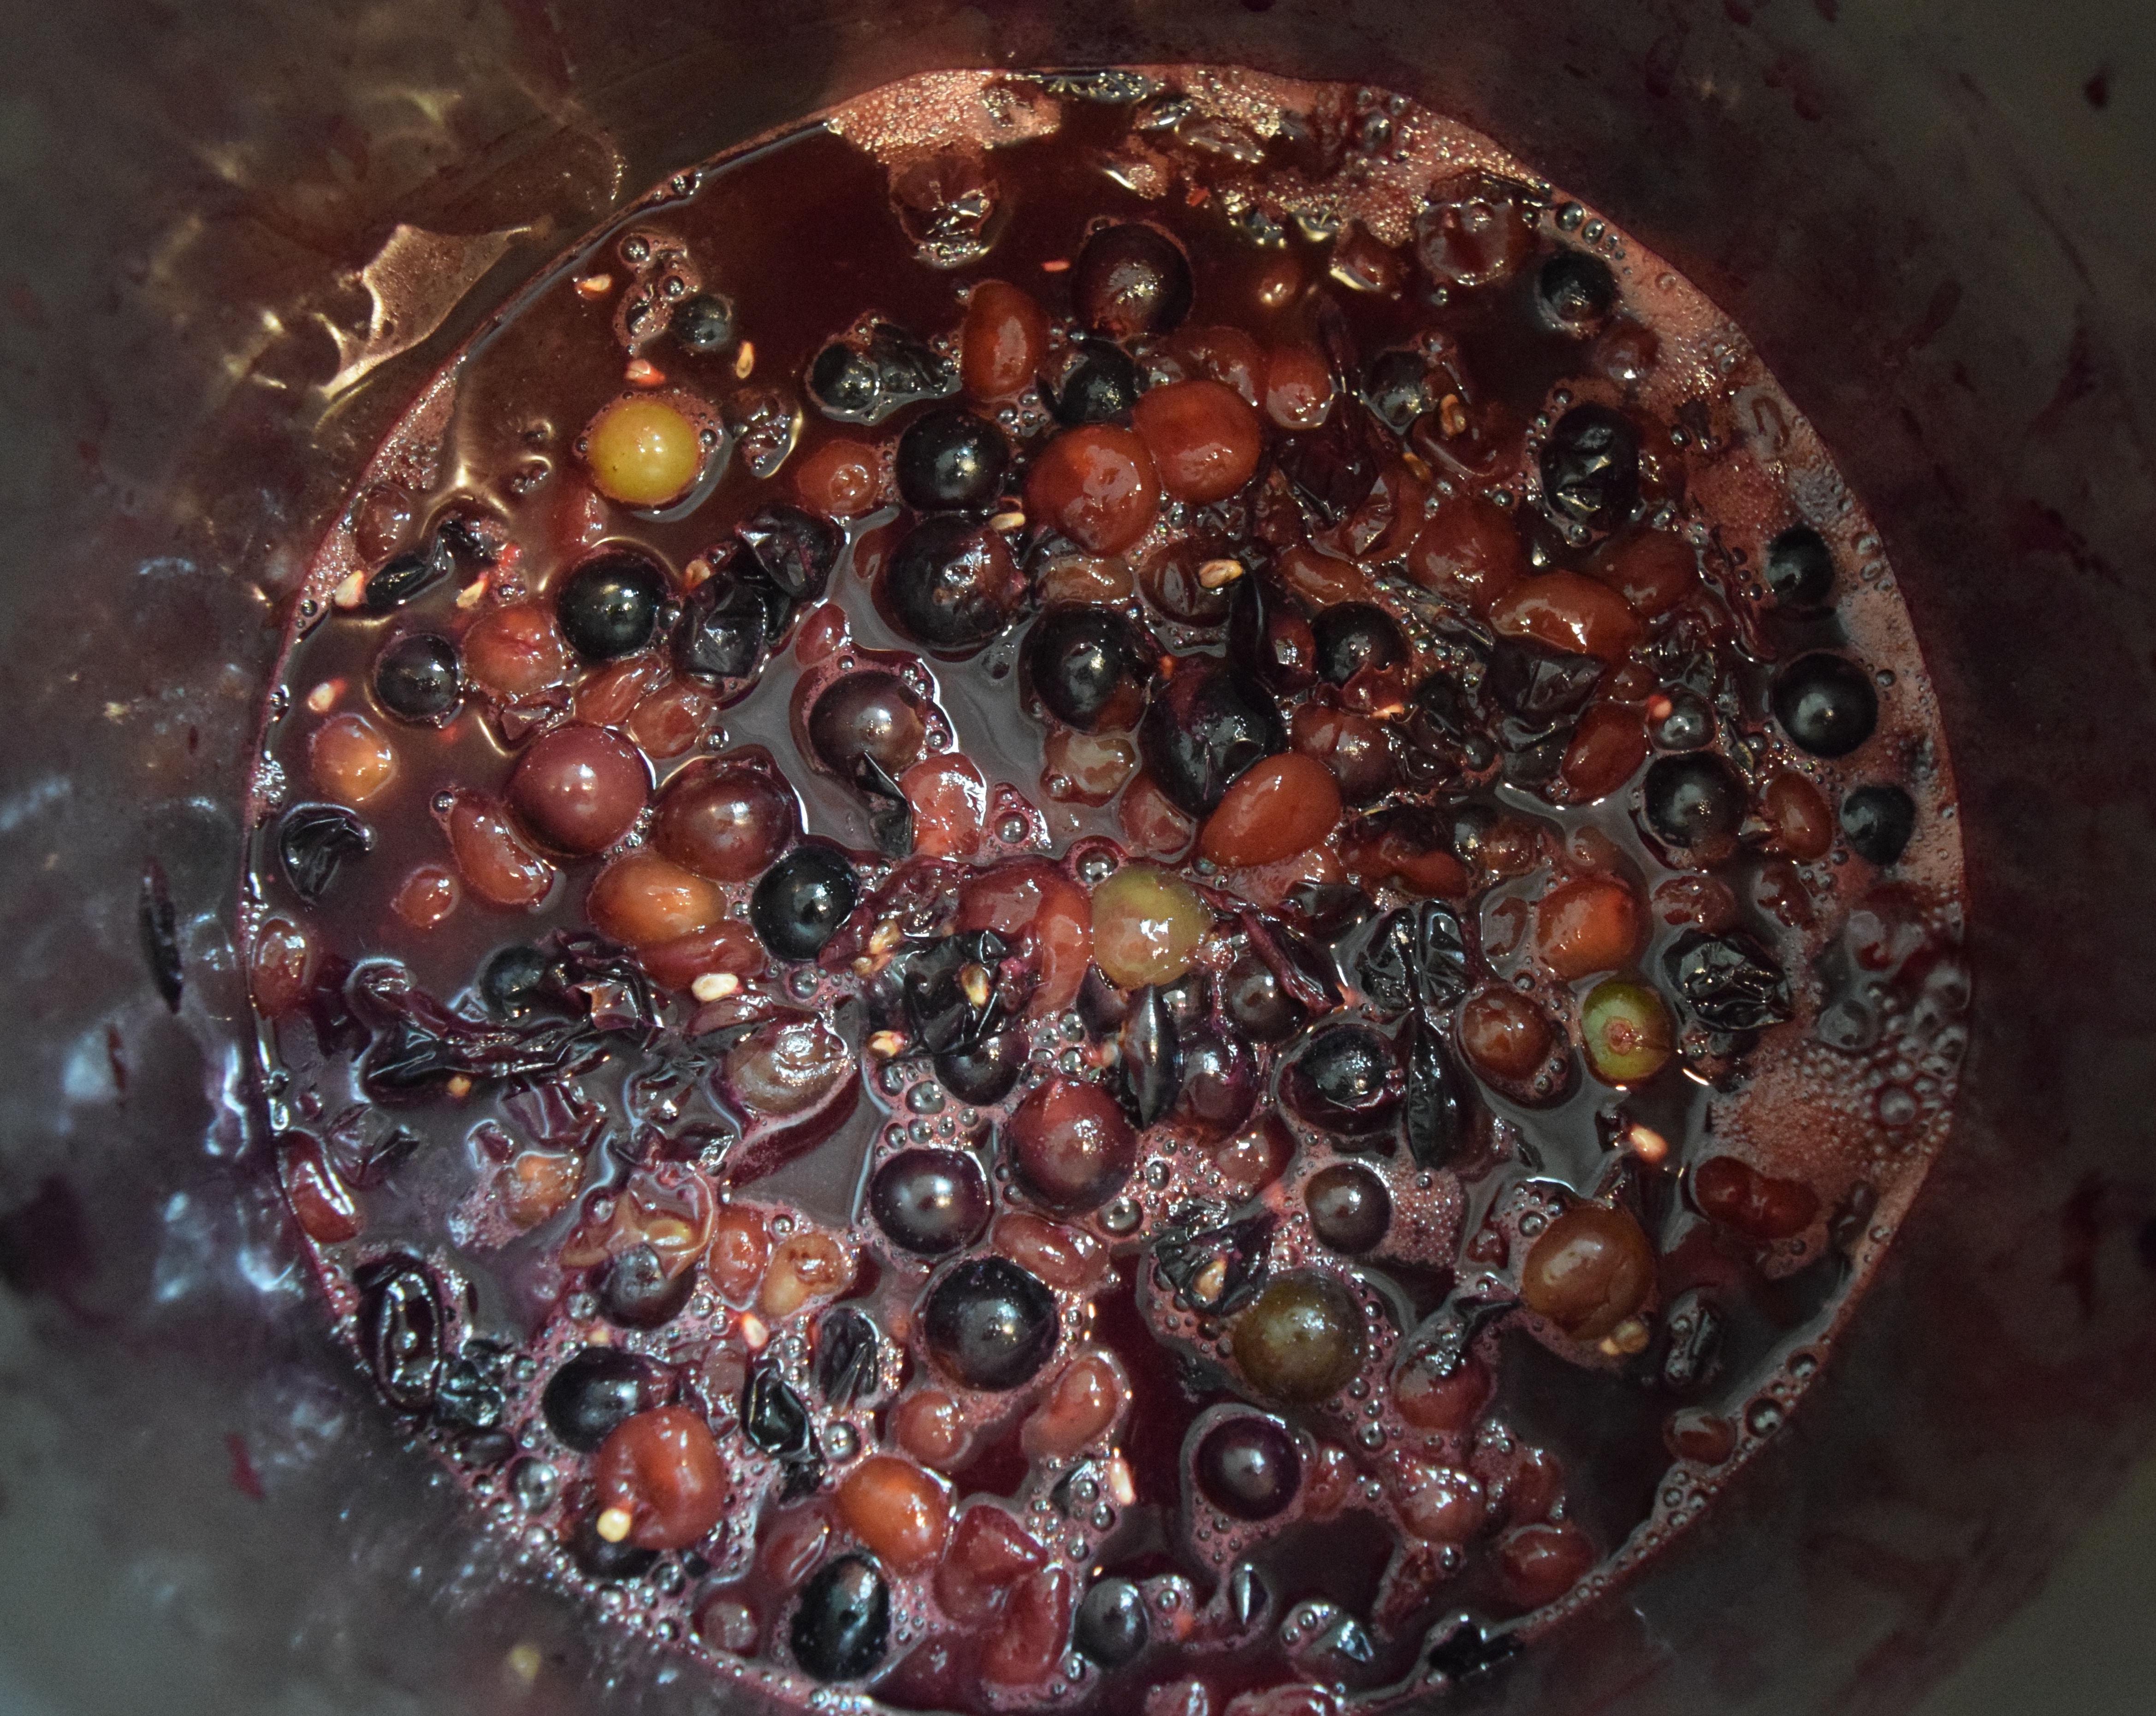
Bring fruit and water to a boil over medium heat. Turn heat to low and simmer for 15 minutes, stirring occasionally.

Remove pot from heat and use a potato masher to break up the apples. Return to heat and continue to simmer until fruit is soft — another 5 or 10 minutes. Do not cook longer because you will run the risk of destroying the pectin.

Place a muslin-lined sieve over a large, clean bowl. Pour cooked fruit in and allow mixture to drain overnight. If you push it through the sieve with force, your juice will likely become cloudy.

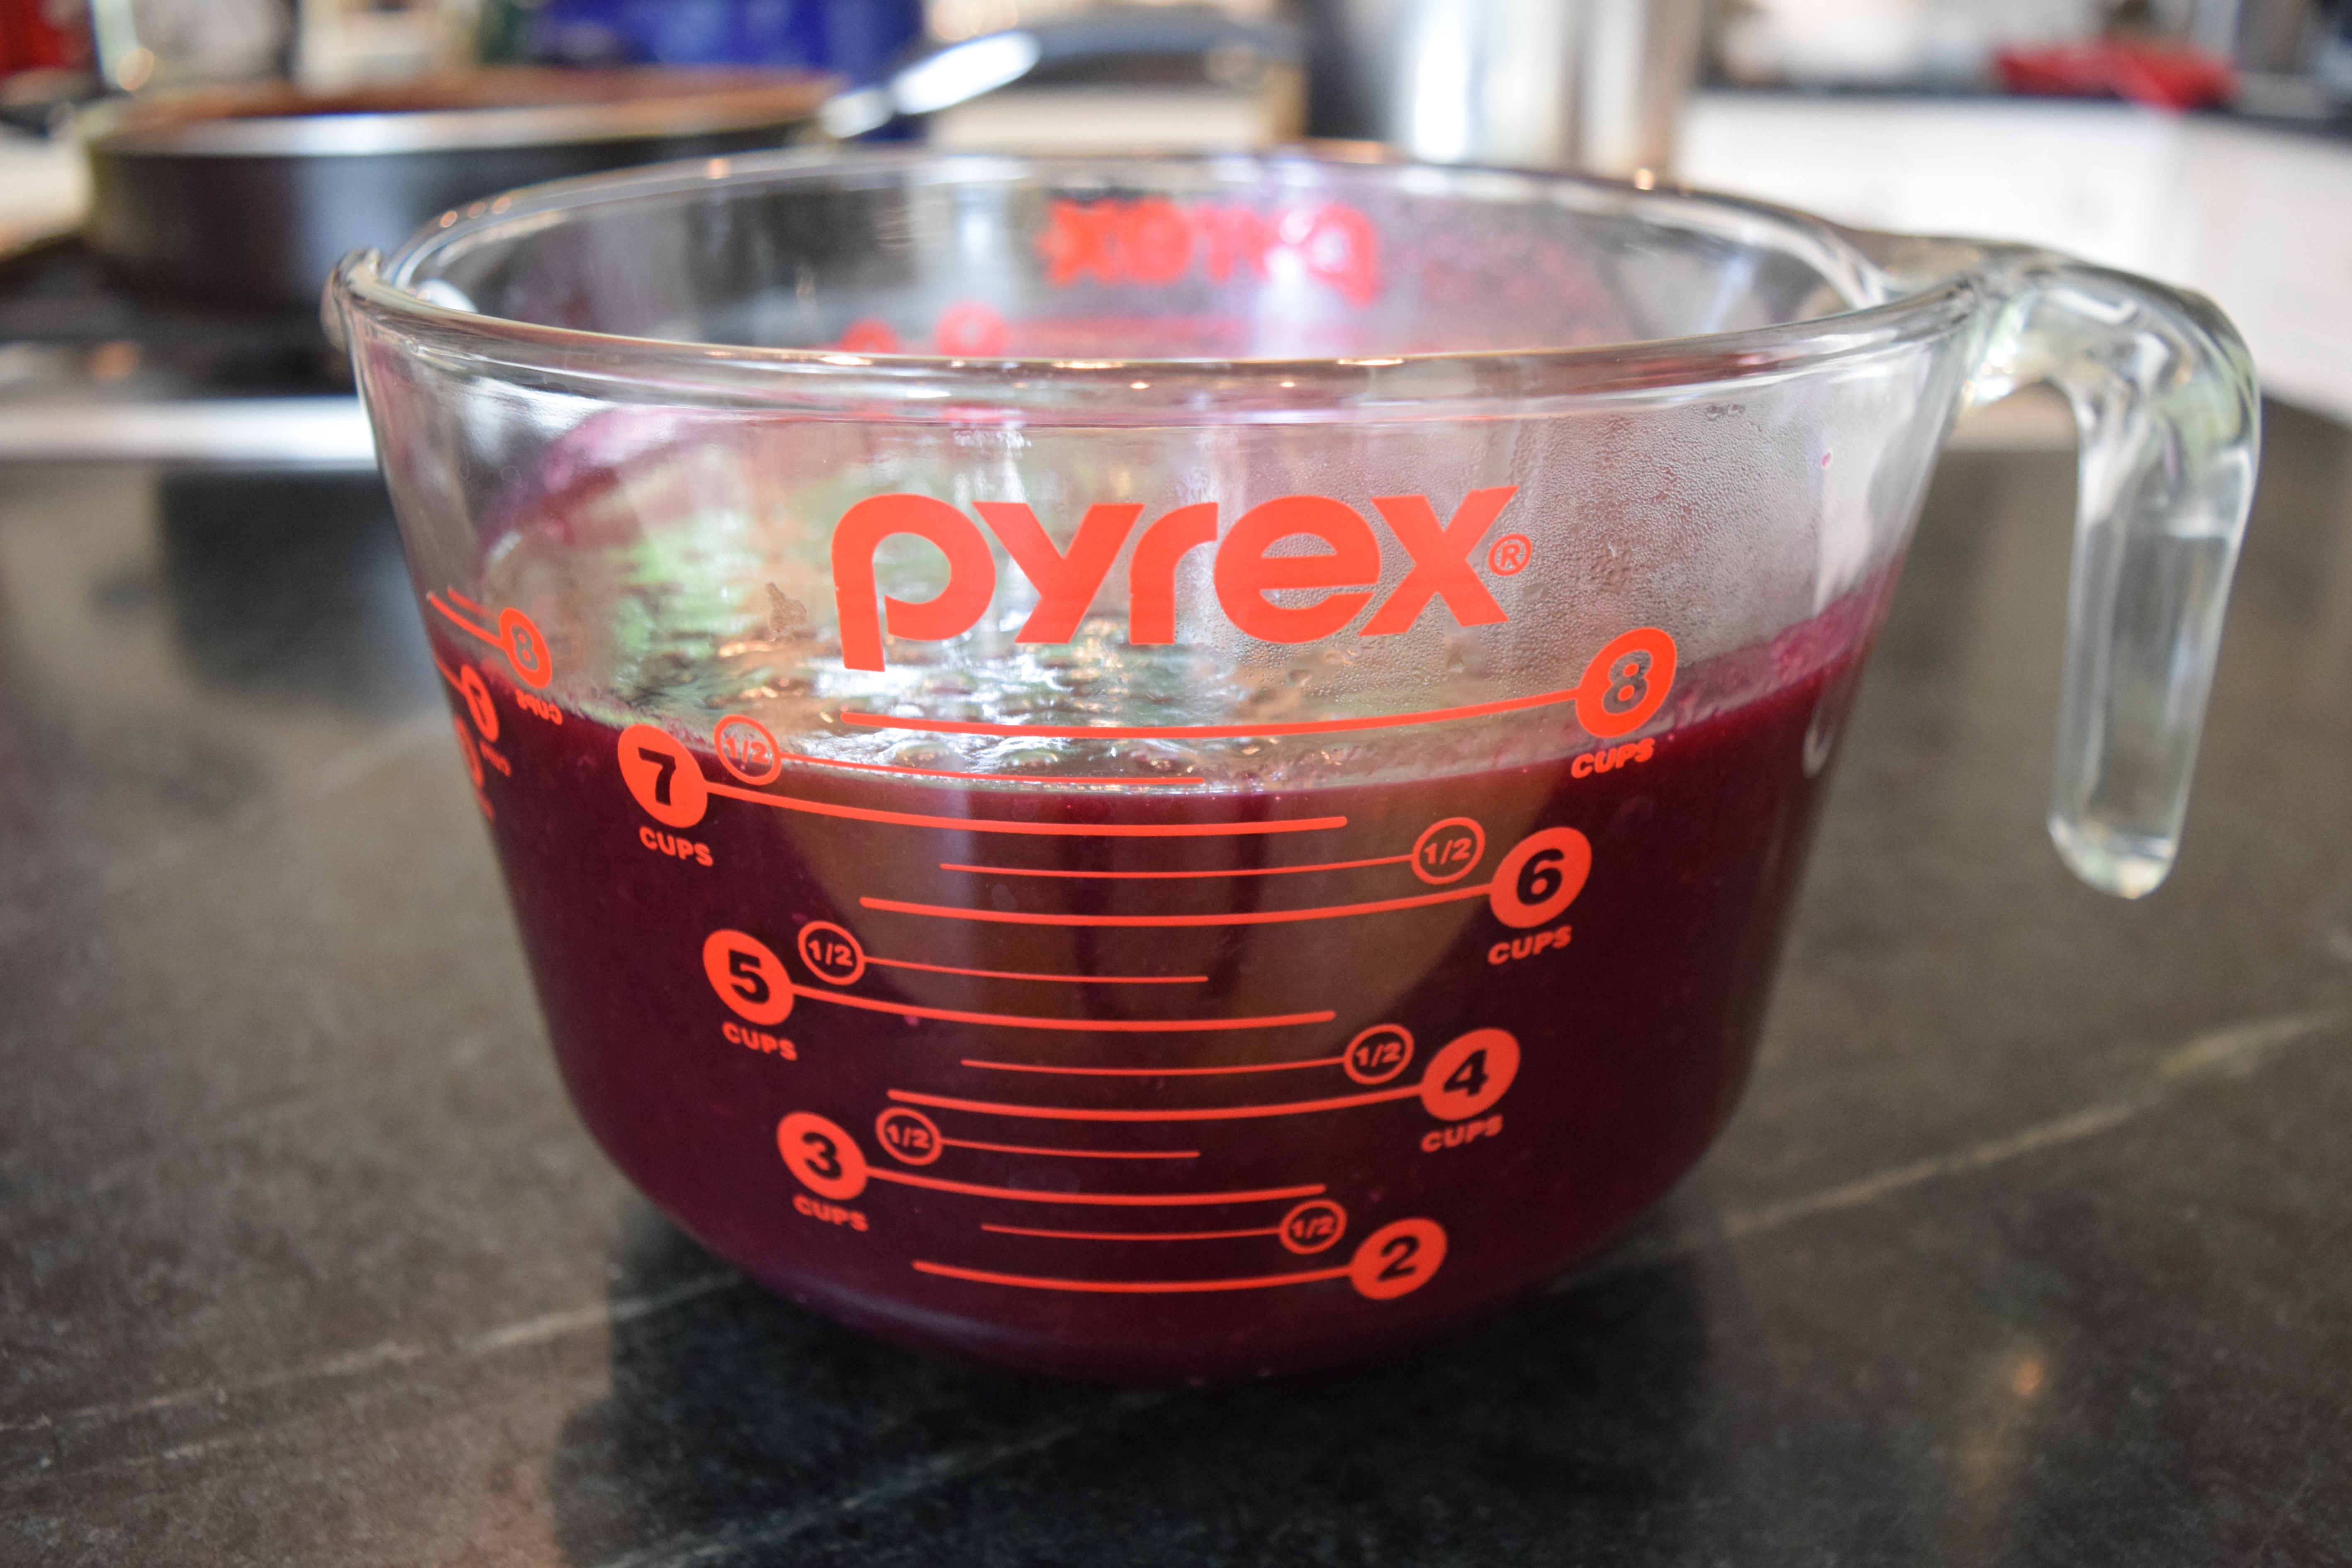
Measure juice. You should have about four cups. If you don’t, place a heavy object on top of the pulp to slowly release more juice. Sometimes I drizzle a little hot water over the pulp and use what drips out to make up the difference and get me to four cups.
Next: Make the Jelly
Pour juice into a clean, deep, wide, heavy-bottomed saucepan that allows room for boiling a liquid that is going to froth and rise about four inches.
Bring fruit juice to a simmer over medium heat. Add sugar and stir over low heat until sugar has dissolved.
Turn up the heat to medium and bring mixture to a low rolling boil. A rolling boil is when the entire surface of the liquid is boiling, not just the edges. After five minutes start checking the juice for set point. Remove the pot from the heat each time you check.
At first, the rolling boil will be frothy and rise up the sides of the pot. Watch carefully and control the frothiness by adjusting the heat. Otherwise, the mixture will boil over and make a mess.
As the mixture cooks, it changes from a frothy boil

to a ploppy boil.

Continue to test for sheeting until you reach set point. Immediately remove pot from heat it is reached. Skim any surface residue with a slotted spoon.
Here’s a photo of sheeting from my recipe for my oven-roasted strawberry jam. This set point test method works for both jellies and jams.

Finally: Store the Jelly
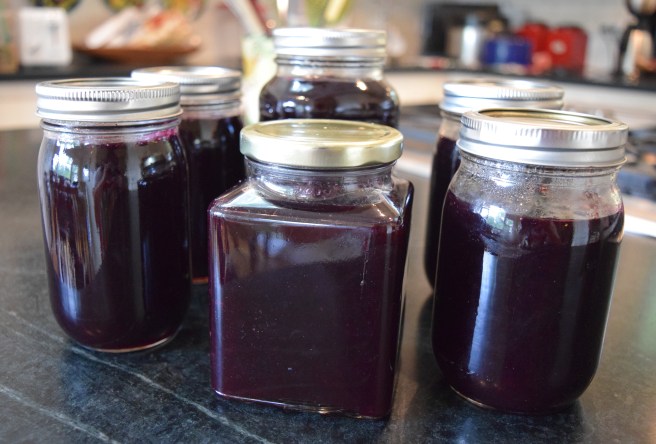
Ladle hot jelly into clean, warm jars, leaving ¼ inch of headspace. Wipe the rims with a clean damp cloth. Cap them and turn them upside down and allow to cool. This helps give the jars a good seal without processing, but unless they are processed in a boiling water bath, they will need to be stored in the refrigerator until ready to use. Alternatively, you could heat process them.

Crab apple jelly tastes equally great on toast or served alongside roasted pork or chicken.
Another floral arrangement with crab apples!

Beautiful floral arrangements, delicious jelly, and gorgeous colorful fruit — crab apple trees give a lot of bang for the buck. Plus, they are good pollinators.
Other Posts About Making Jelly, Jam, and Chutney
How to Make Grape Jelly (and grow the grapes)
Grandma’s Cranberry Chutney
Oven-Roasted Strawberry and Rosemary Jam
Raising Sorghum Cane
LET’S STAY CONNECTED!
Follow my photos of vegetables growing, backyard chickens hanging out, and dinner preparations on Instagram at JudysChickens.
Never miss a post: sign up to become a follower of the Blog.
© 2014-2017 Judy Wright. All rights reserved. Photos and text may only be used with written consent.