Home Ec: How to Measure Ingredients Properly

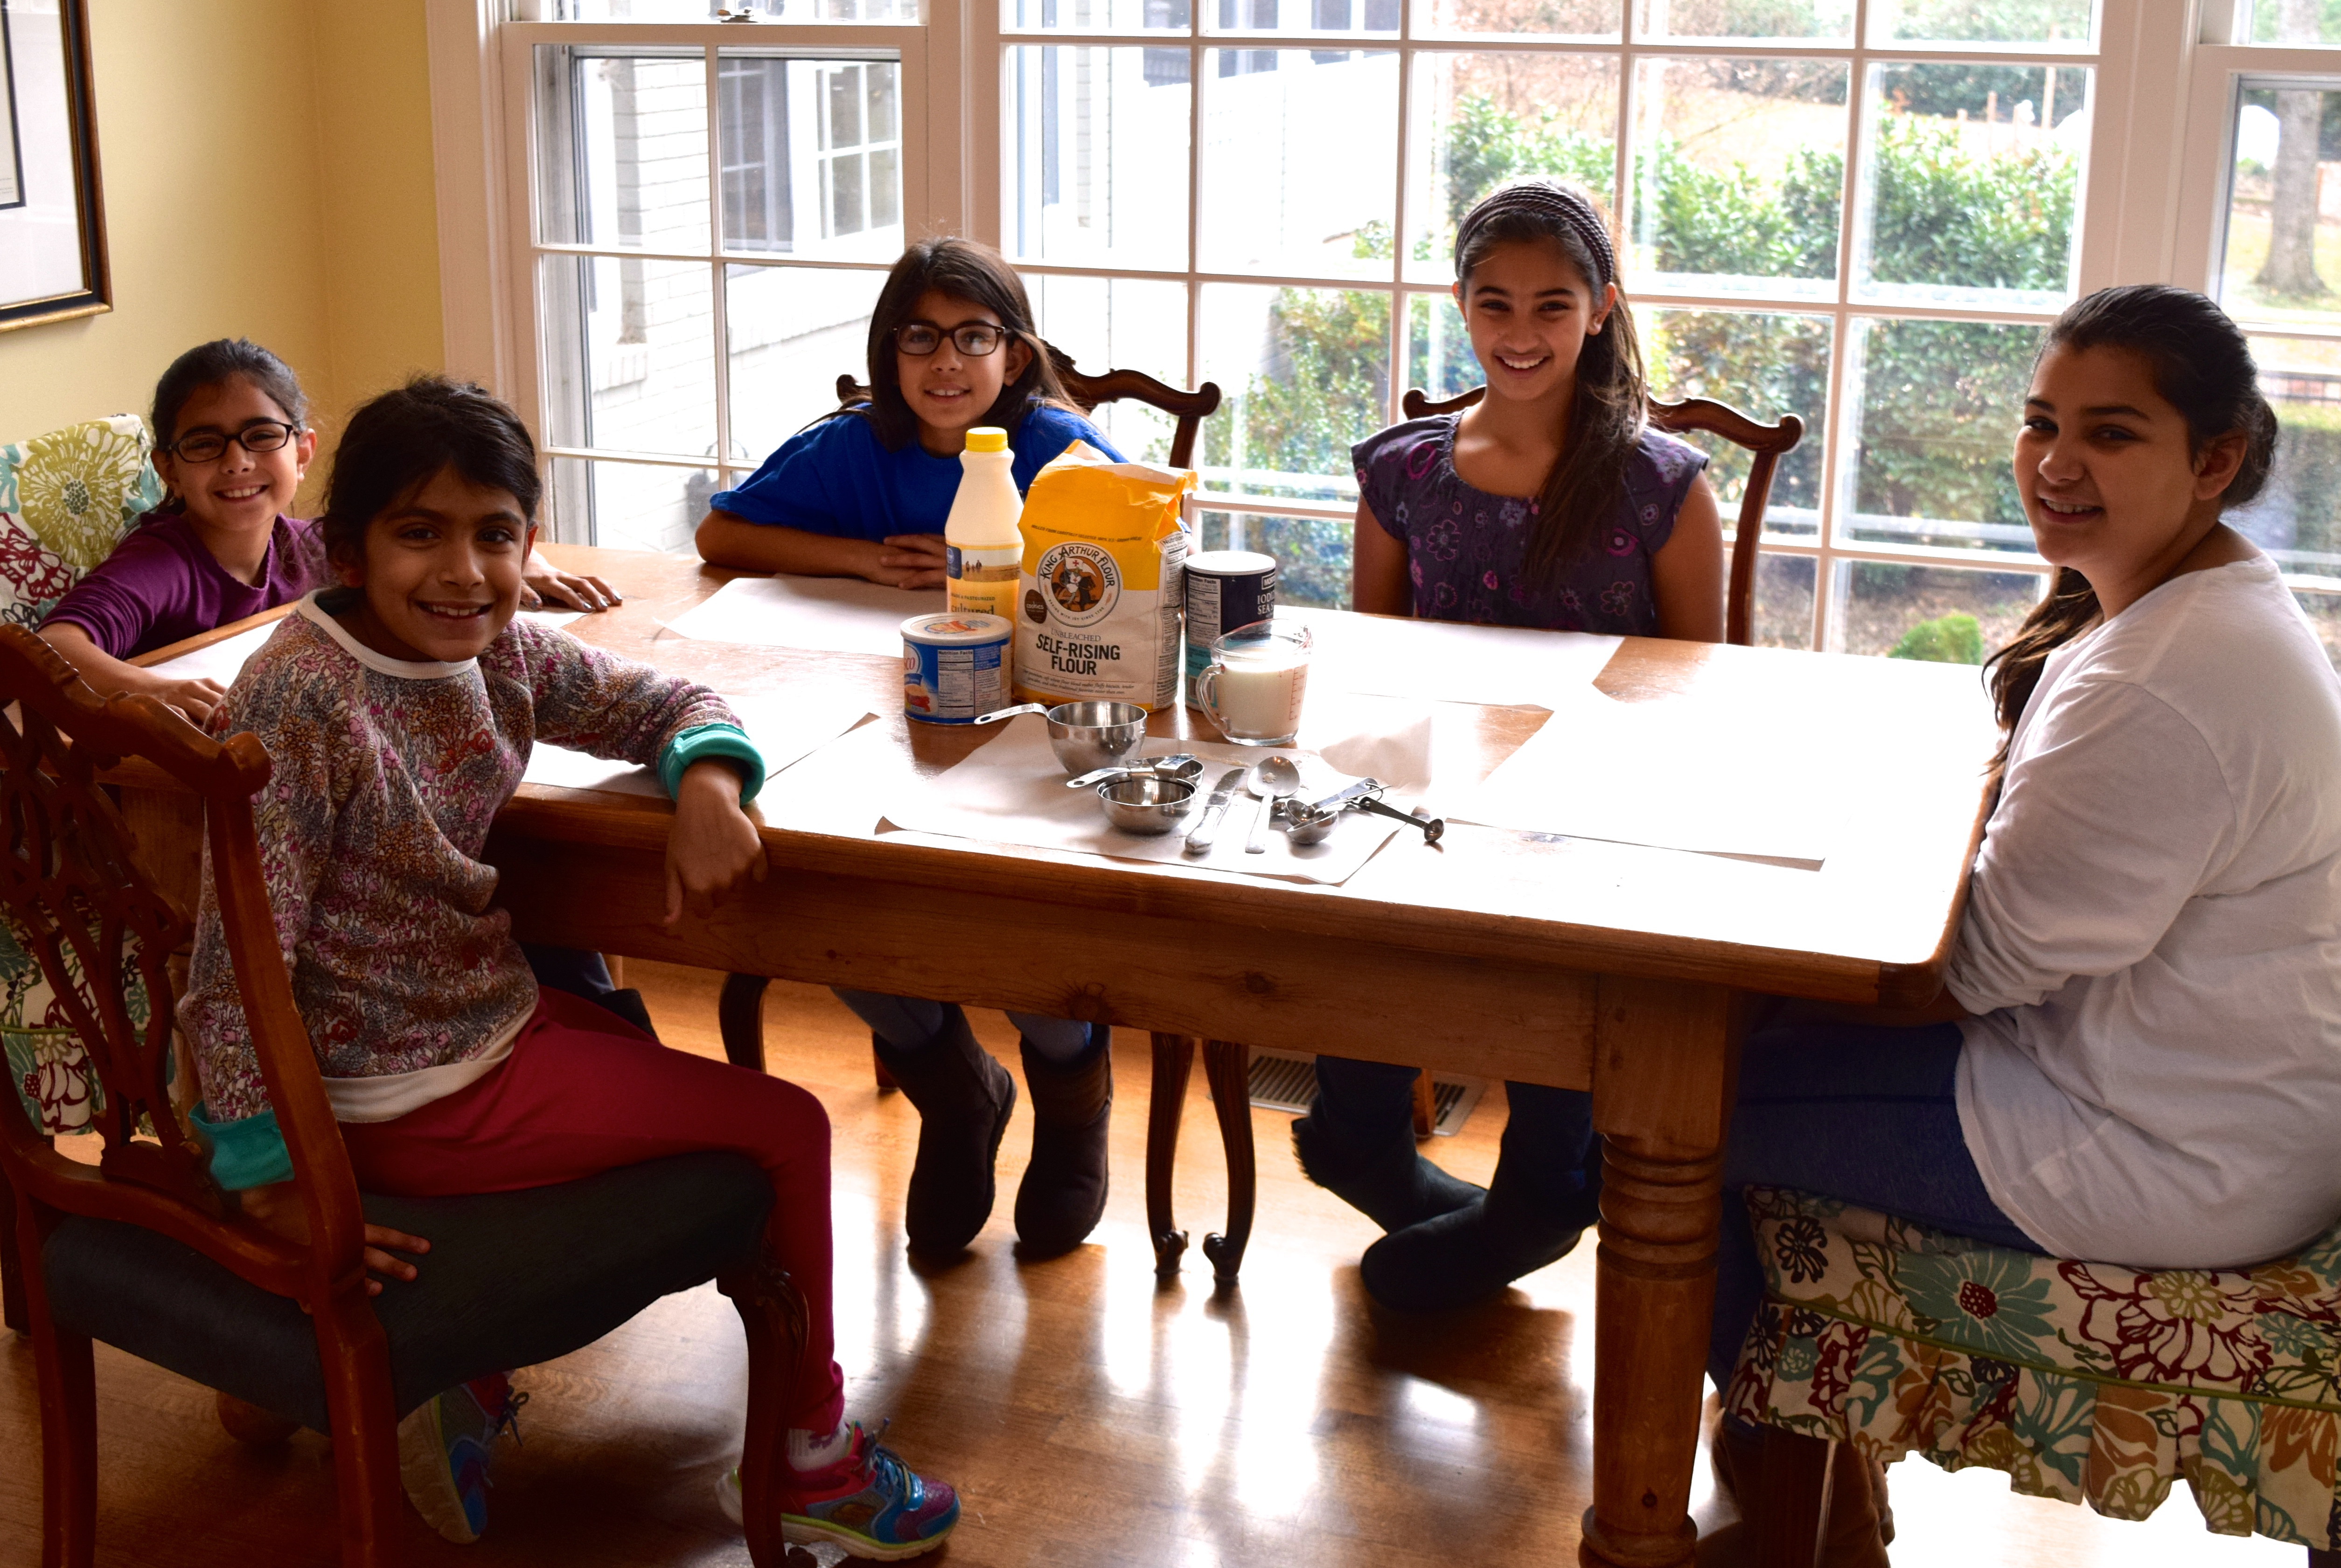
There is nothing I like more than cooking with a room full of children who are eager to learn. I was so pleased these five young girls wanted to come over to learn how to make The Biscuit King’s biscuit recipe while visiting over Thanksgiving break. Their little adventure turned into a Home Ec lesson.

home ec making biscuits

Some of the things we talked about:

1) Wash your hands for the amount of time it takes to sing the Happy Birthday song.

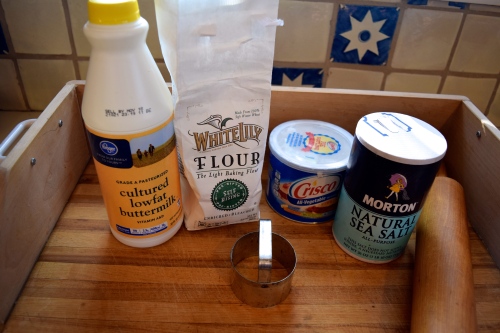
2) Set out all your ingredients on the countertop before you get started.

3) In addition to lining roasting pans with parchment paper, you can place them under any workspace for easy cleanup. A box of 1000 sheets can be purchased for $40 at restaurant supply stores.
DSC_0049

4) How to measure dry ingredients:
Lightly spoon flour into a one-cup “dry measure” until it is heaped above the rim.
home ec making biscuits

Sweep the flat edge of a knife across the rim; what remains is a level cup of flour.
home ec making biscuits

Measure salt in the same way, carefully filling the measuring spoon so it overflows a little and then using a knife to level the top. Never measure directly over your mixing bowl, tempting as that may be.
home ec making biscuits

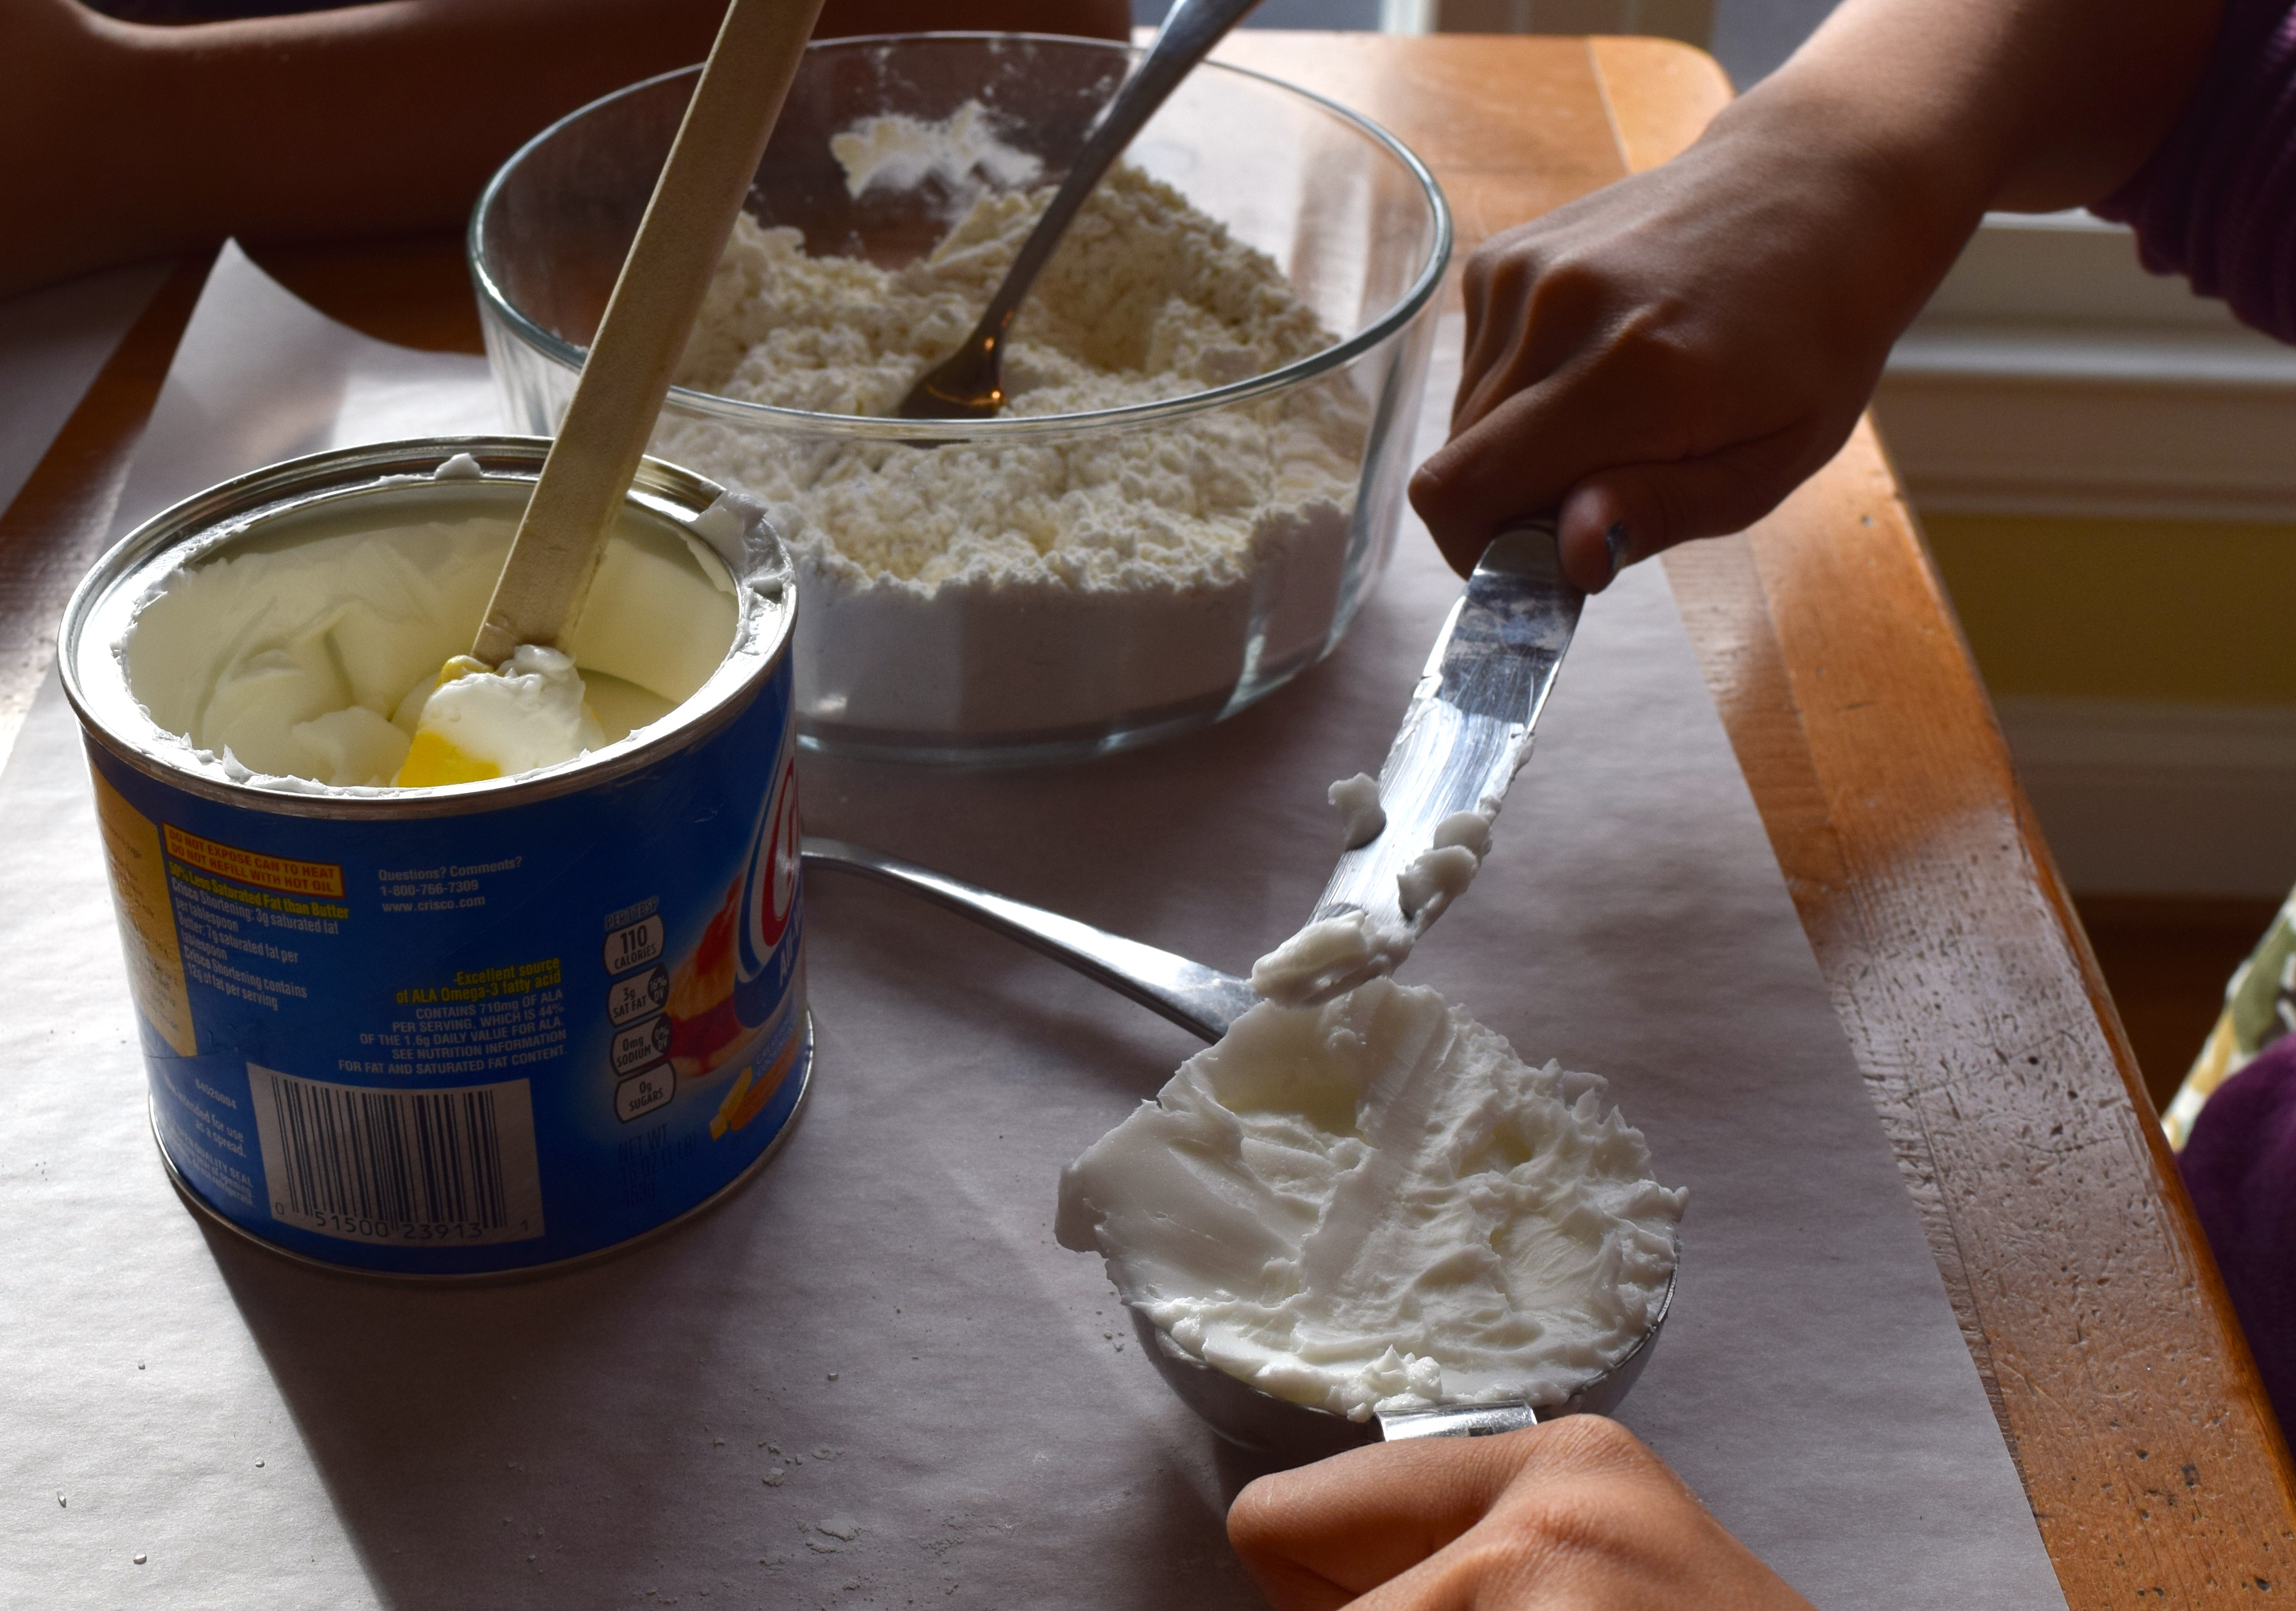
5) How to measure fats (Crisco, lard or butter):
Using a spatula, place a blob of shortening into a measuring cup and pack it in. Use a knife to remove the excess shortening.
home ec making biscuits

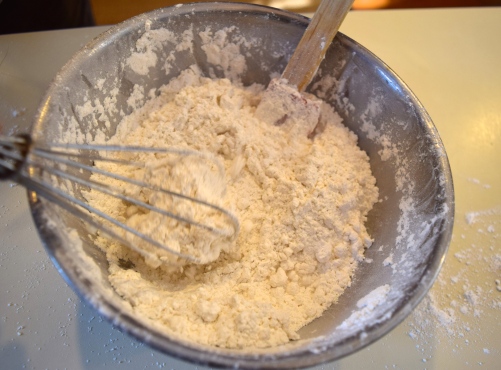
6) Mixing ingredients:
Using two forks, or a pastry blender to mix the fat into the dry ingredients.
home ec making biscuits

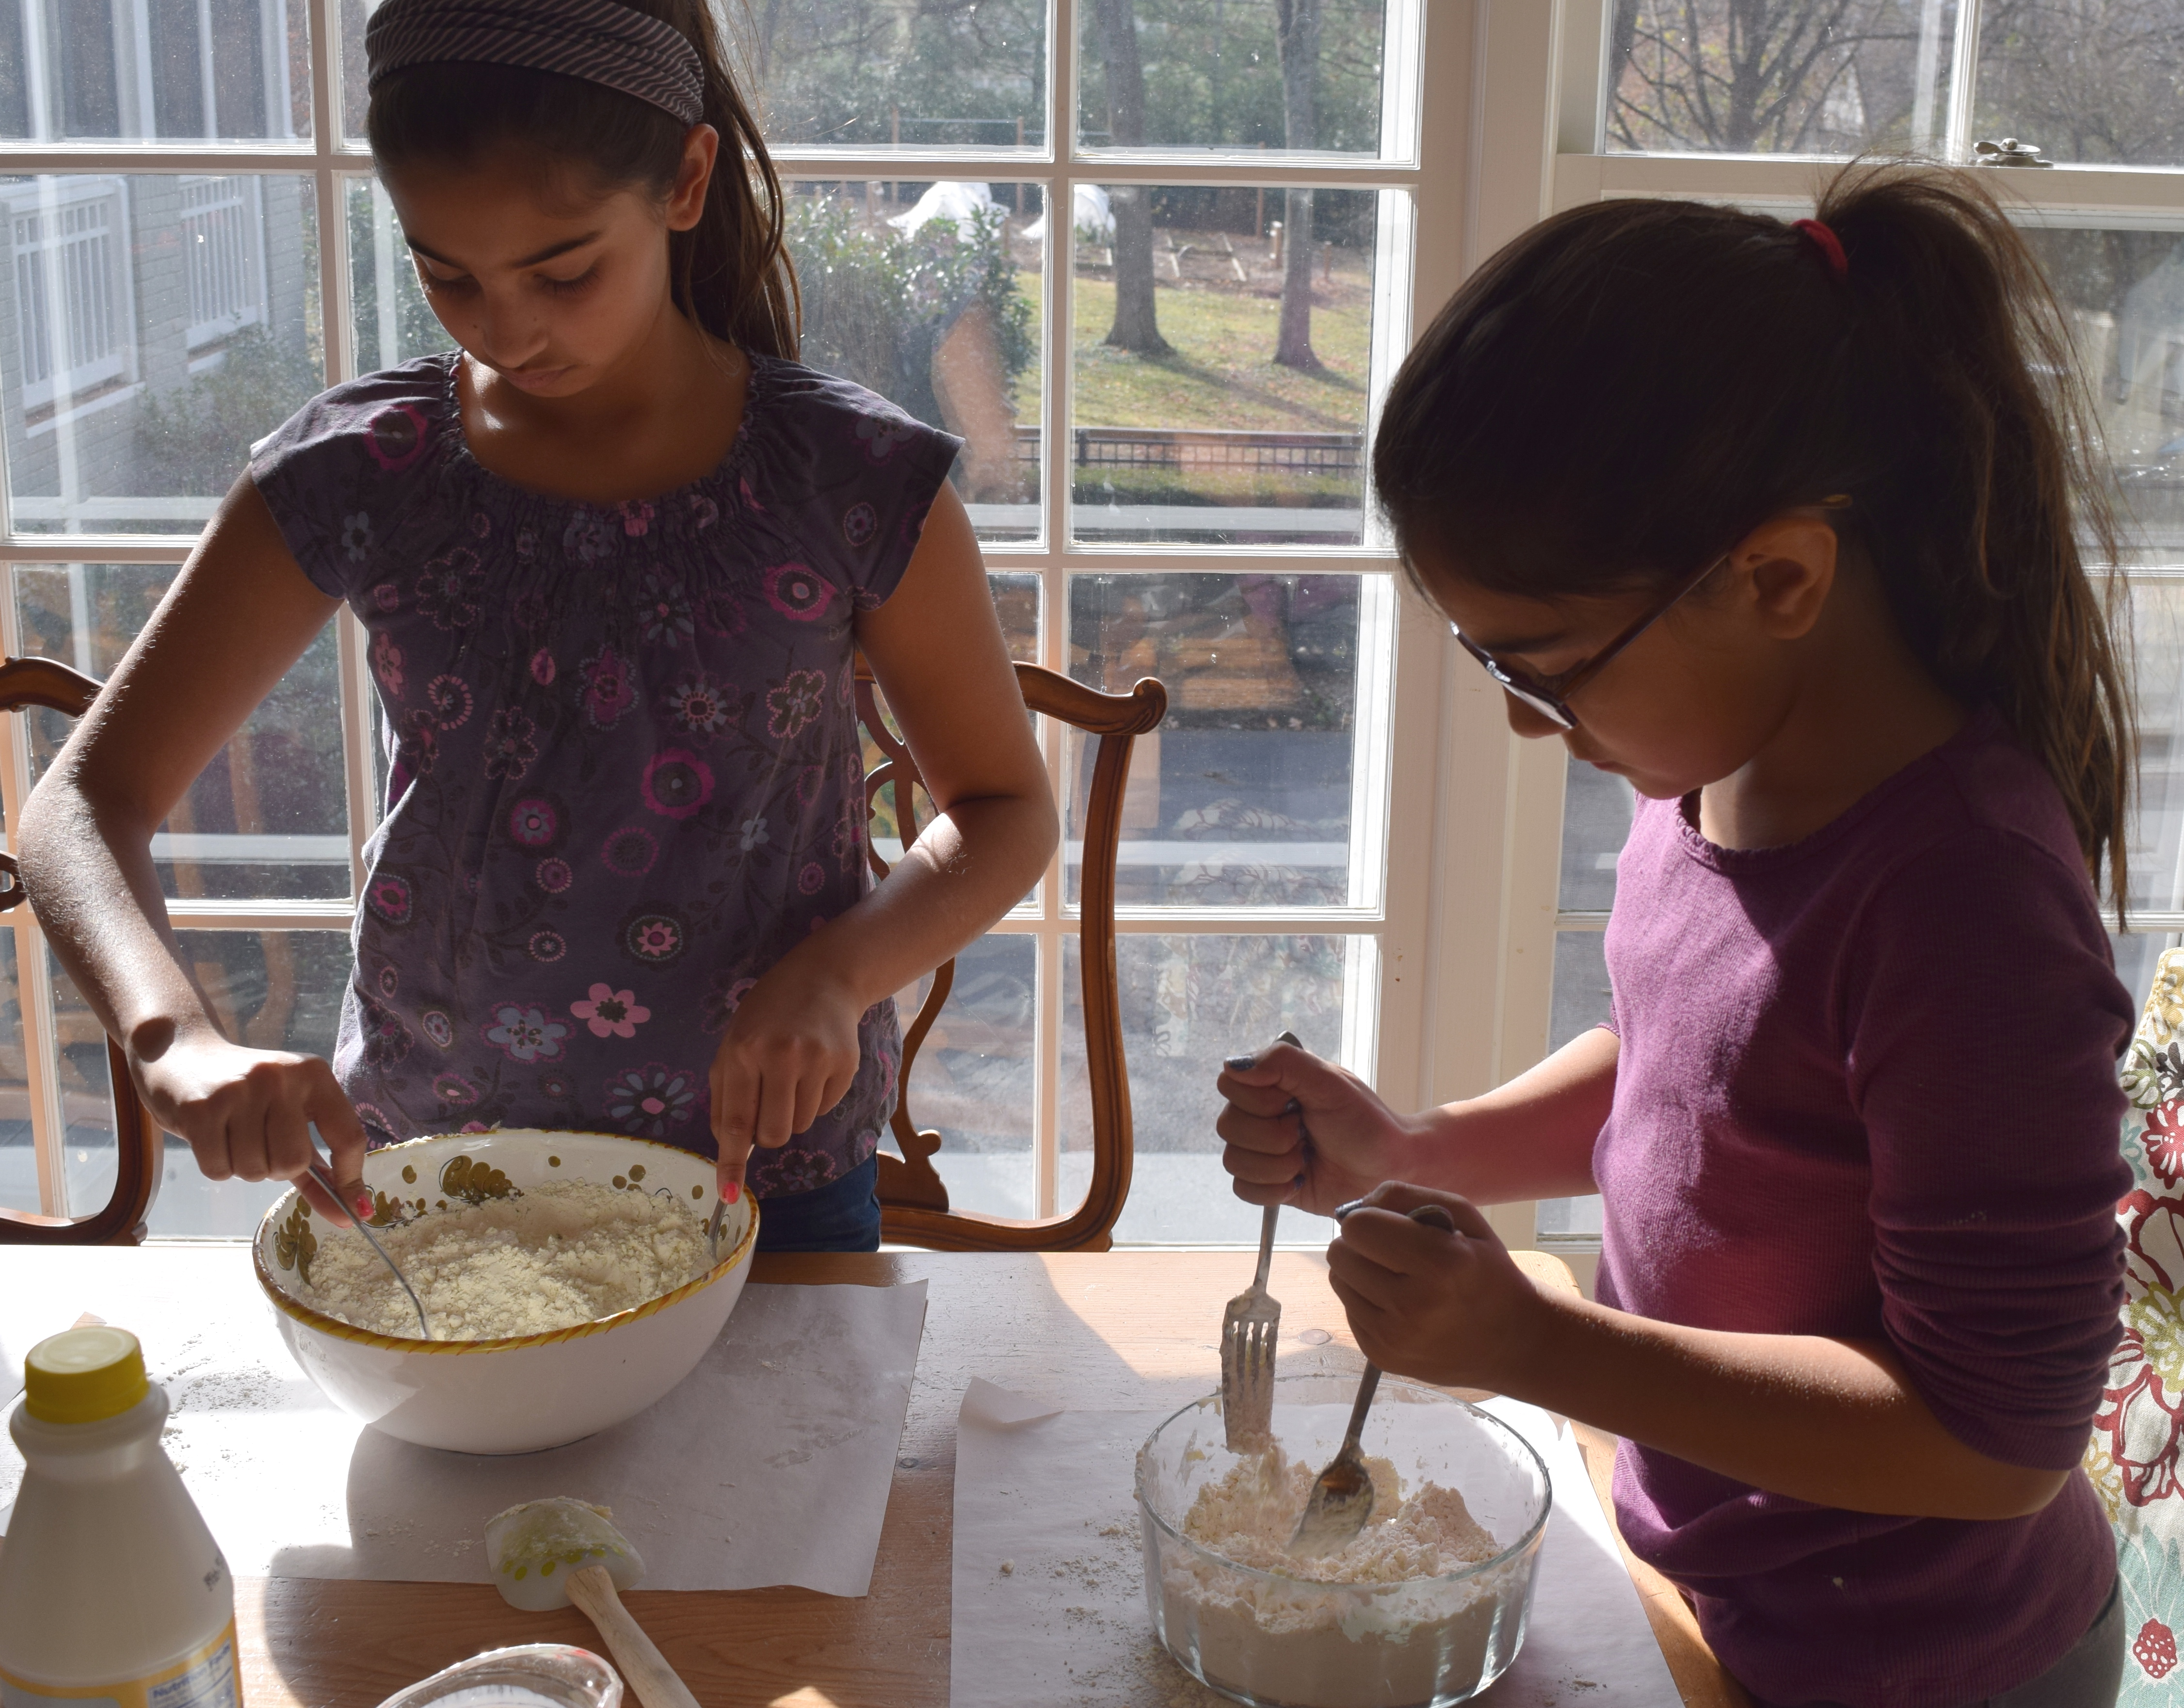
Mix until the flour feels crumbly and the pieces are about the size of baby peas.
home ec making biscuits

7) How to measure liquid ingredients:
“Liquid measures” are pitchers, made of glass or plastic, with a spout for pouring. To use, place the pitcher on a level surface, and measure liquid using the gradation marks on the side of the glass. Liquid measuring cups are used to measure volume not weight. In this case, we are measuring 8 fluid ounces of buttermilk.
home ec making biscuits

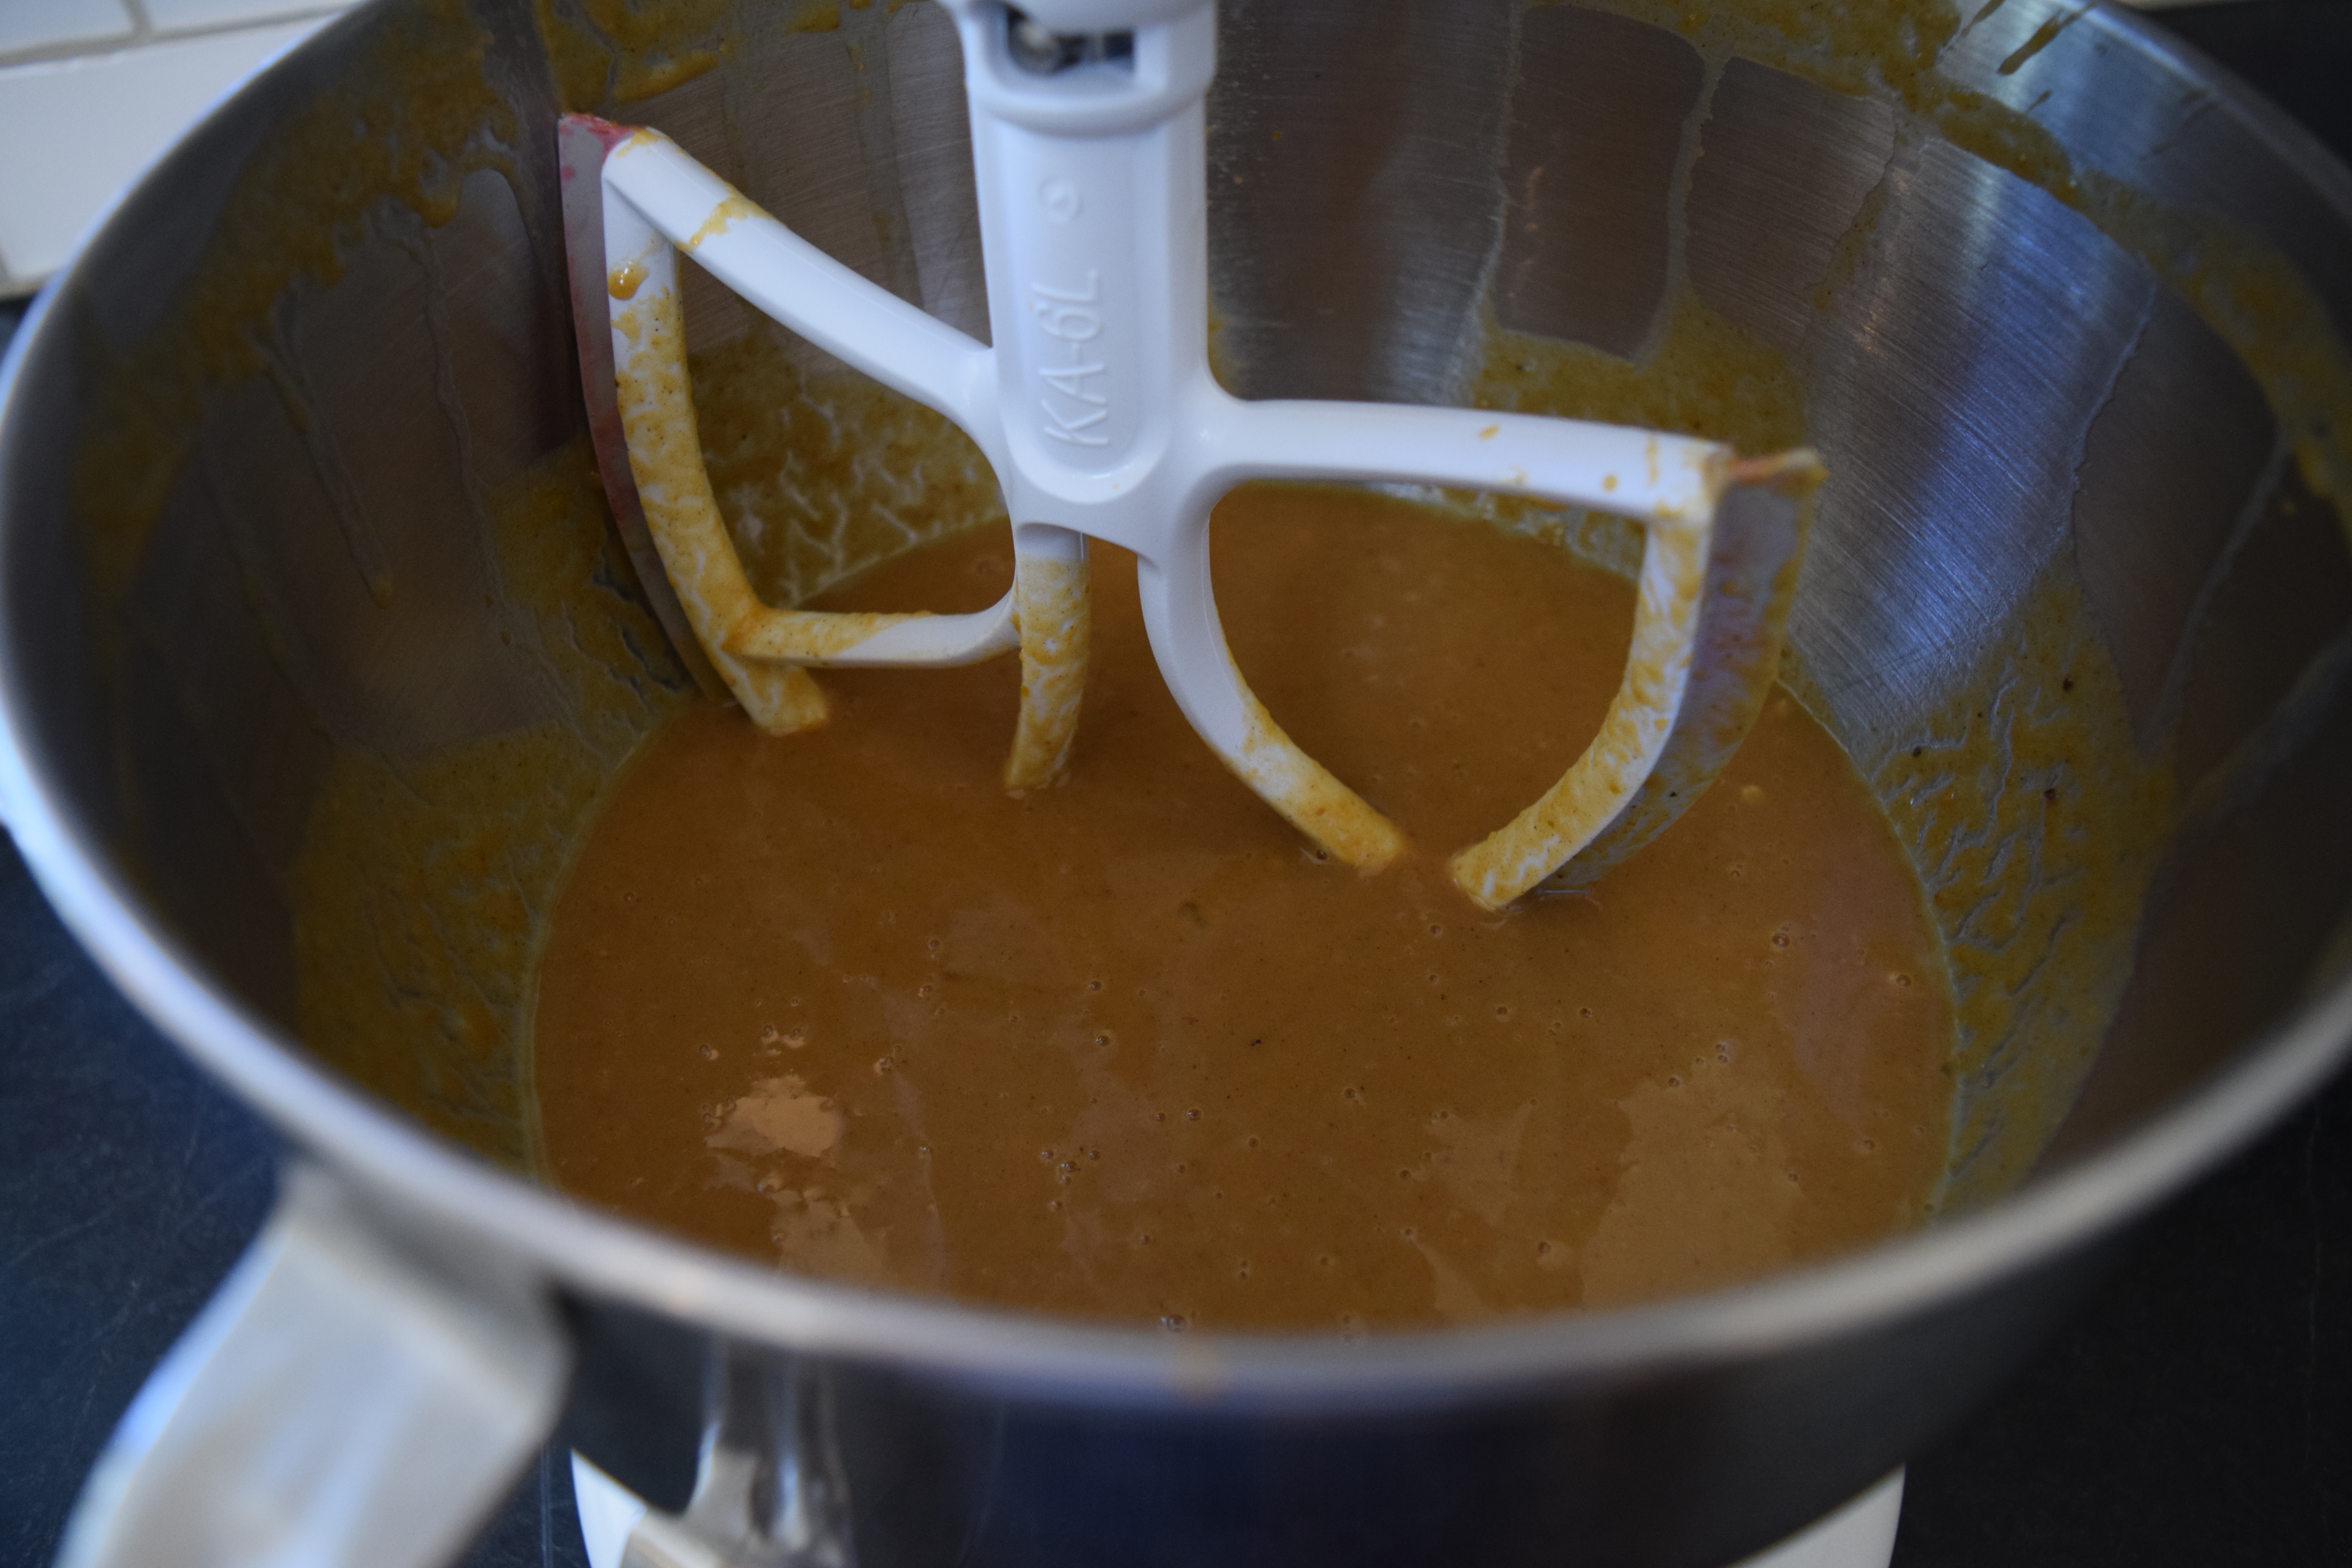
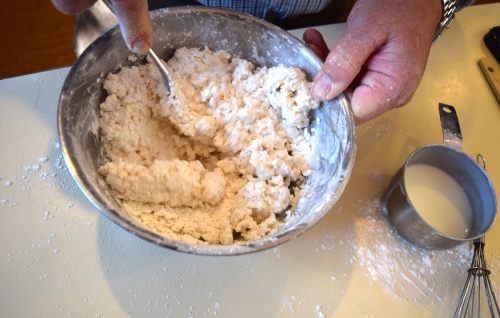
8) The girls stirred the ingredients together for 15-20 strokes, just enough to get all the ingredients moist. Do not overmix or the gluten protein in the flour will start to stretch and become sticky resulting in tough biscuits.home ec making biscuits

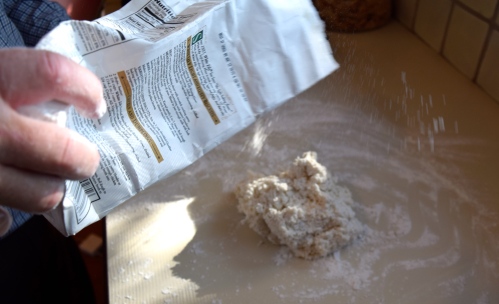
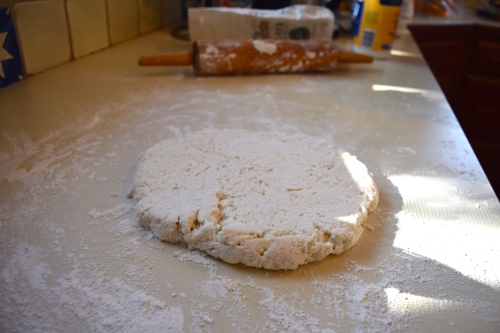
9) Each girl scooped their dough up and placed it on a sheet of floured parchment paper.
home ec making biscuits
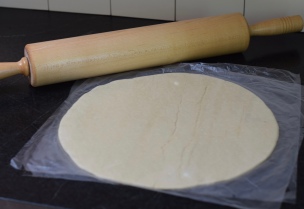
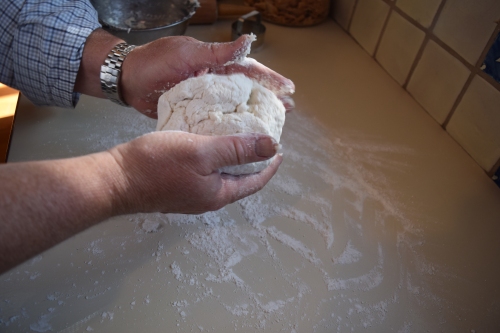
The dough was a little too sticky to manage so the girls added more flour to their hands, the rolling surface, and the biscuit cutters. They rolled the dough out until it was ¾ of an inch thick.
home ec making biscuits

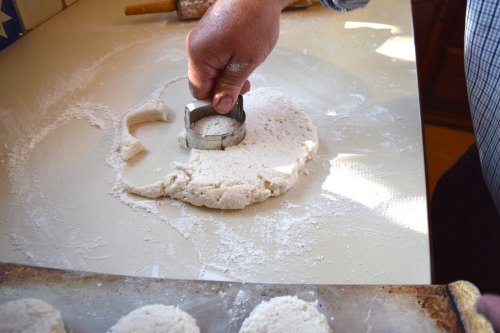
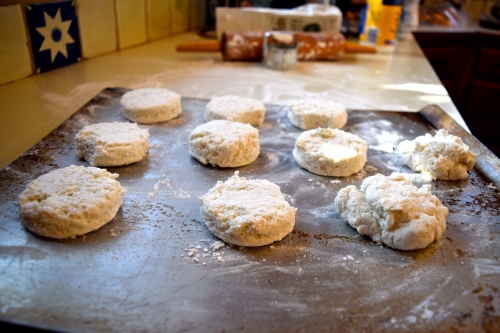
10) The girls used a floured 2-inch biscuit cutter to shape the biscuits. Some of the dough was a little too sticky so we dropped it by the spoonful onto the baking sheet rather than continue to add flour and mix further.
home ec making biscuits

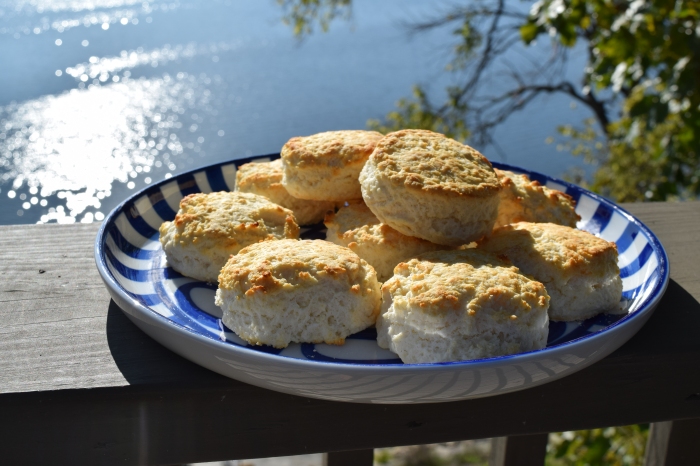
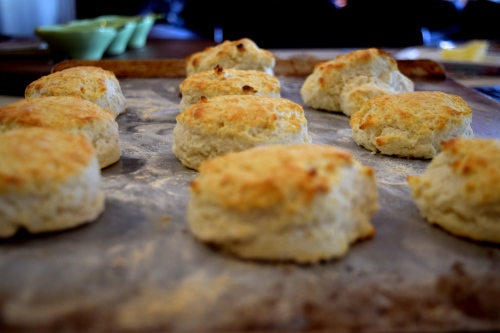
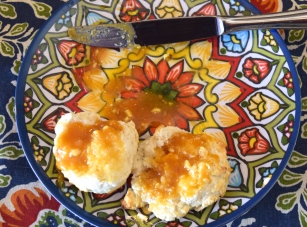
This was fine. The biscuits were all delicious! Fantastic job, girls!
home ec making biscuits

On measuring flour:
Many of my grandmother’s old recipes list flour measurements in pounds instead of cups. Here’s a little cheat sheet to help you with pounds to cups conversions. dsc_0055

Special thanks to my lovely group of budding chefs who are in grades two through seven: Sirina, Amelia, Lara, Leela, and Ana! Special guest appearance by Alexander.

Other kitchen how-tos on the blog:
How to Tell If an Egg Is Fresh or Hard-Boiled
The Navel Mary Way: How to Peel an Orange
Cookie Scoops as a Unit of Measure
How to Make a Thaw Detector for the Freezer
Got Jellybeans? Your Sense of Smell
How to Clean the Splash Guard of Your Garbage Disposer

If you enjoyed this post, please share it with a friend and become a follower. When signing up, be sure to confirm the subscription on the follow-up letter that will be sent to your email.

Follow Judy’s Chickens on Instagram and Pinterest @JudysChickens.

Always check my blog for the latest version of a recipe.

© 2014-2020 Judy Wright. All rights reserved. Photos, videos, and text may only be reproduced with the written consent of Judy Wright.

Mom’s Pumpkin Pie

It is not Thanksgiving without pumpkin pie.

DSC_0679

A few years ago, when my son was a Vanderbilt student, I asked if he wanted to invite friends over from school who couldn’t get home for Thanksgiving. About ten of his friends joined us. He asked if they needed to bring any food. I told him we had the meal covered, but if anyone enjoyed cooking and wanted to bring something, they should feel free to do so.

A few days later, he sent me an email with a headcount and said his friends had dessert covered. Wonderful. As I scrolled further into his letter, I noticed a copy of the letter he had sent his friends. It said, “My mother said if it’s part of your wellness to cook during the holidays, feel free to bring a dessert, otherwise just bring yourselves.”  Part of your wellness, how nicely put. Cooking is part of MY wellness.

On Thanksgiving Day, as everyone arrived, the desserts were dropped off in the kitchen — coconut cake, brownies, chocolate chip cookies, mint ice cream. Alas, there was no pumpkin pie, my favorite. So now we get to the point of the story, my mother’s pumpkin pie. It is so easy; I was able to prep it with ingredients I had on hand in the amount of time it took to preheat the oven. The pie cooked while we ate dinner. No one was the wiser, and I had my beloved pumpkin pie.

Yield: Makes one 10-inch pie or one 9-inch deep-dish pie.

Ingredients:

3 large eggs
½ cup granulated sugar
½ cup packed light brown sugar
1 tablespoon all-purpose flour
½ teaspoon fine salt
½ teaspoon ground nutmeg
½ teaspoon ground allspice
1 teaspoon ground cinnamon
1¾ cups pumpkin purée (15-ounce can)
1½ cups warm milk (heat for one minute in the microwave)

Instructions:

1) Preheat oven to 450º

2) Prepare pie crust. If you are using a 10-inch pie pan, you may need to roll the crust a little more to stretch it to fit better. I like to use Trader Joe’s Pie Crusts.

Technique Time: How to arrange a TJ’s pie crust into a pie pan:

Once the crust comes to room temperature, which takes about 90 minutes, unroll it retaining the plastic sheets. You will find that the dough breaks up into wide strips as you unroll it. Not a problem; use a rolling pin to rejoin the cracks while the dough is sandwiched between the plastic sheets. Next, remove the plastic covering from one side of the crust. Using the corners of the remaining plastic square, lift the crust, turn it over, and plop it into the pie plate. Continue to leave the plastic on as you press the dough into the pan, then remove the plastic. 
DSC_0254 DSC_0258

Tuck crust edges under and crimp to make pretty.
dsc_0458

3) Prepare Pumpkin Filling: Blend all ingredients together in a mixing bowl for one minute on medium-low speed. Be sure to warm the milk as this will decrease the cooking time. Scrape the sides and bottom of the mixing bowl with a spatula as you blend the ingredients together.
DSC_0601

Pour filling into prepared pie crust.

For best results, cover the pie rim with foil or a Pie Crust Protector until the last 15 minutes of baking. While the pie is cooking, take a look at this post about must-have cooking tools, Stocking Stuffers: Tools for the Cooking Life

4) Bake for 10 minutes at 450º. Turn oven down to 350º and cook for 45-55  minutes, depending on whether you are using a regular or deep-dish pan. To check for doneness, prick the center of the pie with the tip of a knife. It should come out clean. If not, let the pie cook five more minutes and test again.

This pie is delicious served warm from the oven or cold from the refrigerator (for breakfast!).

My friend, Renée, skips the pie crust altogether and pours the pumpkin batter into small ramekins for single-serving desserts.
DSC_0078

Happy Thanksgiving!

Other Desserts for Thanksgiving:
Mrs. Walker’s Cranberry Nut Pie
Mom’s Apple Pie (with a cheddar streusel topping)
Pumpkin Bread Pudding (with caramel sauce and whipped cream on top!)
Pumpkin Cheesecake Pie
Marion’s Crazy Good Pumpkin Bread with Chocolate Chips

If you enjoyed this post, please share it with a friend and become a follower. When subscribing, be sure to confirm the subscription on the follow-up letter sent to your email.

Follow Judy’s Chickens on Instagram and Pinterest as @JudysChickens.

Always check the blog for the latest version of a recipe.

© 2014-2020 Judy Wright. All rights reserved. Photos, videos, and text may only be reproduced with the written consent of Judy Wright.

The Biscuit King

A few weeks ago our Mennonite friends in Kentucky invited us to watch them make sweet sorghum syrup. Sorghum is similar to molasses but has a much earthier taste with a touch of sourness. It can be used cup for cup in any recipe calling for molasses, honey, or corn syrup. Having said all that, in the South, if you give a friend some sorghum, they’re going to want a biscuit, a light, crunchy biscuit.

DSC_0369

I anointed my husband, the Southerner, the “biscuit maker”; he had watched his mother make biscuits since he was a little fella. Sadly, they were not as easy to make as he had remembered. The first batch was fraught with problems: they were dry and hard like hockey pucks. From the rolling hills and gorgeous lakes of KY, I went on Facebook and begged our friends to tell us what went wrong with the biscuits. Their suggestions poured in. Futzing around in the kitchen, with the goal of making a good biscuit, became our vacation vocation.

Ingredients:

DSC_0285

2 cups self-rising flour
¼ teaspoon salt
1⁄3 cup all-vegetable shortening, lard, or butter, chilled
1 cup buttermilk

Instructions:
1) Preheat oven to 500º
2) Lightly flour a large baking sheet. You can use the self-rising flour for this.
3) Mix together flour, salt, and shortening with a pastry cutter, whisk, or two knives.

DSC_0303

4) Add buttermilk and mix with a fork until the dough leaves the sides of the bowl. Do not overwork the dough. The airiness in a biscuit is created by the holes left when shortening flecks melt and create pockets of steam. If you overmix the dough, you’ll lose those air pockets. The dough will be sticky.

DSC_0308

5) Turn dough onto a lightly floured surface or a sheet of parchment paper.

DSC_0316

6) Using floured hands, gently shape the dough into a disc. The way this delicately soft mound of dough feels in your hands is heavenly.

DSC_0318

7) Flour the rolling pin and gently roll out the dough until it is ¾ inch thick. Alternatively, you could press the dough out with your fingertips.

DSC_0324

8) Dust the edges of either a 2-inch or 3-inch biscuit cutter with flour. Cut the biscuits and place on a floured baking sheet. A 2-inch cutter will yield 16 biscuits. A 3-inch cutter will yield 12.

DSC_0331

9) If you want the biscuits to have soft sides, arrange them so their sides are touching. If you want crunchy sides, arrange them one inch apart from one another. At this point, you could put the pan of uncooked biscuits in the freezer and once frozen, put the biscuits in a bag to store.

DSC_0342

10) Bake at 500º for 5 minutes and then turn oven off. Leave biscuits in the oven to bake for another 3-5 minutes. Biscuits are done when they have a  light golden brown color.

DSC_0361

A Southern Treat:

Mix together a pat of butter and a heaping tablespoon of sorghum syrup. Spread mixture over warm biscuits.

DSC_0280 DSC_0271

The Biscuit King:

DSC_0374

P.S. Special thanks to those who offered baking tips: Lou Ann, Robin, Anne, Libba, Stephanie, Terry, Susan, Holly M, Holly W, Mary Sue, Barbara, and Mrs. Harriman.

Toppings that go well on a biscuit:
Raising Sorghum Cane to Make Sorghum Syrup
Oven-Roasted Strawberry and Rosemary Jam
Crab Apple Jelly
Homemade Grape Jelly
Roasted Fig Preserves with Lemon and Thyme

If you enjoyed this post, please share it with a friend and become a follower. When signing up, be sure to confirm the subscription on the follow-up letter that will be sent to your email.

Follow Judy’s Chickens on Instagram and Pinterest @JudysChickens.

Always check my blog for the latest version of a recipe.

© 2014-2020 Judy Wright. All rights reserved. Photos, videos, and text may only be reproduced with the written consent of Judy Wright.