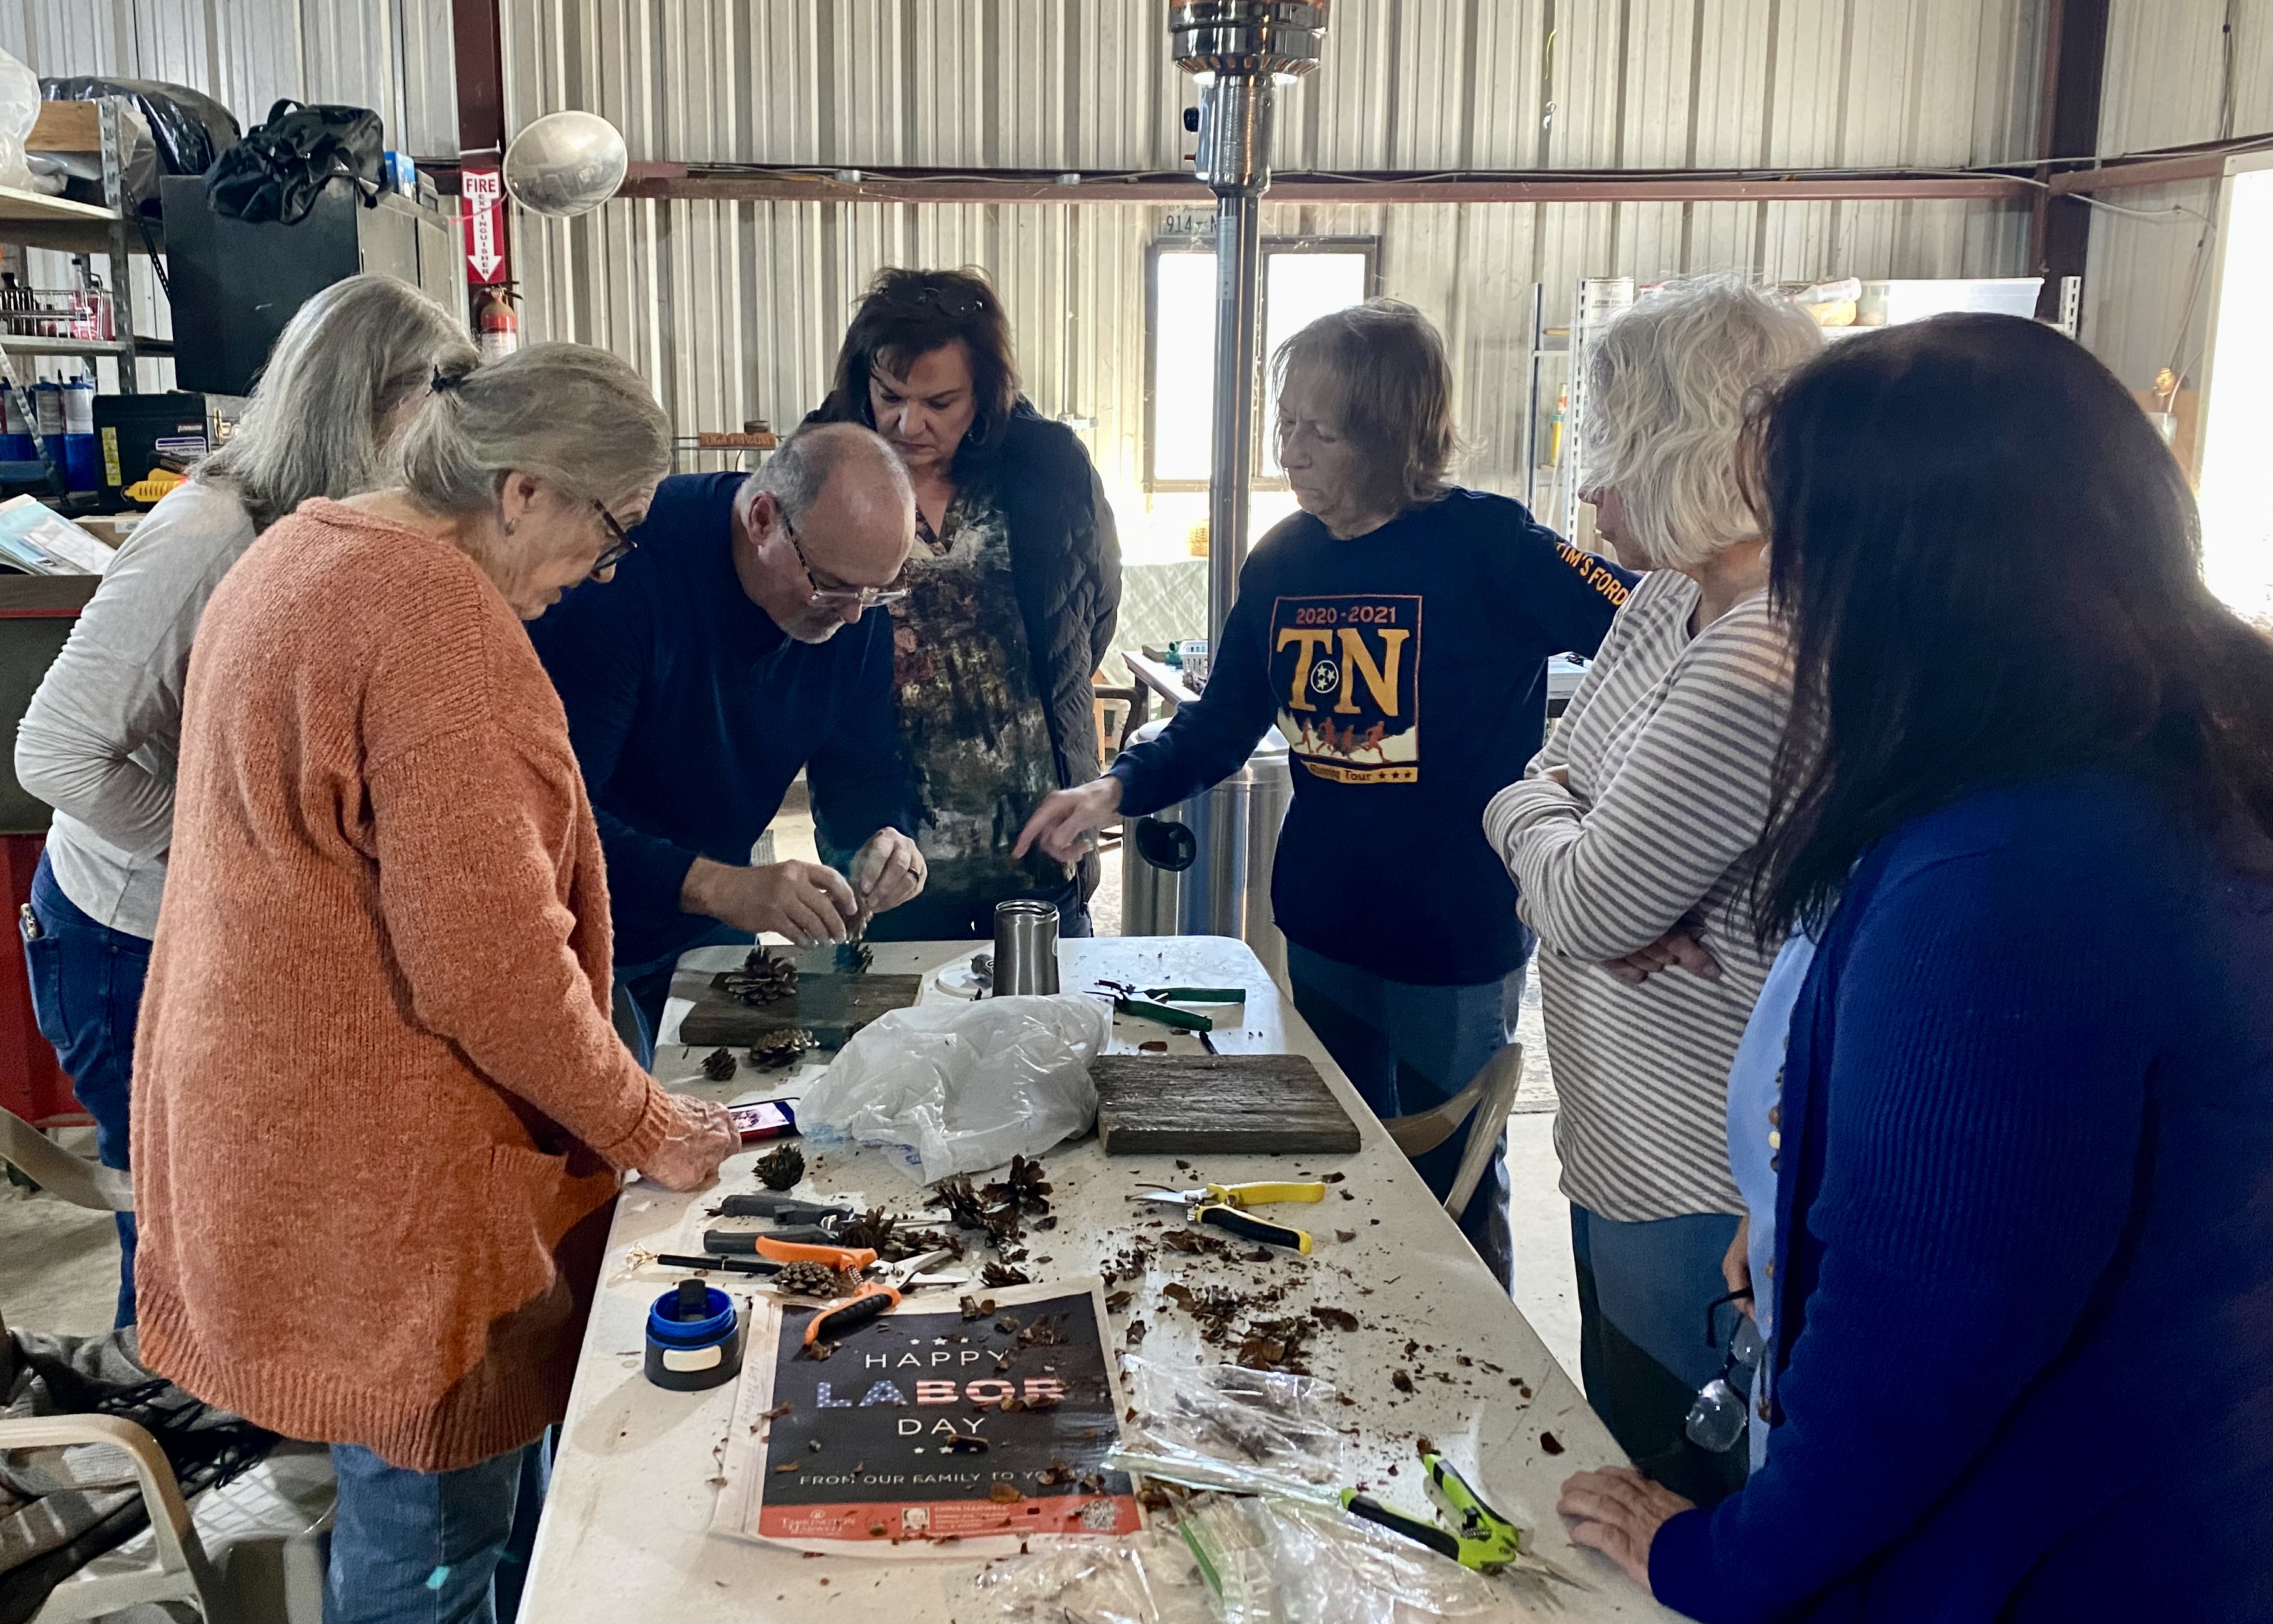
I love a project that involves a group of folks sitting around the table chitchatting the time away while working with their hands to create something new and lovely. It feels good and hugely satisfying to make something that didn’t exist before.

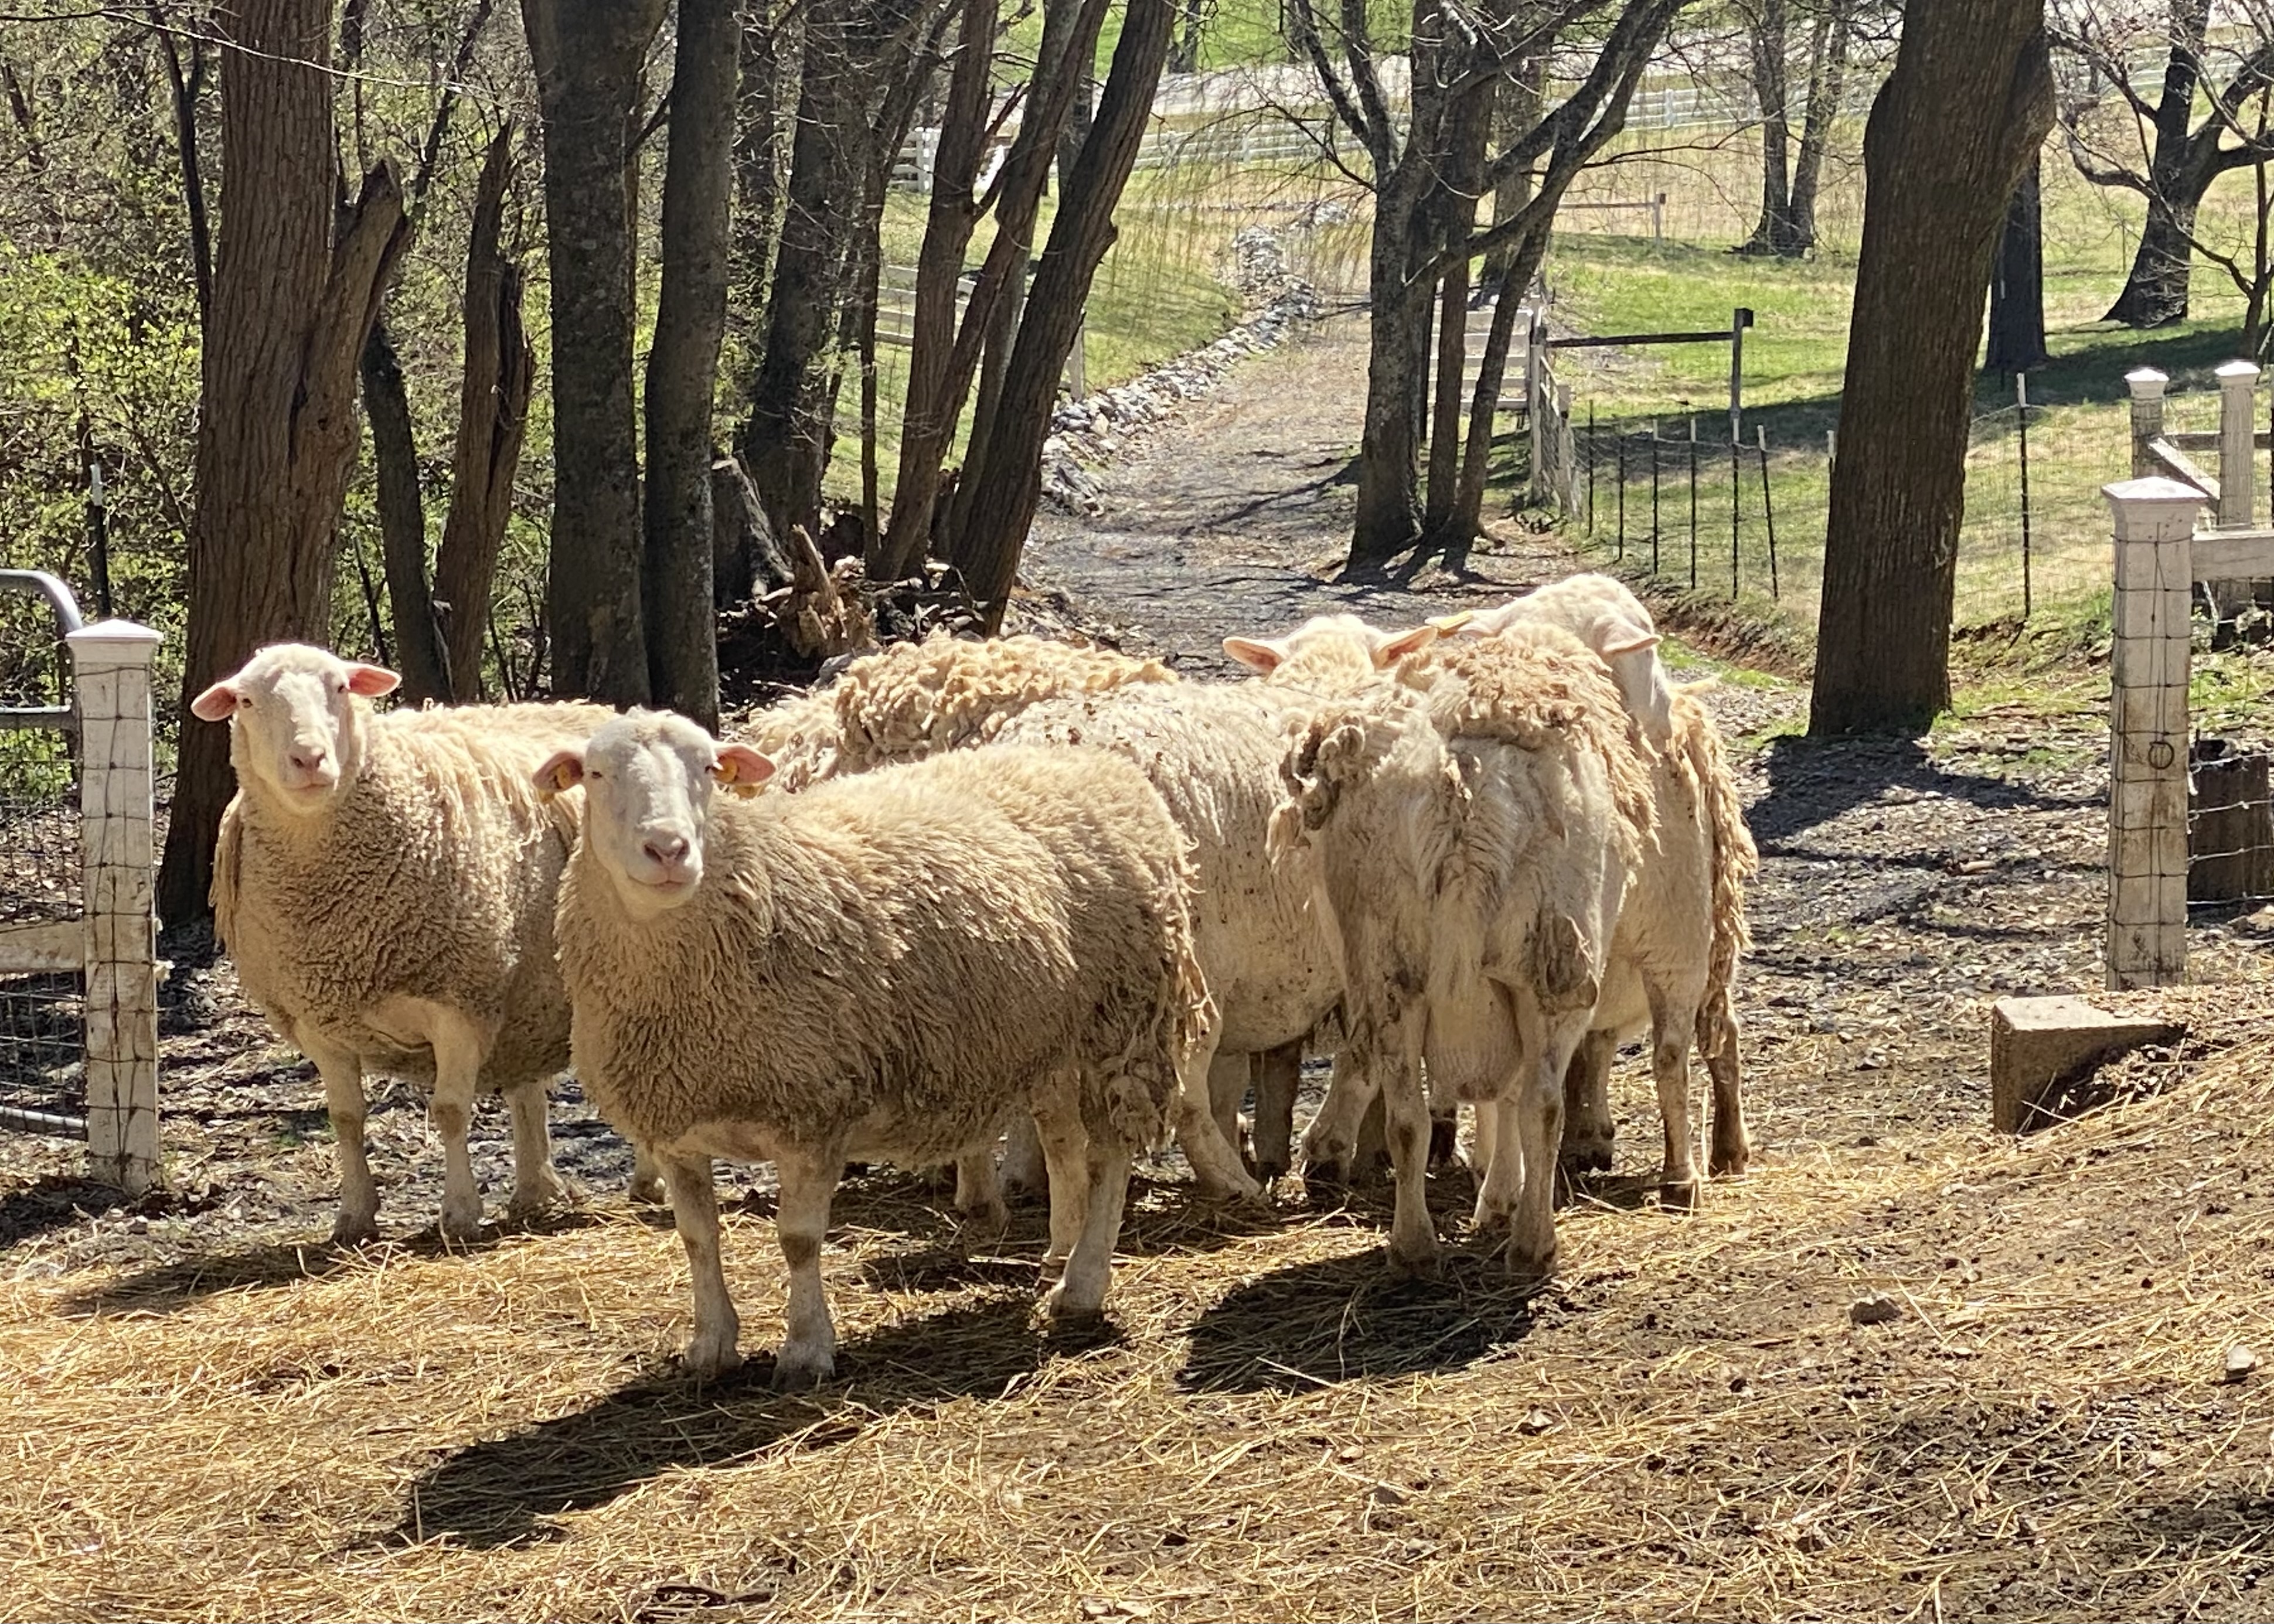
Such was the creative environment when Herb Society of Nashville member, Larry Banner, gave fellow “Herbies” a workshop on making flowers out of dried pine cones. We worked in the barn of an HSN member. The barn doors were wide open and sheep were grazing in the field. It was a beautiful day.
When I arrived at the farm, I would not have imagined that this pile of dried pine cones and seed pods sitting on the table

would reveal delicate flowers from within through focused whittling.

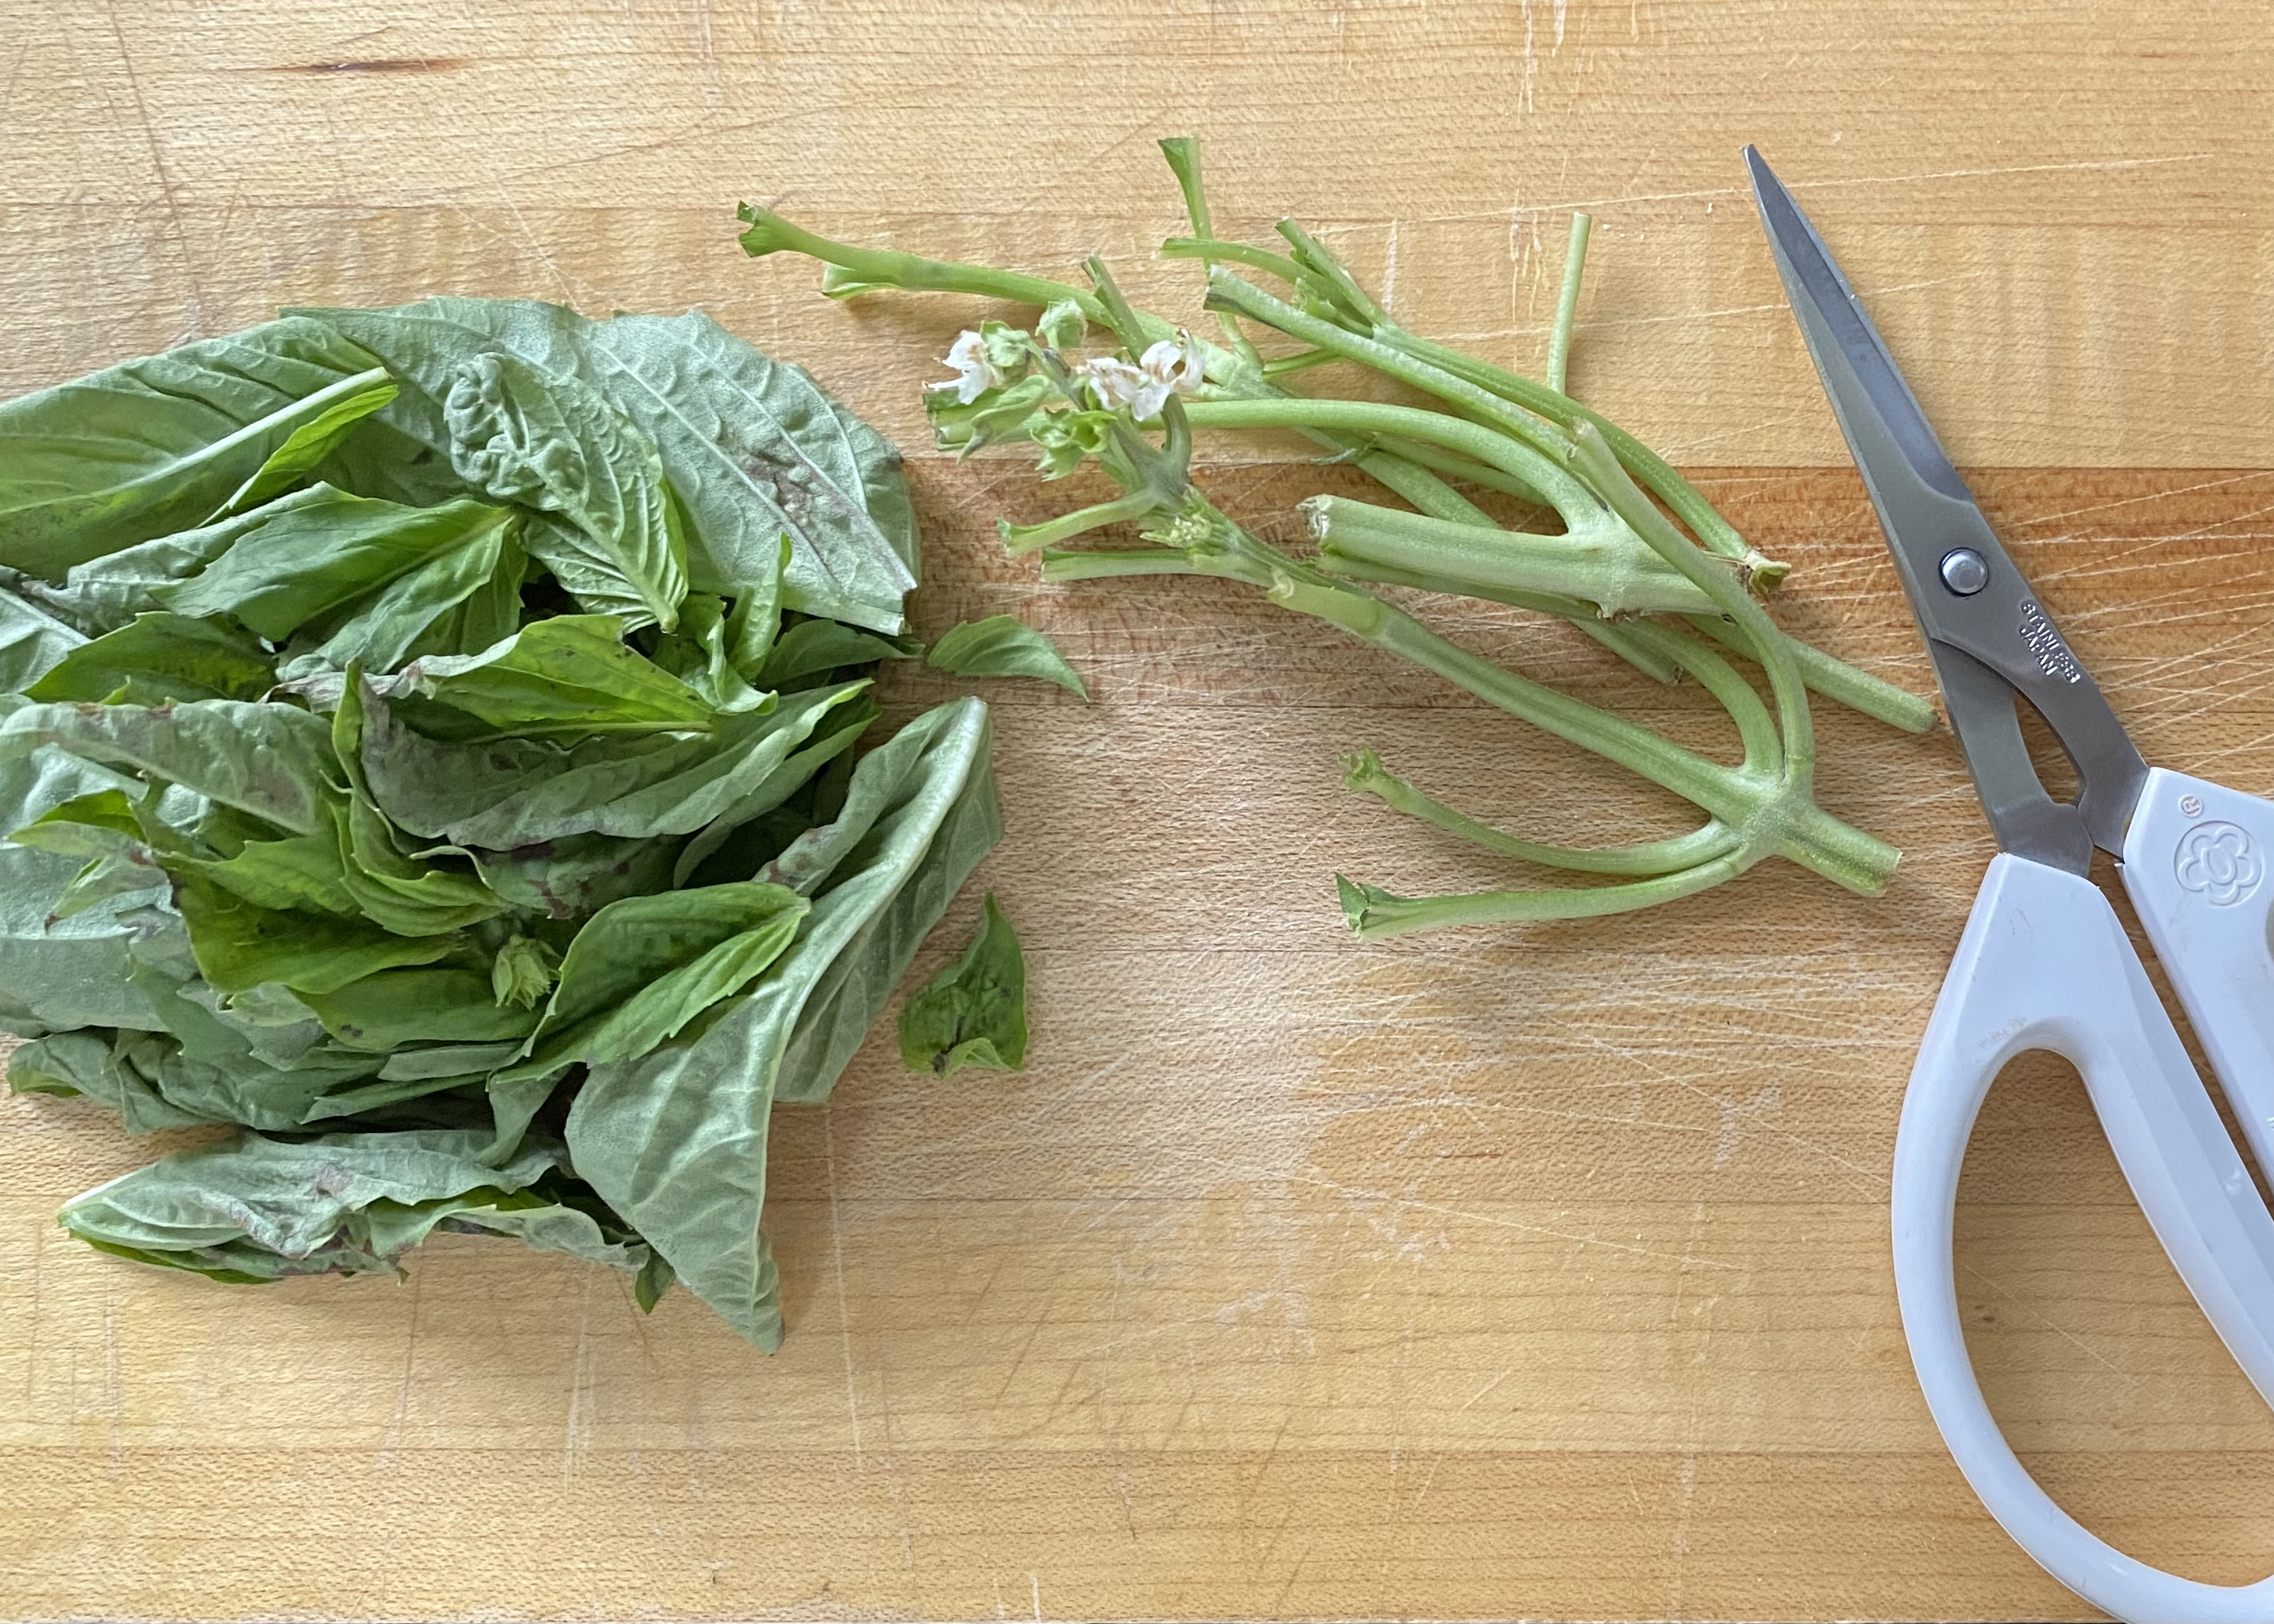
Larry graciously showed us how to sculpt flowers using two tools, pointy cultivation scissors and ratcheting pruning shears.
We learned to make zinnias out of the large round pine cones on the table by cutting horizontally across the cone’s midsection and then snipping off a few scales (aka pine cone “leaves”) from the core to create a central disc similar to flowers found in the Asteraceae Family.
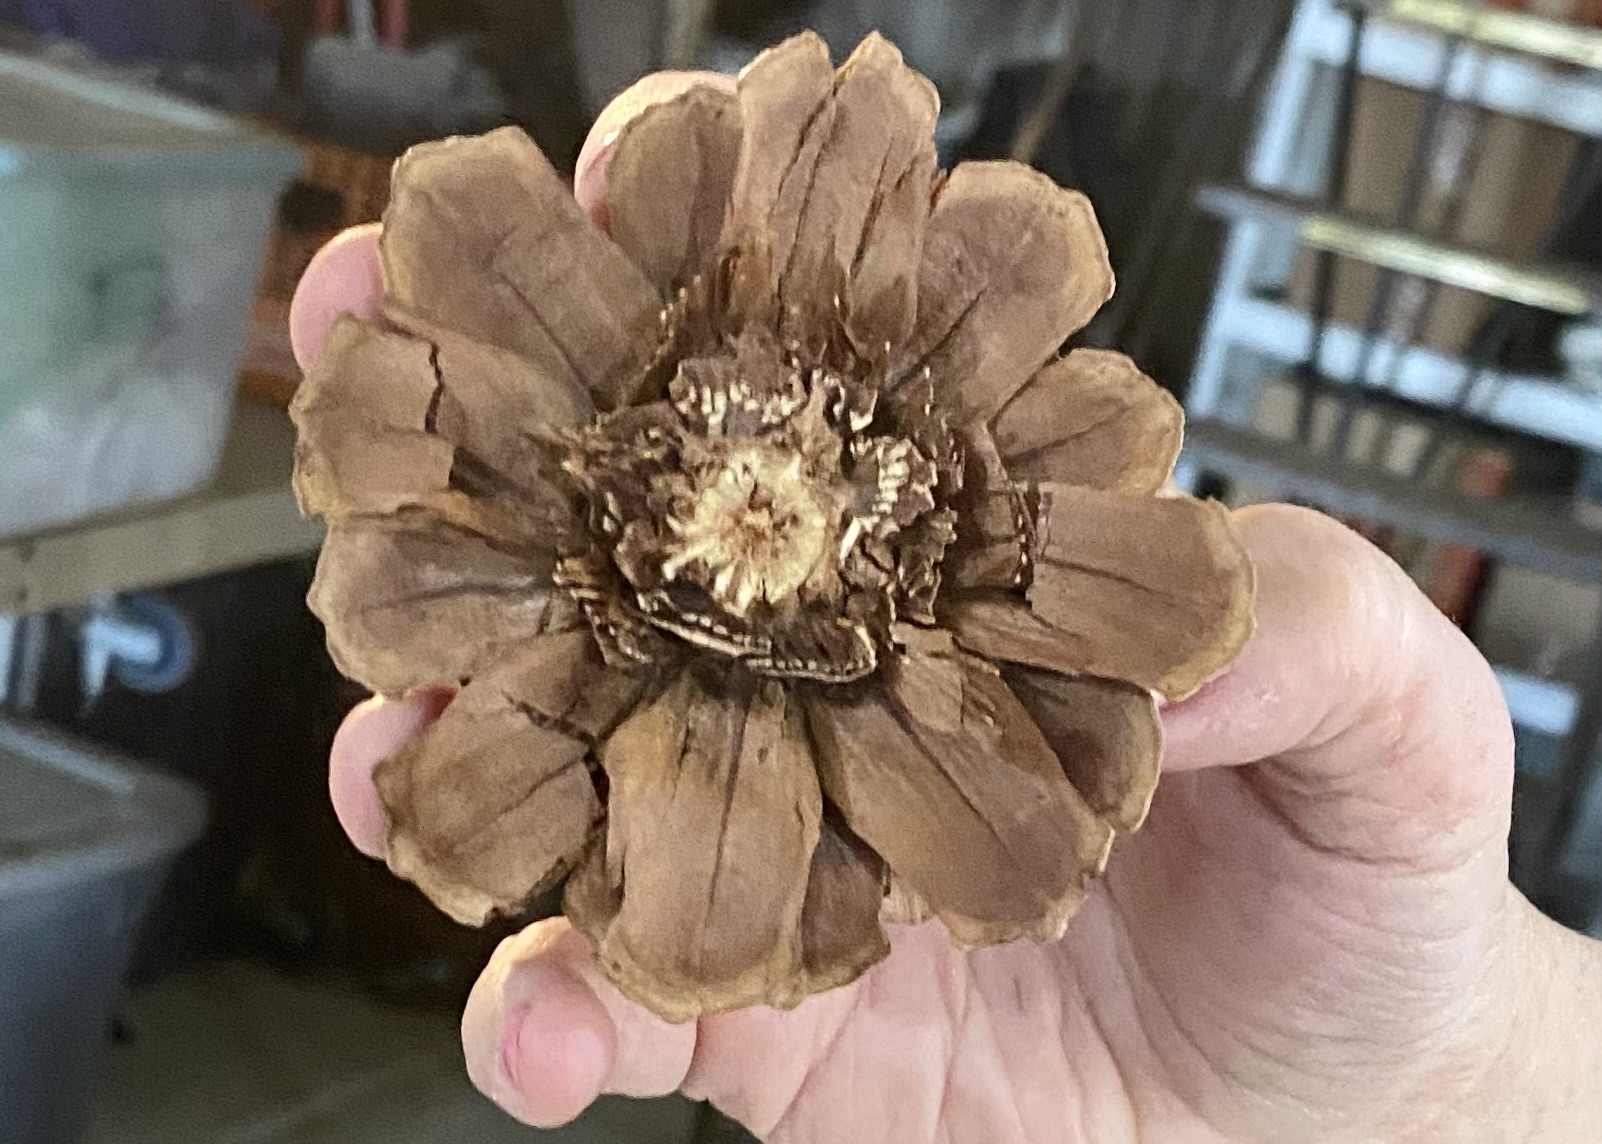
By the way, if you turn the zinnia over, you have a coneflower!
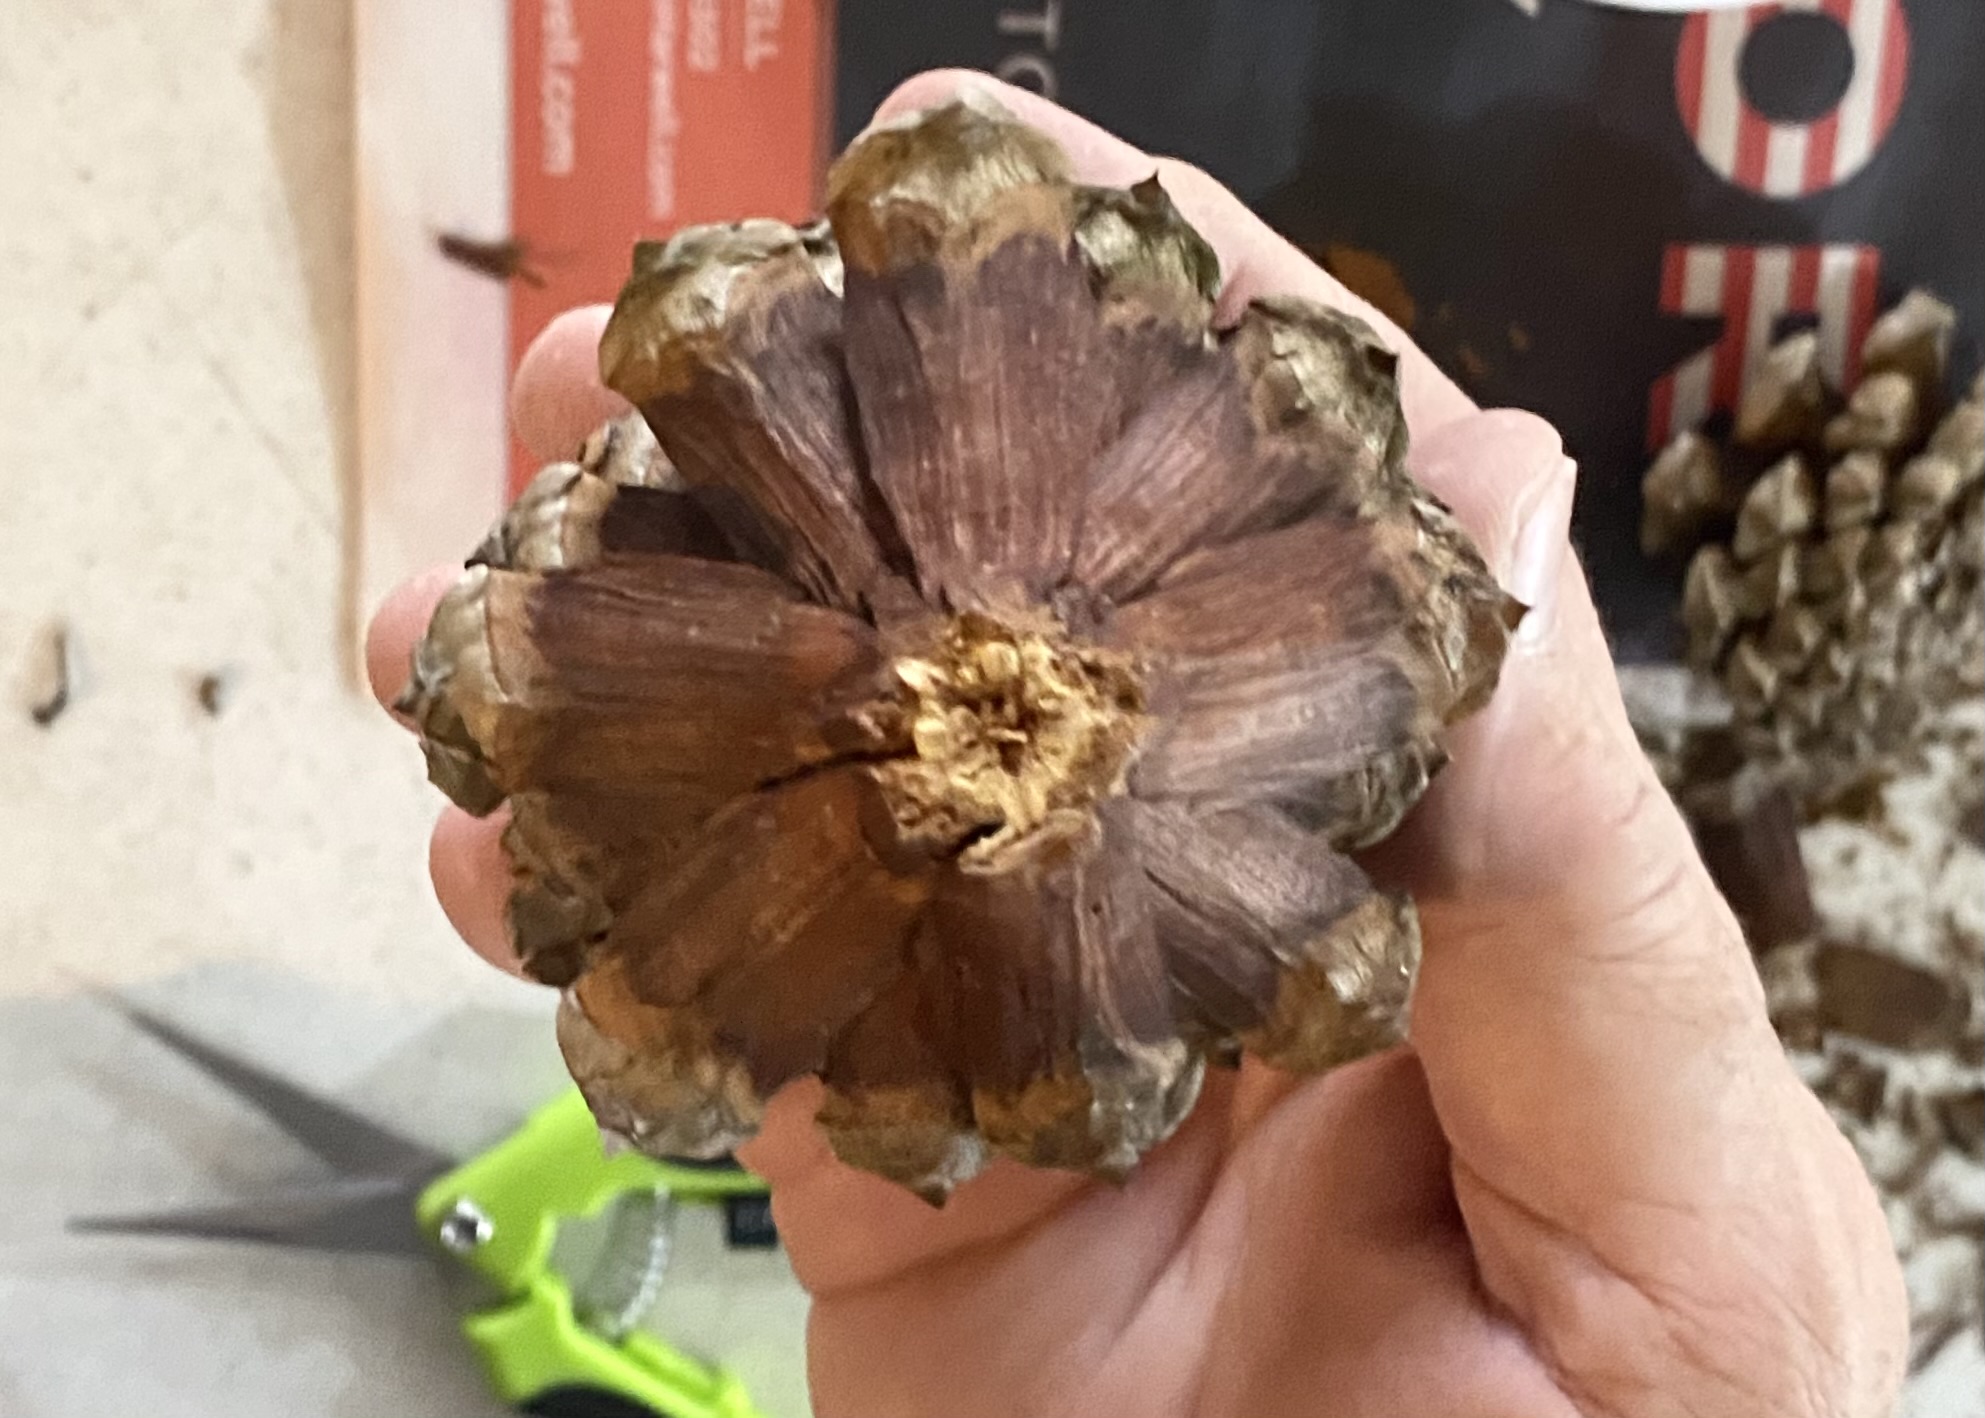
Larry glued a tiny seed head to the coneflower’s center for the finishing touch.
Next, we used short squatty pine cones to make roses. Larry had us cut off the tip of the cone and then snip each scale twice to create pointy rose petals.
He used the bottom portion of that cone to make button zinnias.

Larry painted his rose pink. He said there are hundreds of pine cone flower how-to videos online.

I found this pretty pine cone arrangement for sale here on Etsy.

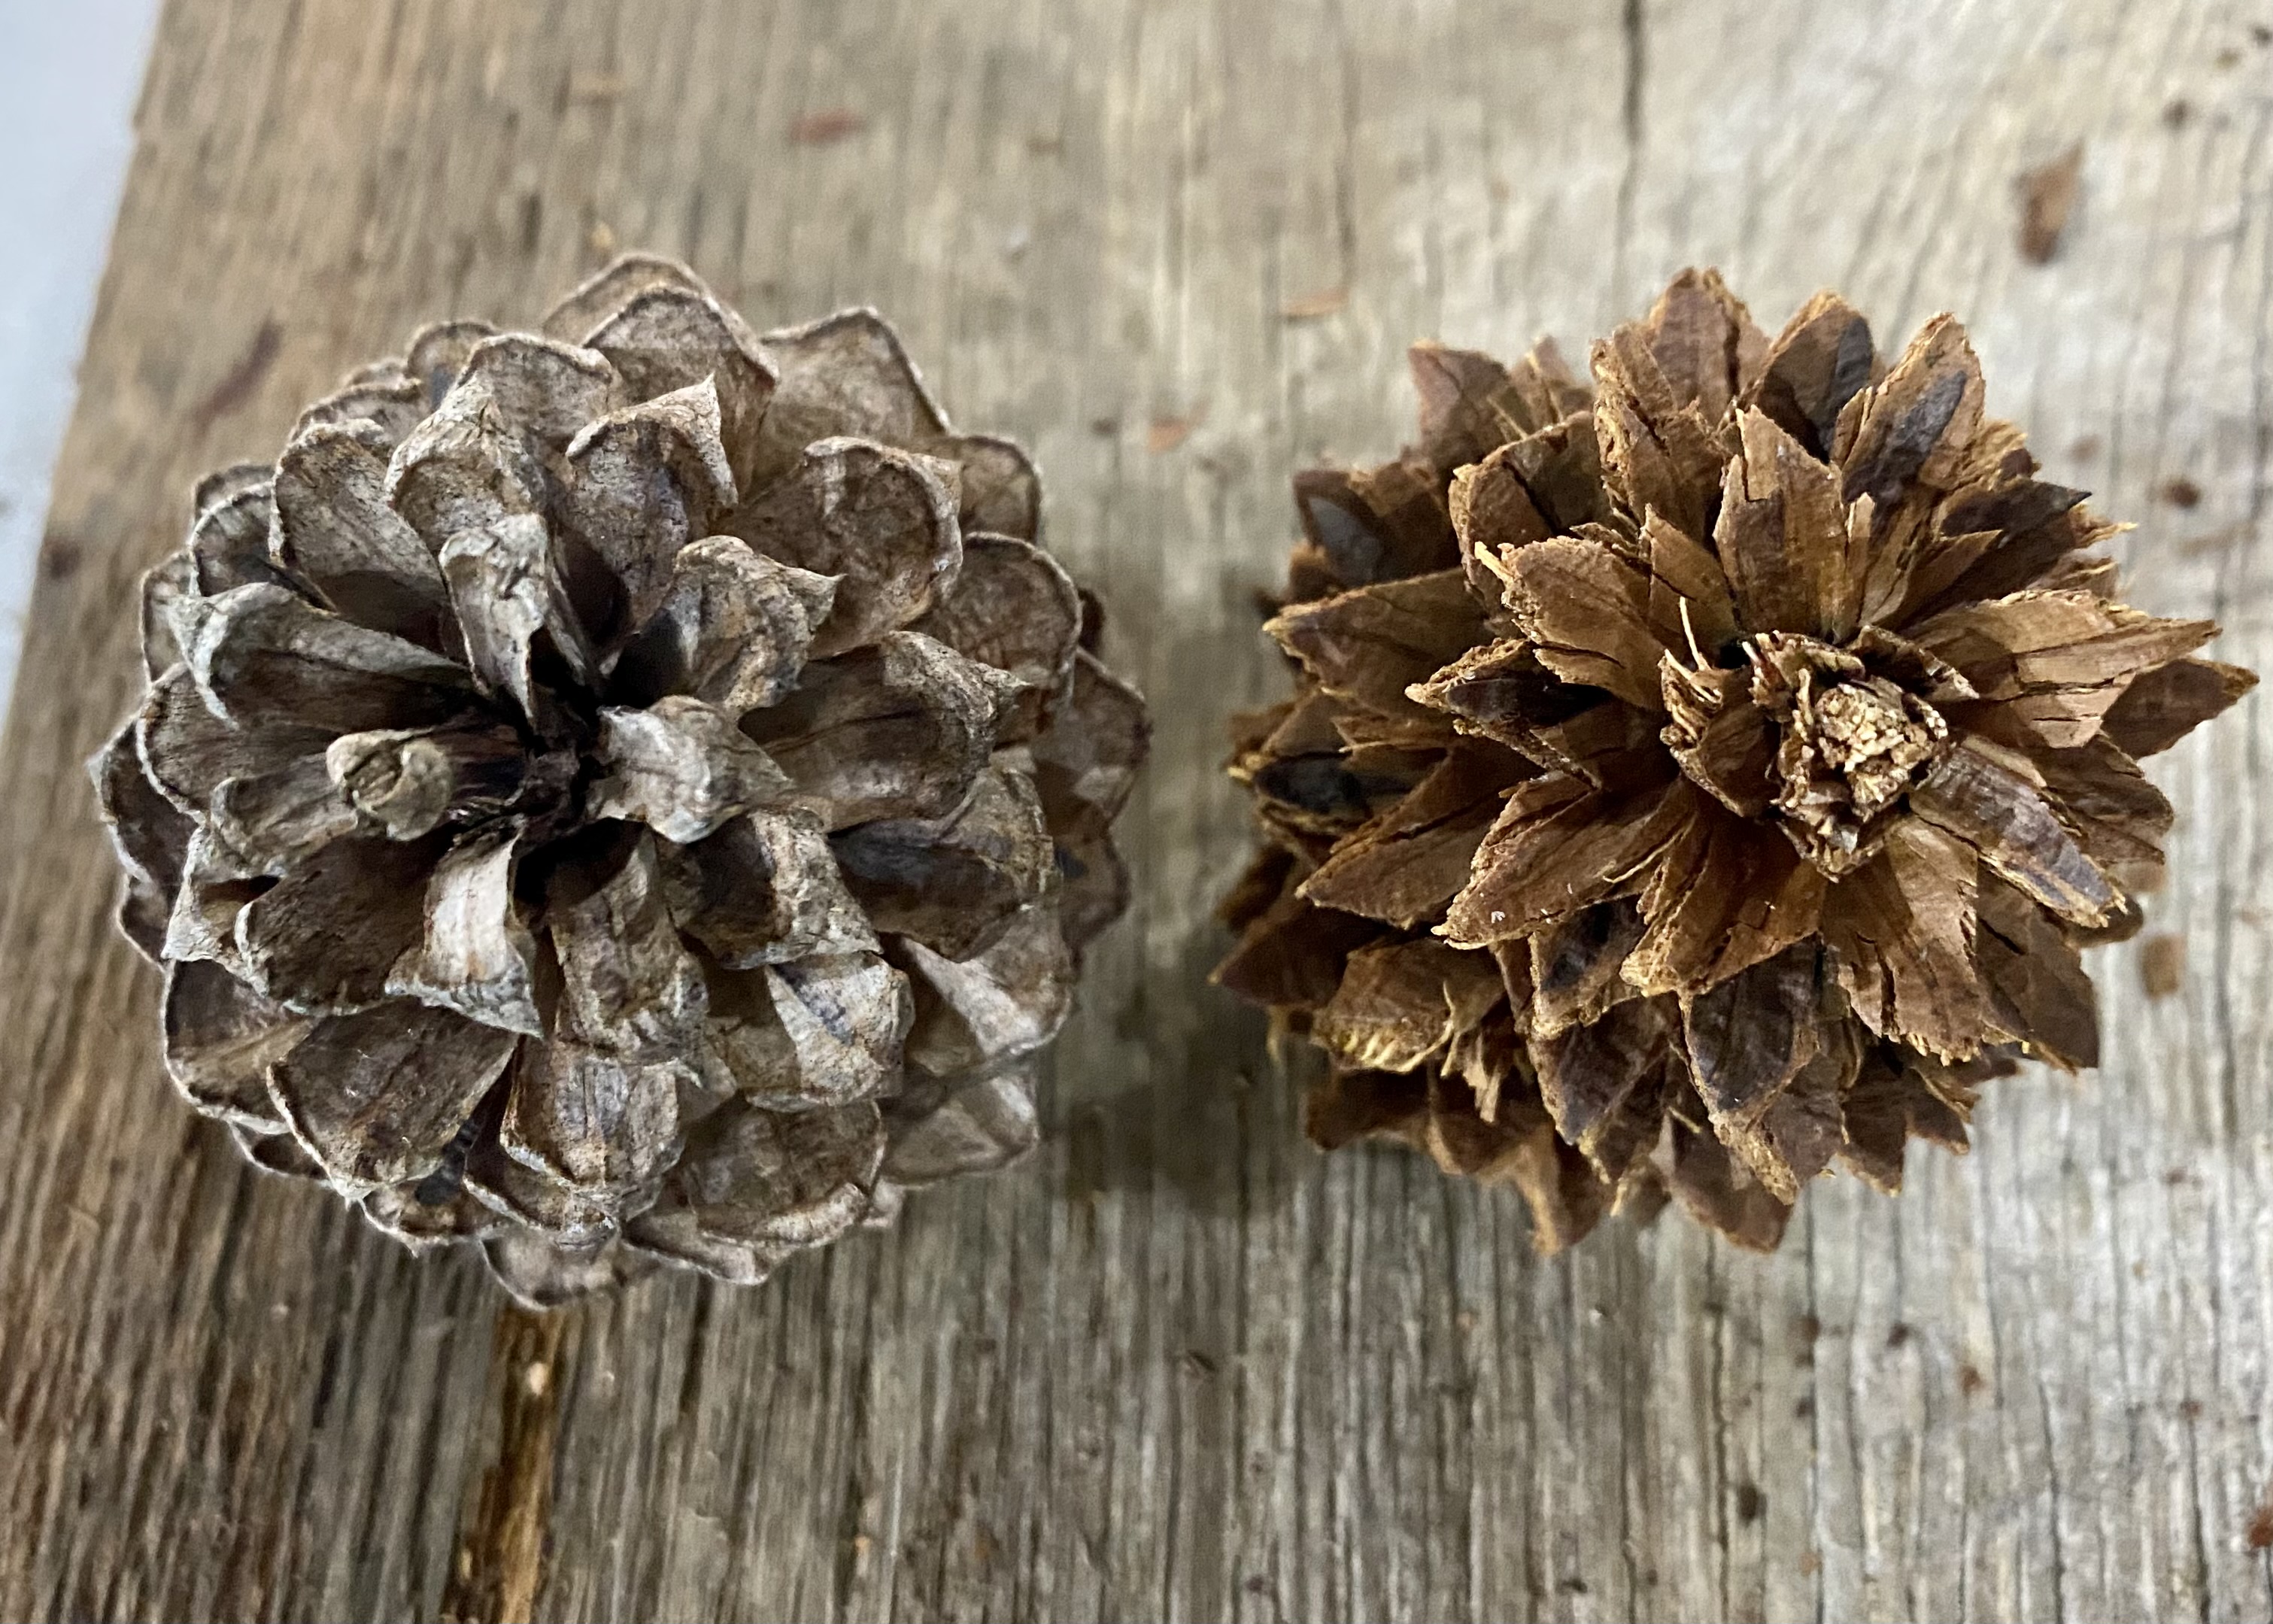
We used the long thin cones to make the two-toned flowers. I love the variety of patterns, colors, and textures on the scales. Had I not taken this workshop, I doubt I would ever have paid attention to these subtleties of nature.

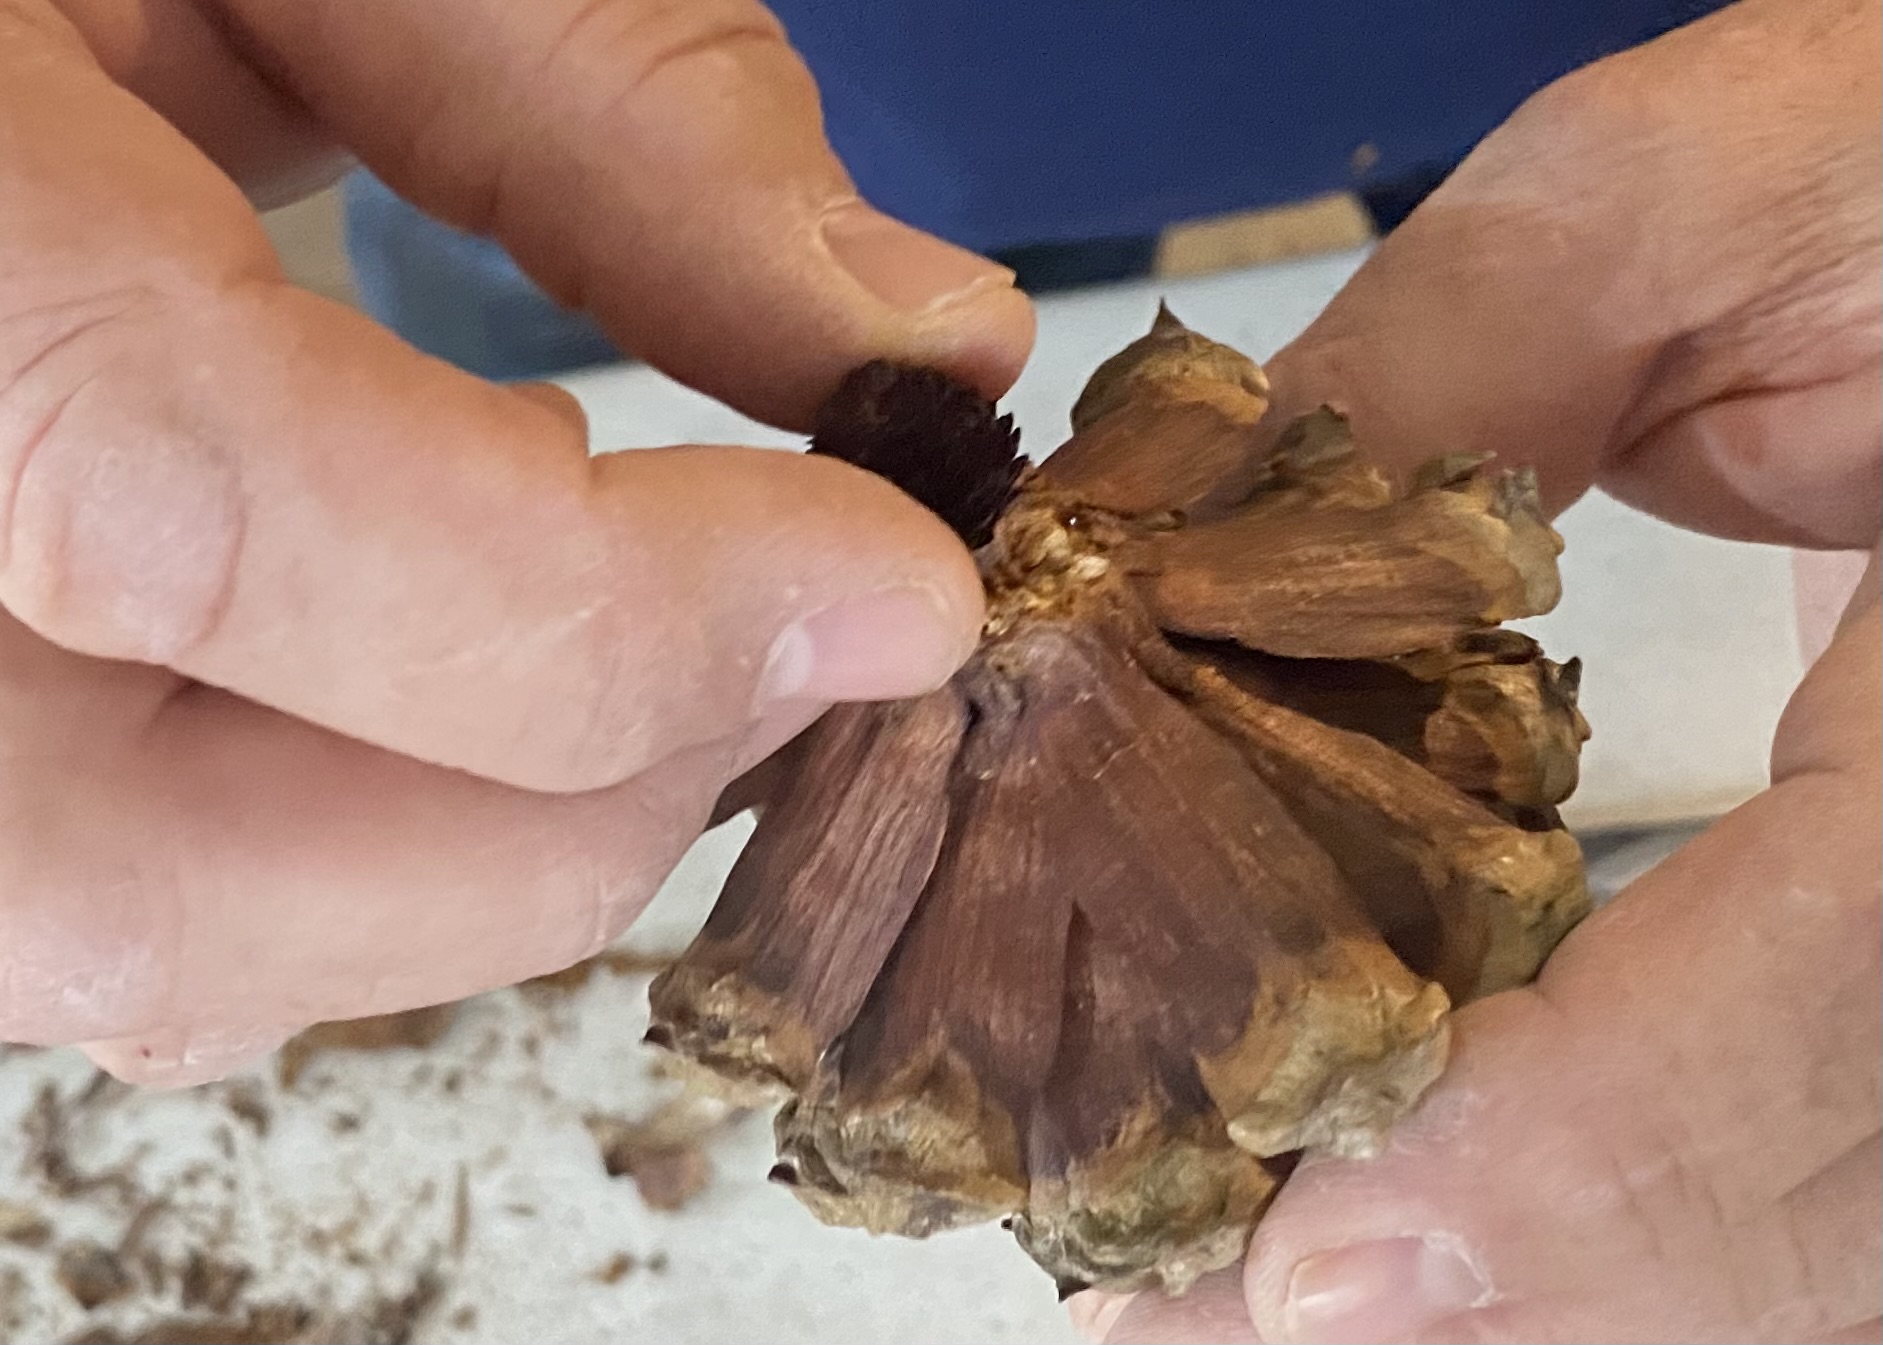
We cut a magnolia seed pod in half to make these flowers.

This is a video of how Larry cut the pod:
Larry began the workshop by showing us how to cut into pine cones. It takes work. Some pine cone artists, for ease, choose to use a grinder saw to cut off the bases.

Larry rotated the cone as he cut deeper and deeper into its core until the bottom finally fell off. It looks like you are butchering it, but the flowers come out fine.
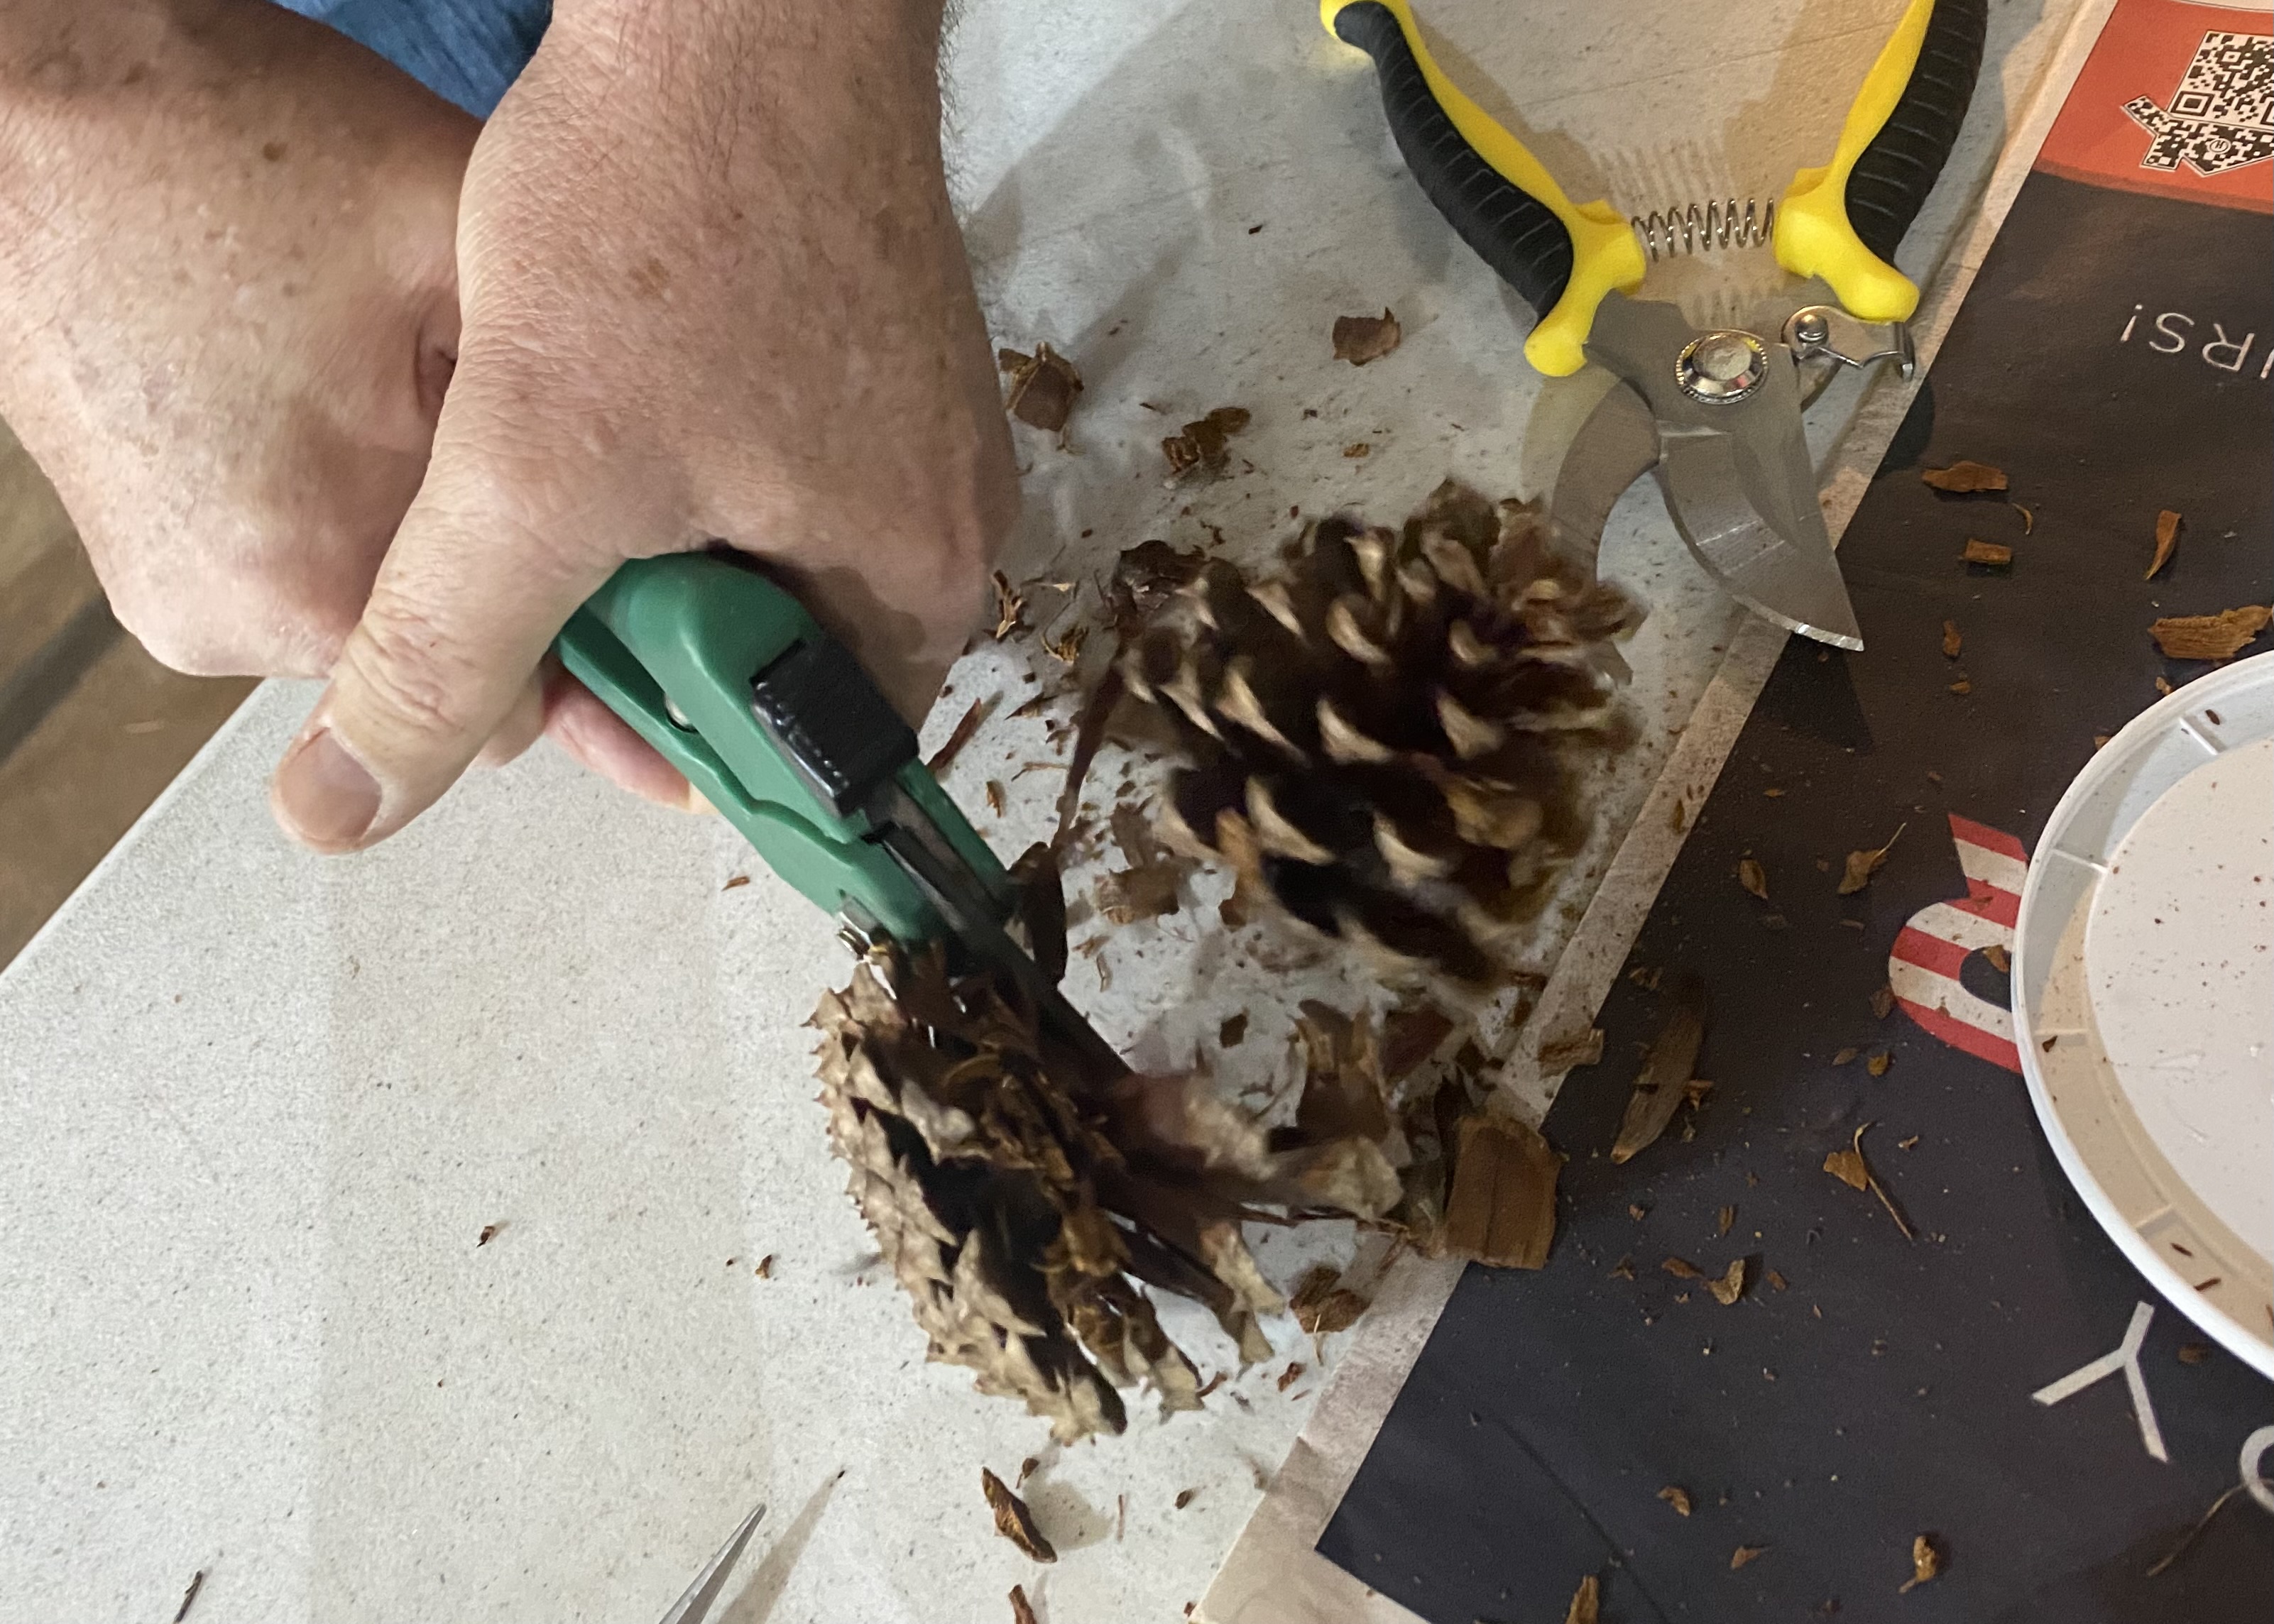
Here is a video of Larry cutting a cone:
Create a Flower Arrangement
Once we had created our flowers, we arranged them on a base. To help us remember our position of flowers before gluing them down, Larry had us photograph our work. He likes to use the E6000 brand of quick-drying glue because it has a very thin nozzle.

Once the arrangement is set, spray with polyurethane (satin or gloss) to protect the flowers from moisture and make the colors pop.
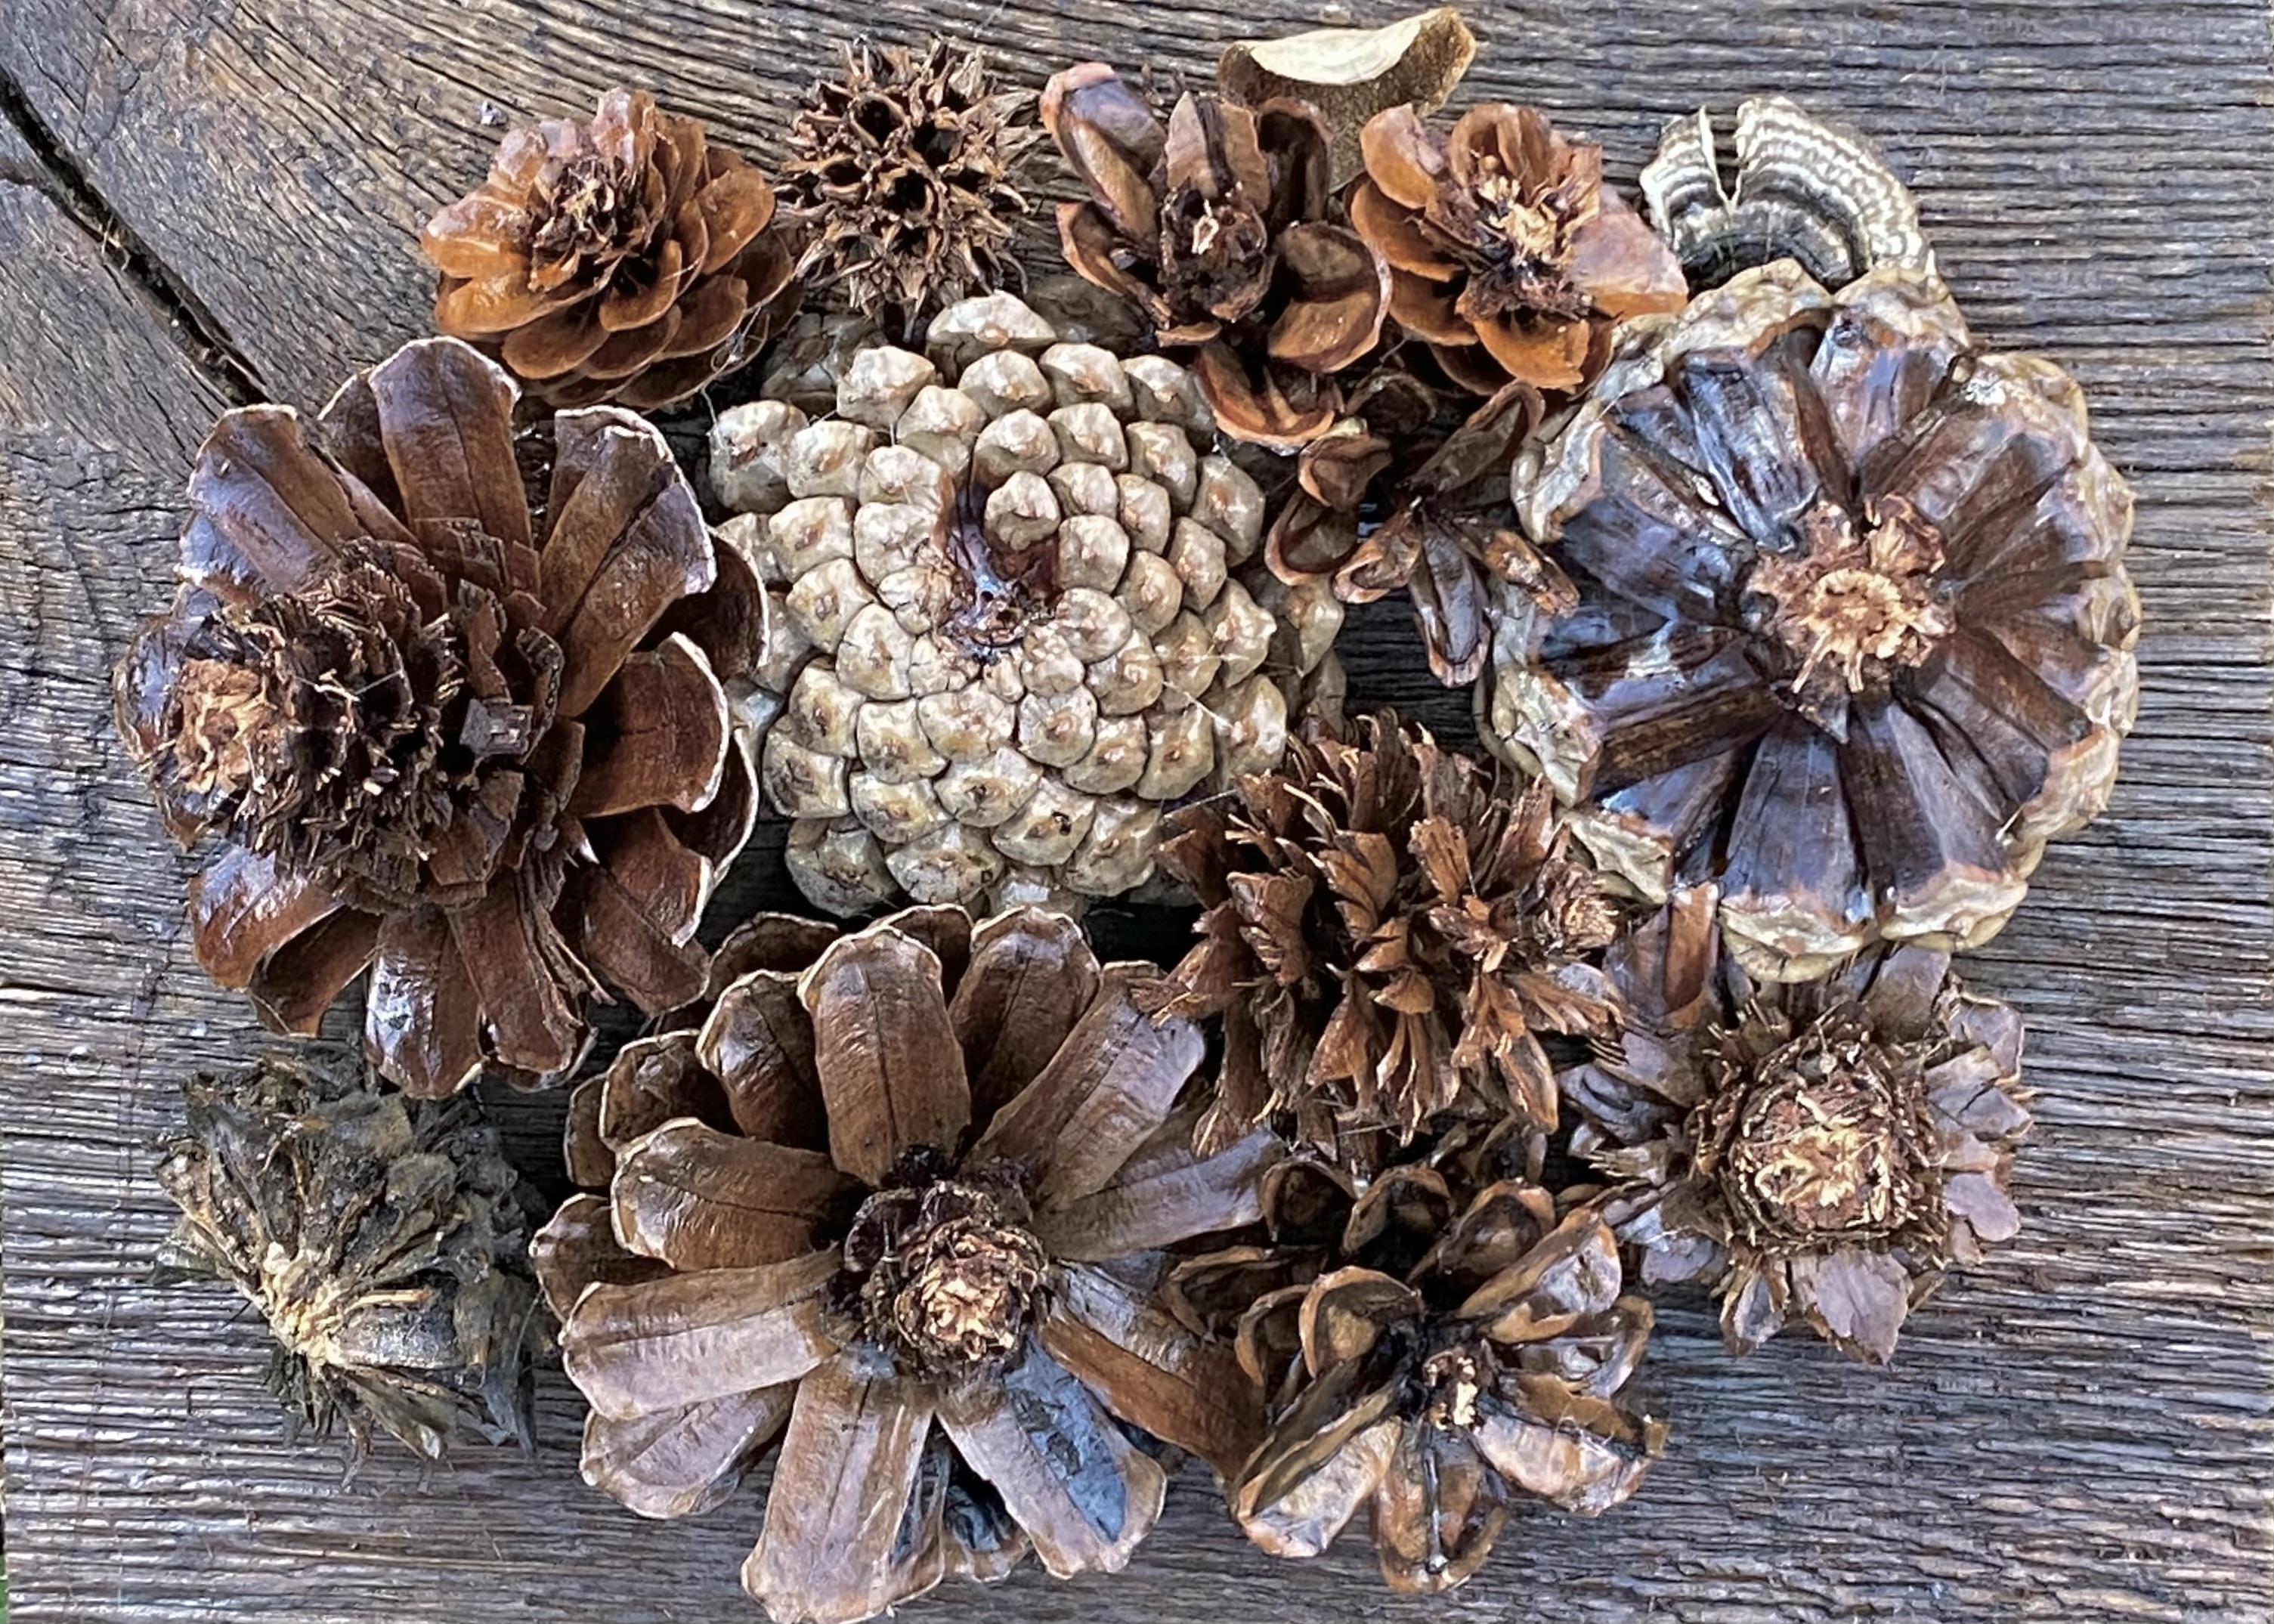
Here are some of the pine cone varieties we used:

The Herb Society of Nashville is hosting the 2022 Herb Society of Nashville Plant Sale at the Nashville Fairgrounds, Expo Building 3, on Saturday, April 30. Doors open at 9:00 A.M.
Anyone interested in growing, using, or studying herbs is encouraged to apply for membership in The Herb Society of Nashville. The Membership Committee accepts applications year-round. Here is a link to an application.
Other Crafty Posts on Judy’s Chickens:
How to Make Plant-Based Dyes
How to Make Gorgeous Birdhouse Gourds
How to Make Indigo Blue Dye
How to Make Cork Bulletin Boards
How to Build a 4 x 4 Raised Garden Bed
Follow Judy’s Chickens on Instagram and Pinterest @JudysChickens.
If you enjoyed this post, sign up to become a follower. If you do sign-up, press “confirm” on the follow-up letter sent to your email address. And, feel free to share!!
© 2014-2022 Judy Wright. All rights reserved. Photos, videos, and text may not be reproduced without the written consent of Judy Wright.