Tortillas with Vegetable and Egg Filling

The star of today’s post is the tortilla. The uncooked tortilla. When freshly cooked on the stovetop, tortillas are light, moist, tender, and infinitely tastier than the premade, dry and inflexible ones that come stacked in a bag at the grocery store. Doesn’t this look appetizing?!

DSC_0197

Had these been around when my children were young, they would have been in my weekly dinner rotation for those days when my afternoons were swamped with afterschool activities. And, for picky-eaters, let the children pick the fillings!

DSC_0550

There are no preservatives in these tortillas, only wheat flour or cornmeal, depending on which variety you purchase, water, canola oil, and salt. They cook in under a minute, and you can buy them in the refrigerated section of most grocery stores, or in bulk at Costco.

How To Cook a Tortilla

Preheat a non-stick, ungreased sauté pan on medium-high heat. When the pan is good and hot, add the tortilla.

dsc_0104

The tortilla should start to puff up and bubble within a few seconds, but only if your pan is preheated. If it puffs too high, pop the bubble with the edge of a spatula.

dsc_0108

After about 30 seconds, use tongs to flip it over. Either fill the tortilla immediately with toppings of choice or, if you plan to make a few tortillas, go ahead and cook five or six and keep them warm in a towel.

dsc_0206

The Fillings:

There are so many ways to fill a hot tortilla, or not. You could just brush them with olive oil or butter. They can also be eaten for breakfast, lunch, snack or dinner.

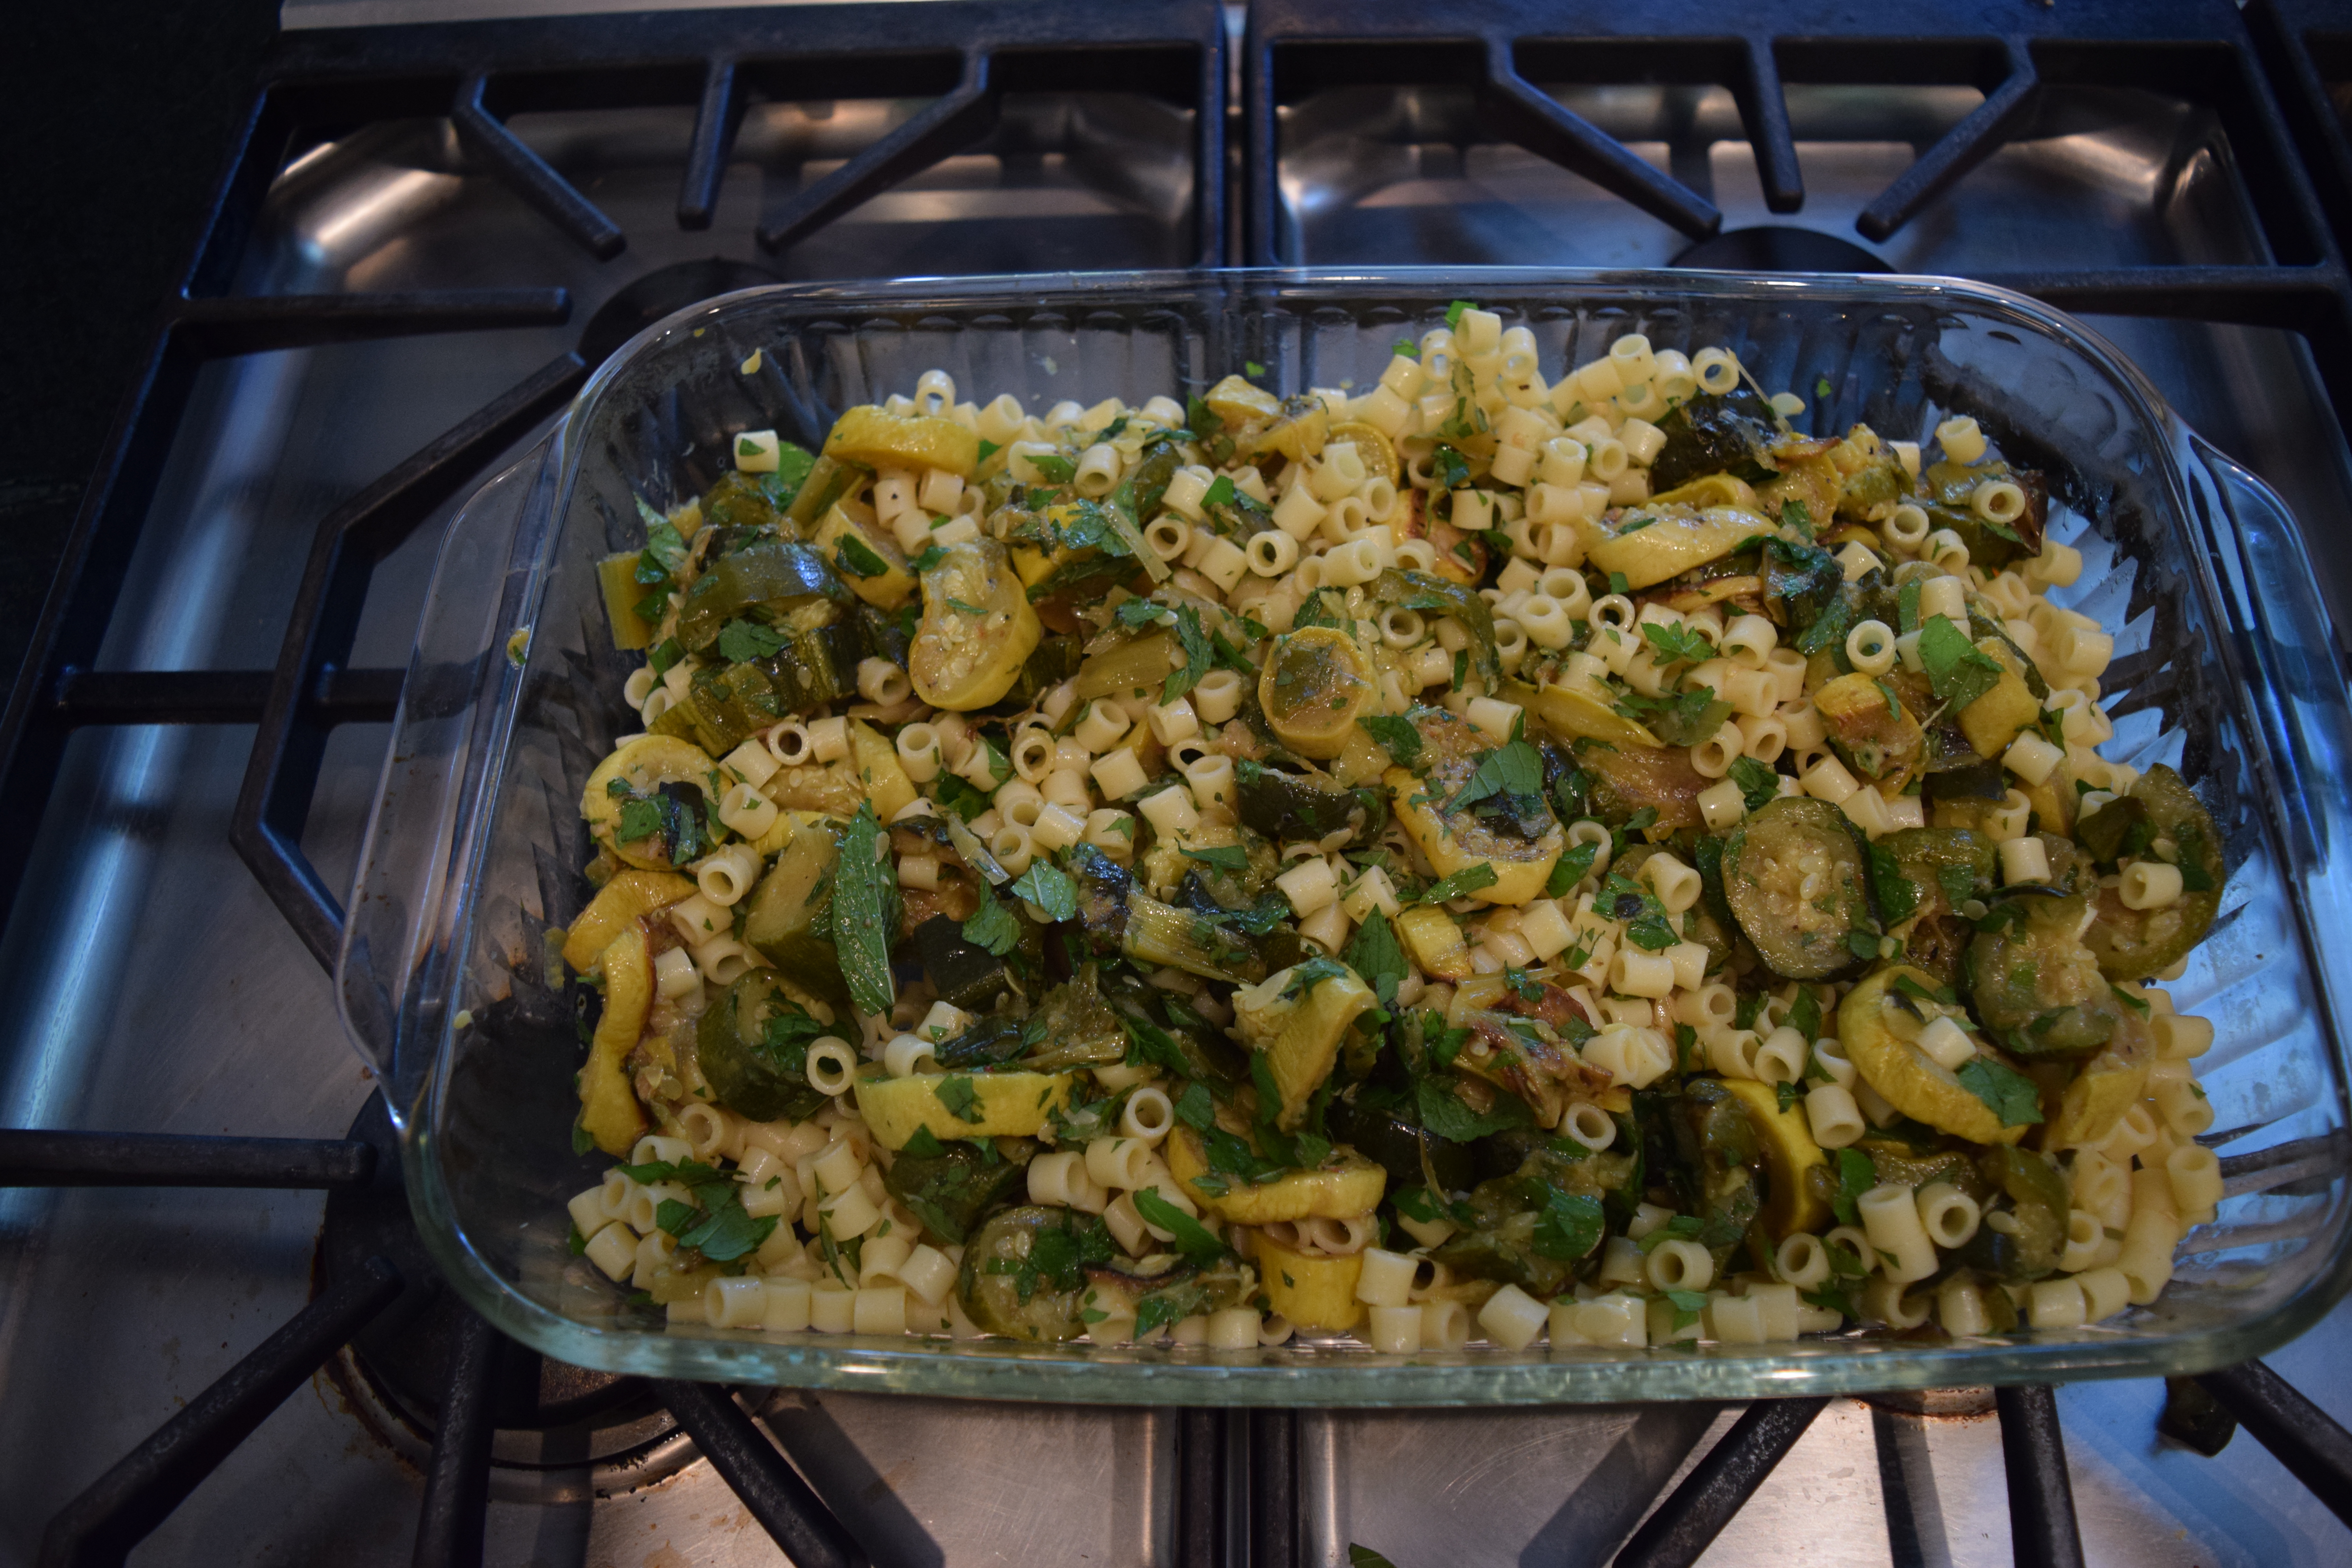
Zucchini and Onion Filling (my fave!)

My favorite way to make tortillas is with this zucchini and onion filling. This recipe makes a lot (4 cups) but can easily be halved. It stores well in the fridge to keep available to make tortillas or bruschetta with melted cheese on top.

Ingredients

¼ cup olive oil
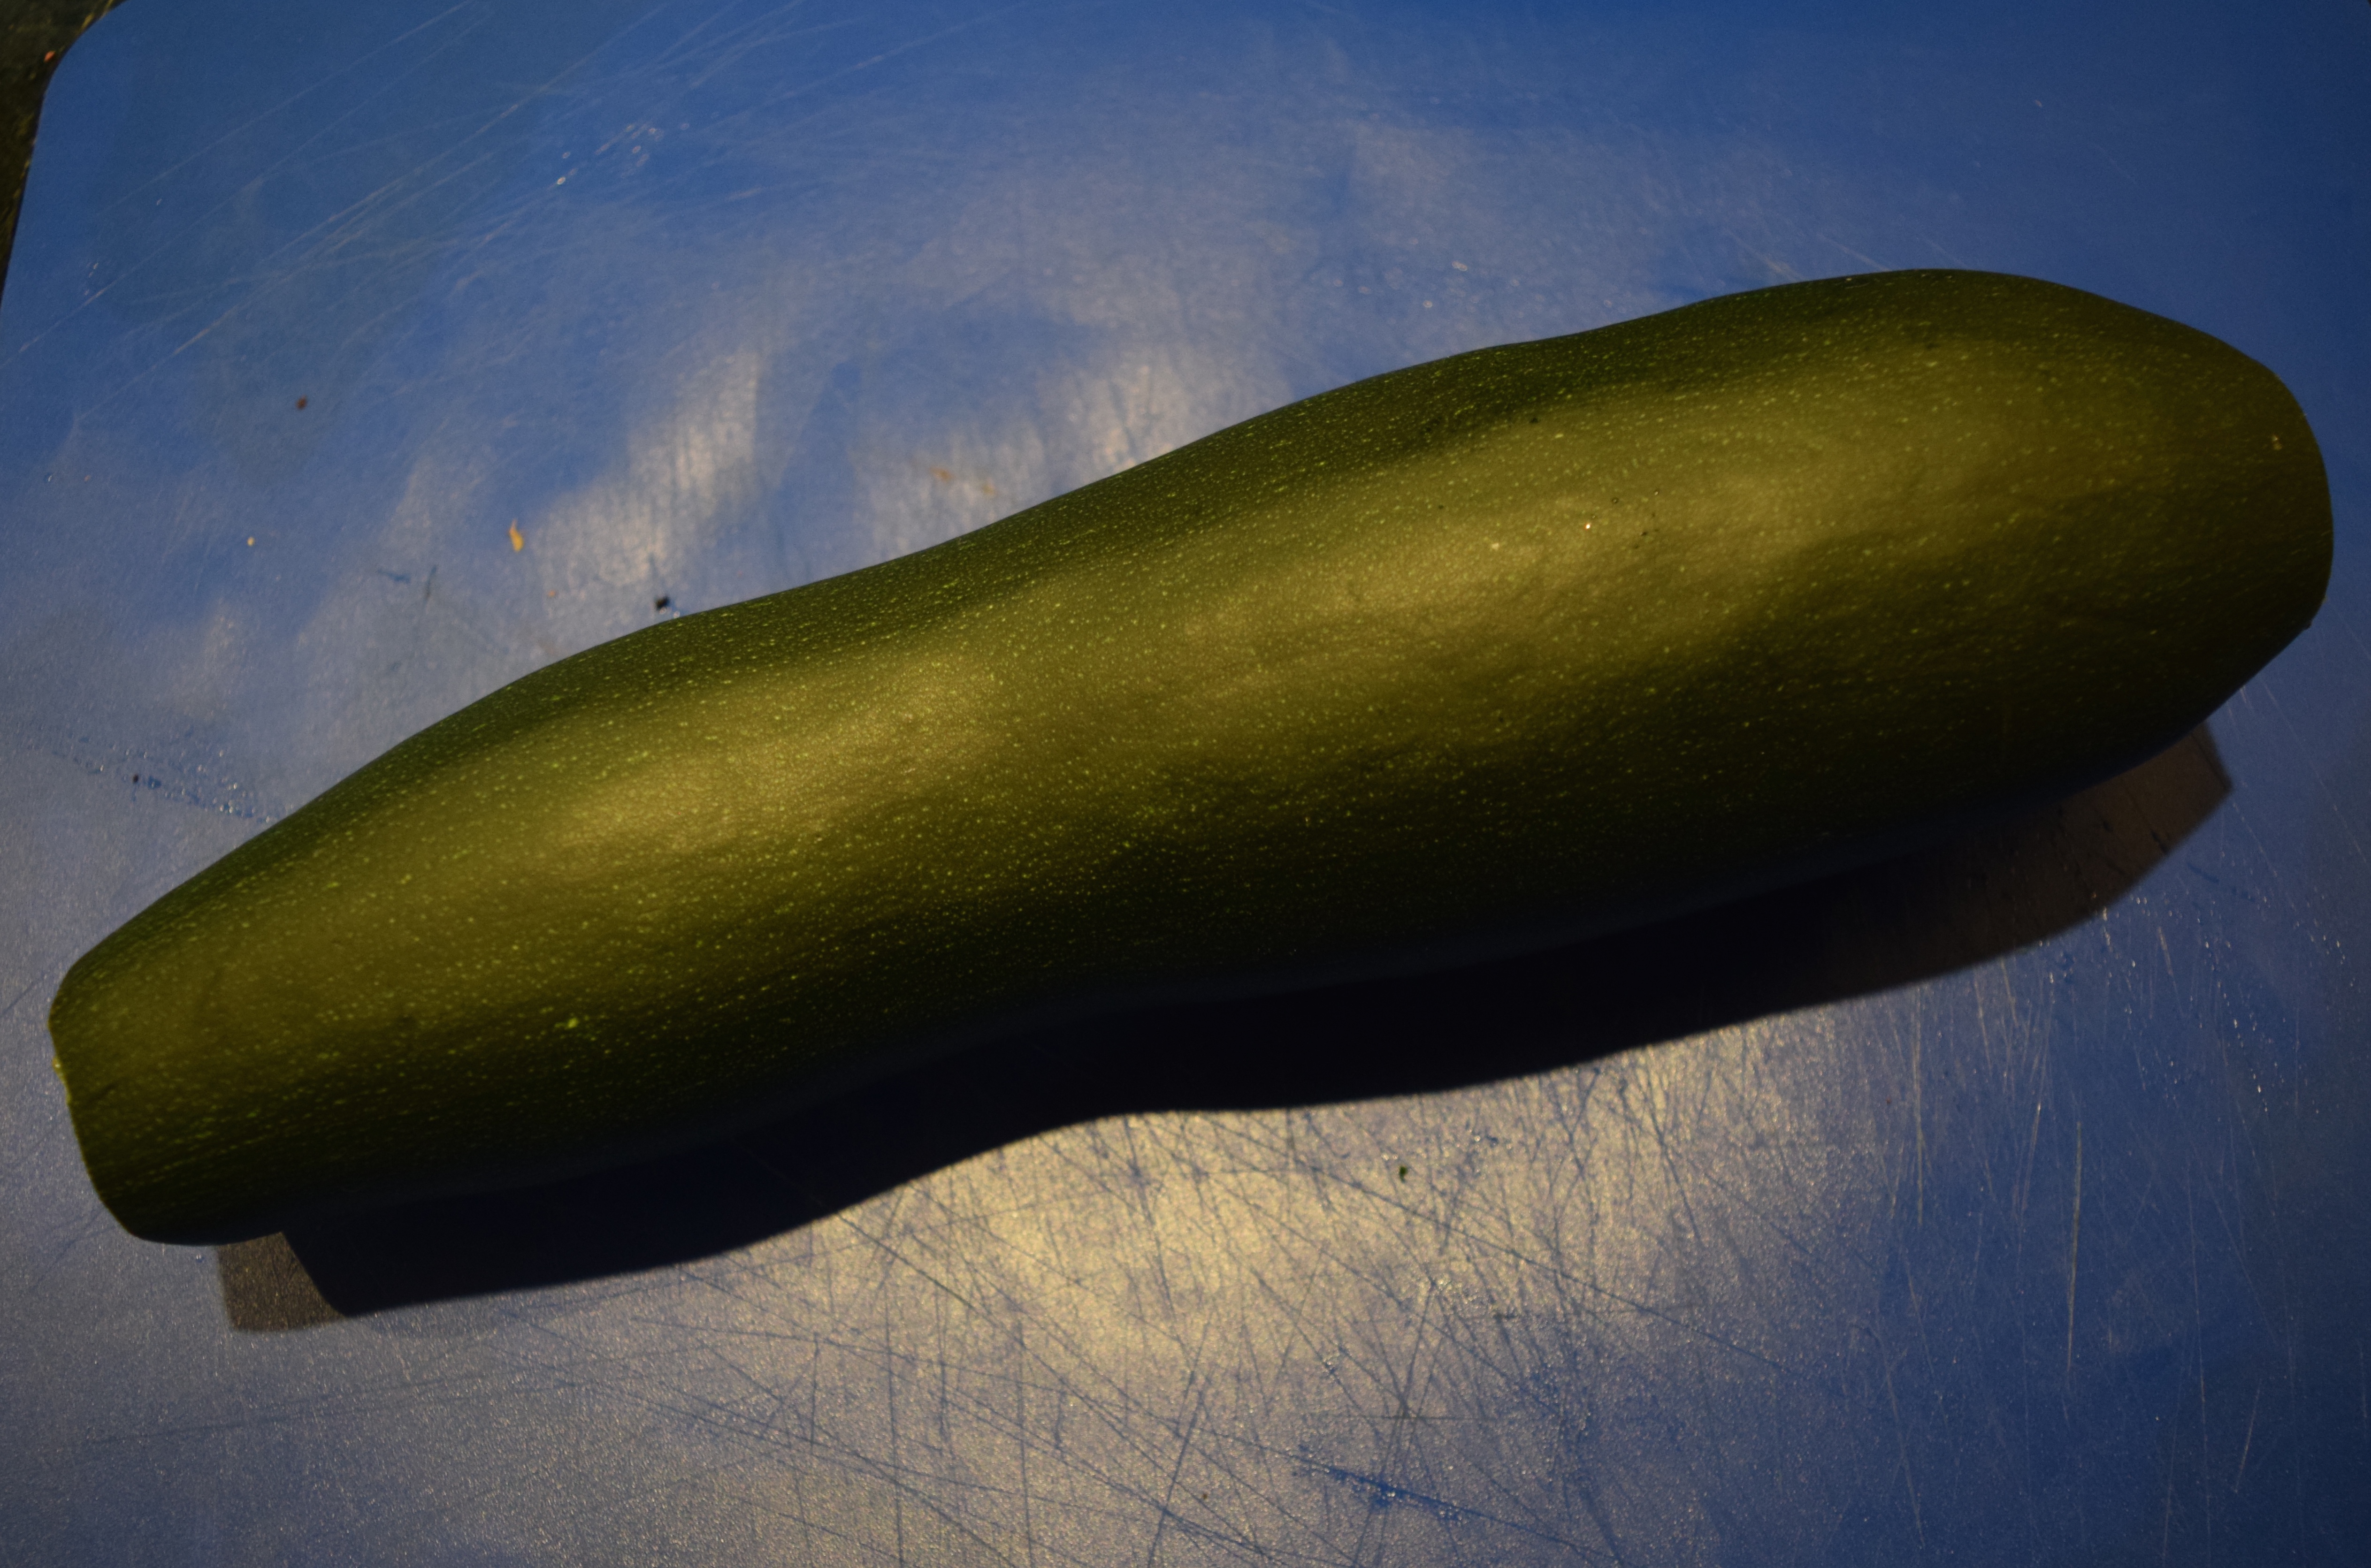
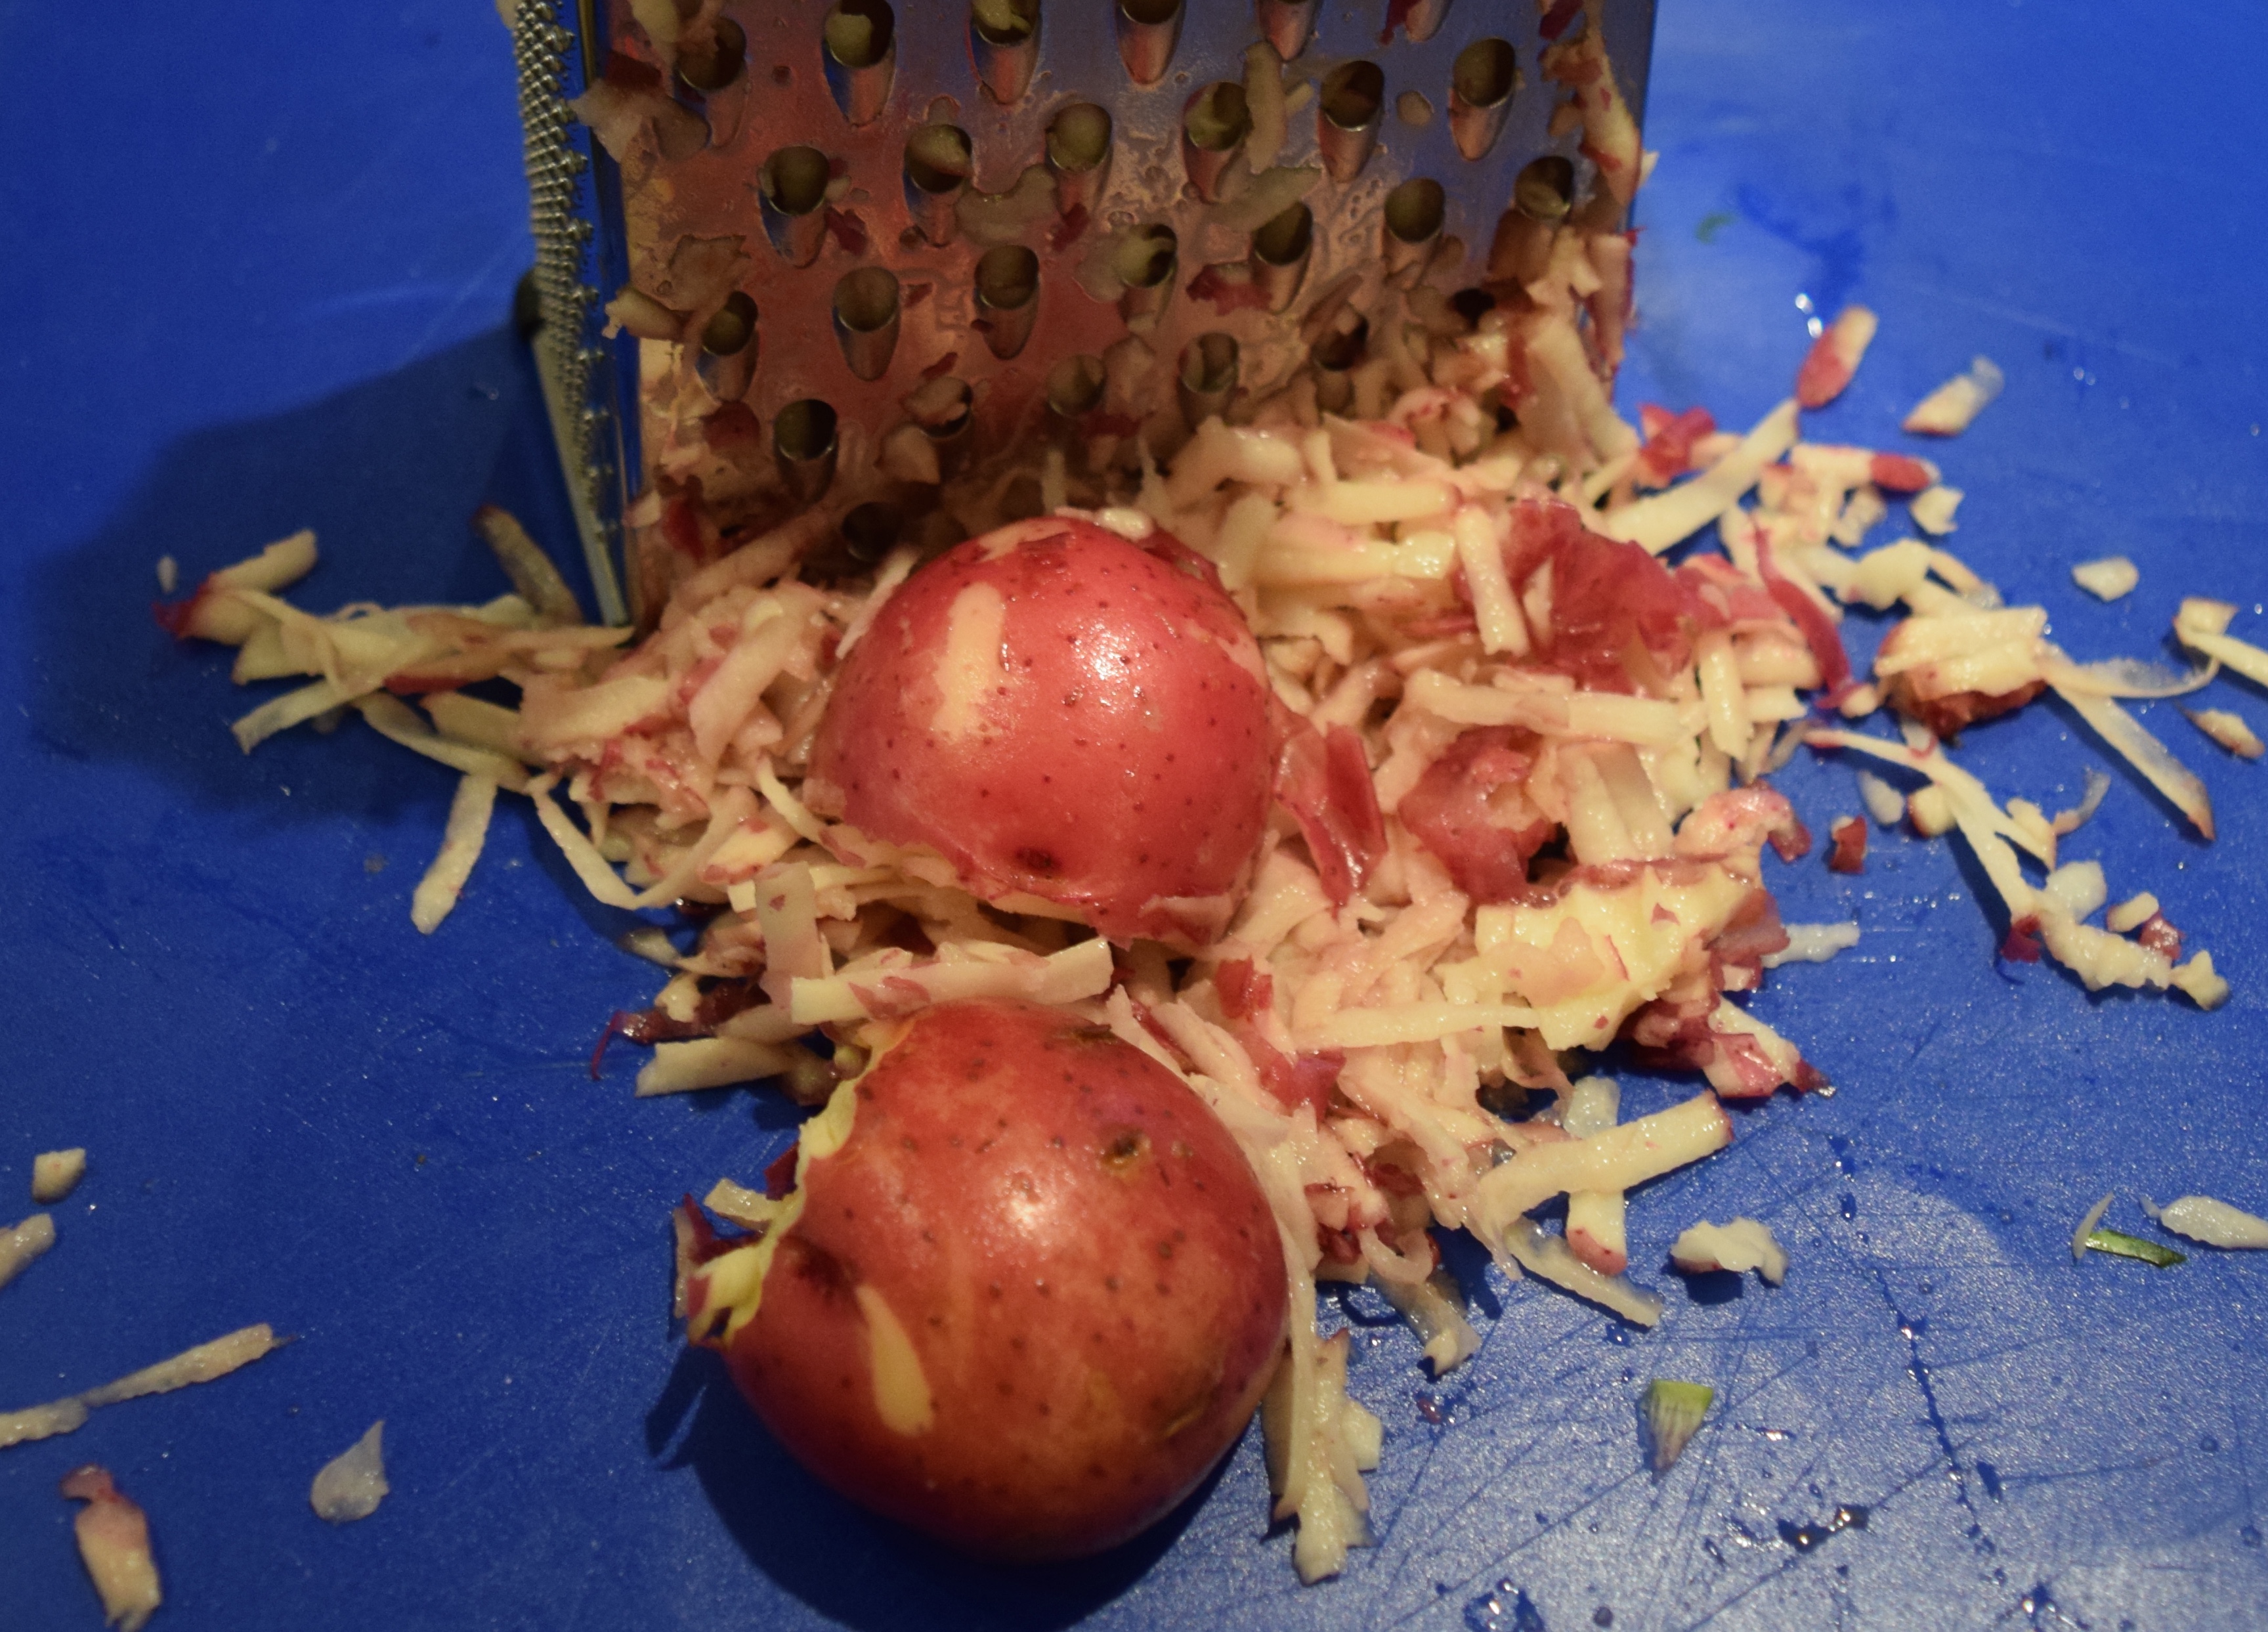
4 cups unpeeled, shredded zucchini (1¼ pounds)
4 cups chopped tomatoes (2 pounds)
1 cup diced onion (6 ounces)
2 crushed garlic cloves
1 teaspoon sea salt
1/2 teaspoon garlic pepper
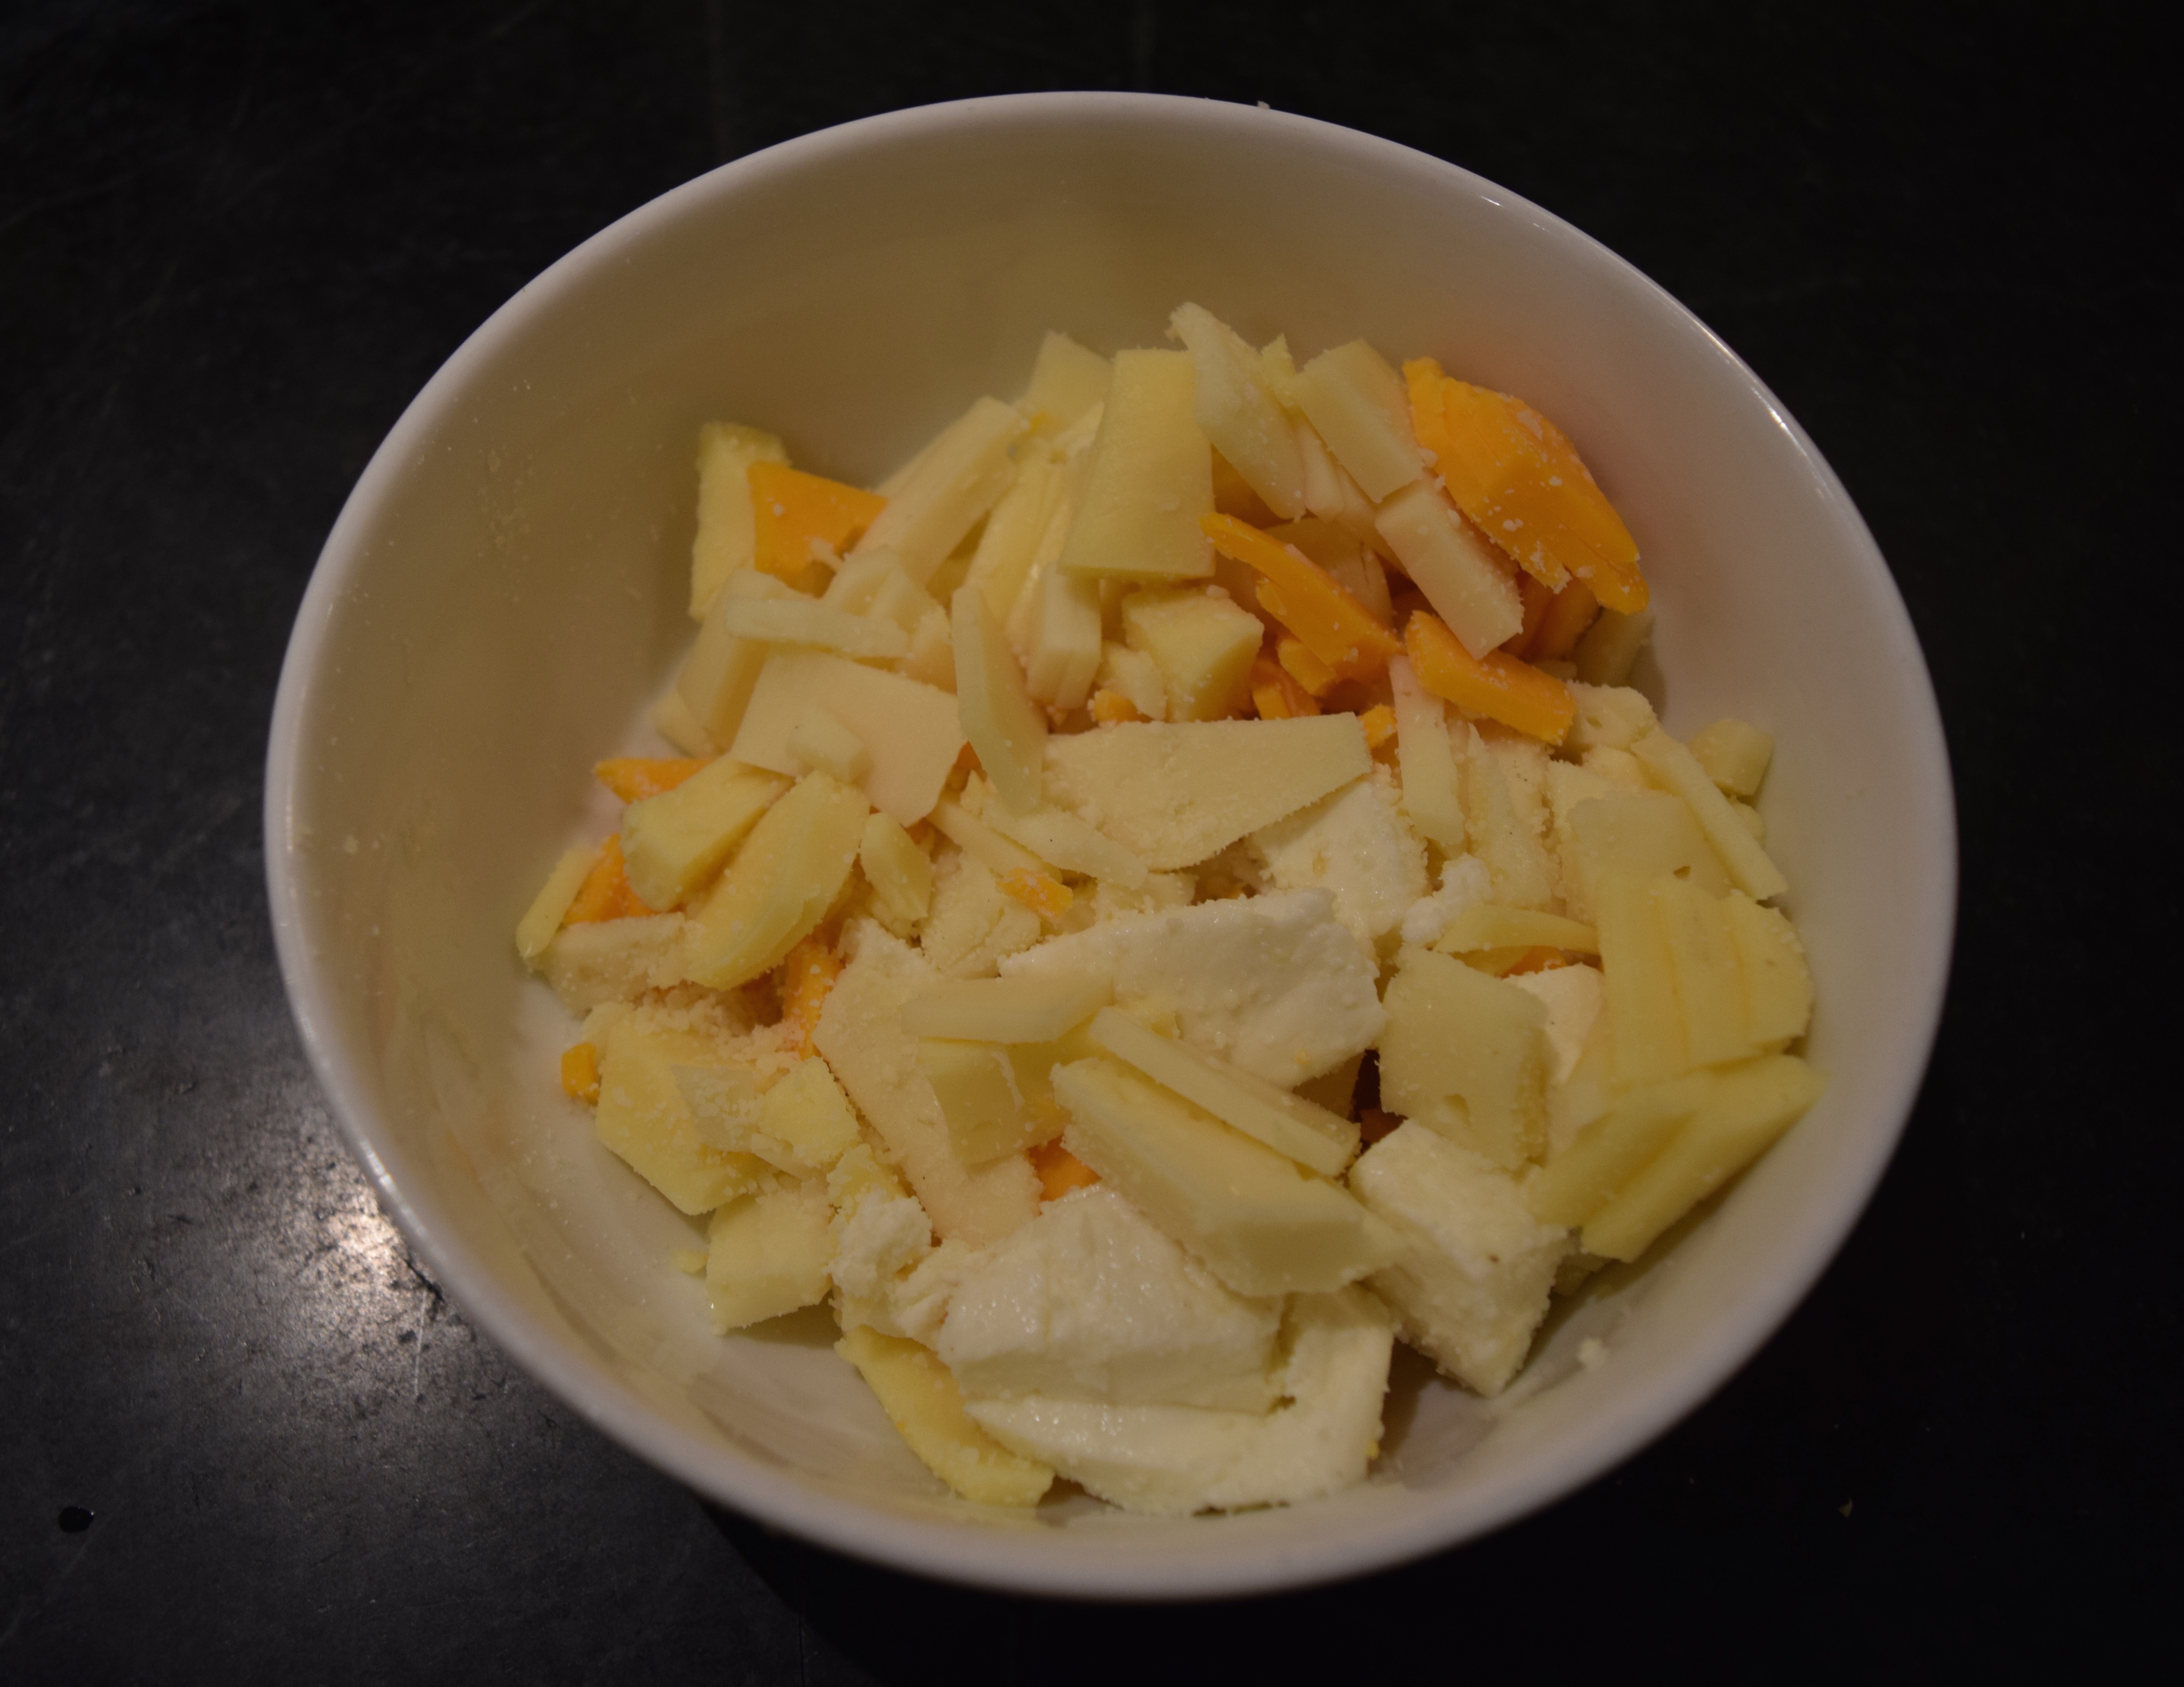
Shredded cheese such as a Mexican style blend
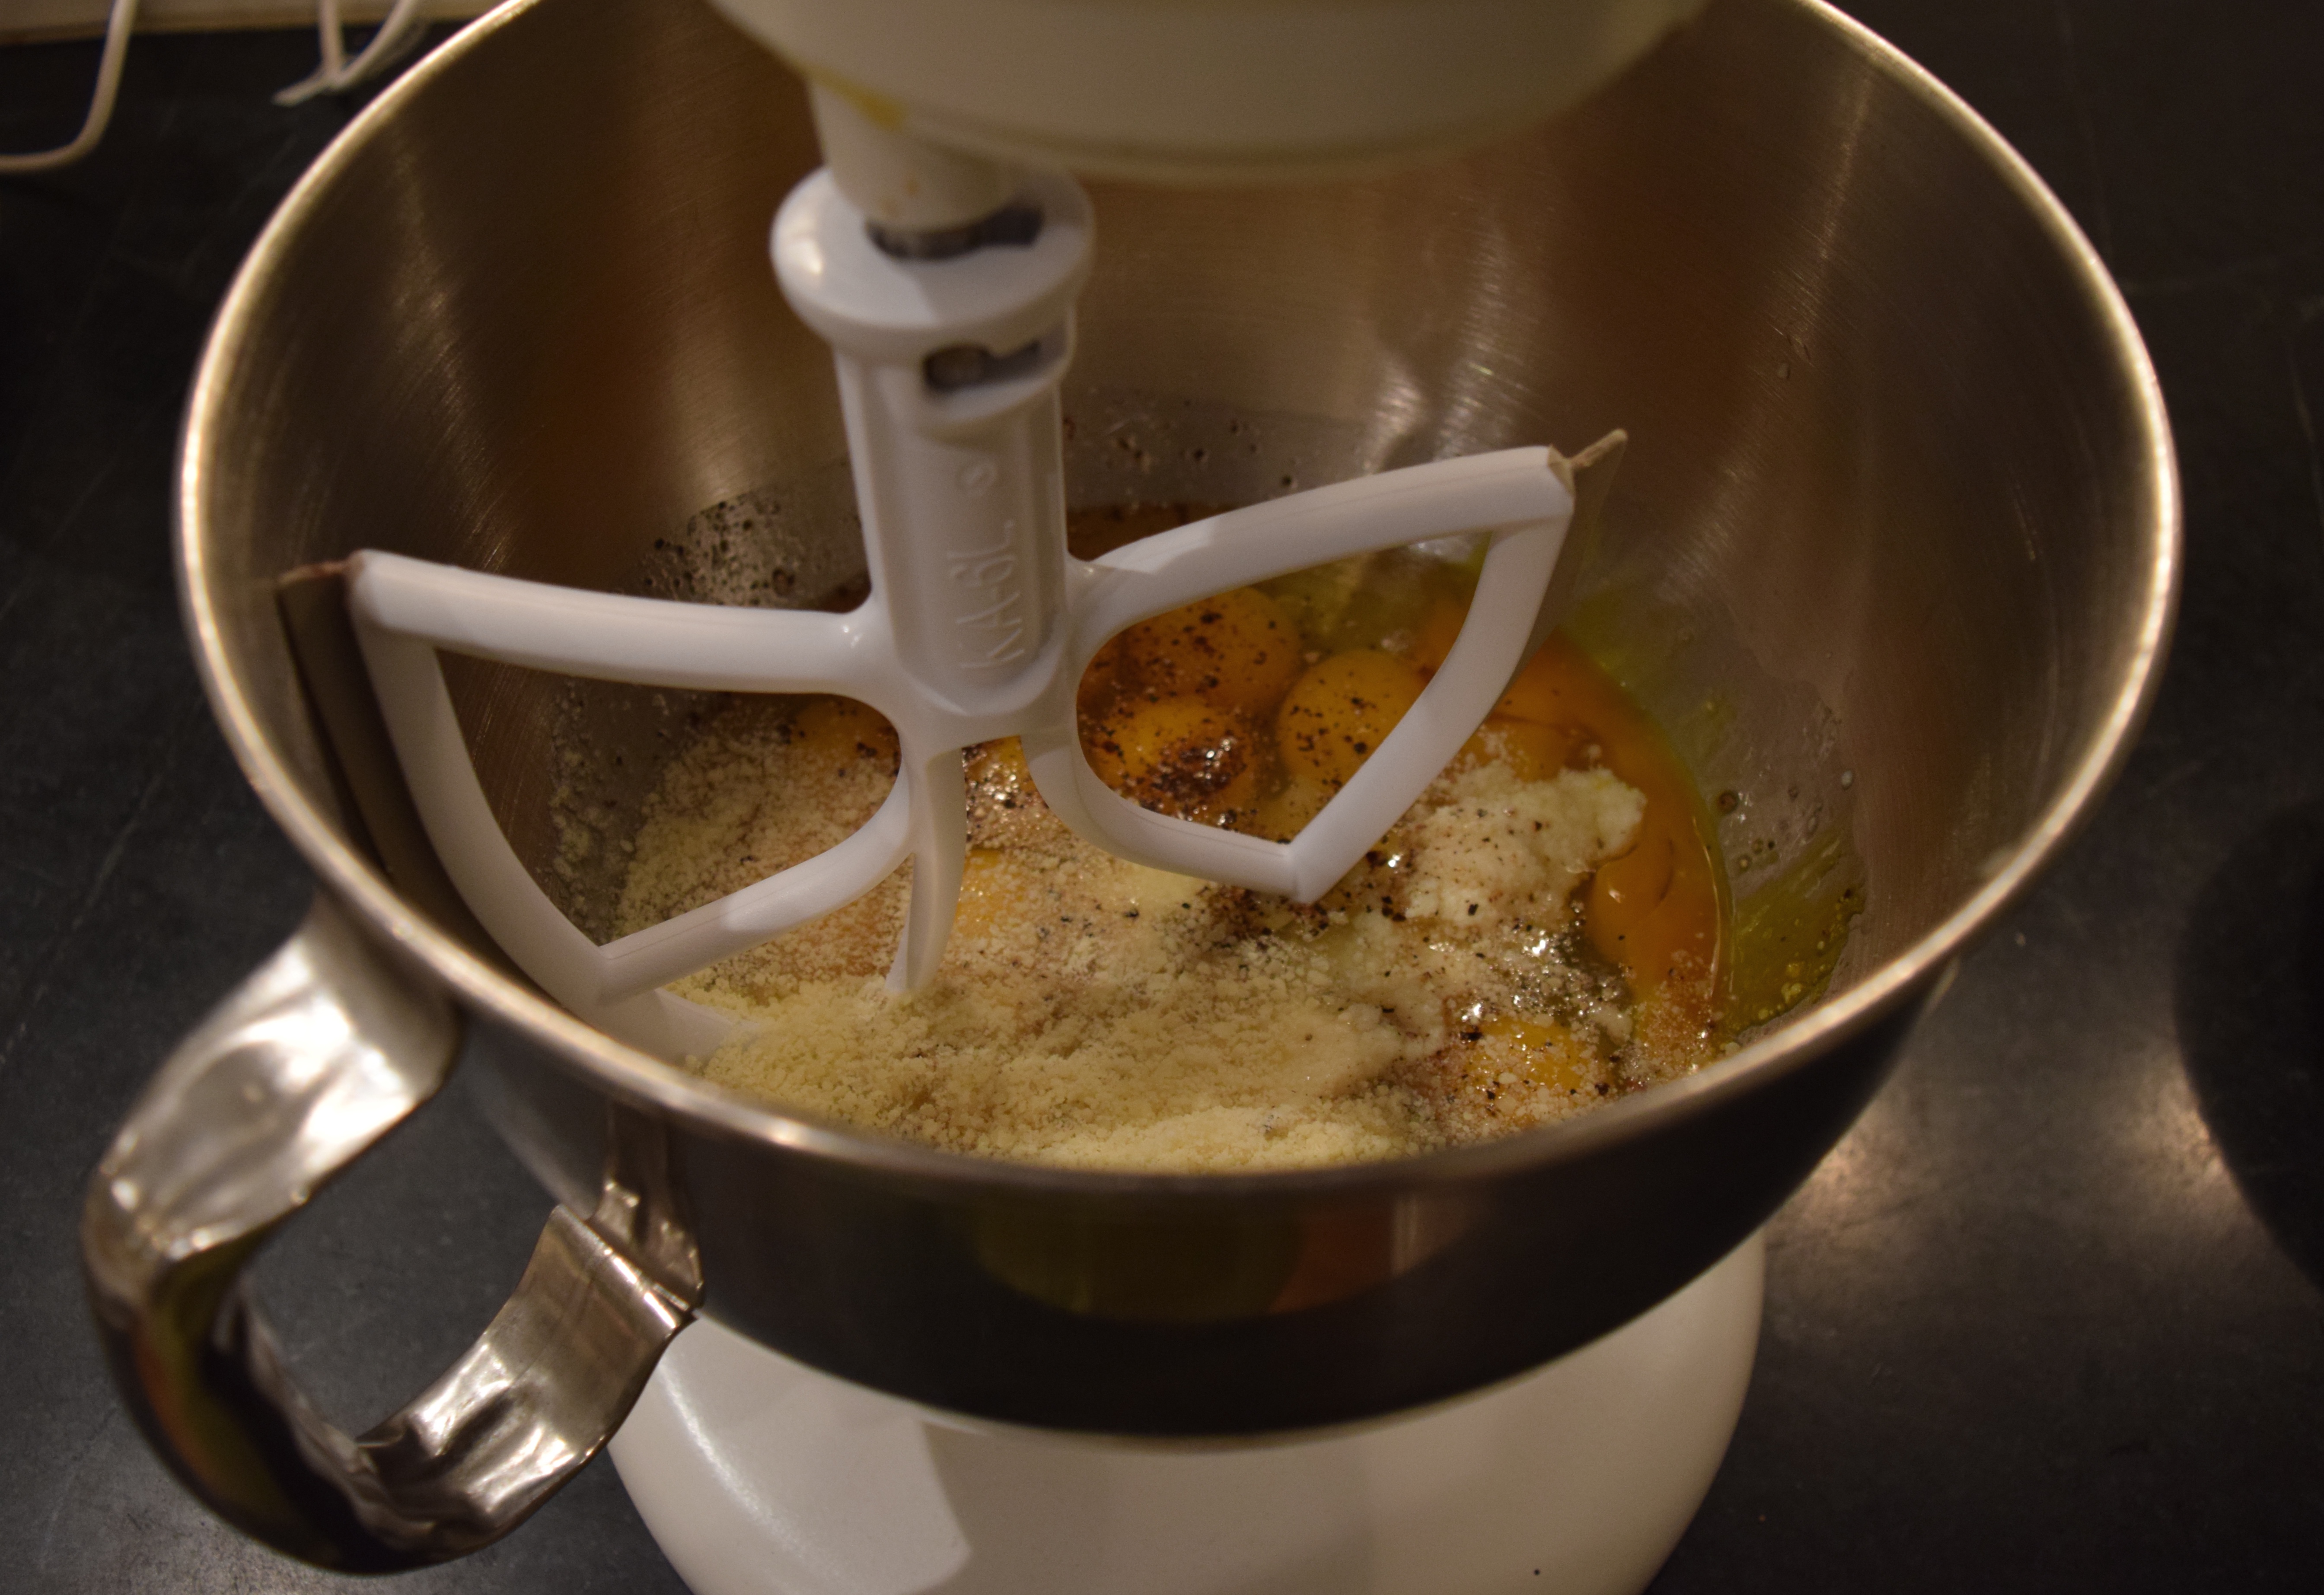
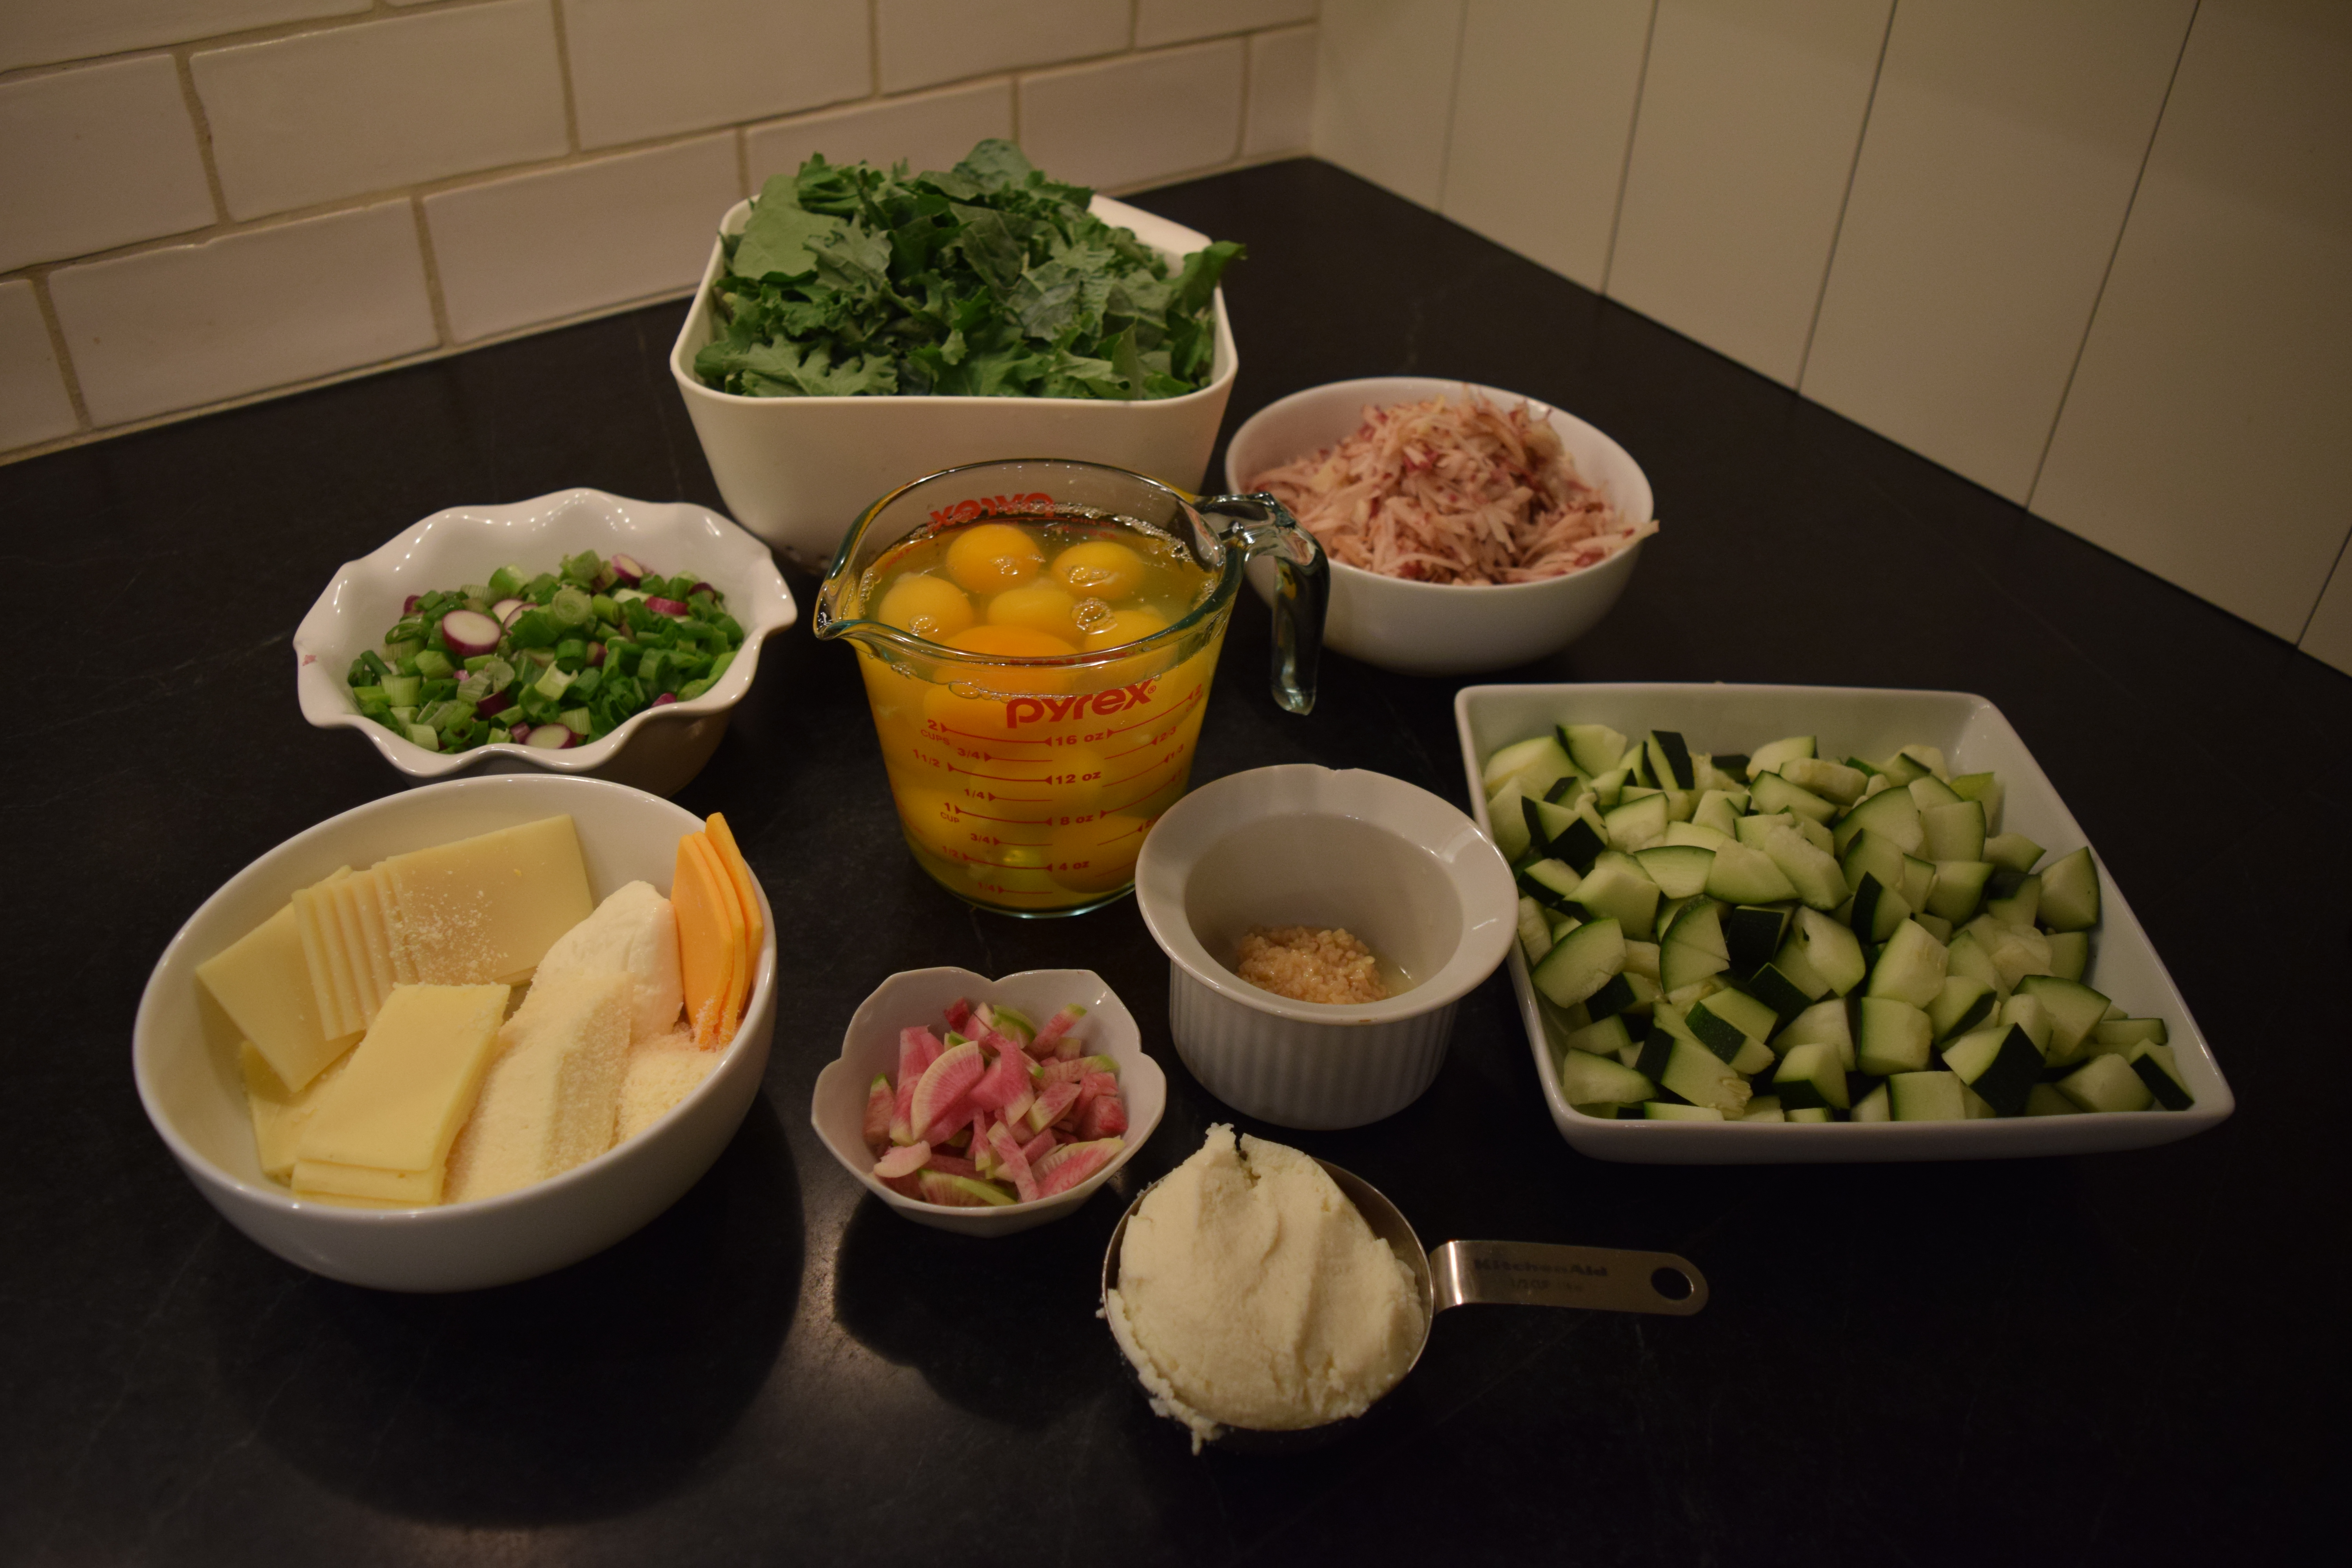
Mise en Place

DSC_0094

Instructions:

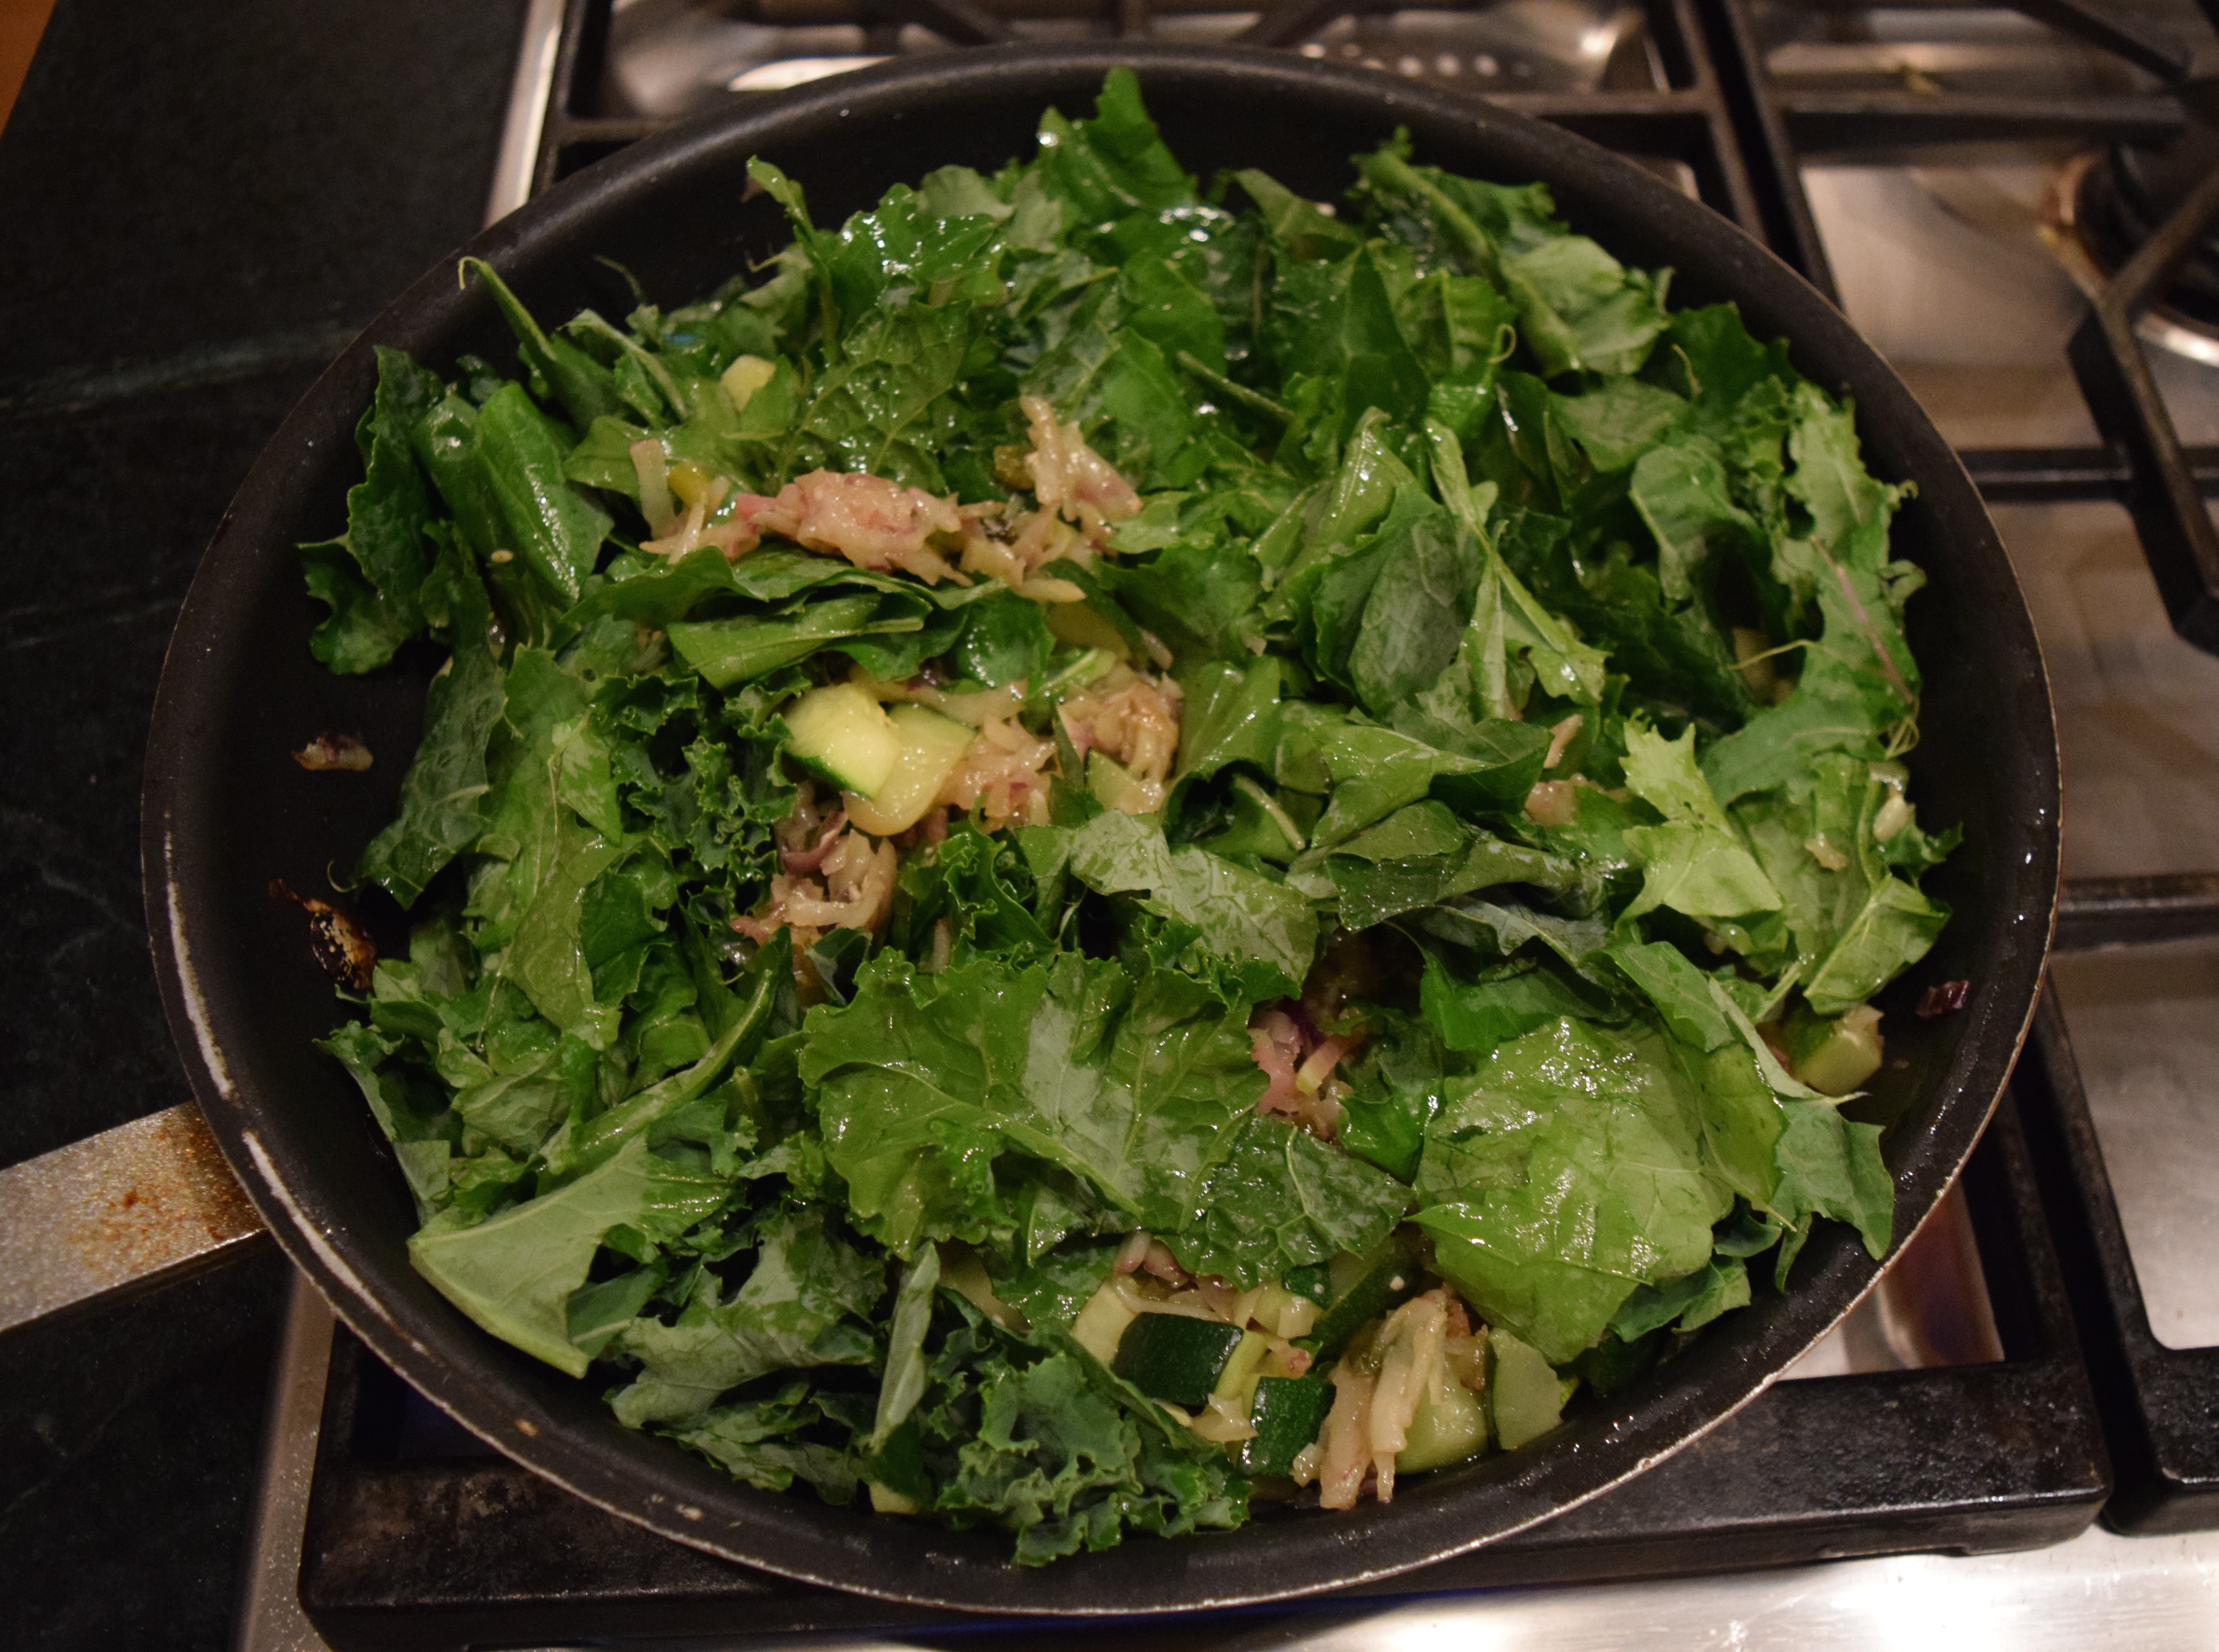
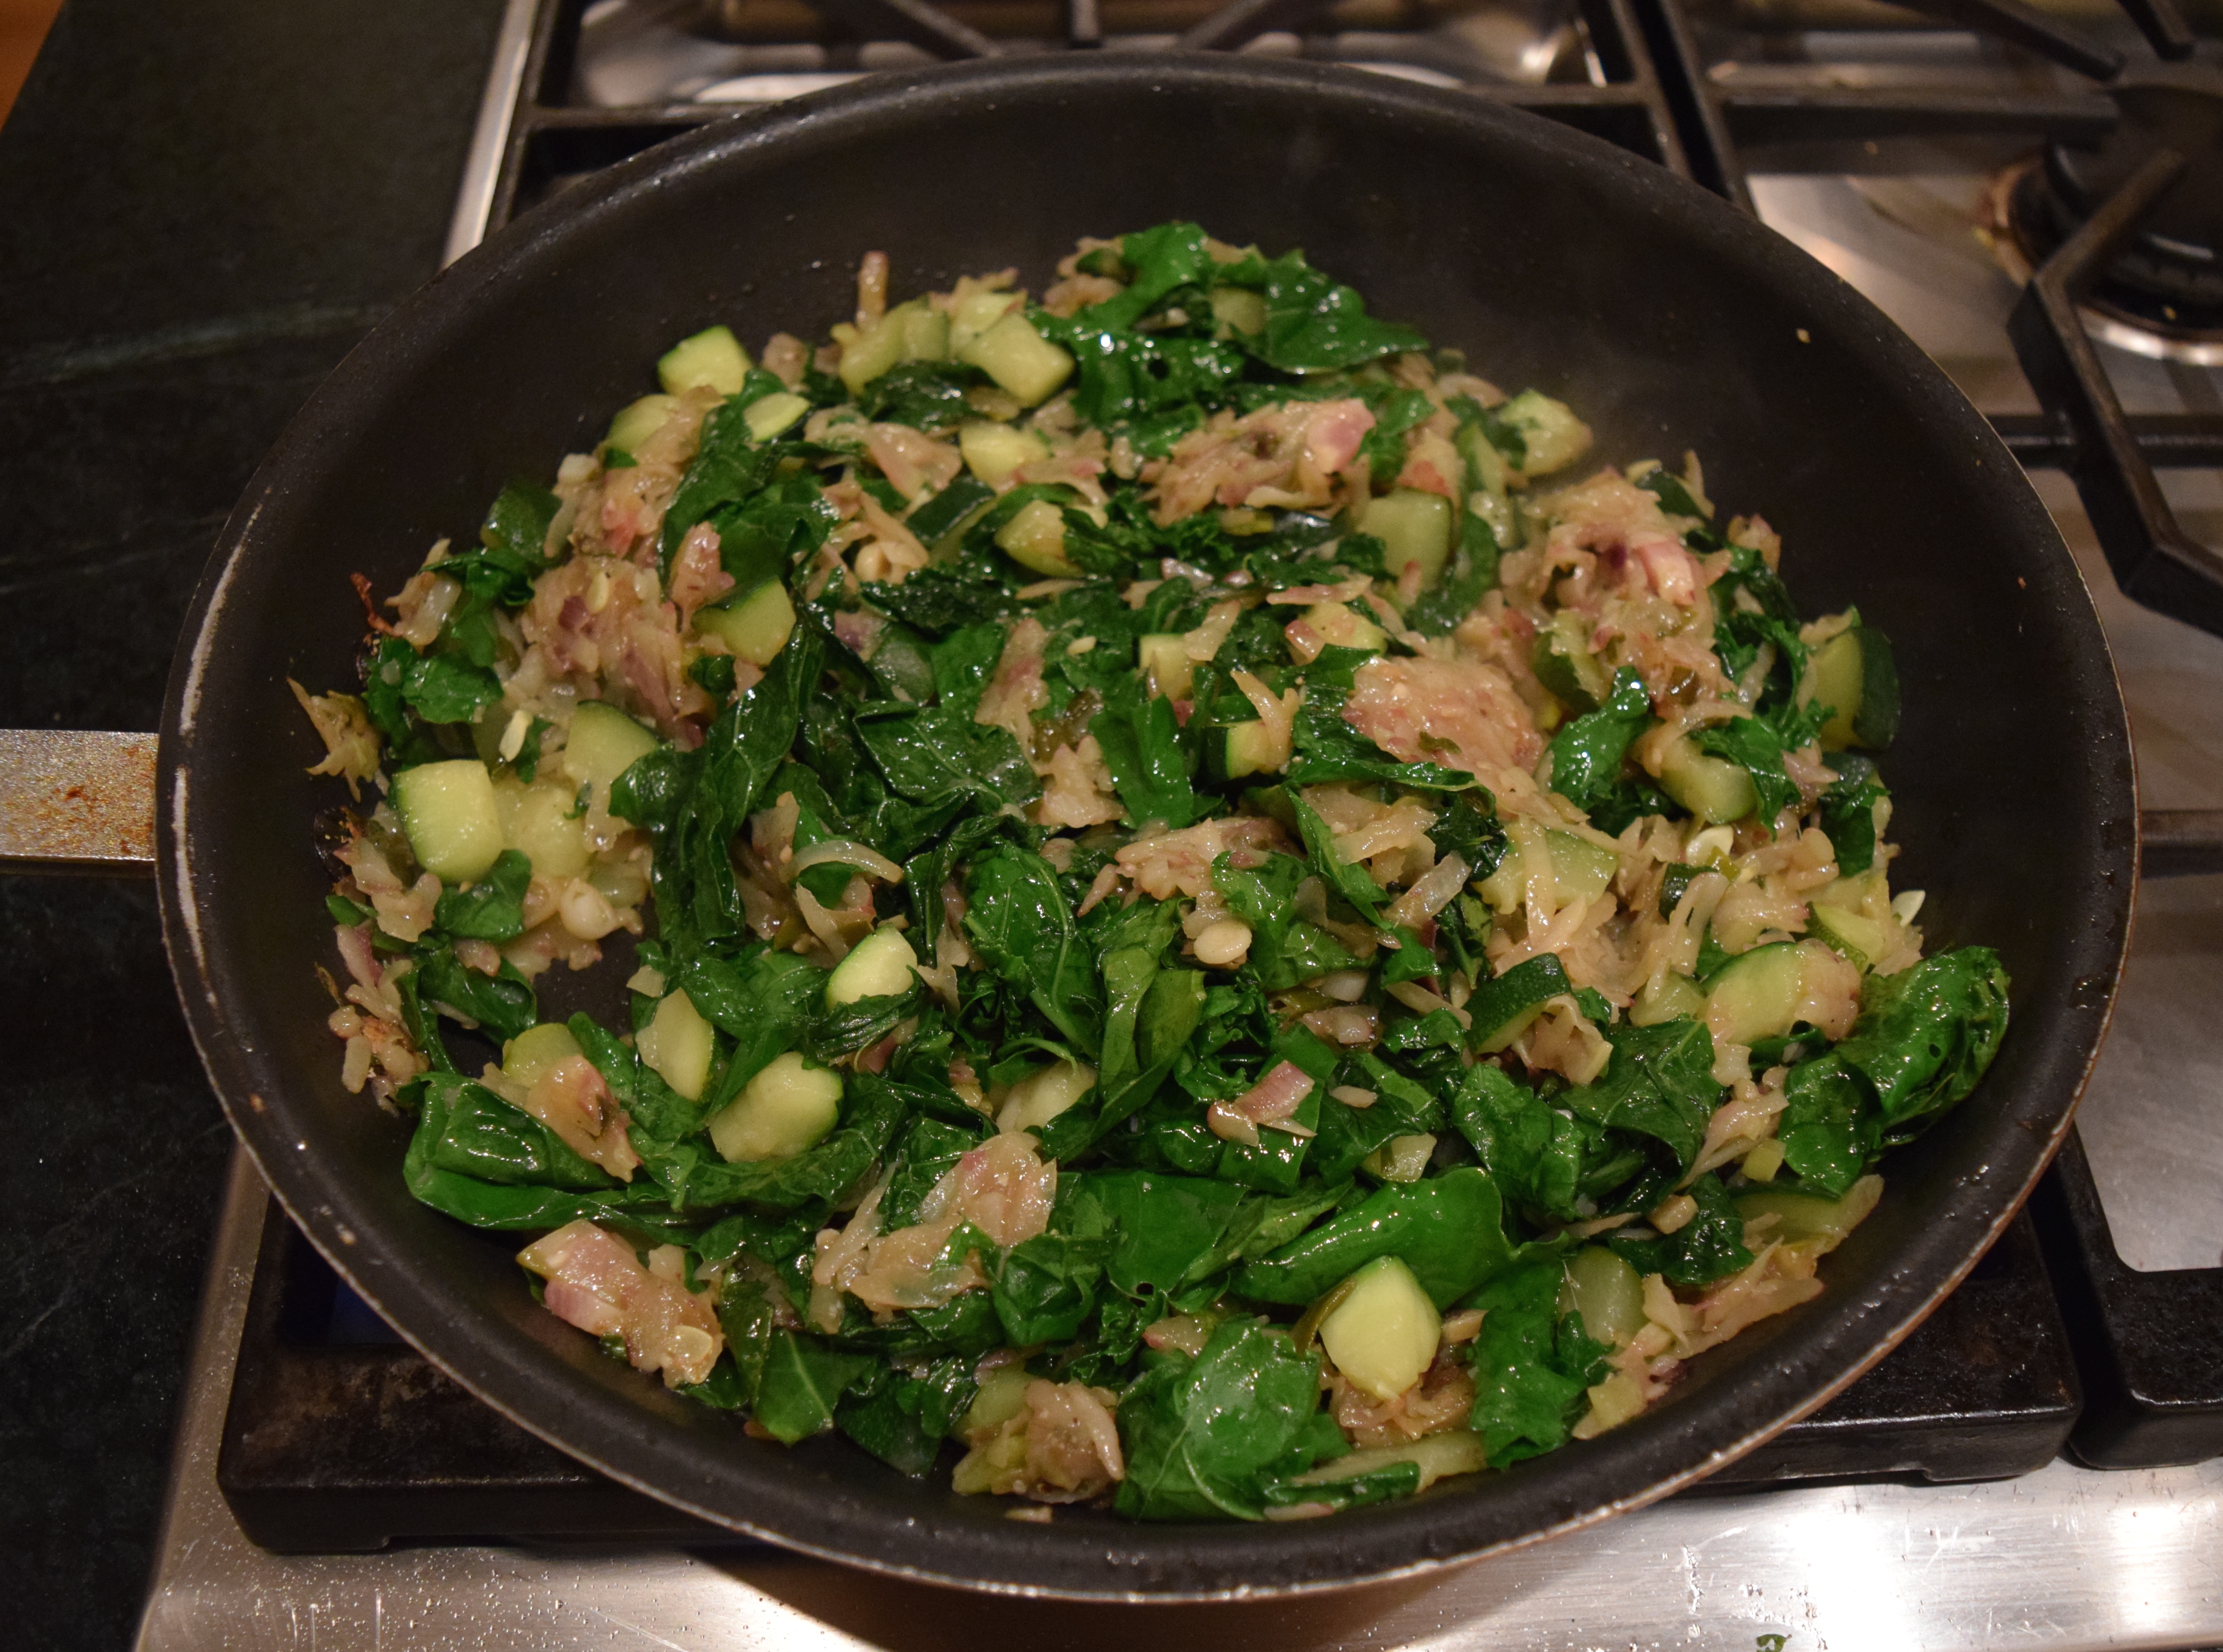
Saute olive oil, garlic, and onion together for two minutes on medium heat. Do not brown the garlic (ever!). Add veggies and sauté for ten minutes on medium-high heat.

dsc_0294

The high heat helps cook down the liquid in the pan.

dsc_0106

Next, spread the filling on half of a cooked tortilla, sprinkle with cheese, fold the other half over and enjoy!

dsc_0117 dsc_0121

Scrambled Egg Filling

Here are the tortillas filled with eggs — soft taco or quesadilla style.

dsc_0267

The mise en place of making scrambled egg-filled tortillas.

dsc_0177

I scrambled the eggs in olive oil first. Next, I added the zucchini and onion mixture, but you could just as easily use jarred salsa, or skip both and add bacon or sausage.

dsc_0208 dsc_0211

Next, I added chopped rotisserie chicken and shredded cheese and topped it with another tortilla to make a quesadilla.

dsc_0227  dsc_0231

You could just as easily fold a single tortilla in half or roll it up as a wrap.  With children, it’s always nice when you can give them this kind of unimpactful choice that doesn’t create extra work for Mom.

Other Tried and True Recipes Children Love
Judy’s Mom’s Meatloaf
Lisa’s Award Winning Buffalo Chicken Chili
Lemony Grilled Chicken Breasts
Amazingly Delicious Sautéed Carrots
Yummy Shepherd’s Pie
Marion’s Crazy Good Pumpkin Bread with Chocolate Chips
The Biscuit King

LET’S STAY CONNECTED!

Follow my photos of vegetables growing, backyard chickens hanging out, and dinner preparations on Instagram at JudysChickens.

Never miss a post: sign up to become a follower of the Blog.

© 2014-2017 Judy Wright. All rights reserved. Photos and text may only be used with written consent.

.

How to Tell If an Egg Is Fresh or Hard-Boiled

IMG_8581

A few days ago my husband, the physics major, taught me a new trick: how to tell if an egg is hard-boiled without cracking it open. It’s hard to believe I’ve gotten this far in my life without knowing this.

Error
This video doesn’t exist

Now, go and give it a try!

LET’S STAY CONNECTED!

Follow my photos of vegetables growing, backyard chickens hanging out, and dinner preparations on Instagram at JudysChickens.

Never miss a post: sign up to become a follower of the Blog.

© 2014-2017 Judy Wright. All rights reserved. Photos and text may only be used with written consent.


Very Berry Clafoutis

Clafoutis: noun  [klah-foo-tee]  a tart made of fruit, especially cherries, baked in a thick, sweet batter.

DSC_0726

My mother gave me this berry clafoutis recipe about twenty-five years ago after I had picked blueberries with my boys while visiting her in Rhode Island. She had written the recipe on a piece of scrap paper. There are scraps of paper like this all over her kitchen. Mom suggested I make a clafoutis with the blueberries. I had no idea what a clafoutis was, but I made it. It was delicious … and easy. Over the course of that summer, I baked clafoutis of every variety: strawberry, blackberry, pear, apple and plum. They all worked. Little did I know I would be making this recipe for the rest of my life.

Recipes like this, that really work and are beloved, go into a spiral-bound recipe book I was given as a wedding gift over 30 years ago. I travel with this notebook. If there was a fire in the house, after getting the people out, I’d grab this notebook next. Before holidays, I often get emails from relatives asking for specific recipes from this book, like my Grandmother’s cranberry chutney recipe and my mother’s pumpkin pie recipe. My Auntie Terry once emailed me, while she was traveling, to ask if I could send her her  fried cauliflower batter recipe. I love how my role as keeper-of-the-recipes keeps me connected to my family.

IMG_1424

This recipe is probably the simplest and quickest one @judyschickens. It tastes good hot out of the oven for dessert, or cold the next morning for breakfast. If you want to serve it at a dinner party, you can make it taste a little richer by substituting cream for some of the milk and by sifting confectioner’s sugar over the top after you have baked it. The best part is you can make it with ingredients you already have in the house: eggs, milk, flour, sugar, vanilla and fruit, which makes it perfect for a last-minute dessert on a summer evening.

 Ingredients:

DSC_0637

3 large eggs. *I had a very small egg from my chickens that I threw in!
2/3 cup flour
1/3 cup sugar
2 teaspoons pure vanilla extract
¼ teaspoon ground nutmeg
1/8 teaspoon salt
1¼ cups milk, or a combination of milk and cream
2 cups fruit. If you use apples or pears, peel, core, and slice thinly.

Instructions:
Preheat oven to 350º
Generously butter a 9-inch pie plate

You can make this batter in a food processor, with a mixer, or in a bowl with a whisk or fork. Just be sure to add the milk after you have mixed the other ingredients or the flour will form clumps.

Beat eggs for about 30 seconds. Add flour, sugar, vanilla, nutmeg and salt.

DSC_0640

Mix until smooth, about 30 seconds.

DSC_0641

Add milk and mix on slow speed until batter is well blended, about 30 seconds.

DSC_0642

Pour batter into a buttered pie pan.

DSC_0643

Add fruit. Be sure to dry the fruit after washing it. Adding wet fruit to the batter sometimes causes water to pool on the surface as the clafoutis cooks. If that happens, I open the oven door, lay a paper towel over the top, just for a second, and mop up the excess moisture, and then continue baking.

DSC_0644 DSC_0657
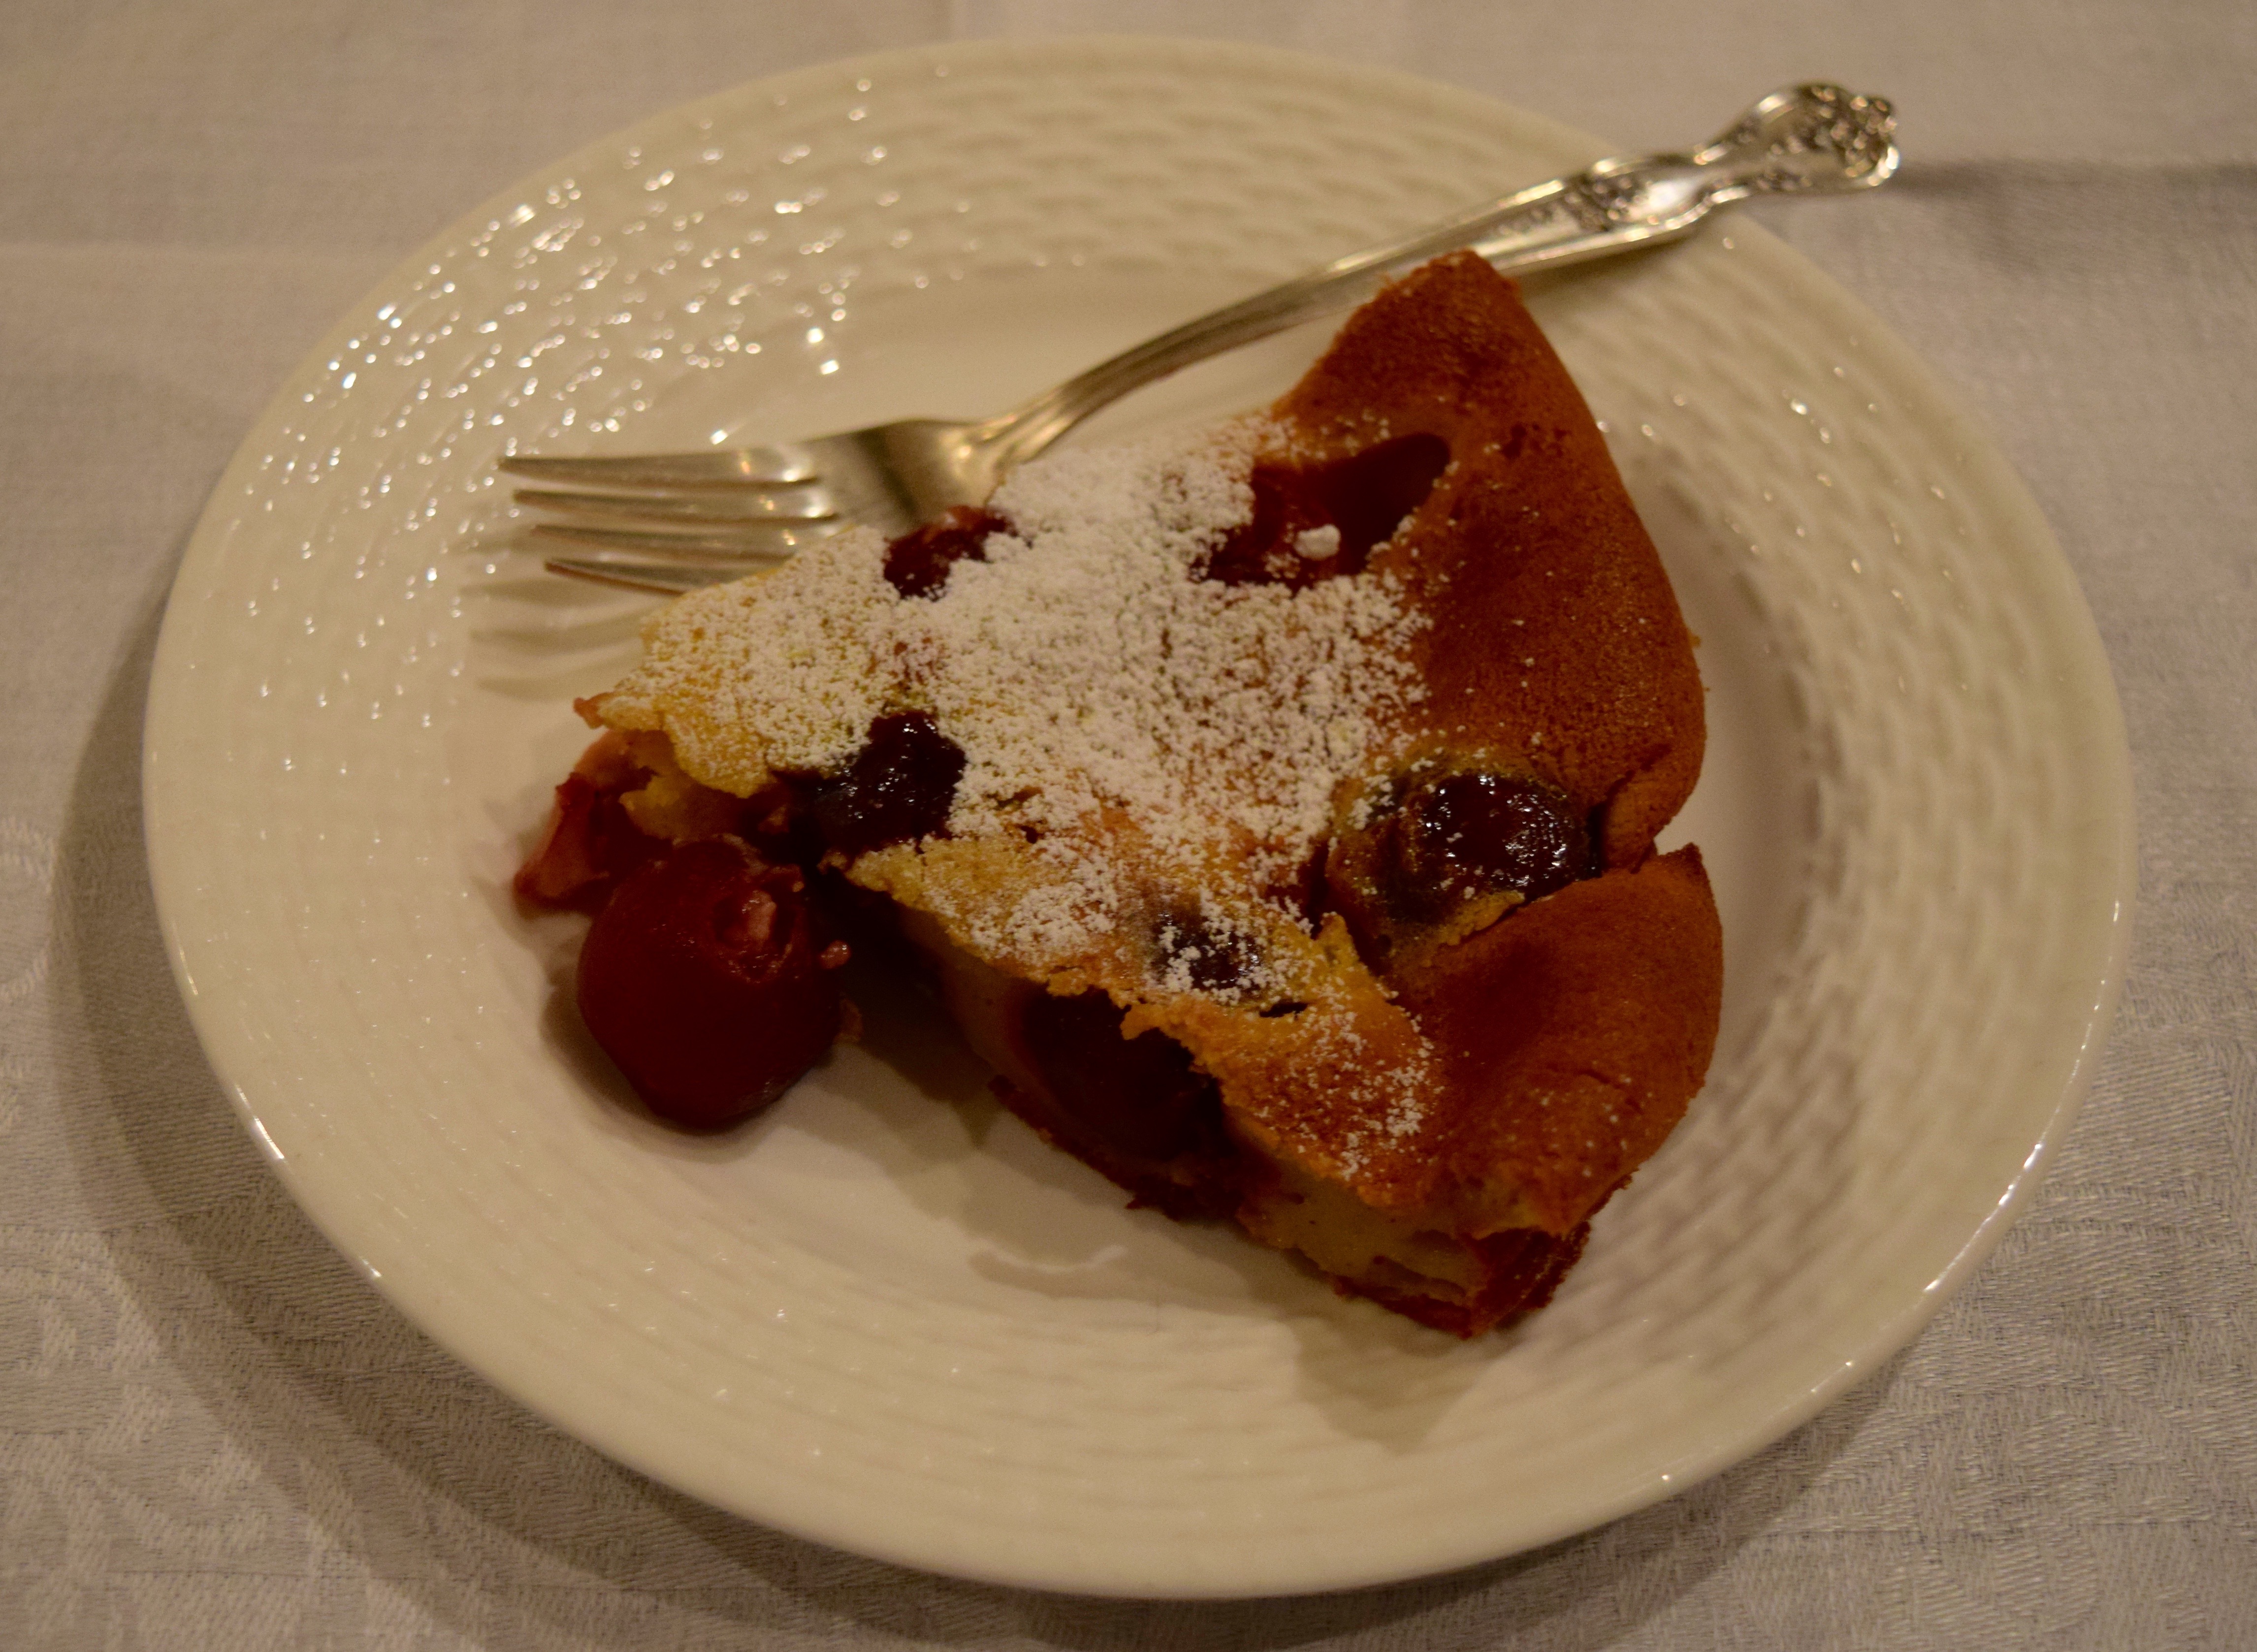
Bake in a preheated oven for 45-55 minutes. The clafoutis should be lightly browned and puffed on top. Test for doneness by inserting a knife into the center. It will come out clean if the interior is cooked. If it doesn’t come out clean, cook for 5 more minutes. Let cool 10 minutes before serving. The pouf will settle down.

Clafoutis-Making, Part 2

My Aunt Rachelle and I were cooking dinner together last week and decided to make clafoutis using cherries that were already in the refrigerator. We made a mess cutting the pits out of the cherries. While it didn’t impact the taste of the clafoutis one iota — it was still gone in sixty seconds — it wasn’t very pretty.

IMG_1533

Last night, I was determined to try a cherry clafoutis again and this time make it pretty. That called for a quick stop at Williams and Sonoma to pick up a cherry (and olive) pitter. This time, I was making the clafoutis with Rachelle’s daughter, Elizabeth. We couldn’t wait to get home and try the cherry pitter. What a great tool! Knowing my husband likes to study how mechanical devices work, I tried to Tom Sawyer him into pitting the cherries, but he didn’t take the bait. No worries, the pitter makes quick work of removing cherry pits.

DSC_0685 DSC_0686

In this clafoutis version, I substituted one 8-ounce carton of heavy cream for 1 cup of the milk and used ¼ cup of 2% milk for the remainder.

DSC_0717

The results were spectacular, albeit more calories! The fat in the batter made the clafoutis rise sky-high before it settled back down as it cooled. It looks very different from the photos of the strawberry and cherry clafoutis shown above. Here it is sprinkled with confectioner’s sugar. This version makes for a lovely dessert.

Version 2

So, clafoutis are a crustless “tart made of fruit, especially cherries, baked in a thick, sweet batter.”

Hope you enjoy!

LET’S STAY CONNECTED!

Follow my photos of vegetables growing, backyard chickens hanging out, and dinner preparations on Instagram at JudysChickens.

Never miss a post: sign up to become a follower of the Blog.

© 2014-2017 Judy Wright. All rights reserved. Photos and text may only be used with written consent.

50 Ways to Make a Frittata

A few months ago, I was visiting Cleveland and took a cooking class at The Western Reserve School of Cooking. One of the dishes we made with owner and chef Catherine St. John was an oven-baked version of the classic Italian frittata. Frittatas can be served for any meal or as an appetizer. They are firm in texture and easily cut into squares when served at room temperature. They also provide a great way to use up leftovers.

DSC_0977

Chef Catherine taught us to sauté the vegetables, pour them into a baking dish, add the egg and cheese mixtures, and bake for 20 minutes.

DSC_0009

We have many eggs here at Judy’s Chickens, so we make this one-pot meal a lot!

IMG_8581

After making this meal a few times, I developed a foolproof formula for making the dairy mixture of the frittata: 12 large eggs, 1/2 cup whole milk, cream, or ricotta, 1 heaping cup of shredded cheese, and 1/4 cup of Parmesan. Pour this over any medley of cooked vegetables that loosely fills your lasagna pan to about the one-inch mark.

DSC_0747

Here’s a recipe to get you started.

Ingredients:

DSC_0723

The Egg and Cheese Mixture:
12 large eggs
½ cup ricotta, whole milk, or cream
1 tsp salt
½ teaspoon pepper
¼ cup grated Parmesan
1 heaping cup of any cheese, shredded

The Veggie Mixture:
4 cups potatoes (about 4 medium or 1½ pounds), diced or shredded
1½ cups green onions with tops, about 5 sliced
½ red bell pepper, about ½ cup, seeded and diced
1 heaping tablespoon of minced garlic (from the jar is fine)
2 cups cooked leftover vegetables such as zucchini, summer squash, broccoli, or cauliflower, OR any uncooked greens such as spinach, chard, or kale
⅓ cup extra virgin olive oil

Instructions:
Preheat oven to 350º

Chop all the fresh veggies. I used buttery Yukon and red potatoes, sweet red bell pepper, green onions with stalks, and minced garlic.

DSC_0730

Sauté garlic, onion, pepper, and potatoes in olive oil, on medium heat, in a 12-inch non-stick skillet for about 10 minutes or until the potatoes are tender but still firm.

DSC_0738

Stir in drained leftover cooked veggies and heat until warm. I used leftover roasted zucchini and summer squash with green onions and garlic. Spread vegetable medley evenly in a lasagna pan.DSC_0747

Mix eggs, milk, cream or ricotta, Parmesan, salt, and pepper and pour over vegetables.

DSC_0304 DSC_0745

Add shredded cheese and poke it into the vegetables and egg mixture. DSC_0748

Bake for 30 minutes in a preheated oven. Insert the knife tip in the center to test for doneness. If it comes out clean, remove the frittata from the oven. If not, cook for another 5 minutes and check again. Repeat until done.

DSC_0749

Another frittata version: potatoes, kale, green onion, zucchini, and a lone radish

This was one day’s pickings from the garden. I decided, as a trial, to throw all of it into the frittata along with dairy ingredients to see if it would work. I tried fresh kale. It was delicious.

DSC_0257

Here it is, all prepped.

DSC_0293

Here is how I prepped the vegetables:

Green onions
DSC_0266 DSC_0268 DSC_0270

A lone watermelon radish
DSC_0261  DSC_0263 DSC_0274

My first zucchini of the season!
DSC_0284 DSC_0285

Shredded potatoes
DSC_0277 DSC_0280

I trimmed the tough stem off each kale leaf.

DSC_0282

I tore the leaves into 3-inch pieces, added them to the vegetable sauté last, and cooked them for one minute until wilted. Chard, collards, or spinach would also work well here. Be sure to remove the thick stems from the collards or chard.

DSC_0312 DSC_0313

Notice how when the frittata first comes out of the oven, it is like a soufflé, all puffed up and fluffy. It will fall after about 5 minutes. I think the frittata is tastiest when it is still light and fluffy like this, but as I have said, it is still excellent later in the day at room temperature or even cold from the fridge.

DSC_0320

Once, I mixed a bunch of cheeses left over from a cookout and used them for the cheese portion of the recipe. This worked just fine.
DSC_0314

Another frittata version: leftover ditalini pasta and roasted zucchini, summer squash, and leeks, with fresh, chopped mint

I increased the amount of cheese for this version:
12 eggs, 1/2 cup ricotta, 1 teaspoon salt, 1/2 teaspoon pepper, 1 cup Parmesan, 2 cups mozzarella
4 cups cooked pasta, 4 cups roasted zucchini with leeks, 1/2 cup chopped mint

DSC_0984

Prepping the mint

DSC_0993 DSC_0995

Prepping the mozzarella

DSC_0001  DSC_0004  DSC_0005

The four stages of combining and baking the frittata:DSC_0998 DSC_0999    DSC_0006 DSC_0012  

Melty goodness!

Other delicious foods to serve at breakfast
Fruit and Nut Bread
The Biscuit King
Very Berry Clafoutis
Quiche Lorraine with Bacon and Kale
Sorghum, Seeds, and Grains Granola
How to Make Grape Jelly (and Grow the Grapes)

LET’S STAY CONNECTED!

Follow my photos of vegetables growing, backyard chickens hanging out, and dinner preparations on Instagram at JudysChickens.

Never miss a post: sign up to become a follower of the Blog.

© 2014-2021 Judy Wright. All rights reserved. Photos and text may only be used with written consent.