Oven-Roasted Strawberry and Rosemary Jam

Summer. In. A. Jar. The local strawberry season is too short; just six weeks long. Have you ever wanted to capture the smell and flavor of a just-picked, warm, lusciously ripe strawberry? If so, try making a jar of this oven-roasted strawberry and rosemary jam with a touch of lemon juice or balsamic vinegar. My friend, Malinda Hersch, Program Director at The Nashville Food Project, gave me this recipe. She made it for TNFP’s Patron’s Party gift baskets.

DSC_0700

The idea for this post started when I read in Edible Nashville, a gorgeous publication on local food trends, that Tennessee’s first strawberries were coming in. On a whim, I emailed Hank Delvin at Delvin Farms to see if his strawberry crop was ripe. He said they were getting ready to pick that morning and invited me to join them.

DSC_0336

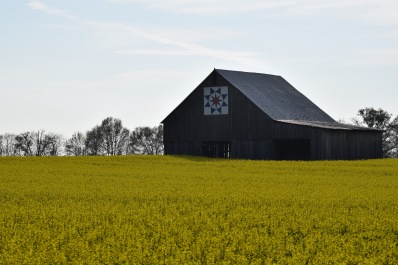
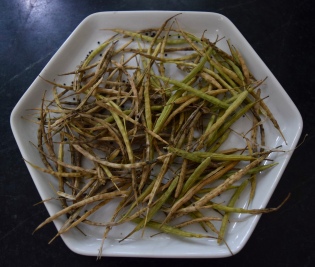
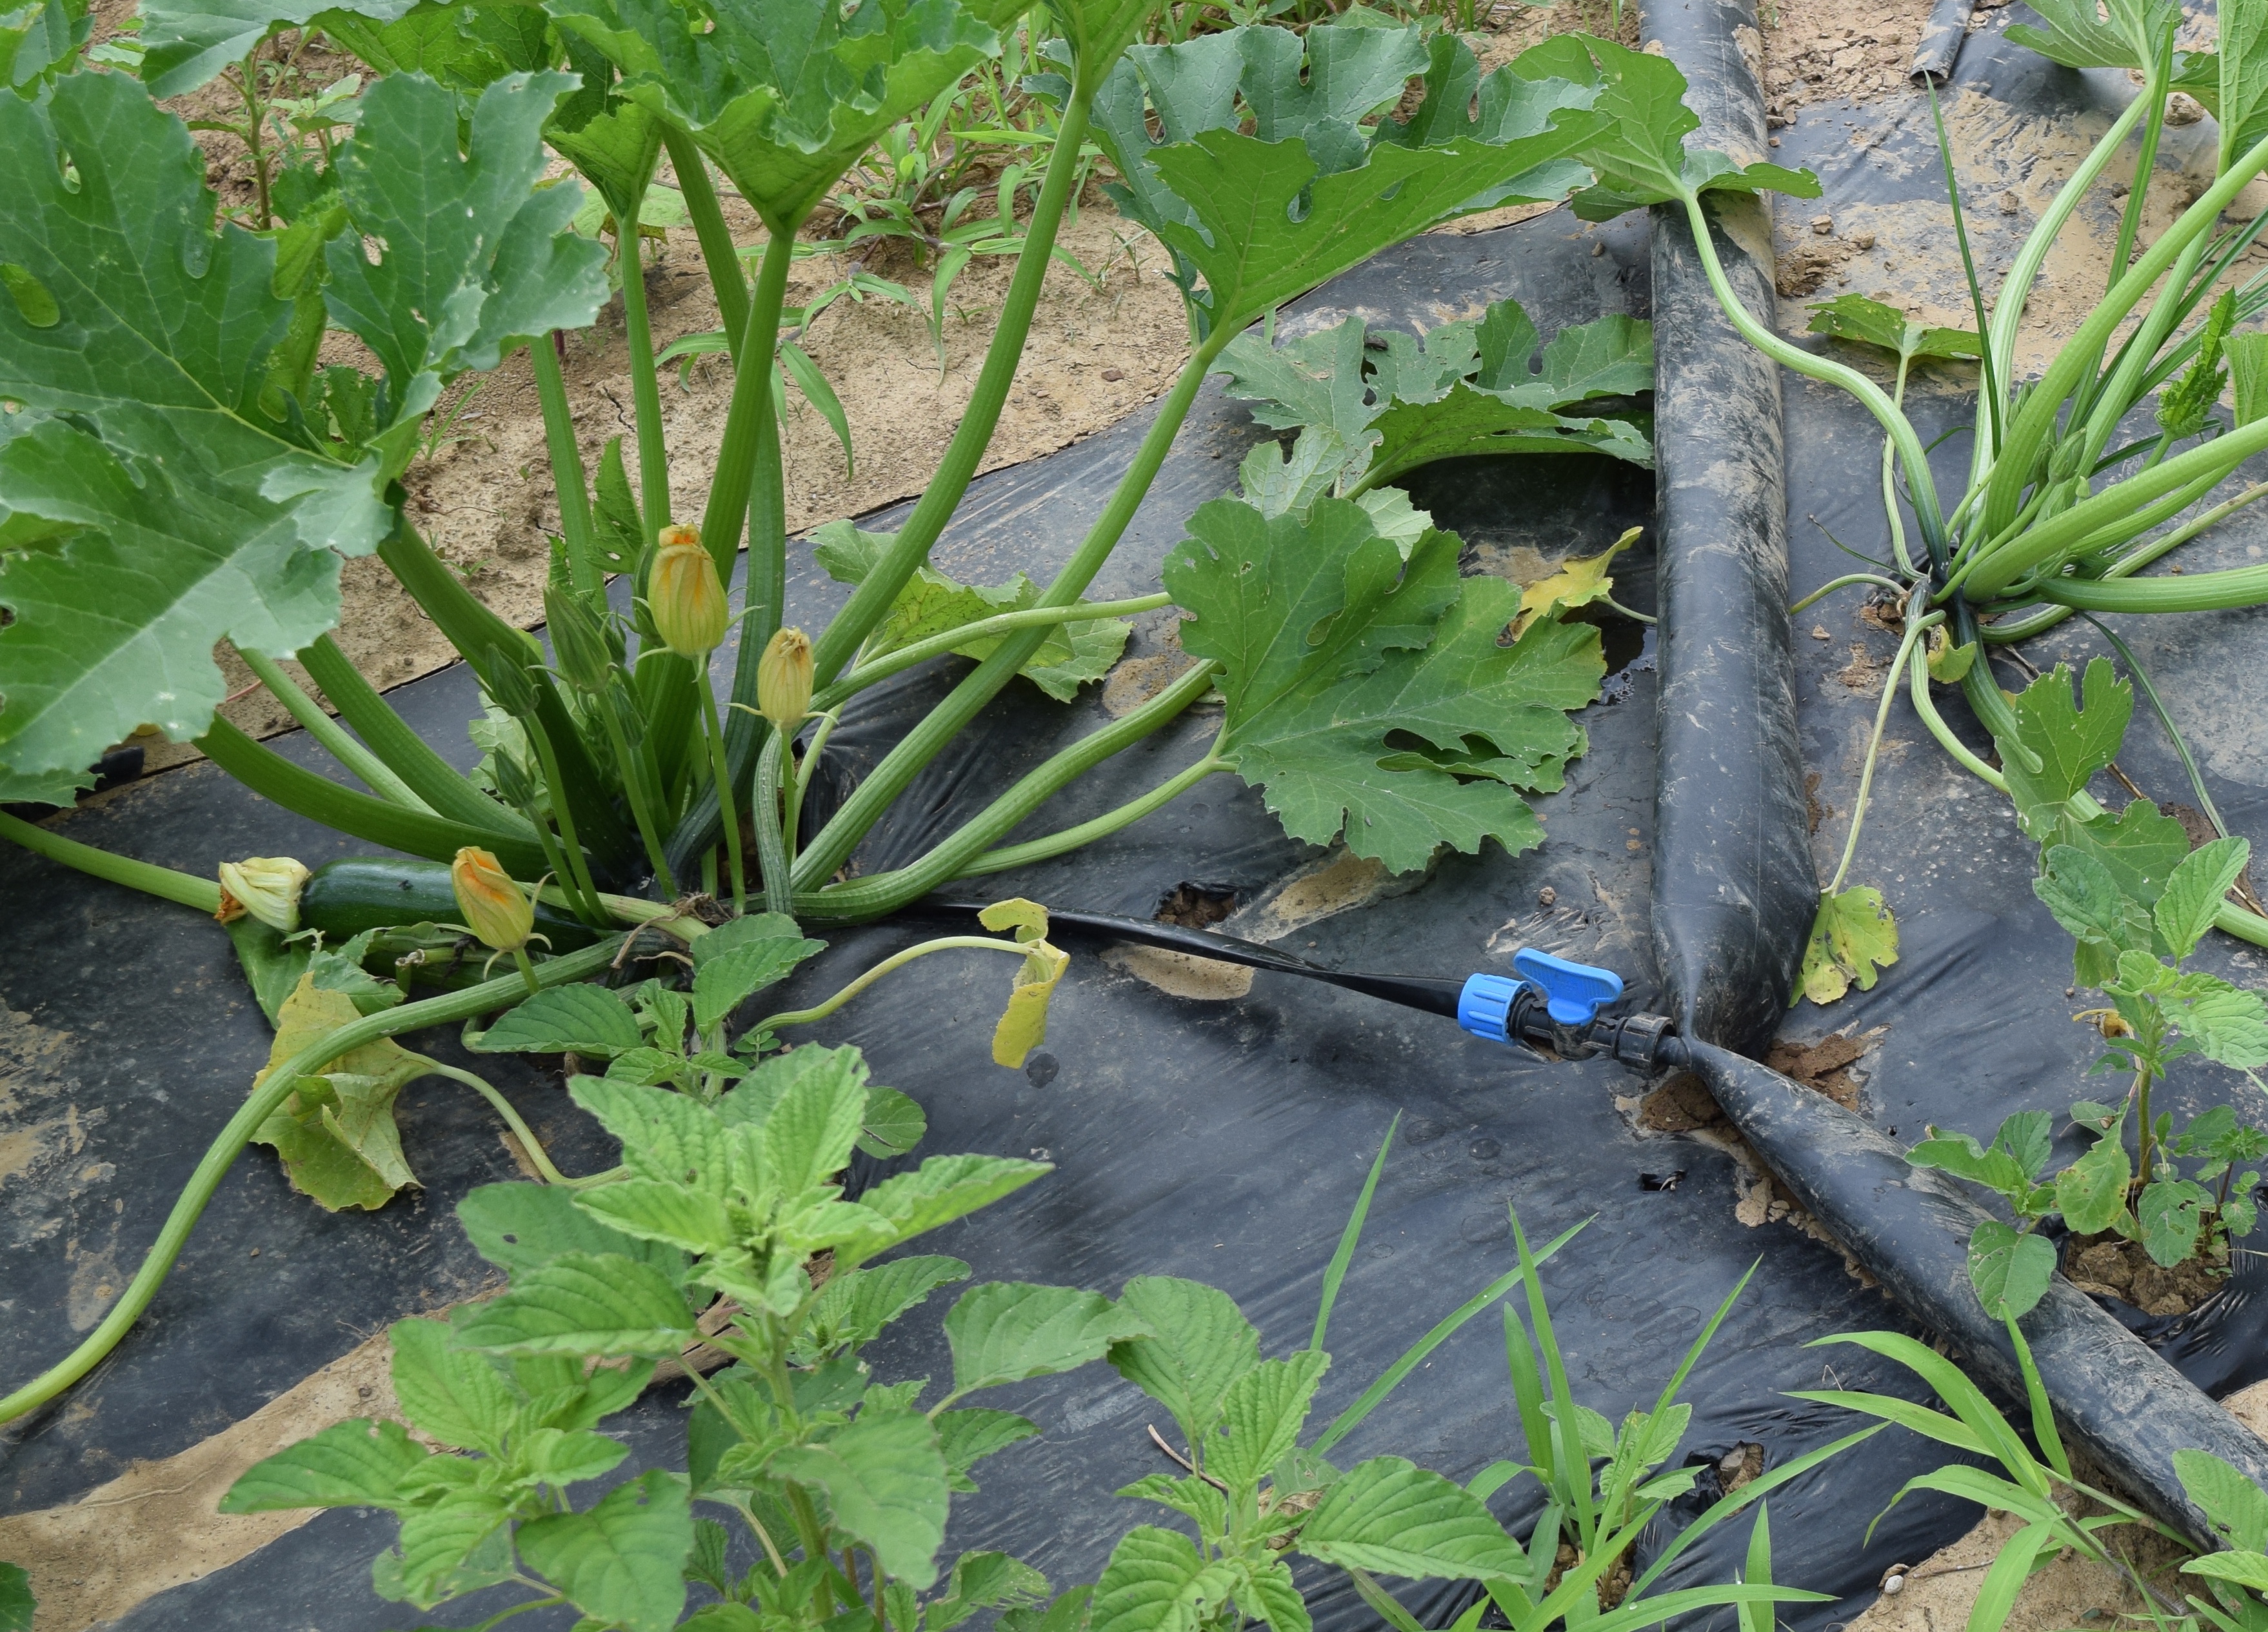
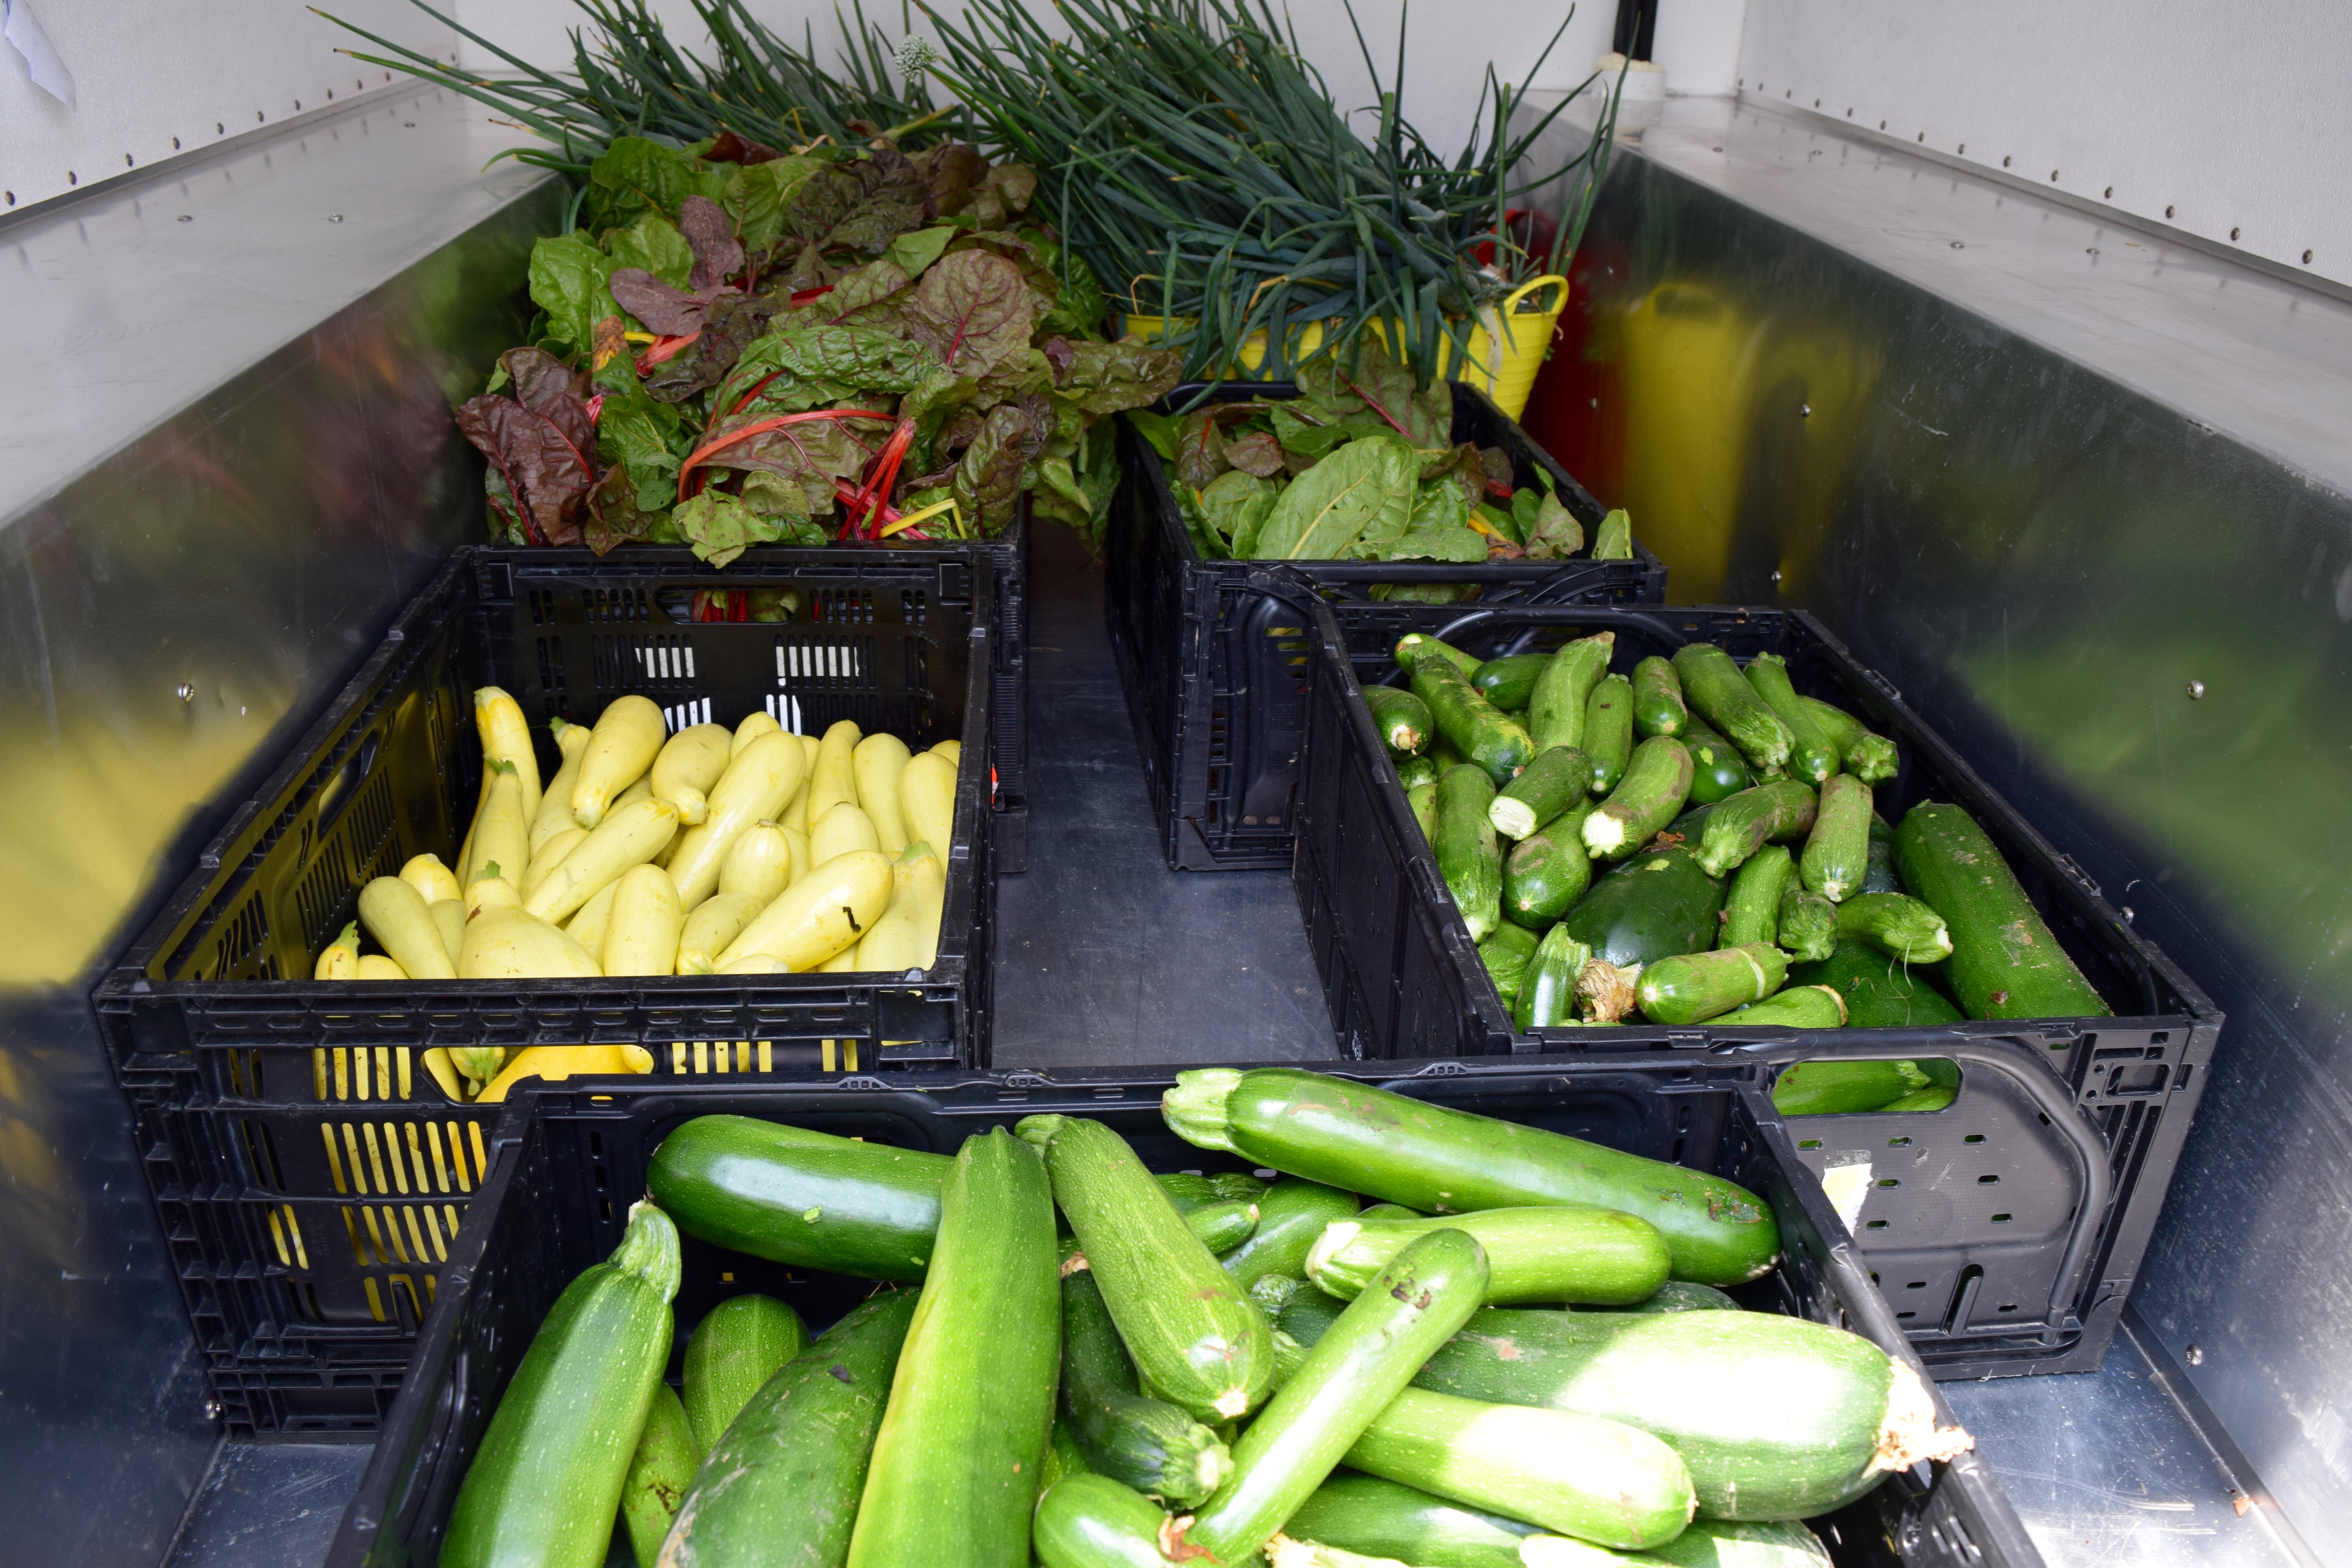
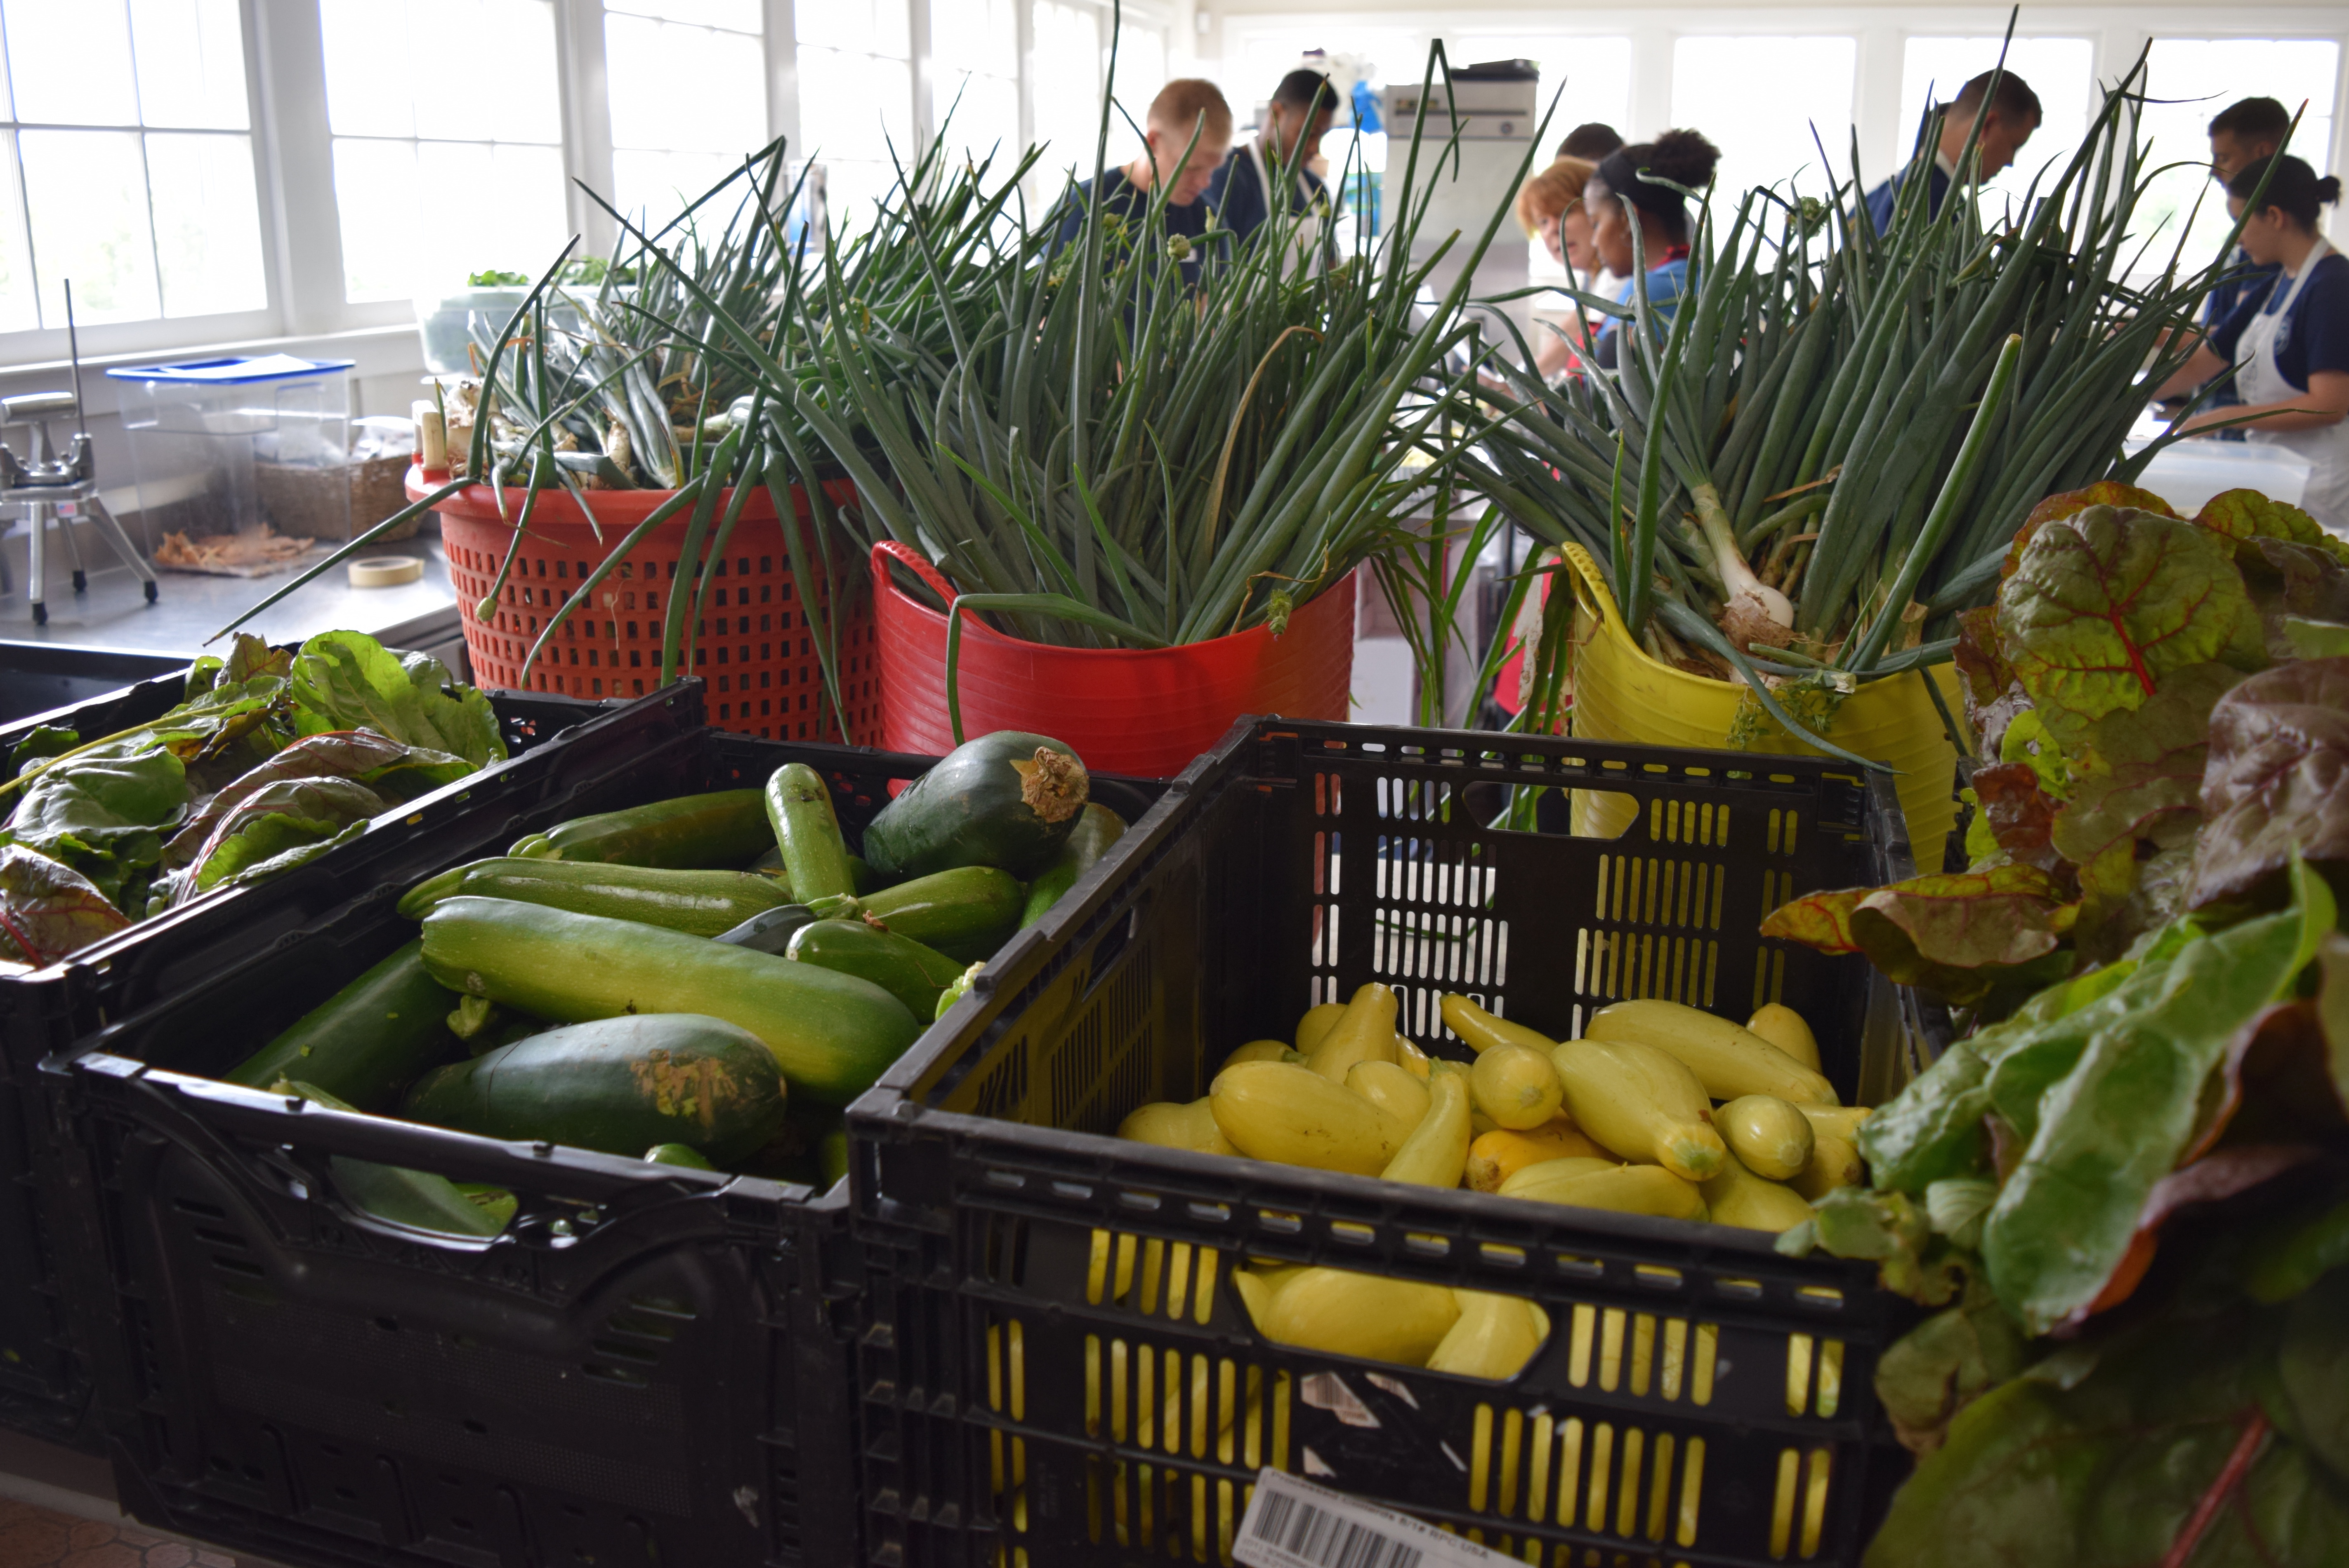
I love driving out to Delvin Farms in College Grove. It’s a beautiful drive, and I know I’ll always learn something new about organic farming practices from Hank or his dad. Check out this post from last year when I chronicled a morning spent gleaning vegetables for TNFP at Delvin Farms. The most interesting tidbit I learned on this visit was the concept of incomplete pollination. Like for many of you, I’ve seen the results of incomplete pollination — misshapen berries like the ones in the photos below; I just didn’t know there was a name for it — or a reason.

IMG_7253

Some misshapen berries are lovely!

IMG_7267

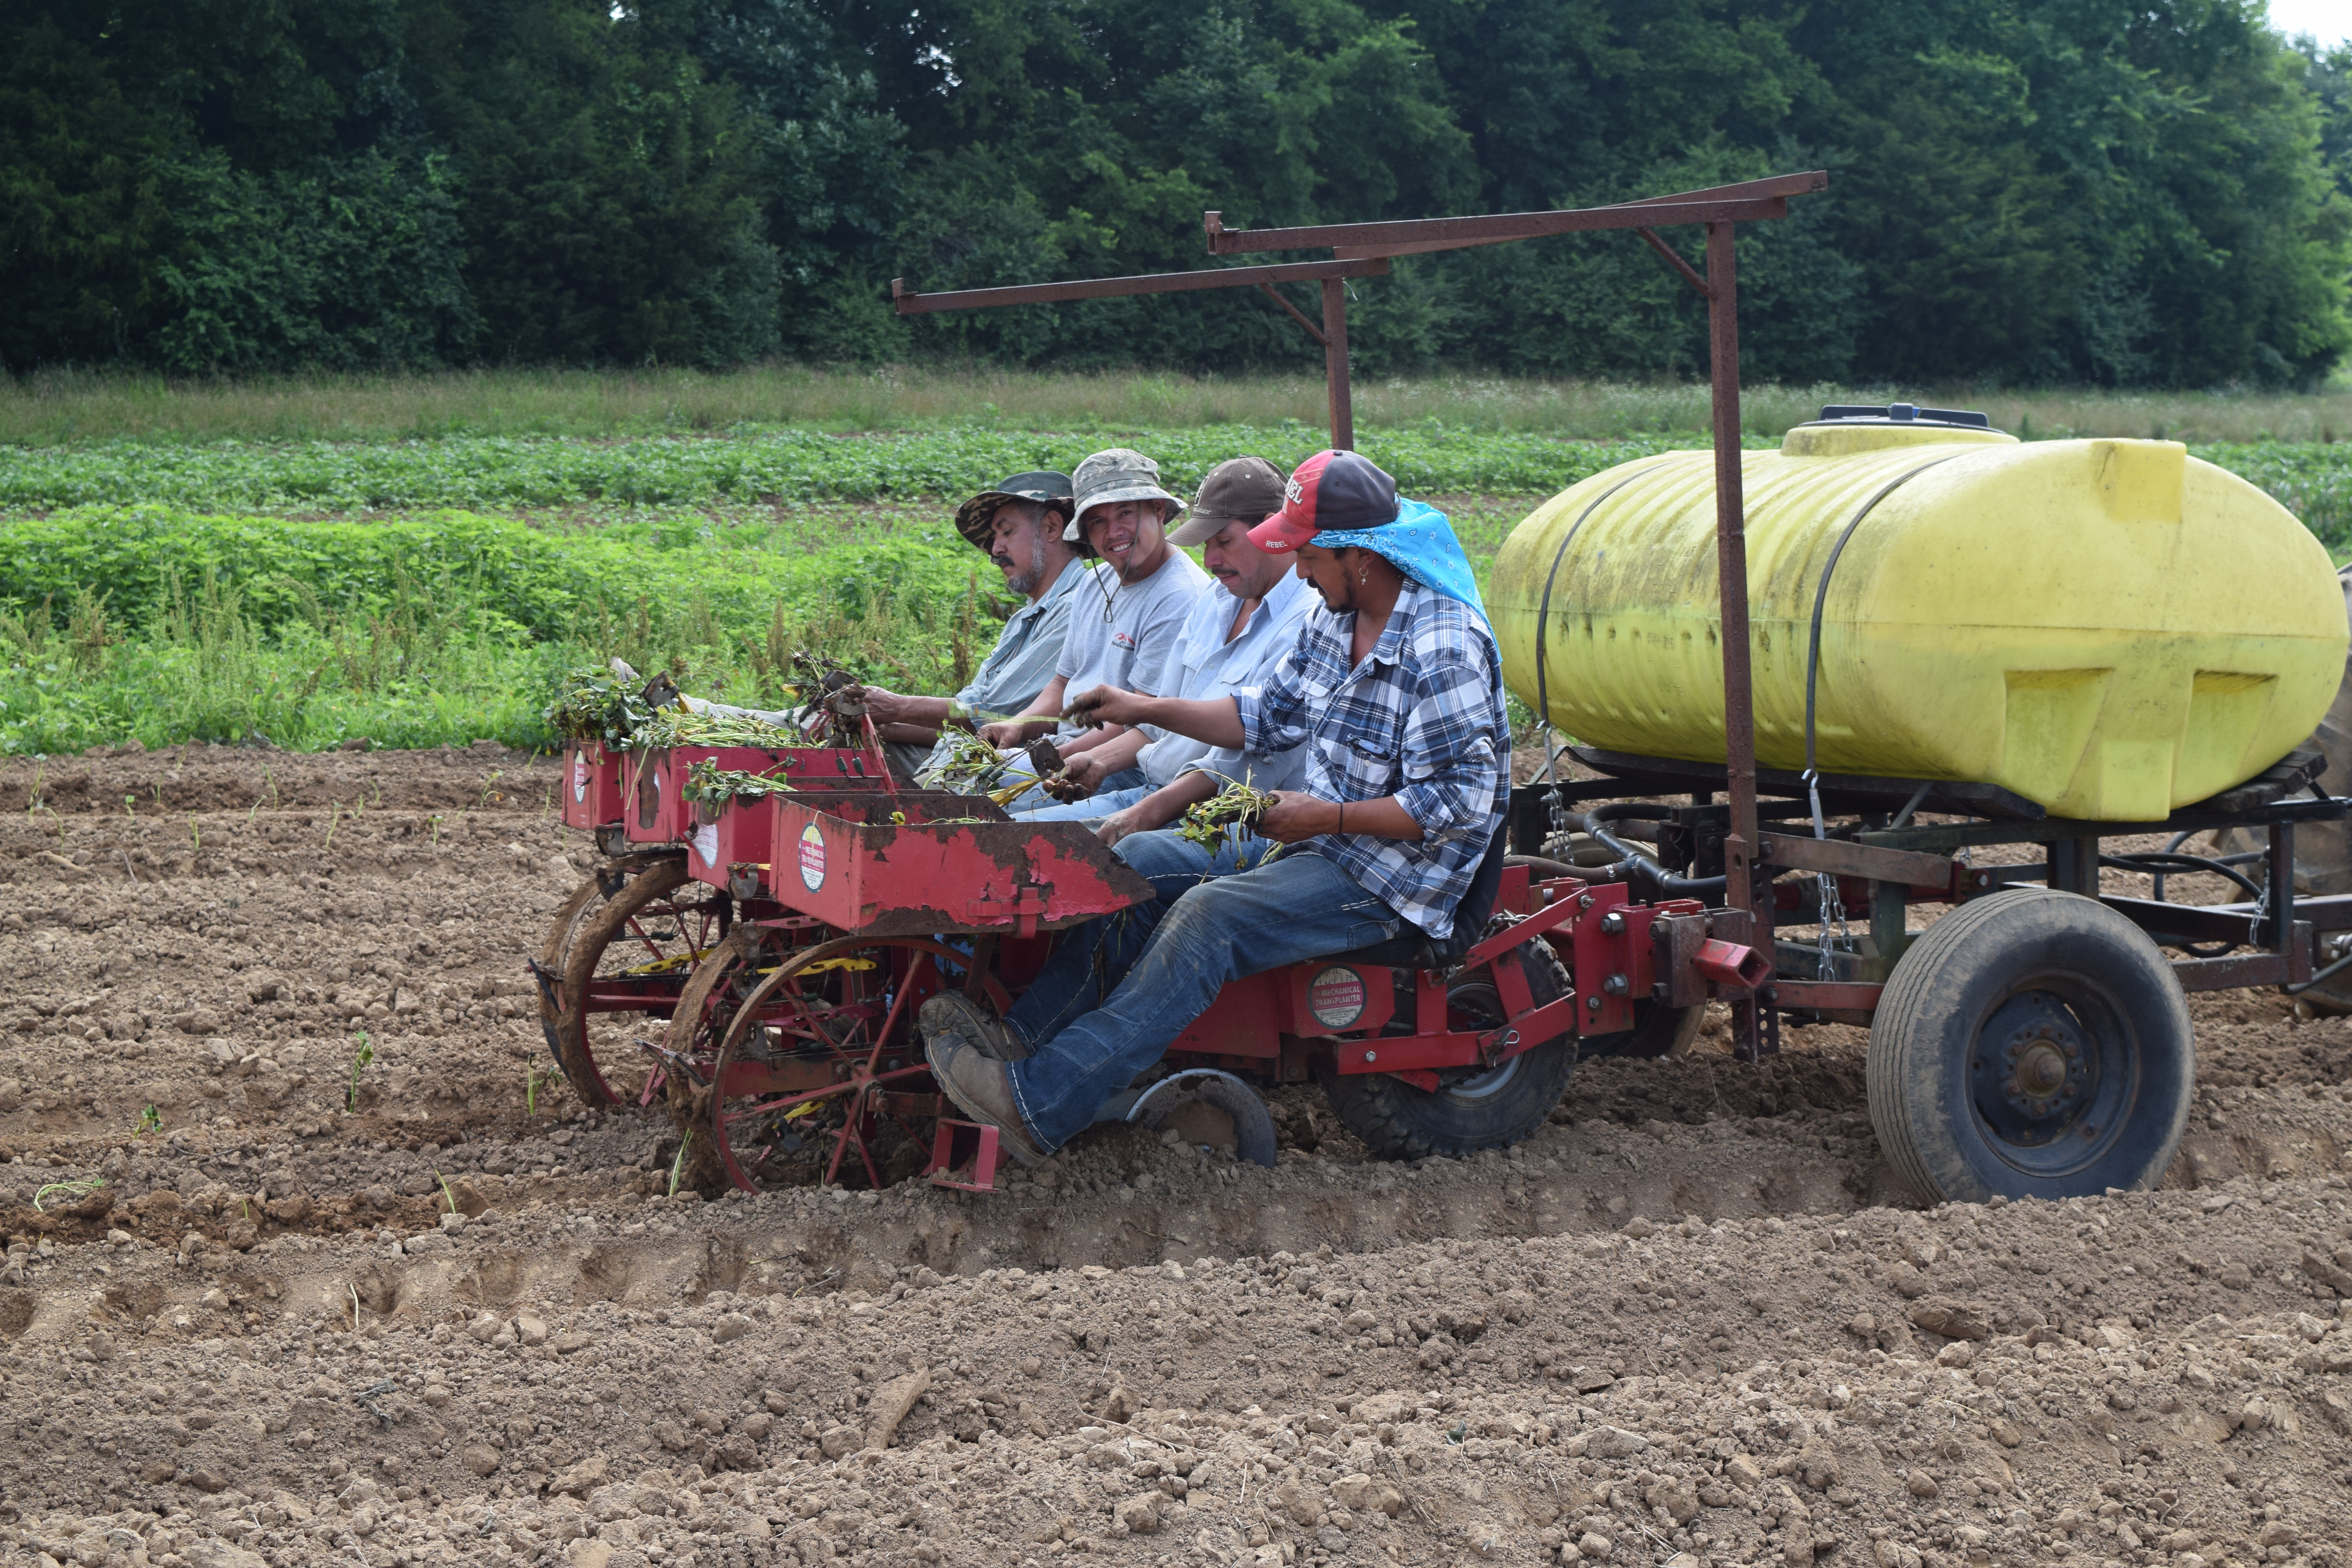
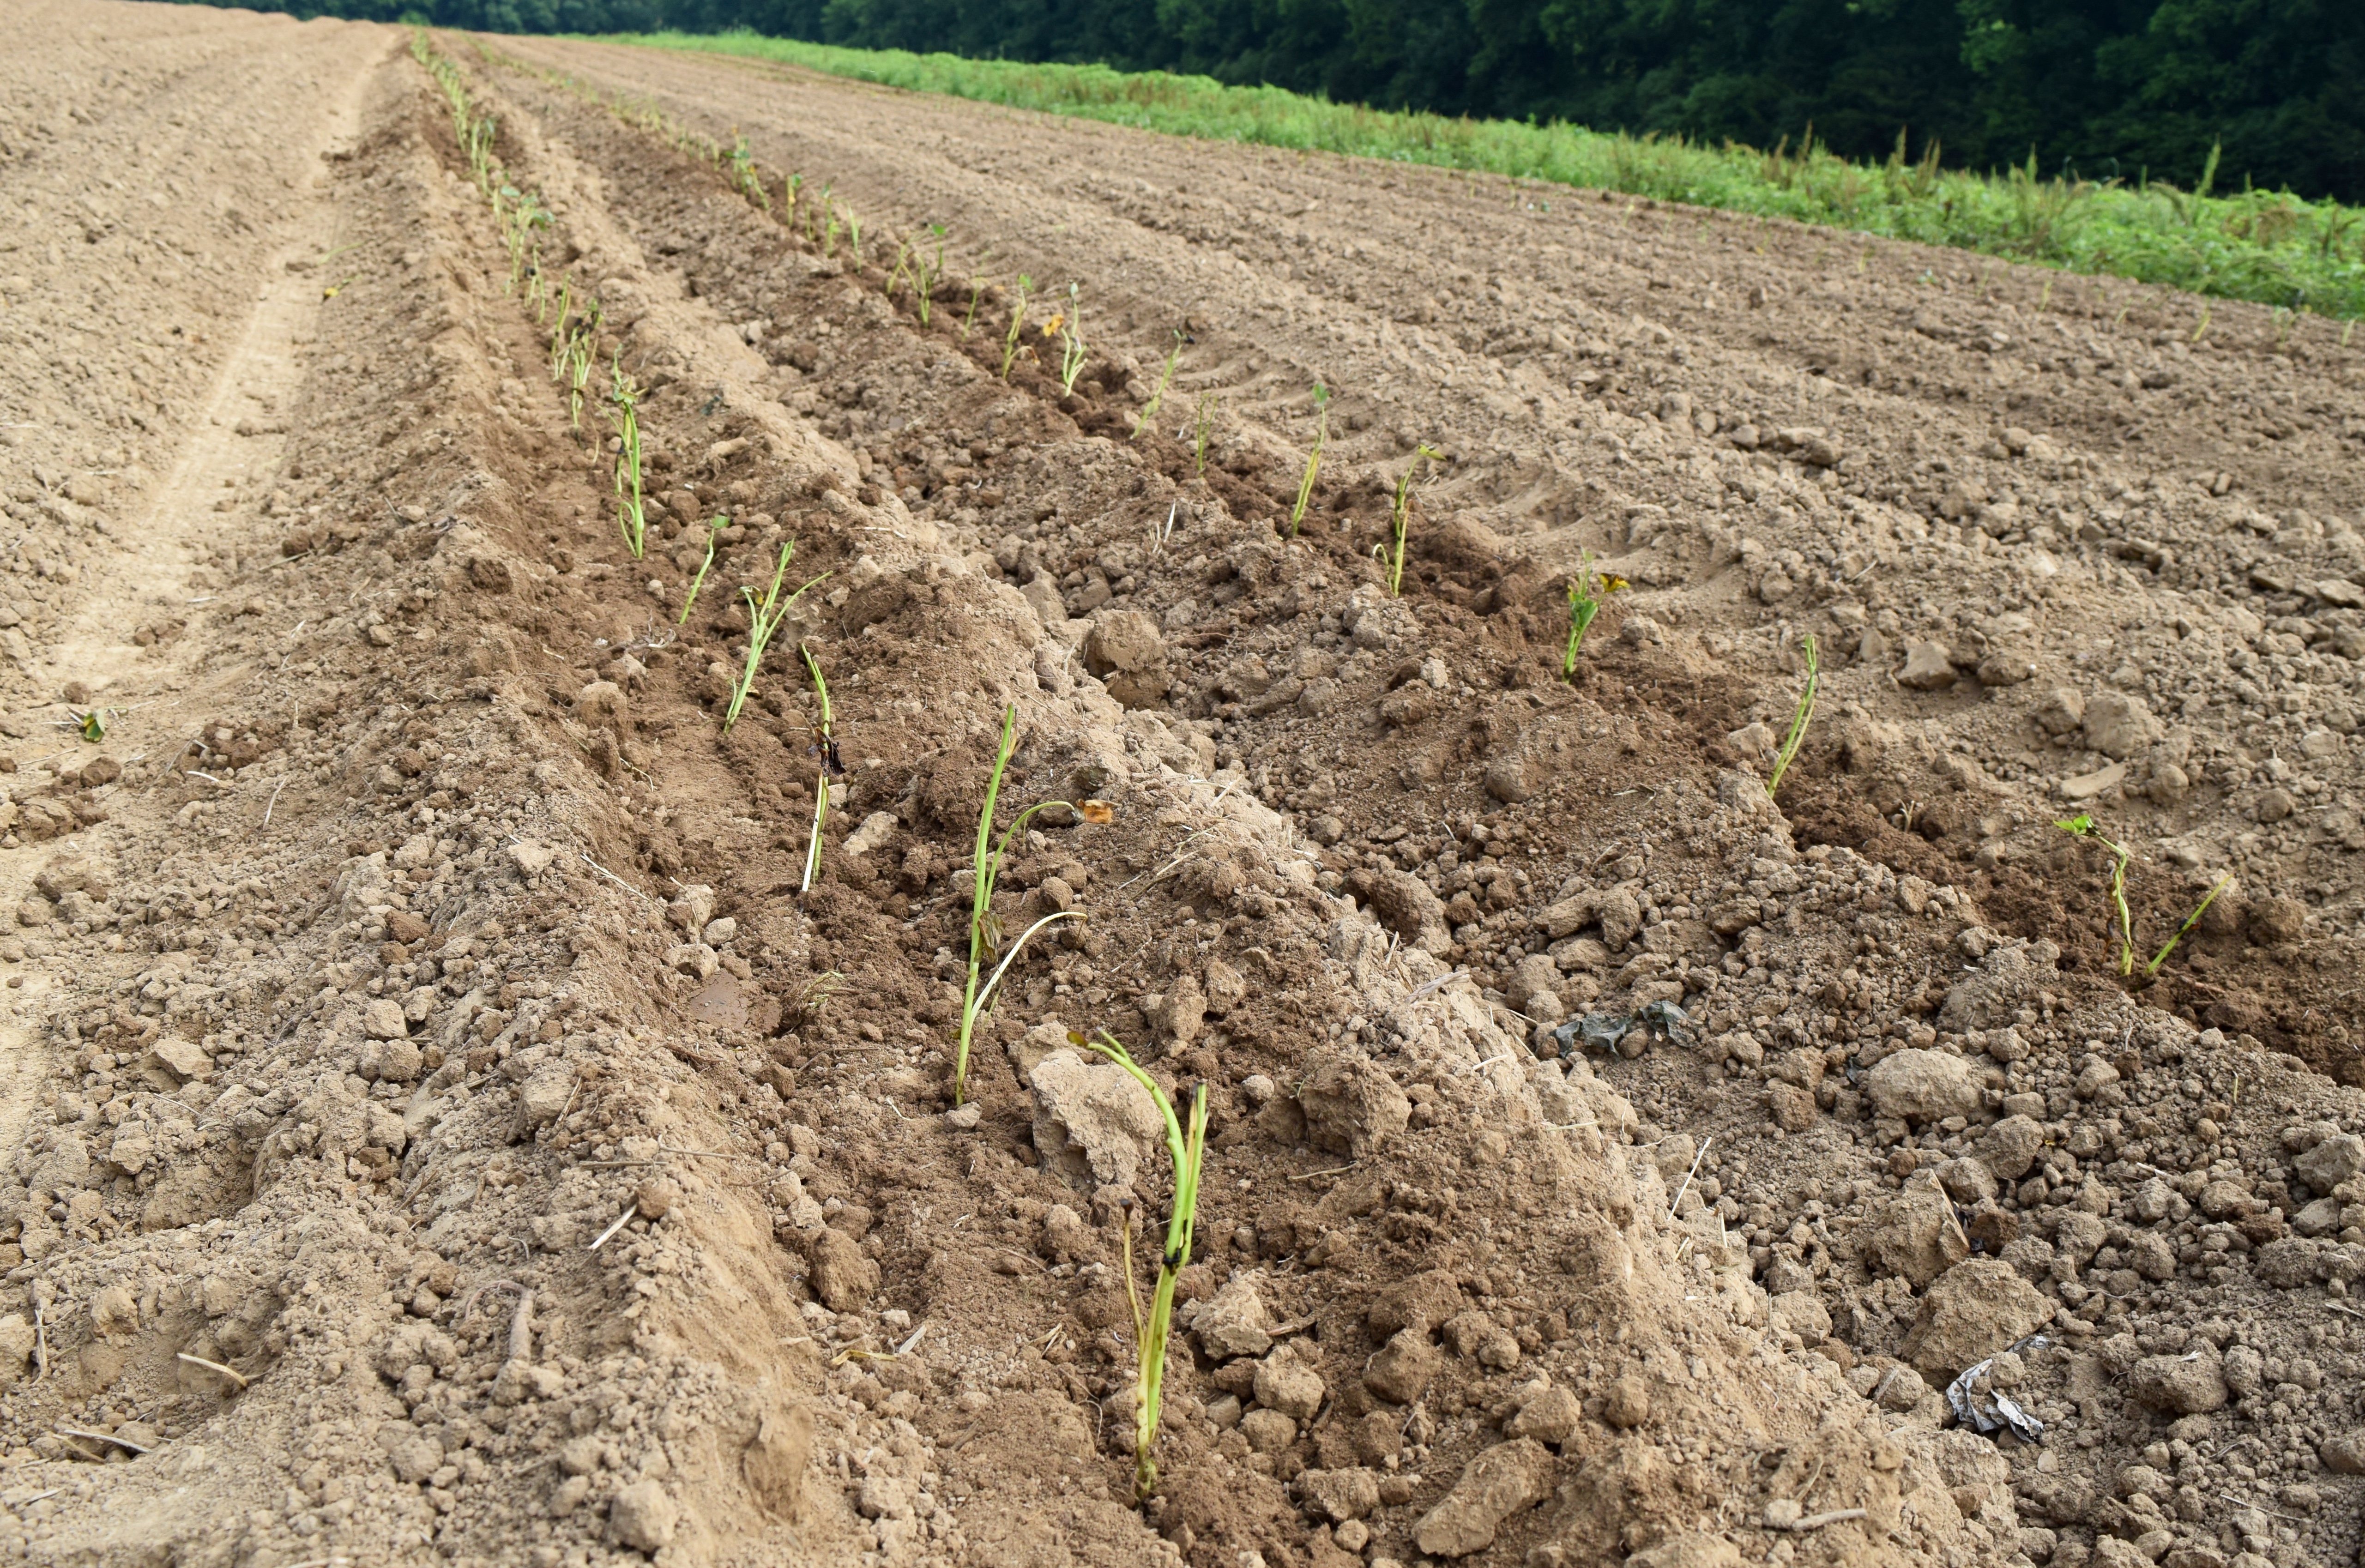
Hank plants new June-bearing strawberry plants in plastic-covered raised beds every September. The plants go dormant for the winter and start growing again in the spring. The plastic keeps the weeds out and warms the soil in spring.  Once the flowers begin to bloom, they must be protected from frost.

DSC_0318

To this end, Hank’s staff covers each row of strawberries with an agricultural cloth whenever the temperatures dip. There were six touches of frost this spring in the three weeks preceding the first harvest.

Plant Sex

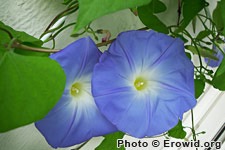
Strawberries are considered self-pollinators, and as such, their male and female parts are on the same flower. It takes gravity, wind, rain, and insect pollinators to move the pollen across the flower’s reproductive parts. If the plants are covered, the wind and bees can’t do their part, leading to a higher incidence of incomplete pollination. It doesn’t take much wind though; I was amazed to see the plants’ leaves waving in a wind I couldn’t feel.

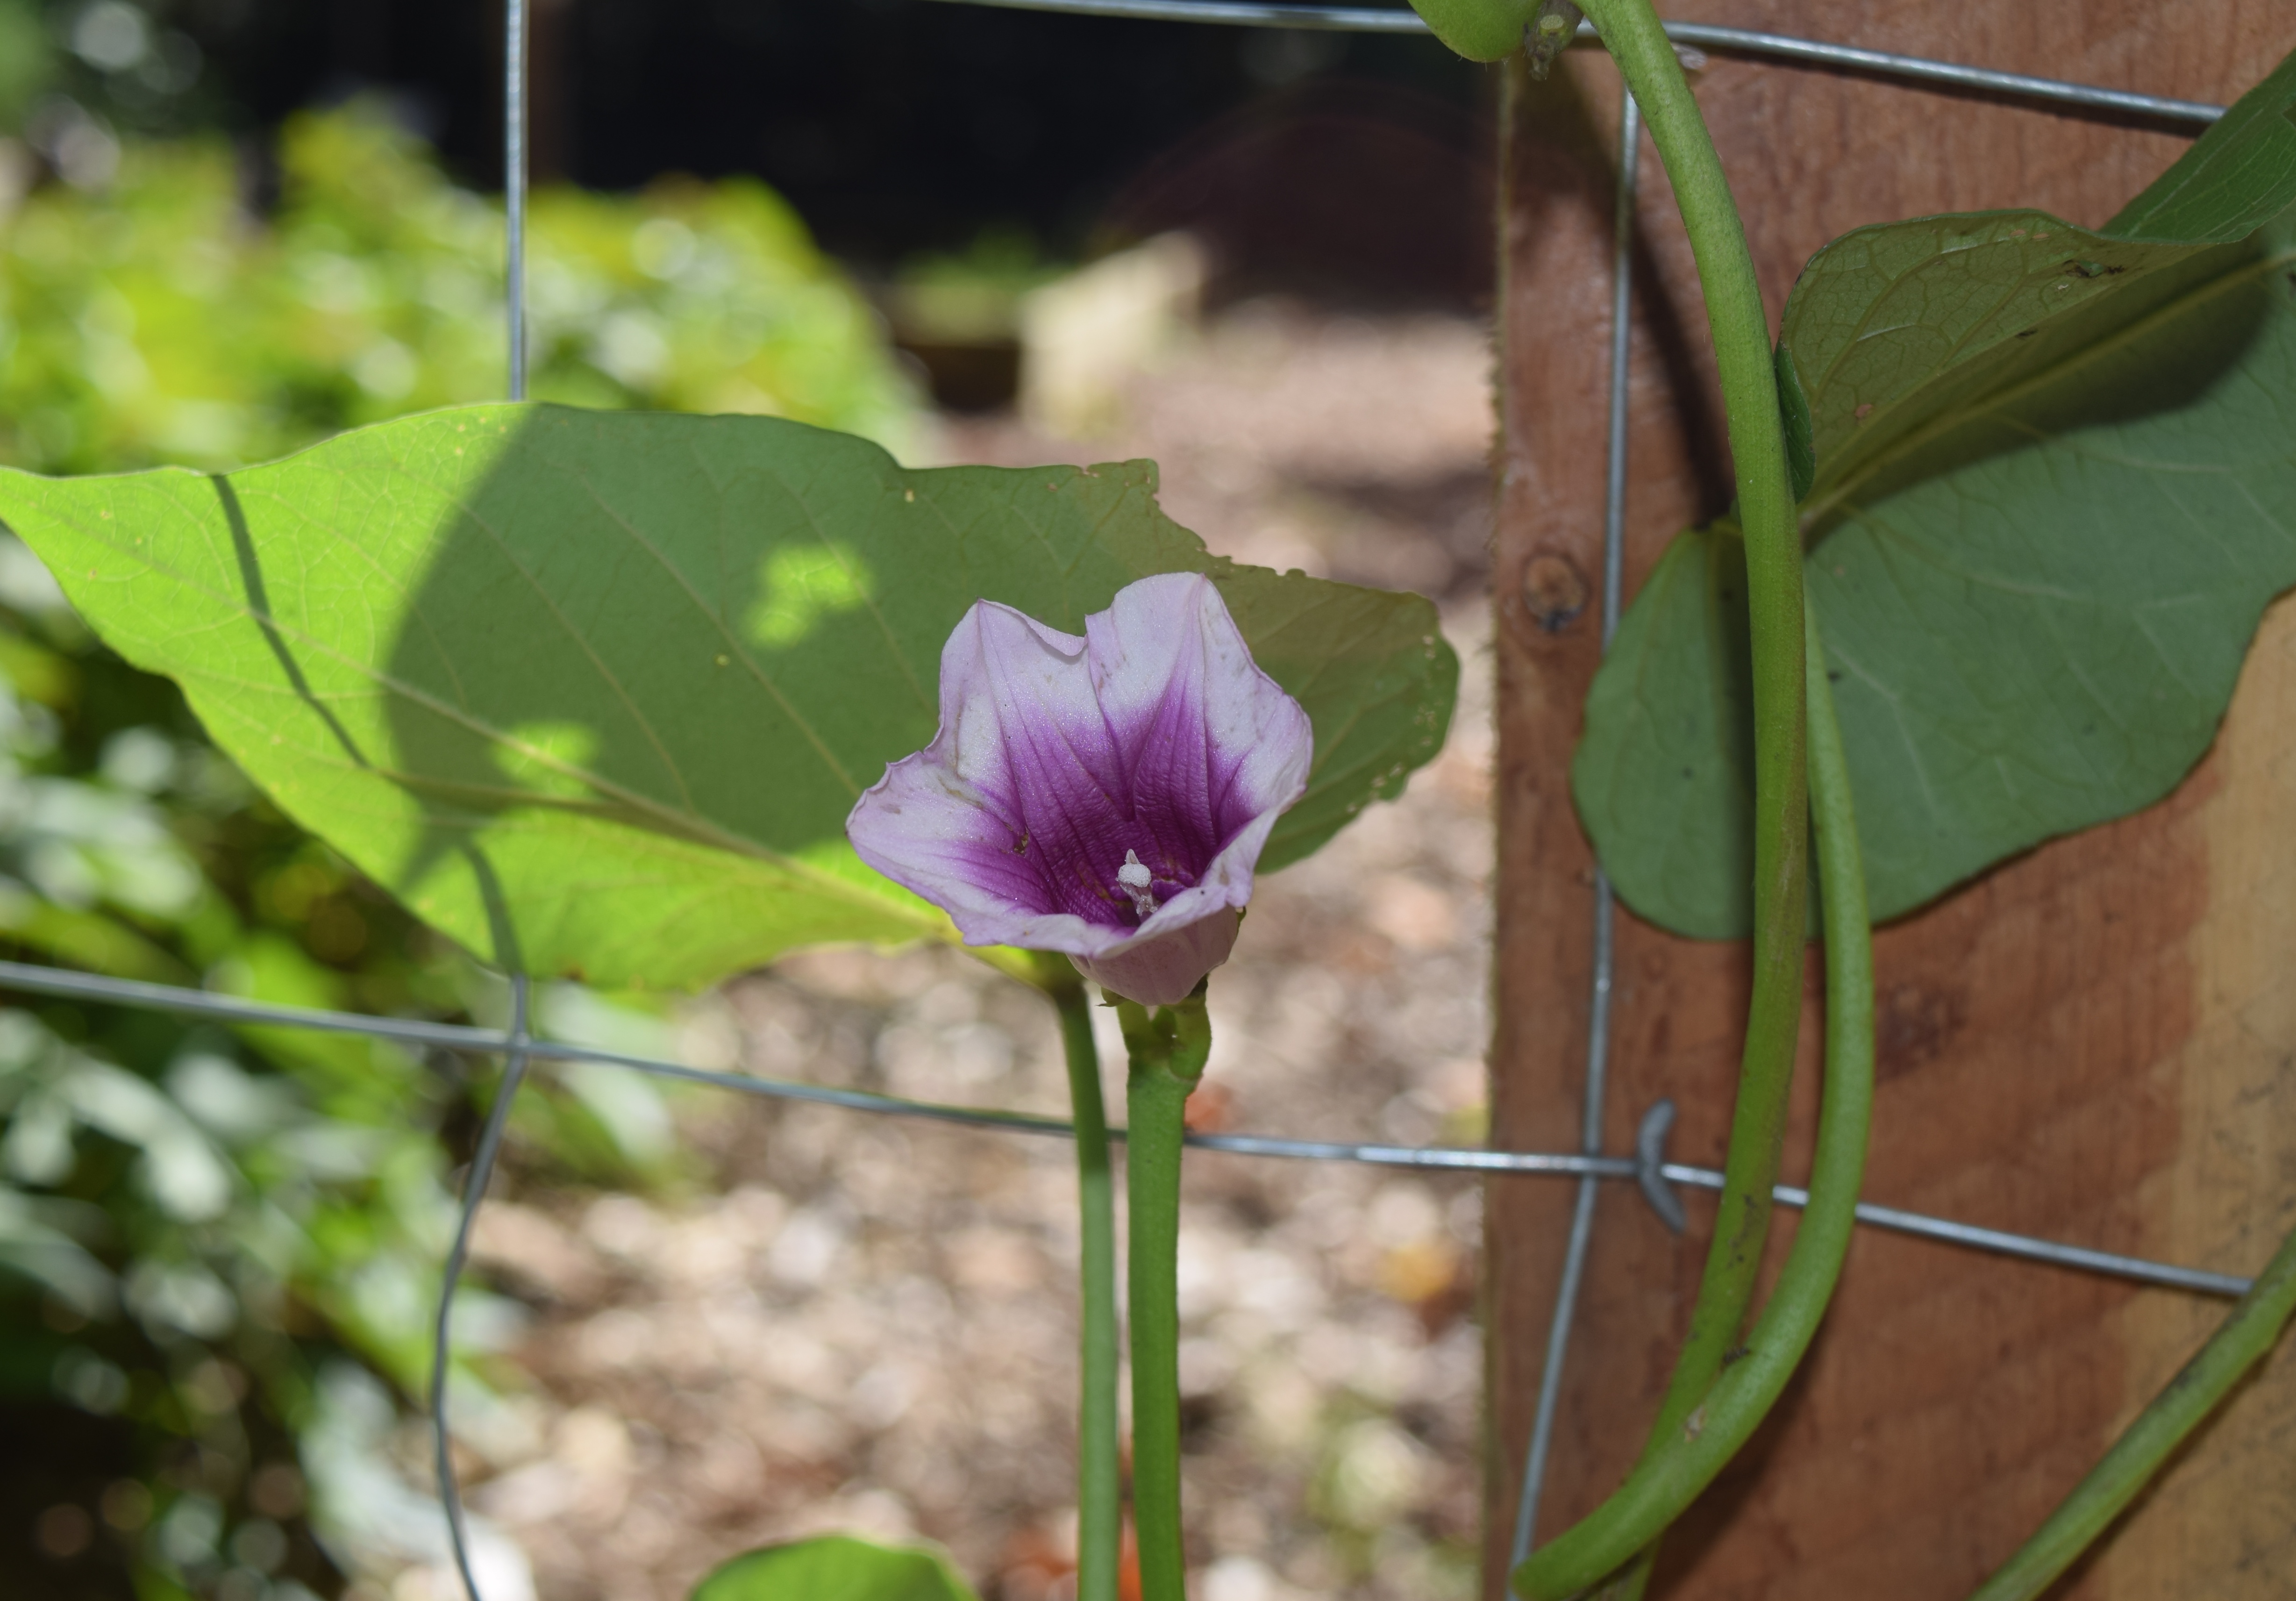
Pistils and stamens. Remember them?

DSC_0980 (2)

The strawberry flower is not your typical flower. Yes, it has the male parts, the yellow pollen-coated anthers known as stamens. And it has the female part, called an ovule, that connects to an ovary and is collectively known as the pistil. However, whereas most flowers only have one pistil, the strawberry is an aggregate fruit and has as many as 500 spike-like ovules, each one an immature egg needing to be pollinated so it can produce seed. The more of those ovules that get pollinated, the bigger, puffier, and more perfect the strawberry.

DSC_0316

The Recipe!

Yield: 4 cups of jam
DSC_0634

8 cups (2 quarts) strawberries, stems removed and berries quartered
4 cups granulated sugar
¼ cup lemon juice or balsamic vinegar
4 bushy sprigs fresh rosemary (1/2 ounce).

Clean and hull two quarts of strawberries. Figure on four cups of berries per quart container.

DSC_0471 (1)

Slice berries into lengthwise quarters.

DSC_0474

Add strawberries and sugar to a mixing bowl, stir and allow to macerate, which means to break down and soften.

DSC_0482

Allow berries to macerate for two hours, or up to 24 hours, stirring regularly to re-incorporate the sugar that sinks to the bottom. Don’t skip this step. It’s what helps the berry chunks to keep their shape.

DSC_0491

Squeeze the juice out from one large lemon and set aside.

DSC_0524

Pour the macerated strawberries and lemon juice or vinegar into a saucepan. Bring to a full rolling boil over high heat watching carefully, so the juice doesn’t boil over. A rolling boil is one that doesn’t stop boiling when you stir it.

DSC_0686 (1)

Once the mixture reaches a full boil, reduce the heat and simmer uncovered for ten minutes. About five minutes into the cooking time, add the rosemary sprigs, stir, and continue to simmer.

DSC_0555

The lemon juice and vinegar are acids and when heated help release the pectin in berries. Pectin is a gum-like substance that is needed to “set” jams and jellies. It occurs naturally in fruits, but more can be added in the form of powder if a faster set is desired.  For more on pectin, read my posts about making grape jelly and crabapple jelly.

Now it is time to roast the berries.
Preheat oven to 150º. If your oven’s lowest temperature setting is a little higher than that, no worries. You could even set the oven to convection roast and cook it in half the time, but I prefer the slow cook method.

Pour the mixture, including the rosemary, into a  13″ by 18″ baking pan. Place pan on the middle oven shelf and roast for 10 hours, or until the syrup is thickened and has a gel-like appearance. I often put it in the oven at bedtime and take it out the next morning.

DSC_0578

How to test hot jelly for gel formation: Use a chilled wooden spoon to scoop up the preserves. Allow to cool and then tilt the spoon, so jam starts to drips. If the drips form a triangle-shaped thick flake, it is ready. Don’t get too hung up here with the testing. After 10 hours, assume it is going to be great!

DSC_0591

Ladle into four 8-ounce hot, clean jars using a large-holed funnel and either
1) process in a water bath for 10 minutes, using the appropriate two-part jar caps, aka “canning,” or
2) cover with lids, turn upside down, allow to cool, and store in the refrigerator, right side up, until ready to use, or
3) freeze in plastic containers.

DSC_0739

I love the combination of strawberries, sugar, and balsamic vinegar, so I often substitute four tablespoons of balsamic vinegar for the lemon juice. The vinegar not only flavors the jam, but it gives it a smoother, earthier taste than the lemon juice.

DSC_0614

This jam is great spooned over @judyschickens granola and plain, low-fat yogurt.

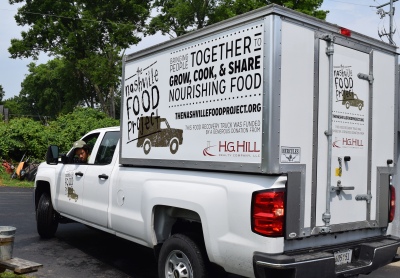
About The Nashville Food Project

The Nashville Food Project brings people together to grow, cook and share nourishing food, with the goals of cultivating community and alleviating hunger in our city. Their primary fundraising event, Nourish, will take place on Thursday, July 20th this year in the gorgeous dining hall at Montgomery Bell Academy.

Other Recipes with Strawberries
Strawberry Rhubarb Pie
Very Berry Clafoutis

Other Jelly Recipes
Crabapple Jelly
Grape Jelly

Other Breakfast Foods
DIY Yogurt and Yogurt Cheese
Sorghum, Oats, and Cranberry Granola
The Biscuit King
Mom’s Monkey Bread, circa 1970

LET’S STAY CONNECTED!

Follow my photos of vegetables growing, backyard chickens hanging out, and dinner preparations on Instagram at JudysChickens.

Never miss a post: sign up to become a follower of the Blog.

© 2014-2022 Judy Wright. All rights reserved. Photos and text may only be used with written consent.

How Canola Oil is Made (from plants grown locally)

Last April, I wrote a story about the gorgeous yellow fields of canola that were growing along I-24 in Cadiz, Kentucky. You can read all about it and see the photos here.
DSC_0637

This is Part 2 of that story. The part where after seeing a dramatic increase in the number of yellow fields from the year before, I called the plant manager at the local AgStrong Canola and Sunflower Seed Processing Plant that I had read about in the paper and asked, What gives? Why are we suddenly seeing so much yellow? When he started to explain, I realized I had a lot to learn and asked if I could drive over to meet him and get a tour of the plant. An hour later Mark Dallas was giving my husband and me a tour. Not exactly the way I thought my day would turn out, but I do love a good backroads detour.

As background information, can-o-l-a oil, or “Canada-oil-low-acid,” is made from crushed canola seeds. These seeds are about the size of poppy seeds. Even having seen how canola oil is extracted from these seeds, I still shake my head in disbelief that anything that small, even in huge numbers, could produce something as useful as cooking oil.

A very short botany lesson about plant reproduction:
Flowers have one job, and one job only: to induce reproduction. To that end, flowers that are fertilized will make seeds. Those seeds will make new plants. That the plants grow and produce tasty fruits and vegetables that we like to eat, is bonus. Botanically speaking, those fruits of the plants are actually ripened ovaries full of seeds waiting to be planted. The flesh of fruit is sweet so animals will eat it and disperse the seeds in their travels. Tree nuts work in the same way; Mother Nature is counting on squirrels to bury nuts and thereby assure they will sprout and there will be more trees in the future.

Back to canola flowers and seeds. Like winter wheat, canola is planted in the fall, sprouts, goes dormant in the winter,​ and perks up again in early spring. It flowers in mid-April, and the seed pods are harvested in mid-June. Farmers like to grow winter wheat and canola because then they can double-crop their fields, meaning there is time left in the warm summer months to raise another crop, such as soybeans, in that same field. By comparison, in most northern climates, there’s only time to grow one crop like wheat or canola.

The photo on the left was taken from a stem of canola flowers on April 17th. The photo on the right was taken on June 12th, just a few days before the pods were harvested by the combines I wrote about in this article.
Version 3 DSC_0495

You may have seen similar seed pods develop in your own gardens if you ever let broccoli or bok choi plants flower and “go to seed.” If you look closely at the flowers below, you can see the early development of seed pods. They look like little spikes. Canola is in the same Brassica family as bok choi and broccoli.

The next photos are of fully mature canola seed pods that I dissected at home to release the seeds within. You can see how small these seeds are. It’s amazing to think cooking oil is extracted from them.
DSC_0141 DSC_0147

AgStrong contracts with local, family-owned, farms to plant nonGMO canola seeds in their fields. NonGMO means the seed’s genetic material has not been manipulated in a laboratory through genetic engineering to make it more disease or insect resistant. A few other tidbits I learned about growing canola: canola has a 5-6 inch tap route which acts as a natural tiller in the soil, and canola brings in $8.10/bushel compared to wheat’s $5.25/bushel.

IMG_7716 a53cfd_4562ef1f791a498283dc60749c982789.jpg_srz_p_371_272_75_22_0.50_1.20_0.00_jpg_srz

Here is a photo of the canola oil processing plant in Trenton, KY.
DSC_0307

It takes a lot of seeds to make canola oil and these fifty-foot silos are full of them.
DSC_0289

This is what the inside of one of those silos looks like.
DSC_0290

The first stop on the tour was the long silver cylindrical oven used to warm the seeds to no more than 120º. Warming the seeds made them easier to press. The low oven temperature kept the process in the category of cold-pressed. The blue conveyor belt brought the warmed seeds to a machine that cracked the hard outer shells.
DSC_0257

Next stop was the seed crusher. This was where the magic happened. This machine crushed the seeds and expelled the golden canola oil into the blue well. The oil will still need to go to an offsite refinery before it can be bottled.
DSC_0266

Here’s a video of the mechanical magic happening:

Here was the residual seed meal as it dropped onto a conveyor belt.
DSC_0274

This meal was delivered to the green machine for a second pressing to remove the last traces of oil. At this plant, there are no chemical solvents, like hexane, used to extract these last drops of oil. That’s where the expression “all natural expeller press” comes from.
DSC_0283

Here’s the residual meal as it came off the conveyor belt after the last of the oil had been pressed from it. The meal is used to feed livestock.
DSC_0277

This is the transport room. It’s where the seeds, collected from farmers, are gathered and delivered to the silos for storage. And later, after pressing, where the extracted oil is weighed and distributed, via trucks, to be delivered to Georgia for the final refining process and …
DSC_0286

bottling. You can find Agstrong’s Solio Canola Oil at Whole Foods stores.
IMG_3031

But the story doesn’t end there. As a volunteer chef and Board member of The Nashville Food Project my antennae is always up for opportunities for food donation and food recovery. Canola and olive oil are two expensive staples we use in abundance at TNFP. I asked if Agstrong would consider partnering with us and donating their locally grown and manufactured Solio oil to TNFP, which they have graciously done. Here was the Plant Manger, Mark Dallas, donating a 35-pound container of oil to TNFP, on the spot.
Version 2
And that’s how this one little detour ended up providing cooking oil for TNFP whose mission is “Bringing people together to grow, cook, and share nourishing food with the goals of cultivating community and alleviating hunger in our city.”
DSC_0447
The story, however, didn’t end there, either. I happened to “pull” a few young canola plants from the side of the road last April to plant in my vegetable garden, so I could watch and learn how these plants matured to the seed stage. Once the plants produced seed pods and dried out, I was pleasantly surprised to walk out to my garden one day and see my chickens poking their heads through the chicken wire and eating the canola seeds.
IMG_0787
It looks like Agstrong’s byproduct of meal for livestock was a winner.
I’ll leave you with a video of my chickens enjoying canola seed pods:

Related Posts on Commercial Farming:

LET’S STAY CONNECTED!

Follow my photos of vegetables growing, backyard chickens hanging out, and dinner preparations on Instagram at JudysChickens.

Never miss a post: sign up to become a follower of the Blog.

© 2014-2017 Judy Wright. All rights reserved. Photos and text may only be used with written consent.

Farming Equipment 101: Harvesting Winter Wheat

It’s hard to explain my fascination with farming and farm equipment, but I am smitten. I’ve noticed my husband now automatically slows down when we drive by a farm with interesting agricultural activity going on: tractors crisscrossing fields, barn smokestacks billowing smoke during tobacco drying season, a team of horses pulling a cart driven by Mennonite farmers, or even something as mesmerizing as the swaying of “amber waves of grain.”  DSC_0905 He knows me well, and by slowing down he is giving me ample opportunity to ask him to pull over. Better than turning back later, a few miles down the road, Right? We are well beyond just “pulling over.” He is now, with coaxing, all about driving down these long, beckoning gravel roads. The views and the farmers we meet are the rewards.

DSC_0205

I am awestruck by all that I see.

DSC_0189

I fully appreciate that the crops from these commercial farms are feeding people across the nation and doing it in such a beautiful and orderly fashion that it transcends art and science. It is a miracle of nature, at least to a neophyte like me.

Recently, while driving down Route 68 in Cadiz, Kentucky, on our way to Hopkinsville (aka Hoptown), I spied this mash-up of amber and John Deere green.

DSC_0902

I had been following the growth of this field of winter wheat since the seeds were first planted back in mid-October, then through their winter dormancy period, and finally to their full maturation, the seed production stage in late spring.

The photo on the right shows the wheat seeds/grains harvested from one “ear” of wheat. The flecks in the dish are the husks that had surrounded the seeds and are known as chaff.

DSC_0036  DSC_0305

Farming Equipment 101

The Combine

DSC_0961
The green machine is a “combine harvester,” a machine that harvests grain crops. The combine works by combining three labor intensive farm jobs: reaping, threshing, and winnowing crops. The blue machine is a grain cart that hauls the grain to a grain trailer which will then transport it to a mill either by truck or rail.

DSC_0914

The combine never has to stop working as there is commonly a grain cart traveling alongside it collecting the kernels as the vehicles roll across the fields. The grain is transferred via a 26-foot auger attached to the combine.  The efficiency of this system is brilliant. There is even a diesel fuel truck nearby ready to refuel the tractors, so they never have to leave the field. So, to refresh: green combine, to blue grain truck, to white grain trailer.

DSC_0946  DSC_0931

These next few photos were taken from the window of the tractor cab pulling the grain cart. Paul, the tractor driver, kindly invited me to ride with him so I could see up close how the combine worked.

IMG_0998

Paul was ably assisted by his young grandson, Jordan, whom he was babysitting for the afternoon. Jordan was in his glory sitting beside his grandfather. Who needs Tonka trucks when you have the real thing?!

DSC_0959

Here is the combine reaping, or cutting down, the wheat (as seen through the window of the tractor).

DSC_0951

The reaper feeds the wheat into a feeder head which transports it to an internal thresher. The thresher beats the seed “ears” to separate the grains from their stems, and the chaff from the seeds. In other words, the thresher “separates the wheat from the chaff” an idiom which means to separate what is useful or valuable from what is worthless. Thank goodness for Wikipedia!

1320px-Maehdrescher_schema_nummeriert.svg

Winnowing is the process of blowing air into the grain to blow off the chaff and other debris such as dirt before the grain enters the storage tank. As the combine moves along the field, you’ll notice a small dust storm flowing behind it. That is the chaff and stems being discarded back onto the field by the combine.

DSC_0941

The Planter
Another large and important farm machine is the planter. On this day, as soon as the combine finished harvesting the wheat, the planter, pulled by a tractor, came through to plant soybean seeds between the stalks and roots that remained from the harvested wheat. This is a no-till process; the farmer doesn’t remove the wheat stalks, or till them in. Leaving them in place to compost helps with weed control, soil erosion, saves on fuel costs, and helps with the bio-diversity of the land. The method of planting two crops in one field within one year is known as “double-cropping.”

This is a 16-row planter with individual seed hoppers (the yellow boxes).

DSC_0919 DSC_0925

Each row planter unit uses compressed air, delivered via the black hoses, to drill the seed into the dirt. You can see the seed drill hanging between the two slanted black discs.

DSC_0923

There was an “aha” moment for me here: I immediately recognized the two slanted discs on the 16-row seed planter as similar to the two discs on the 2-row planter used by the farmers at Delvin Farms in College Grove, TN. I knew what they were for! You can read about how that planter works here.

DSC_0920  DSC_0389

Another view of the planter: see the folded up wheels on the far right?  That’s a guide arm. When the farmer drives down a field with the guide arm unfolded, the small wheel makes a groove in the soil and lets the driver know where he needs to line up the center of his tractor when he turns to plant the next 16 rows.

DSC_0927

The Sprayer
There’s one more industrial-sized machine I have seen out on these commercial farms — the sprayer. The sprayer is used for fertilizing and applying pesticides.

Canola

From the backside of the sprayer, you can see the storage tank for the chemicals.

Canola

The bountiful grain harvest!

Version 2

Special thanks to the employees of Arnold Family Farms for their hospitality and patience with my endless questions.

Related Posts on Commercial Farming:

LET’S STAY CONNECTED!

Follow my photos of vegetables growing, backyard chickens hanging out, and dinner preparations on Instagram at JudysChickens.

Never miss a post: sign up to become a follower of the Blog.

© 2014-2017 Judy Wright. All rights reserved. Photos and text may only be used with written consent.

Growing Sweet Potatoes and Other Crops at Delvin Farms

“Bringing people together to grow, cook and share nourishing food.”  The Nashville Food Project’s motto is my motto, too.IMG_0821

On Monday mornings, The Nashville Food Project sends a team of staff, interns, and volunteers to glean from the fields of Delvin Farms, a 140-acre farm in College Grove, Tennessee. The farm, started by the Delvin family in 1972, became certified organic in 1998 and began operating a CSA (Community Supported Agriculture) in 1999. In addition to their CSA, you can purchase their fruits and vegetables at various Farmers Markets around town. I was thrilled to get a chance to visit the farm with TNFP’s Monday team of gleaners: Marijke, Darrius, and Chris.

DSC_0375

We drove to College Grove in TNFP’s new refrigerated food recovery truck donated to TNFP by the H.G. Hill Realty Company this year.DSC_0370

Every Monday, when the team arrives at Delvin Farm, Hank Delvin, Jr. directs TNFP’s food recovery team to different areas of the farm where they can glean. This week, the gleaners harvested onions and chard from fields about to be plowed over. Hank also let us glean from Delvin Farm’s abundance when he let us harvest from their newly ripening fields of zucchini and summer squash. This was Biblical. The Delvins’ generosity netted the indigent citizens of Nashville 295 pounds of fresh produce, this week alone.

Zucchini and Squash Fields
These fields take my breath away!

DSC_0381DSC_0385DSC_0383

I like the way the Delvins cut down on watering, as well as how they control weeds and insects by laying heavy black plastic over the dirt. They then run a soaker hose under the plastic to water the plants.

DSC_0378

Onion Field
That’s Hank and Chris out in the field harvesting onions.DSC_0424DSC_0427

Swiss Chard Field
Rainbow chard always looks like a bouquet of flowers to me. I asked Darrius, TNFP’s Meals Assistant, to pose for me in this photo.DSC_0431DSC_0433

At some point, I was distracted from gleaning by what was going on in the next field over…

DSC_0388

I walked up to the jovial field hands to ask what they were planting. Sweet potatoes.

DSC_0401

I must admit, when I first saw them, I thought of this, the Nashville Pedal Tavern.

535778_518326454875364_429056836_n-copy-1

I asked Hank Sr. to tell me about growing sweet potatoes.DSC_0443

Sweet potatoes are in the morning glory family. Notice how similarly the flowers grow.

sweet potato flower 

Sweet potatoes are a tropical plant and should be planted when the ground is warm in early summer. They’ll be ready to harvest in 120 – 160 days depending on which variety you plant. The “slips” are very hardy; it doesn’t matter how limp the leaves look, as long as they have a few roots on them, they’ll take.

DSC_0415

The Delvins plant thousands of potato slips each year.DSC_0437

I  am attracted to vintage, ingenious, efficient, gadgets of all sizes and this old planter was no exception.

DSC_0389

Here is how the planter works: A stationary v-grooved piece of metal cuts a thin gully in the soil as the tractor moves forward. Meanwhile, the field hands add slips of sweet potato vines into a device much like a Ferris wheel with multiple slip-carrying trays attached to a rim in such a way that as the wheel rotates, the little trays drop the slips into the dirt. As the slip drops in the ground, two red stationary wheels push the side soil back into place “locking” the slip into the soil. Simultaneously, a black hose delivers a squirt of water to each plant from the yellow tank located behind the men.

DSC_0393DSC_0395

Voila!

DSC_0407

Back to the gleaning. We loaded the containers of food into the refrigerator truck.

DSC_0451

We drove twenty minutes back to TNFP’s headquarters and brought the food into the prep room to be weighed. TNFP’s prep room is a beehive of activity where you hear the harmonious sounds of chopping mixed with chatting. Sign up for a shift at Hands on Nashville!

DSC_0460DSC_0464

Then the food went into our walk-in refrigerator to be used during the week.DSC_0467

I went home and planted the potato slips Hank had given me. One variety is called Orleans (top grouping) and the other is a Japanese variety known as Murasaki.

IMG_0802 (1)

I planted the slips in my potato bed in between the Red Norland and Yukon Gold potato plants. The white potato plant leaves should start to turn yellow and die this month which will make room for the sweet potato vines to grow. I’ve never planted sweet potatoes this way before, but it seemed like a good idea at the time. Like so many new ideas, we’ll see.

DSC_0470

I think the Delvins would be happy to know that TNFP used all of the vegetables gleaned from their farm this week as they prepared and shared meals for over 1100 Nashvillians. The onions and chard ribs/stems (like celery stalks) went into the chopped vegetables of this week’s entree, Shepherd’s Pie.

IMG_0830

The zucchini and summer squash were chopped by volunteer prep teams and prepared for roasting by the chef teams who simply added olive oil, salt, and garlic pepper and roasted them at 400º for 40 minutes.

IMG_0822

Our chef team decided to add the chard leaves (with ribs removed) to the still piping hot zucchini when it came out of the oven.

IMG_0833

We added the leaves, mixed them in, covered the pan, and put it all back in the oven for another five minutes. The combination was good and a quick way for us to prepare the chard with limited stovetop and oven space. If I were home, I would have served the roasted zucchini/chard mixture over pasta with Parmesan sprinkled on top.

IMG_0845

As Curious George would say, Today was a good day to be curious.

DSC_0463

Related Posts on Commercial Farming:

LET’S STAY CONNECTED!

Follow my photos of vegetables growing, backyard chickens hanging out, and dinner preparations on Instagram at JudysChickens.

Never miss a post: sign up to become a follower of the Blog.

© 2014-2017 Judy Wright. All rights reserved. Photos and text may only be used with written consent.