These are mosquito buckets. The white, donut-shaped discs floating in them are called MosquitoDunks®.

MosquitoDunks® contain a mosquito-specific toxin, B.t.i. (Bacillus thuringiensis subspecies israelensis), a naturally occurring bacterium found in soil and known to kill mosquito larvae. B.t.i. will not kill adult mosquitos or their eggs; it stops mosquito reproduction only in the larval stage. The mosquito bucket system is a bee-friendly, vegetable garden-friendly, and pet-friendly way to eliminate mosquitos.

This post is for you IF:
- You hate using Mosquito Joe-type fogger sprays to manage these pests because you suspect there is collateral damage to beneficial insects, but you hate mosquitoes more.
- You hate to wear bug spray and socks, a long-sleeve shirt, and pants in the middle of a hot summer day when you weed your garden.
- You worry about diseases spread by mosquitoes.
- Mosquitoes love you.
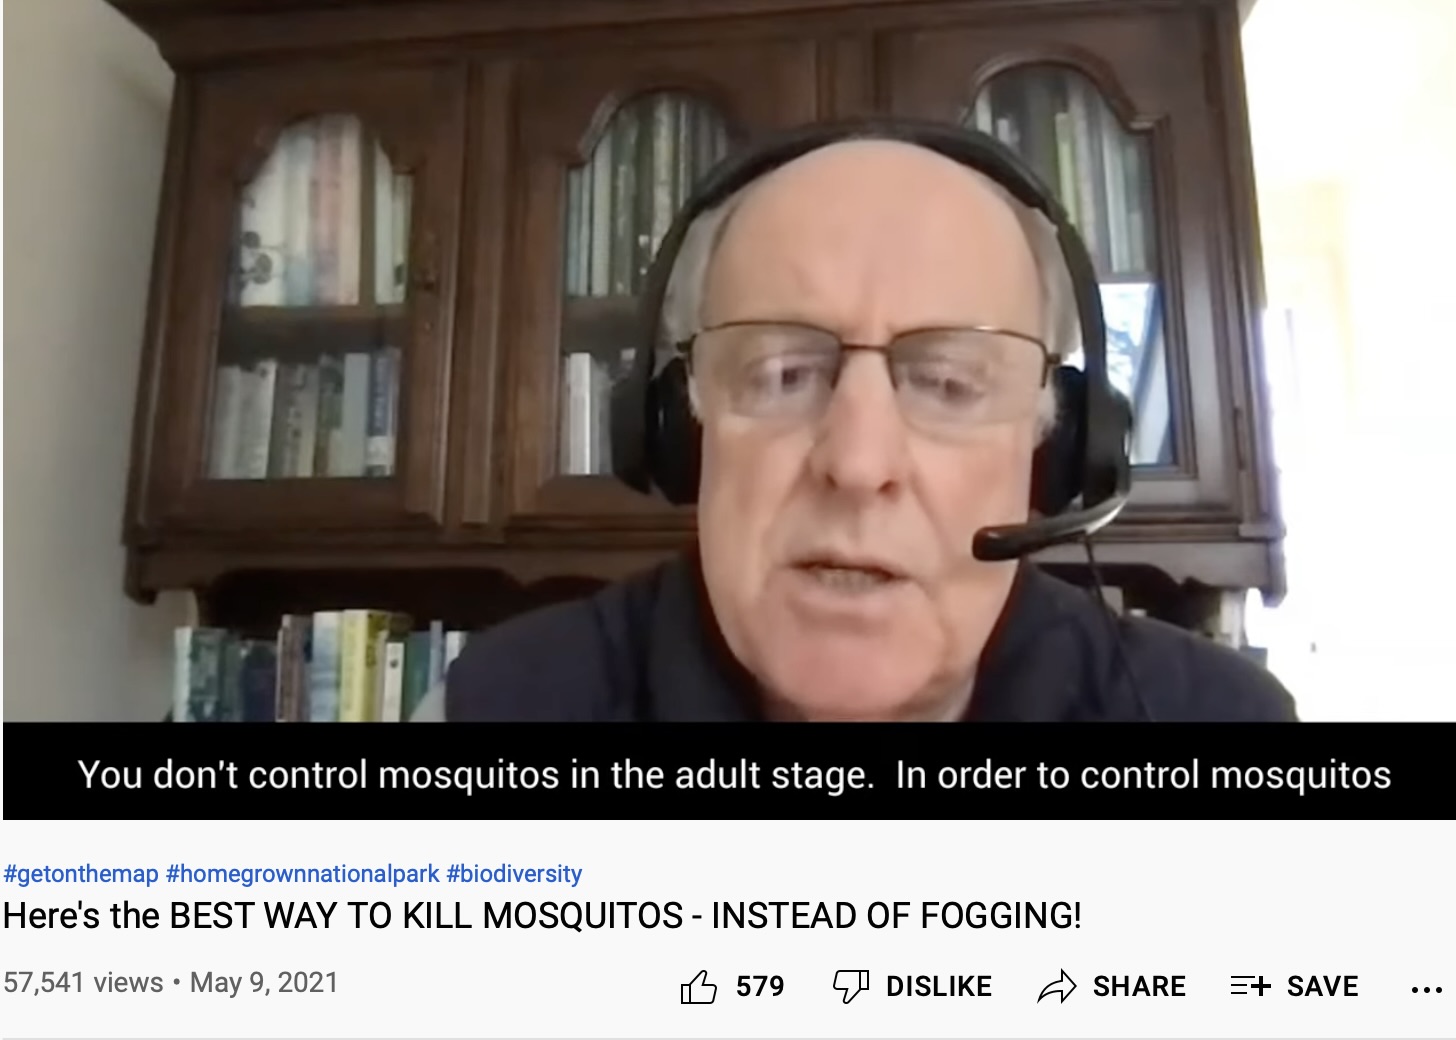
I am very thankful for the day my naturalist friend, Joanna Brichetto, posted a story called The Mosquito Bucket of Doom on her blog, Sidewalk Nature. Joanna learned about the bucket system from famed etymologist Dr. Doug Tallamy.
Here is a link to Dr Tallamy’s explanation. He says companies that spray for mosquito removal kill 10% of adult mosquitoes and many beneficial insects.
I have four mosquito buckets spread around my half-acre backyard: one industrial-looking bucket in each vegetable garden and one attractive fiberglass bucket on our patio.

I’ve just added a fifth bucket to cover the area around our herb garden in the side yard.
HOW TO MAKE MOSQUITO BUCKETS
Supplies:
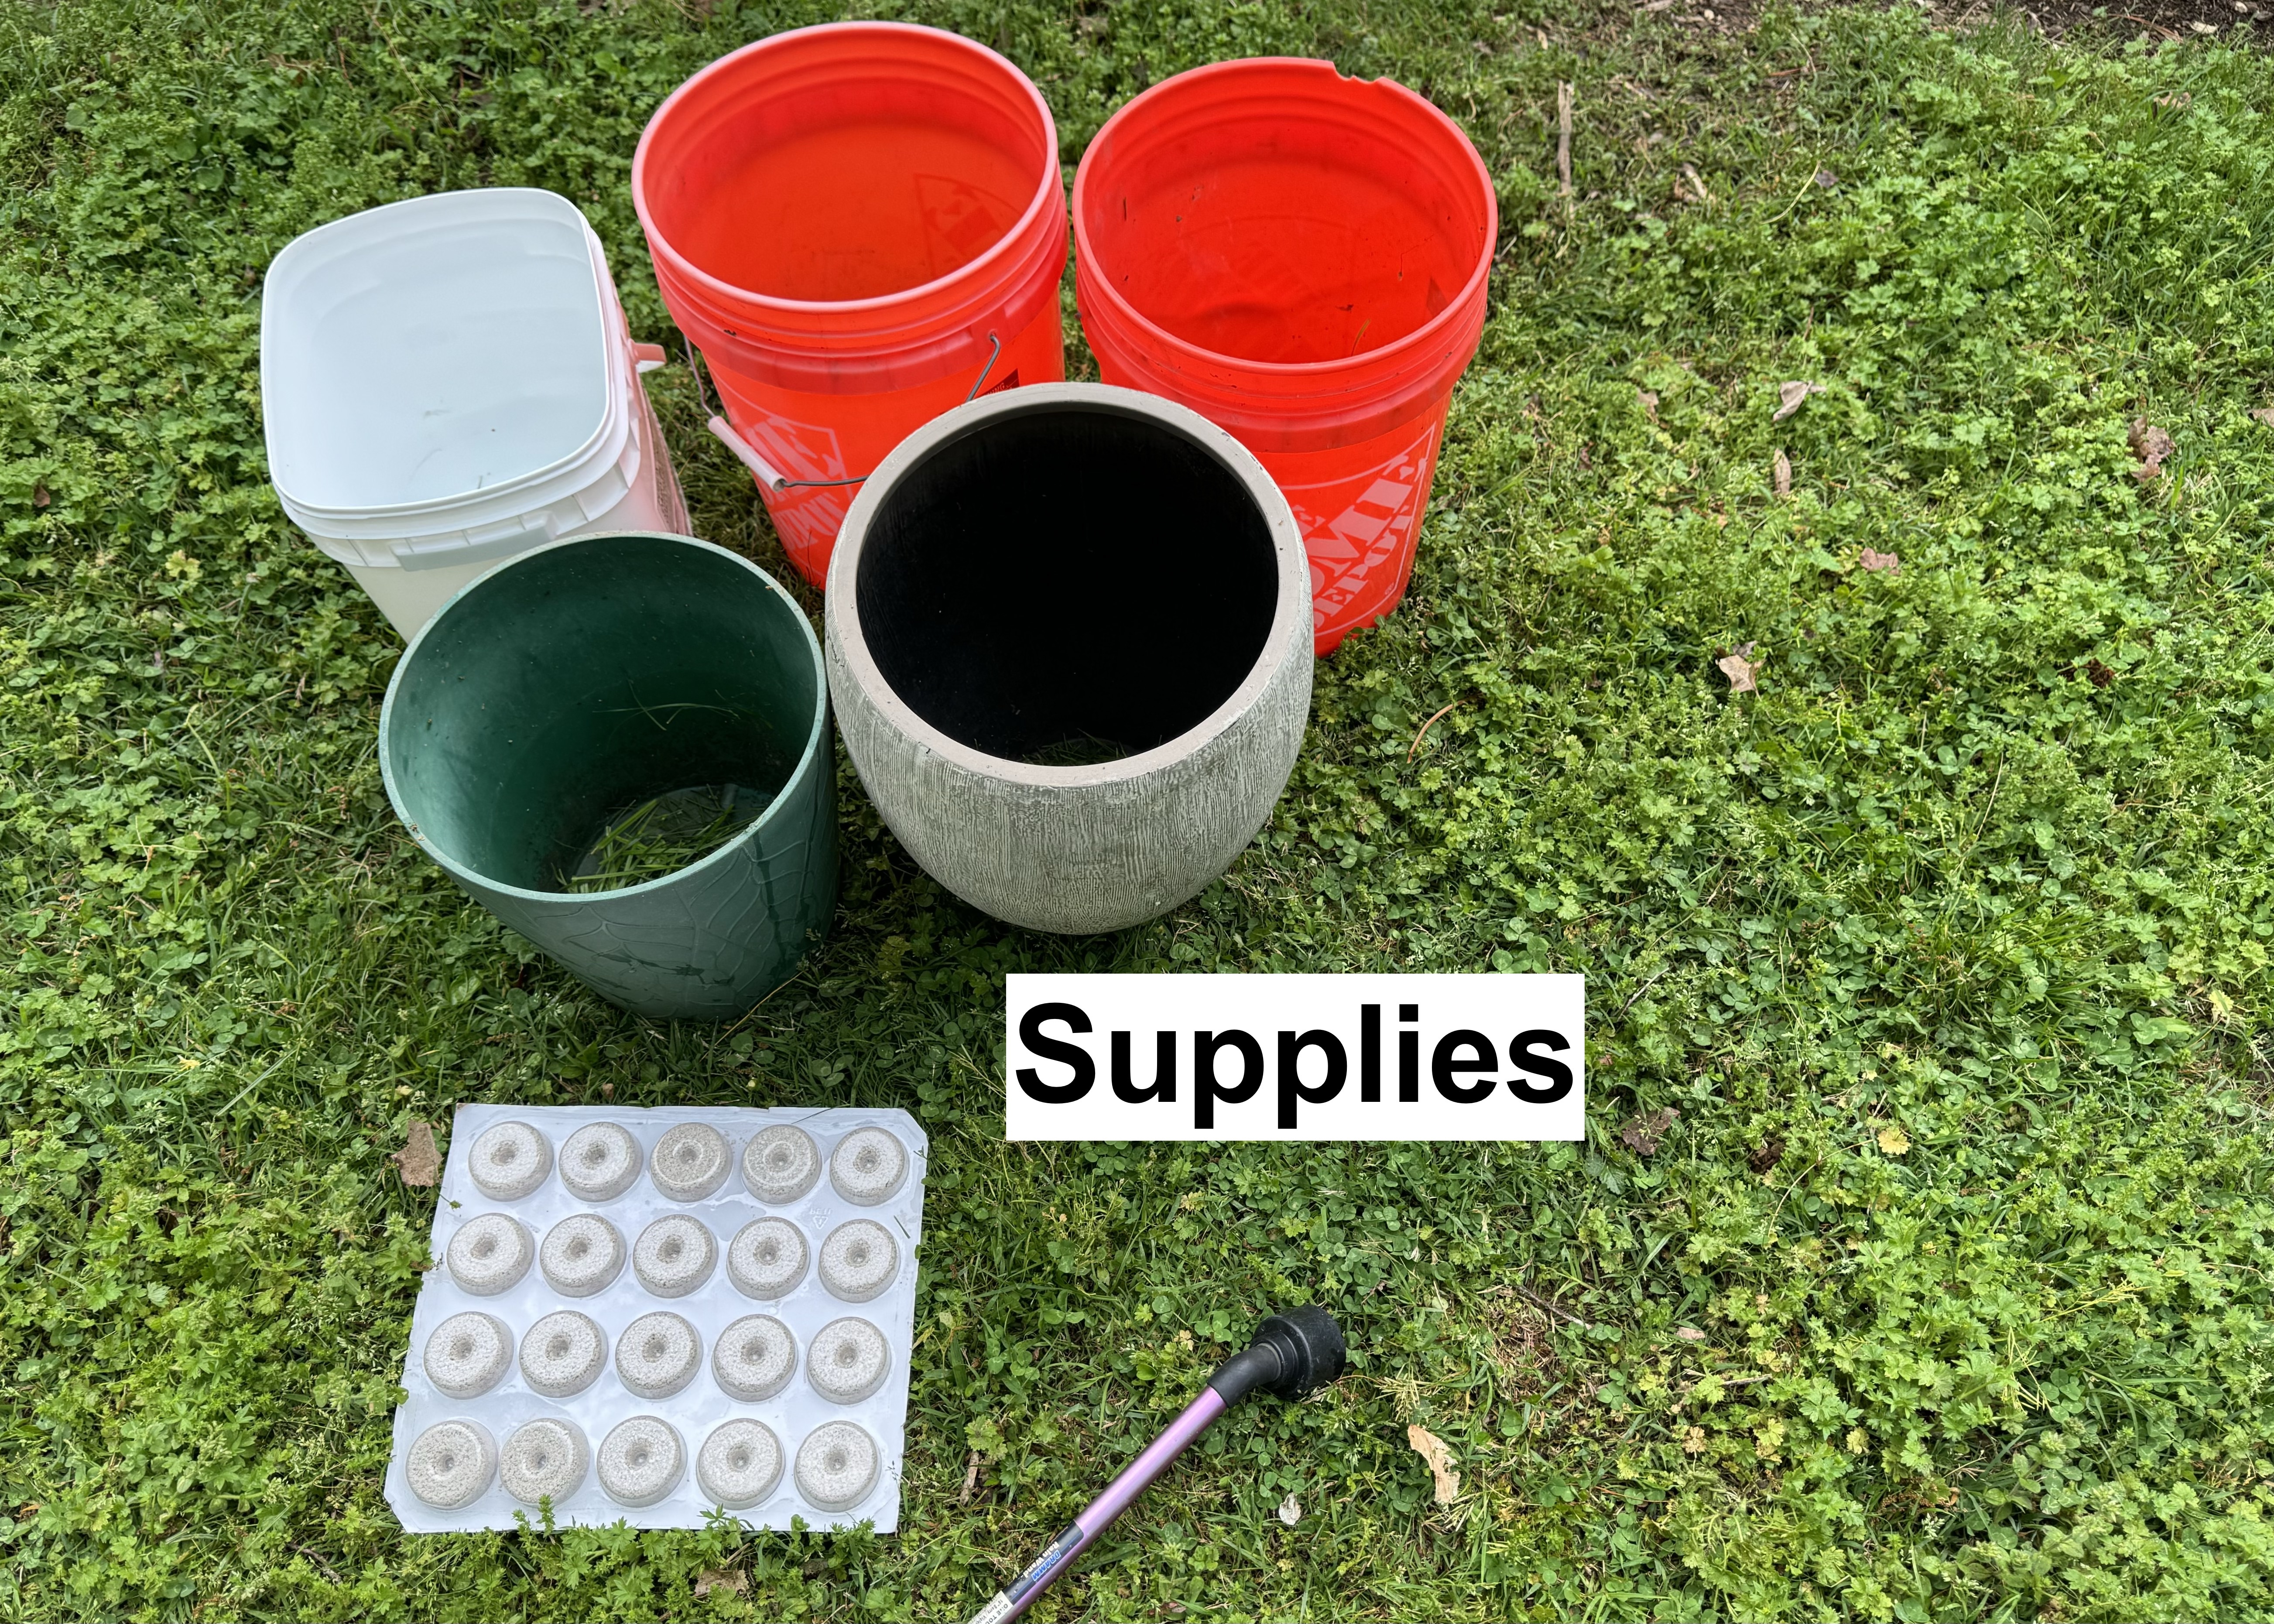
-Use a 3-5-gallon bucket, planter, or any container with a wide top
-ONE handful of grass clippings
-Water
-ONE Mosquito Dunks® (a larvicide)
-If you are concerned about wildlife falling in the bucket, Dr. Tallamy suggests placing a chicken wire screen over the top

Instructions:
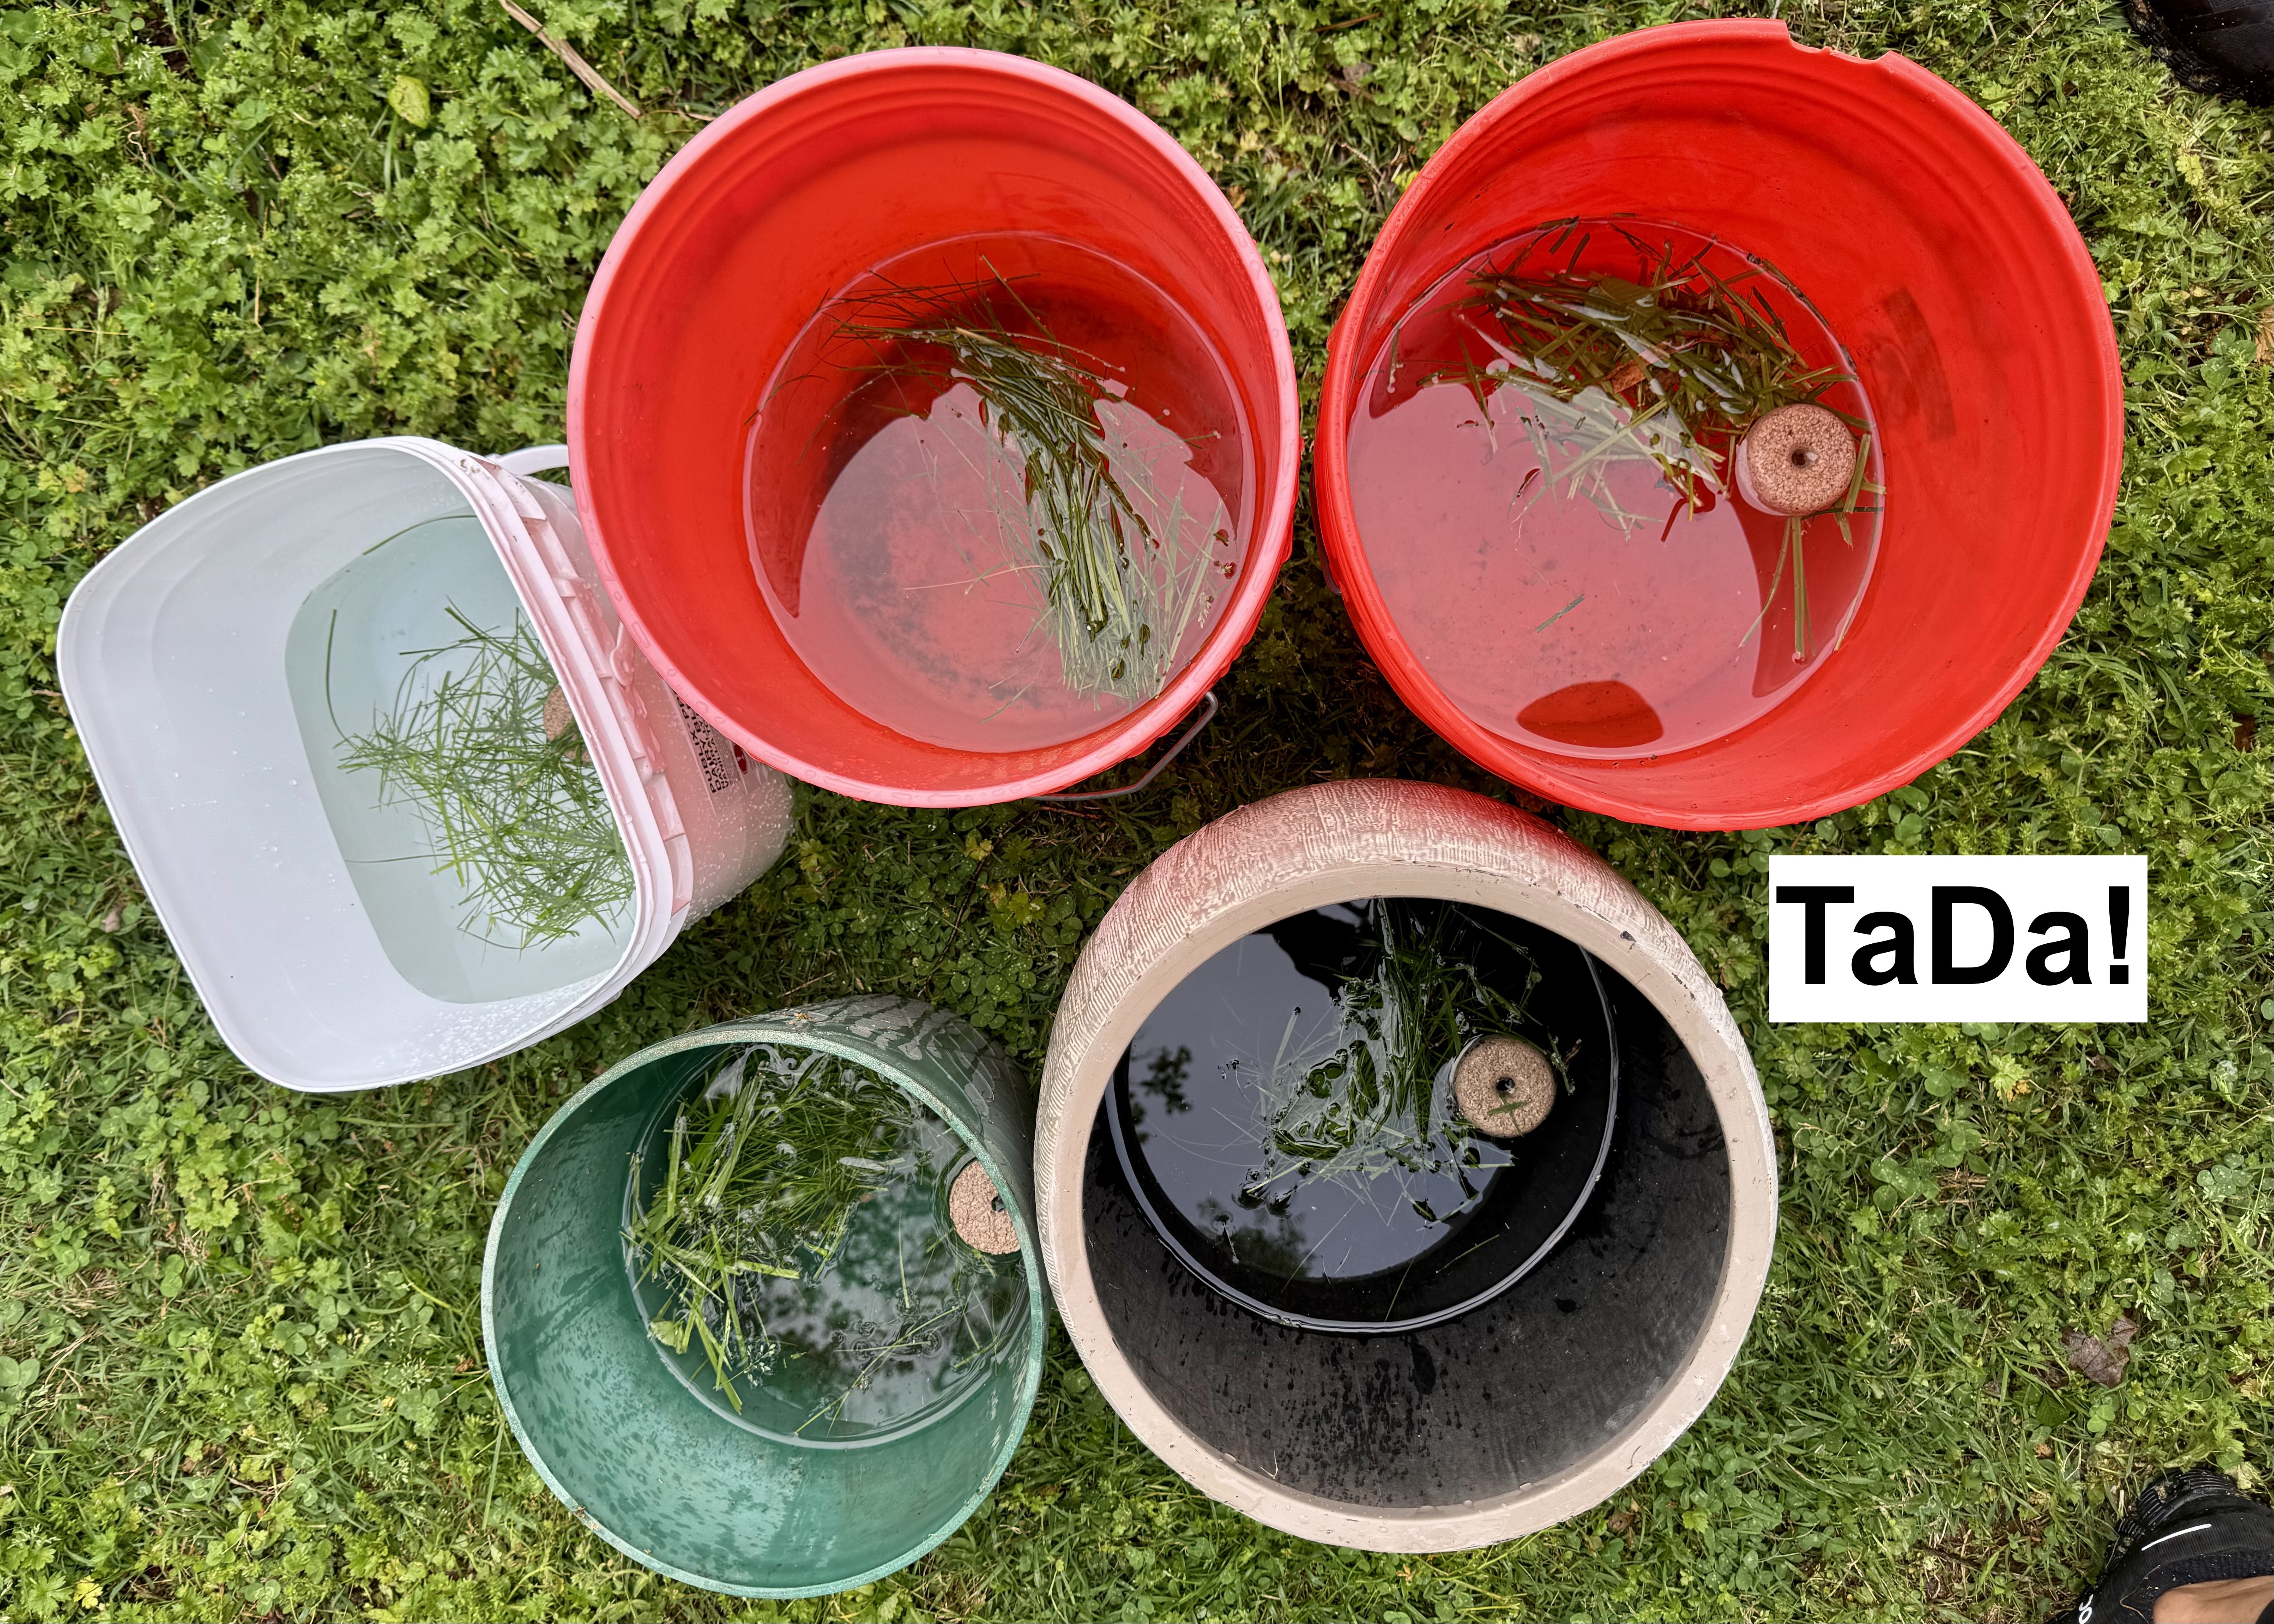
Add a handful of greens and a Dunk® into each tall, wide-topped container.
.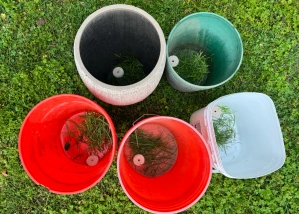
Half-fill the container with water. As the organic matter decomposes, it produces carbon dioxide, an attractant for female mosquitoes.
Place buckets near your seating and work areas. Thirty days later, add a new Dunk® to each bucket. Pro Tip: take a photo of the bucket when you add a new Dunk to help remember the date! For convenience, I purchase packages of 20 Dunks from an online source.
You do not need to change the water each month. You want swampy water, but it shouldn’t be smelly. Add more water to keep the buckets half full and pour off water after a heavy rain.
Testimonials:
We hosted my son’s rehearsal dinner in our backyard in the middle of July with just four buckets for mosquito control. We never saw a mosquito.
I volunteer at a community garden near a floodplain inhabited by many mosquitoes. I showed the local residents how to set up mosquito buckets, and within two weeks, the mosquitoes were gone.
My friend, who lives in Sewanee, TN, known for having so many mosquitos people can’t sit and visit on their porches, now uses four buckets around the perimeter of her house and five more around an ephemeral pond on her property. She reports they now sit comfortably outside. I believe they will work for most residences if she says they work.
How Do Mosquito Buckets Work?
MosquitoDunks® work by killing mosquito larvae, not adult mosquitos; it is a larvicide.

It takes a few days for mosquito eggs to hatch into the little swimmers (larvae) seen in Joanna’s container, shown below.

Mosquitoes need ¼-inch of standing water to lay eggs. With that in mind, inspecting your property for hidden bodies of standing water and turning unused containers upside-down is essential for successfully using this system.

I want readers to succeed when using the buckets, so please comment if you have a question or feel the buckets are not working.
Related Stories:
How to Start Seeds in a Recycled Milk Jug
The Soil Your Undies Challenge- A Simple DIY Test for Soil Health
How to Build a Raised Garden Bed
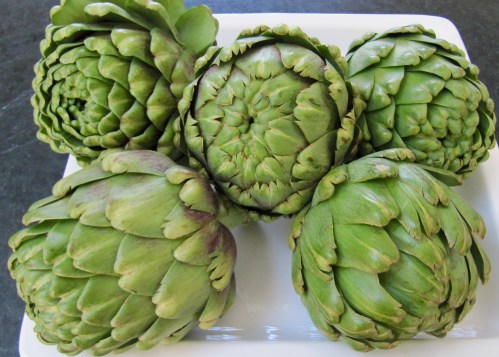
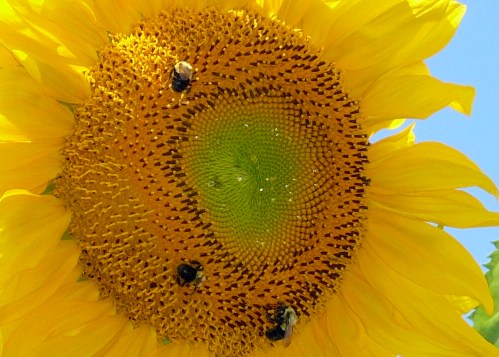
The Asteraceae Family of Primo Pollinator Plants
Unrelated Stories:
Pistachio, Lemon, and Basil Butter Cookies
Award-Winning Chocolate Chip Cookies
Homemade Grape Jelly
A Birthday Tribute for My Mother: Knitting with Mom’s Stash
How to Knit Fingerless Mittens on Straight Needles
Follow Judy’s Chickens on Instagram and Pinterest @JudysChickens.
If you enjoyed this post, share it and sign up to become a follower. If you sign up, press “confirm” on the follow-up letter sent to your email address.
© 2014-2024 Judy Wright. All rights reserved. Photos, videos, and text may not be reproduced without the written consent of Judy Wright.