

This cookie. Oh. My. Goodness. You eat one and a few minutes later, you are already thinking, I think I’ll have another!

The texture is somewhere between a scone and a Mexican Wedding Cookie, making it the perfect cookie to have with a cup of coffee or tea. There is a harmonious balance of savory flavors: the crunchy roasted pistachios, the hint of basil, and the subtle background taste of citrus, all in a lovely buttery dough. The cookie dough is as good as the cookie!

Yield: 3 dozen
Ingredients:
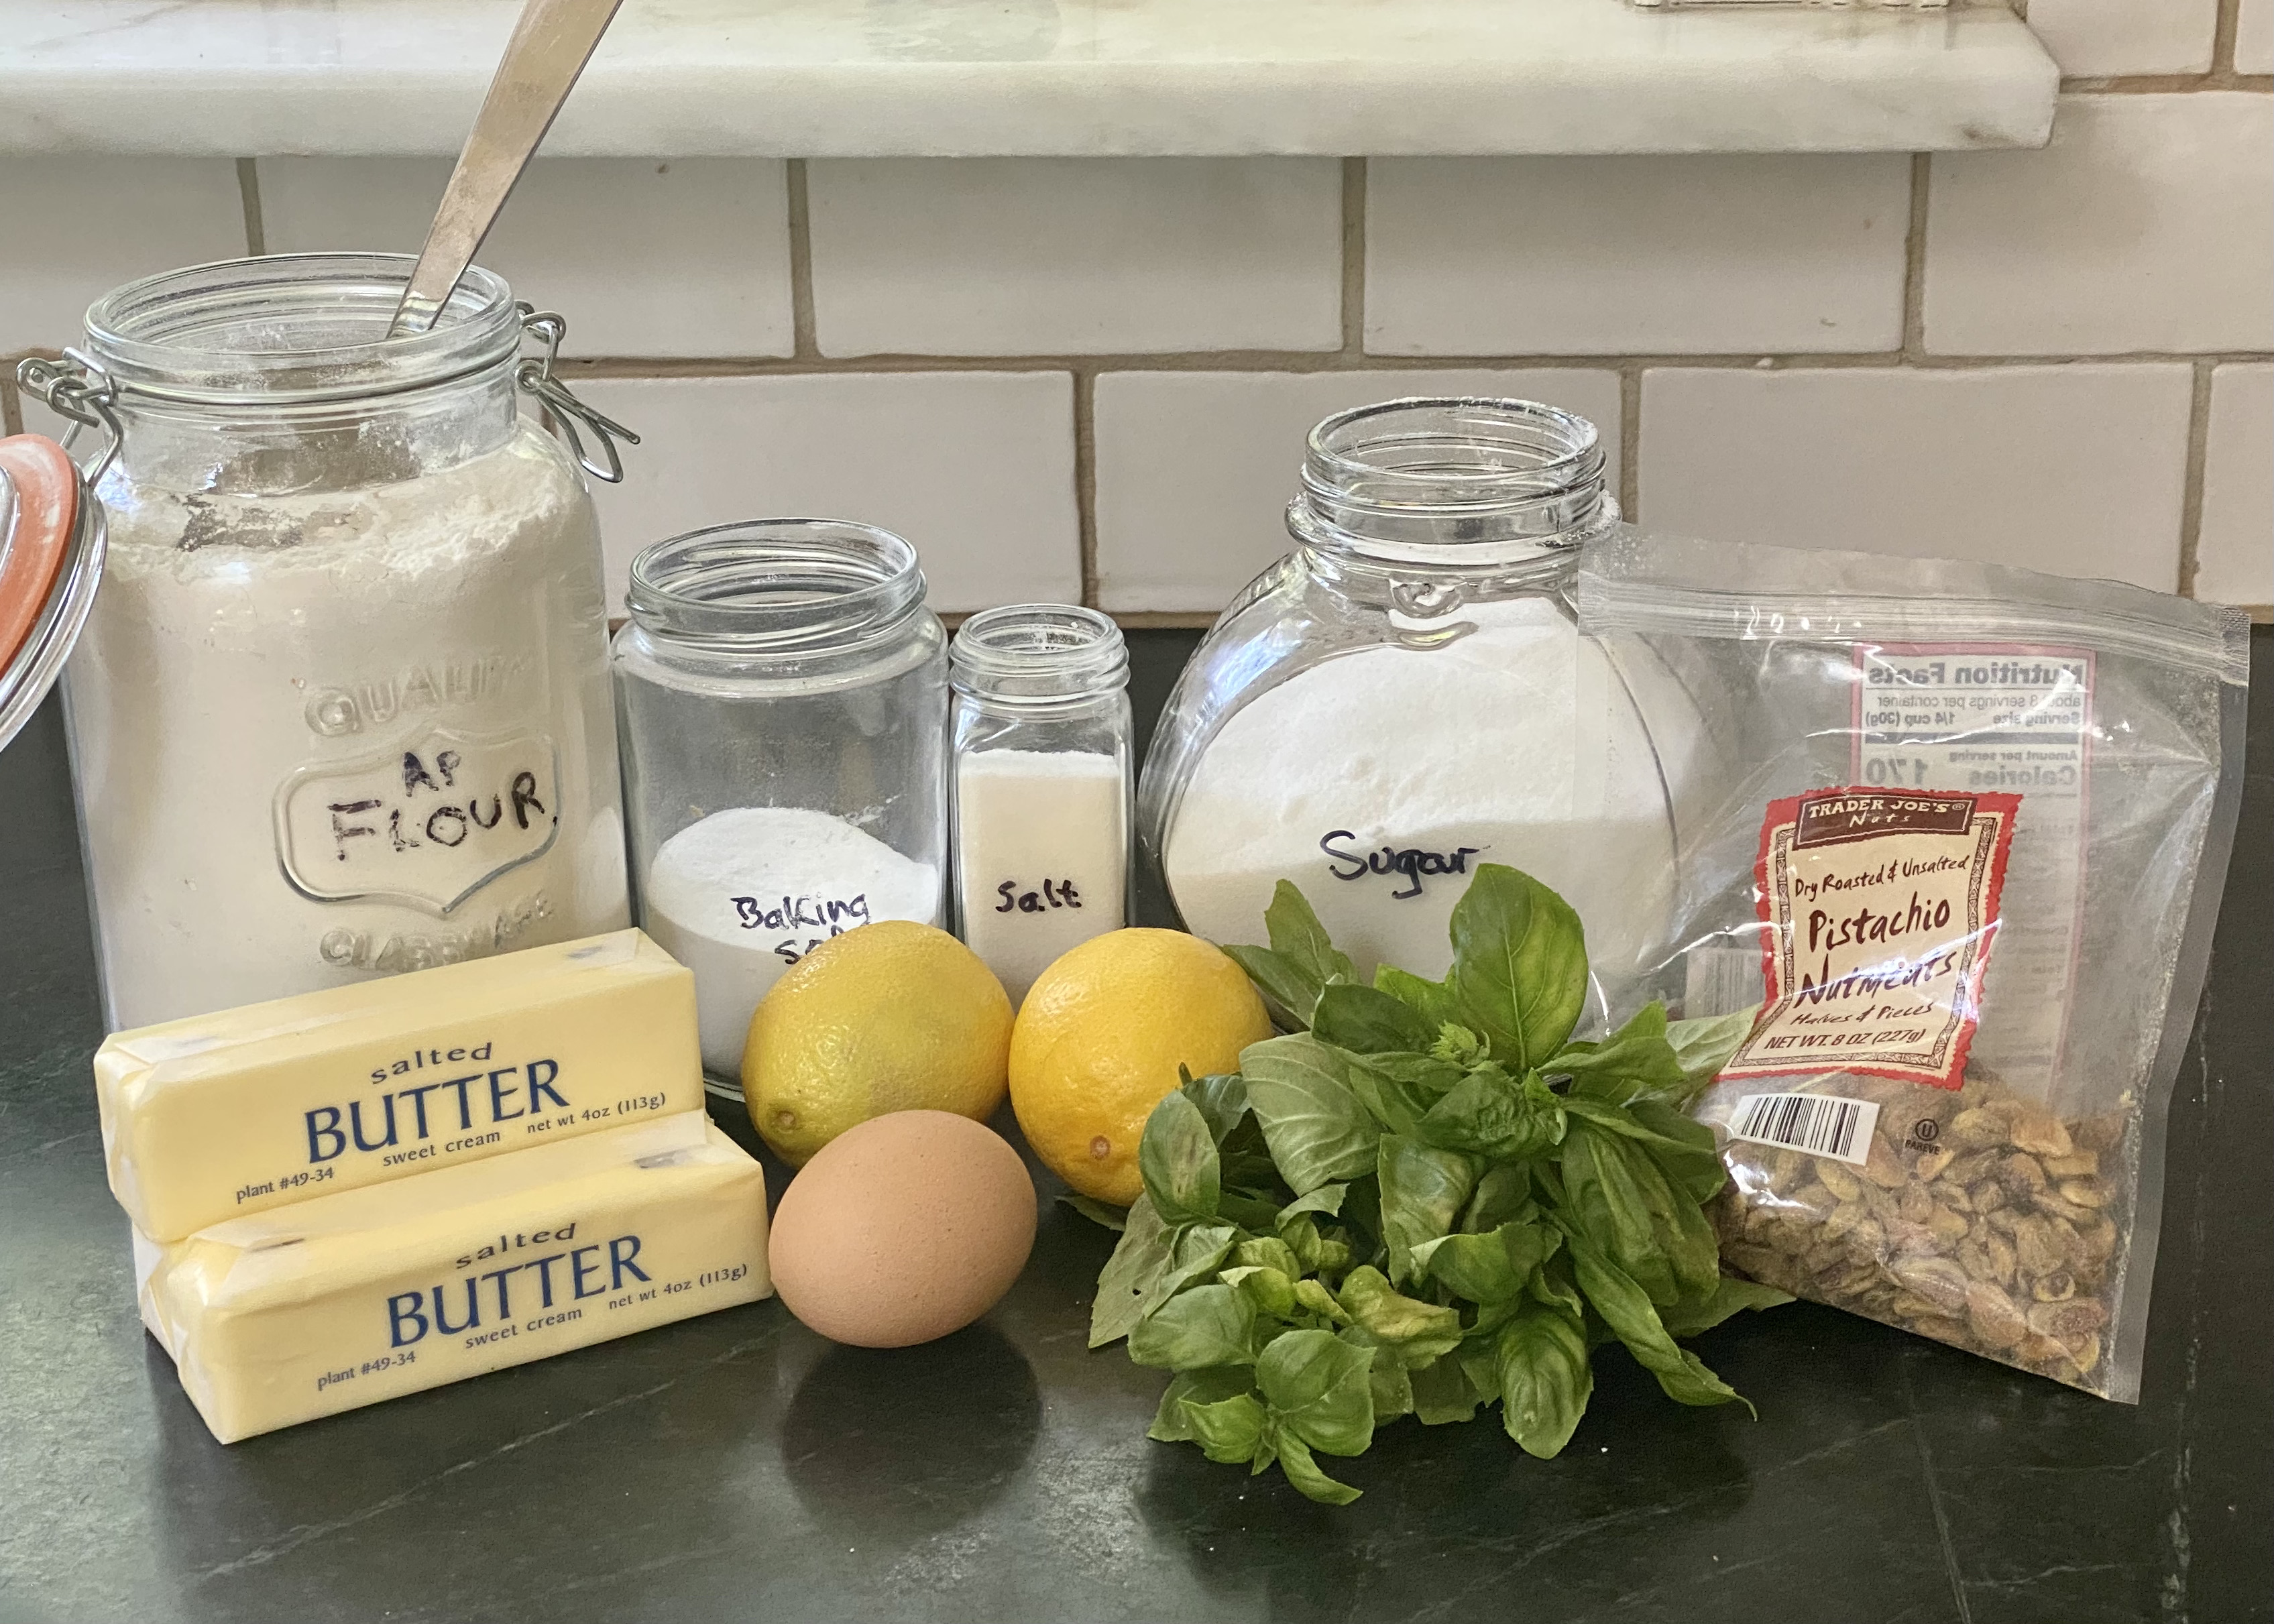
1½ cups (3 sticks) butter, softened
1 cup sugar
1 large egg
4 cups (18 ounces) all-purpose flour
1 teaspoon baking soda
½ teaspoon table salt (as opposed to the larger crystals in flaked or kosher)
2 generous tablespoons lemon zest (from 1 large or two average-size lemons)
2 tablespoons freshly squeezed lemon juice (from 1 lemon)
⅔ cup roasted, unsalted chopped pistachios (I use Trader Joe’s), or almonds
⅔ cup fresh basil leaves, chopped
Mise en Place:
I’ve included a tutorial on preparing these ingredients at the end of the recipe.
Instructions:
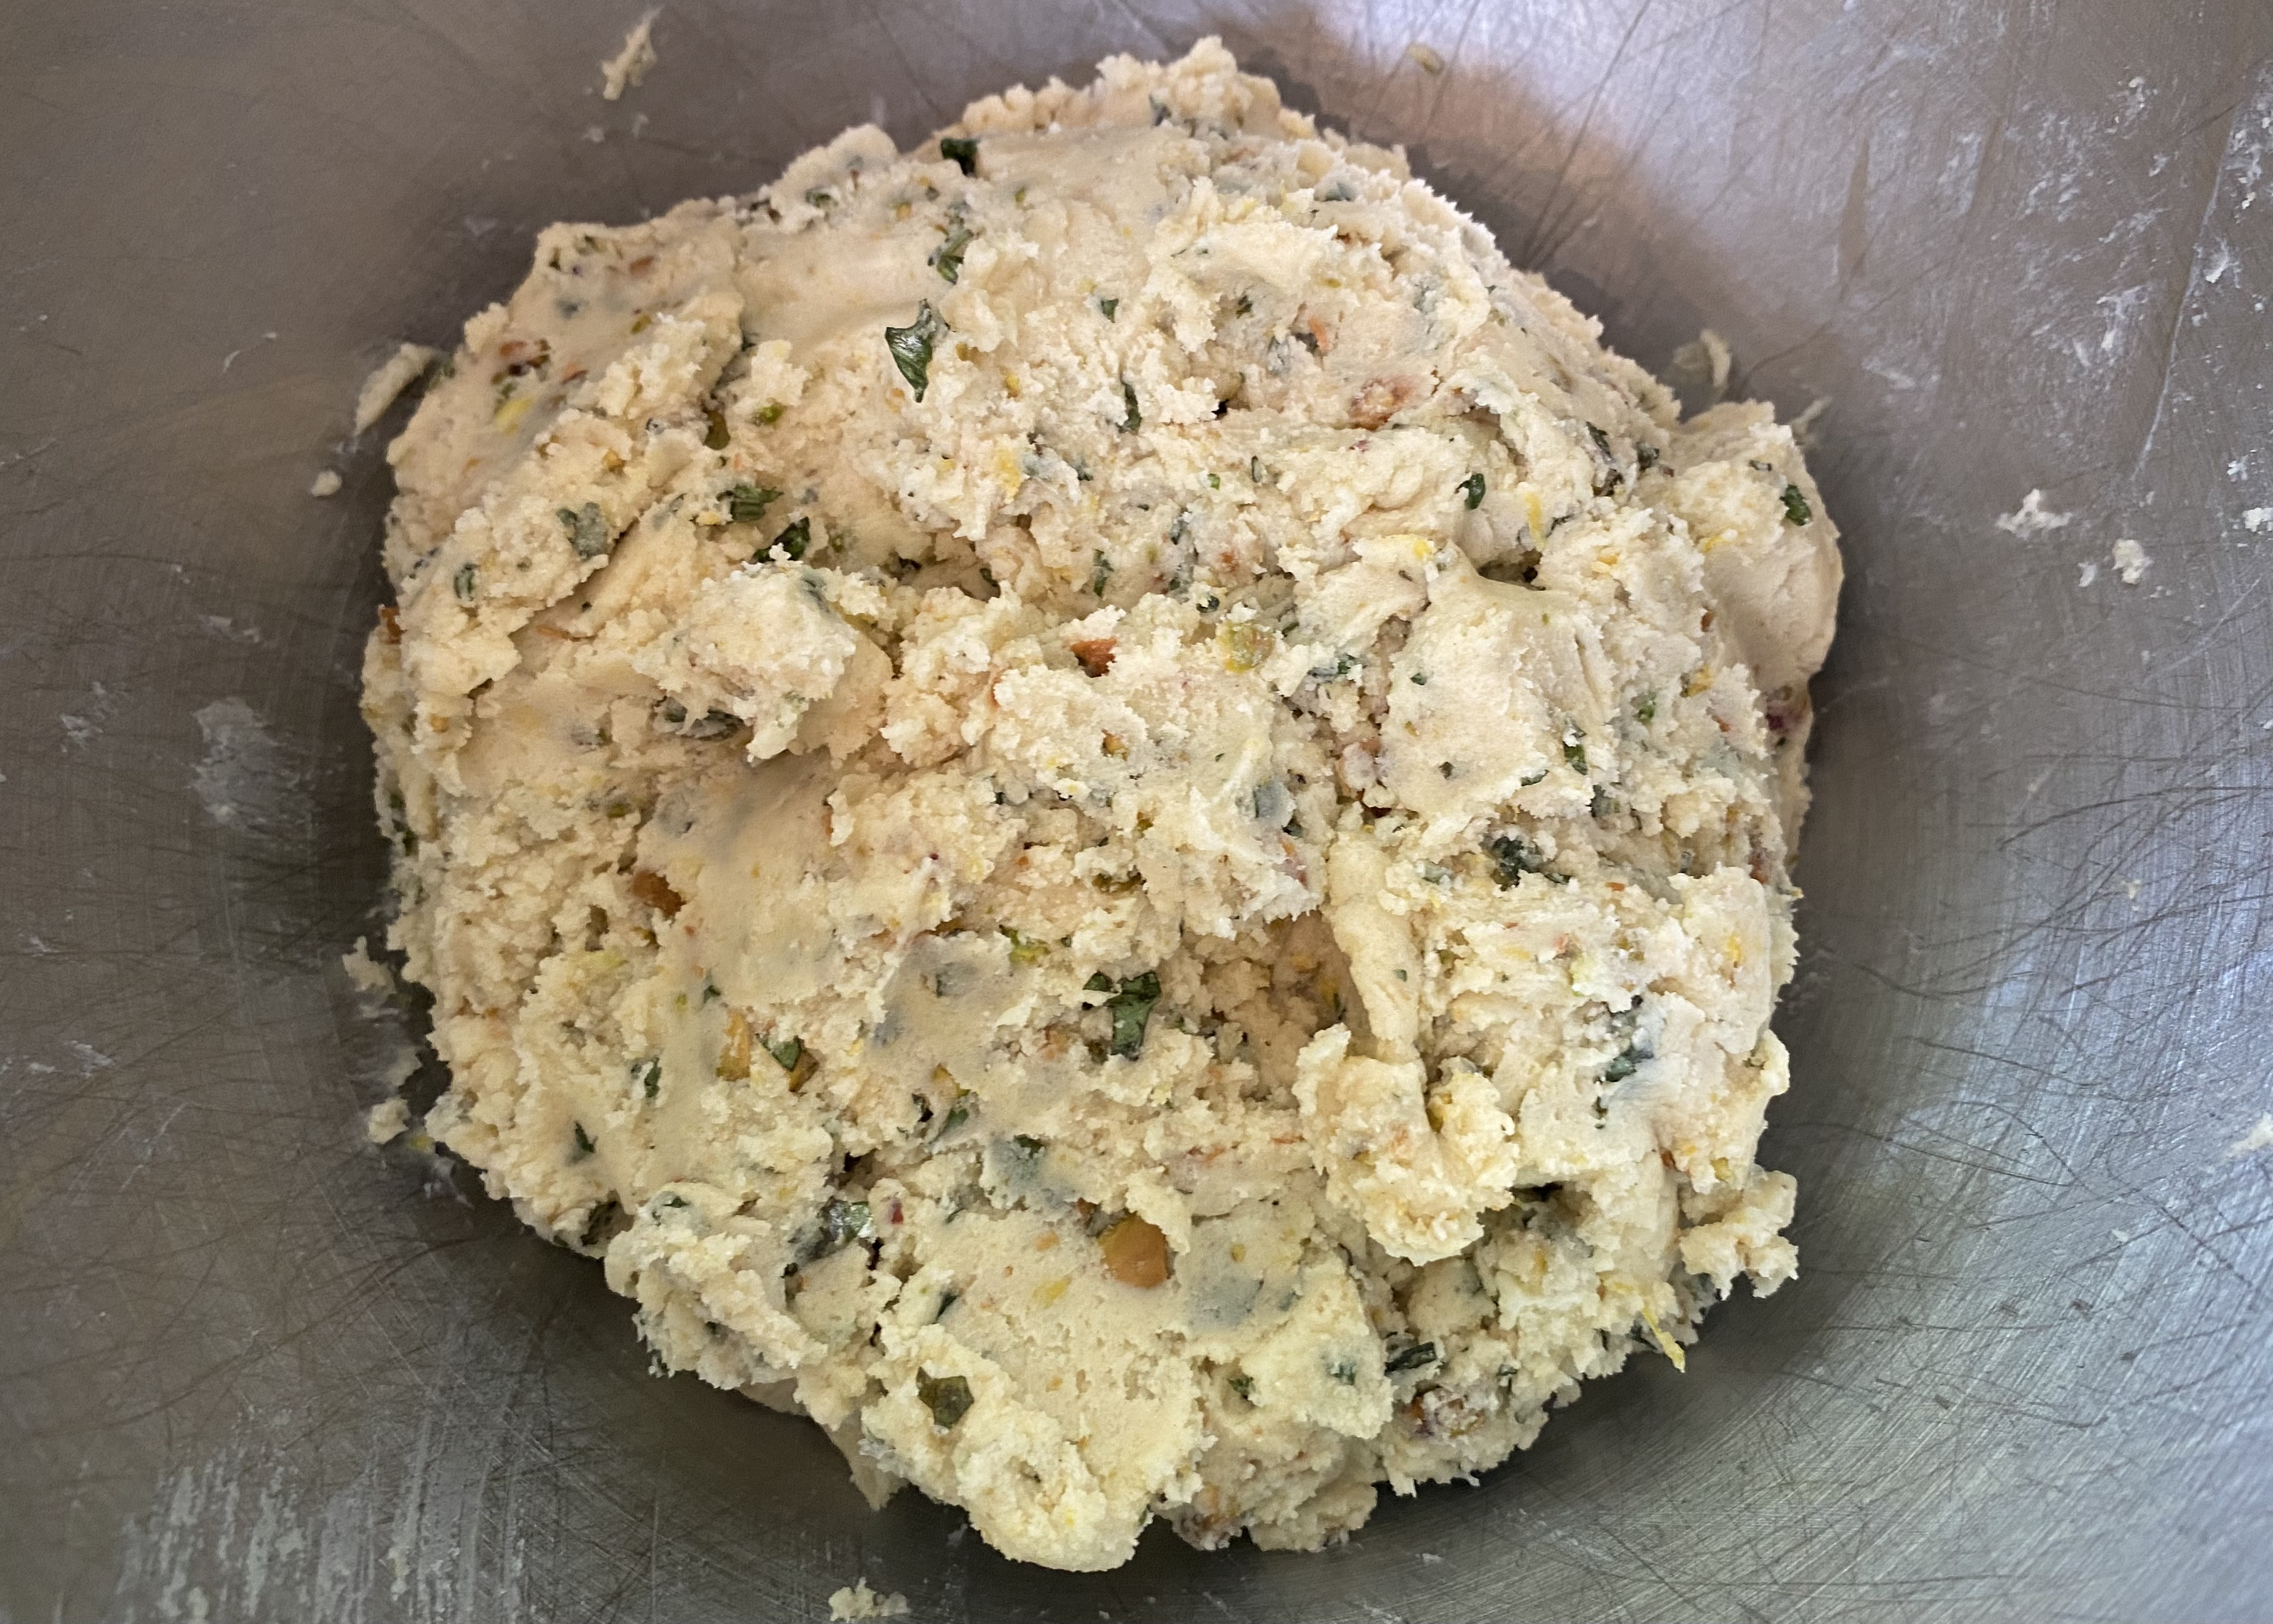
Mix the butter, sugar, and egg together in a bowl for just a minute on medium speed, scraping the batter from the sides and bottom as you go. You do not want a big fluffy batter.

Next, add the nuts, basil, lemon zest, juice, and flour mixture.

Mix on “stir” speed until all the ingredients are blended. Don’t overmix, or cookies will be cakey. Chill dough for an hour or up to two days.
When ready to bake, preheat the oven to 350º. Line three cookie sheets with parchment paper. Use a teaspoon to scoop up a rounded heap of chilled dough or use a #40 cookie scoop to do the job. (Find out what “#40” means here.)

Shape dough into rough balls and place on cookie sheet.
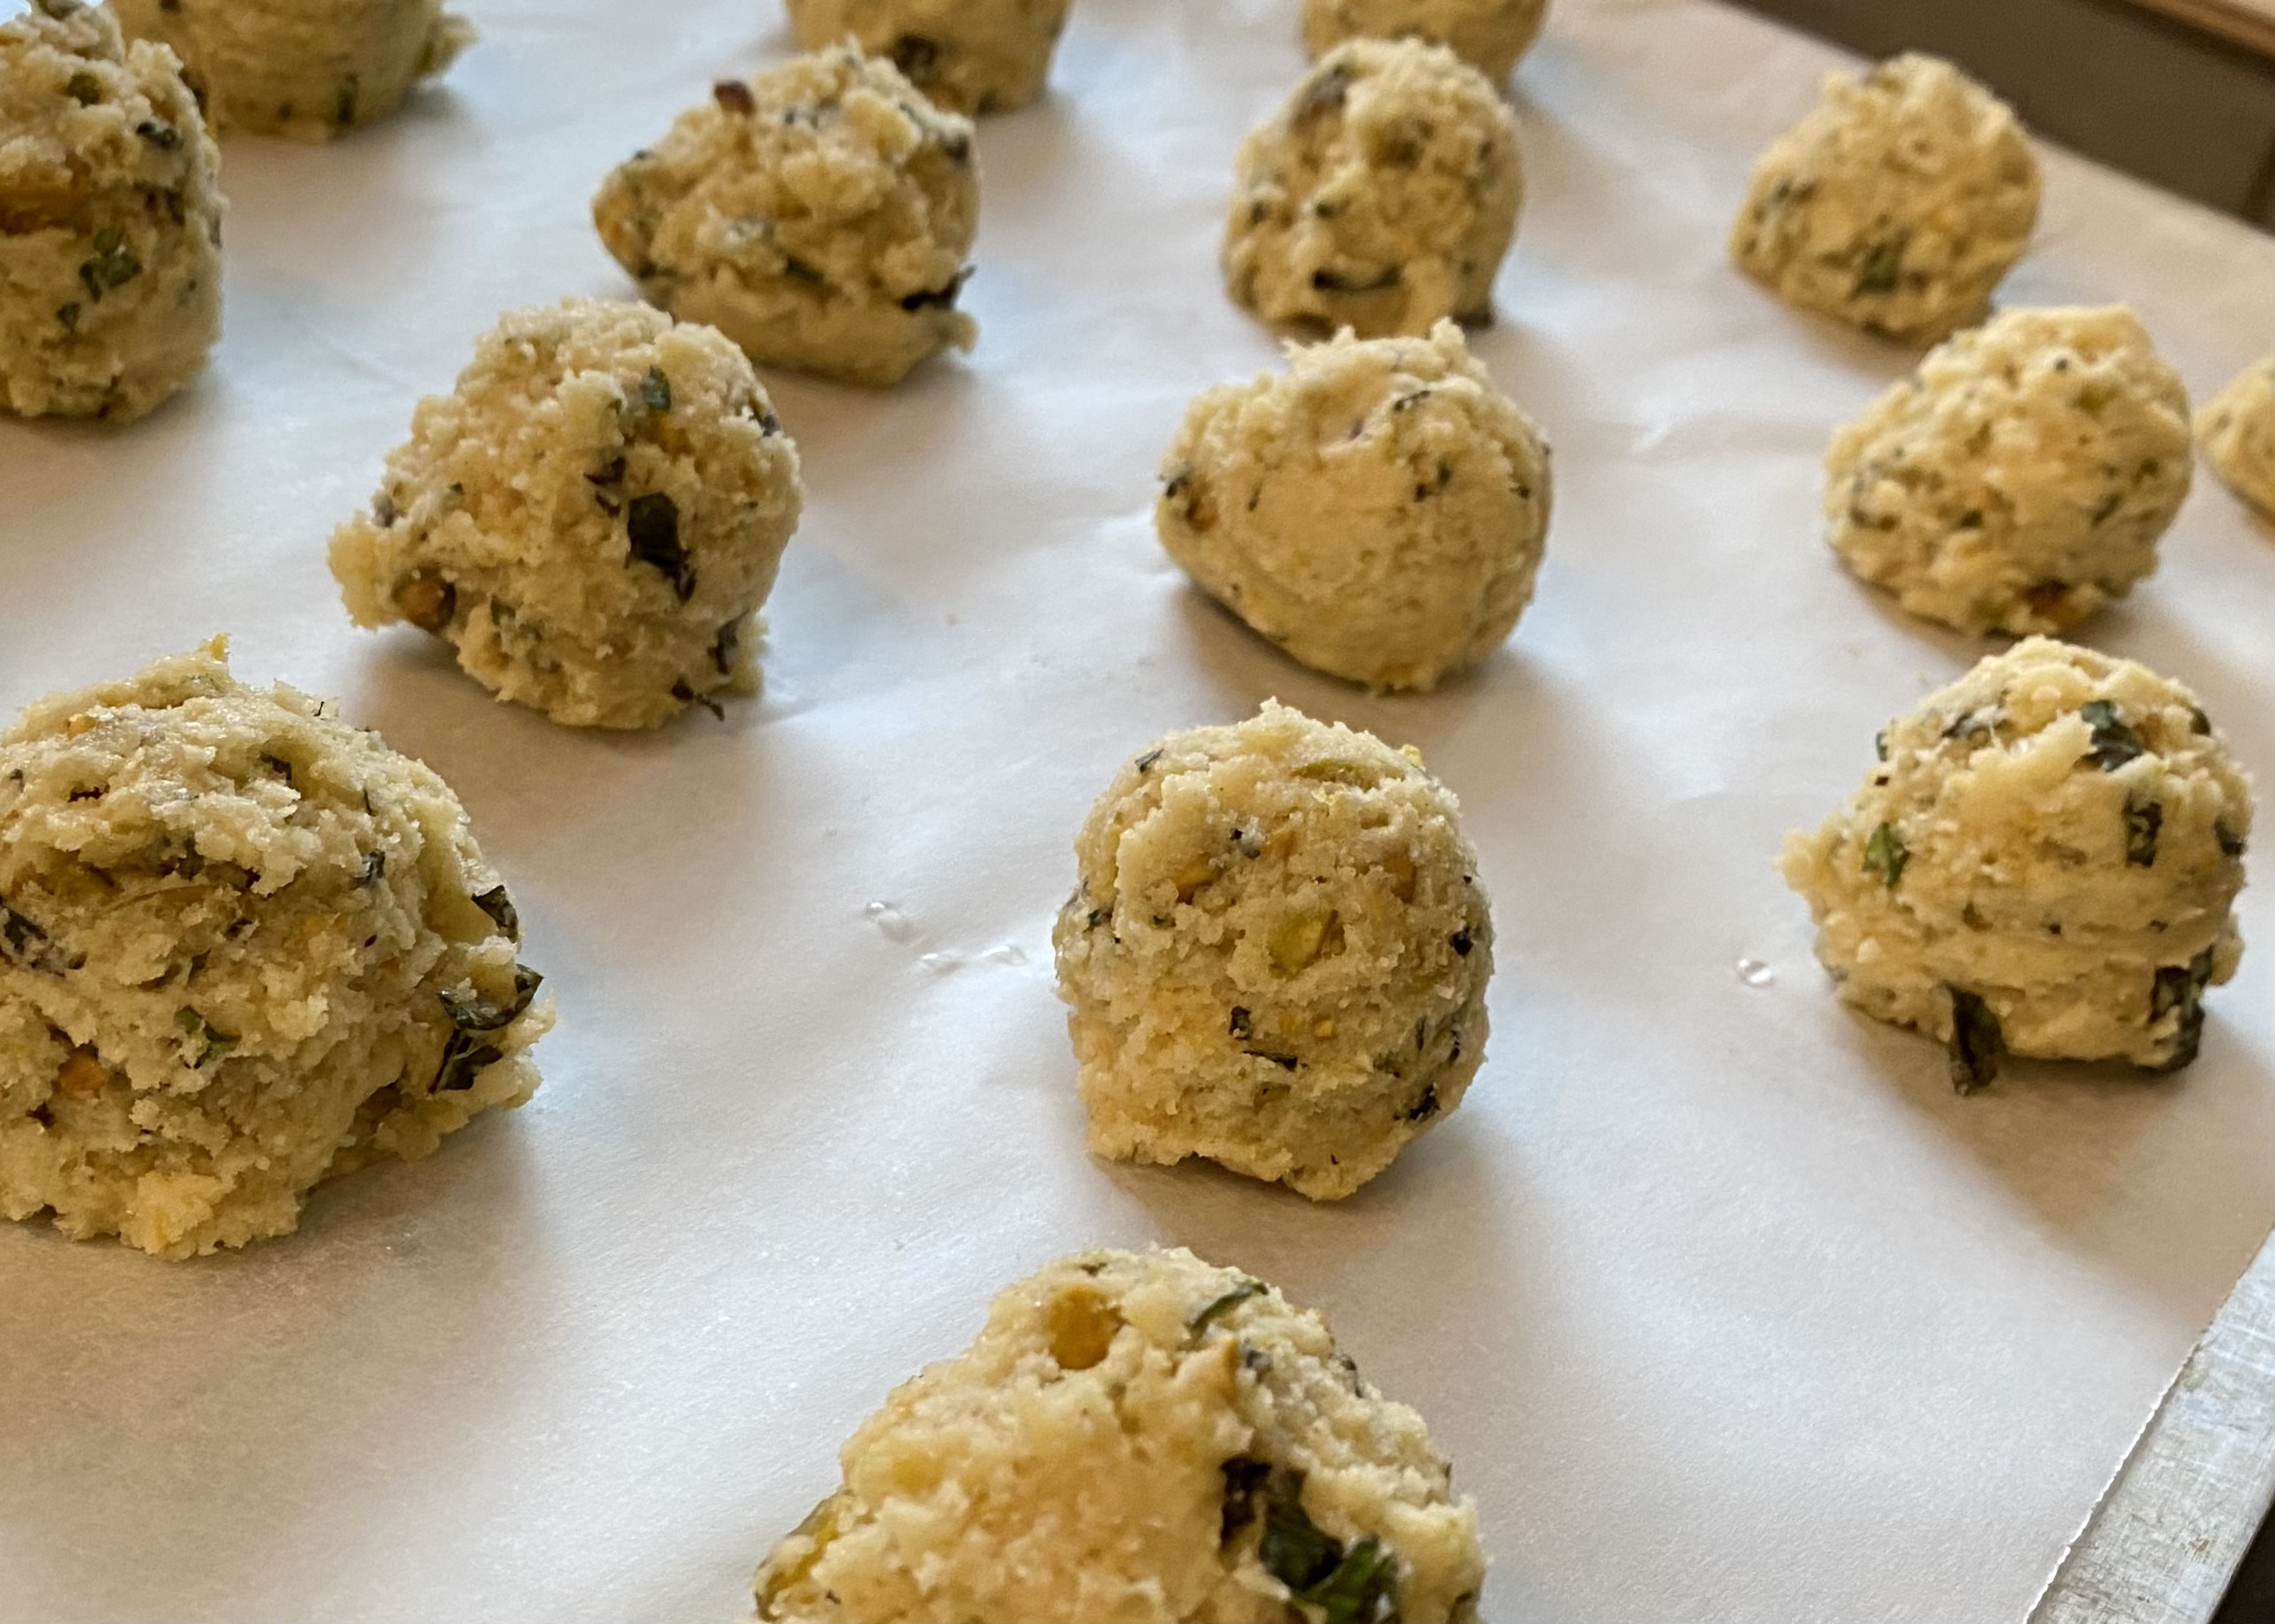
Flatten dough with the bottom of a glass. Use your fingers to shape the sides so the edges are smooth.

Bake for ten minutes and then rotate pans on oven racks and cook for another 8-10 minutes. Check bottom of cookie for doneness. It should be light brown.

Remove pans from oven and place cookies on a cooling rack.
Personally, I think these cookies are better the next day, but I have also seen them disappear at a party two hours after coming out of the oven!

A Note About Reading a Recipe:
When reading the ingredients list of a recipe, note the difference that has to do with the measured volume, for example :
⅔ cup roasted unsalted chopped pistachios
⅔ cup fresh basil leaves, chopped
For the pistachios, you measure ⅔ cup of nuts after chopping. For the basil, you measure ⅔ cup of leaves and then chop them.
The Mise en Place Tutorial:
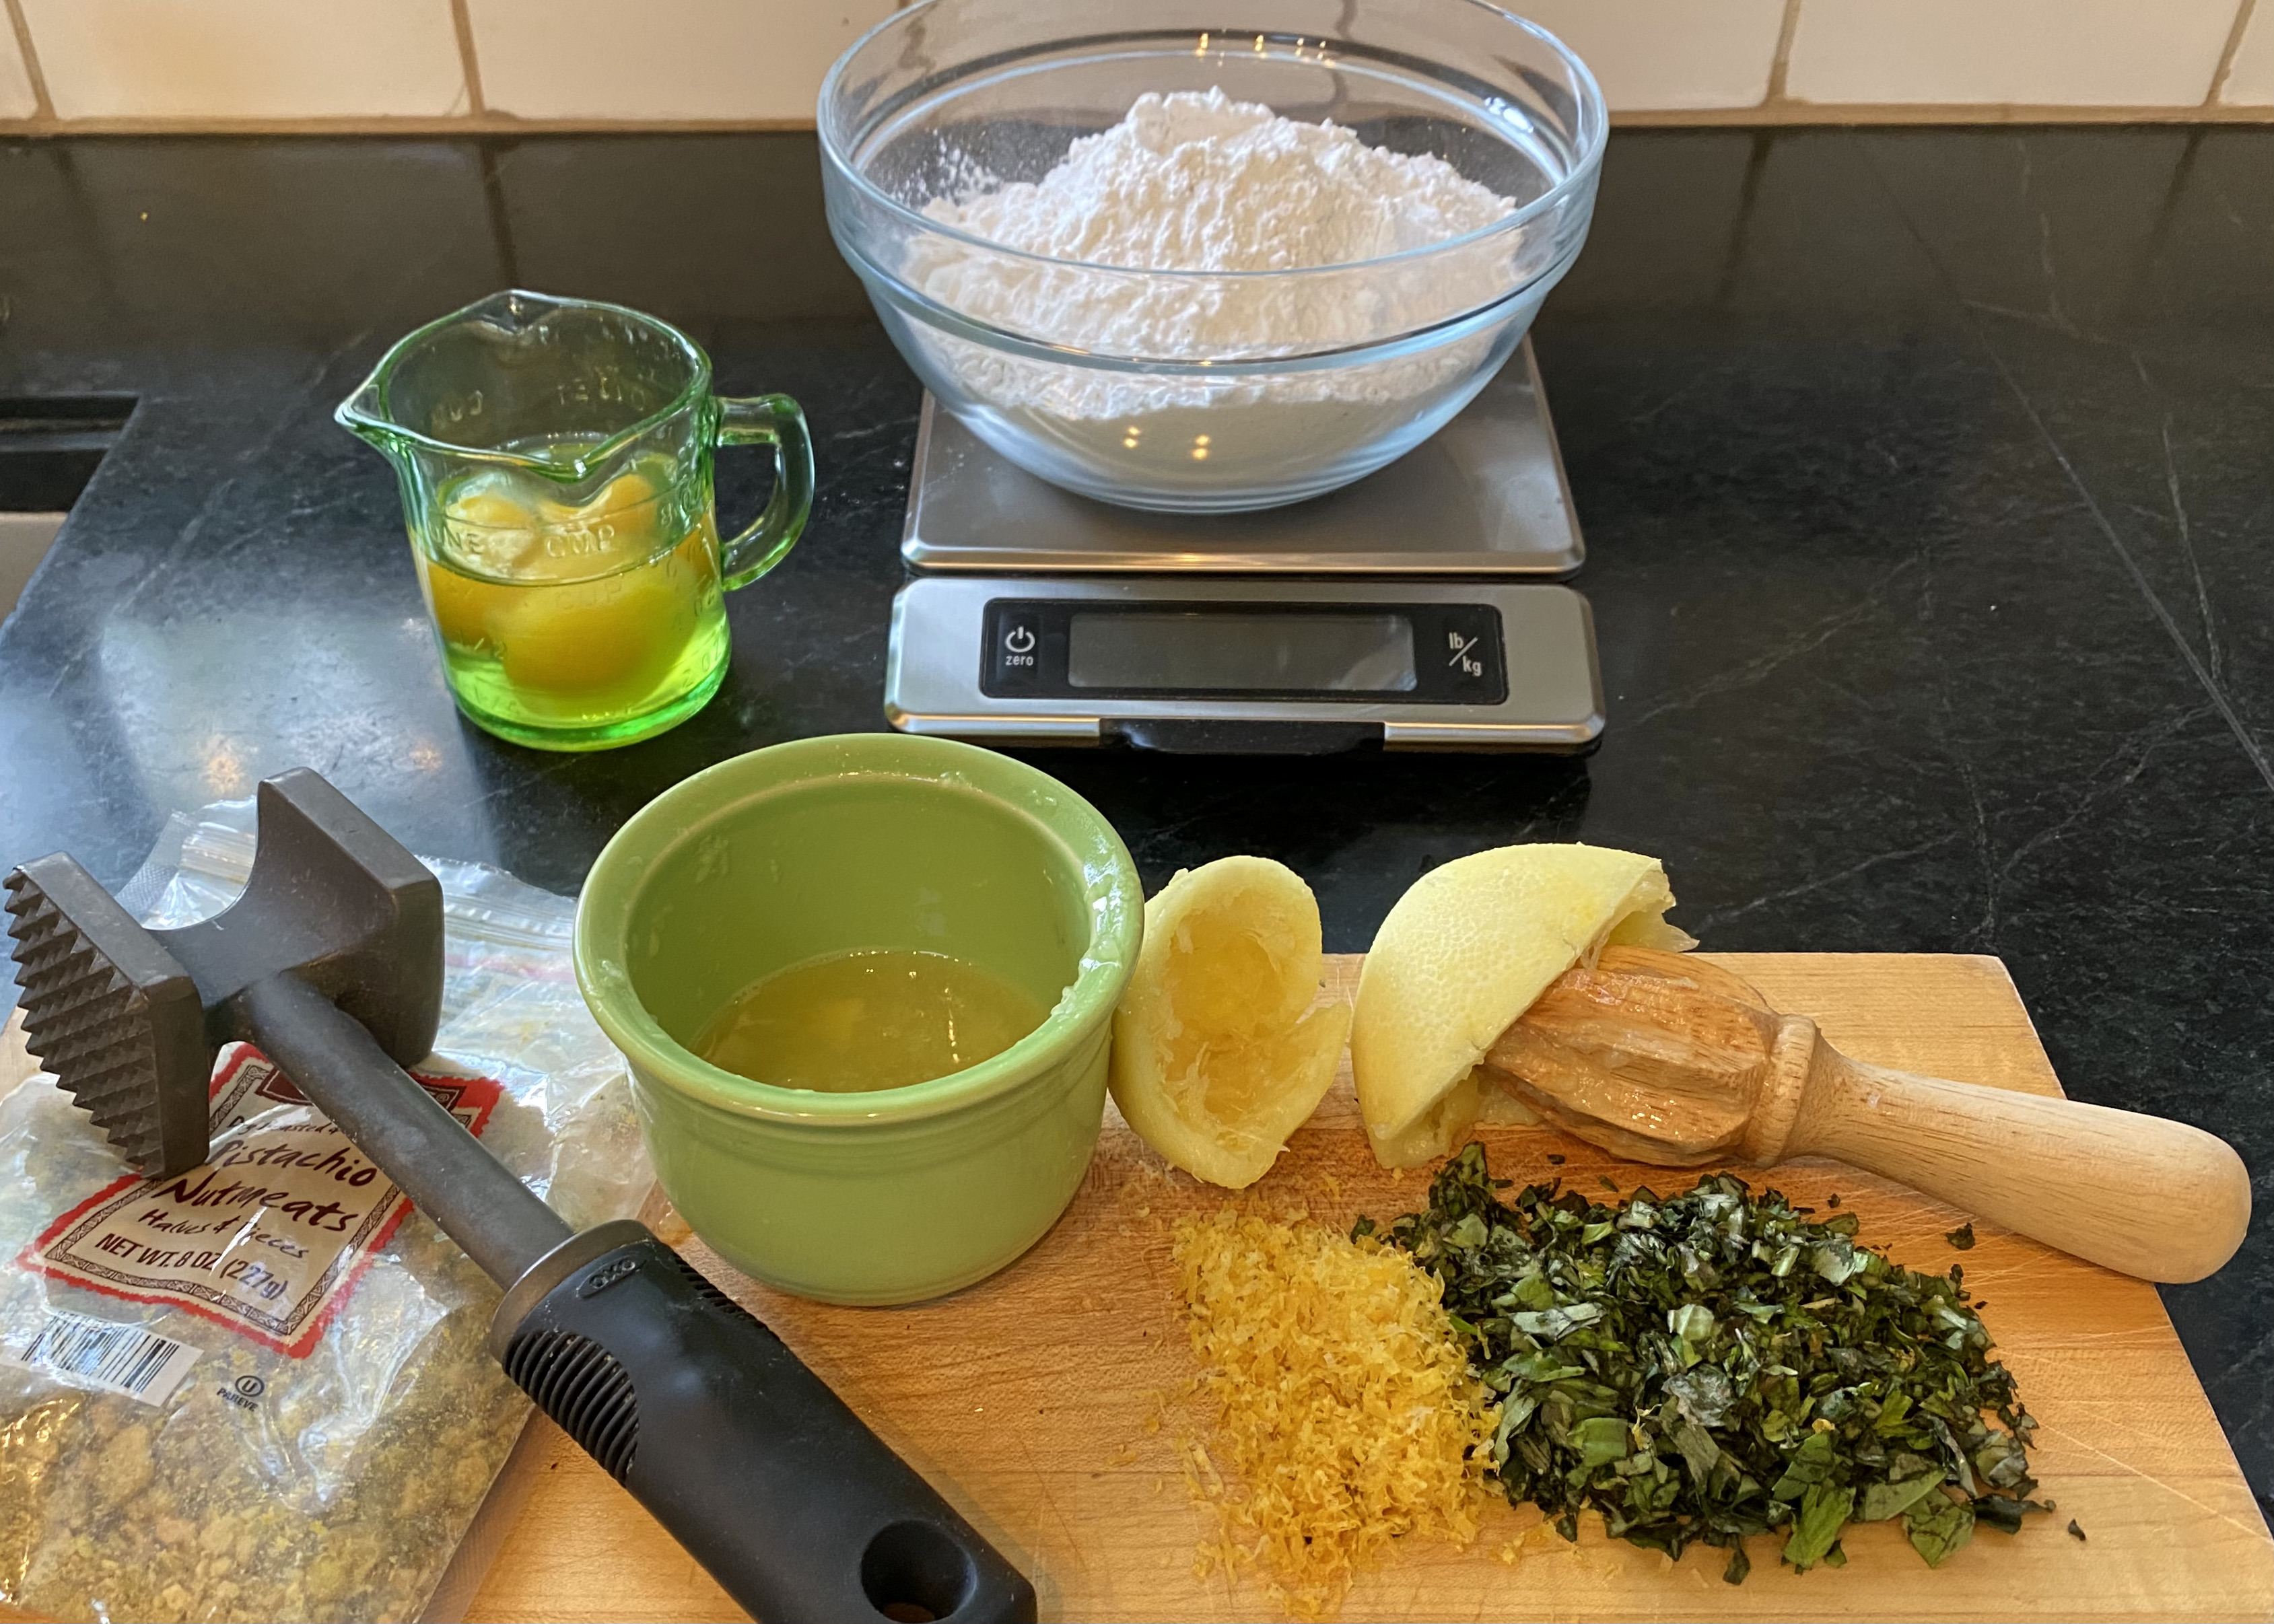
Measure out the flour, salt, and baking soda. I weigh flour (as opposed to using measuring cups) because it is faster, less messy, and assures consistent results. All-purpose flour weighs 4.5 ounces per cup, multiply that by 4 cups, and you get 18 ounces. Be sure to zero out the weight of the measuring bowl first.
If using a measuring cup, fluff up the flour in the bag with a spoon, spoon into a measuring cup, and level with a knife. If you stick the measuring cup directly into the bag and scoop it out, you could add as much as an extra quarter of a cup of flour. Multiply that by 4 cups, and you get an unintended extra cup of flour!

Whisk the flour, salt, and baking soda together to evenly distribute the ingredients. This used to be called “sifting.” 
This is an old sifter.

Prep the add-ins: the zested lemon, lemon juice, chopped pistachios, and chopped basil.

Use a micro grater (Microplane) or a box grater to zest the lemon peel. I prefer the Microplane because it only skims the peel; the box grater digs into some bitter white pith. An average lemon yields a tablespoon of zest.

You can use a citrus reamer or a lemon squeezer to juice the lemons. If you use a reamer, pick out the seeds and leave the pulp.


To prep the pistachios, I pound the nuts with a meat mallet in their bag, remove what I need, and store the remainder in the freezer. Or, I pulse the nuts with the basil in a mini food processor. Always taste a nut from the source bag before cooking with it; nuts have a lot of fat, and the fat can go rancid. If nuts don’t taste good or if they smell bad, don’t use them. They’ll ruin your cookies.


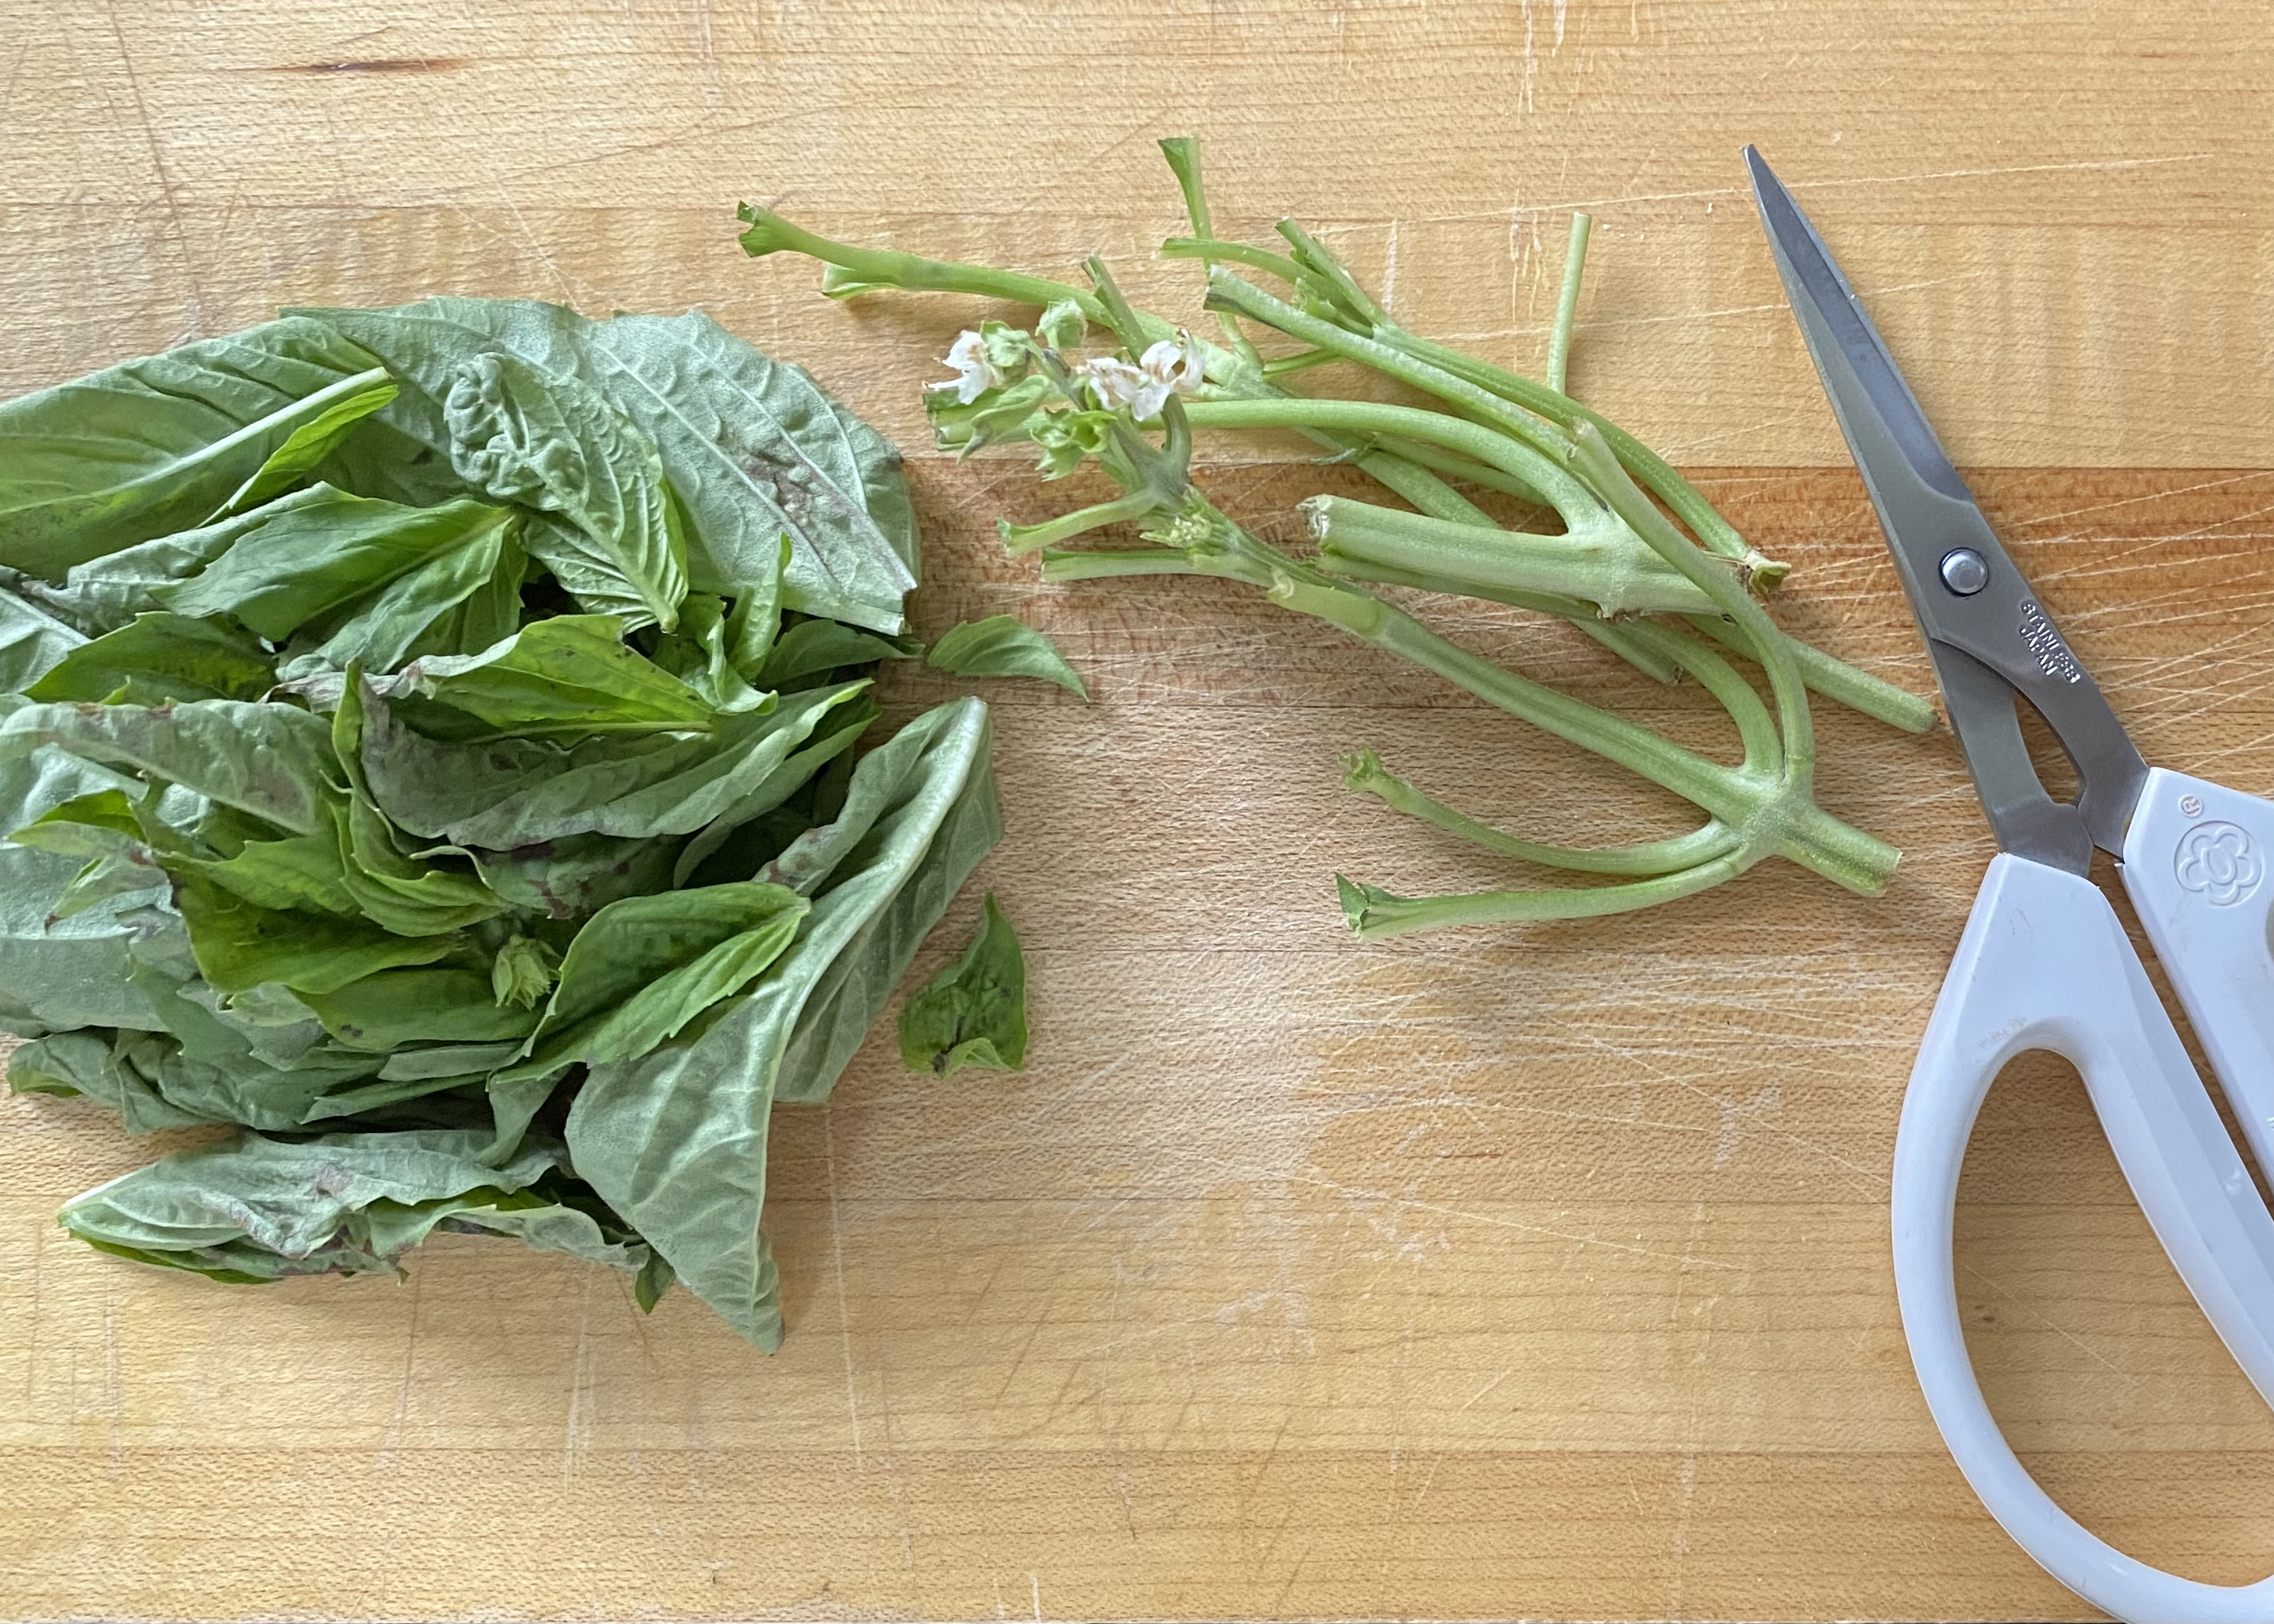
Snip the leaves off the stems and either chop with a knife or pulse with the nuts in the food processor.

You are now ready to mix these ingredients in the batter.
I hope you enjoy these cookies and have learned a little something in the process!
Related Posts:
Italian Ricotta and Lemon Cookies
Italian Sesame Seed Cookies
Award-Winning Chocolate Chip Cookies
3-Ingredient Peanut Butter Cookies
My Favorite Rollout Butter CookiesCookie Scoops as a Unit of Measure
Tools for the Cooking Life
How to Make Royal Icing and Decorate Cookies
I have adapted this recipe from one I saw in Edible Nashville. Thankful to my friend, Jill Melton, cook, gardener, writer, creative editor, and publisher of Edible Nashville, for sharing it.
Follow Judy’s Chickens on Instagram and Pinterest @JudysChickens.
If you enjoyed this post, consider becoming a follower. Be sure to press “confirm” on the follow-up letter sent to your email address.
© 2014-2021 Judy Wright. All rights reserved. Photos, videos, and text may not be reproduced without the written consent of Judy Wright.


