Roasted Spaghetti Squash, Asparagus and Chicken

I love roasted spaghetti squash and have been making it weekly for about three months now. I started eating it as a substitute for pasta while on the Whole30 nutritional program but continue cooking it simply because I enjoy it all dolled up as a vegetable. When I tell people how much I love spaghetti squash, the first thing they ask is how do I cook it. I roast it. I’ll show you how.

DSC_0378

How to Prep and Roast a Spaghetti Squash:

DSC_0682 (1)

Preheat oven to 425º

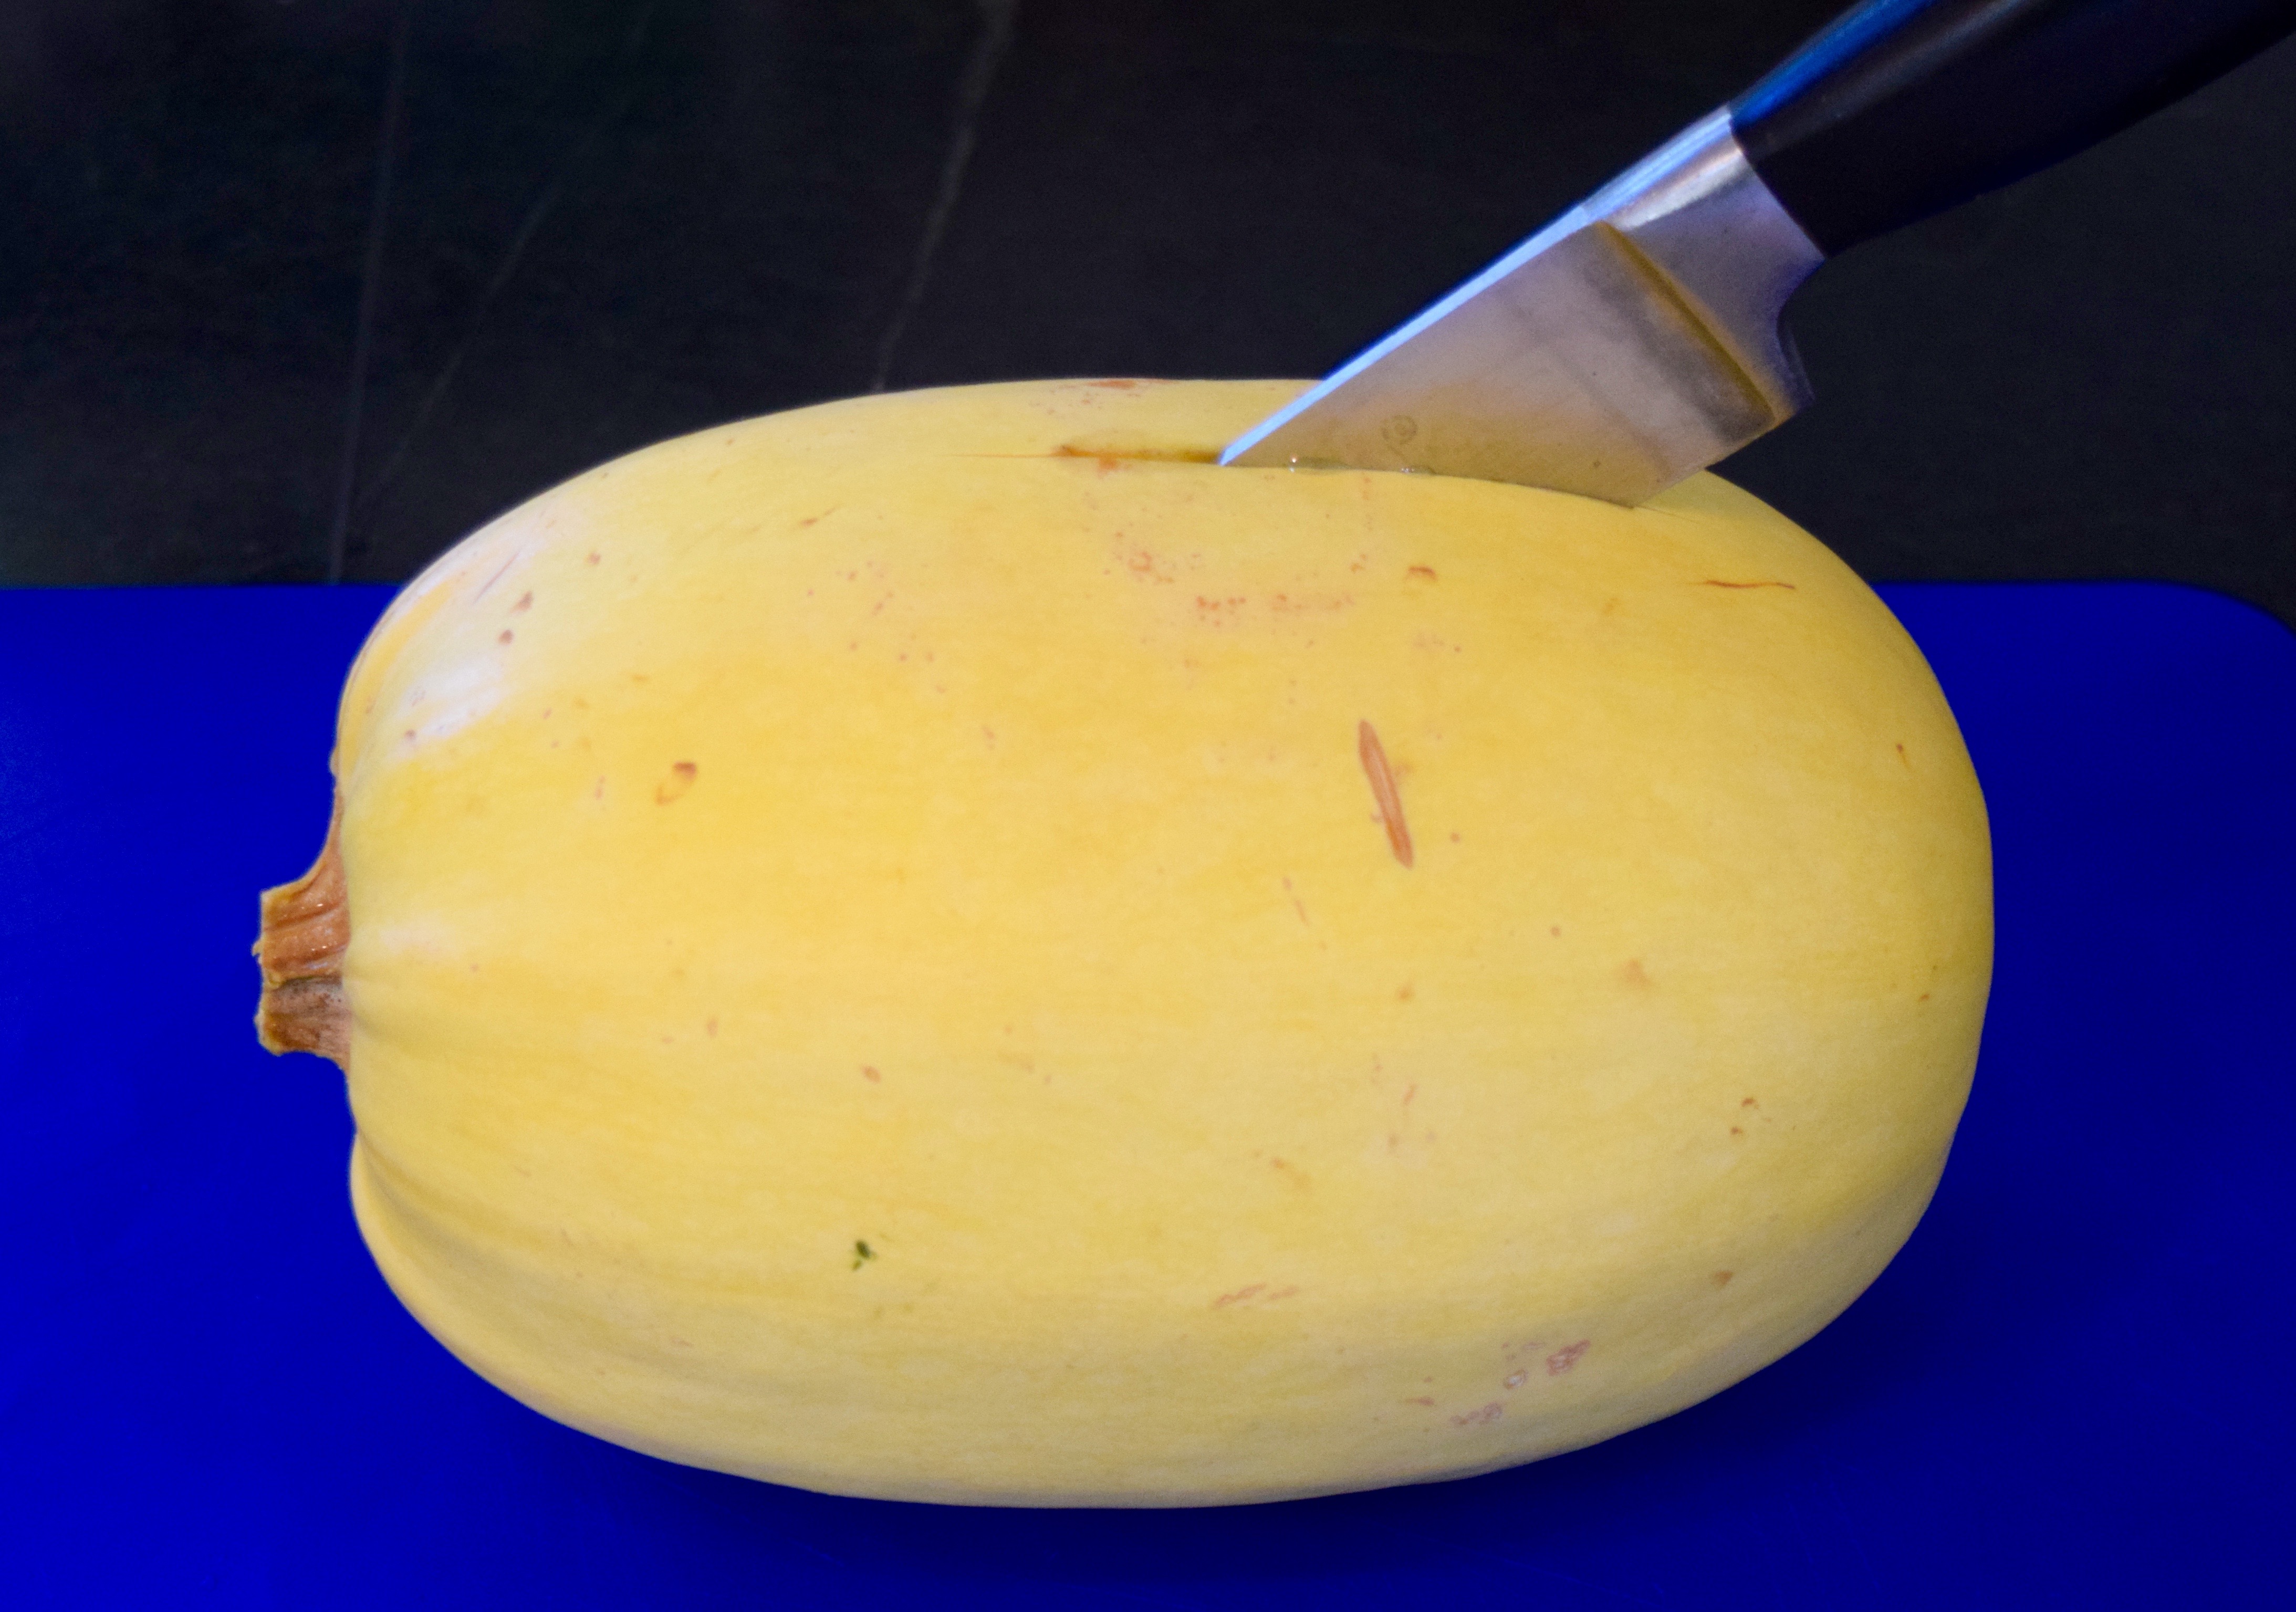
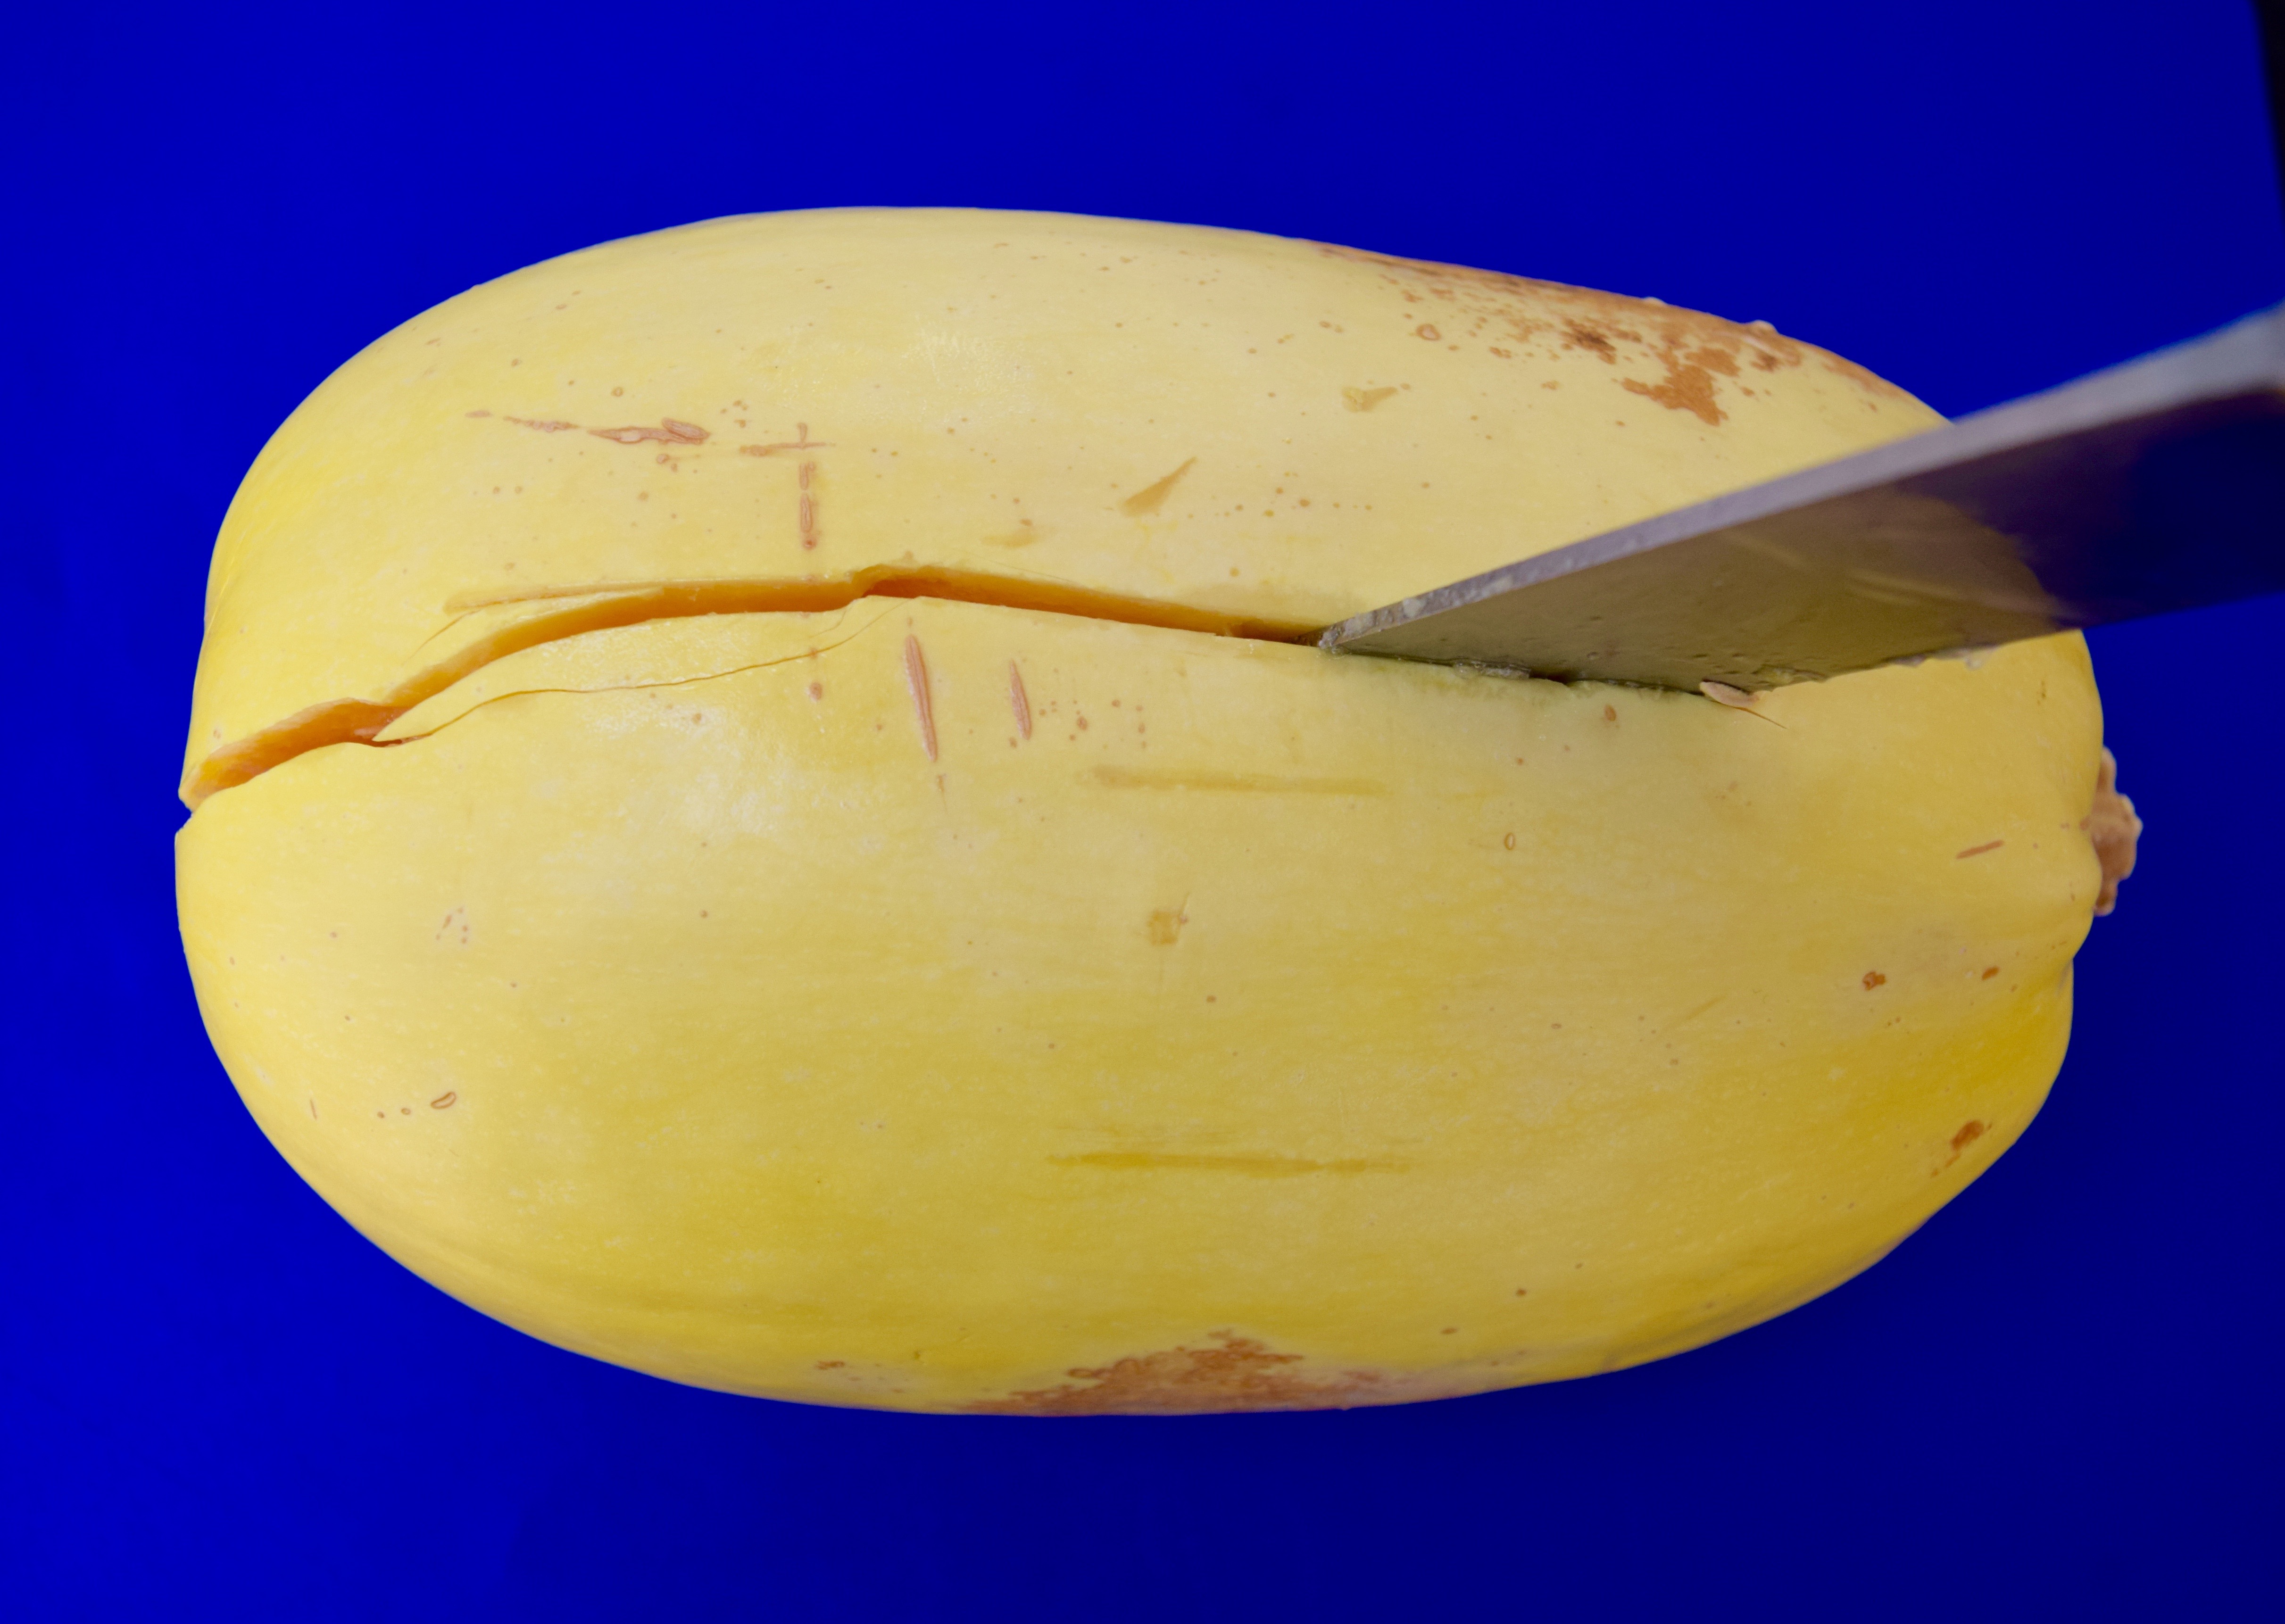
Cut the spaghetti squash in half lengthwise. Be careful, the squash surface is hard, and the squash tends to want to roll around making it a challenge to cut. To get started, I usually stab it with a knife and then pull the knife down to create a fissure across one side. Next, I turn the squash over and do the same thing on the other side.

DSC_0222 DSC_0226 DSC_0234

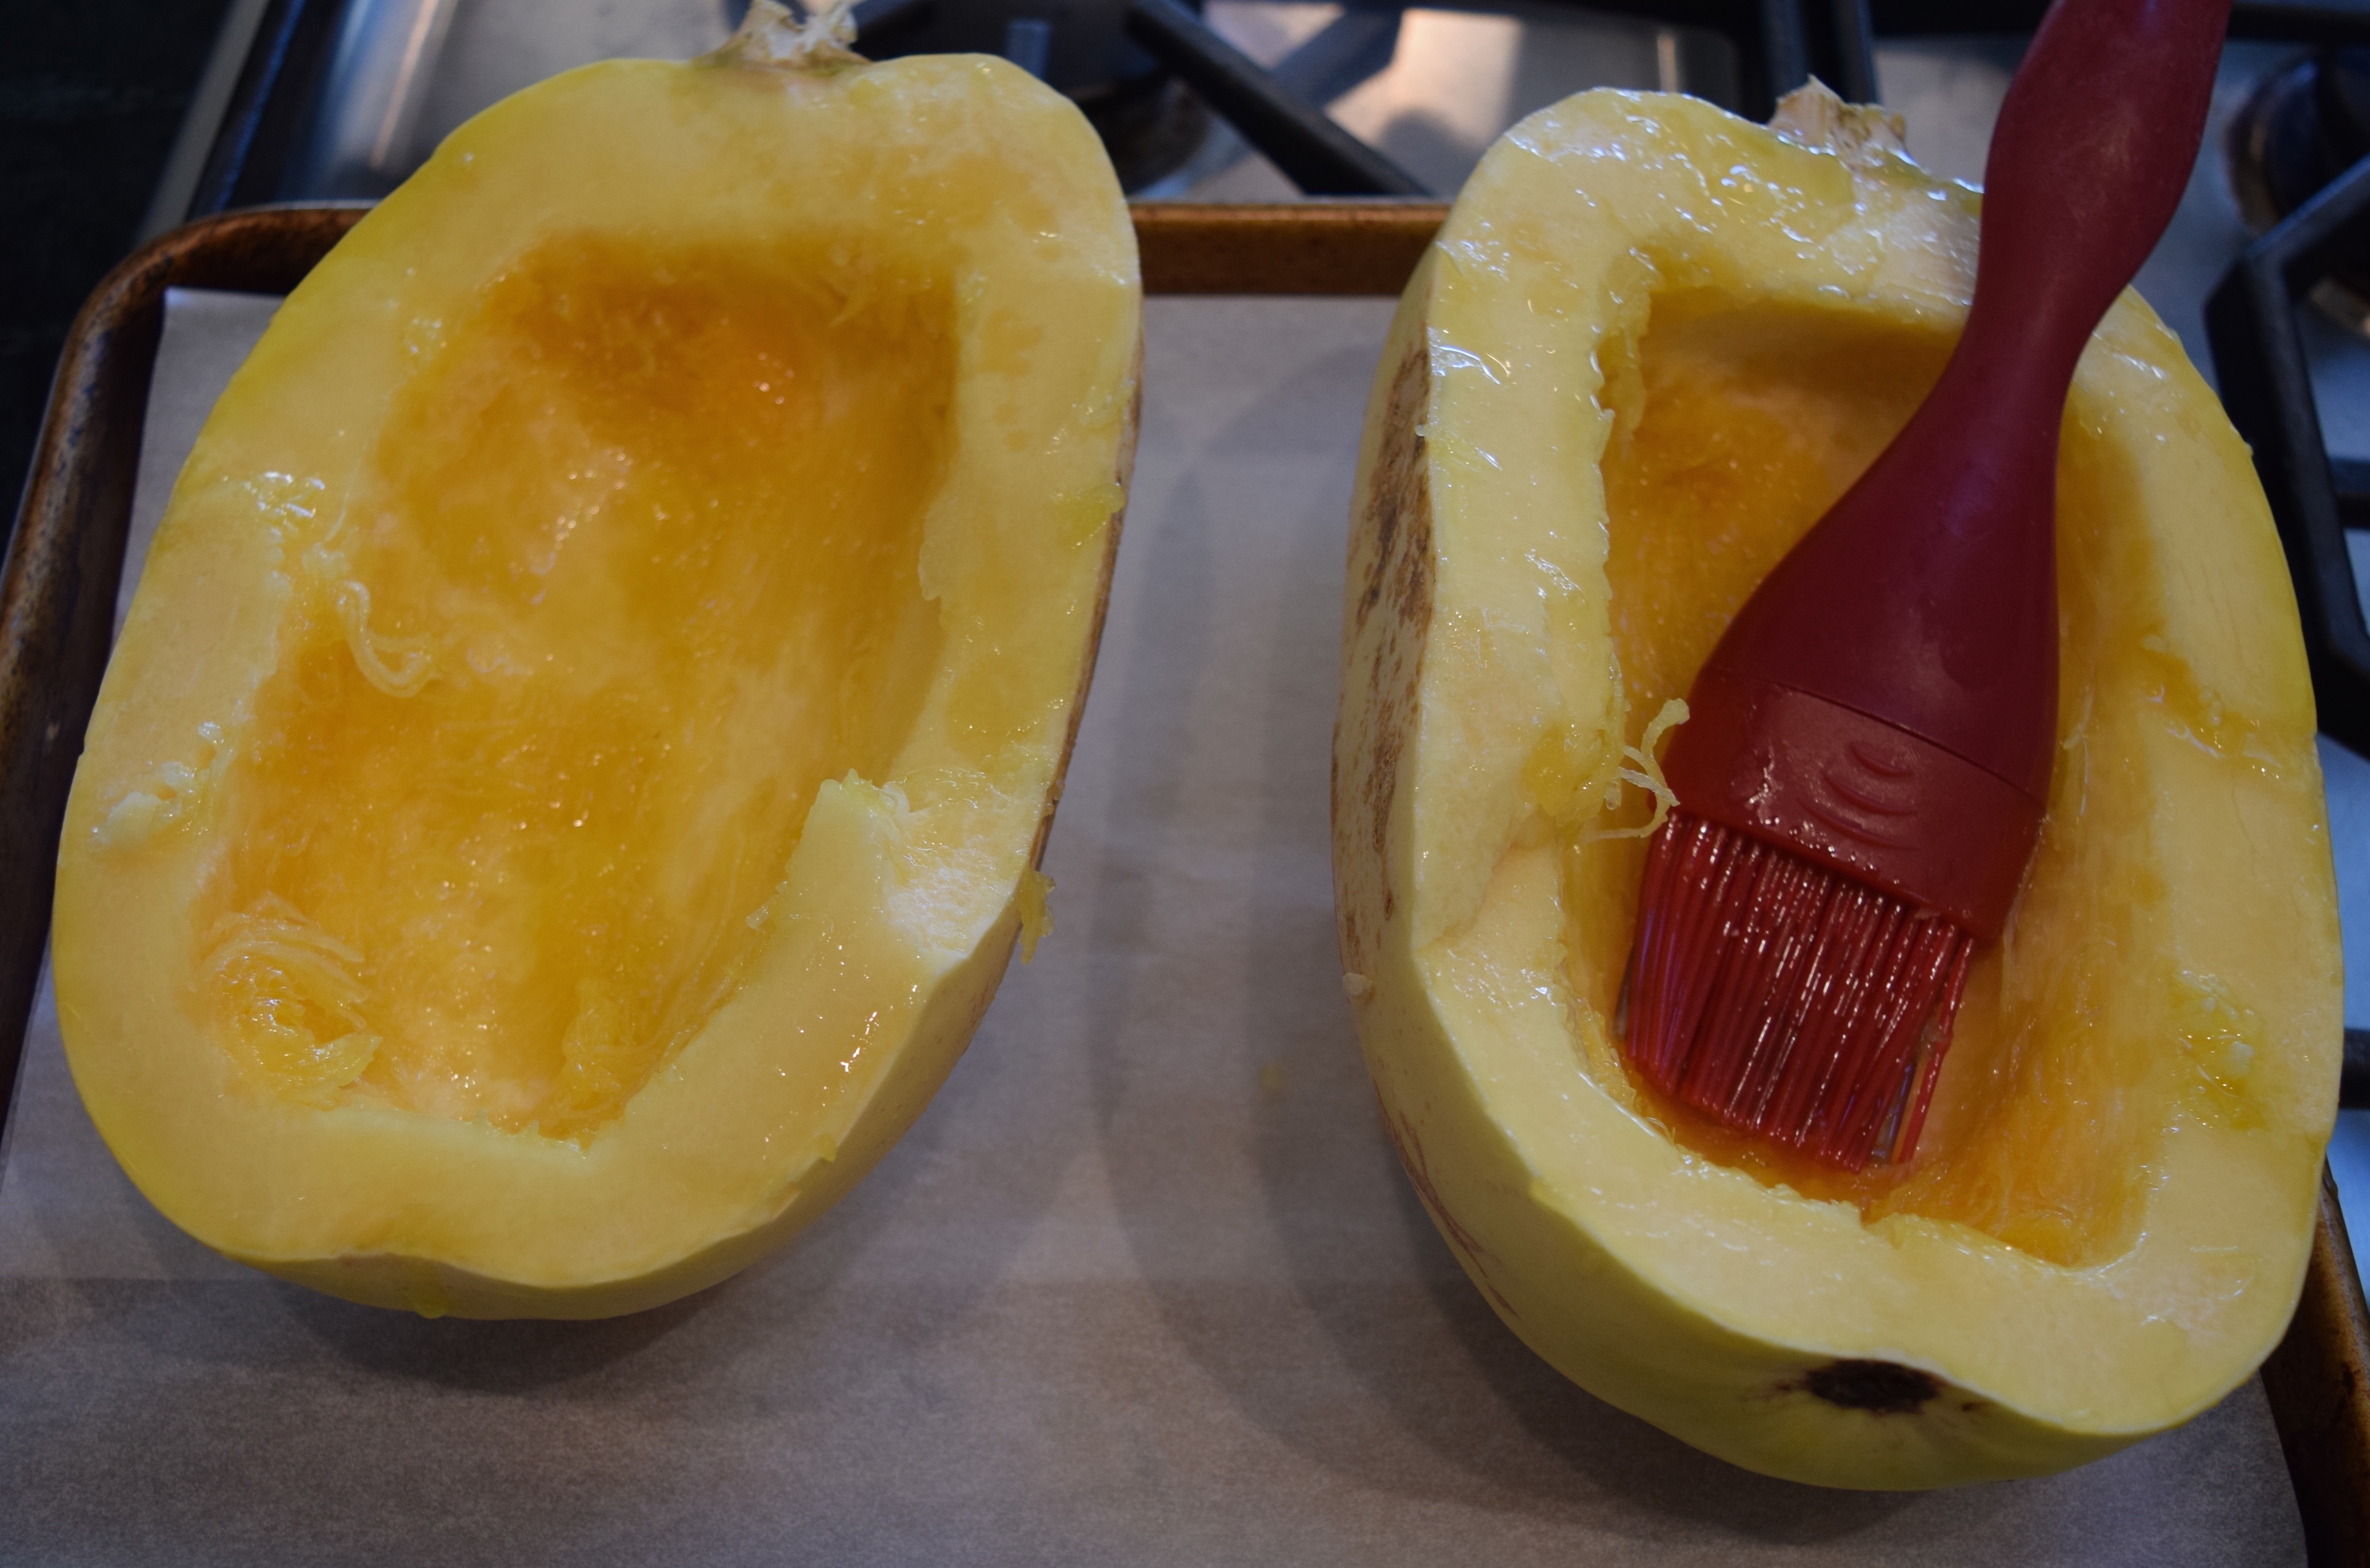
Use a large spoon to scoop out the seeds and fibrous pulp.

DSC_0693

Line a roasting pan with parchment paper and place the two squash halves on it. Drizzle olive oil on each half and use a basting brush to spread the oil over the interior.

DSC_0700

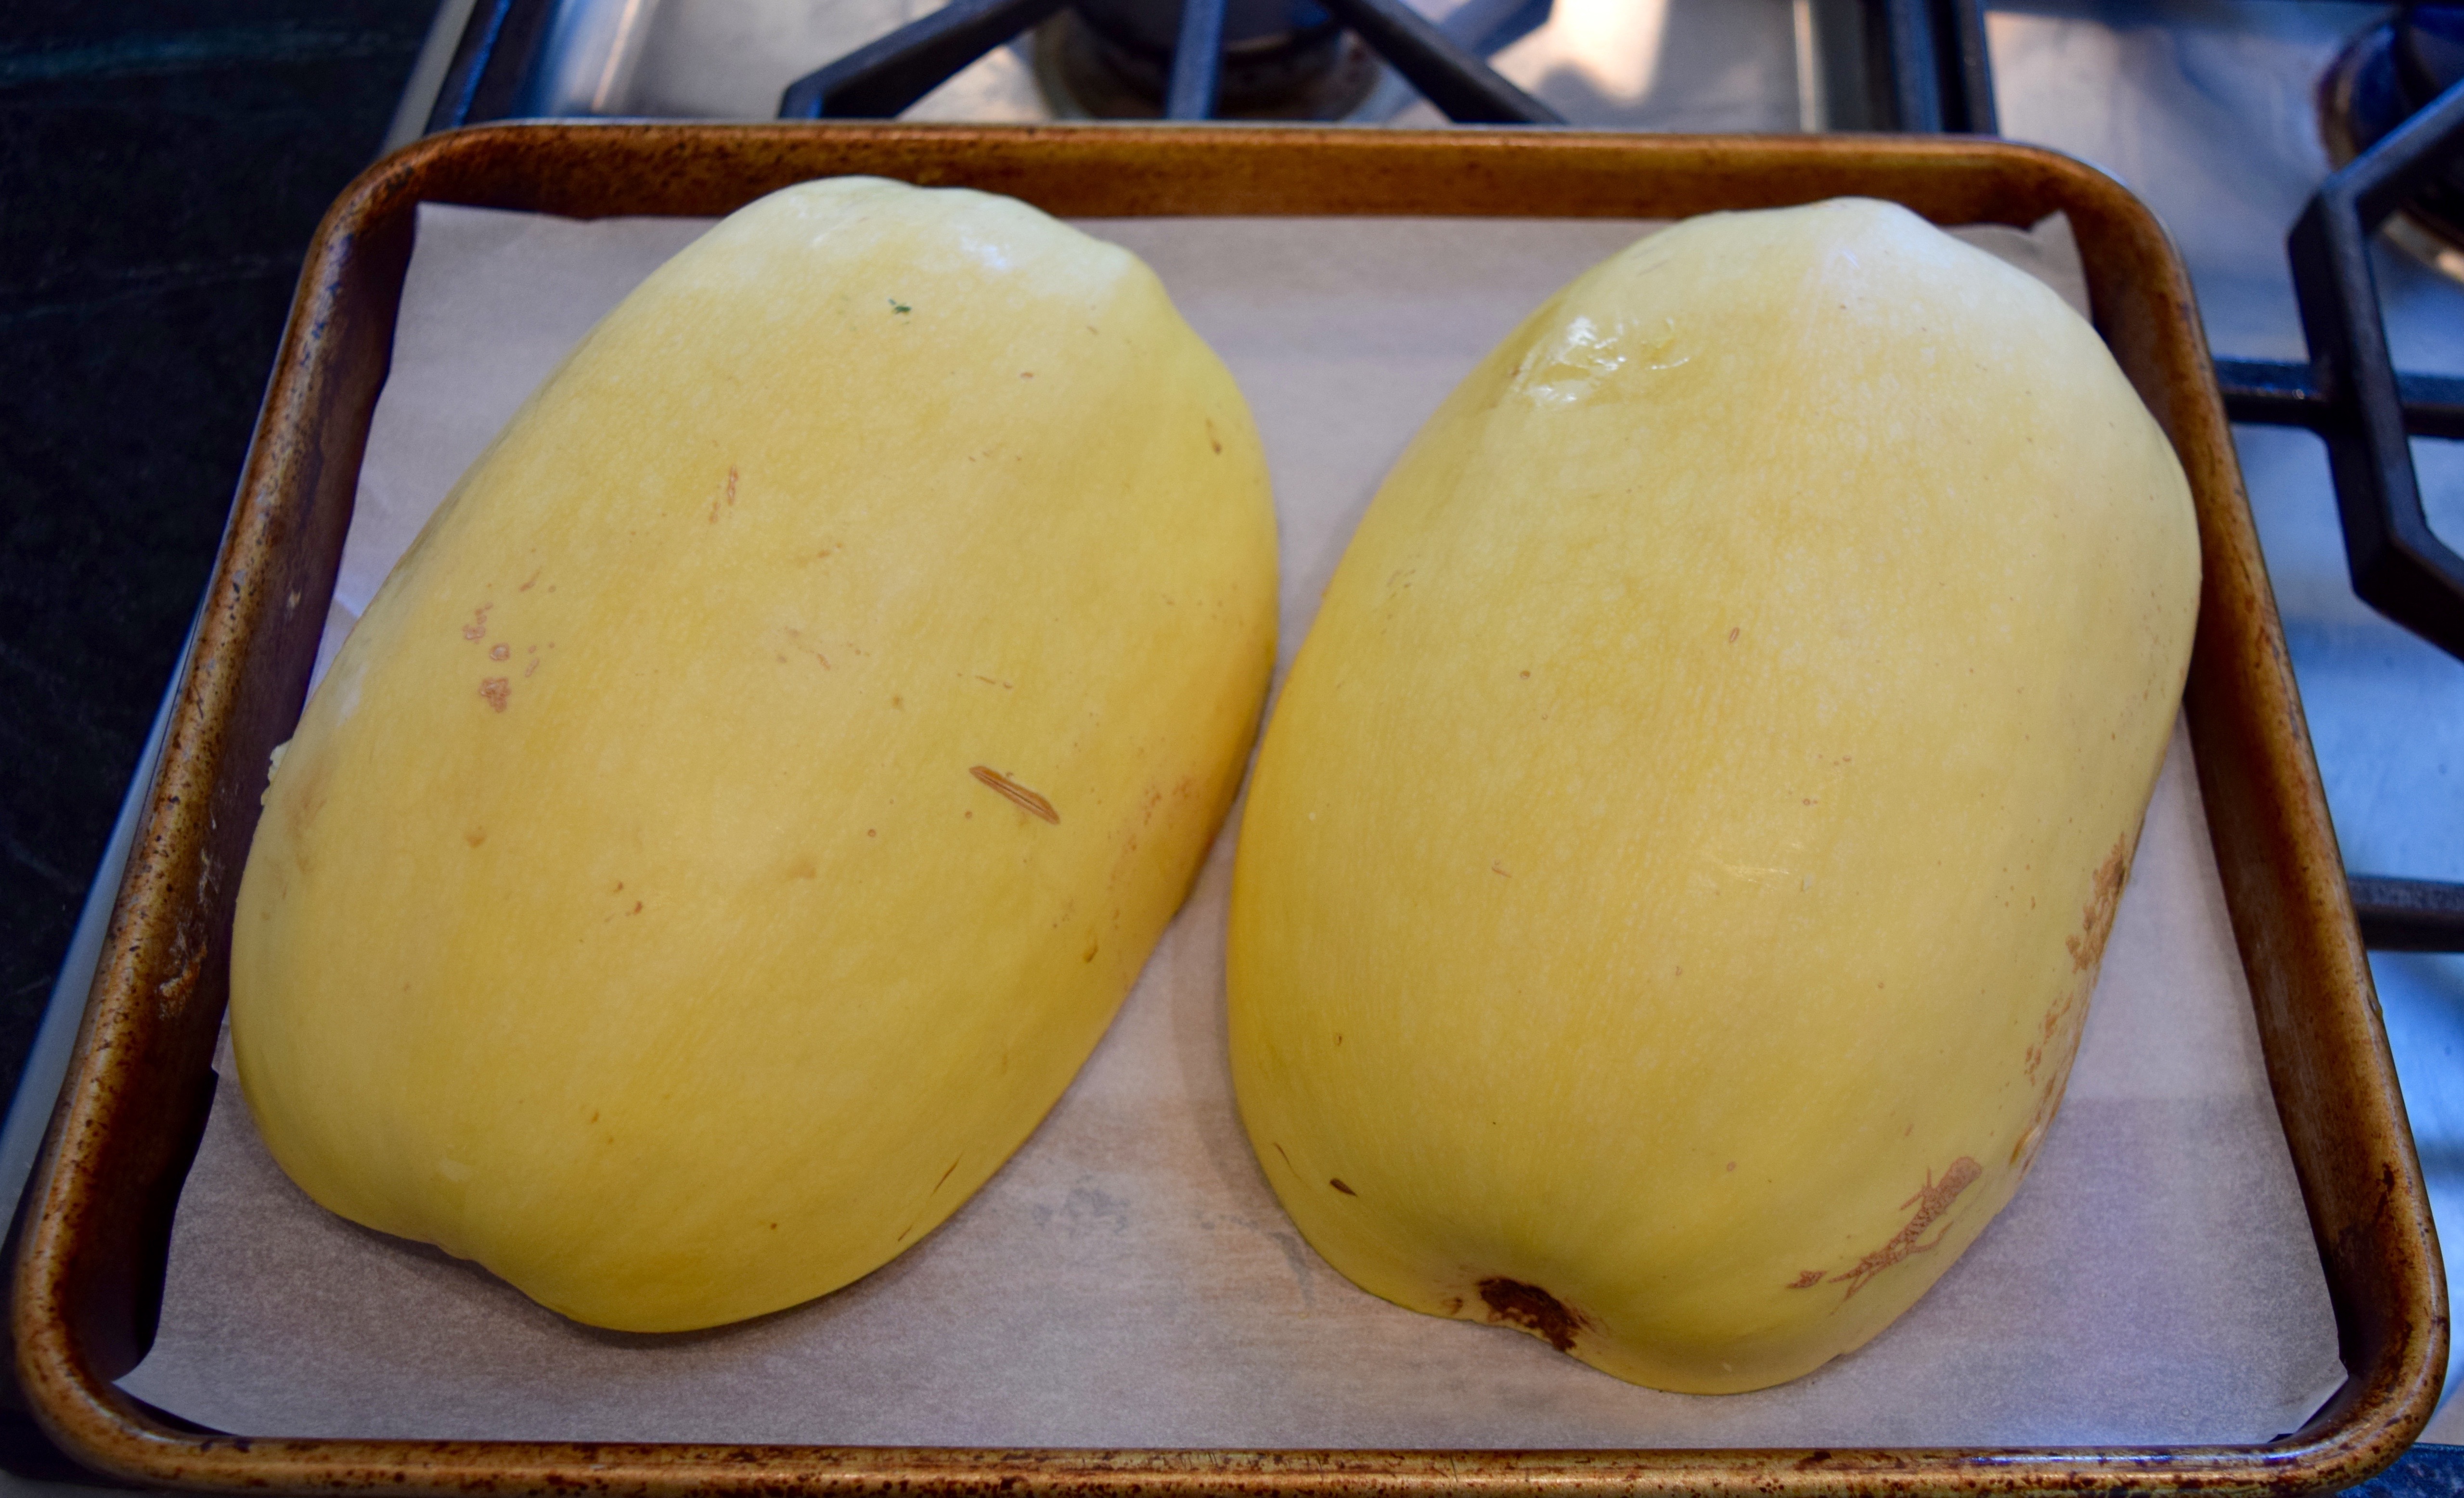
Turn the squash over in the pan and roast for 45 minutes to one hour. The squashes I have been using have each weighed about four pounds and were fork-tender in one hour. Smaller squash will cook in a shorter amount of time.

DSC_0703 DSC_0734

Remove from oven and turn the squash over. You’ll immediately notice the stringiness of the squash. Use a fork to scrape the sides and fluff the tender, caramelized pulp. At this point, it is an empty canvas for whatever you wish to do to flavor it, much like spaghetti.

DSC_0112 DSC_0113

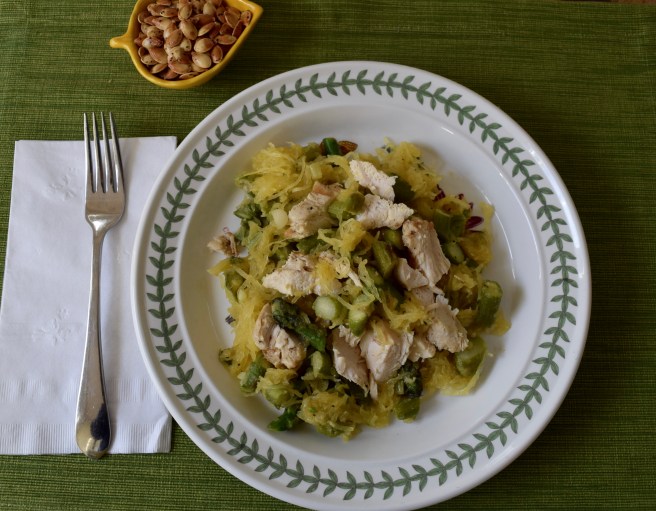
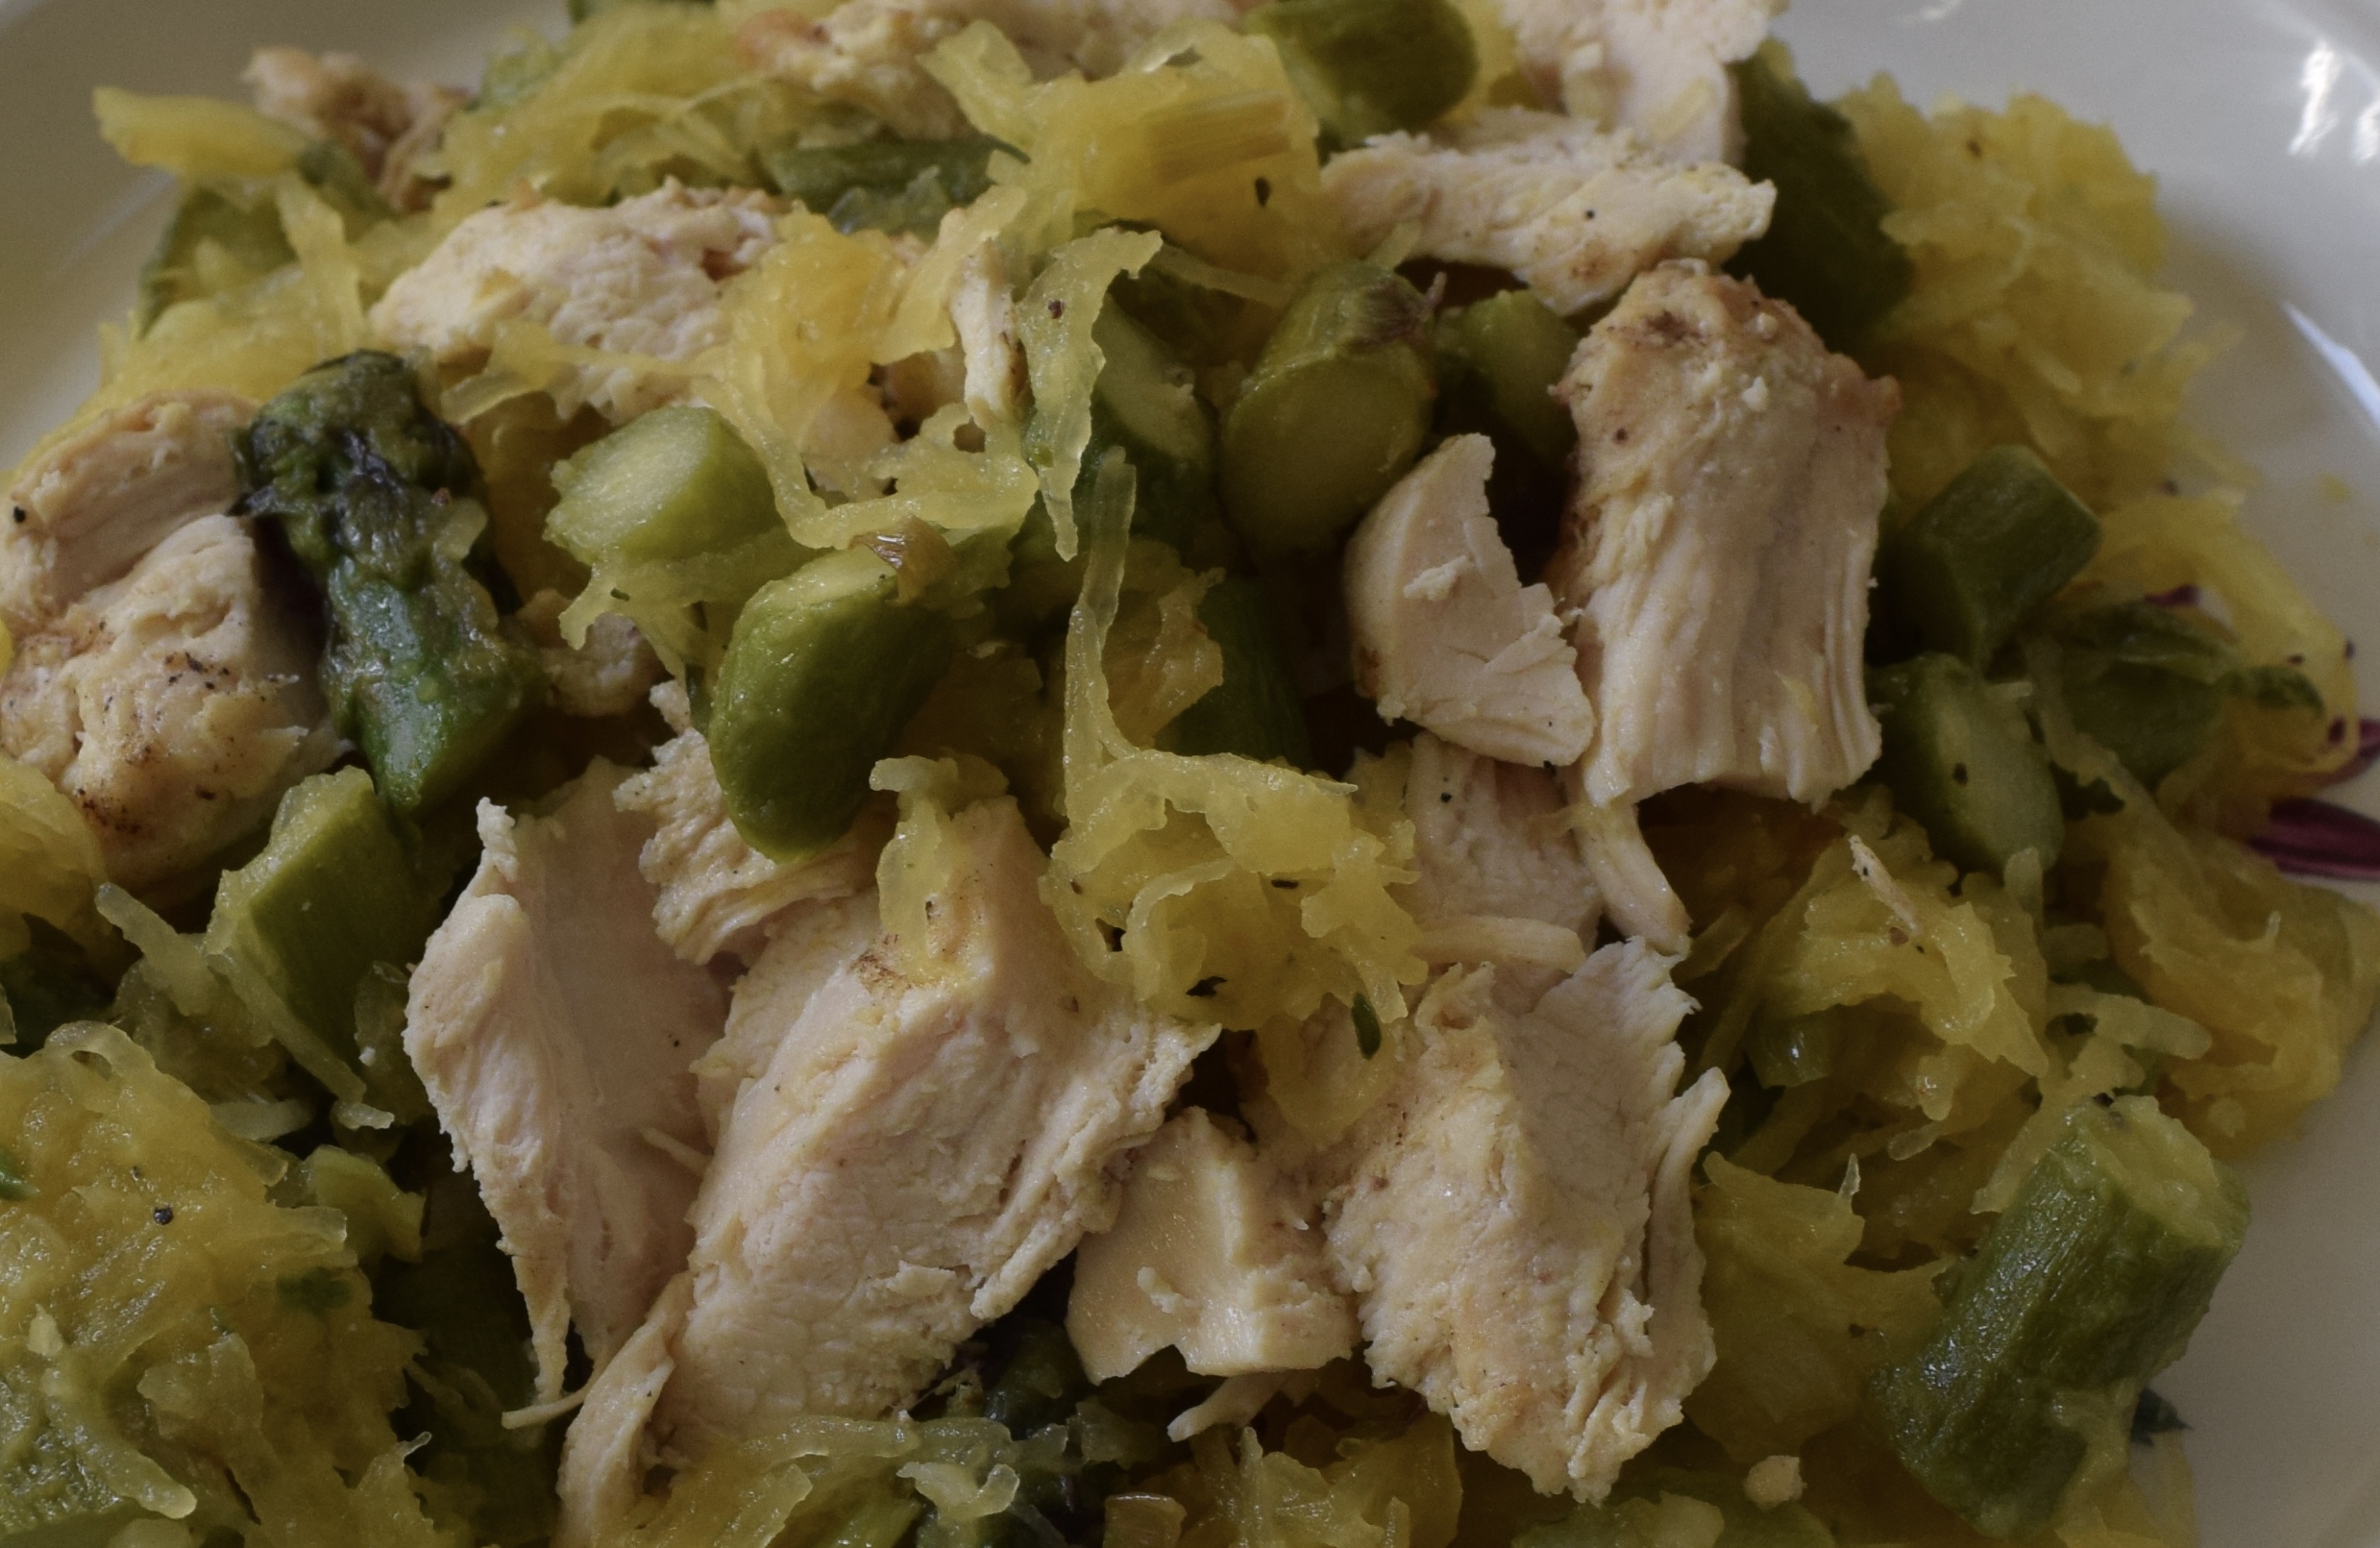
This is one of my favorite ways to prepare spaghetti squash for a delicious, healthy, low-carb side dish, or if you want to make it an entrée, add cooked chicken.

Yield: 2 servings as an entrée

Ingredients:

DSC_0296

½ roasted spaghetti squash (3 cups or 1.5 pounds cooked squash)
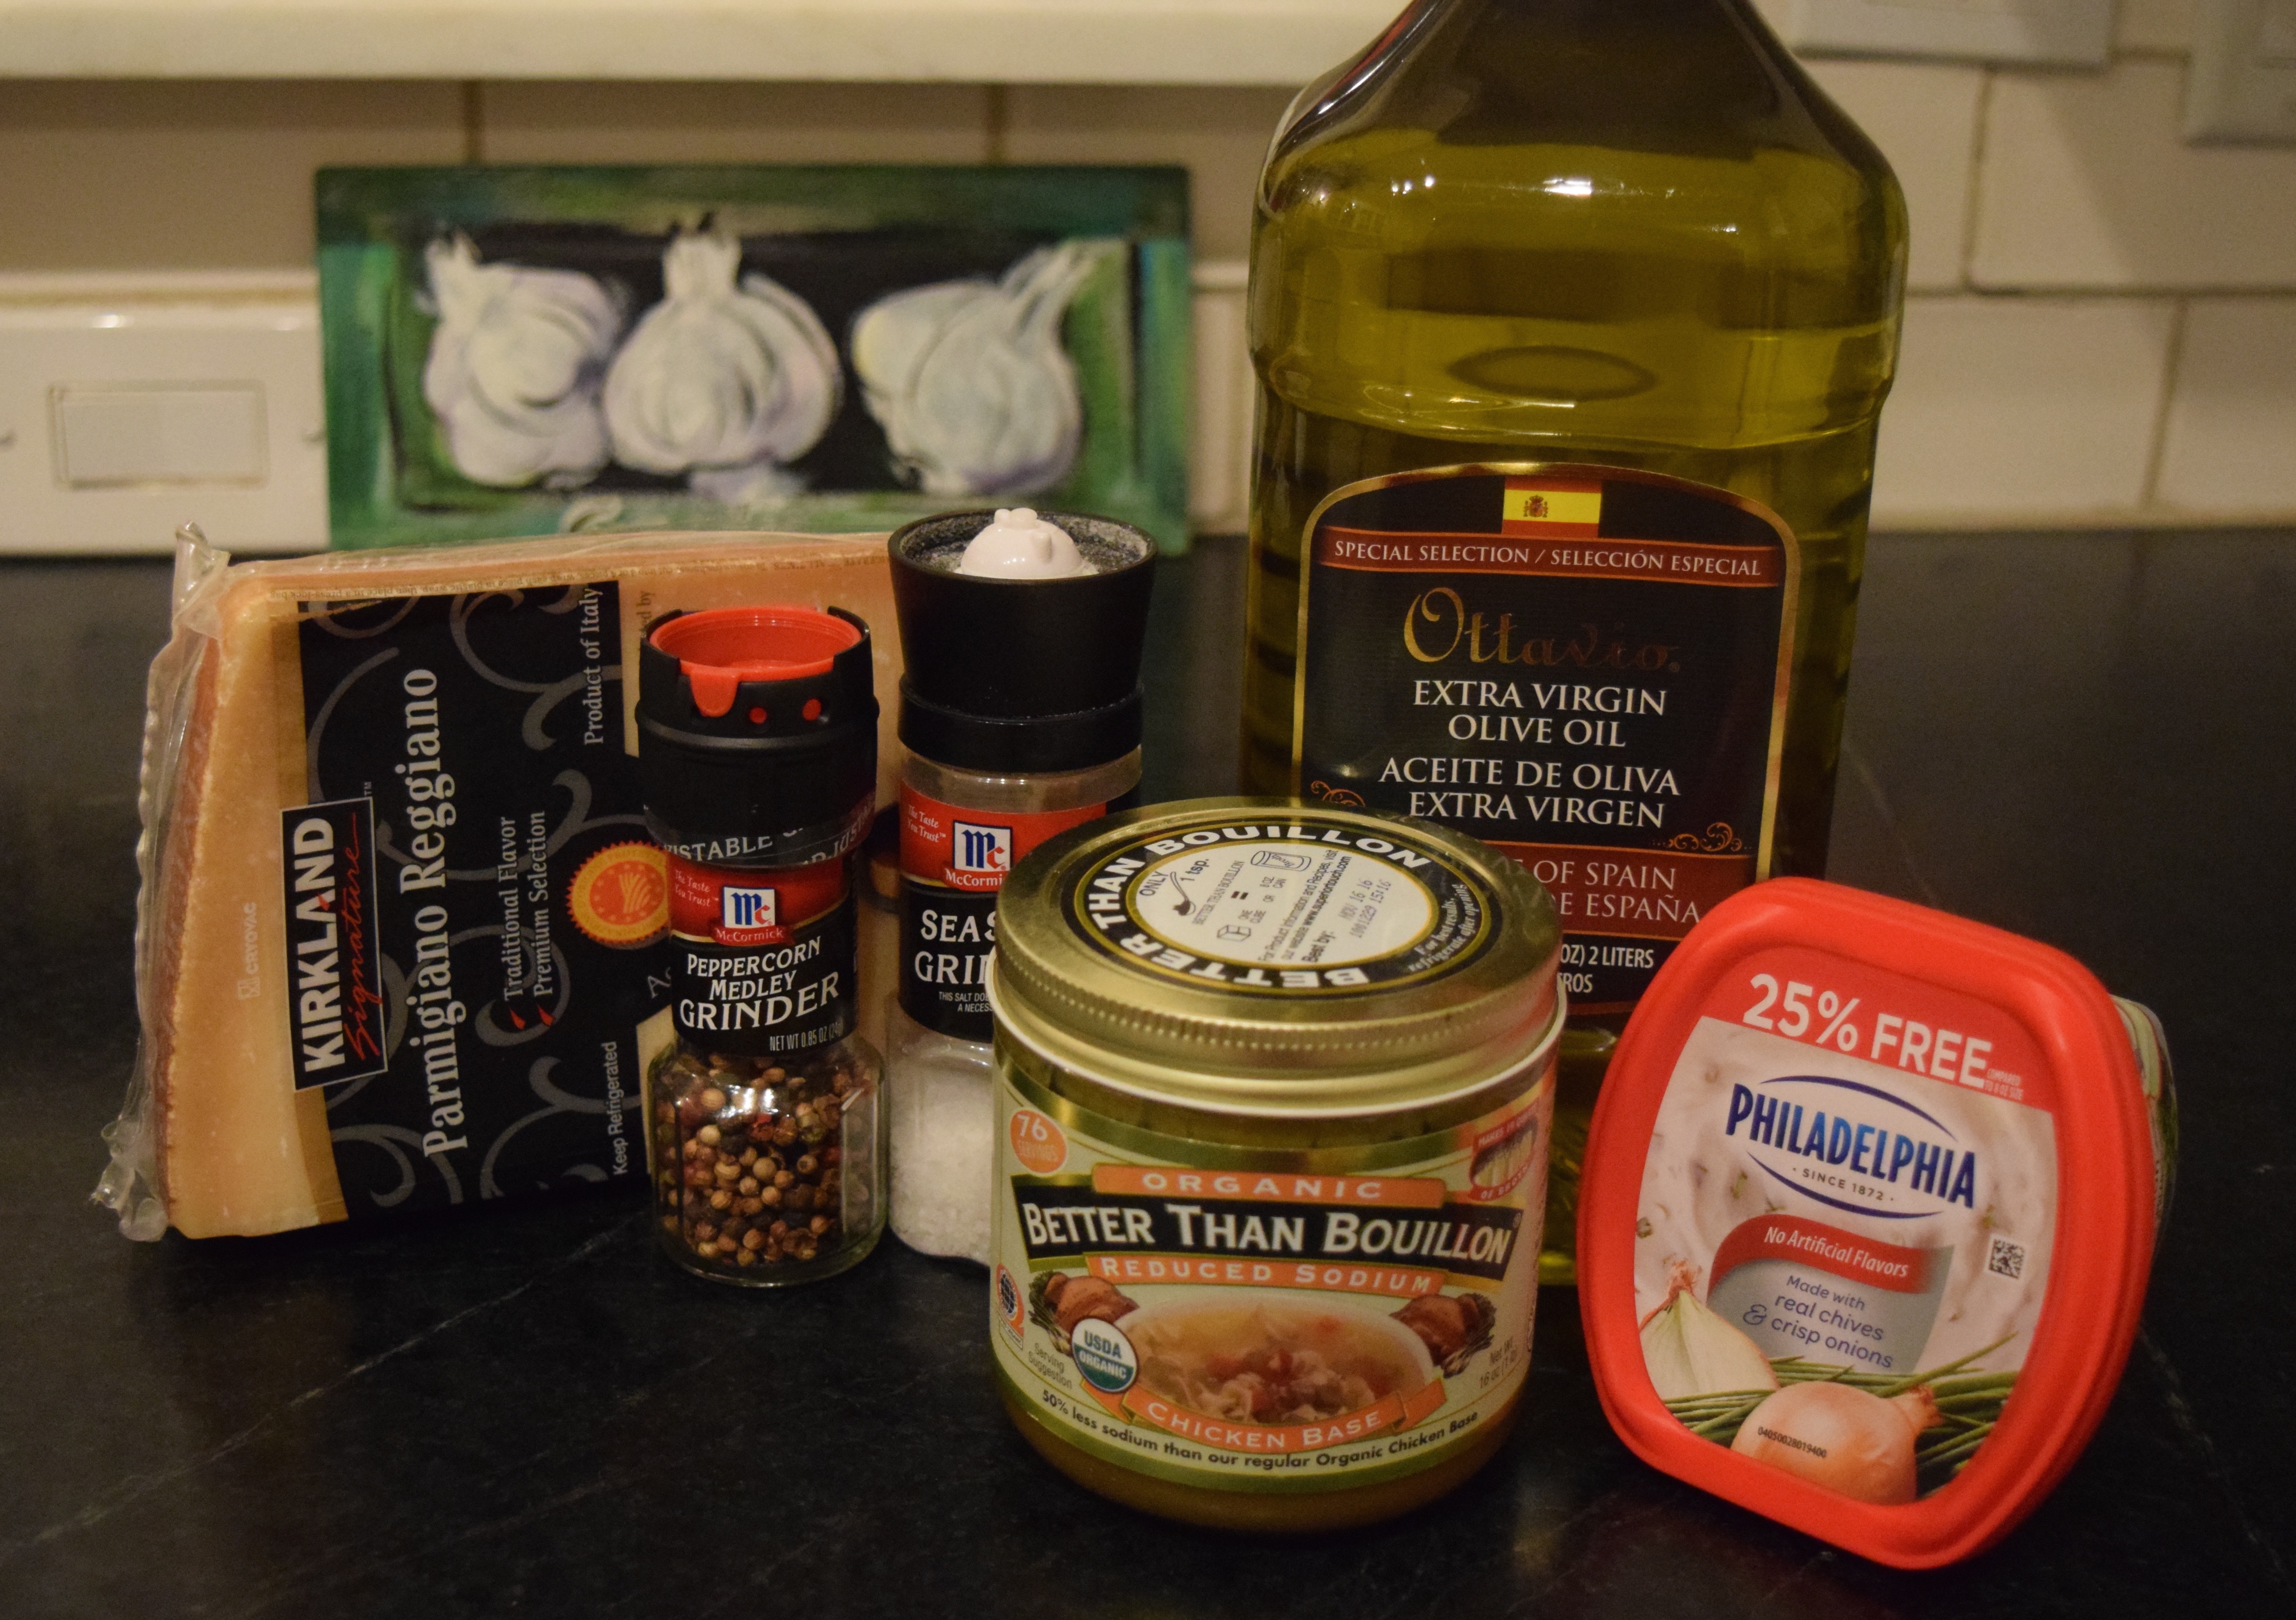
2-3 tablespoons extra virgin olive oil
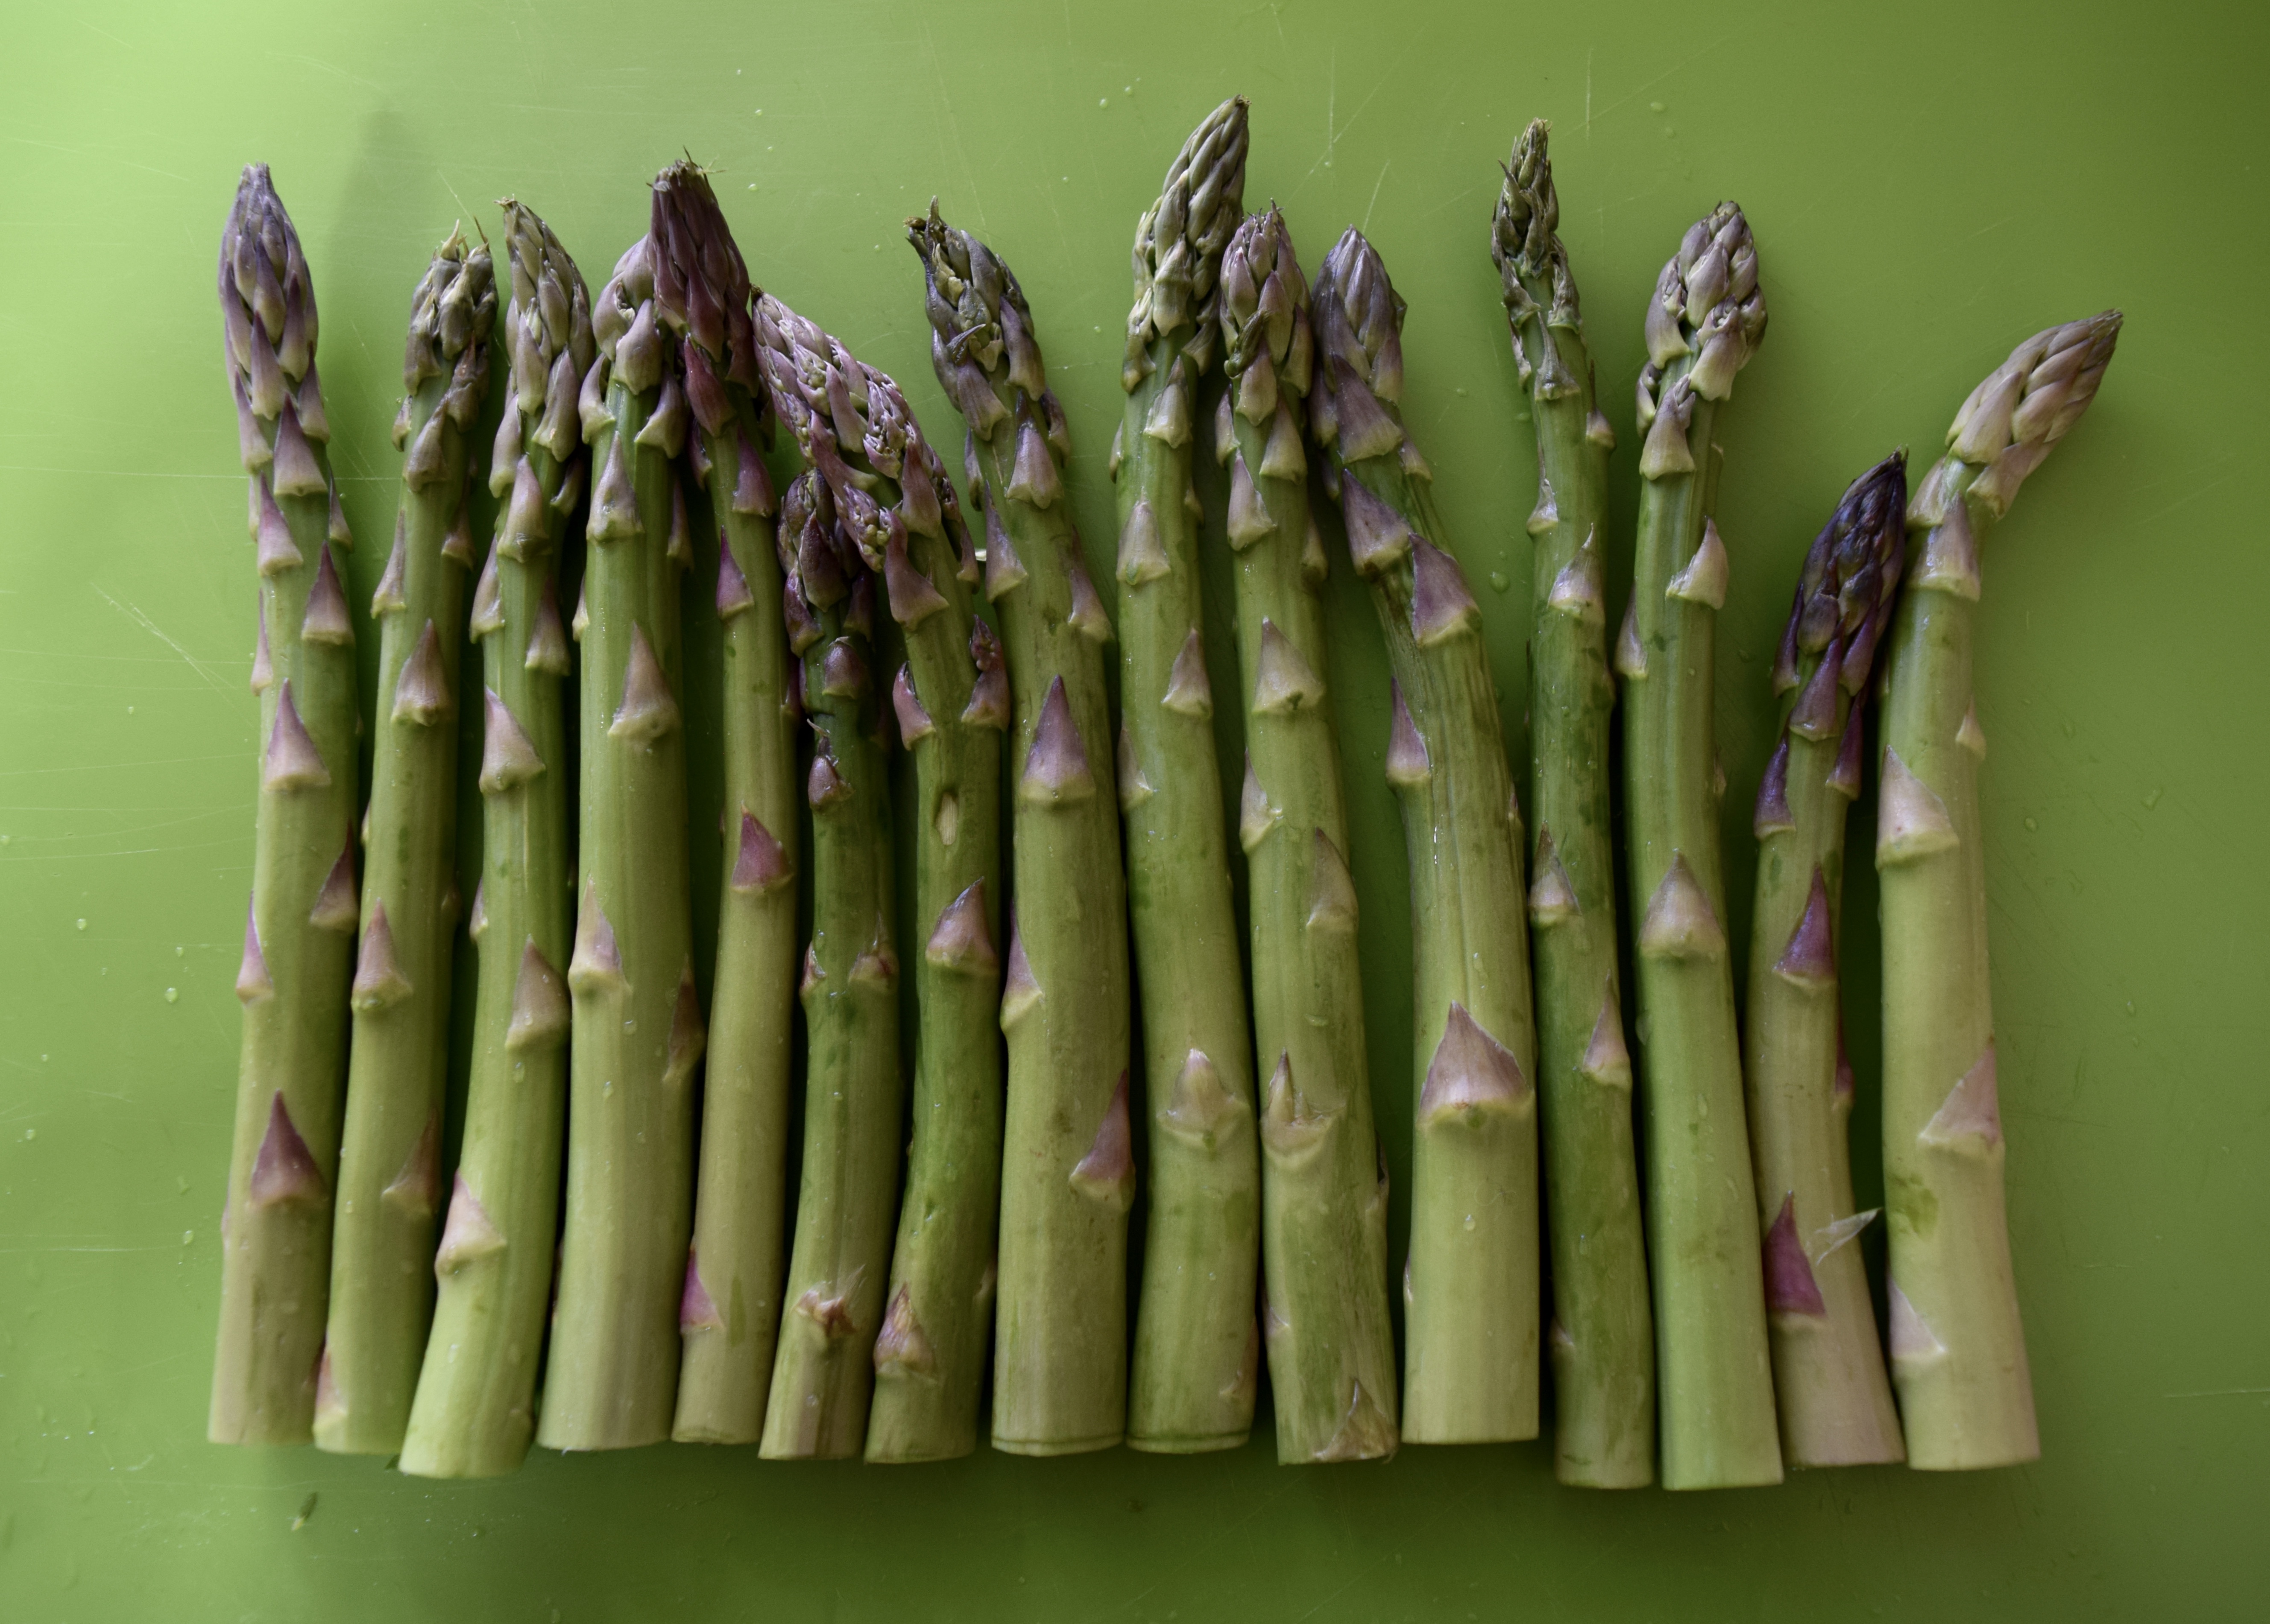
1 bunch asparagus (1 pound un-prepped)
1 bunch green onions (4 ounces un-prepped)
1 clove garlic, minced
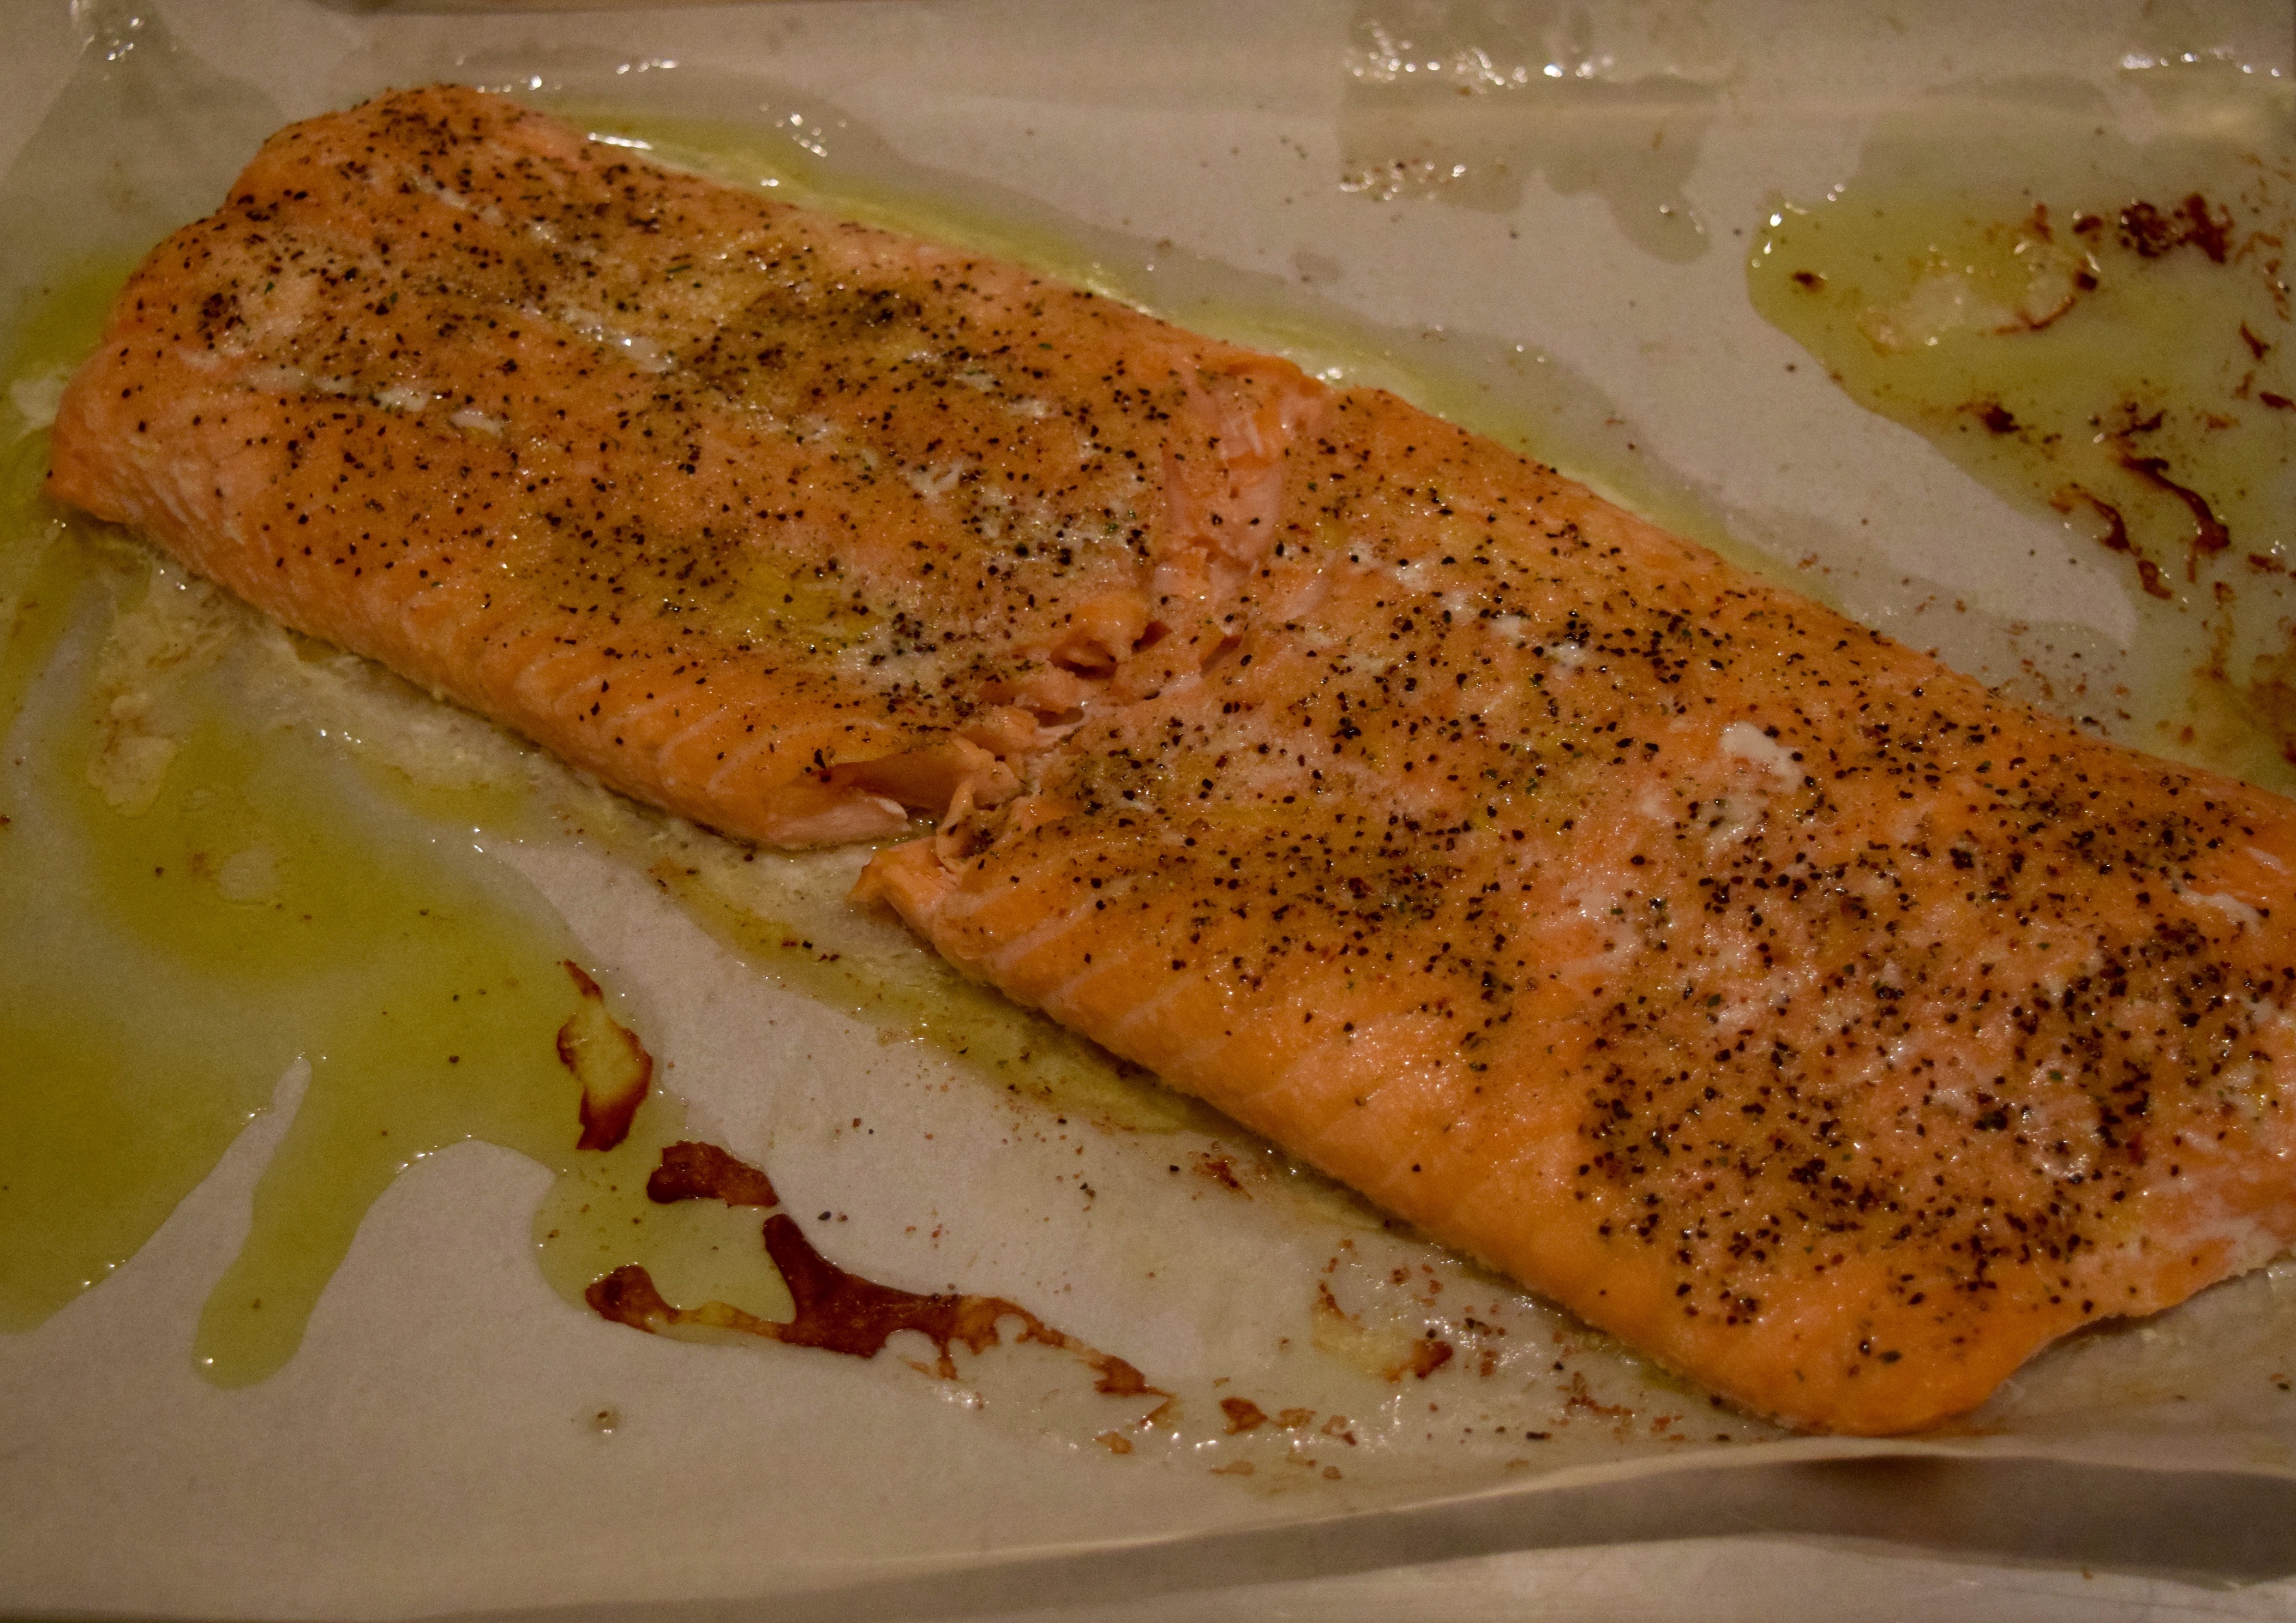
2 cups cooked chicken, cut into bite-sized pieces
Sea salt and garlic pepper to taste. Start with ½ teaspoon of each and add more as desired.

Mise en Place:

DSC_0344

Use a fork to shred and toss the roasted spaghetti squash.

DSC_0322

Prep the asparagus and green onions.

DSC_0309  DSC_0314


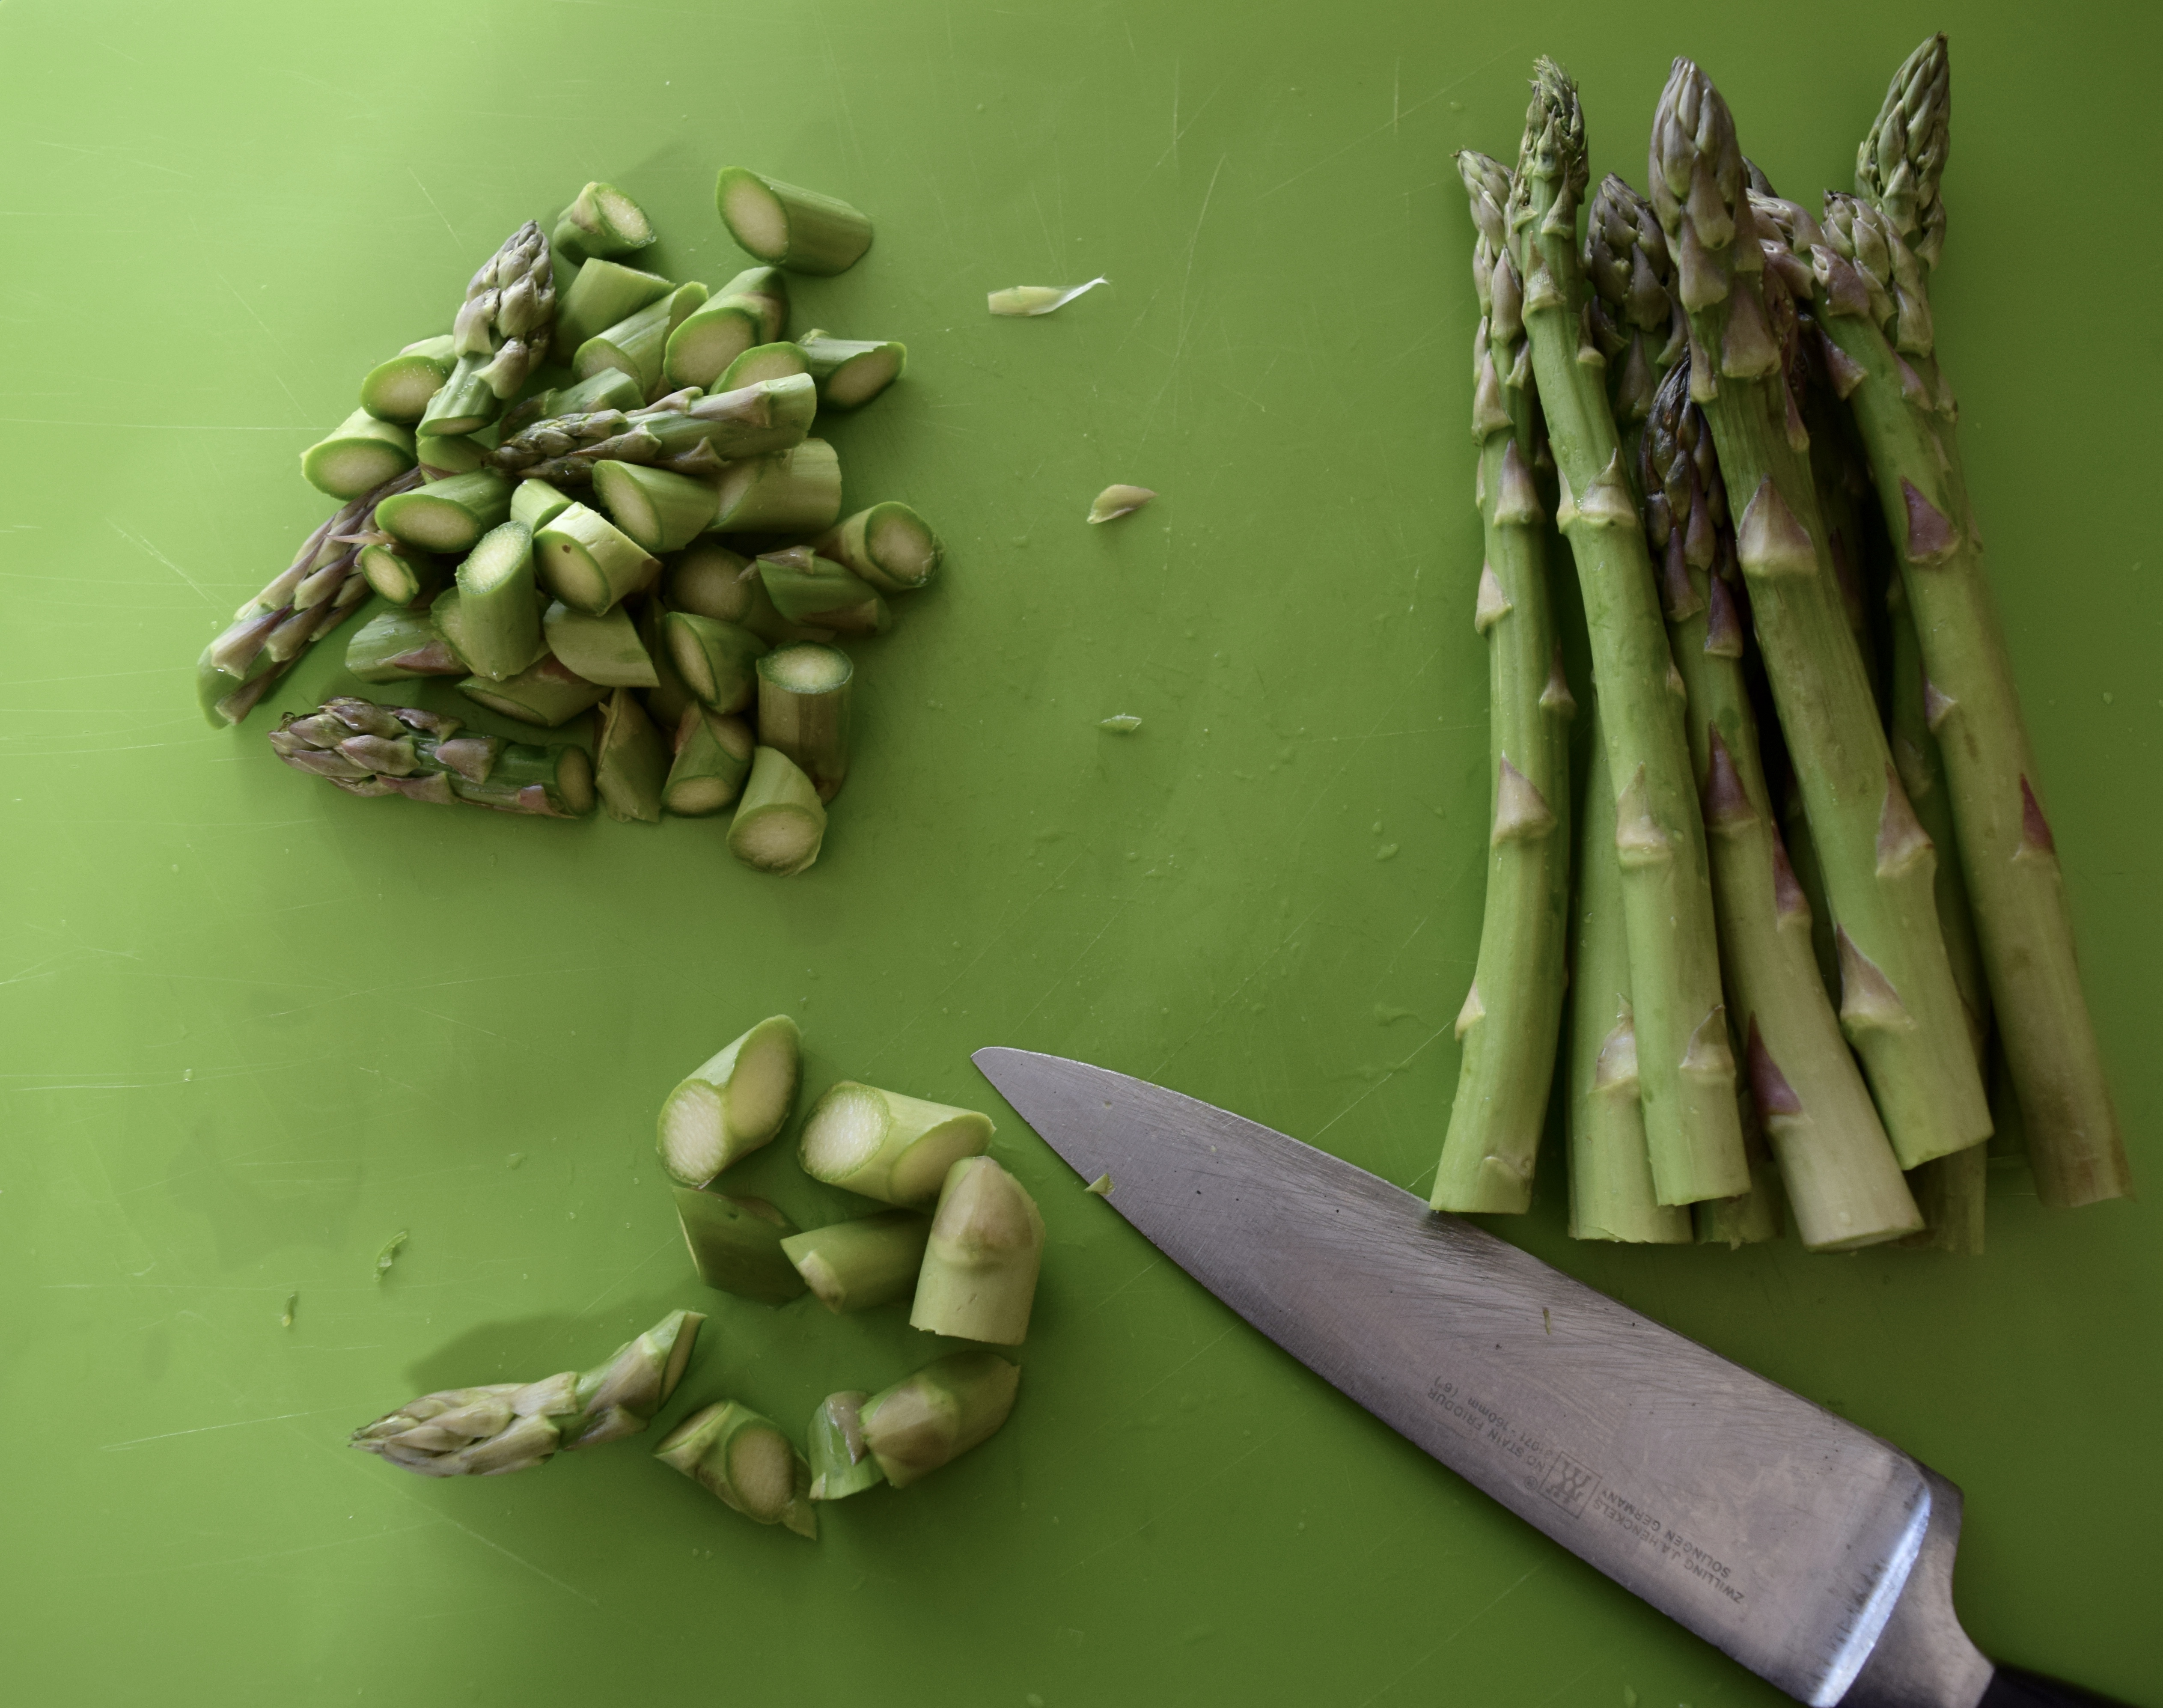
Saute asparagus and onion in olive oil for about 5 minutes on medium-high heat. Add garlic and sauté for 3 more minutes.

DSC_0346

Stir in squash. Add sea salt and garlic pepper to taste. When I was just learning to cook, I hated to read the words “to taste.” I had no idea where to begin. My advice is to start with ½ teaspoon of salt and garlic pepper (¼ teaspoon if just using plain pepper without the garlic). Add more seasoning until it tastes good to you. We happen to use less salt than most people.

DSC_0351

I decided to make this an entrée for dinner and added grilled chicken.

DSC_0382

Sprinkle with Parmesan, if desired.

For a quick side dish, mix shredded squash with salt, garlic pepper, butter, and Parmesan. Another way to serve is to toss it with marinara sauce.

Cooked squash will last in the refrigerator for about 3-4 days before it turns mushy. Alternatively, store it in a bag and freeze until ready to use.

Buon Appetito!

DSC_0577

LET’S STAY CONNECTED!

Follow my photos of vegetables growing, backyard chickens hanging out, and dinner preparations on Instagram at JudysChickens.

Never miss a post: sign up to become a follower of the Blog.

© 2014-2017 Judy Wright. All rights reserved. Photos and text may only be used with written consent.


Marion’s Crazy Good Pumpkin Bread with Chocolate Chips

Let’s just say you need something to serve for a morning meeting or an afternoon snack. Or, maybe you need to come up with a contribution to a bake sale or a neighborhood party. Or, maybe you are looking for a healthy-ish dessert. This is your recipe!

DSC_0026 (1)

There is something about the way the earthy pumpkin purée in this bread absorbs the heat of the spices and the sweet taste of the chocolate and turns it into a decadent memory of all that is autumn. Bonus points to this bread for being dairy and nut free.

DSC_0963

My cousin Marion first emailed me this recipe back in 2008 when I was looking for something to make for a school bake sale. It took me a year to make it because I couldn’t see pumpkin and chocolate tasting good together. When I finally tried it, I was blown away by the flavor. The spices subdued the sweet chocolate, and both did something crazy good to the pumpkin. The combination was brilliant. I started making her pumpkin bread every year for the school bake sale. It was so popular; it was placed on the school’s website where it remains all these years later. This recipe is so well-loved my cousin has to print copies for her customers to take home with them whenever she serves it at her Details and Goods trunk shows.

Yield: Makes 2 loaves, 1 bundt cake, or 18-24 muffins depending on size

Ingredients:
DSC_0939

Mise en Place:
DSC_0954

1½ cups granulated sugar
½ cup canola oil
½ cup unsweetened applesauce
4 large eggs
1  15-ounce can pumpkin purée
1 teaspoon ground ginger
1 teaspoon ground cinnamon
1 teaspoon ground nutmeg
1 teaspoon ground cloves
1 cup whole wheat flour
1 cup all-purpose flour
1 teaspoon salt
2 teaspoons baking soda
1½ cups semi-sweet chocolate chips

Instructions:
Preheat oven to 350º

  1. Grease baking pans and lightly dust with flour. This recipe will fill one bundt pan, two loaf pans, 18 muffin tins, or six mini-loaf pans.
  2. In a large mixing bowl, mix together the sugar, oil, applesauce, and eggs on medium speed for two minutes.
  3. Add pumpkin purée and spices. Mix on medium speed for 30 seconds more. Use a spatula to scrape the sides and bottom of the bowl as you mix.

DSC_0858

4. Add flours, salt, and baking soda. Mix for 30 seconds on low speed just until dry ingredients are fully incorporated into the batter.
DSC_0969

Stir in chocolate chips.
DSC_0871

Pour batter into prepared pans.
DSC_0976

Bake on the middle rack of oven for 50-60 minutes. To test for doneness insert a knife into the center of the baking pan. If it comes out with orange residue on it, put back in the oven for another 10 minutes. If it comes out with just melted chocolate on the knife, then it is ready.

Cool on a wire rack for 15 minutes. Next, run a knife around the edges of the pans to loosen the loaves. Turn the pans over onto the wire rack and shake the loaves out. Immediately flip them over, so they are right side up. Allow to cool for an hour before packaging.

A few baking notes:

If you don’t have applesauce, use 1 full cup of oil instead of half oil and half applesauce.

If you don’t have whole wheat flour, use 2 cups of all-purpose flour.

In case you’re wondering, a 15-ounce can is equal to 1¾ cups of pumpkin purée.
DSC_0959

Marion, thanks for turning me on to this unlikely pairing of flavors! Marion thanks her friend, Marilyn who first introduced her to this recipe in the form of muffins as a crowd-pleasing snack after a high school lacrosse game.

Holding hands with my favorite cousin and first friend, Marion.

MarionMartignetti&JudyCulotta
Other Nice Fall Desserts
Mom’s Apple Pie with a Cheddar Streusel Topping
Mom’s Pumpkin Pie
Mrs. Walker’s Cranberry Nut Pie
Pumpkin Bread Pudding with Caramel Sauce and Whipped Cream
Pumpkin Cheesecake Pie

Always check the website for the most current version of a recipe.

© 2014-2017 Judy Wright. All rights reserved. Photos and text may only be used with written consent.

Roasted and Mashed Cauliflower

What do you do when you walk into a farm stand and see the most gorgeous, pearly white cauliflower you have ever seen in your life?

winter garden food mennonites

You buy two, ignoring your husband’s raised and questioning eyebrows. They are each ten inches high. He knows there is no room in the fridge, but you can’t help yourself; their color and texture are gorgeous. My mother always said, “Buy what you love and you’ll always find a way to use it.” She was talking about decorating her home and purchasing clothing accessories, but I feel the same way about vegetables.

winter garden food mennonites

I found the cauliflowers at my favorite Mennonite farm stand, Garden Patch Produce located at 1515 Buffalo-Cerulean Road in Cadiz, Kentucky. Do not bother to Google it as this electricity-free community of farmers adds up purchases with tally marks, so you can be sure they don’t subscribe to any form of electronic or print advertising. Note the “Bargain Table” along the back wall. It is full of yesterday’s vegetables at half price. There is no refrigeration in the building, so they don’t sell yesterday’s produce with their fresh produce.

DSC_0183

To Roast, Blanch or Saute the Cauliflower? That is the question.

That is the question I ask when I look at any vegetable when I’m getting ready to cook dinner.

Regardless of which cooking method you choose, you’ll first need to prep the veggie. In this case, after washing the cauliflower, cut it in half and carve out the center core. As you do this, the florets will detach from the stem. You’ll need to chop the large florets in half for even cooking.

DSC_0716 DSC_0717 DSC_0718

One of the extra-large cauliflowers yielded three pounds of florets. It took two two-pound cauliflowers from Kroger to yield the same amount.

winter garden food mennonites

To Roast Vegetables:
Out of habit, and because it is easier, I decided to roast one of the cauliflowers. I  roast most vegetables in a hot 425º oven for about 30-45 minutes. I season them with these three ingredients that you may recognize from my blog posts A Simple Everyday Salad Dressing and Easy Roasted Salmon.

DSC_0282

  1. Chop the florets so they will all be about the same size for even cooking.
  2. Mix florets in a large bowl with 1/3 cup of olive oil and 1 teaspoon each of sea salt and garlic pepper. Toss until florets are well-coated. I tend to be heavy-handed with olive oil, and 1/3 cup is the minimum amount I would typically use.
  3. Bake on a parchment paper-lined baking sheet at 425º for about 40 minutes.  Toss once or twice while roasting to encourage even browning.

Roasted cauliflower should be called Disappearing Cauliflower or Gone in Sixty Seconds Cauliflower. When you roast vegetables at high temperatures like this, they caramelize as they cook and their natural sweetness emerges. It becomes like eating candy; you can’t stop until they are all gone.

DSC_0772

To Blanch Vegetables:
Officially, blanching is a method of cooking vegetables quickly by putting them in a pot of salted, boiling water for a short amount of time and then, if desired,  plunging them into a bowl of ice-cold water, a technique known as “shocking” which halts the cooking process. I hardly ever do the shocking step unless I’ve lost track of time, allowed the vegetables to boil too long, and need to stop them from cooking any longer and changing color to blah.

Why and when would you blanch a vegetable?
1) To retain color. Blanching string beans, for example, “fixes” the color as bright green. Alternatively, if you were to boil them for 15 minutes, they would turn that army green color that may not be as appealing.

DSC_0785 (1)  DSC_0786 (1)

2) To achieve “fork-tender” texture. Blanching cooks vegetables quickly so they don’t get water-logged, mushy and tasteless. Blanched vegetables are usually firm, hold their shape, and if you poke them with a fork, the fork tines will slide in easily indicating doneness.

DSC_0726  DSC_0737

3) To loosen the skin off of a vegetable or fruit. Let’s say you want to peel a lot of tomatoes, or peaches, for canning purposes. An easy way to do so would be to boil them and then move them into a cold water bath. The skin will simply blister off.

DSC_0238  DSC_0246

4) To prepare vegetables for freezing. Blanching destroys enzymes that cause color, texture and flavor deterioration.

How I Blanch Vegetables
1) Fill a large pot with hot water. You’ll need enough water to cover the vegetables you plan to cook.
2) Add one tablespoon of salt to the water. Bring water to a full rolling boil.
3) Add washed and chopped vegetables, cover, and bring water to a second boil. It could take 3-5 minutes for the water to return to a boil. Once the water returns to a rolling boil, set your timer and cook for one minute.
4) Remove vegetables from heat and drain in a colander. Let vegetables stay in the colander for five minutes. Vegetables will continue to cook as they steam in the colander. The steam will also evaporate the moisture around the vegetables. If you do not wish for the vegetables to continue cooking, shock them in a container of cold water.

Mashed Cauliflower

Mashed Cauliflower

I’ve been hearing a lot about mashed cauliflower lately and decided to try making it. I read about five different recipes and came up with my plan. I had to tweak the plan quite a bit to get it to taste right. Let’s just say I now know my chickens like smashed cauliflower!

Ingredients:

DSC_0796

3 pounds blanched cauliflower florets
¼ cup cream cheese with chives and onion, or plain cream cheese
½ cup grated Parmesan
½ cup hot chicken broth
2 tablespoons olive oil
¼ teaspoon freshly ground black pepper
1 teaspoon sea salt

Put cooked florets in the food processor. I could only fit about ¾ of the florets in the bowl of my processor. Add olive oil, cheeses, chicken broth, salt and pepper. Process until chunky and then add remaining florets to the mix.

DSC_0740 (1)

Process until it looks like mashed potatoes.

Thanksgiving 2014

Serve hot. You may need to heat it up before serving as the mixture tends to cool down quite a bit in the food processor. I used cream cheese with onions because I already had it in the refrigerator. You could use plain cream cheese and add chopped herbs instead. I used chopped garlic chives as a garnish.

Make it Whole30

Whole30 has a version of this that includes 1/2 cup of coconut cream instead of other dairy products. Additionally, any Whole30 recipes that call for ghee, I use olive oil instead.

LET’S STAY CONNECTED!

Follow my photos of vegetables growing, backyard chickens hanging out, and dinner preparations on Instagram at JudysChickens.

Never miss a post: sign up to become a follower of the Blog.

© 2014-2017 Judy Wright. All rights reserved. Photos and text may only be used with written consent.

Perfect-Every-Time Roasted Salmon

To My Dear Twenty-Somethings,

I got your message at dinner the other night; you want me to blog about how to cook basic, everyday foods. For example, you want to learn how to prepare salmon.

DSC_0342

Salmon is an easy, quick dinner to prepare after work or on a busy day. It is also special enough to make for company. For these reasons, roasted salmon is a good, go-to recipe to have in your cooking repertoire. When cooking salmon, I keep it very simple. I don’t add sauces or special toppings. If you cook it properly, it will be moist and tender; less is definitely more with this food.

Yield: Serves 6-8

Ingredients:
2½ pounds salmon
3 tablespoons extra virgin olive oil
2 teaspoons McCormick’s Garlic Pepper
1 teaspoon sea salt
DSC_0383

Directions:
Preheat oven to 425º

Remove salmon from package and place on a parchment-lined baking sheet. This one inch thick, skinless fillet of Atlantic farmed salmon. I look for the thickest fillets.

Tuck thin edges under for even cooking, if needed. Drizzle salmon with olive oil and spread over the entire surface with a basting brush. Sprinkle with McCormick’s garlic pepper. Allow to marinate for 15 minutes while the oven heats up.

DSC_0315

Bake in a fully preheated oven for 10 minutes. Set a timer. By 10 minutes, the salmon’s surface should have lost its translucence. If not, put it back in the oven for 2 more minutes.

DSC_0404

Remove from oven and immediately cover with foil for ten minutes to finish cooking. The heat from the surface of the fish will transfer to the center of the fillet and finish the cooking process. This is called “carryover.” For a refresher on how heat transfer works in food, go here

To Serve
Adjust seasoning: add more salt to taste.
Squeeze lemon juice over top, if desired.
Salmon can be served hot, at room temperature, or chilled.

I served the cooled down salmon over a bed of mixed greens, chopped red onions, avocados, and orange and red tomatoes. Toss the salad with A Simple Everyday Salad Dressing from last week’s blog post.

Love,
Mom

DSC_0347

Related Posts
Brooks’s Pork Tenderloin Marinade
Mom’s Marinated and Grilled Lamb
Mom’s Roasted Lamb with Herb and Goat Cheese Topping
Lemony Grilled Chicken Breasts
Judy’s Mom’s Meatloaf

LET’S STAY CONNECTED!

Follow my photos of vegetables growing, backyard chickens hanging out, and dinner preparations on Instagram at JudysChickens.

Never miss a post: sign up to become a follower of the Blog.

© 2014-2018 Judy Wright. All rights reserved. Photos and text may only be used with written consent.