I love these salty, crunchy protein-rich almonds and the best news is they are a cinch to make. I start with a large bag of whole, unsalted almonds, toss them with tamari soy sauce, add a few shakes of cayenne pepper, and then slowly roast them in the oven.

Tamari is a refined version of soy sauce known for its smooth and earthy taste. The primary ingredient in soy sauce is soybeans. I realize you probably know this, but have you ever wondered how soy sauce is made?
How Chinese soy sauce is made:
1. Dried soybeans are soaked and cooked in a vat of water.
2. Oven-roasted cracked wheat kernels are then mixed into the vat of cooked soybeans. Yeast is added to start a fermentation process.
3. Salt water is added, the ingredients are mixed together, and the mash is poured into a wooden barrel to ferment for a year.
5. When sufficiently brewed, the mash is placed in a cloth sack and pressed to yield soy sauce.
Tamari, the Japanese version of soy sauce, is also made from fermented soybeans, but little or no wheat is used. Thus, tamari is typically a gluten-free product. The brown fermented mash in this version is known as miso. The high protein miso, also known as a fermented soybean paste, is pressed, as well, to yield tamari.
How are soybeans grown?
I’ve been waiting for an opportunity to write about how soybeans are grown for a long time, as they are a common sight to see along Kentucky backroads.
In mid-June, I saw a planter truck drill a hole into the ground and drop a seed between the rows of stubble left behind from the just harvested winter wheat. By this I mean, the planter truck followed directly in the tire tracks of the harvester truck; crop harvesting and new-crop planting in the same afternoon. Check out this post if you want to learn the difference between a planter, a combine, a harvester, and a grain truck.


A soybean field in early September.

Soybean pods up close and personal.

Soybeans, with their golden color, are usually the last crop standing in the fall.

As the number of daylight hours wanes, the combine and grain cart get ready for one last call of duty before the close of the year’s farming season. I’m always a little sad when the growing season is over.

Dried soybean pods after an October harvest.

Ingredients for Tamari Almonds:

3-pound bag of unsalted whole almonds
⅓ cup Tamari Soy Sauce (look in Asian section of grocery store)
2-4 shakes of cayenne pepper, depending on how much heat you like (optional)
Instructions:
Preheat oven to 200º.
Line two rimmed baking pans with parchment paper.
In a medium-sized bowl, mix together almonds and tamari. Be sure to shake the bottle of tamari first. Add a few shakes of cayenne pepper and mix well.

Divide coated almonds evenly between the two large and lined baking pans.

Every 30 minutes, remove pans from oven, toss the nuts and return to oven. I rotate the pans in the oven each time I take them out. Nuts should be ready in two hours.

They will be soft when they first come out but will crisp up as they cool down.

Other appetizers.
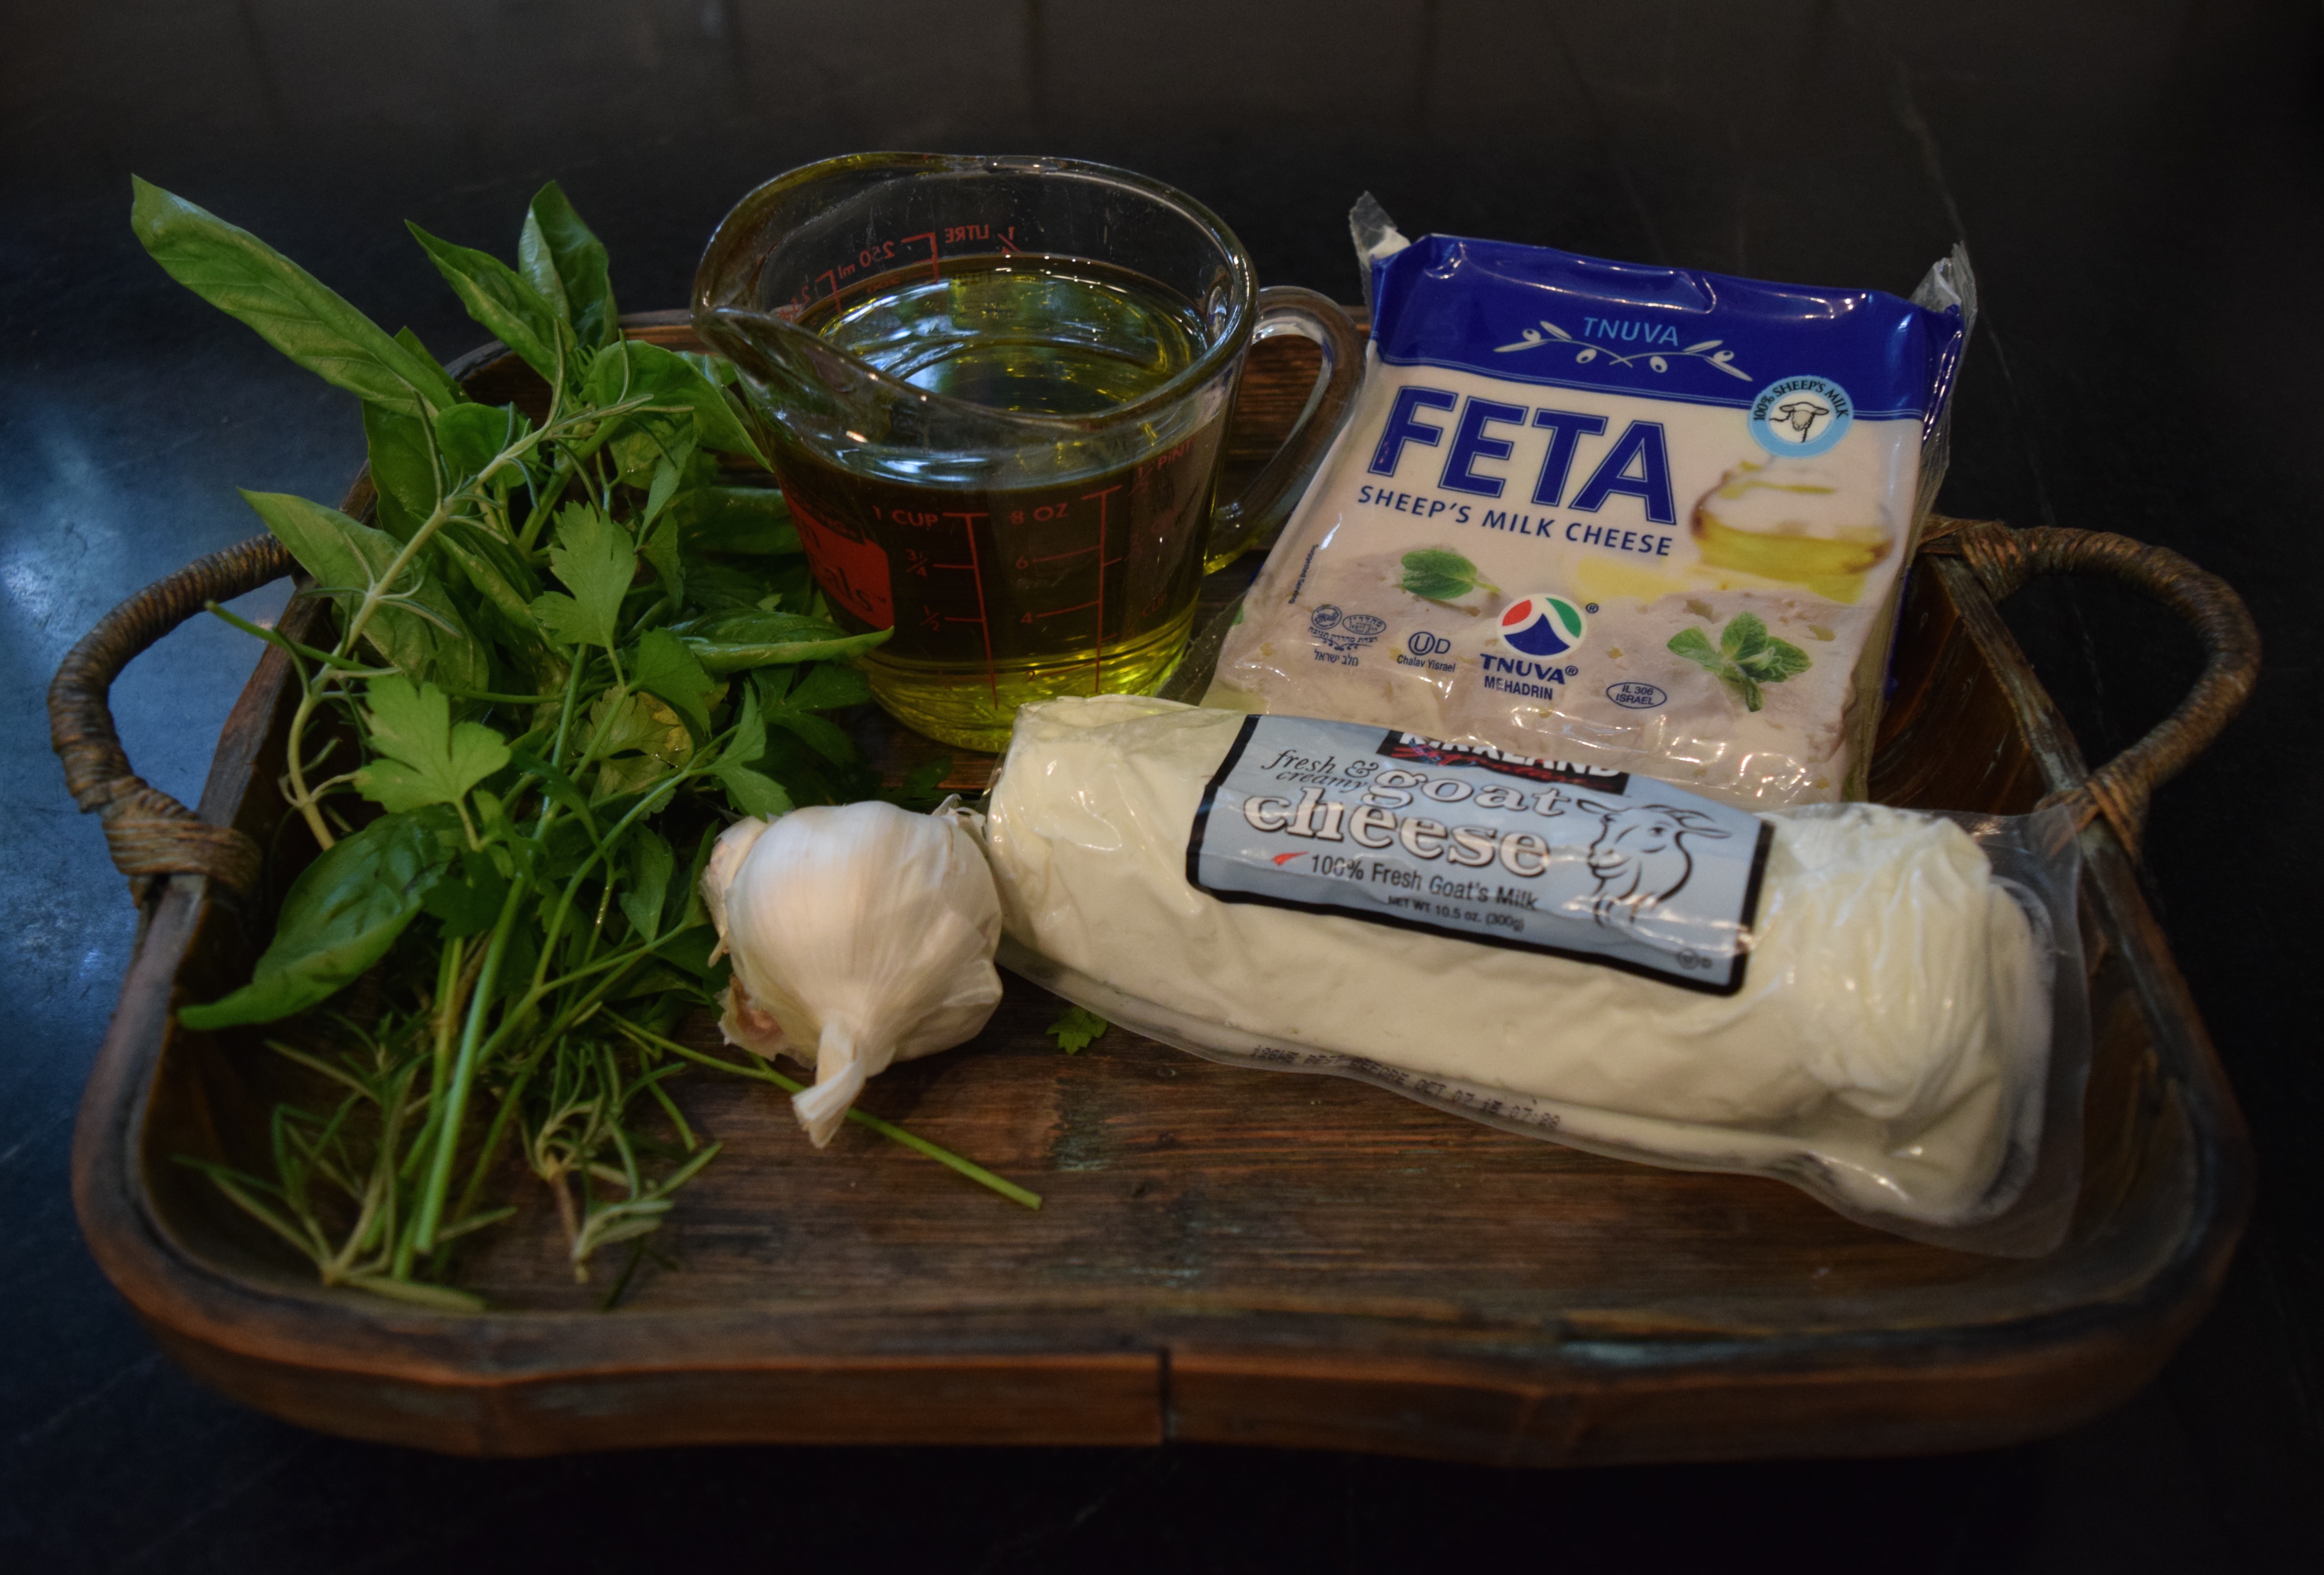
“Croatian Cheese” a Flavorful and Exotic Appetizer Made with Feta and Goat Cheese
Auntie Martha’s Spicy Spinach (aka Spinach Madeleine)
Grandma’s Italian Fried Cauliflower
The Classic Pimiento Cheese Sandwich
LET’S STAY CONNECTED!
Follow my photos of vegetables growing, backyard chickens hanging out, and dinner preparations on Instagram at JudysChickens.
Never miss a post: sign up to become a follower of the Blog.
© 2014-2017 Judy Wright. All rights reserved. Photos and text may only be used with written consent.