Roasted Ratatouille

Last week, I was getting ready to leave town which meant I had to harvest all the ripe vegetables from my garden. Once I had washed and laid them all out to dry there was no question what dish I was going to make; these vegetables pretty much told me I was making ratatouille. What else would I do with onions, eggplant, zucchini, sweet peppers, and tomatoes? These are classic ratatouille fare.

DSC_0655

Many villages in the Mediterranean have some version of this “vegetable stew,” but it was Julia Child, who, in her 1961 cookbook, Mastering the Art of French Cooking, made ratatouille a household name. If you are a purist, you may want to stop reading here as I no longer make ratatouille using the methods that Julia made famous.  I don’t peel and remove the seeds from the tomatoes, sweat the eggplants and zucchini and then sauté them each separately, and then, layer them all together in a casserole to stew for a while. Her process took too much time. The way I chop, mix, and roast it all together, is much quicker and more reflective of today’s farm to table mentality. I think Julia would approve.

Since I had a lot to do before leaving town, I was in get’ er done mode and was happy to work by myself in the kitchen. My family was watching a Nicole Kidman movie in the next room and I smiled as I listened to them tease my husband about his long-standing crush on Nicole, an infatuation that makes no sense to me; she is like a porcelain doll and I am not. My family knows my husband would secretly love to run into Nicole in Nashville. Once, my youngest son even texted him, “Quick, come to Whole Foods. I’m sitting next to Nicole and Keith.” To my husband’s credit, and since he was sitting with me, he didn’t budge.

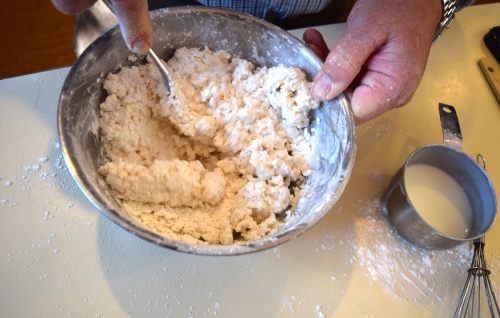
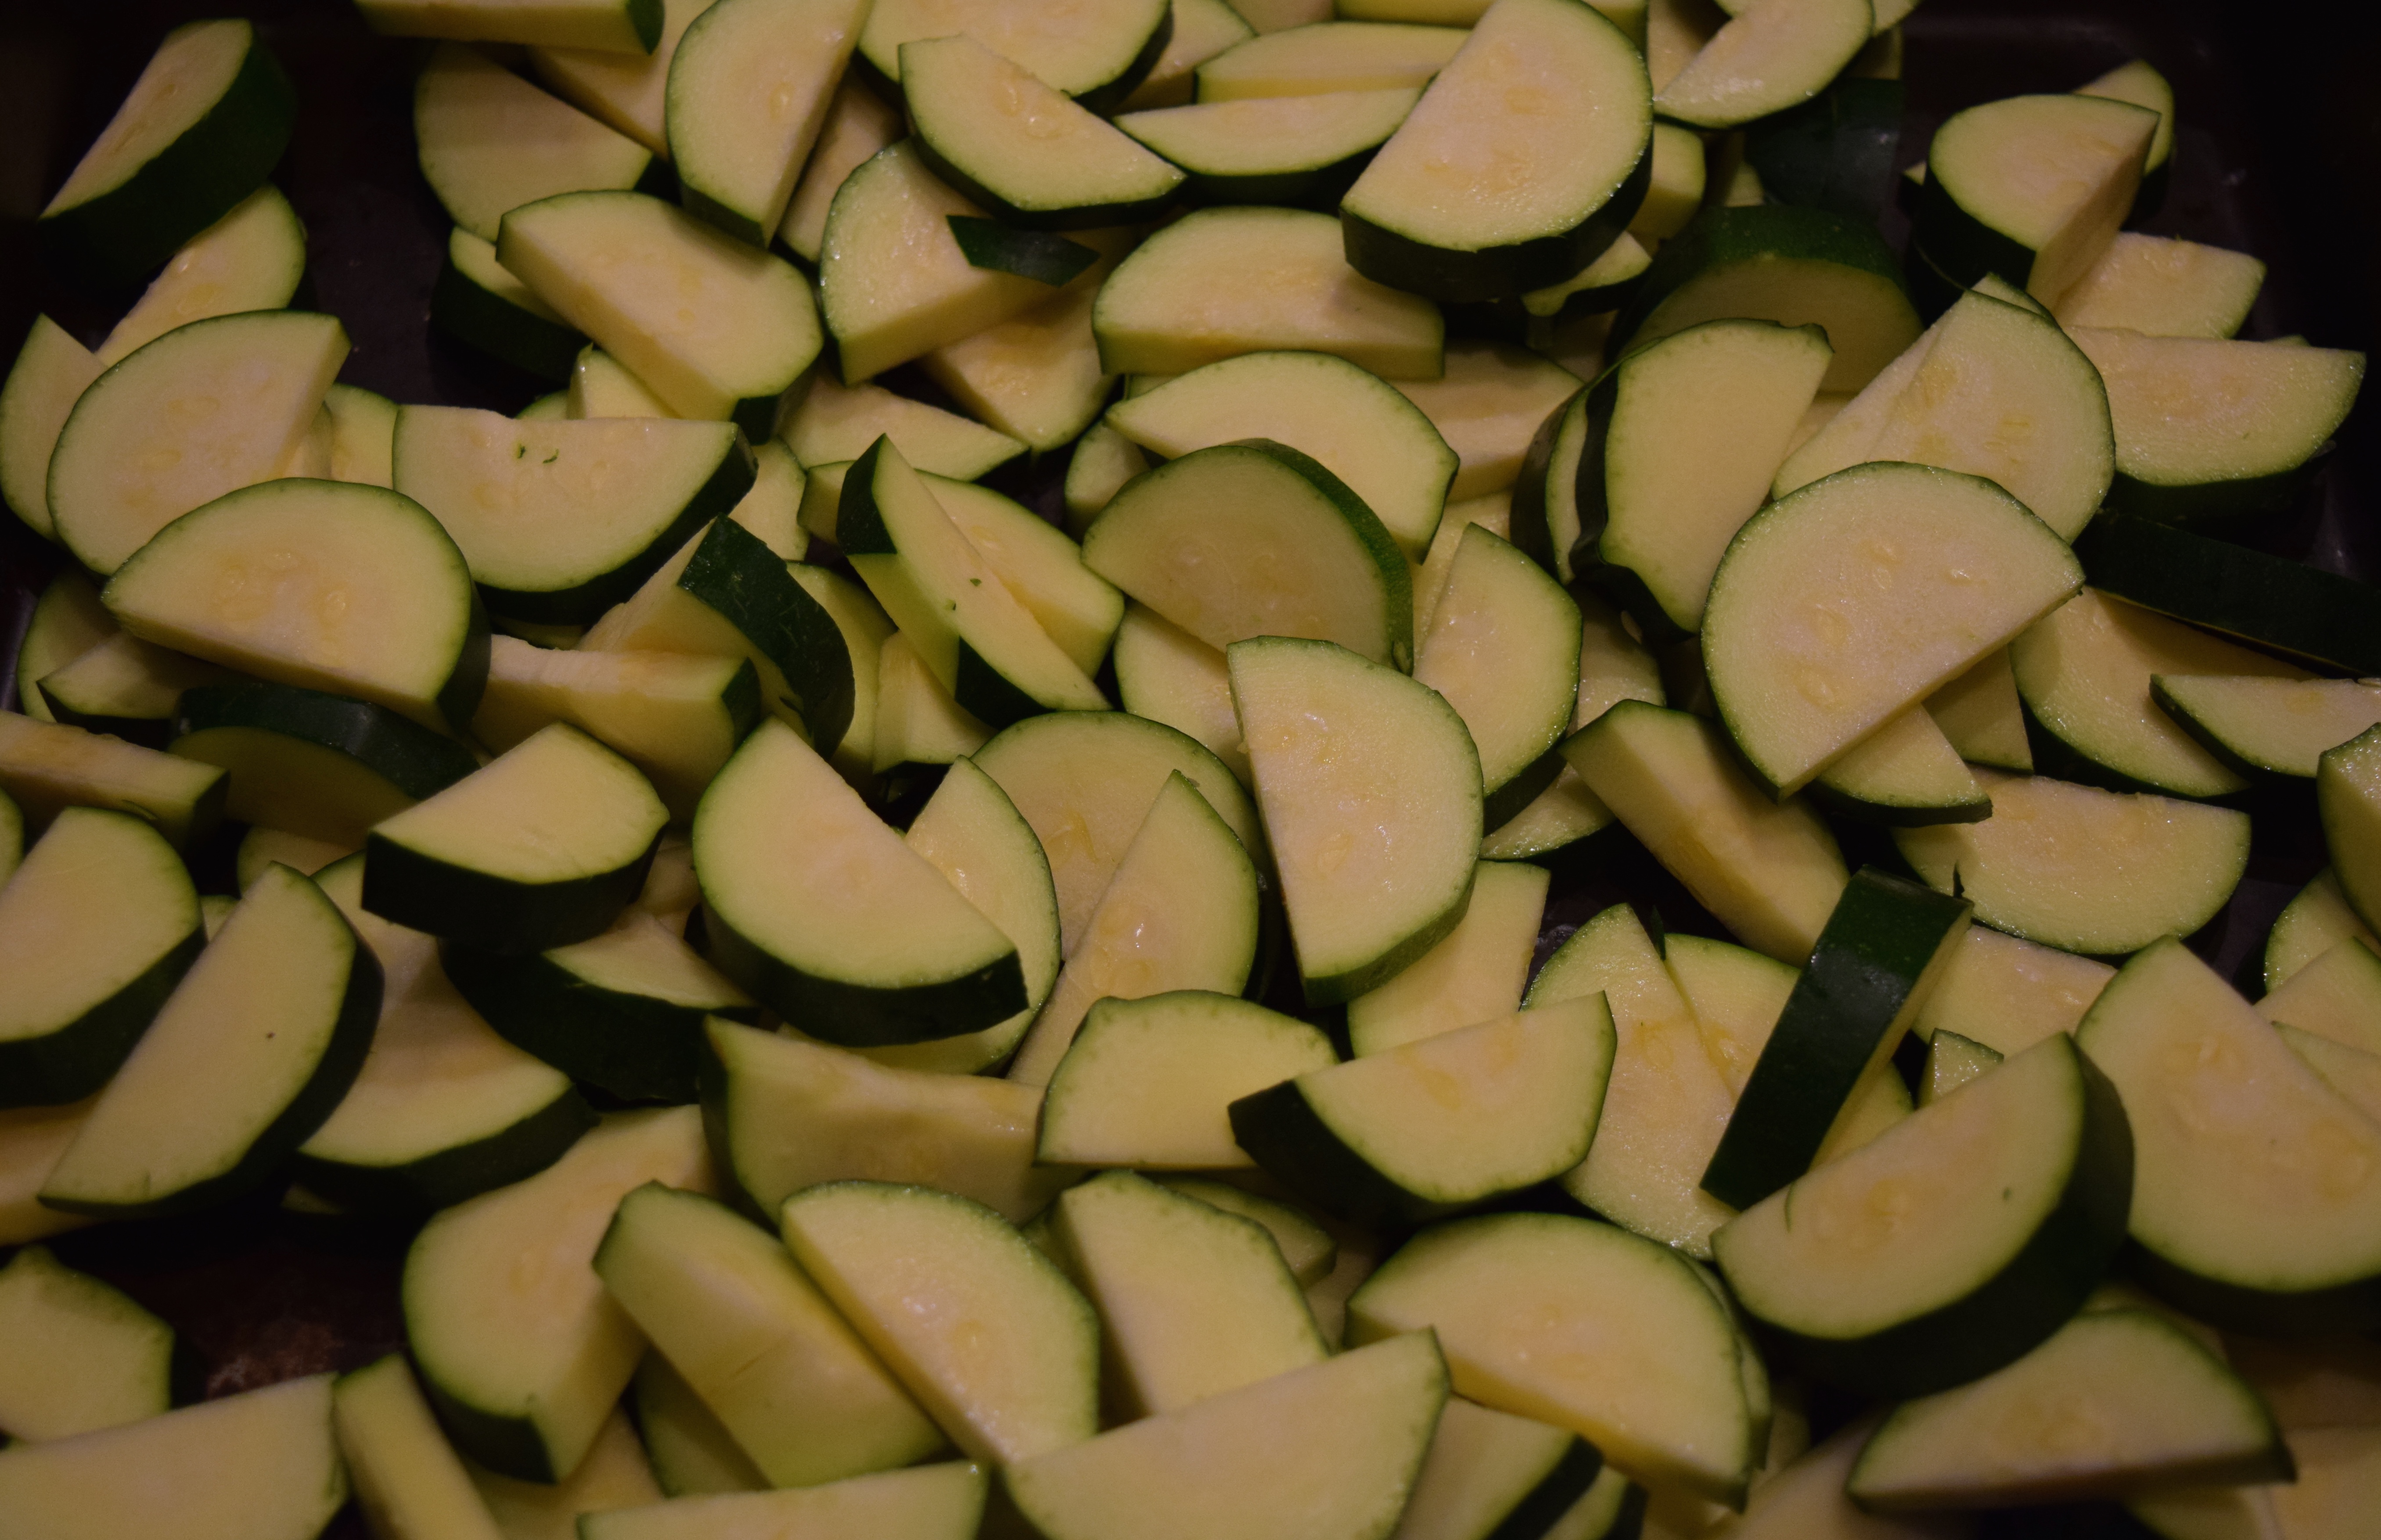
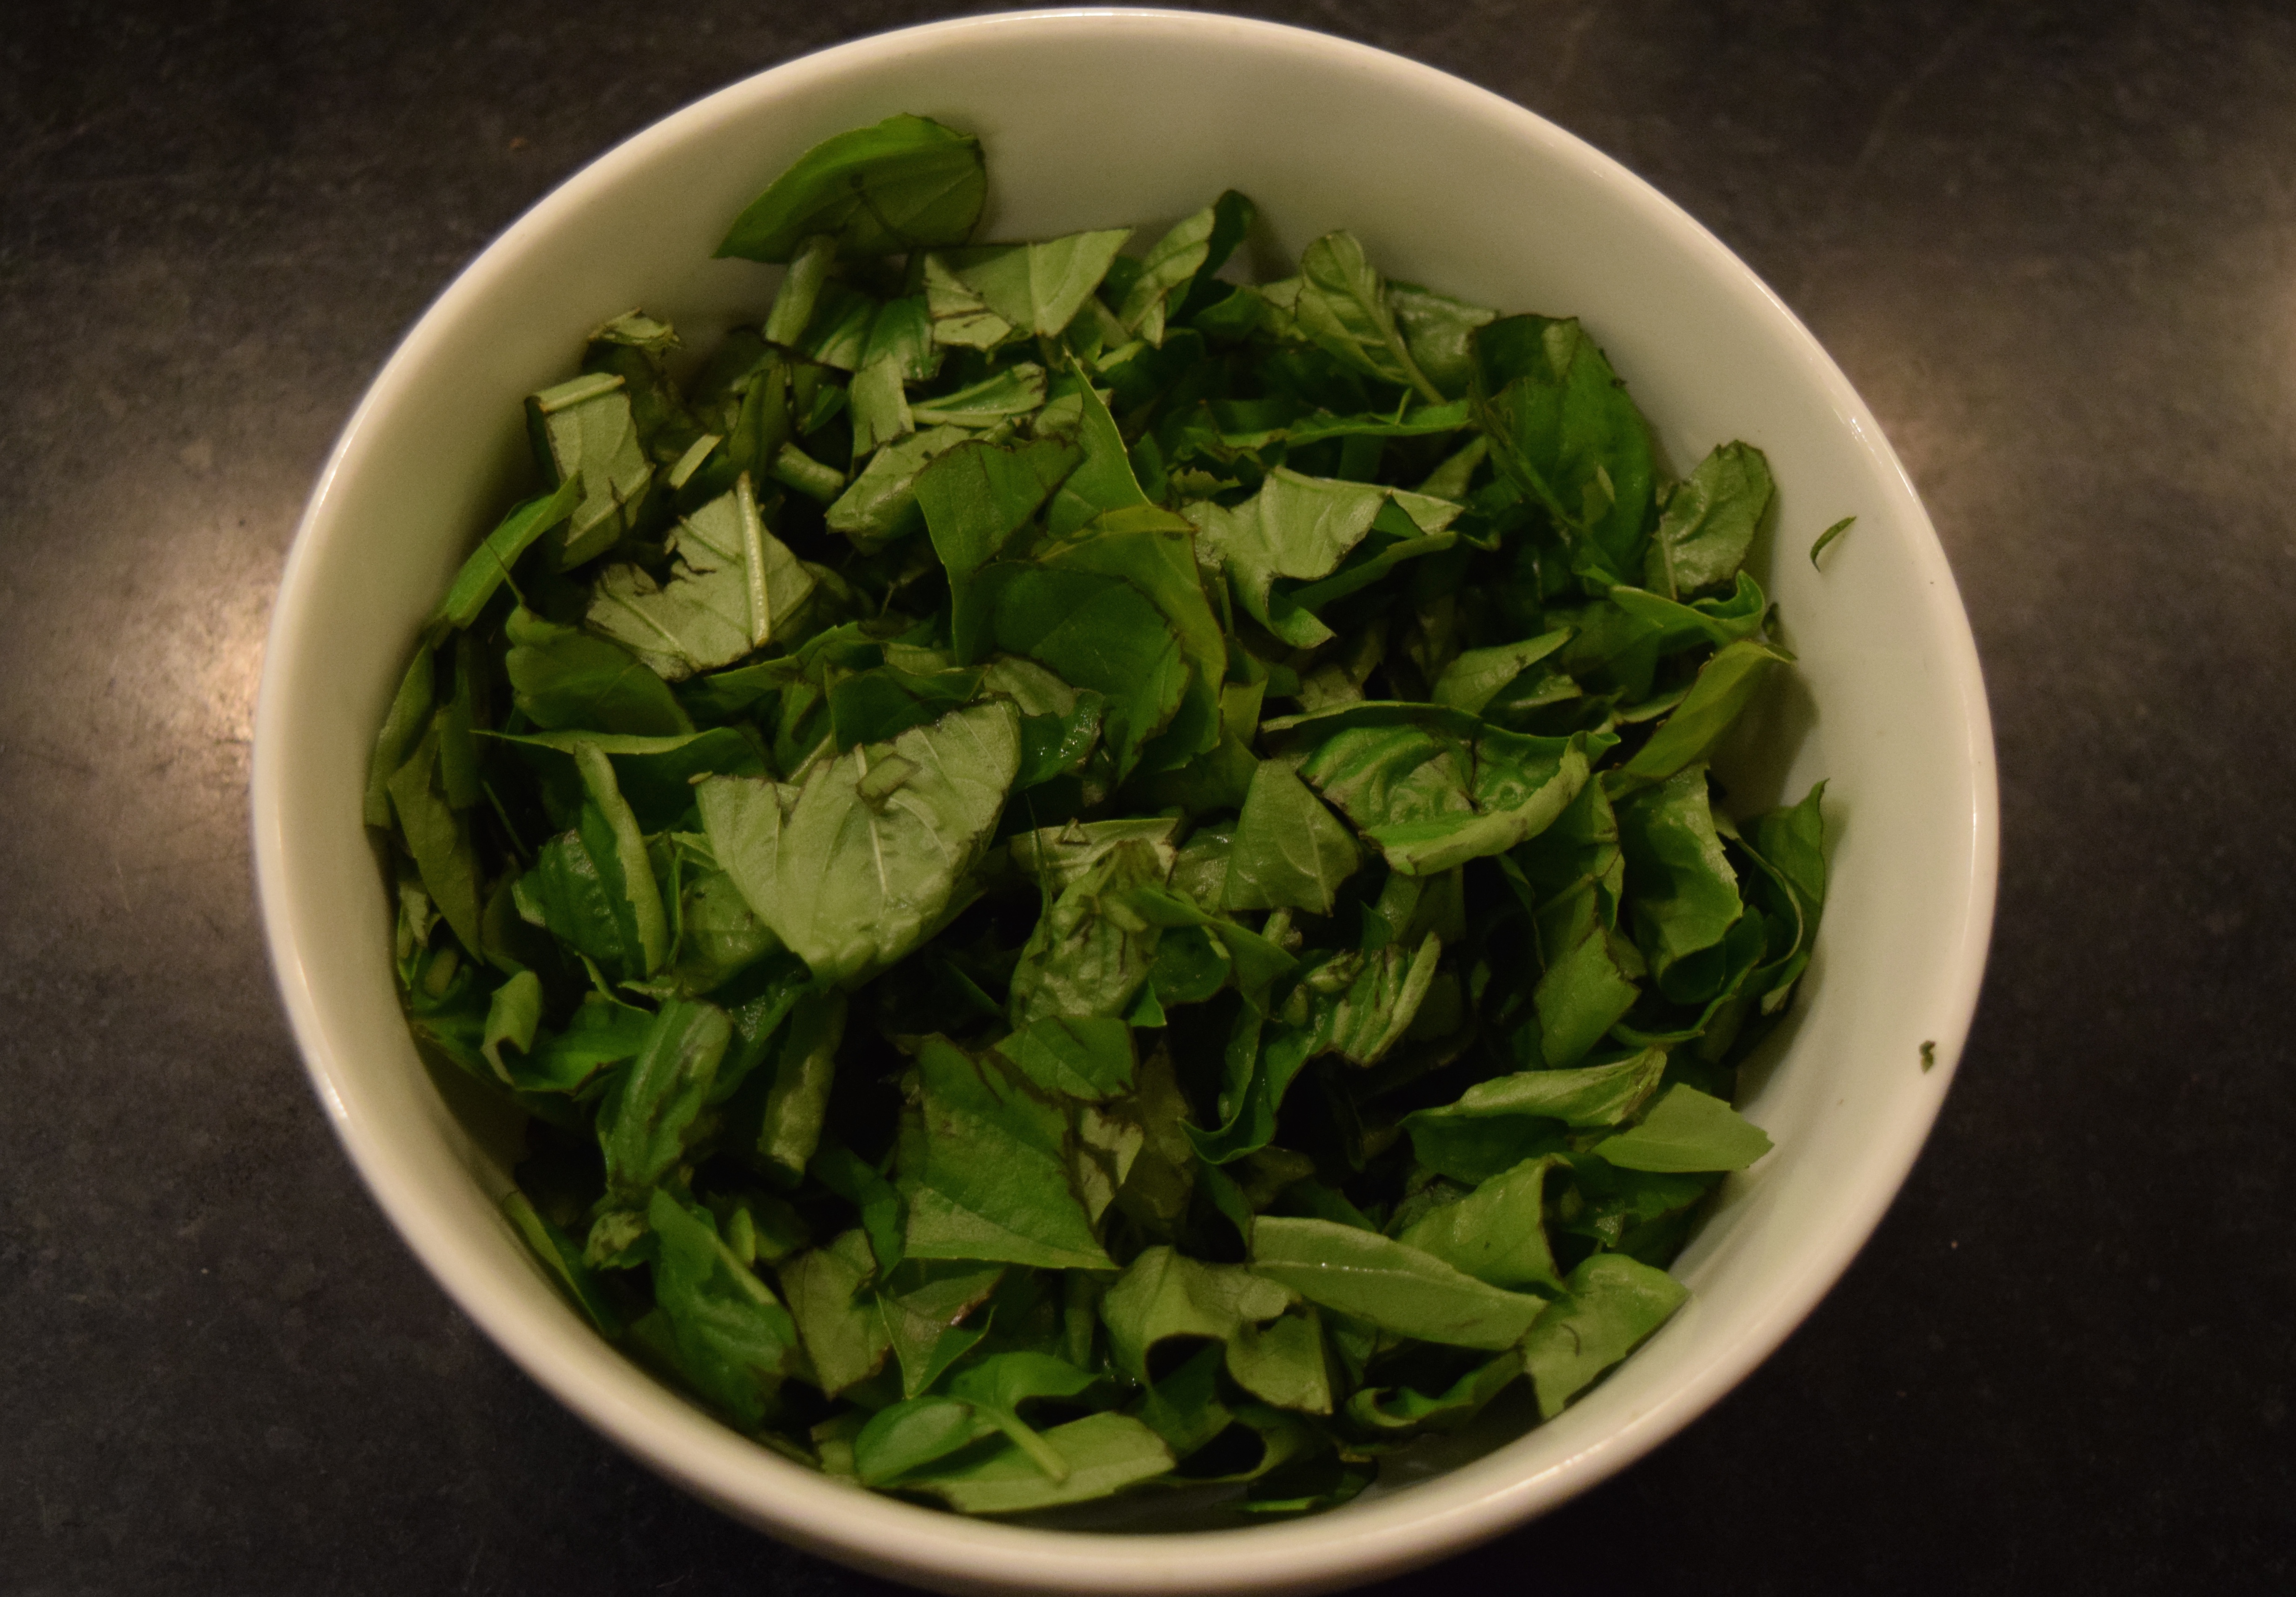
Here is my no fuss way to make ratatouille. The ingredient amounts are vague because it truly doesn’t matter. I suggest looking at the picture above and approximating the quantities from that.

Yield: About 4 quarts

Ingredients:

DSC_0603
Onions – I used one bunch of green onions and a medium-sized red onion
Eggplants – I used a mix of Black Beauty and Ichiban varieties.
Zucchini – I used 4 thick ones.
2 large Sweet Bell Peppers
Tomatoes – I used an assortment of regular and cherry-sized.
Basil – I used 4 ten-inch bushy stalks.
Garlic – I used 2 heaping tablespoons of minced garlic from the jar.
Extra Virgin Olive Oil, about 1/2 cup, maybe even a little more
Salt and Pepper, to taste

Instructions:

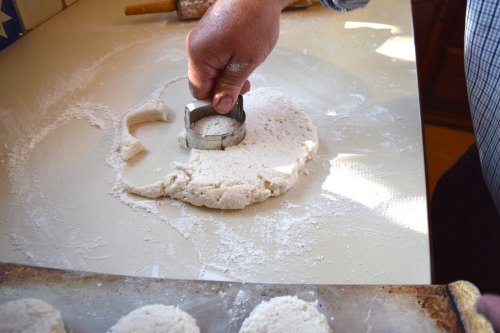
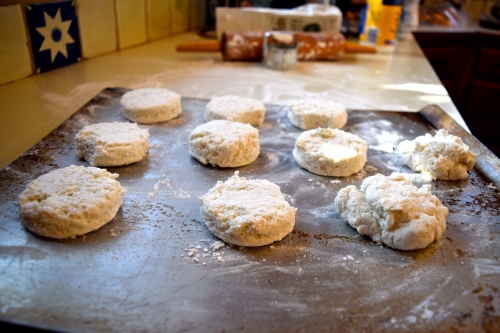
I prepped all the vegetables as I went along. Refer to the pictures that follow to see how. I placed them in a 13 x 16 inch Calphalon roasting pan that’s about 4 inches deep. The order of layering doesn’t matter as they will all be stirred together before going into the oven.

Zucchini: leave the skin on and slice.

DSC_0604

Sweet Bell Peppers: remove core and seeds, chop into 1.5-inch dice.DSC_0605

Green Onions: slice the white part into 1/2 slices, and the green stalks into 1-inch pieces.

DSC_0606

Eggplant: remove ends, peel, and slice.

DSC_0607  DSC_0614

Tomatoes: remove the stem and white core, and chop as shown. No need to peel or remove seeds.

DSC_0615

Prep basil: remove leaves from stems and chop. Add to roasting pan.DSC_0293  DSC_0633

Mix it all up. Add olive oil, garlic, salt and pepper. I am usually generous with the olive oil. I learned that from my mother.

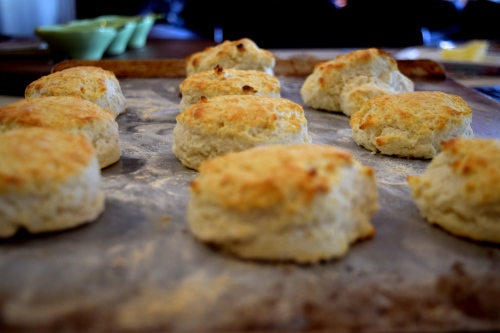
Roast at 400º for 40 minutes to an hour depending on the volume of vegetables used.

DSC_0166

To Serve:
I’ll put just about any roasted vegetable over pasta and the ratatouille was no exception. It was delicious. Be sure to sprinkle with Reggiano Parmesan.

I had about 2½ quarts of leftovers that went into the fridge. My husband served it over orzo as a side dish the next night, and on Saturday morning, he put what was left in his omelette.

DSC_0193.jpg

Epilogue: 
My family loved this meal. As we ate dinner, one of my sons said, “Nicole Kidman couldn’t have made this dinner, Mom.”  Thanks, son.

Make it Whole30
Skip the pasta and cheese and serve it as a side dish.

LET’S STAY CONNECTED!

Follow my photos of vegetables growing, backyard chickens hanging out, and dinner preparations on Instagram at JudysChickens.

Never miss a post: sign up to become a follower of the Blog.

© 2014-2017 Judy Wright. All rights reserved. Photos and text may only be used with written consent.

“Croatian Cheese” a Flavorful and Exotic Appetizer Made with Feta and Goat Cheese

About ten years ago, we hosted a Croatian high school student for a month at our home in Nashville. His name was Bruno. The following summer, his family invited us to their summer home on Brac, one of the Dalmatian Islands on the Adriatic coast. That vacation was one of the best trips of our lives.

DSC_0398

Bruno’s parents, Lilijana and Mario, fixed our meals using local produce and products on the island. The honey came from the beehives of a friend, the red wine from a vat at a cousin’s house, the olive oil was pressed at another cousin’s home, and even the fresh tuna on the Fourth of July came from a friend at the pier. It was all so marvelous.

Lily was a fabulous cook. She probably used fifteen types of ingredients to make our meals. Her cooking was simple, fresh, and delicious. Some afternoons, she would mix equal parts of sheep milk feta and goat cheese with olive oil, garlic, and herbs and serve it with crusty bread as an appetizer. We devoured it. We dubbed it “Croatian Cheese.” The first thing I did when I returned home was to recreate it.

Ingredients:DSC_0347
Approximately equal amounts of sheep (feta) and goat milk cheeses — the packages I used had 1 pound of feta and 10 ounces of goat cheese
A few sprigs each of rosemary, basil, and parsley
*3 small cloves of freshly chopped garlic
1/3 cup extra virgin, first cold pressed olive oil

Prepare the aromatics: snip the leaves and peel the garlic. Uncooked garlic has a much stronger flavor than cooked, so more is not better in this case

I make this in a food processor for convenience. Once you add the cheeses, just pulse the ingredients; do not puree. Refrigerate for a few hours to give flavors time to meld.

Directions:
Pulse garlic cloves first. Add herbs and pulse. Add cheeses and pulse briefly. Finally, drizzle olive oil in and pulse one last time.

DSC_0362  DSC_0365 DSC_0366  DSC_0368

Garnish with herbs or thinly sliced scallions, if desired.

Below is a photo of my favorite memory of Croatia — our two families went on a sailing trip together.

croatia sail dragoandrewjessetylerbruno

Don’t miss a recipe! Become a follower and have posts delivered to your Inbox.

Follow Judy’s Chickens on Instagram and Pinterest @JudysChickens.

© 2014-2023 Judy Wright. All rights reserved. Photos, videos, and text may only be reproduced with the written consent of Judy Wright.

The Biscuit King

A few weeks ago our Mennonite friends in Kentucky invited us to watch them make sweet sorghum syrup. Sorghum is similar to molasses but has a much earthier taste with a touch of sourness. It can be used cup for cup in any recipe calling for molasses, honey, or corn syrup. Having said all that, in the South, if you give a friend some sorghum, they’re going to want a biscuit, a light, crunchy biscuit.

DSC_0369

I anointed my husband, the Southerner, the “biscuit maker”; he had watched his mother make biscuits since he was a little fella. Sadly, they were not as easy to make as he had remembered. The first batch was fraught with problems: they were dry and hard like hockey pucks. From the rolling hills and gorgeous lakes of KY, I went on Facebook and begged our friends to tell us what went wrong with the biscuits. Their suggestions poured in. Futzing around in the kitchen, with the goal of making a good biscuit, became our vacation vocation.

Ingredients:

DSC_0285

2 cups self-rising flour
¼ teaspoon salt
1⁄3 cup all-vegetable shortening, lard, or butter, chilled
1 cup buttermilk

Instructions:
1) Preheat oven to 500º
2) Lightly flour a large baking sheet. You can use the self-rising flour for this.
3) Mix together flour, salt, and shortening with a pastry cutter, whisk, or two knives.

DSC_0303

4) Add buttermilk and mix with a fork until the dough leaves the sides of the bowl. Do not overwork the dough. The airiness in a biscuit is created by the holes left when shortening flecks melt and create pockets of steam. If you overmix the dough, you’ll lose those air pockets. The dough will be sticky.

DSC_0308

5) Turn dough onto a lightly floured surface or a sheet of parchment paper.

DSC_0316

6) Using floured hands, gently shape the dough into a disc. The way this delicately soft mound of dough feels in your hands is heavenly.

DSC_0318

7) Flour the rolling pin and gently roll out the dough until it is ¾ inch thick. Alternatively, you could press the dough out with your fingertips.

DSC_0324

8) Dust the edges of either a 2-inch or 3-inch biscuit cutter with flour. Cut the biscuits and place on a floured baking sheet. A 2-inch cutter will yield 16 biscuits. A 3-inch cutter will yield 12.

DSC_0331

9) If you want the biscuits to have soft sides, arrange them so their sides are touching. If you want crunchy sides, arrange them one inch apart from one another. At this point, you could put the pan of uncooked biscuits in the freezer and once frozen, put the biscuits in a bag to store.

DSC_0342

10) Bake at 500º for 5 minutes and then turn oven off. Leave biscuits in the oven to bake for another 3-5 minutes. Biscuits are done when they have a  light golden brown color.

DSC_0361

A Southern Treat:

Mix together a pat of butter and a heaping tablespoon of sorghum syrup. Spread mixture over warm biscuits.

DSC_0280 DSC_0271

The Biscuit King:

DSC_0374

P.S. Special thanks to those who offered baking tips: Lou Ann, Robin, Anne, Libba, Stephanie, Terry, Susan, Holly M, Holly W, Mary Sue, Barbara, and Mrs. Harriman.

Toppings that go well on a biscuit:
Raising Sorghum Cane to Make Sorghum Syrup
Oven-Roasted Strawberry and Rosemary Jam
Crab Apple Jelly
Homemade Grape Jelly
Roasted Fig Preserves with Lemon and Thyme

If you enjoyed this post, please share it with a friend and become a follower. When signing up, be sure to confirm the subscription on the follow-up letter that will be sent to your email.

Follow Judy’s Chickens on Instagram and Pinterest @JudysChickens.

Always check my blog for the latest version of a recipe.

© 2014-2020 Judy Wright. All rights reserved. Photos, videos, and text may only be reproduced with the written consent of Judy Wright.