How to Knit Fingerless Mittens on Straight Needles

Fingerless mittens are my new favorite mitt to wear in winter. Even now, as I sit outside on the porch writing this post, I am wearing them, tucking my fingers into the wool interior now and then to warm them.

My husband is a convert, as well. He has found he can pet his beloved dog, feed her a treat for minding him, and answer a text while out on our walks, all without taking his mitts off!

A Knitting Club:

I recently started a knitting club at a local high school. The first stitch I taught the students was the long-tail cast-on. It’s a little more complex than the backward loop cast on, but it gives a neat, elastic edge to your garment; I thought it was worth the extra effort. The students were brilliant and figured it out in no time and then taught their friends. That was lovely; I even heard a few of them say how accomplished they felt. That taught me not to underestimate their eagerness to learn a new skill. Next, they learned to knit and purl. The first garment we worked on was a scarf. I worked out this stitch sampler to introduce them to a few pattern options.

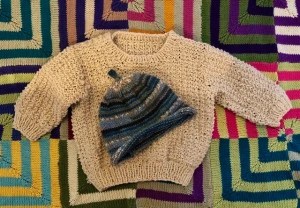
Here’s a photo of one student’s first finished object, a scarf knit in stockinette stitch. I was so happy for her!

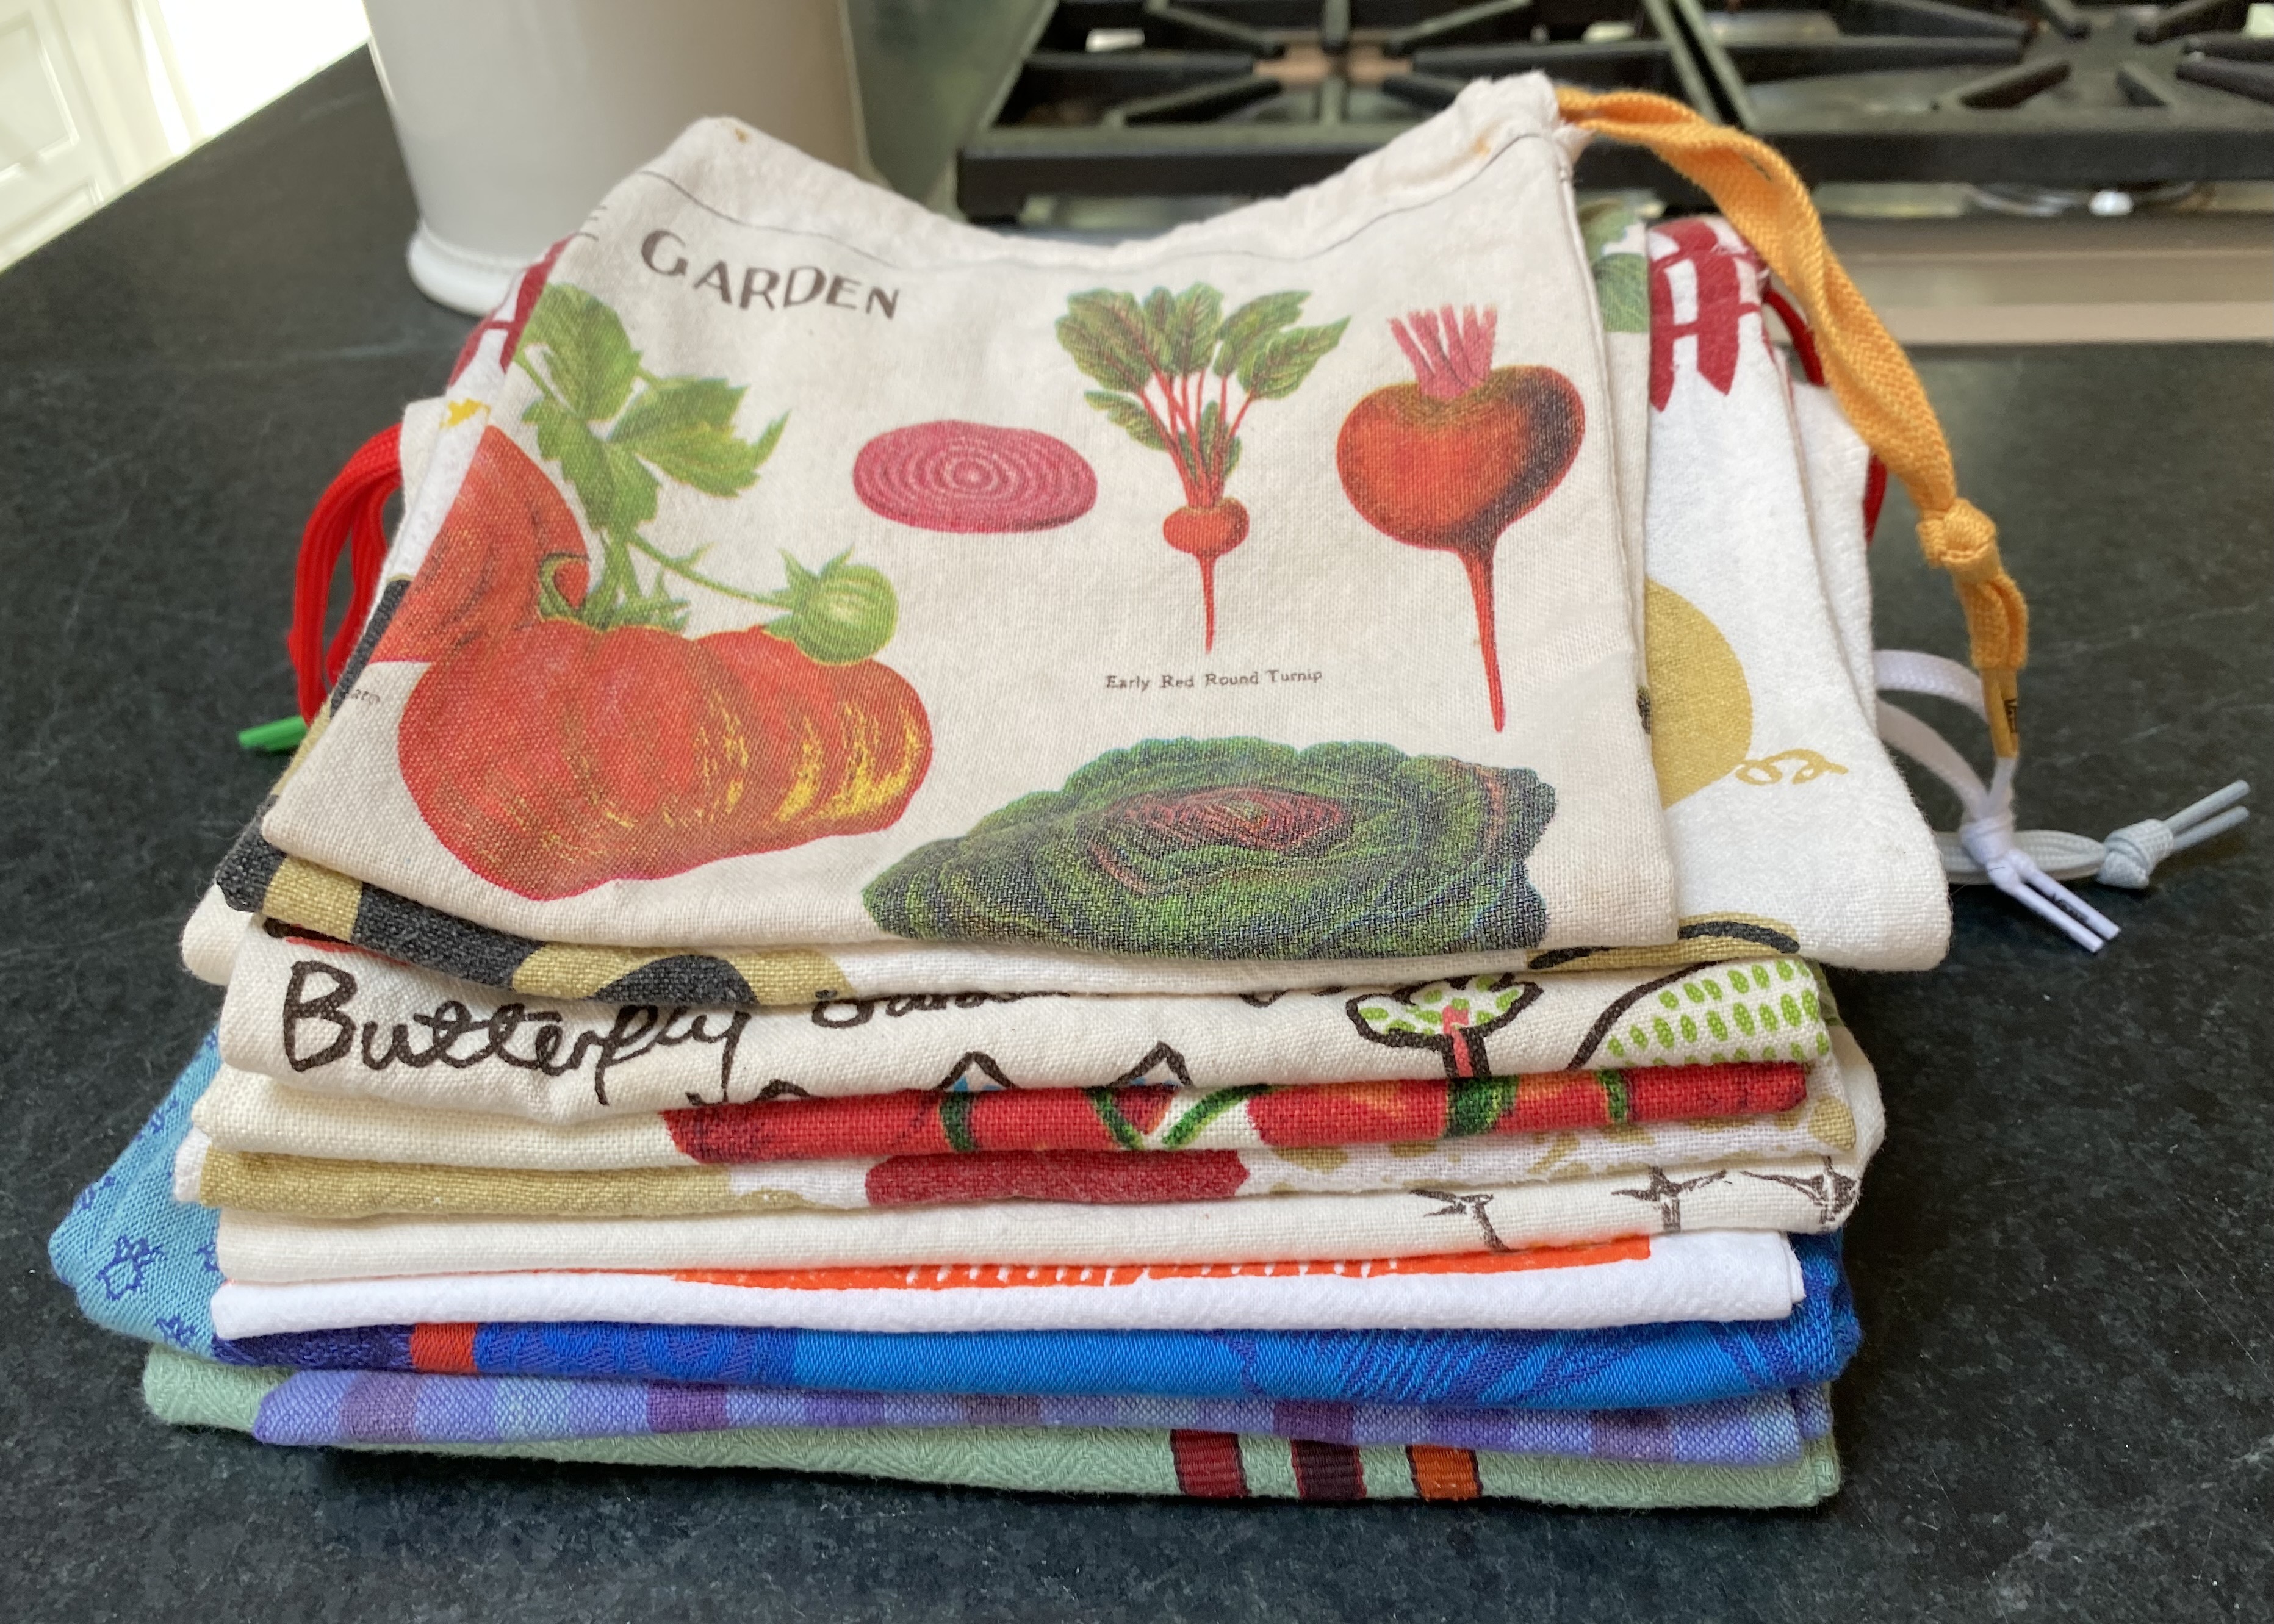
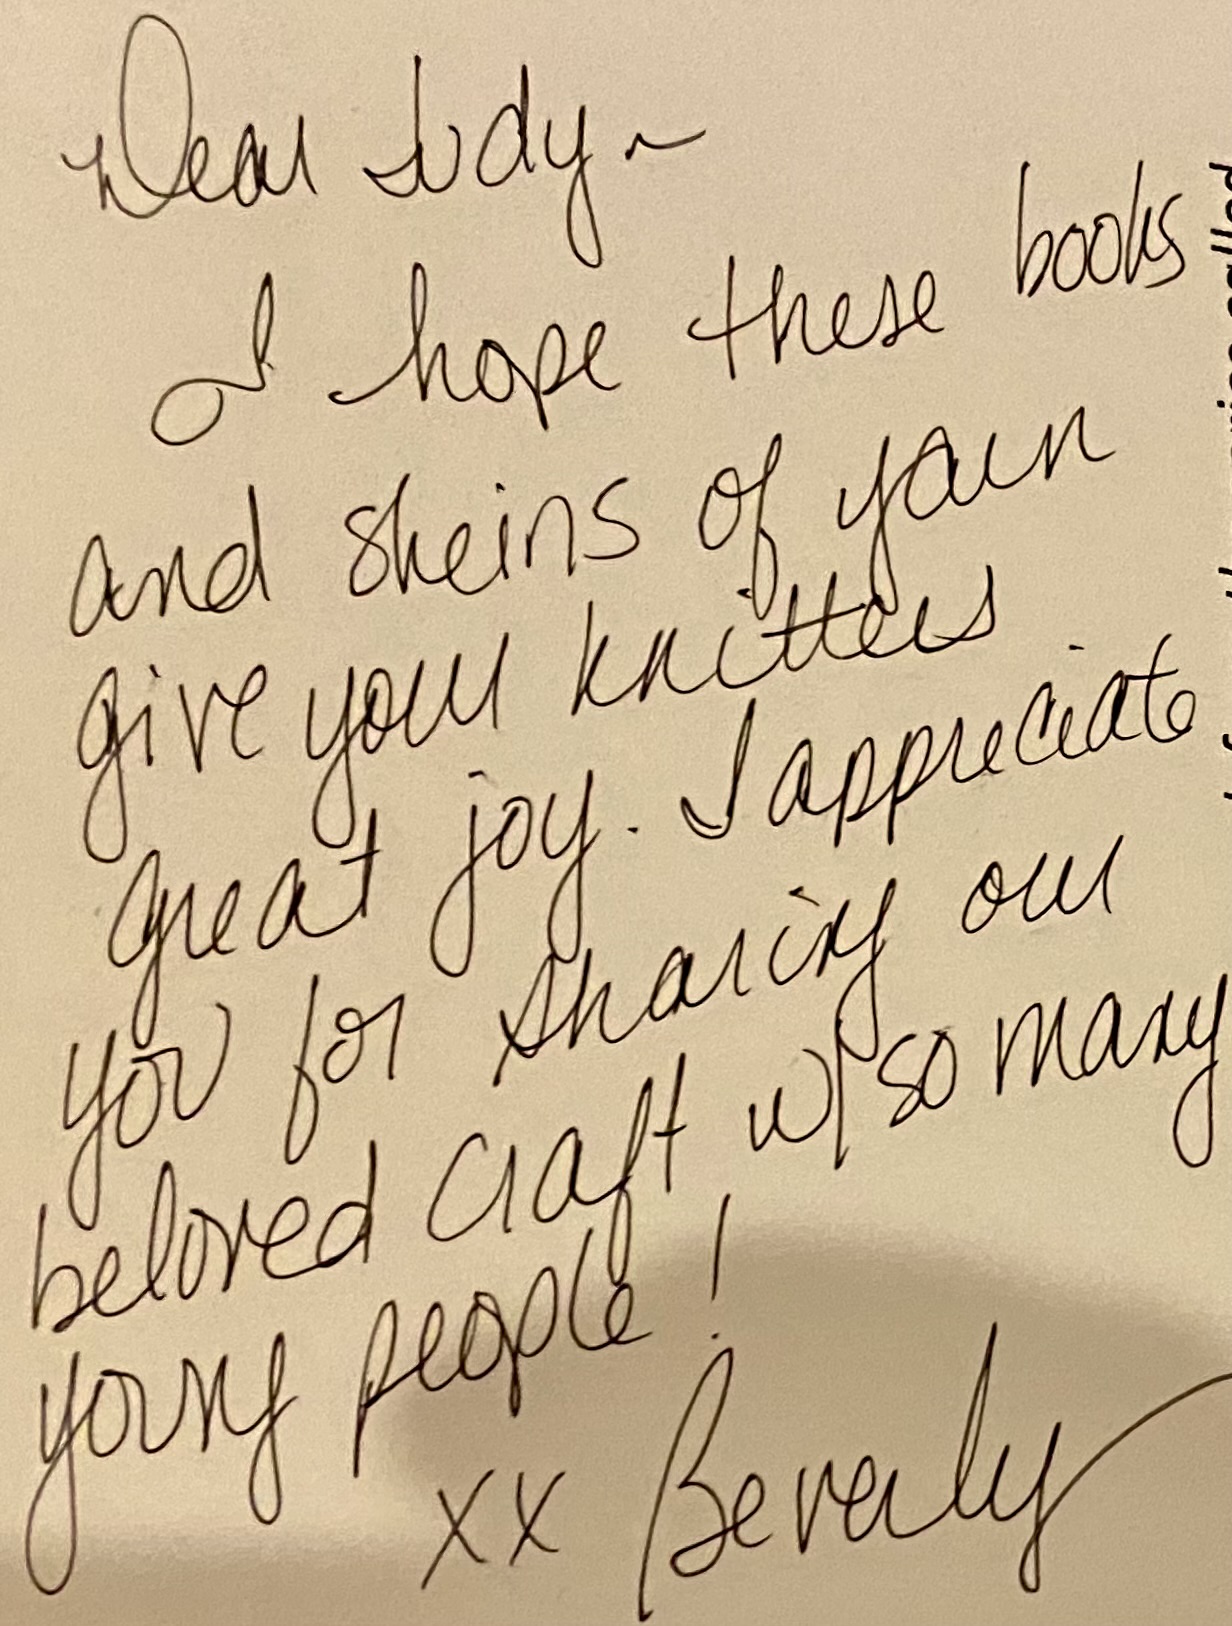
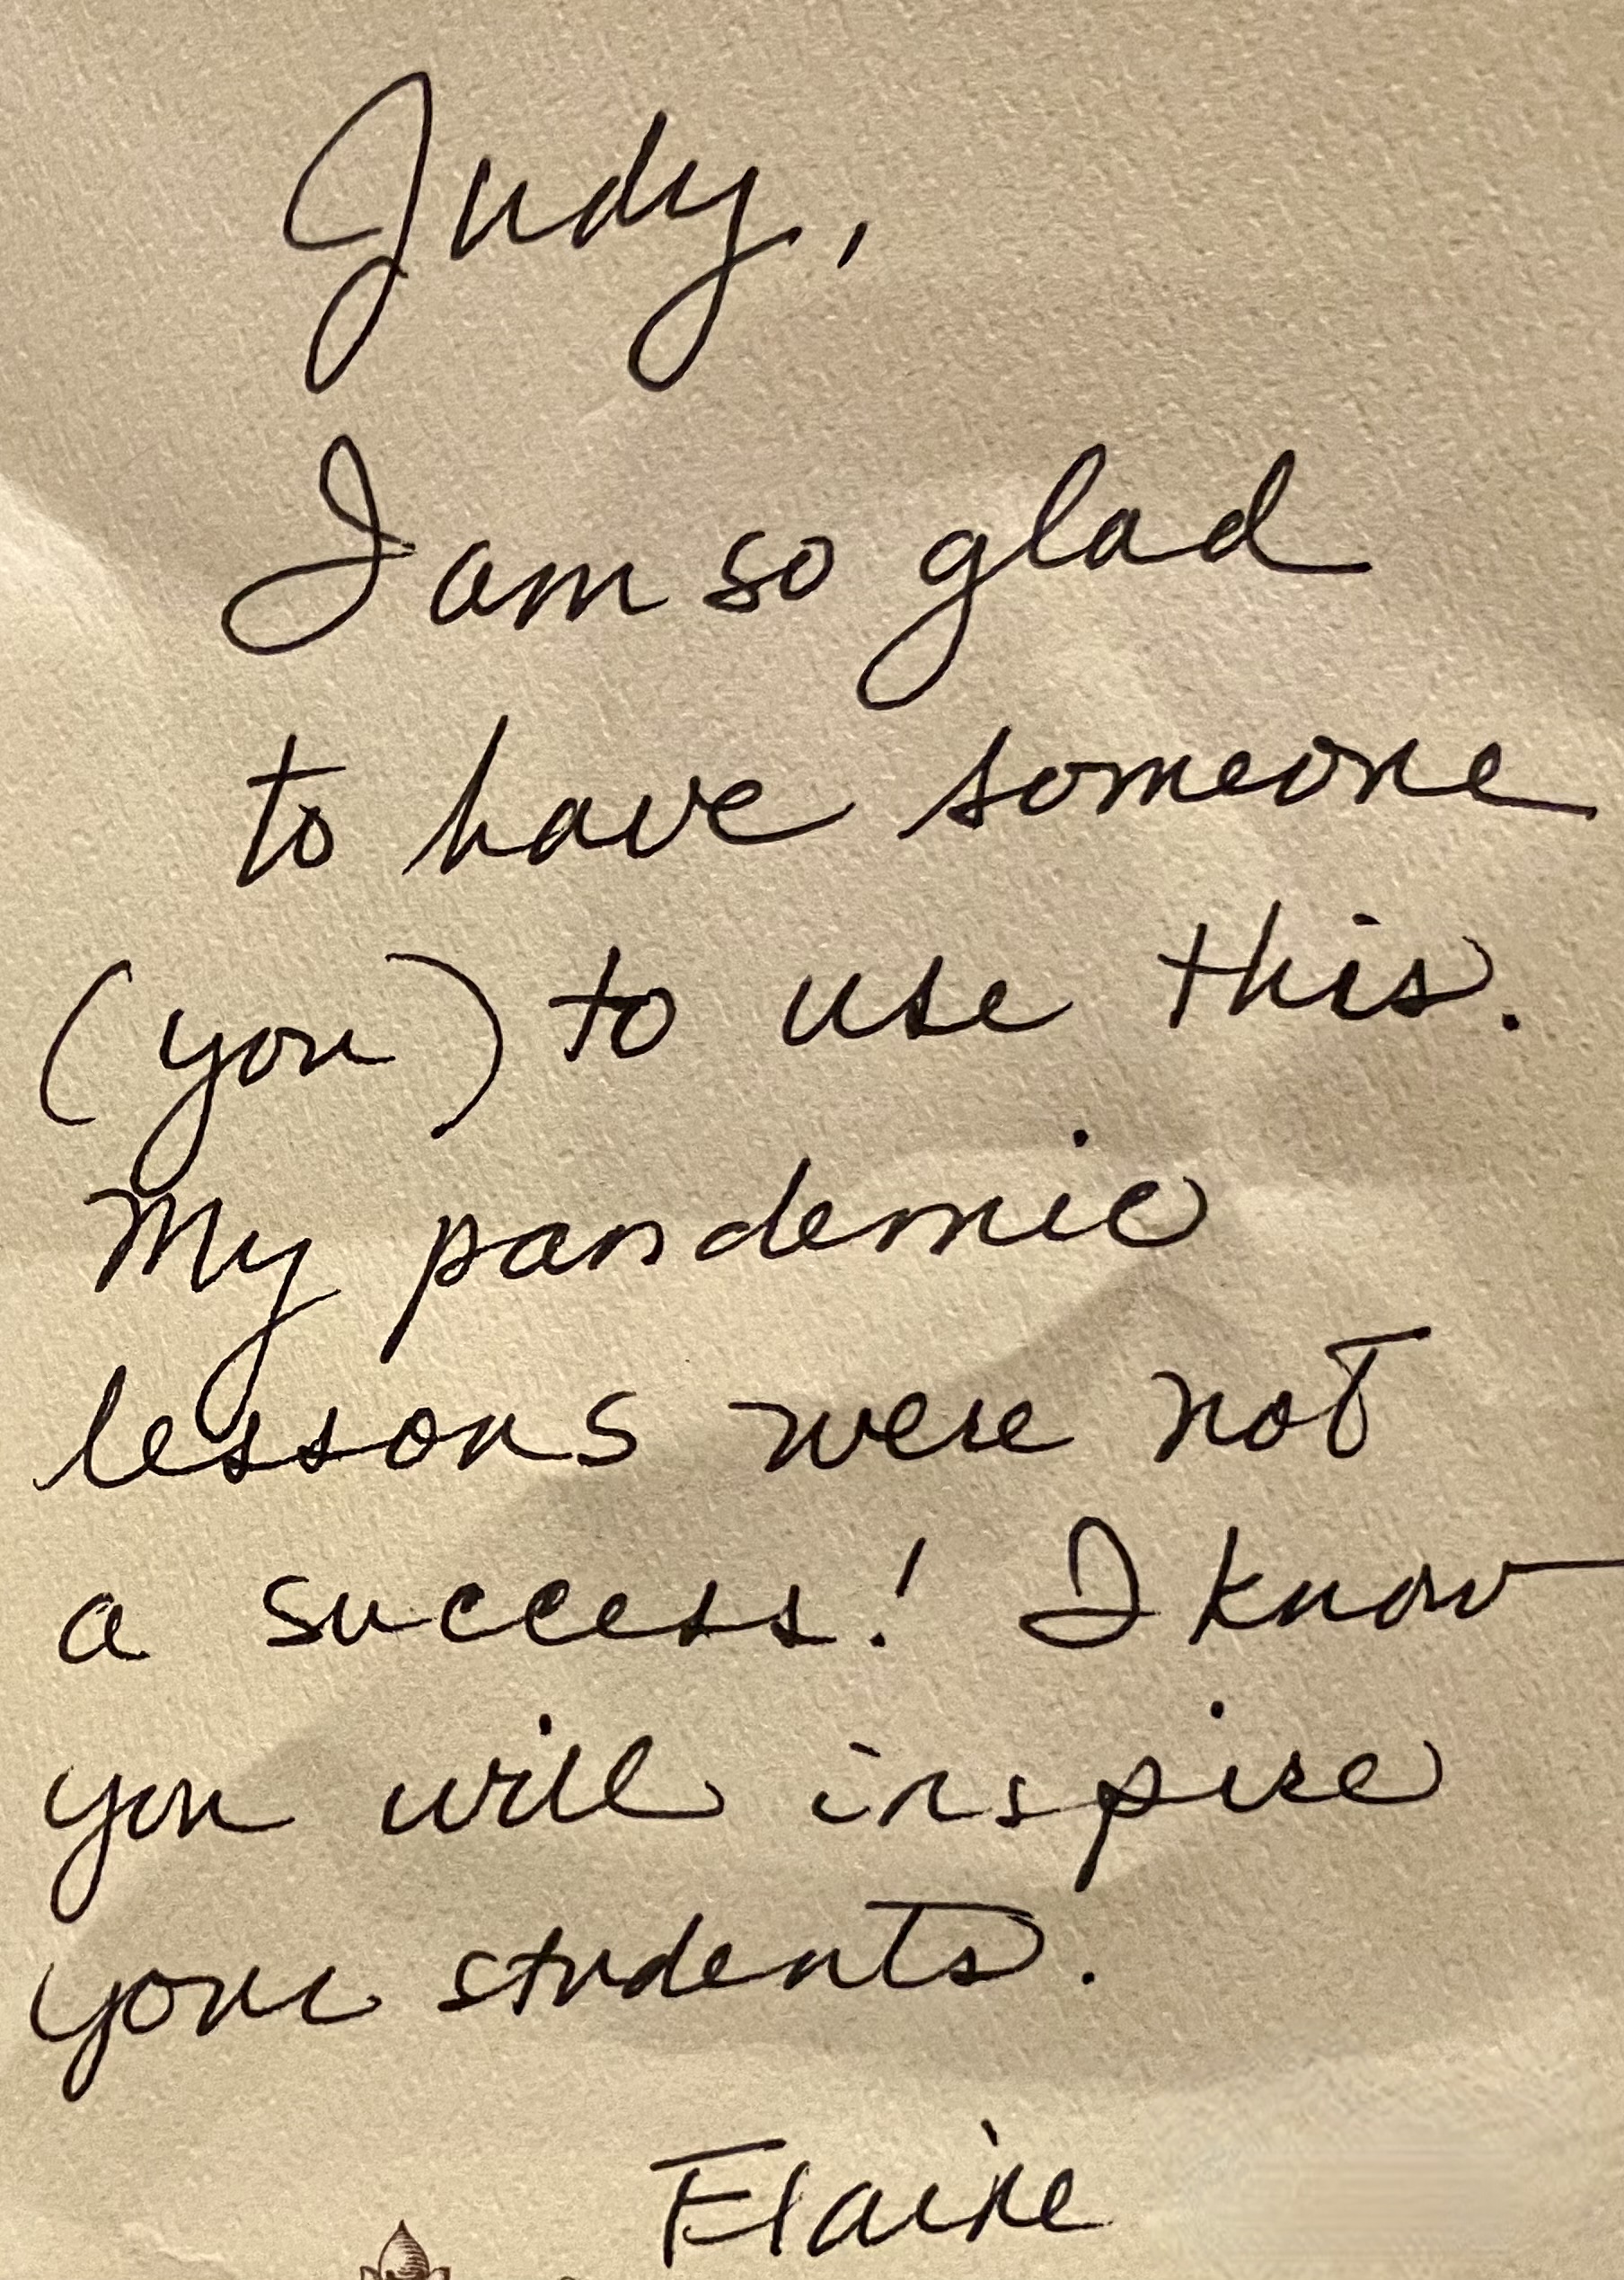
All the needles and yarn for the class were donated by friends and strangers alike. I received many lovely notes with the packages of supplies. I’ve included two. Receiving boxes of supplies in the mail or dropped off on my porch was all part of the fun for me. The knitting community is a generous bunch. I am grateful.

Moving this story along, I was inspired by one student’s desire to make fingerless mitts. I have always found knitting mittens to be a complicated endeavor, mainly because they are typically knit on four double-pointed needles. Along with keeping up with the stitch count and keeping the needles level, you need to knit in a thumb gusset (which I’ll explain soon). After much trial and error, I figured out a pattern that used one size of straight needles and worked up quickly once you got the hang of it. The pattern still may be too advanced for a beginner, but I’ve written it up with detailed instructions and lots of pictures hoping that those who are motivated and willing will give it a try. Once I figured this out, I’ve been making mitts for friends and family using all sorts of colorful yarns.

Anatomy of a Fingerless Mitten: 

Measurements:
7-inches long and 8-inches around the palm of the hand. They seem to fit the average-sized hand as there is a lot of give in the fabric.

Supplies:
1 pair size 7 straight knitting needles
1 skein (about 110 yards) of worsted weight yarn
2 stitch markers (you could use paperclips)
1 large-eyed sewing needle
a tape measure
scissors
paper and pen for counting rows (optional)

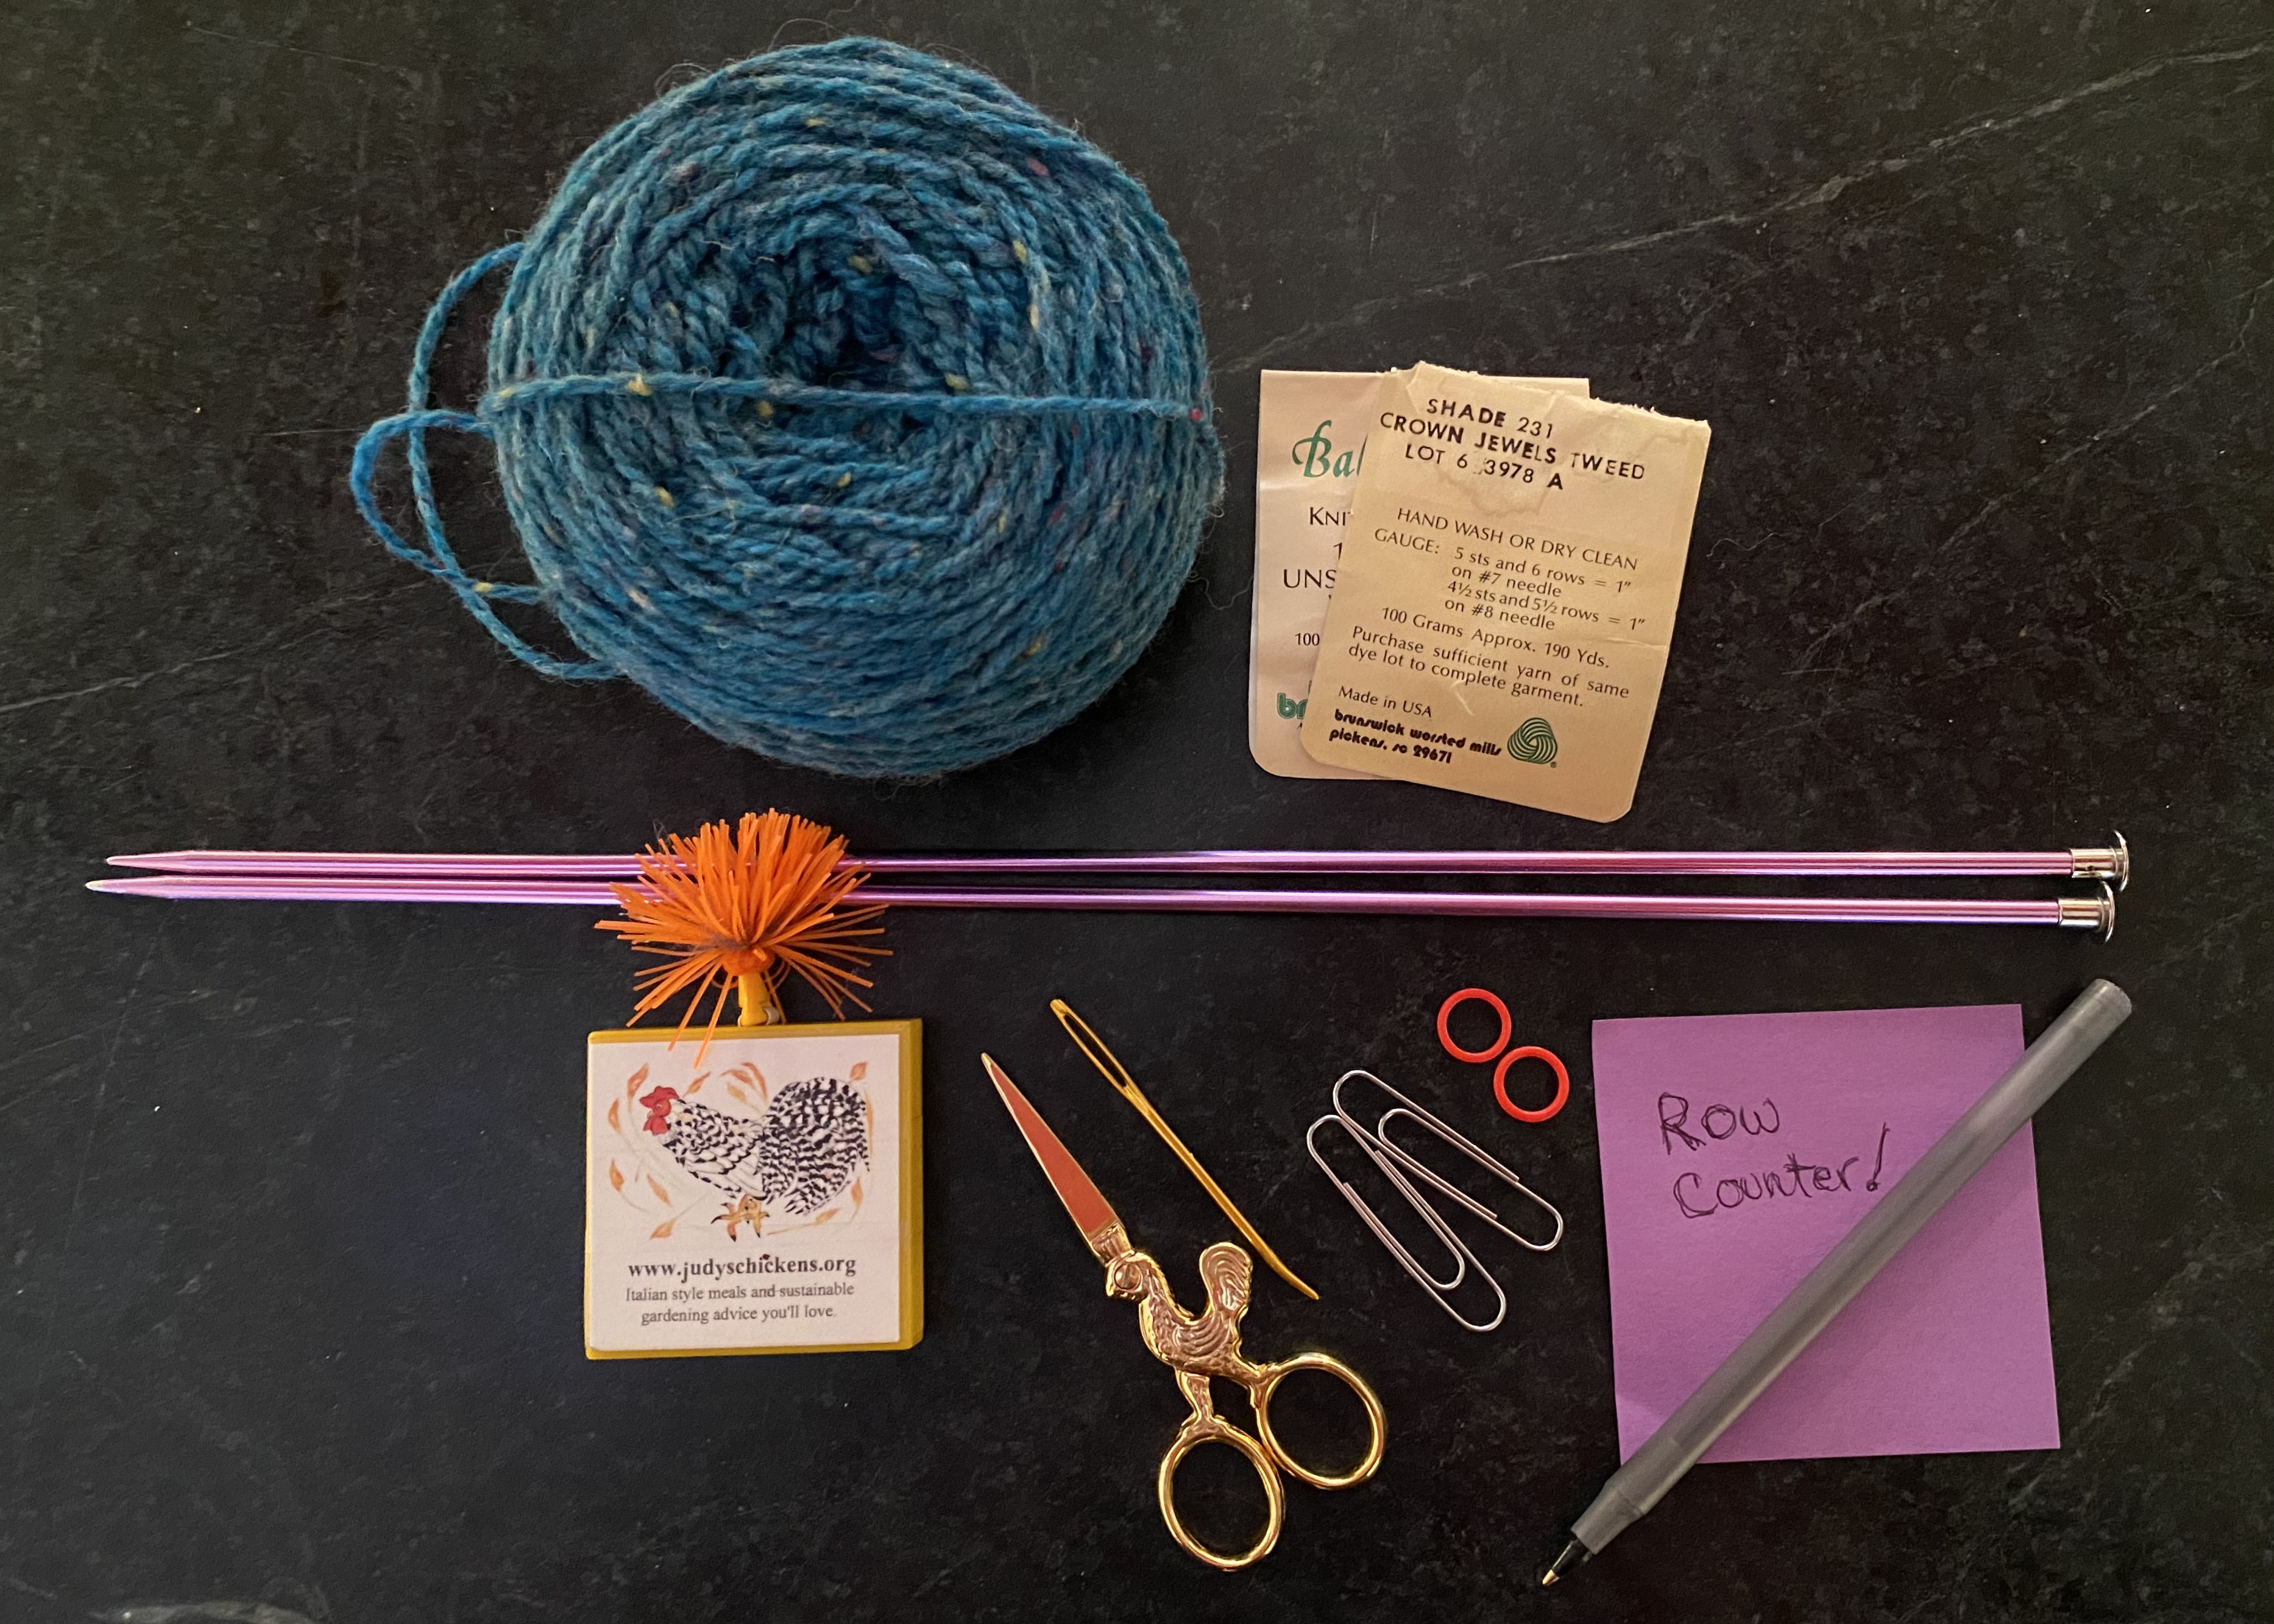
Choosing yarn — what’s all the info on the yarn tag mean? 
This pattern calls for worsted weight yarn. The word “weight” refers to the thickness of the fiber, not what is measured on a scale. Any yarn you like that says “worsted” on the label will do. For extra warmth, choose 100% wool.

Knitting Terms:
Cast-on: How you put stitches on a needle to begin a project. 
1×1 Rib: Knit 1, Purl 1 across each row.
Stockinette Stitch: Right-side rows, knit. Wrong-side rows, purl
Increase a Stitch: Turn one stitch into two by knitting into the front and back of the loop. 
Bind-off: How you securely take stitches off a needle when finished knitting.
RS: Right side or front of garment. WS: Wrong side of garment.
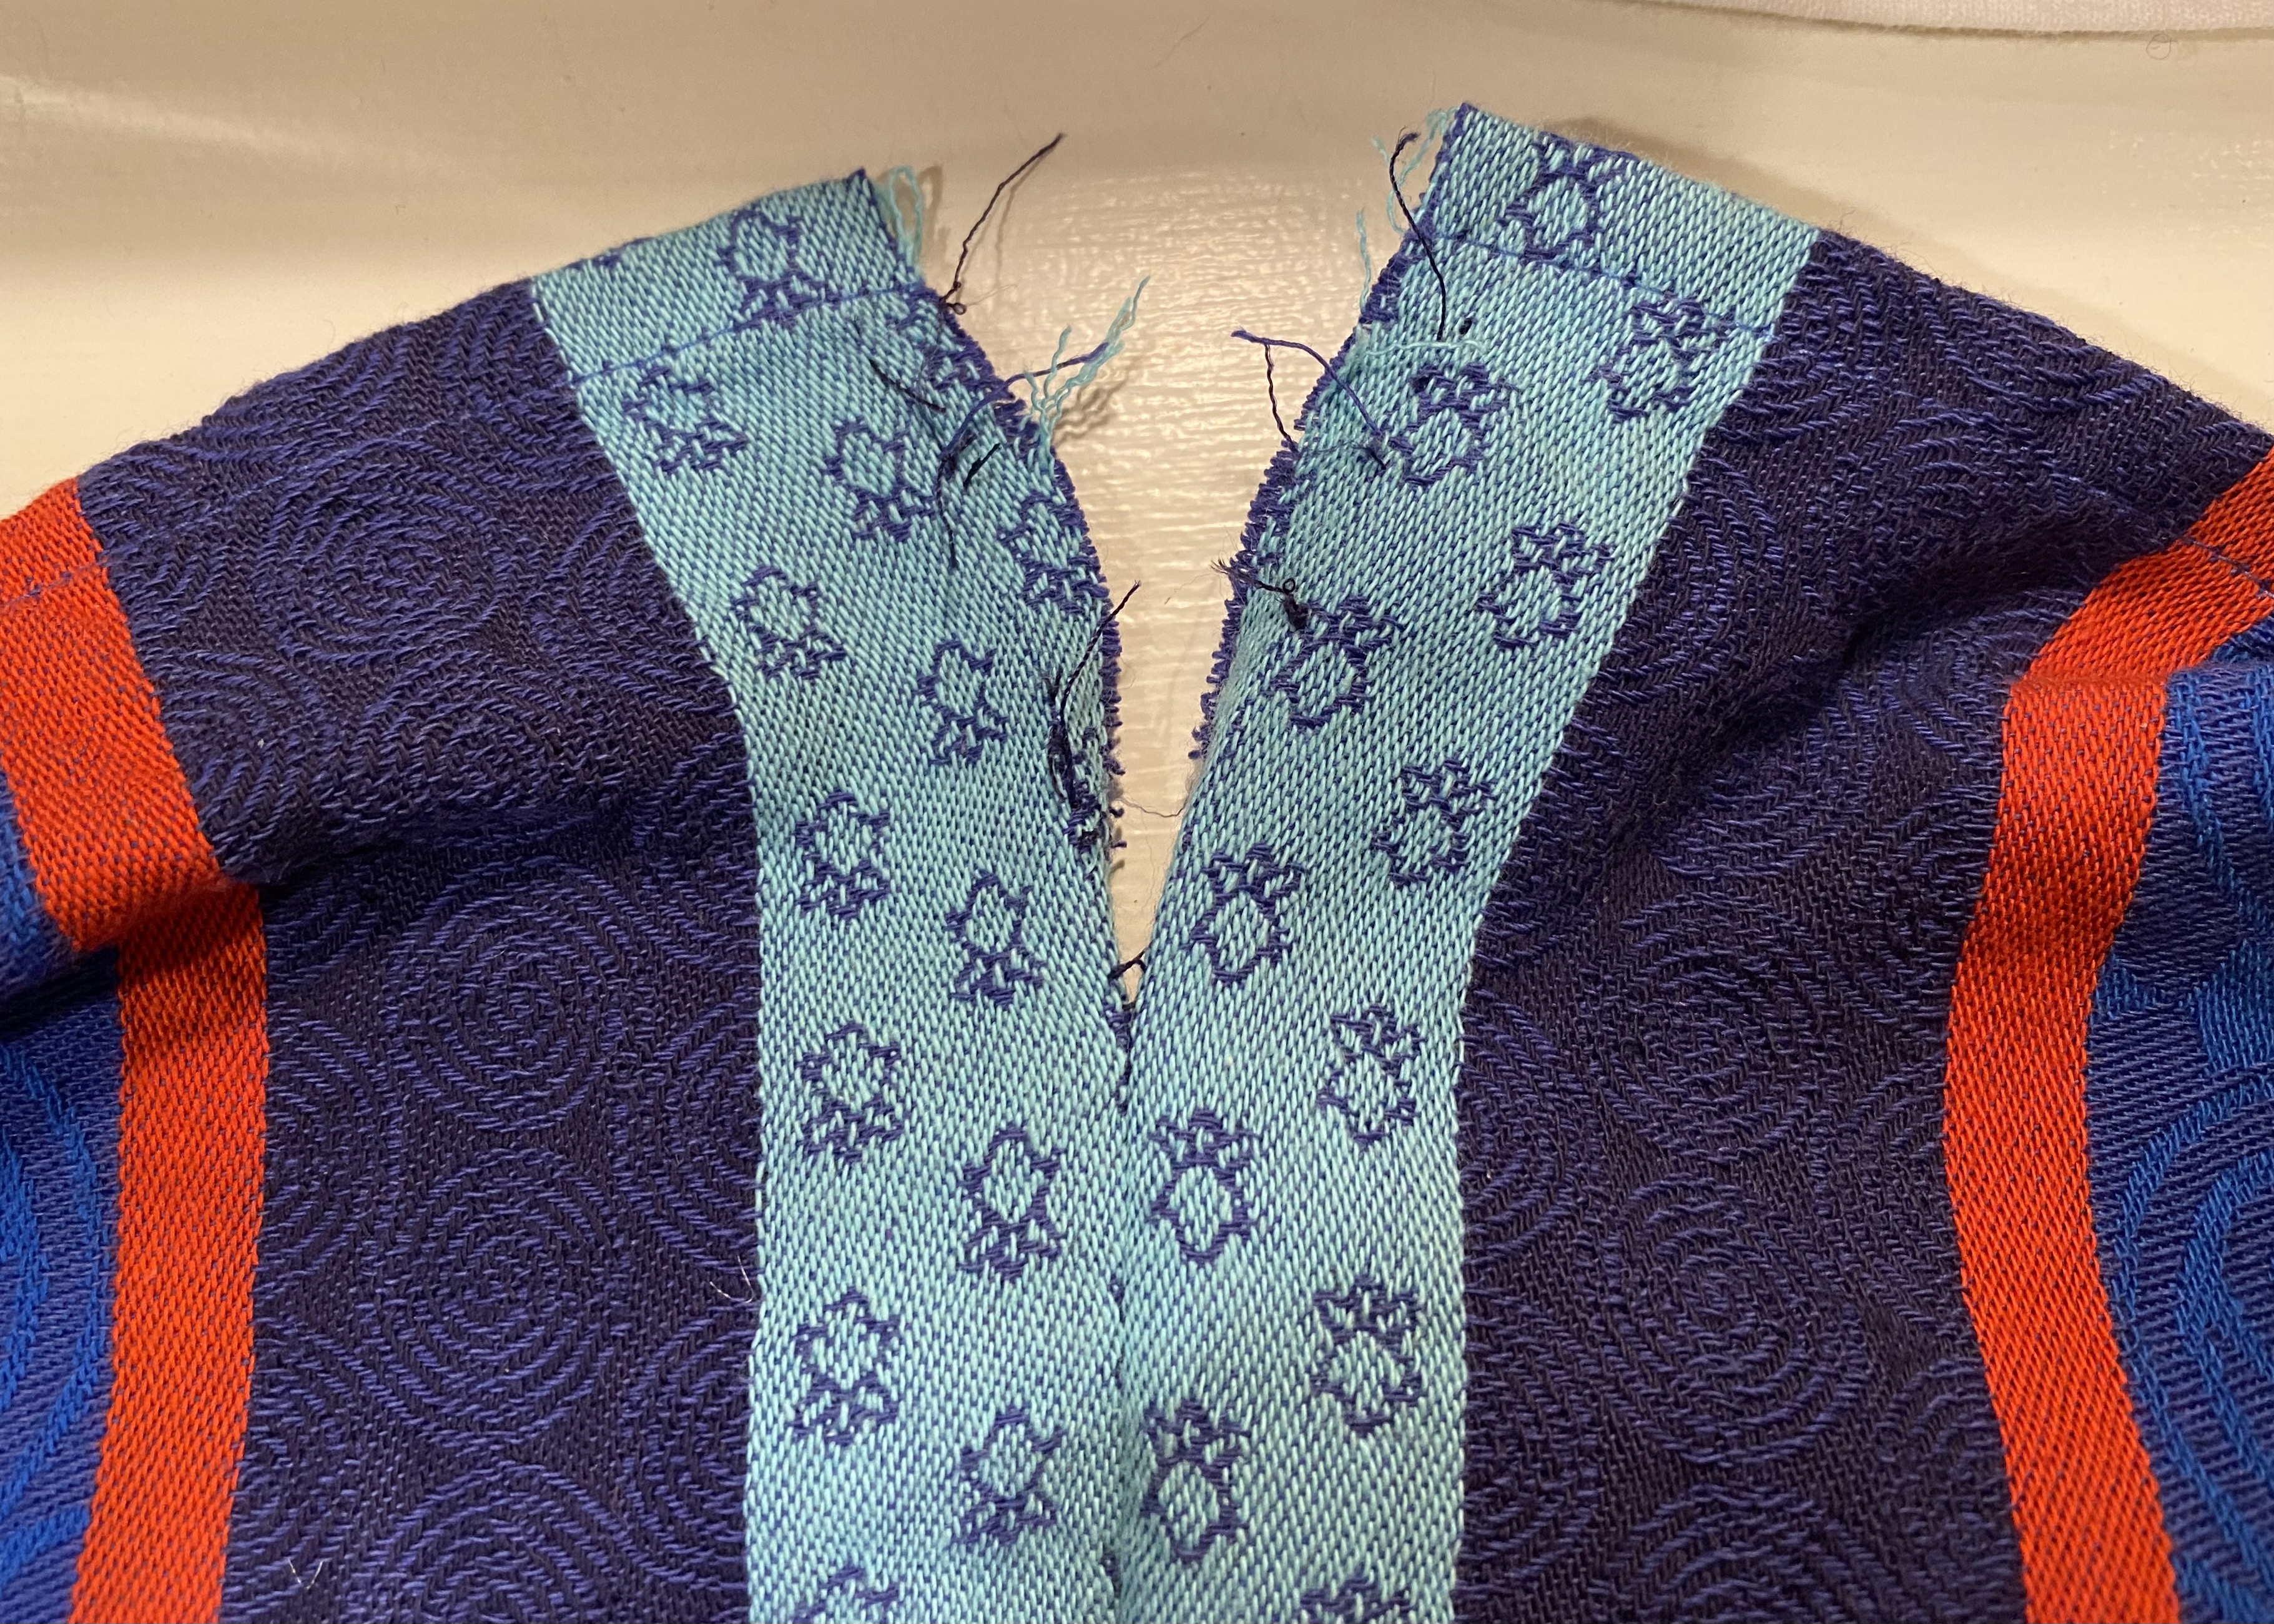
Gusset: Because thumbs have a joint and need room to move, we build in an extra triangular patch of fabric called a gusset. To shape a gusset, we increase stitches at regular intervals to accommodate the added width of the thumb. This photo is a good demonstration of what a knitted gusset looks like.

The Goal: 
This is how your mitt should look when you are finished. We will start from the bottom cuff and work our way up. The thumb fits comfortably on either hand, so you will knit two identical mitts.

Once you fold the sides in and sew the seam, your mitt will look like this.

Let’s Get Started!

Knit the Cuff:
Cast on 36 stitches. Work in k1, p1 rib for 2¾ inches. End with your last row being worked on the WS. How do you know which is the RS? The cast-on tail is hanging from the right-hand corner.

Knit the Hand:
With RS facing, knit 6 rows of stockinette stitch. I use tally marks to keep track of my row count.

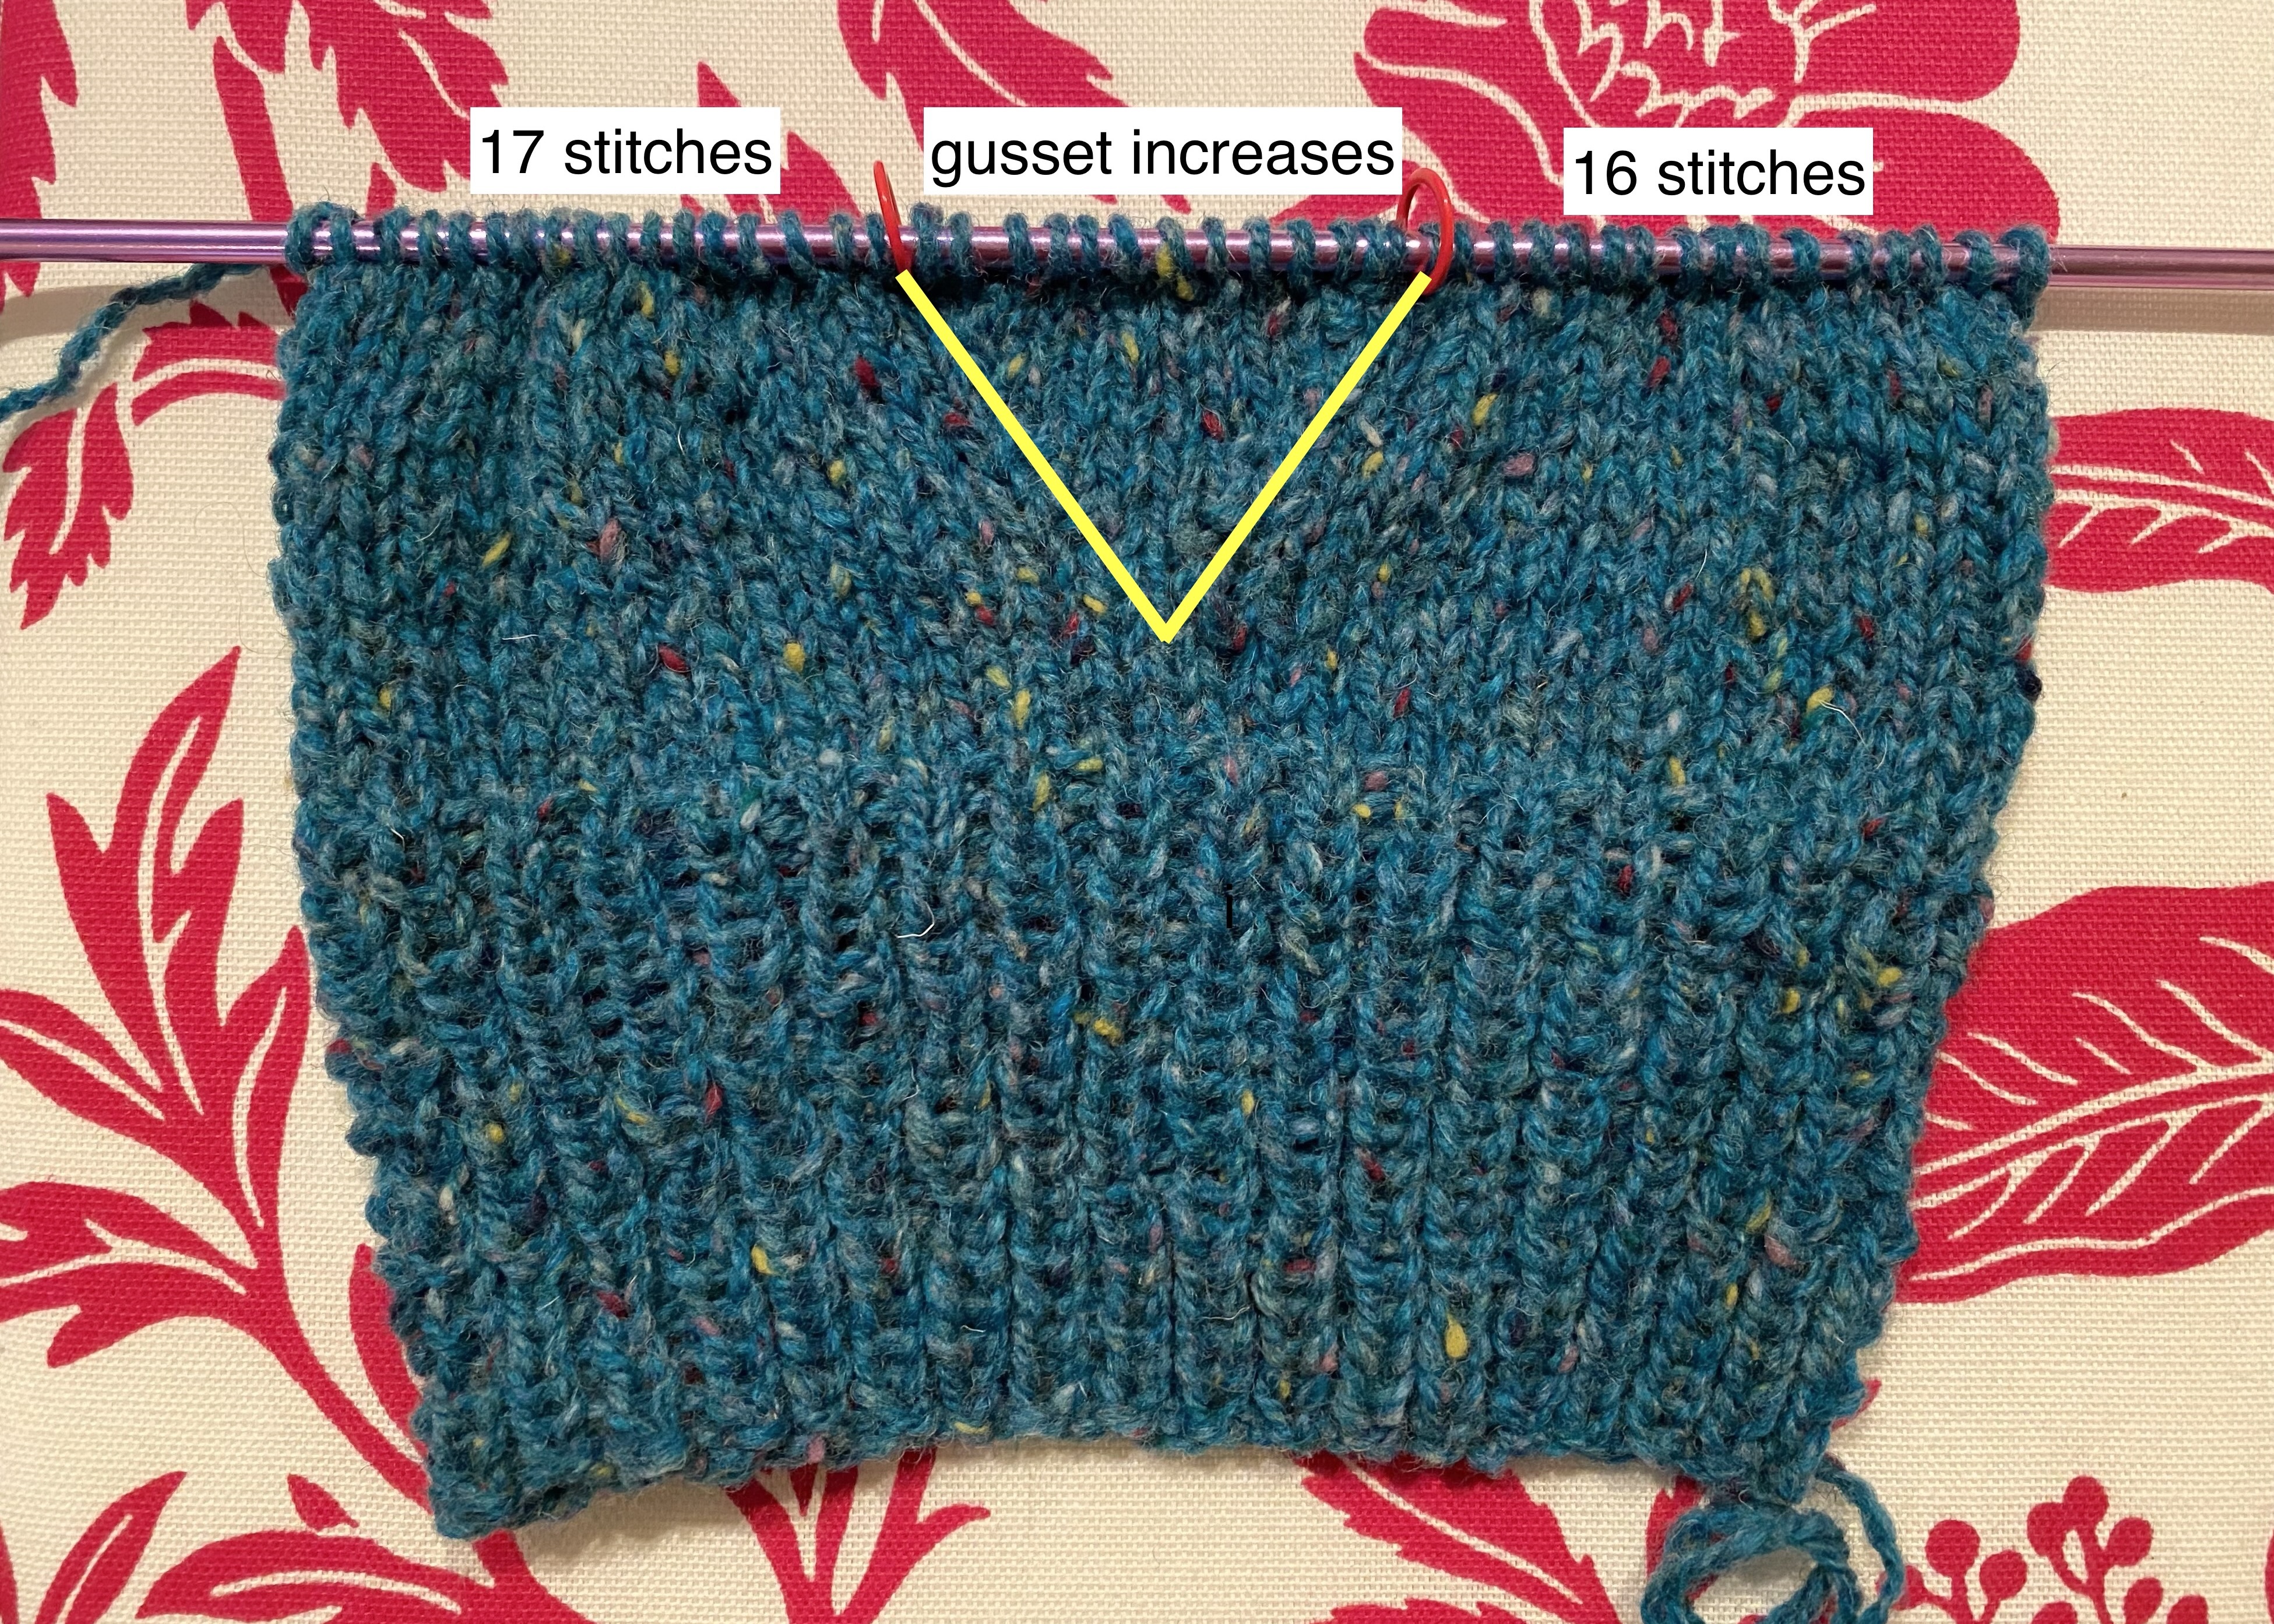
Set Up Thumb Gusset Increases:
Row 1: k16, place a marker, increase 1, k1, increase 1, place a marker, k17 (38 stitches total). You will then increase 2 stitches every other row as follows:

Row 2, 4, 6, 8, 10: Purl row.
Row 3: k16, increase 1, k3, increase 1, k17 (40 stitches)
Row 5: k16, increase 1, k5, increase 1, k17 (42 stitches)
Row 7: k16, increase 1, k7, increase 1, k17 (44 stitches)
Row 9: k16, increase 1, knit 9, increase 1, k17 (46 stitches)
Your work should look like this:

Purl 10th row and remove markers. Turn work over to RS.

Shape Thumb:
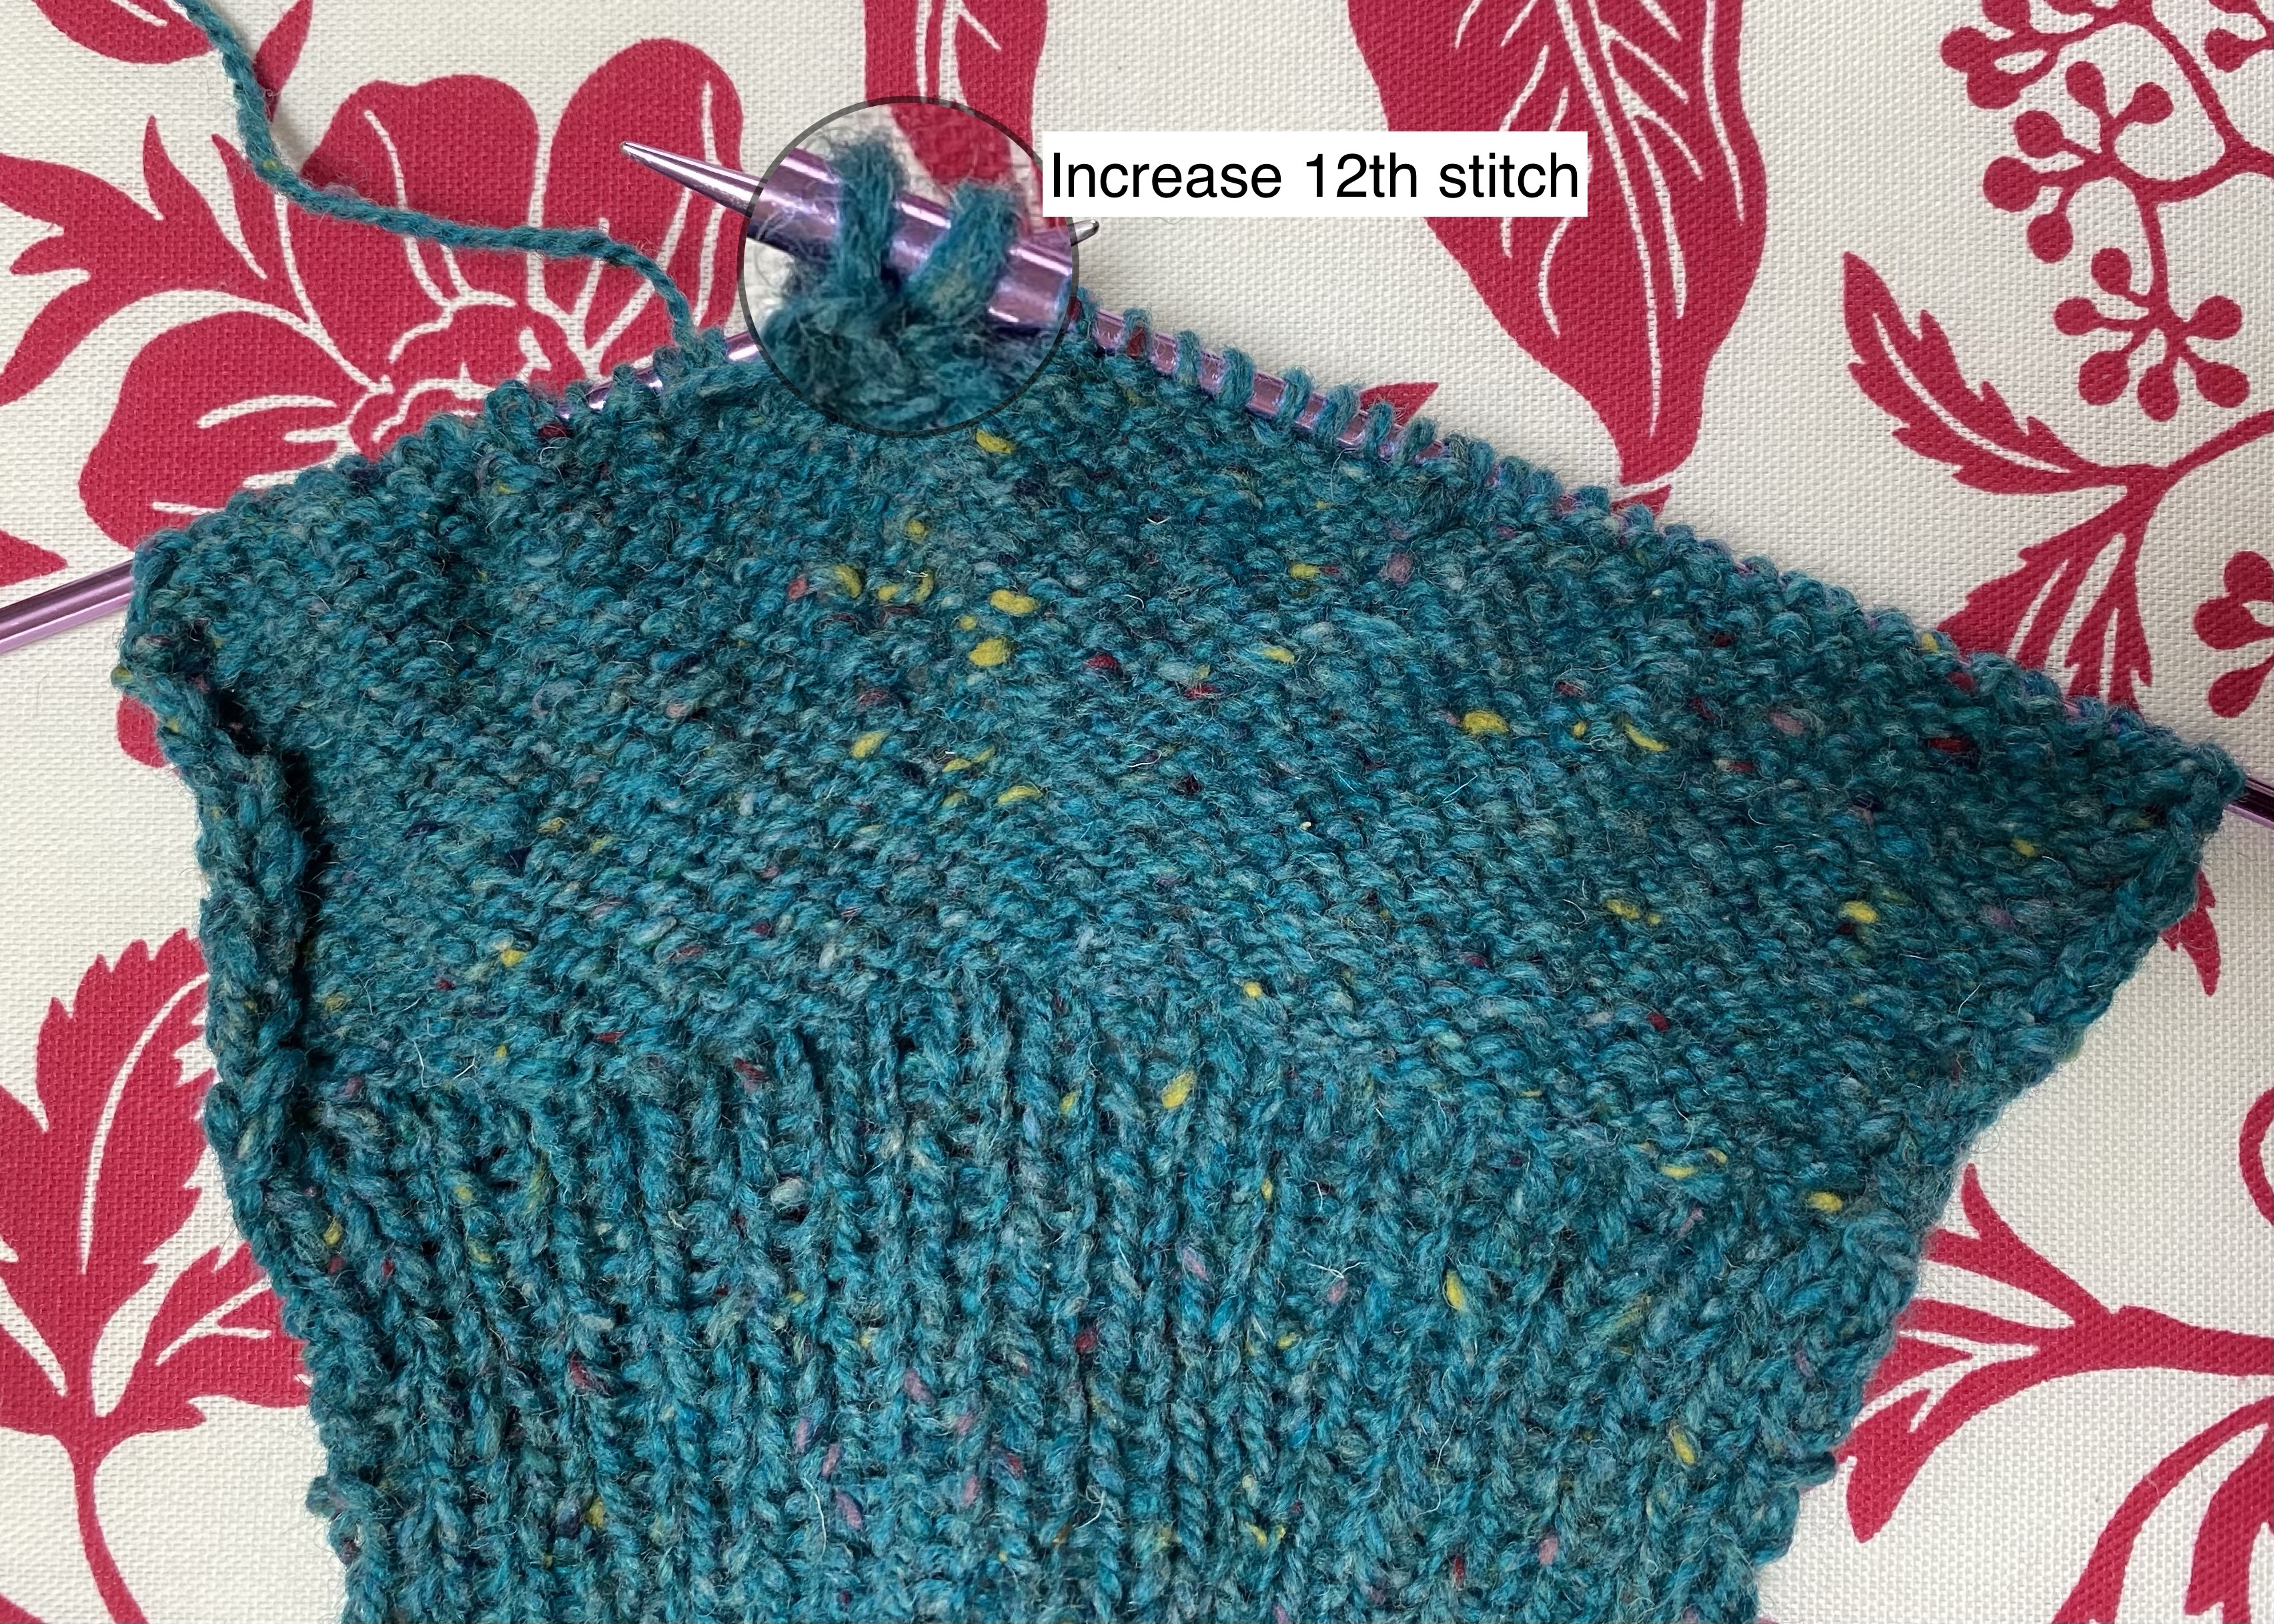
With RS facing, k27, increase 1 stitch on the next (28th) stitch.

Turn work. With WS facing, p11, increase 1 stitch on the next (12th) stitch for a total of 13 stitches.

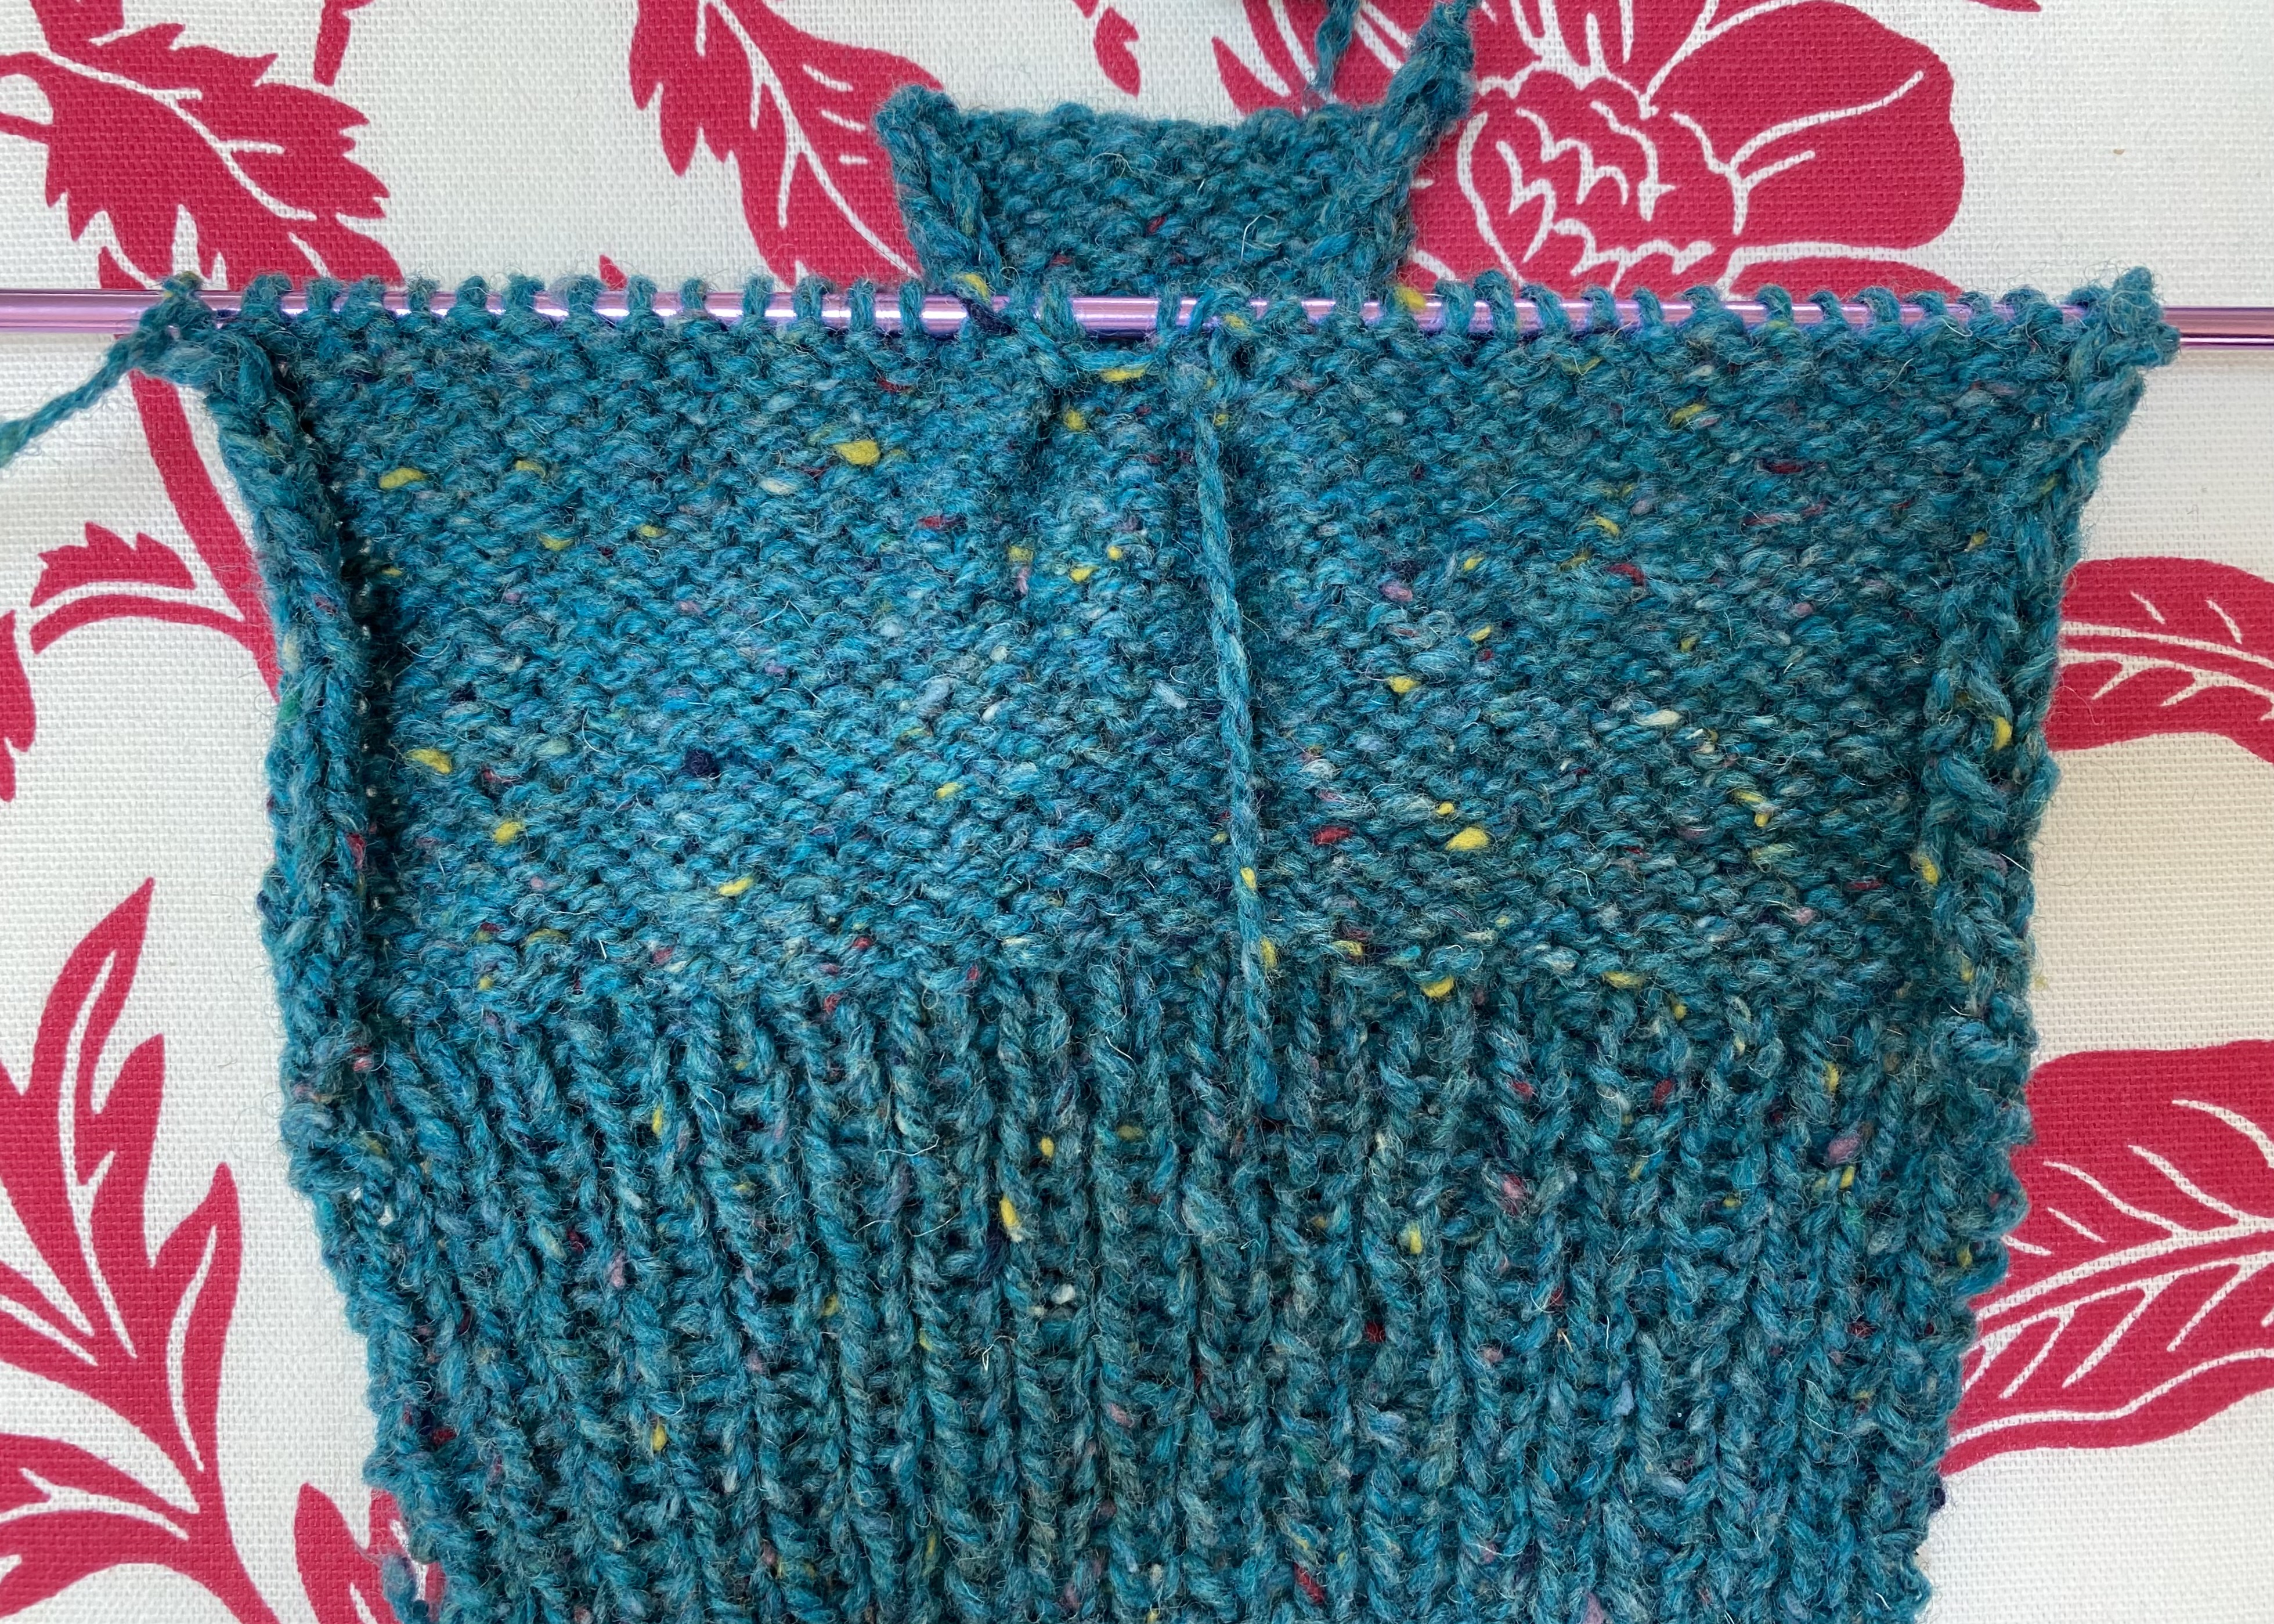
Turn work. Begin working back and forth in stockinette stitch on these 13 stitches for 4 rows. Your work will look a little wonky on the needle.

Loosely bind off the 13 thumb stitches leaving a 10-inch tail. Your work will look like this.

Knit Remainder of Hand:
Row 1: With RS facing, join yarn from ball and increase 1 stitch on the first stitch on the left side of thumb gusset/flap. Knit to end of row. You should have a total of 36 stitches on the needle with a gap in the middle.

Row 2: Turn work, purl across the row, joining the two sides.

Next 6 rows: Continue in stockinette stitch. If you would like longer mitts for more coverage over fingers, add 4-6 more rows of stockinette stitch at this point.

Ribbed Closure:
Next 6 rows: k1, p1 rib.
7th row: Bind off stitches in rib pattern. Leave a 15-inch tail.
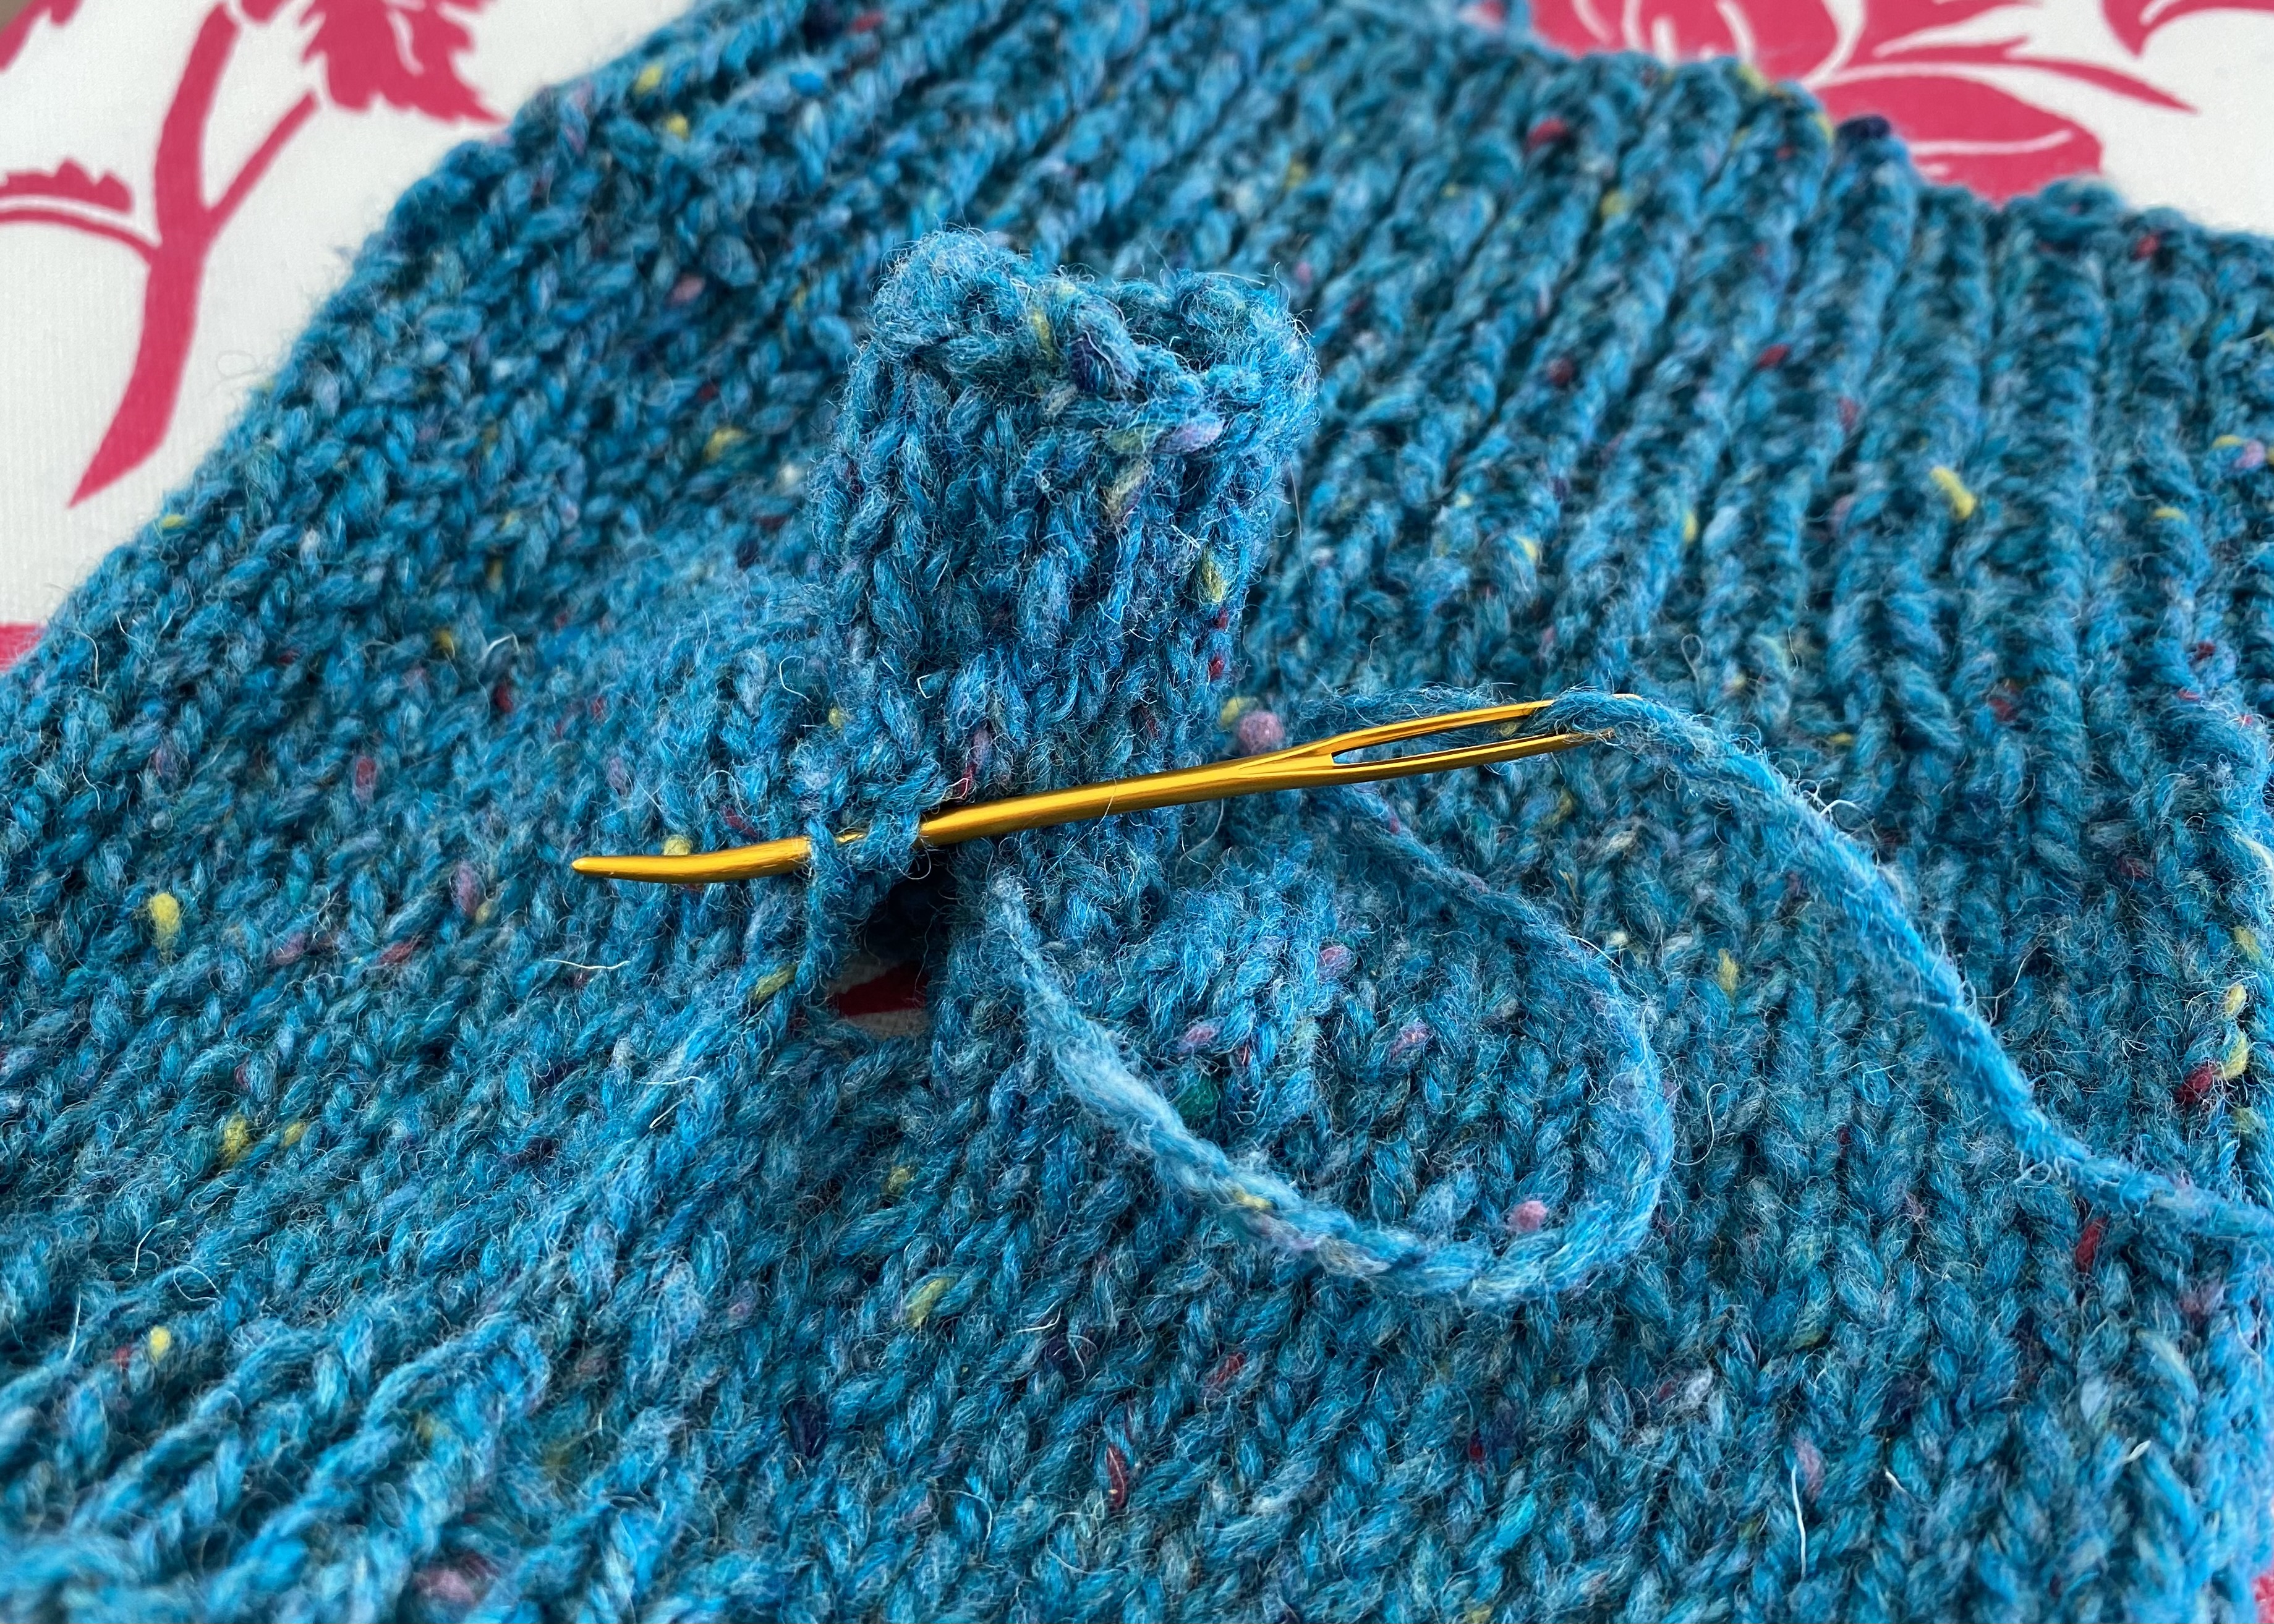
Finishing: 
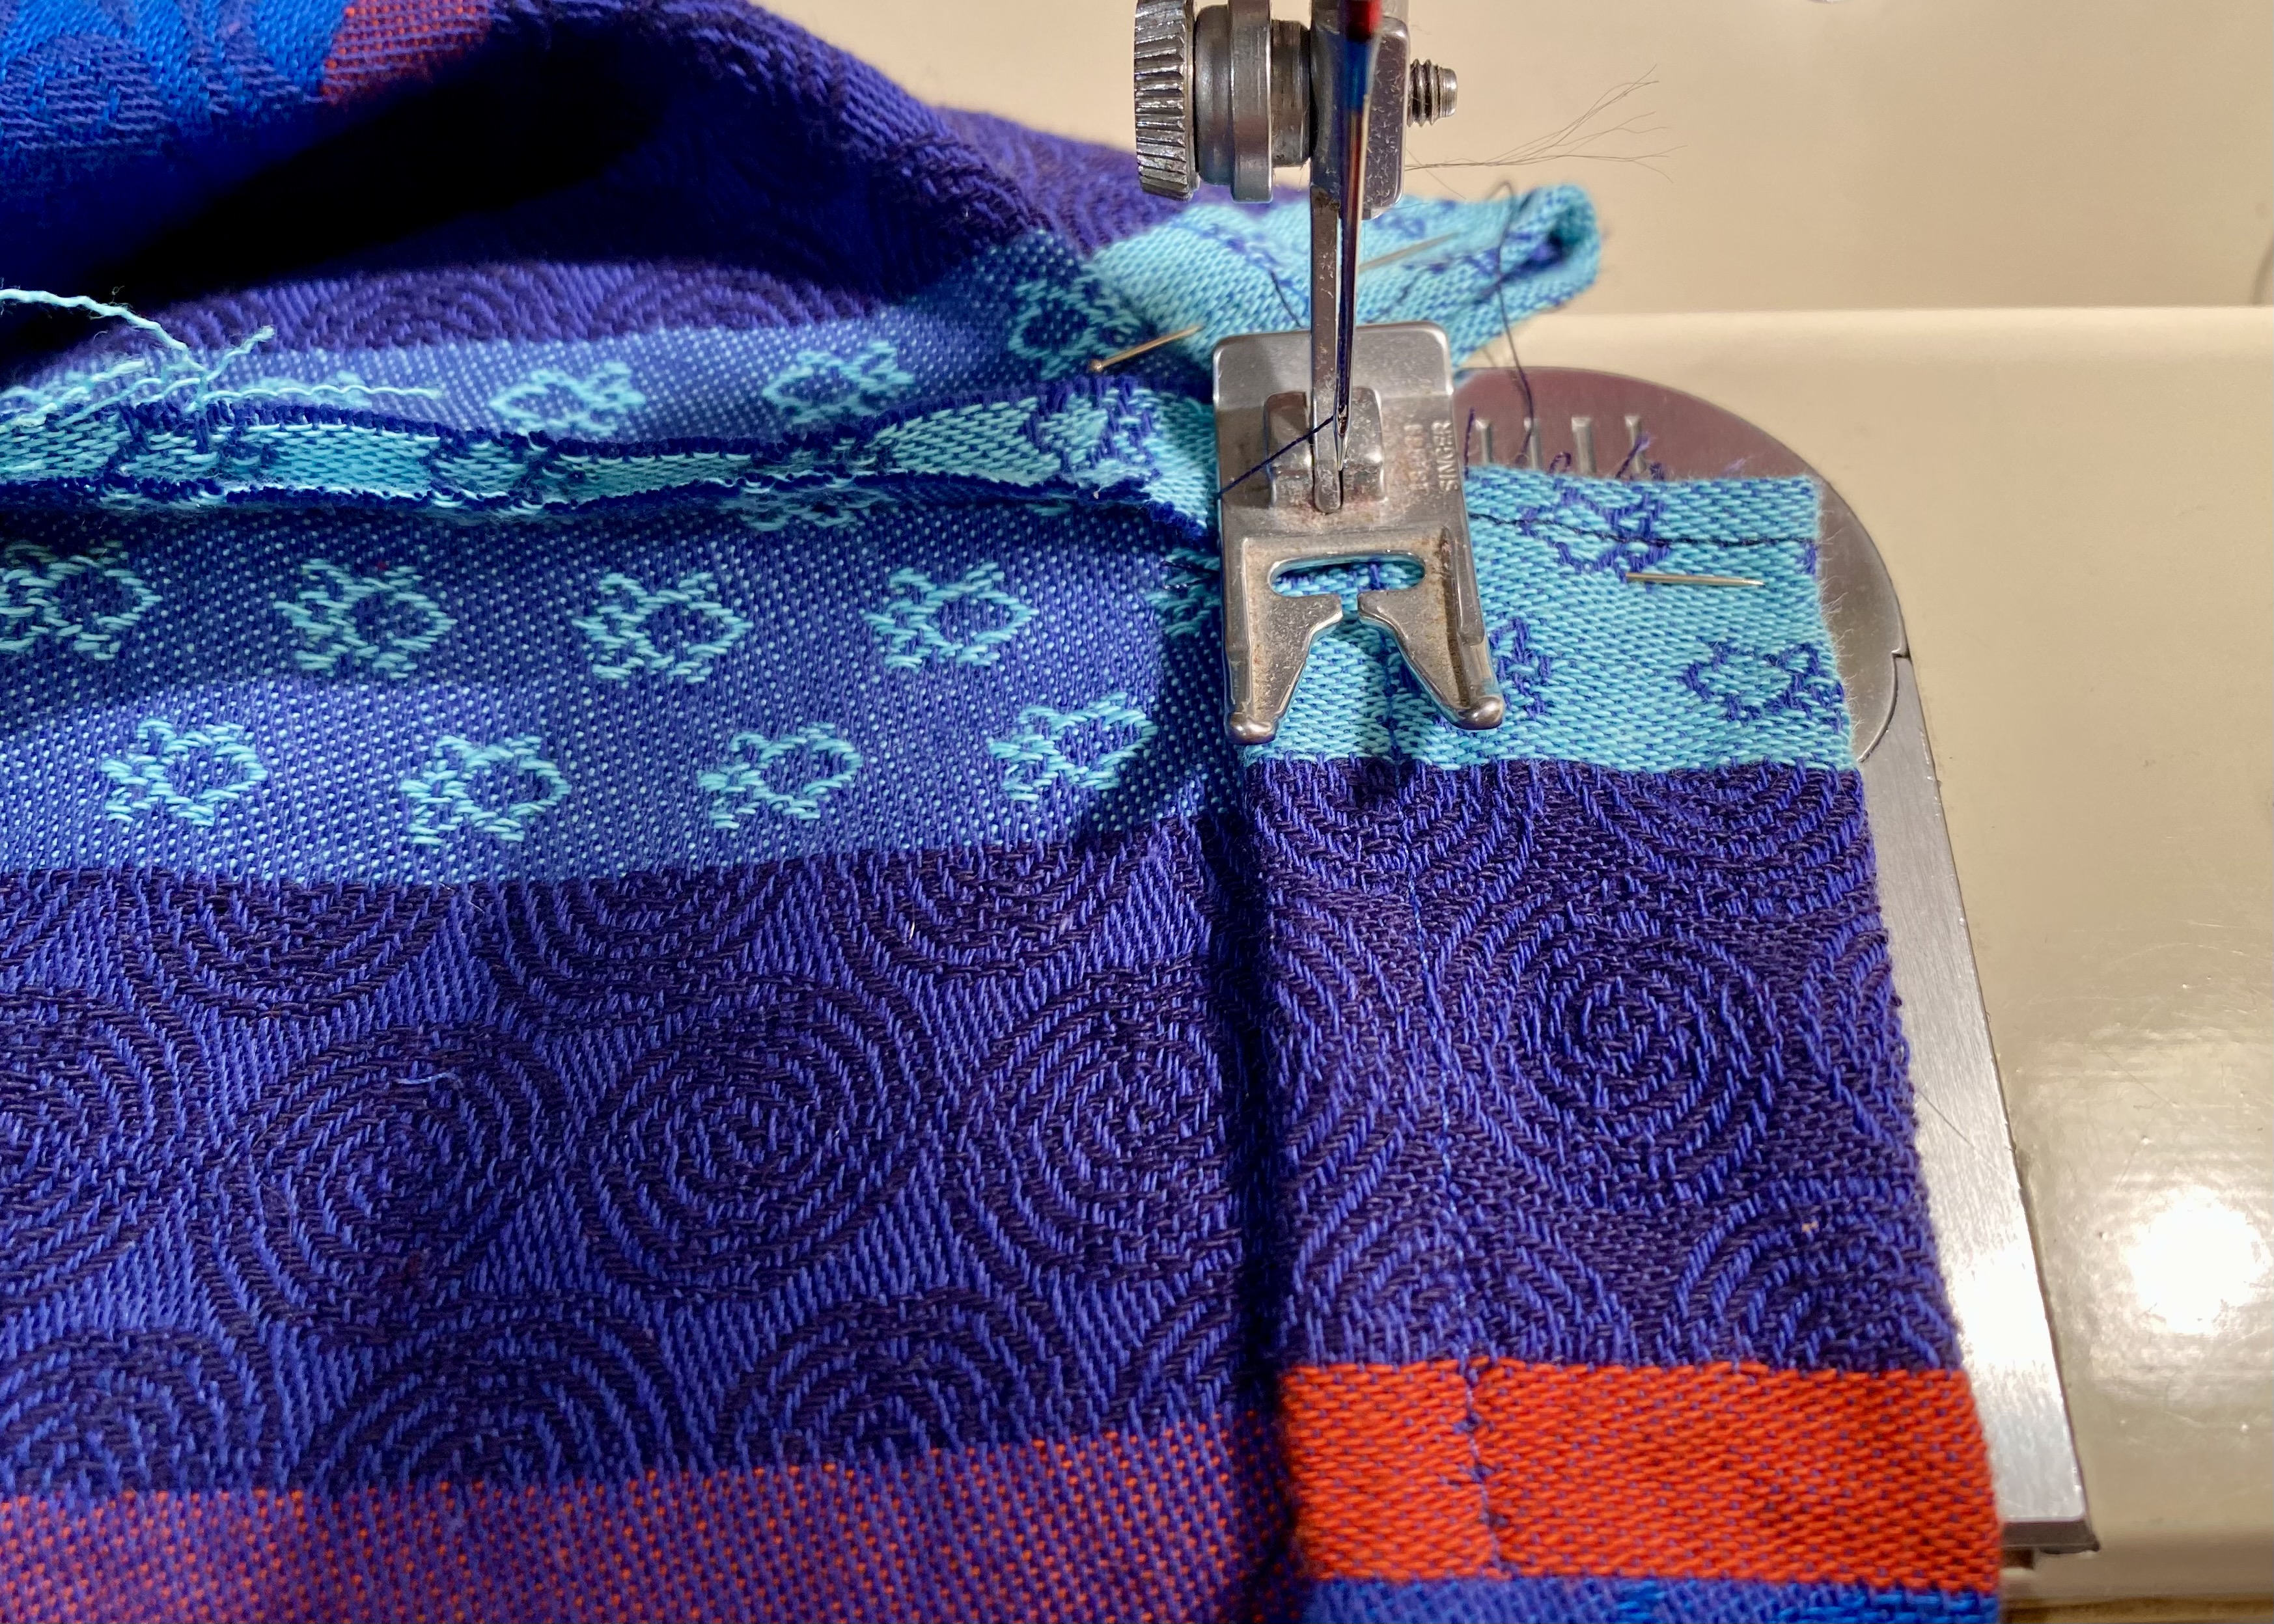
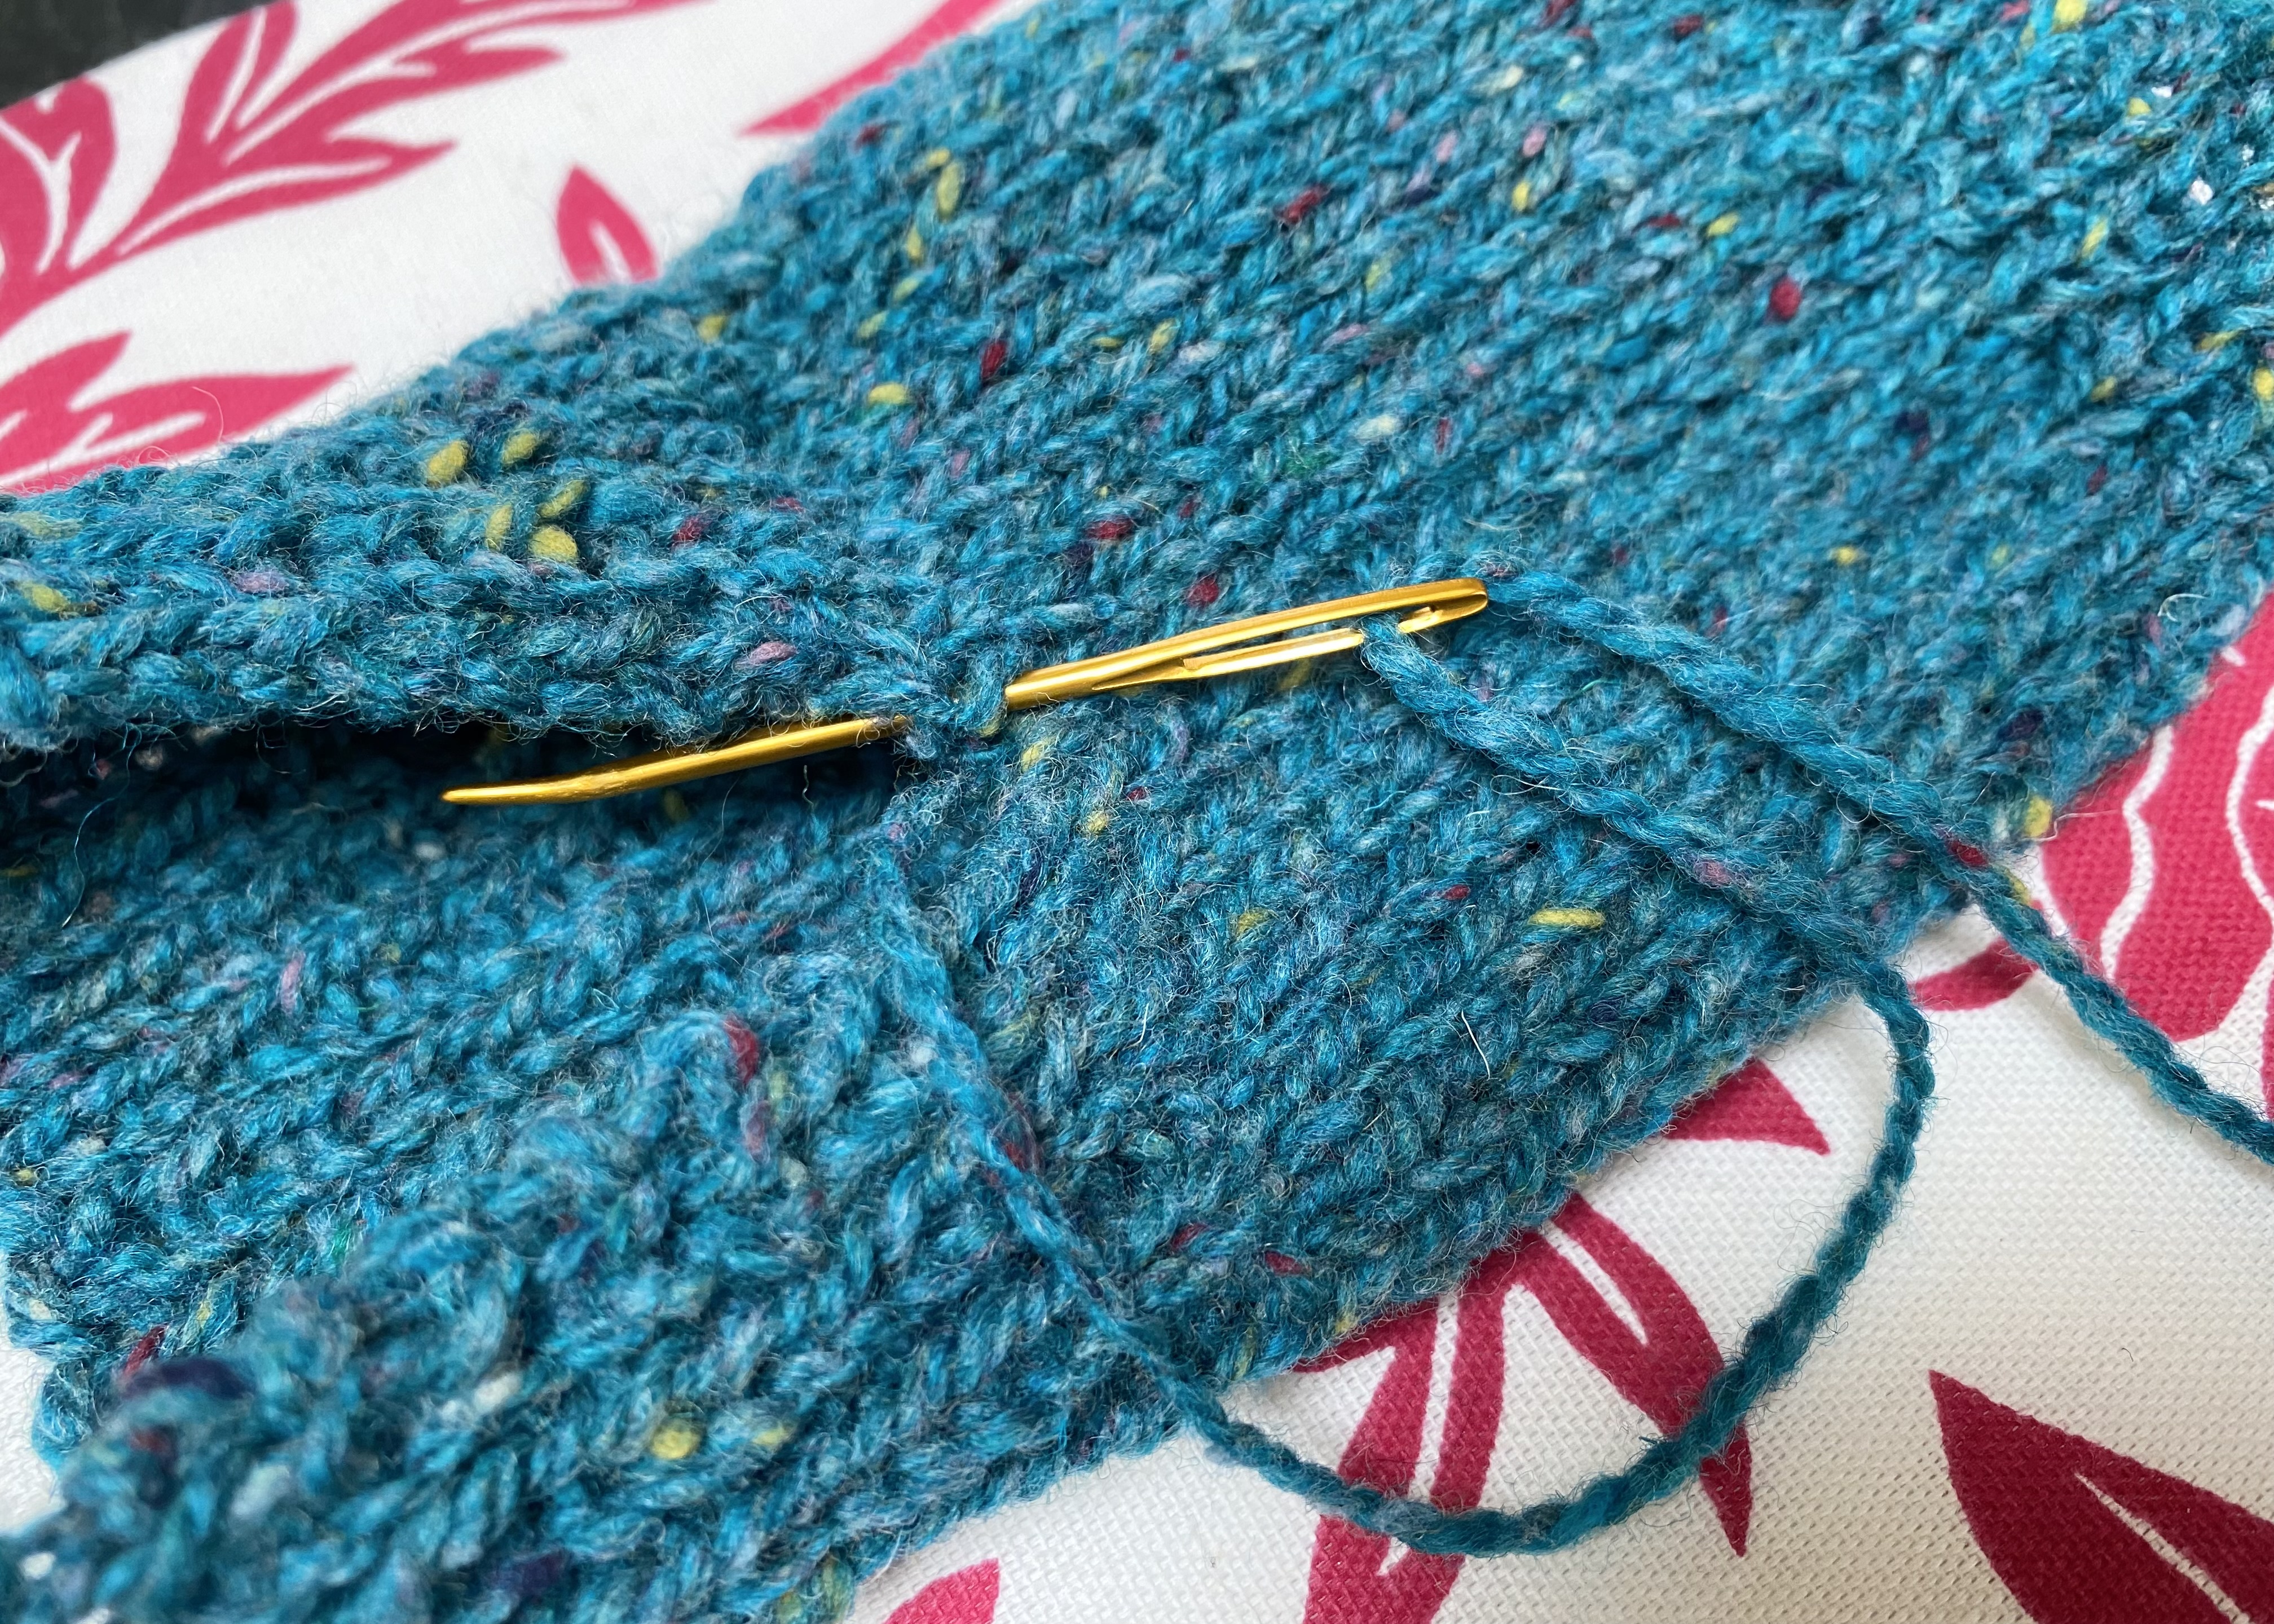
Thumb: With RS facing and starting from the top, use the mattress stitch to sew the seam. Turn fabric to WS, pull tail through work, and weave in the end.

With RS facing and starting from the top, use the mattress stitch to sew mitten sides together. Turn mitten to WS, pull tail through, and weave in ends.
.

The founders of Modern Daily Knitting, Ann Shayne and Kay Gardiner, generously donated copies of their Skill Set Beginning Knitting book and downloads of their Skill Set app to the knitting club students. I highly recommend the app as a one-stop “shop” for learning or tuning up your knitting skills. They have a nice section on seaming using the mattress stitch.

Please drop me a note in the comments section if you have questions.

Related Knitting Posts:

How to Knit a Hat and Make a Pom Pom

What to Knit for a Baby: a Hat, a Sweater and a Blanket

A Birthday Tribute for My Mother: Knitting Neck Warmers with Mom’s Stash

Follow Judy’s Chickens on Instagram and Pinterest @JudysChickens.
If you enjoyed this post, consider becoming a follower. Be sure to press “confirm” on the follow-up letter sent to your email address.

© 2014-2022 Judy Wright. All rights reserved. Photos, videos, and text may not be reproduced without the written consent of Judy Wright.

How to Make Dishtowel Vegetable Storage Bags

My dishtowel drawer is a hot mess smorgasbord of fruits, vegetables, flowers, chickens, funny sayings, and colorfully striped images, all printed on cotton rectangles. The super-absorbent among them, often dingy and stained, are the workhorses of my kitchen. The others, those with high sentimental value or less absorbency, have been smushed up in the back of the drawer for eons. They are the ones now being repurposed into vegetable storage bags.

I use the storage bags as I harvest food from the garden.

I use them to store veggies in the fridge after they have been washed.

I use them to hold electronics when I travel.

The idea came to me while harvesting greens in my backyard. I didn’t want to mix the kale, lettuce, and spinach leaves together yet didn’t have enough containers to keep them separate, so I decided to repurpose my stash of dishtowels to make harvest containers.

I started with my favorite towel, one my mother bought me from France while on one of her annual painting trips with artist friends. Talk about high sentimental value.

This painting of my mom was created by one of her friends on that trip. It captures a moment in time when she was happy and healthy.

This towel was from a pair that fell into the category of loved but not absorbent enough. I ended up making two bags with them, one for my sister-in-law, Lesley, and the other for my friend, Jennifer, both of whom garden.

I am a scrappy seamstress, but I don’t let that stop me, and I hope you won’t let it stop you. I had to finish this one by hand because my sewing machine died.

I used the trimmed remnants from this first bag to make the drawstring.

My husband gave me the idea to use shoelaces instead. I ordered an assortment of 54″ laces from Amazon.

How to Make Dishtowel Storage Bags:

Supplies:
Clean dish towels, any size works
54″ shoelaces

Instructions

Fold dishtowel in half with right sides facing. If the towel is too wide for your intended use, trim off some of the width.

Pin side seams together. On the bag opening side, leave a two-inch gap. This is where the tunnel for the drawstring will be. Sew the side seams and trim off the edges to reduce bulk.

Sew the tunnel opening. You can do this the quick way, which leaves you with an unfinished edge,

or you can unfurl the original seams, fold the frayed edges under, pin them, and create a more finished edge.

Next, fold over the top one-inch edge of the fabric, pin it down, and sew the drawstring tunnel.

Run your shoelace through the tunnel, and you are ready for business.

One dishtowel will stay in my collection forever, and there is a story about it here. RIP to my dear and funny friend, Carol, who died two years ago from breast cancer.

.

Some other Fun How-Tos:
How to Make a Heart Tree
How to Make Cork Bulletin Boards
How to Build a 4 x 4 Raised Garden Bed
How to Make Whole Milk Ricotta
How to Peel an Orange or Grapefruit Quickly

Follow Judy’s Chickens on Instagram and Pinterest @JudysChickens.
If you enjoyed this post, consider becoming a follower. Be sure to press “confirm” on the follow-up letter sent to your email address.

© 2014-2021 Judy Wright. All rights reserved. Photos, videos, and text may not be reproduced without the written consent of Judy Wright.

How to Make a Heart Tree

In 2010, I read an article in StyleBlueprint about a heart tree created by my smart and beautiful friend, Martha Ivester. I’ve been thinking about “hearting a tree” ever since. Last week, Martha posted instructions for how to make the heart pillows on Facebook. It was just the inspiration I needed to get started.

The tradition of hearting a tree started at Martha’s former church, The Parish of the Epiphany, in Winchester, Massachusetts. At first, parishioners hearted a tree by their church. Soon after, parishioners started hearting trees anonymously at night at the homes of friends and shut-ins who needed a boost of good cheer.

“The most important aspect of making hearts is to gift them to someone,” said Martha. “One of my favorite memories of Nashville was the year eight moms and their children gathered together for two mornings of heart-making for friends who needed cheering up. We hearted a tree for a friend who lost a parent, for another who had a sick child, and for another who was going through treatment for cancer. The experience created a sweet moment of community and connection.” Martha currently lives in Copenhagen and still hangs hearts in front of her house for Valentine’s Day.

Thus inspired, I decided it was a good weekend to spread a little winter cheer on my street. My first task was to find a heart template; Google to the rescue! I chose two different sized hearts- a stout one and a long one. The stout heart image came from here.

I printed the hearts onto 8″ x 11″ sheets of card stock.

By the time I made the hearts and filled them with fiber, they looked like this sizewise.

Next, I searched the house for fabric. I recycled a bright orange tee-shirt,

a few of my husband’s tired-looking cotton shirts,

my kids’ old bandanas, and leftover fabric from various craft projects. The only item I had to purchase were the three bags of polyester filling.

To get started, lay out a piece of folded-over fabric with right sides facing each other. Trace the heart image onto the wrong side of the fabric with a marker. I aimed to get 3-5 hearts from each piece of fabric.

Next, use straight pins to hold the two pieces of fabric together before cutting them.

Sew the hearts together, leaving a two-inch opening on one edge of the heart. Be sure to double back over the stitching, so the stitches don’t unravel.

Using sharp scissors, cut little slits into the seam allowance around the heart’s curved edges to make it easier for the heart to lay flat once it is turned right side out.

Do the same around the pointed edge of the heart.

Turn the fabric right side out. Use a slim, smooth, pointy object to push out the point of the heart. I used the dull end of a paintbrush.

Fill each heart with polyester fiber.

Sew up the opening from where you inserted the filling.

I traced the heart image onto 15 hearts, then pinned all of them, then cut, sewed, snipped, turned them right side out, stuffed them with fiber, and hand-sewed all the openings shut — assembly-line style. It helped speed up the construction process.

Cut 36-inch strips of heavy-duty string to hang the hearts on the trees. I chose a thick cotton yarn that would not snap when tugged at. I used an embroidery needle to poke through the pillow and make the knot.

Martha likes to finger knit or crochet a chain-stitched string with colorful yarns when she makes hearts.

Attach a pillow to each end of the string.

Hang them on a tree and brighten someone’s day, including your own!

PS: No worries if your fabric print comes out upside down!

PPS: You may notice that the heart-opening is at the top of the heart in some of the photos. After I made the first few hearts, I moved the opening to the side of the heart. It was much easier to sew up that way.

Related Stories:
My Favorite Rollout Butter Cookies

 How to Make Royal Icing and Decorate Cookies

Chocolate Birthday or Valentine’s Day Cake

Lily’s Red Velvet Cake

Follow Judy’s Chickens on Instagram and Pinterest @JudysChickens.

If you enjoyed this post, consider becoming a follower. Be sure to press “confirm” on the follow-up letter sent to your email address.

© 2014-2021 Judy Wright. All rights reserved. Photos, videos, and text may not be reproduced without the written consent of Judy Wright.

Group Project: A Shibori Dyed Quilt

I love learning a new word and suddenly having it pop up all over the place. It makes me wonder about all the words I simply gloss over in life. Shibori is one of those words. It comes from the Japanese word “to wring, squeeze, or press.” Also known as resist-dyeing, shibori is a design technique for creating patterns on fabric. The idea of bunching fabric tightly with ties to resist the penetration of color when it is dunked in indigo is a technique that has been around for centuries. Many of us know it as tie-dyeing.

Japanese artists raised the art form to a high level. From the book, Shibori, the Inventive Art of Japanese Shaped Resist Dyeing by Wada, Rice and Barton: “Here [Japan], it has been expanded into a whole family of traditional resist techniques, involving first shaping the cloth by plucking, pinching, twisting, stitching, folding, pleating, and wrapping it, and then securing the shapes thus made by binding, looping, knotting, clamping, and the like. The entire family of techniques is called shibori.

In May, the staff of The Nashville Food Project, a non-profit close to my heart, came up with the idea of making a shibori print quilt as a group wedding gift for beloved TNFP Meals Director, Christa Bentley. It was to be a surprise. The Executive Director of TNFP,  Tallu Quinn, has a degree in art (in addition to her MDiv) and learned the technique in college. She wrote out directions for the project, sent them to participants, and provided pre-cut 12-inch squares of muslin fabric for staff and volunteers to create their tied designs. Here is a partial collection of what was created.

The How-To
The first step was to tie the fabric to create a design. I used marbles, corks, and rubber bands to create patterns on the two squares I contributed.

This is how they looked after I tied them,

and when they were dyed,

and then after they were dipped and untied.

Here is another set of pre and post photos.
 

I wish I had taken more photos of the before and afters. It was exciting to see how each manipulation affected the final design. The design below was made by folding a cloth many times and using bull clips to hold the folds together. I think it is my favorite.

Although, I do love this one.

I thought this technique was interesting, too. The white area is where the fabric resisted penetration of the dye due to compression by a block.

Actually, I love them all, as I imagine Christa must since they were each made in the spirit of love and friendship.

D-Day: The Day We Dyed the Squares of Cloth.
Tallu prepared the dye vat using an all-natural indigo powder she ordered online. She invited me and another volunteer, Paiden Hite, to come over and help dye the squares.

This is the dye vat.

She prepped the tied cloths by soaking them in plain, warm water.

One at a time, we submerged the cloth bundles gently into the vat being careful not to add extra oxygen (in the form of air bubbles or drips) into the liquid. It’s a chemistry thing. I wrote a story about growing indigo, harvesting the leaves and making a dye vat in the post, How to Make Indigo Blue Dye.

As we pulled each tied cloth out of the dye vat, we watched it transform in color from a yellow-green to green-blue, to deep indigo-blue. This transition in color seems magical each time I see it happen.

Here are the squares after their first dipping. A few were dipped twice to intensify their color. Color is added in layers, by a redipping process, not by letting textiles soak for a longer period of time.

After the squares dried and were ironed, TNFP staff members sewed them together, backed the quilt, and then began the task of hand sewing the layers together.

The quilt was presented, in a semi-finished form, to the delighted couple, Christa and Todd, at a wedding shower given for them by the ever thoughtful and generous TNFP staff.

Here is a gorgeous photo of the newlyweds on their wedding day. I love it because it expresses hope and love within the beauty of nature. The Bentleys grow food and flowers at Sweeter Days Farm using sustainable practices. They sell their goods at farmers markets and through CSA shares. You can follow their vegetable and flower-growing pursuits and their muster of gorgeous peacocks at @sweeterdaysfarm on Instagram. 

I love when projects, whether they be craft-making, cooking, or planting seeds in a garden, are made in community and in the spirit of caring and fun. For me, it is a way of experiencing and expressing love and joy.

Soon, Christa and Todd will have the finished quilt to wrap themselves up in. Hand-quilting takes time!

A few of my favorite maker-projects:

How to Make Cork Bulletin Boards


Knitting Neck Warmers with Mom’s Stash


How to Make Gorgeous Birdhouse Gourds


Homemade Whole Milk Ricotta


How to Make Indigo Blue Dye


How to Make Plant-Based Dyes


Don’t miss a recipe! Become a subscriber and have every post delivered to your Inbox.

Follow Judy’s Chickens on Instagram and Pinterest @JudysChickens.

Remember to always check this website for updated versions of a recipe.  

© 2014-2019 Judy Wright. All rights reserved. Photos, videos, and text may only be reproduced with the written consent of Judy Wright.