Fruit and Nut Bread

Okay, it’s a fruitcake!

I’ve been trying to figure out another name for this outrageously delicious bread that does not conjure up cross-sections of red and green candied cherries. Instead, these are the beautiful fruits and nuts that go into this bread.

Whenever I serve this bread, almost everyone asks for the recipe. I have been making some variation of it since I first adapted it from The Silver Palate Good Times Cookbook, or “Silver Palate 2” as we called it back in the Eighties.

Every December, around Christmas time, I pull out all the half-used packages of dried fruit and unsalted nuts, weigh out 52 ounces of fruit and 28 ounces of nuts, and make this bread. The only dried fruit that is a must-have in the bunch is the prunes. You could say this is how I clean out my pantry every year.

Yield: Makes 3 loaves or 8 mini loaves

Ingredients:
fruit nut bread

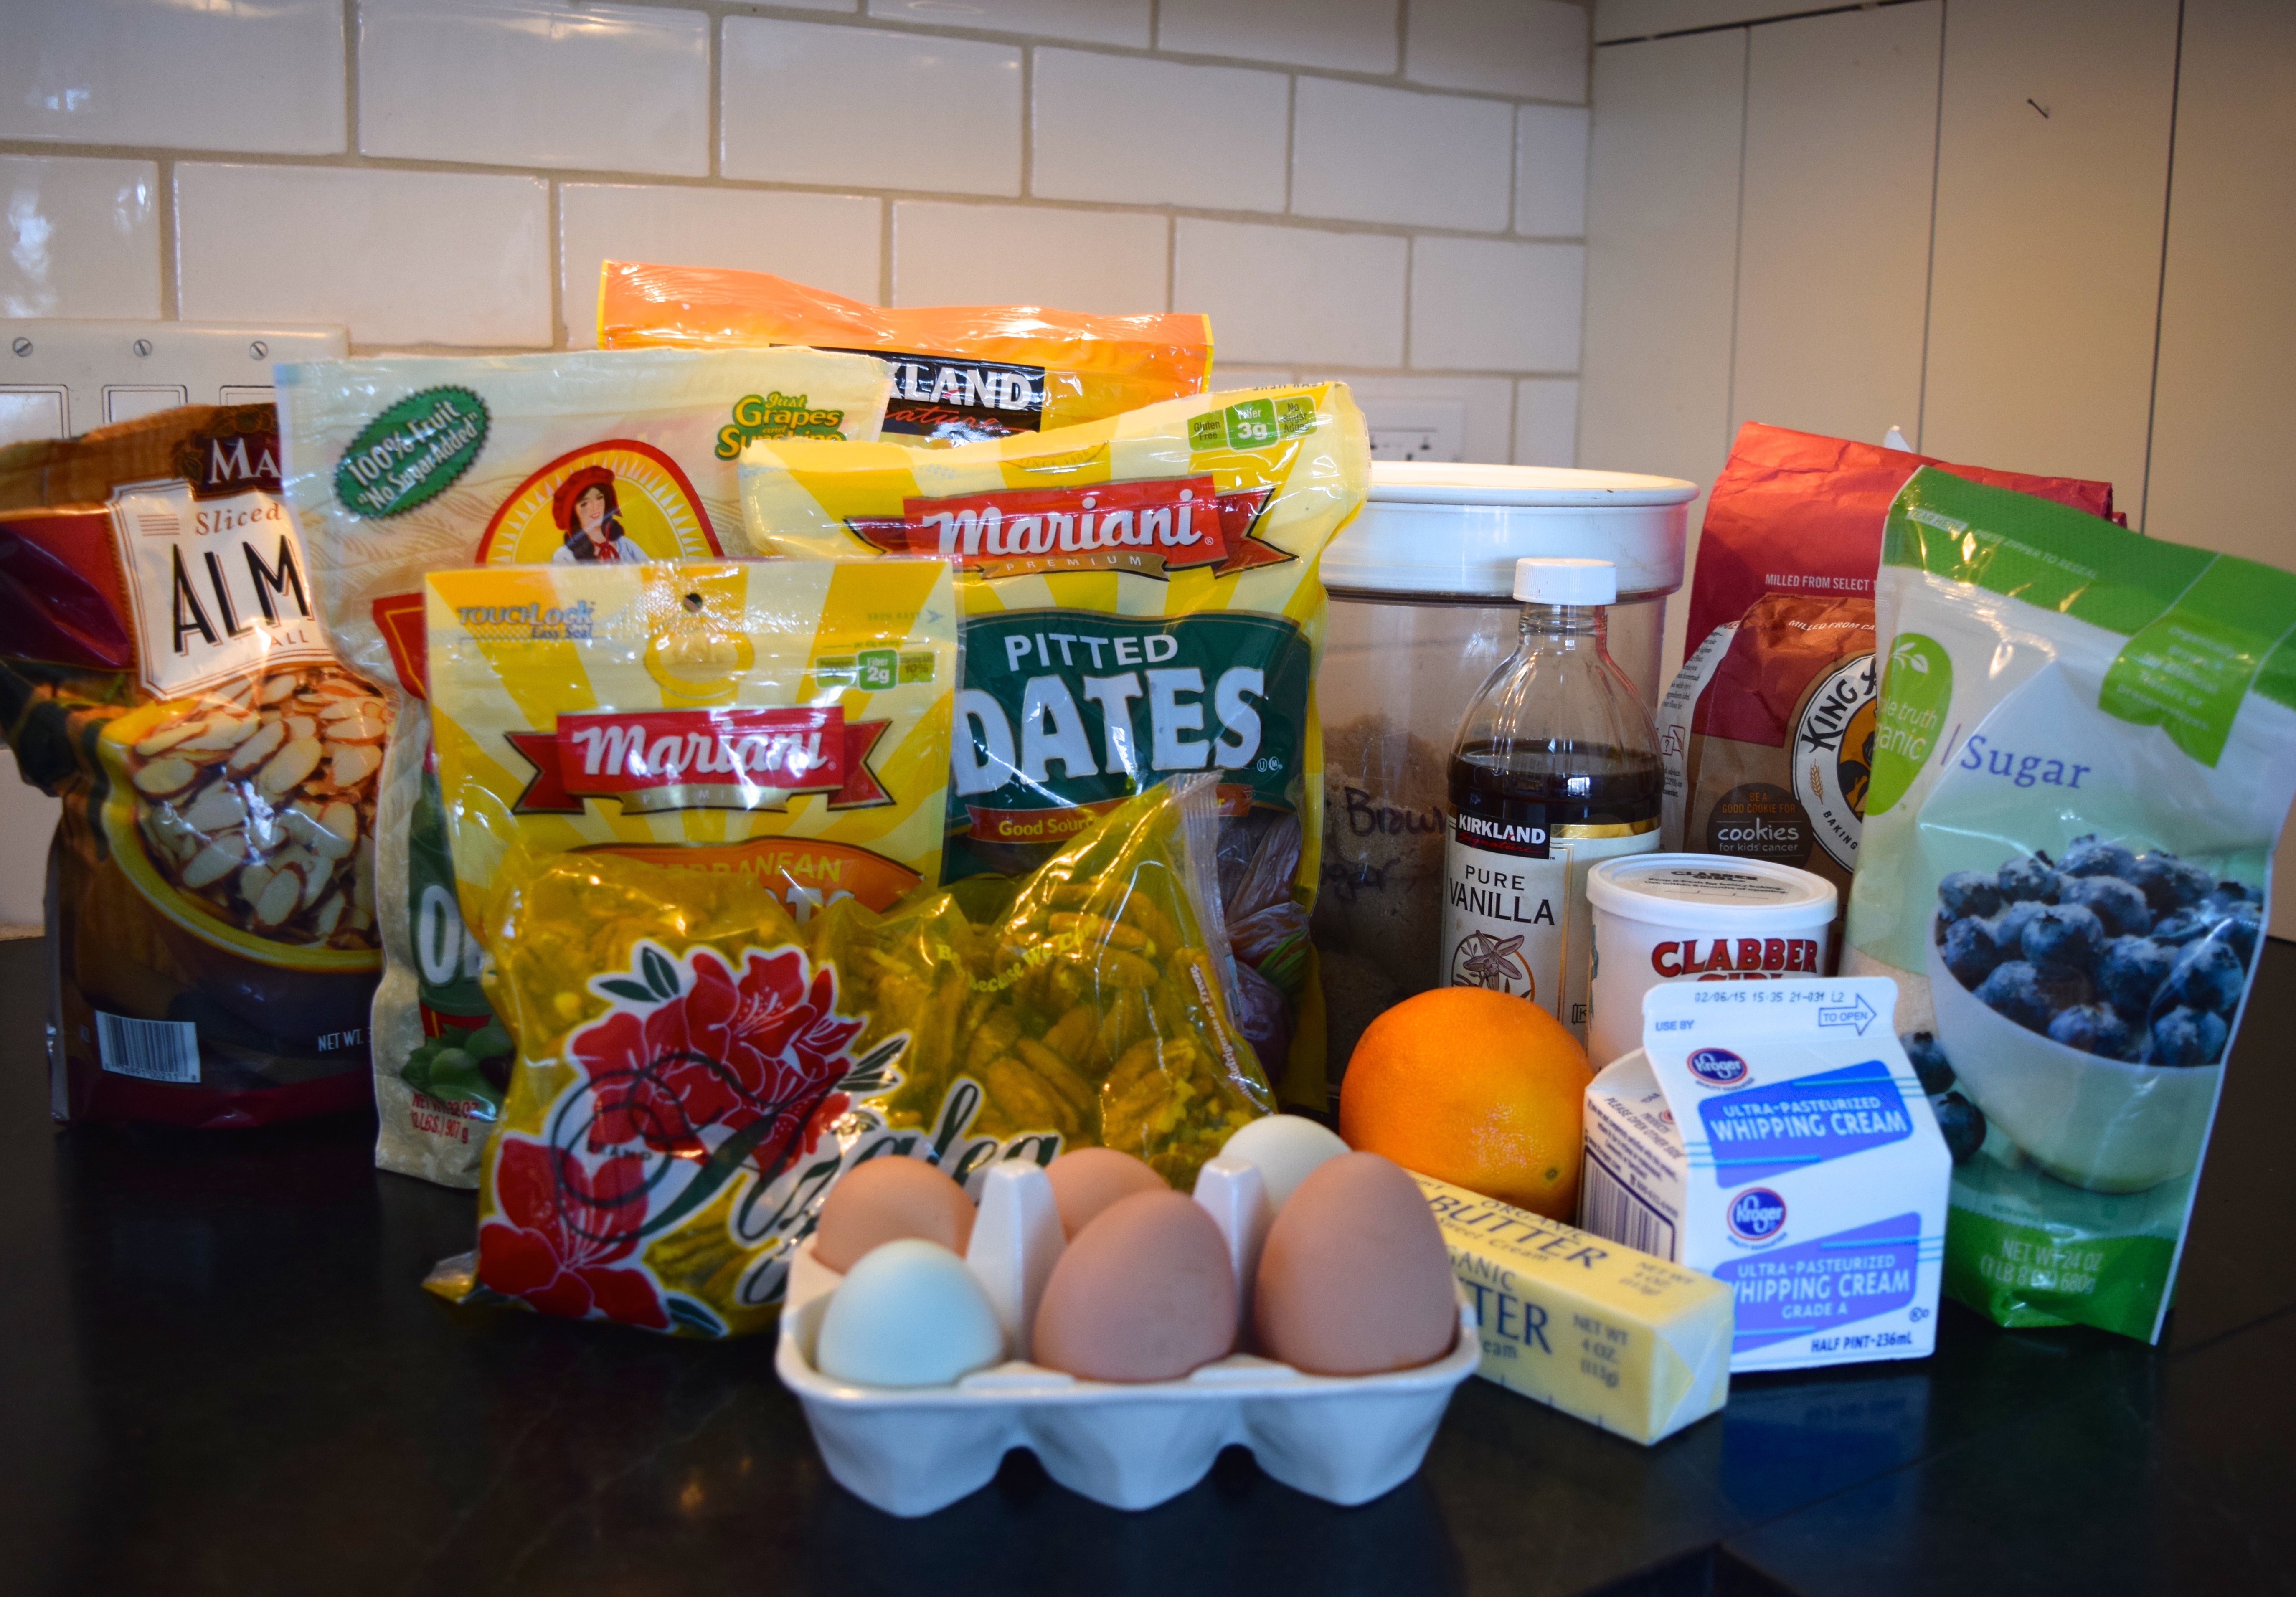
52 ounces dried fruit: prunes, dates, cherries, raisins, and/or apricots
28 ounces nuts: pecans, almonds, and walnuts
½ cup all-purpose flour
6 eggs, room temperature, separated
½ cup granulated sugar
½ cup brown sugar
grated zest of one orange
6 tablespoons butter, melted
5 tablespoons whipping cream
2 tablespoons vanilla extract
½ teaspoon almond extract
1½ cups whole wheat flour
2½ teaspoons baking powder

Instructions:

Prepare oven and pans:
Preheat oven to 325º.

Spray three 9x5x3 loaf pans lightly with cooking spray. Line each pan with aluminum foil. Butter the foil liner. We do this tedious process because the bread needs to cook for a long time at a low temperature. The foil keeps the loaves from drying out and sticking to the pans. As a test, I made two regular loaves and three mini loaves. I didn’t use foil on the mini loaves, and the bread stuck to the pans. I’m a believer. The reason you spray the pan before lining it with foil is for easy release of the foil-lined loaves after they have baked. These steps are all necessary. Believe me, I’m not one for make-work.
fruit nut bread

Measure fruit and nuts:
I keep large bags of dried fruits and nuts in the pantry. When it comes time to make this recipe, I pour a good mix of them into a bowl placed on a digital scale and keep adding more until the scale reads 3 pounds, 4 ounces. Then I pour in the nuts until the scale reads a total of 5 pounds.

Technique Time: Zeroing out a scale
A digital scale is a good tool to have in the kitchen. I recommend this one by OXO because it can weigh items up to 11 pounds. You’ll need to weigh the mixing bowl first and “zero out” that weight before adding the fruits and nuts. To do this, place the large empty bowl on the scale. This bowl weighs 5 pounds and 2.5 ounces. Push the “zero” button. The scale is now ready to show the weight of just the ingredients in the bowl.
fruit nut bread fruit nut bread fruit nut bread

Here is a list of the fruits and nuts I typically use :
16 oz prunes + 5 oz cherries + 6 oz apricots (cut each in half) +
fruit nut bread fruit nut bread fruit nut bread

8 oz raisins + 17 oz pitted dates (cut each in half) = total of 52 oz.
fruit nut bread fruit nut bread

As for the nuts, I typically use 16 oz pecans + 8 oz walnuts + 4 oz slivered almonds = a total of 28 oz.

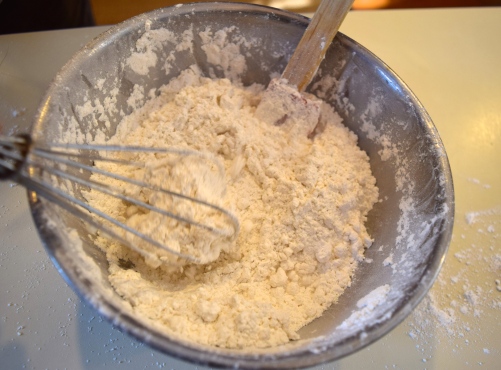
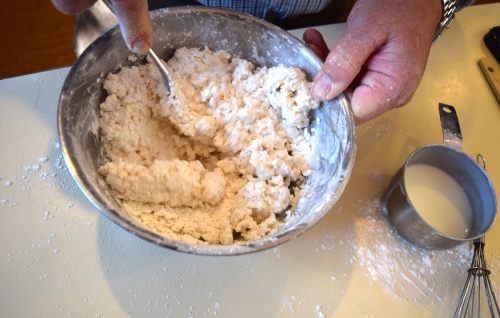
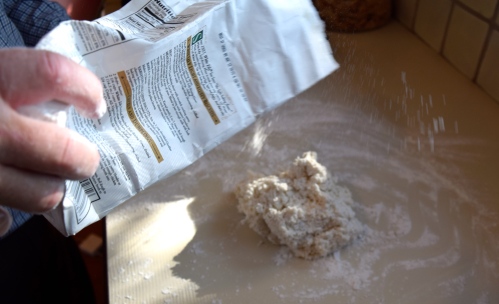
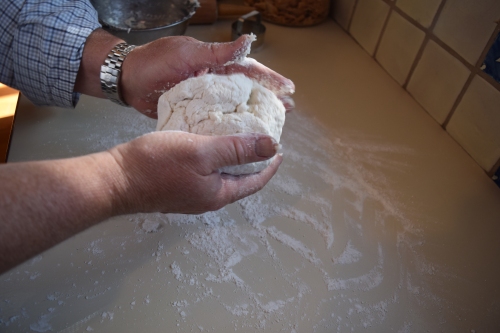
Next, add ½ cup of all-purpose flour and mix with your hands to break up the fruits that are stuck together. Make sure every morsel of food is dusted with the flour. This helps keep them from sinking to the bottom of the pan while baking.
fruit nut bread

Prepare the batter

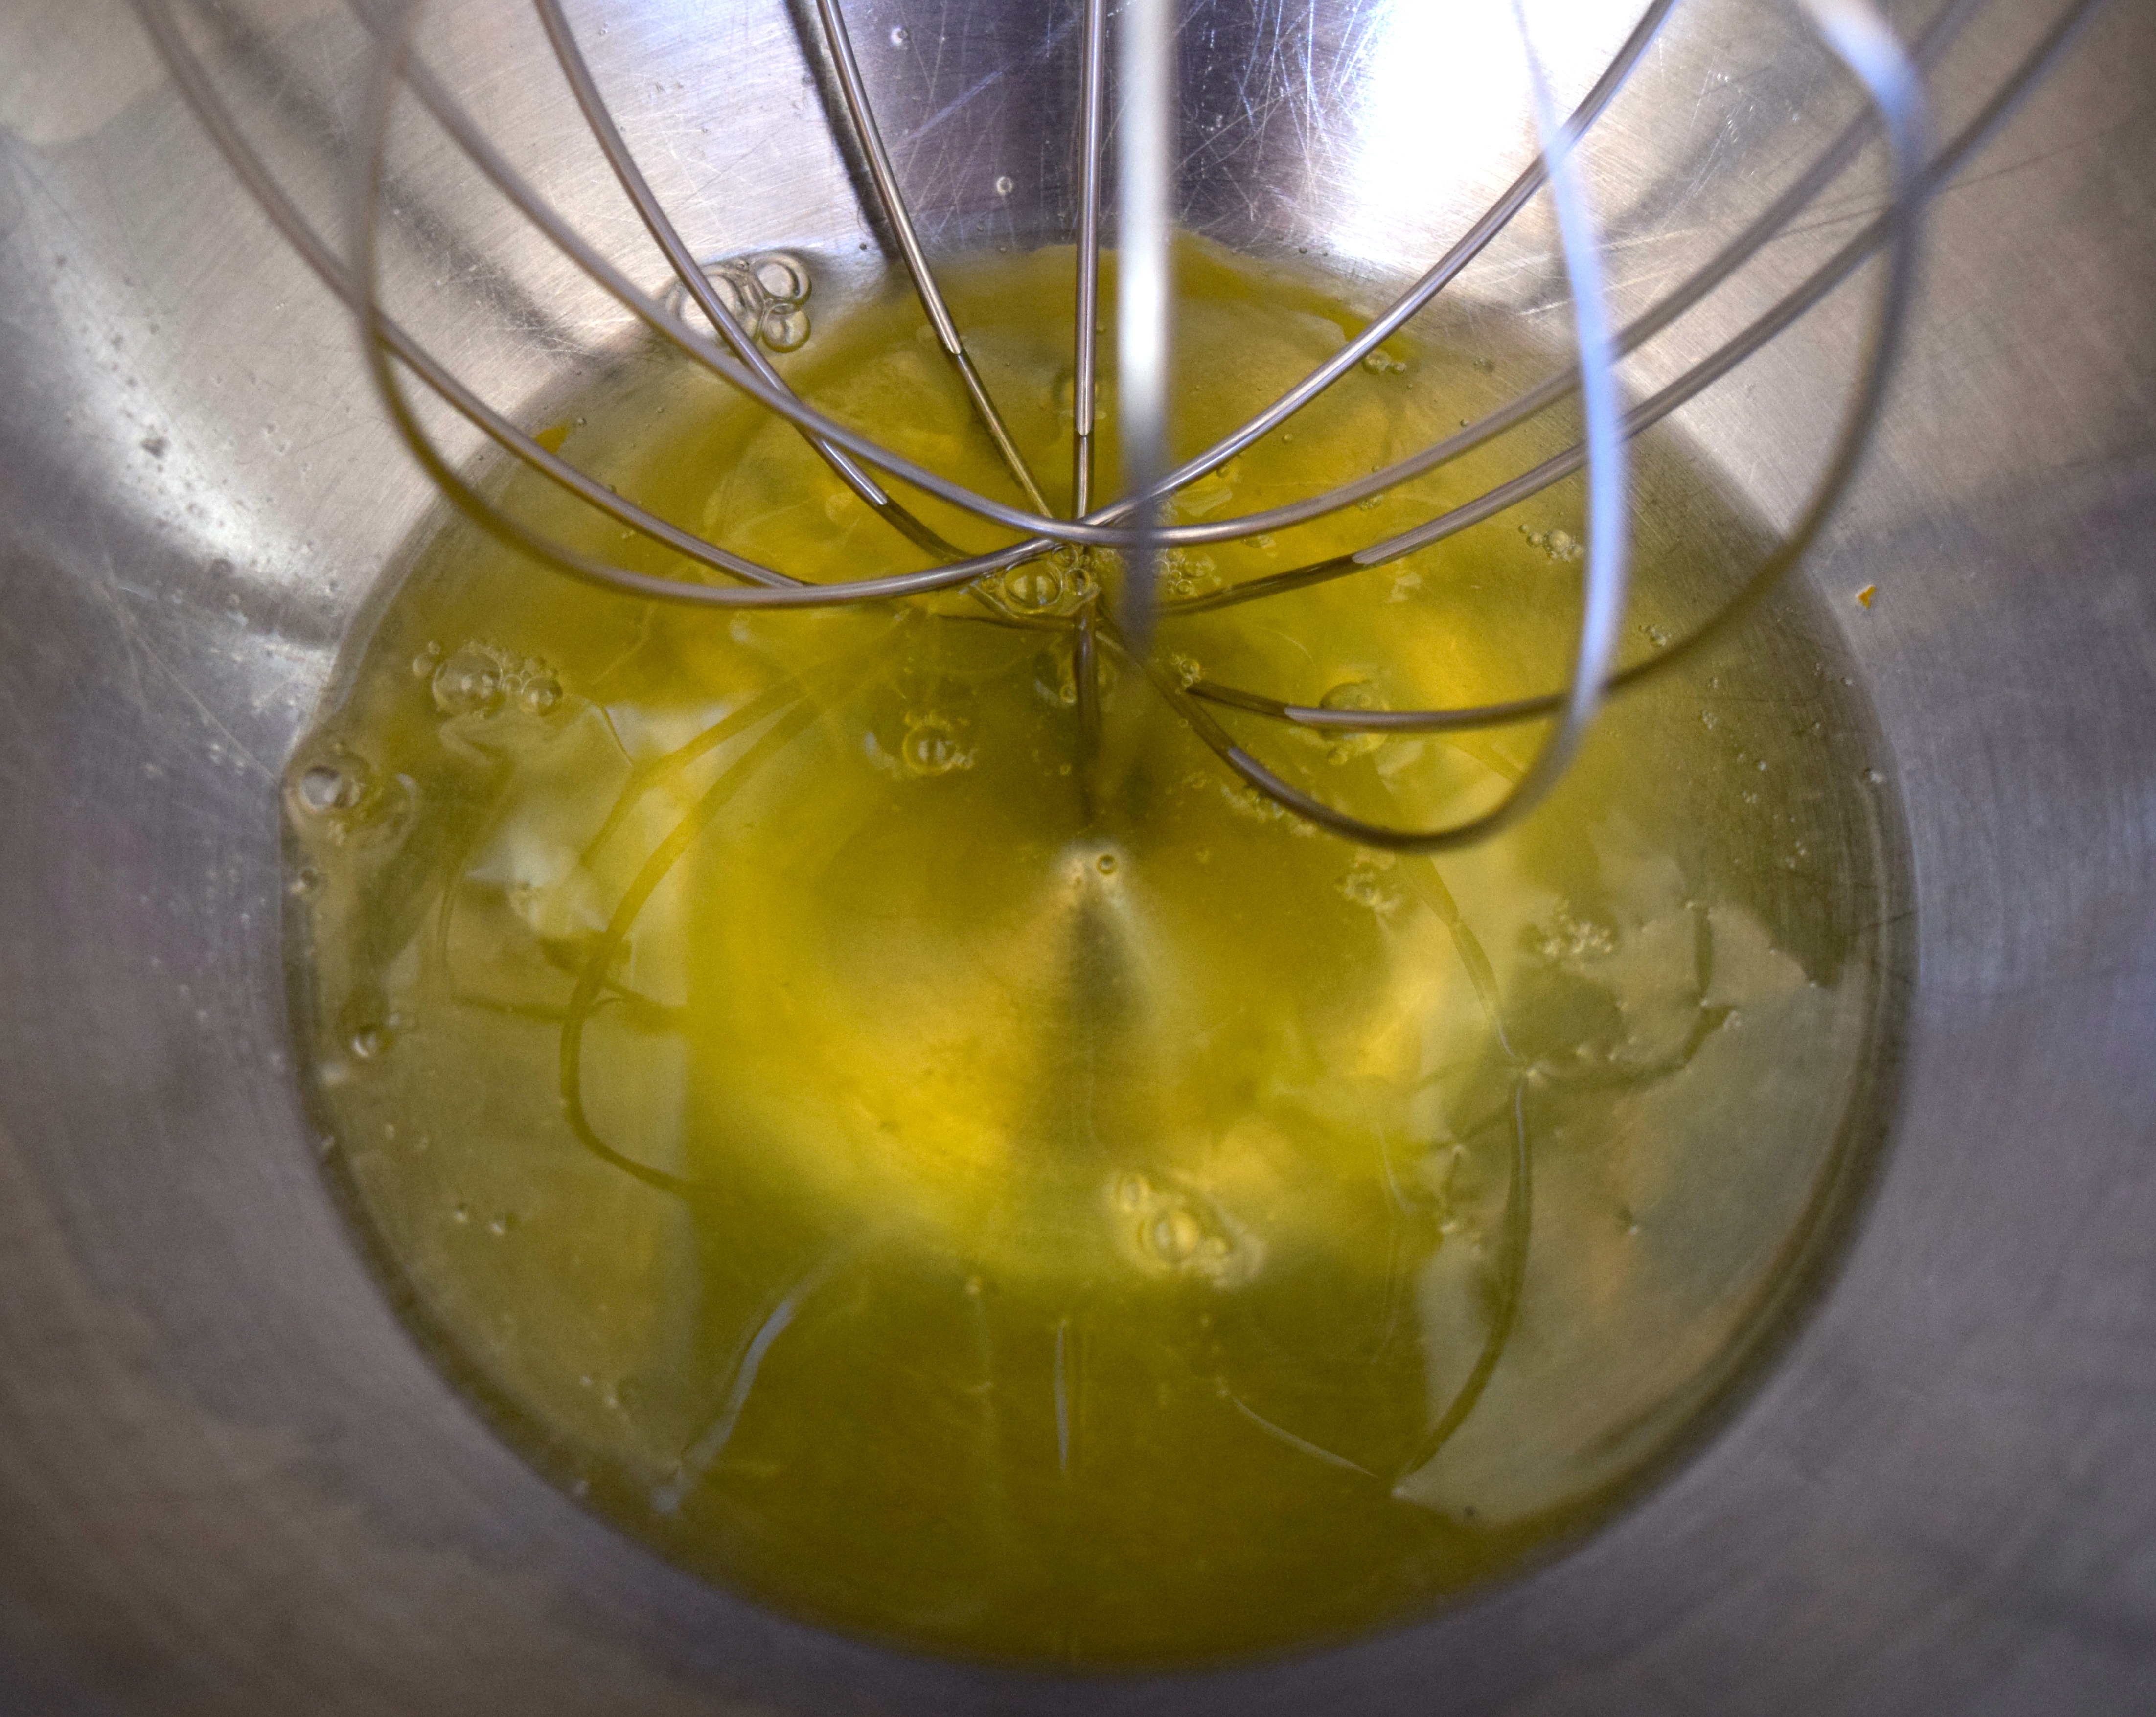
Separate the eggs into whites and yolks.

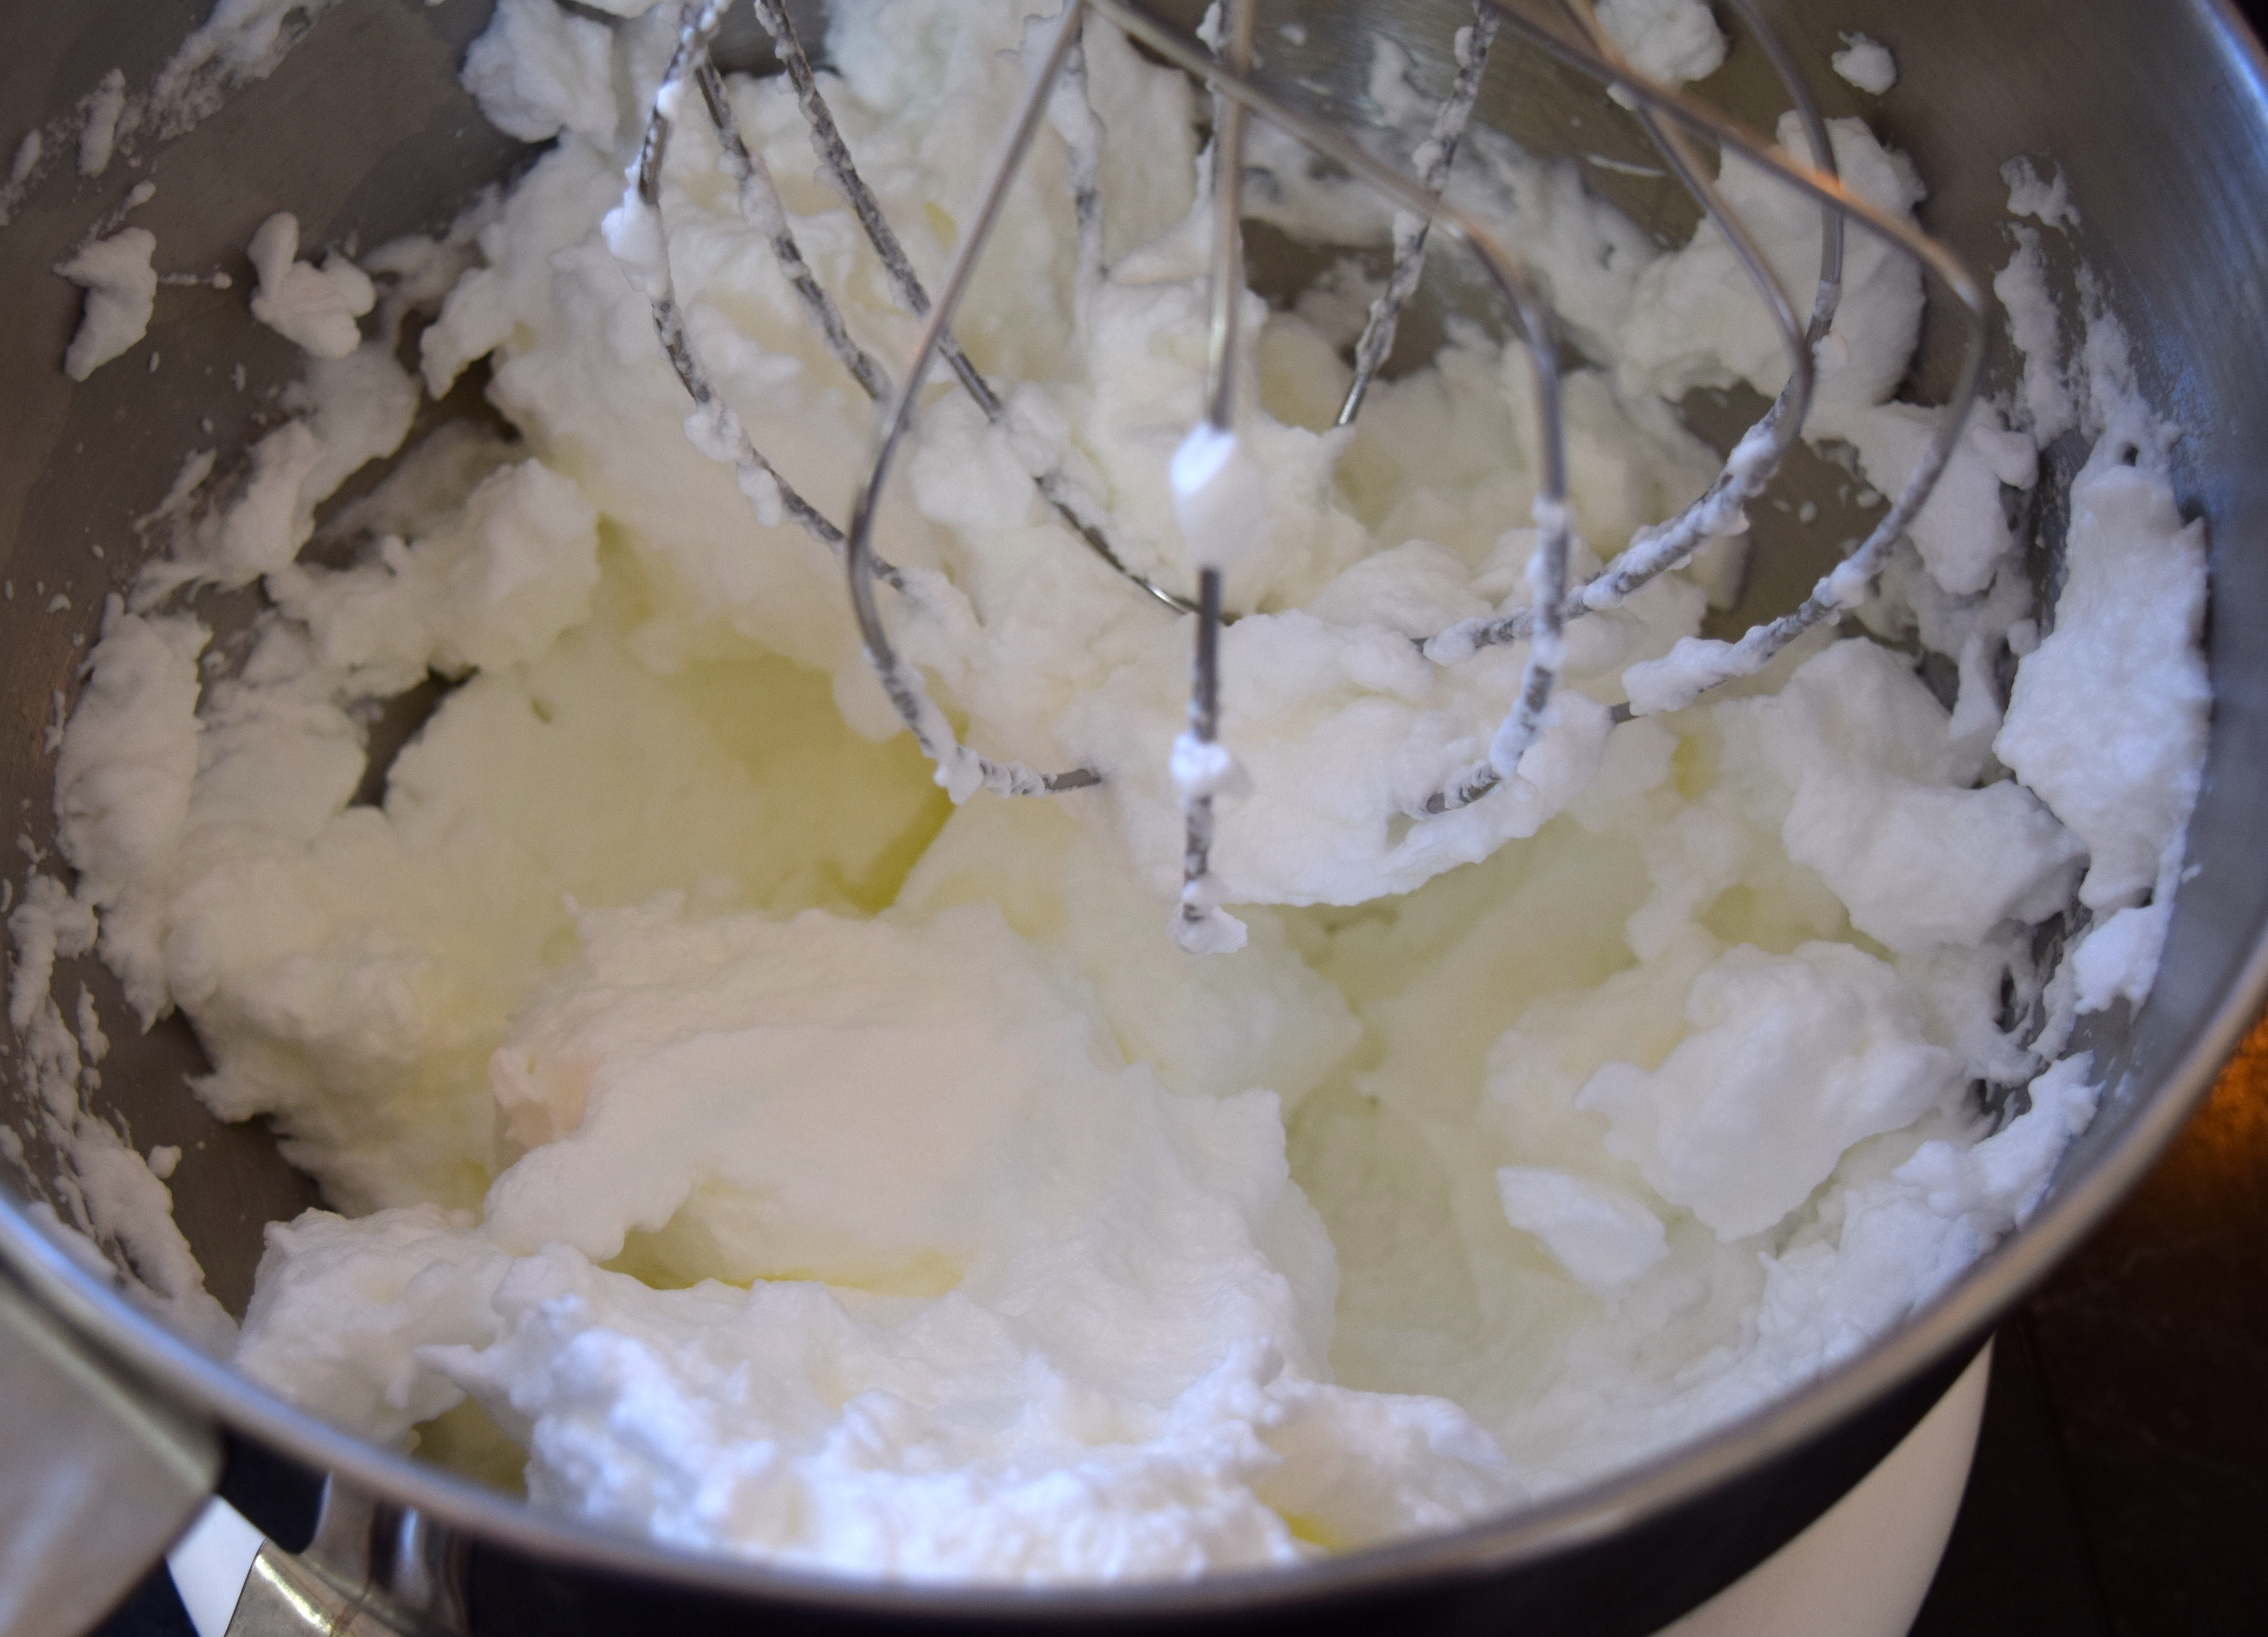
Beat egg whites on high speed in a clean, dry, mixing bowl until the whites puff up and form peaks. Don’t overbeat the egg whites. Use a rubber spatula to gently move the beaten whites to another bowl. Set aside.
fruit nut bread fruit nut bread

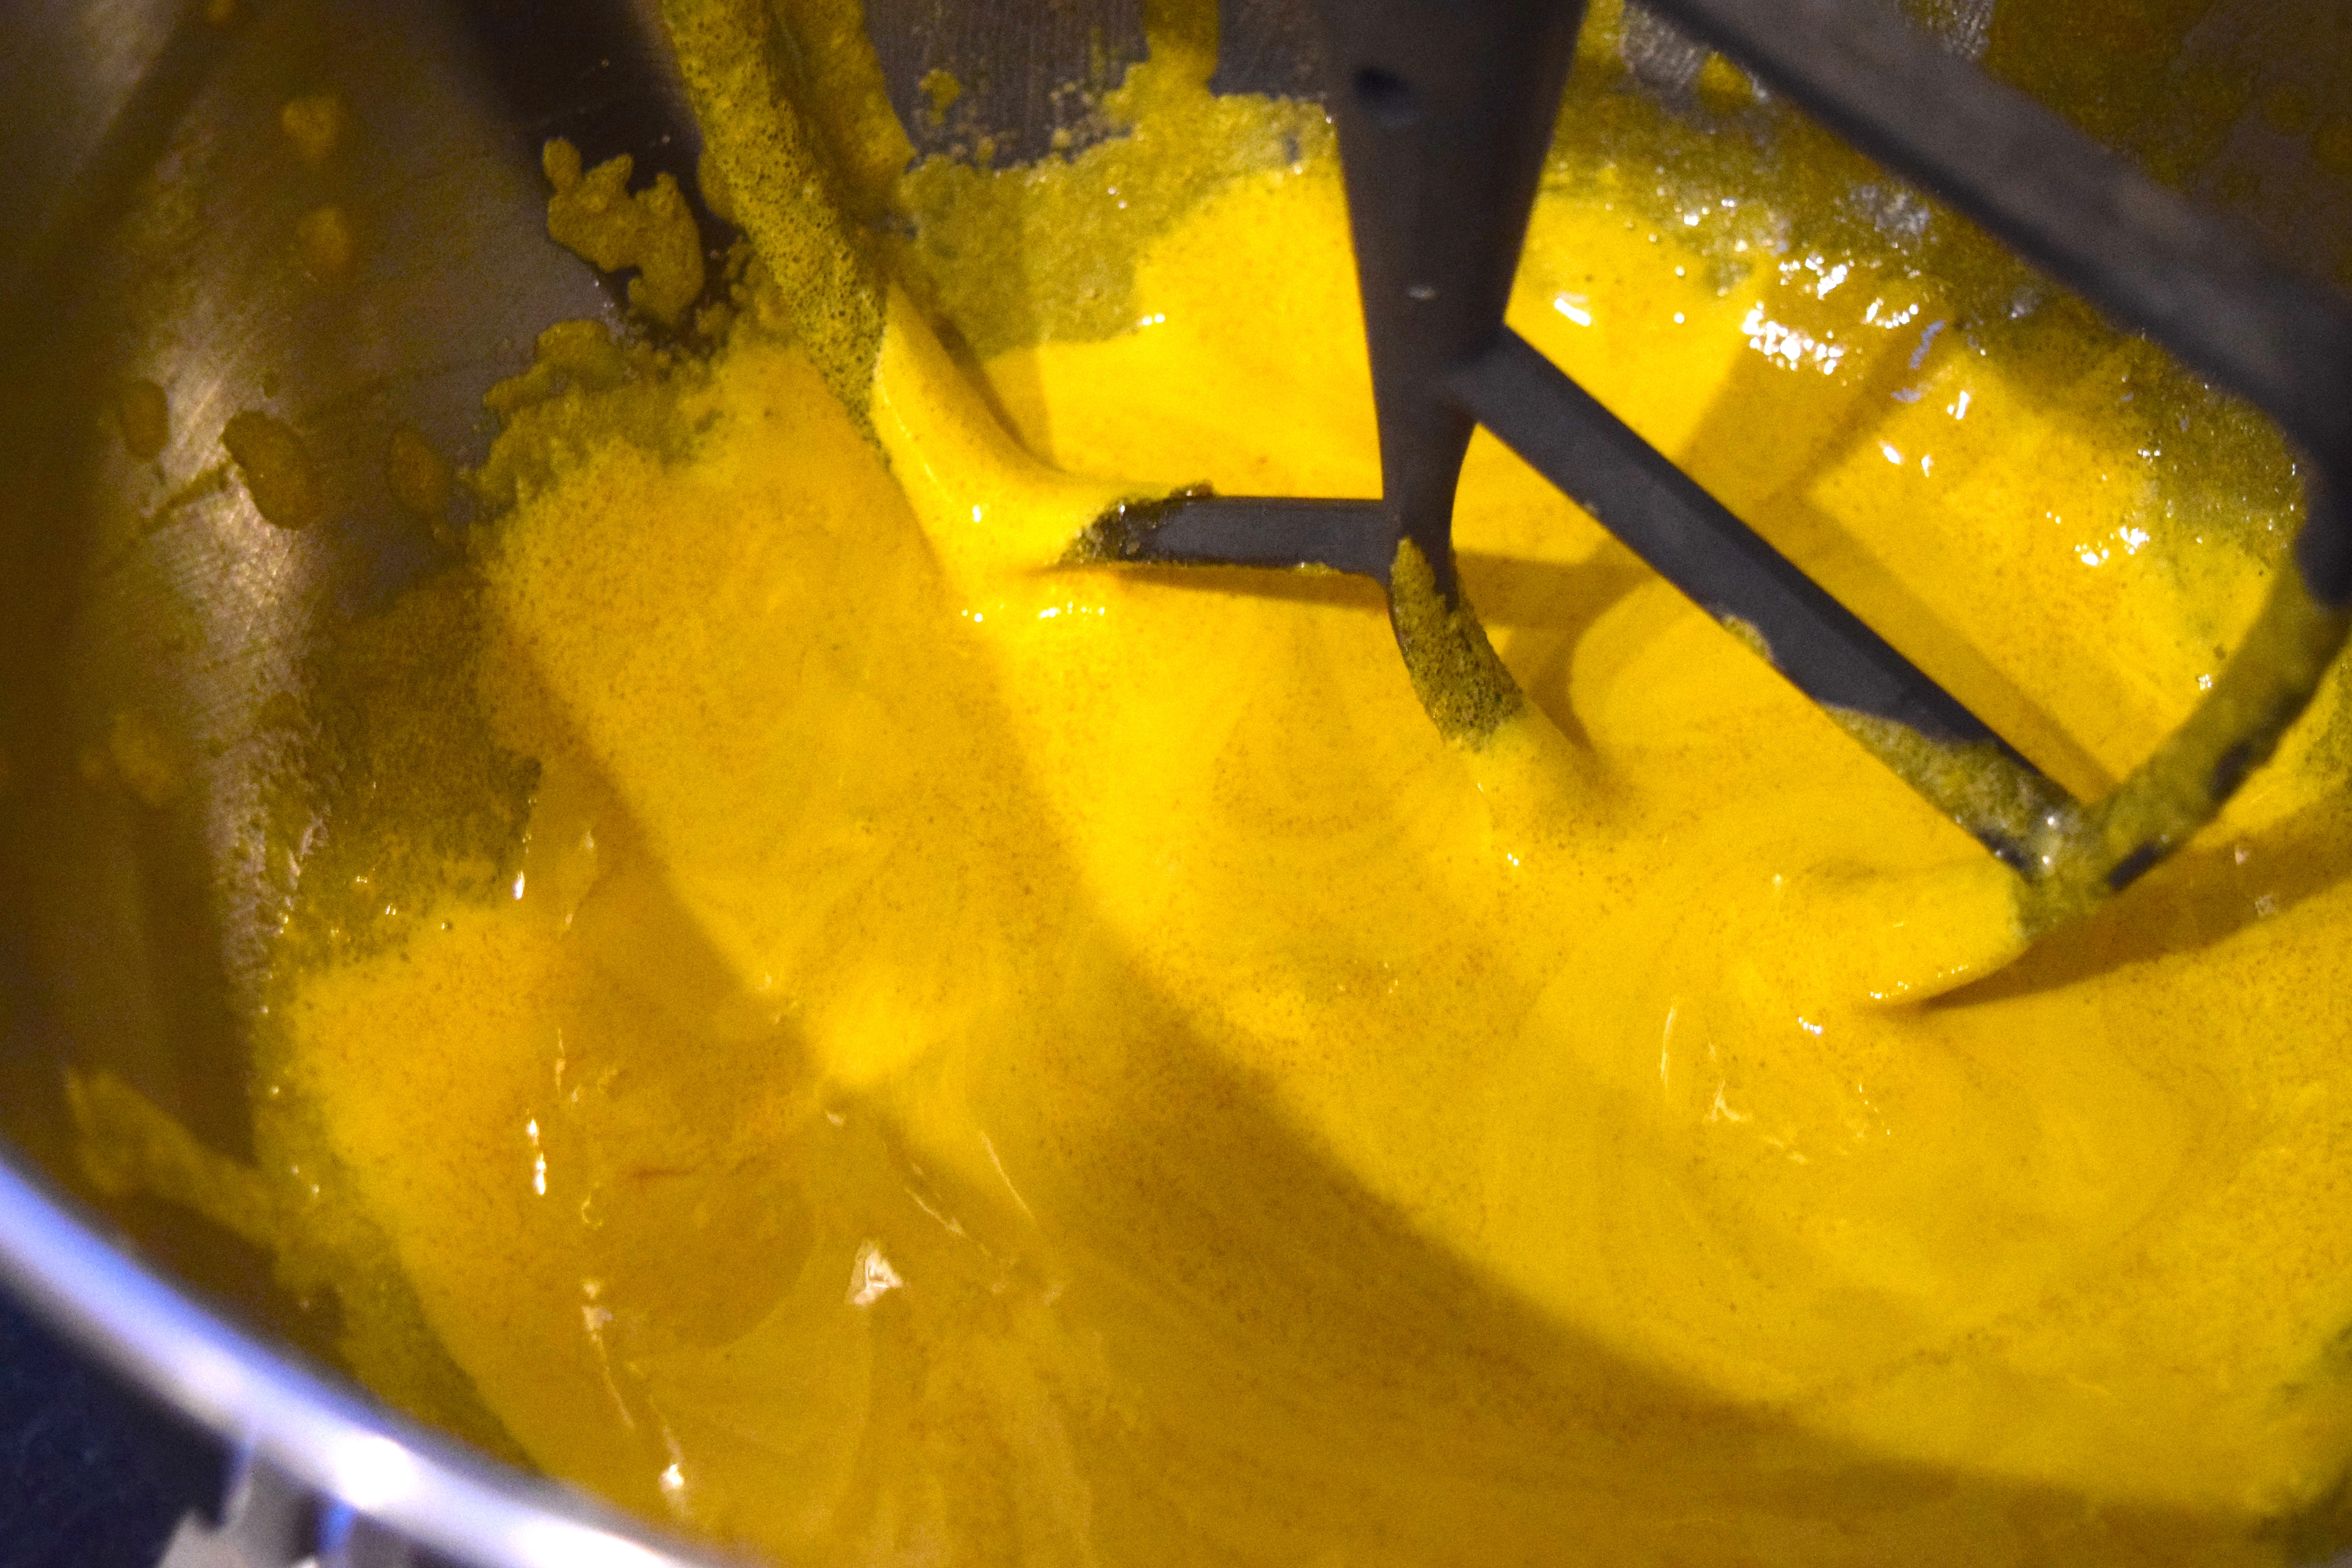
Next, add the eggs and sugars to the mixing bowl. There is no need to wash the bowl first. Cream ingredients together for 2 minutes on medium-high speed.
fruit nut bread

Add the grated zest of one orange. To learn more about zesting citrus, go here.
fruit nut bread

Add melted butter, heavy cream, vanilla, and almond extract to the batter and mix for one minute on medium speed.
fruit nut bread

In a separate small bowl, use a whisk to mix the whole wheat flour and baking powder.
fruit nut bread

Add flour mixture to batter and stir gently for 30 seconds until ingredients are well-blended. Do not over mix.

Now you have a bowl of batter and a bowl of stiff egg whites.
fruit nut bread

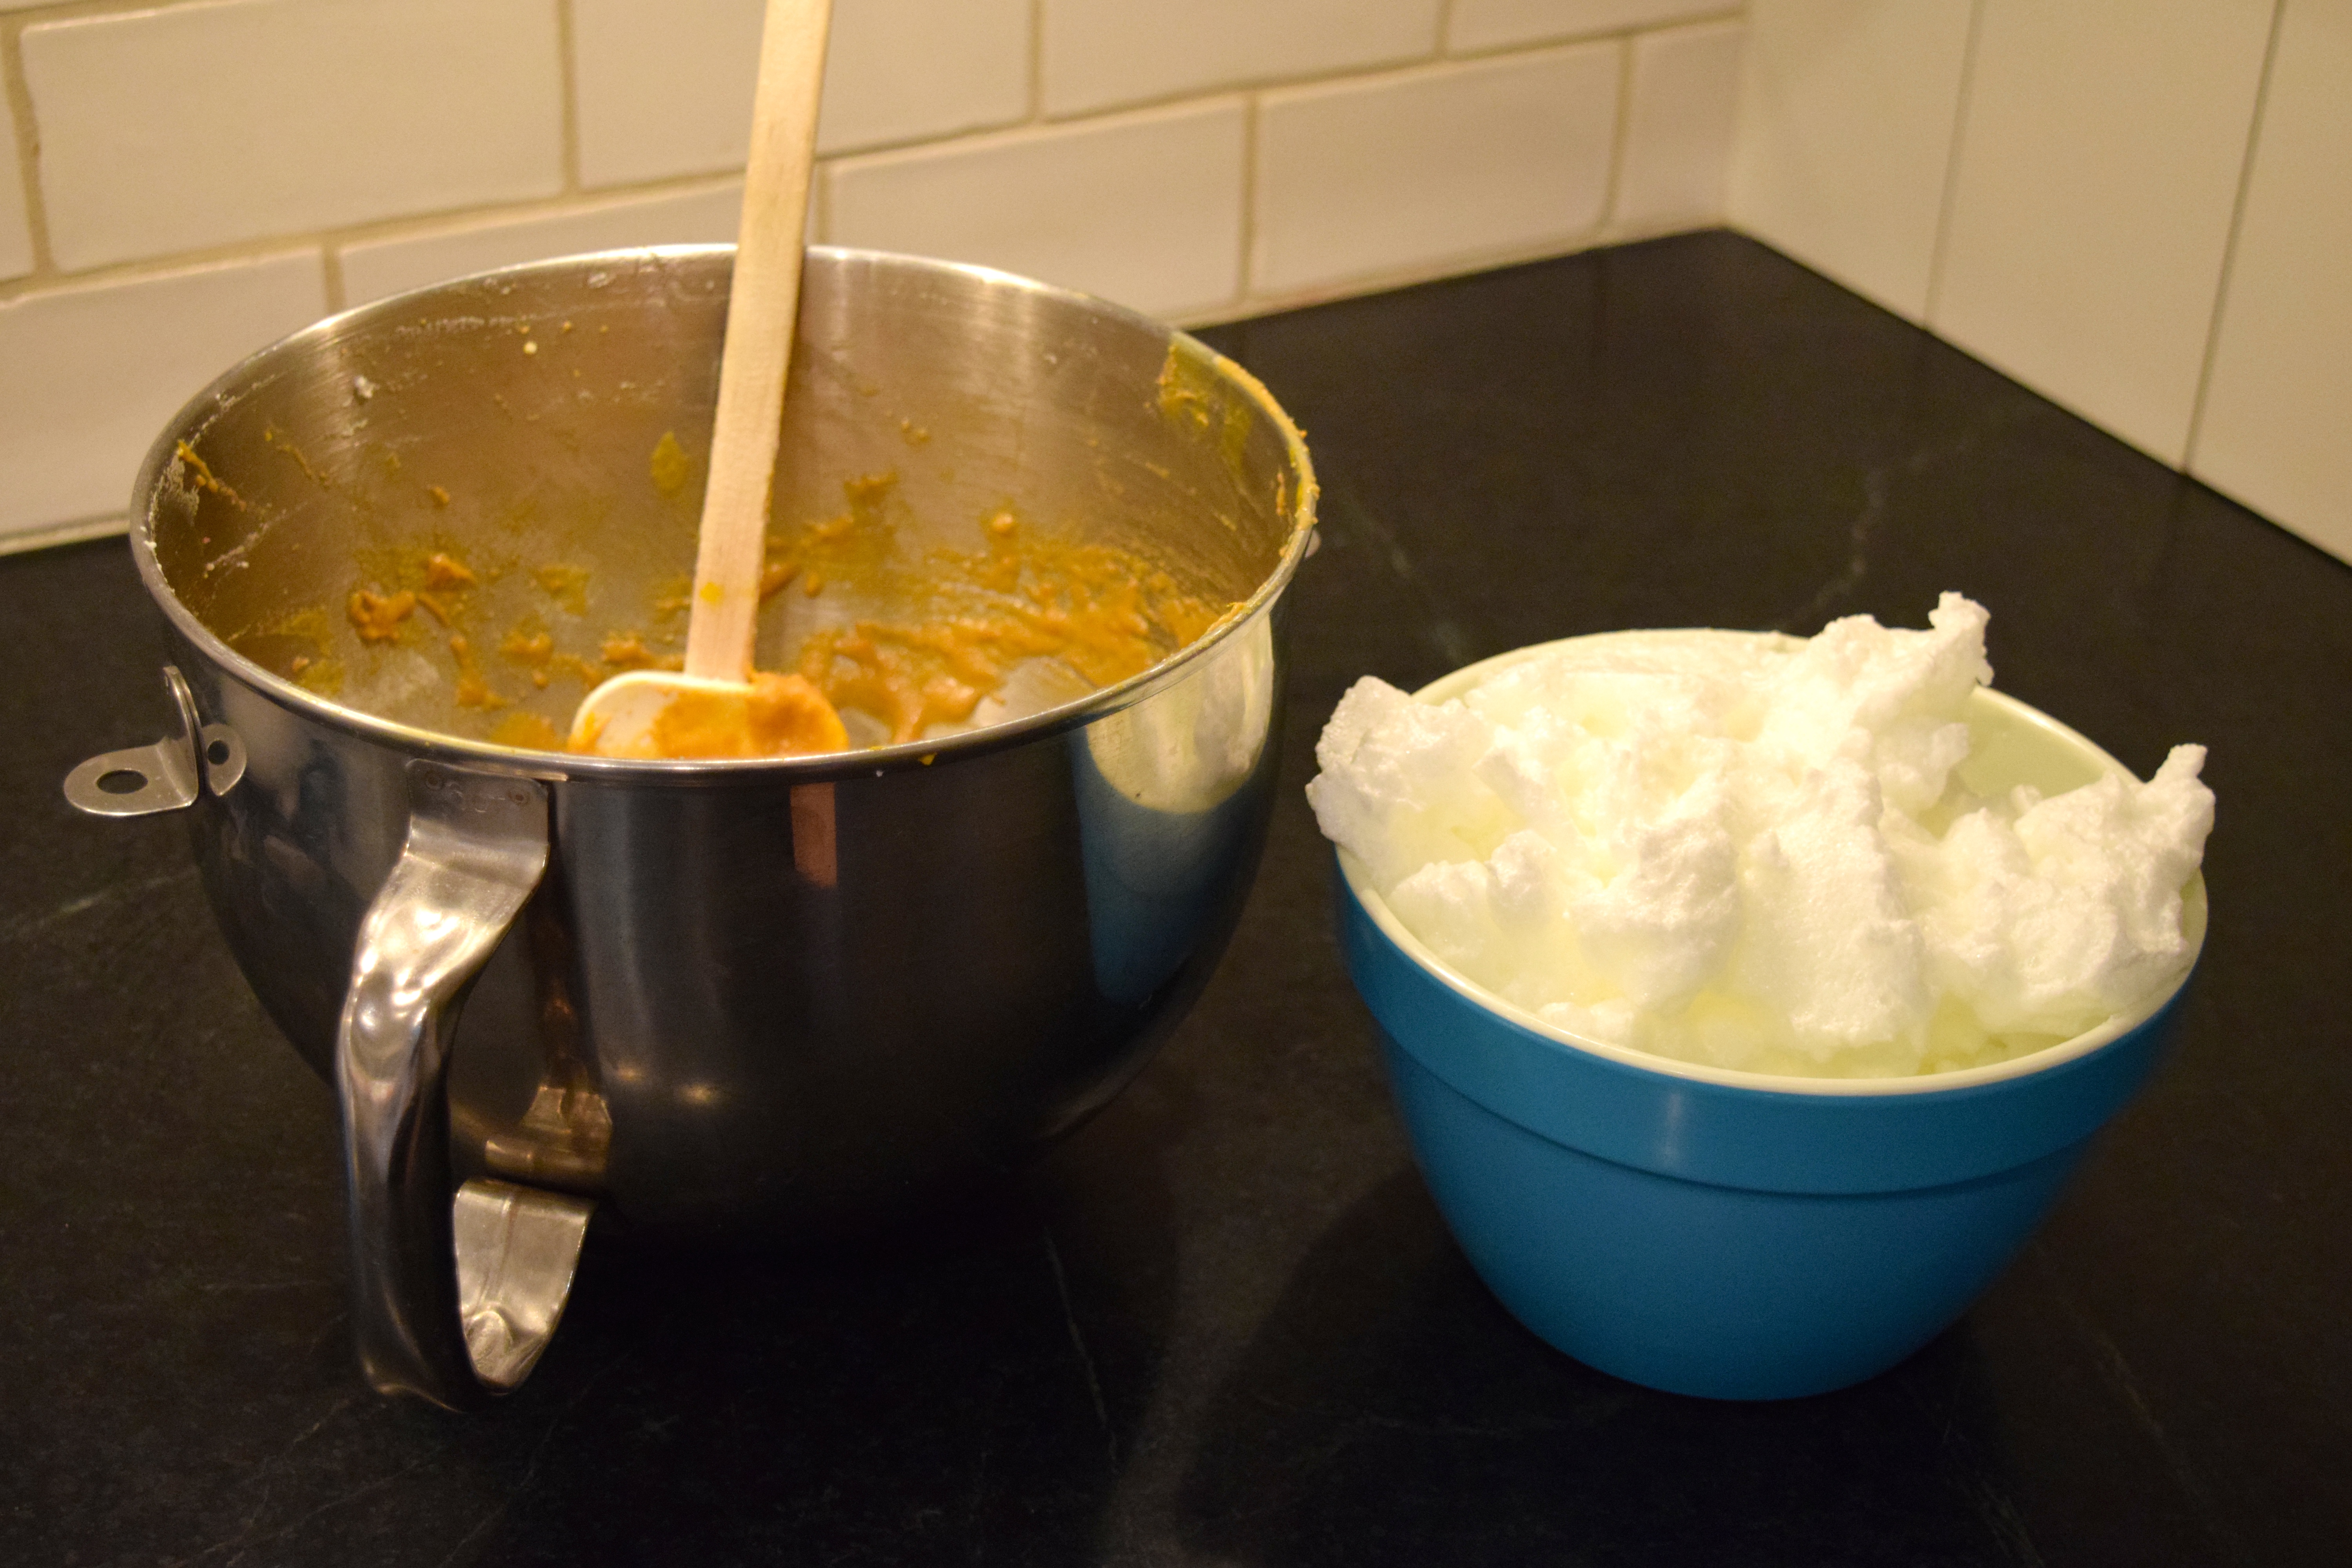
Fold egg whites gently into the batter and blend until just mixed. This process of “folding in” the fluffed up egg whites makes your batter lighter.
fruit nut bread fruit nut bread

Stir batter into the bowl with the fruits and nuts.
fruit nut bread

Pour batter evenly into three loaf pans. Use your fingers to create a mound down the midline of each loaf pan.
fruit nut bread

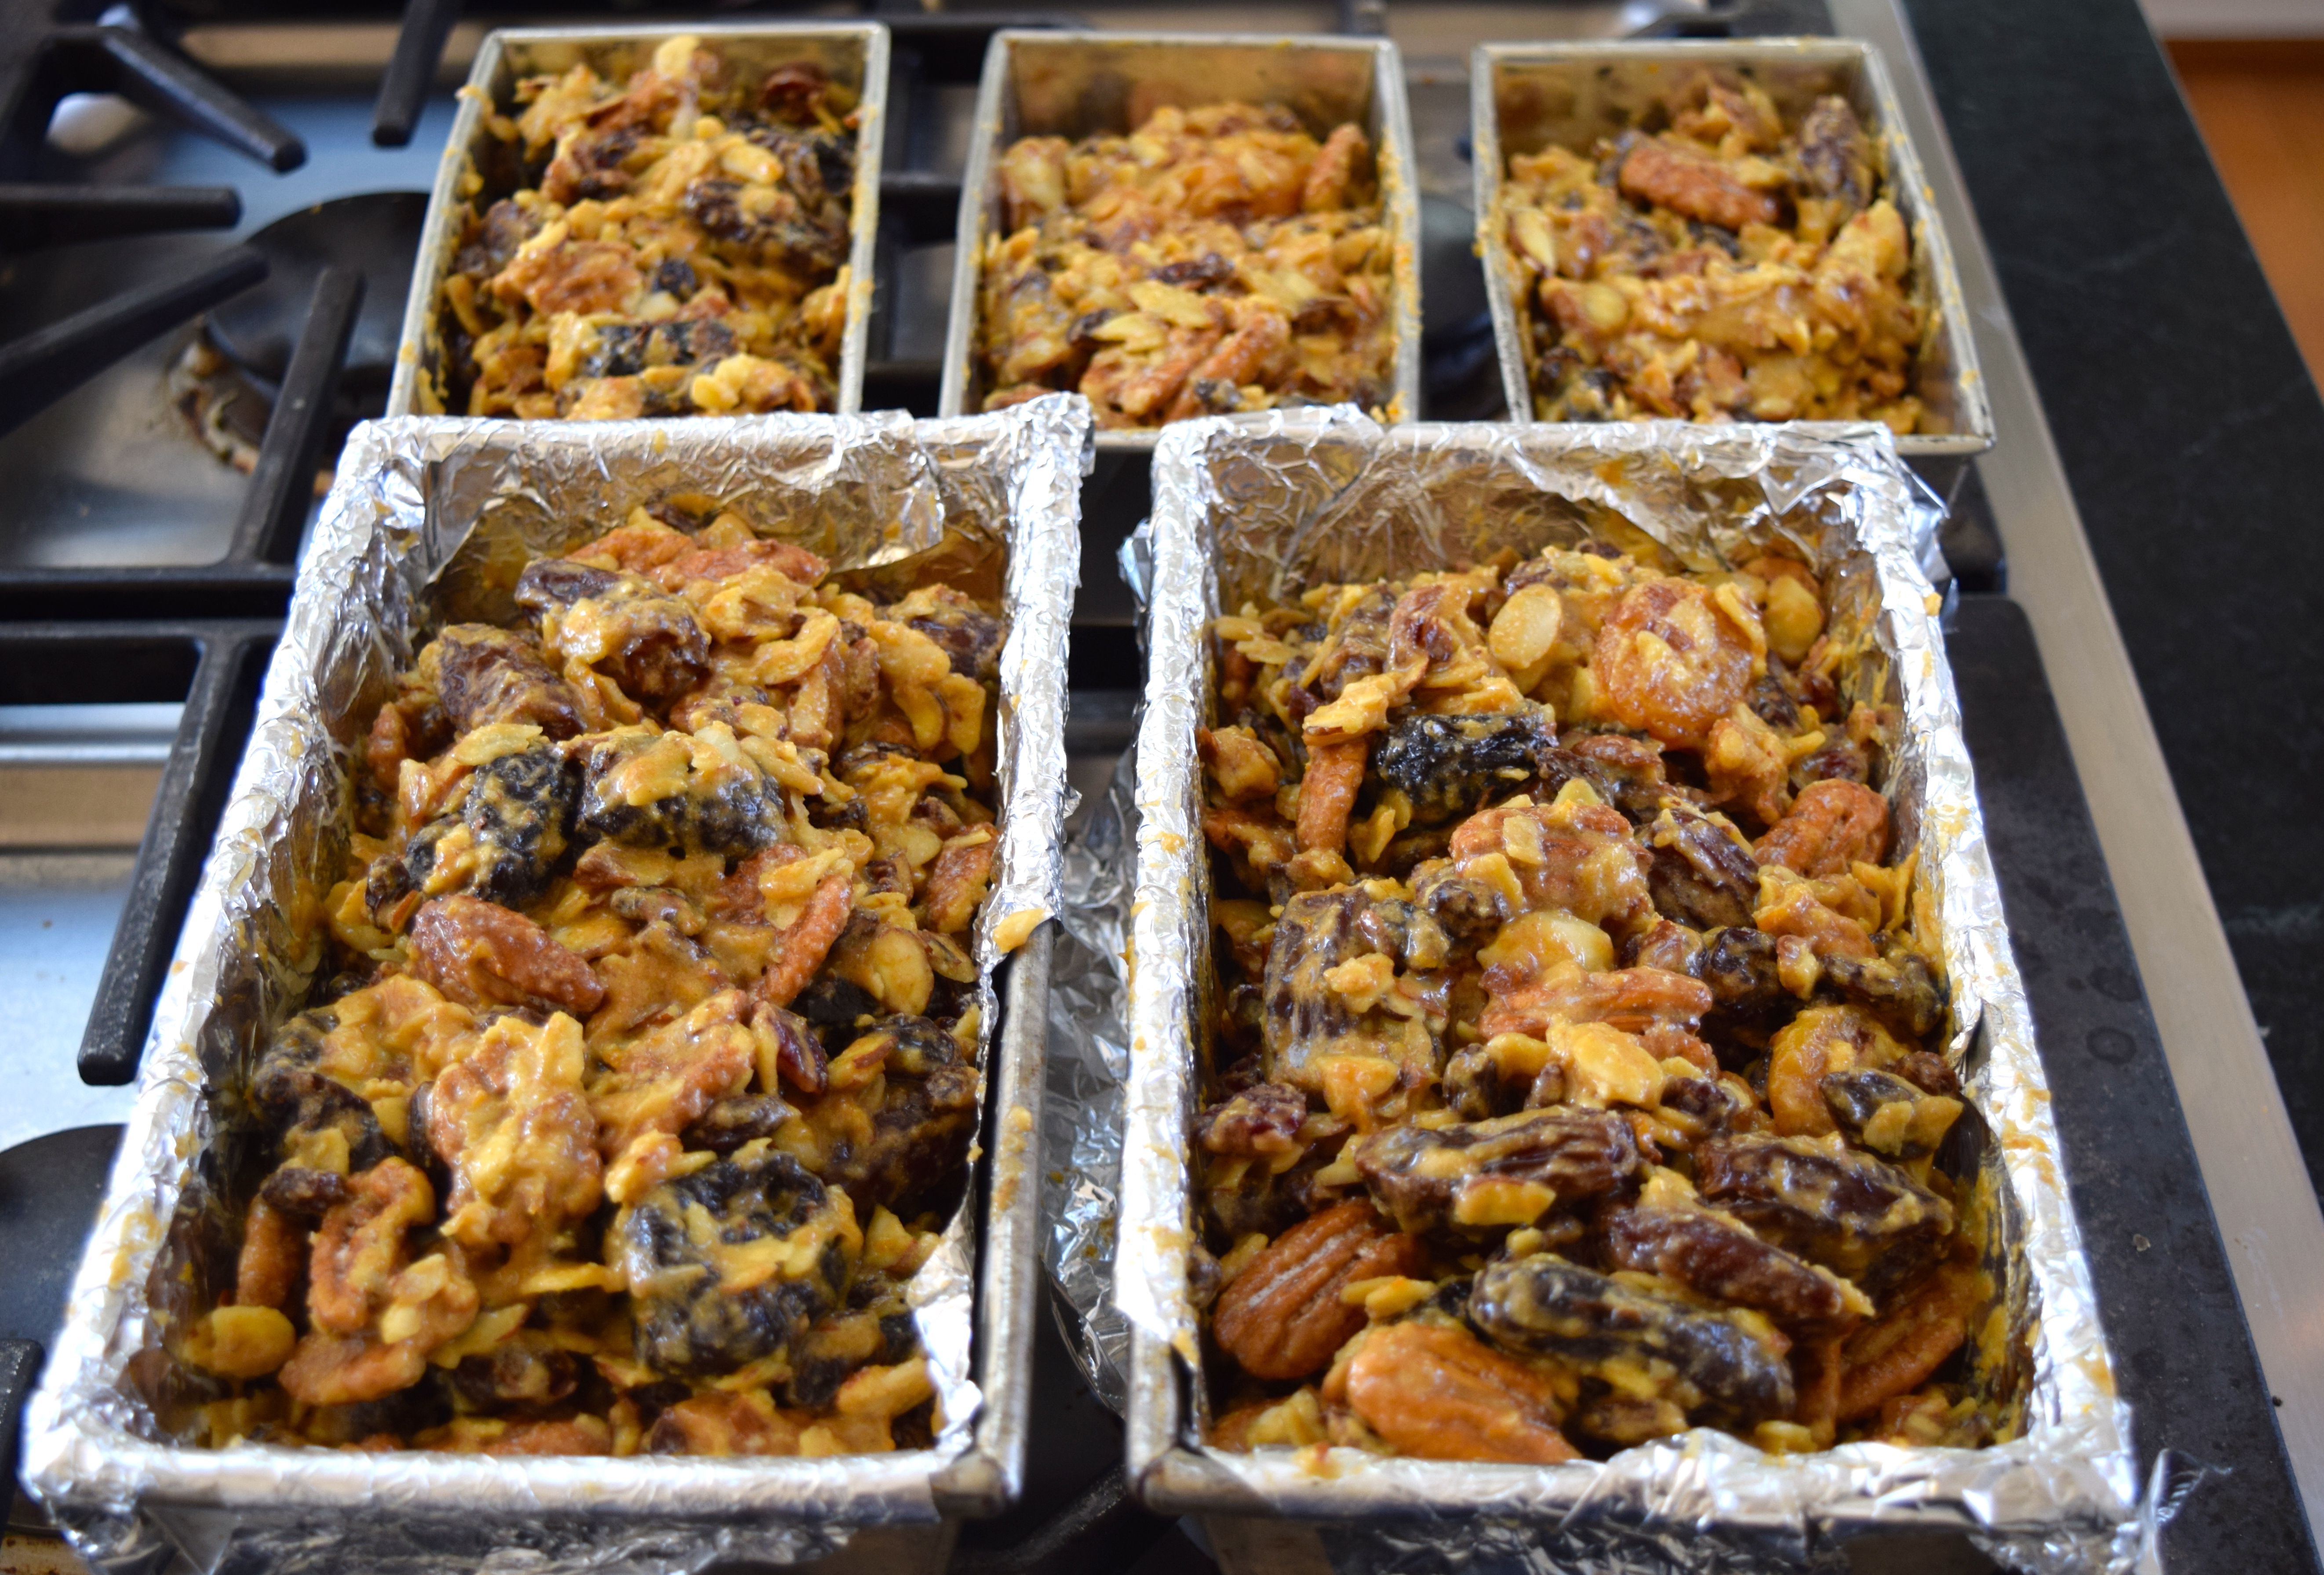
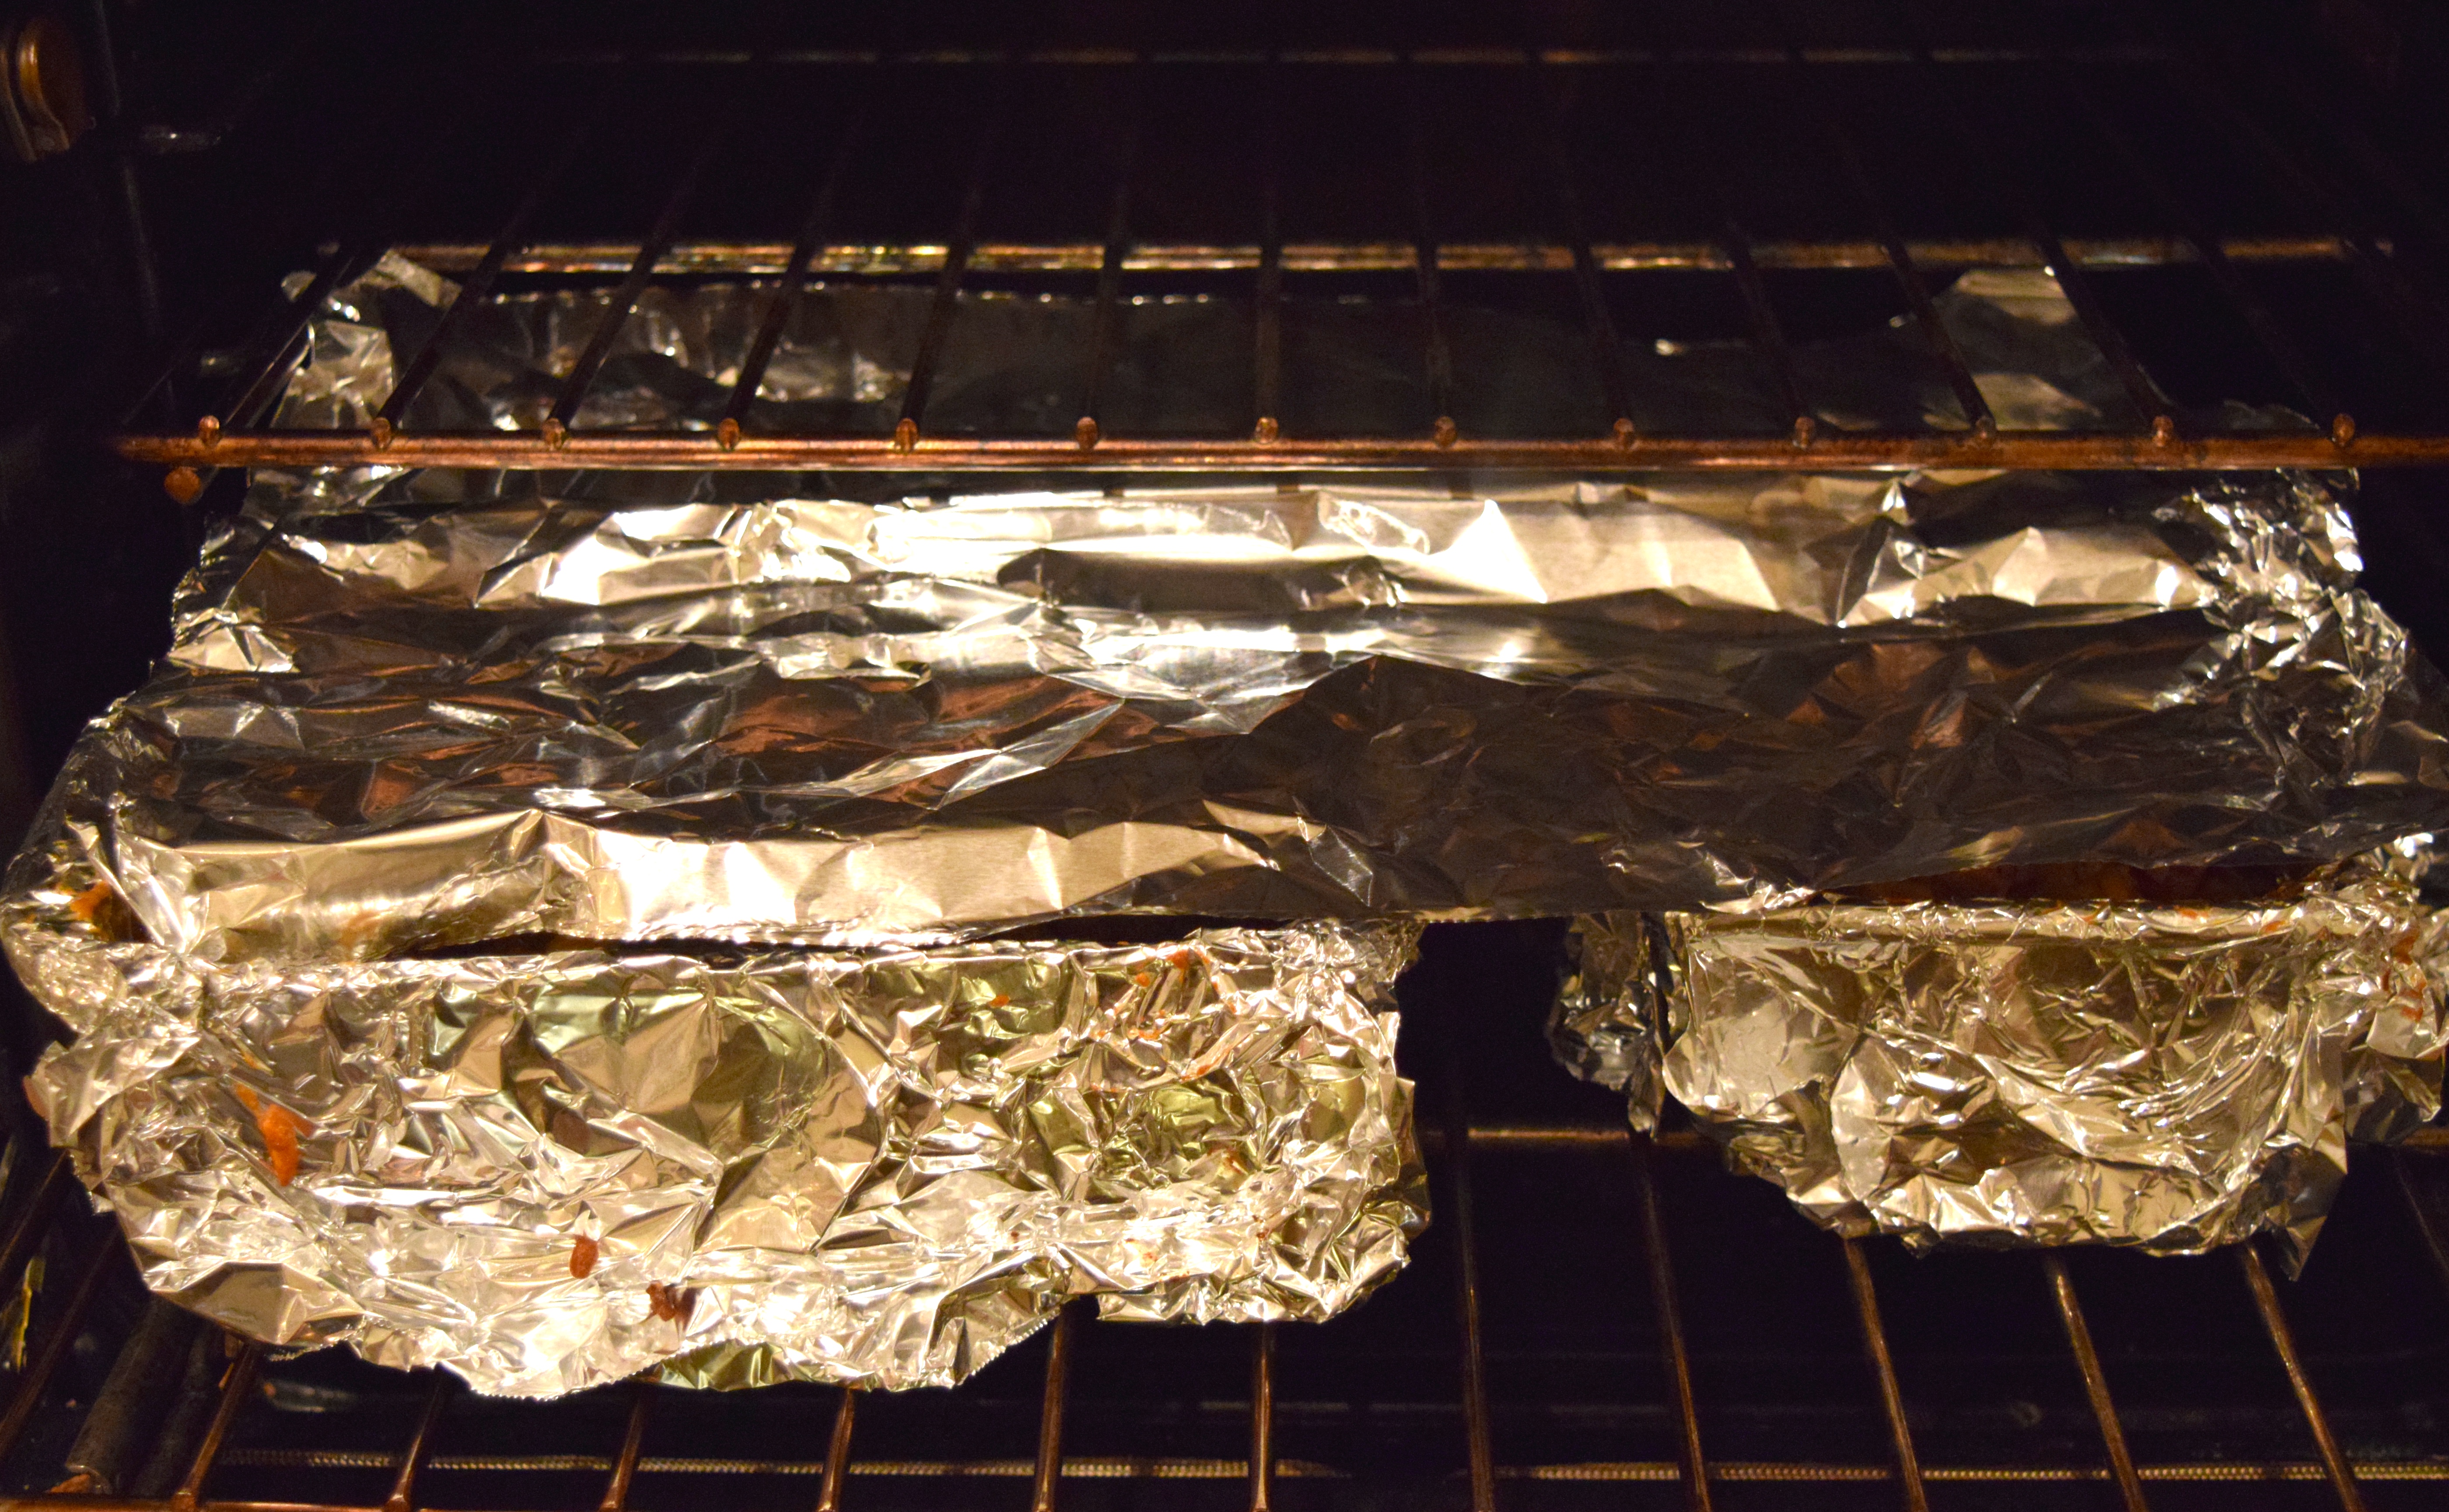
Bake loaves covered with a sheet of foil for the first 40 minutes.
fruit nut bread

After 40 minutes, remove foil and bake for another 40 minutes.  Loaves will be medium brown in color when done. Oven temperatures vary, so check the color at 30 minutes. You can’t rely on the knife test to check for doneness because it continues to come out with crumbs on it, even when the loaves are done.
DSC_0059

This bread freezes well. I found one in my freezer that was one and a half years old. When I thawed it, I was prepared to throw it out, but instead, it was perfectly delicious.

For other holiday ideas, check out the Holiday menu on the taskbar.

Other Quick Breads:
Marion’s Crazy Good Pumpkin Bread with Chocolate Chips
Ellen’s Most Moist Zucchini Bread
Cranberry Muffins with Orange Zest and Pecans
The Biscuit King

Follow Judy’s Chickens on Instagram and Pinterest @JudysChickens.

If you enjoyed this post, consider becoming a follower. Be sure to press “confirm” on the follow-up letter sent to your email address.

© 2014-2020 Judy Wright. All rights reserved. Photos, videos, and text may not be reproduced without the written consent of Judy Wright.

Lily’s Red Velvet Cake

I enjoy making special-request cakes for loved ones on their birthdays. I was especially delighted when my son asked me to make a red velvet cake for his girlfriend, Lily, when she turned 21. I browsed through several cookbooks looking for a good recipe. My first three attempts were not pretty. The turning point came when I added strong coffee to the batter. It boosted the chocolate flavor in extraordinary ways. Now I look for reasons to make this cake!

This year, I gussied up the cake for Christmas Eve with pomegranate seeds and rosemary sprigs! So pretty!

While researching red velvet cakes, I learned the Adams Extract Company, maker of food coloring and flavor extracts, is credited with making this cake popular during the Depression. As a marketing strategy, the company placed point-of-sale tear-off Red Velvet Cake recipe cards under the grocery store shelf’s food coloring bottles. The idea took off, and Red Velvet Cakes became all the rage.

Cake Ingredients:
DSC_0084
2 cups granulated sugar
1 cup canola oil
2 large eggs, room temperature
1 cup buttermilk, room temperature (not low-fat)
2 teaspoons vanilla extract
1 ounce (2 tablespoons) red food coloring
1 teaspoon white distilled vinegar
½ cup freshly brewed warm coffee
2½ cups all-purpose flour
1 teaspoon salt
1 teaspoon baking powder
1 teaspoon baking soda
3 tablespoons unsweetened cocoa powder

Mise en Place:
DSC_0085

Instructions:
Preheat oven to 350º. Place a cooking rack in the center of the oven.

Prepare Cake Pans with Liners:
Grease two 8 or 9-inch cake pans or a bundt cake pan with cooking spray or butter. Dust insides with flour. Tap pans upside down over a trash can to remove excess flour.
Red Velvet cake

If making a layer cake, line the pans with parchment paper (waxed paper will work) as extra insurance the cake will not stick to the pan. Even when I grease the living daylights out of cake pans, some cakes still want to stick to the bottom. This is one of them. Liners guarantee they will drop out easily.

How to Make Liners for Cake Pans:
Draw an outline of the cake pan on two sheets of parchment. Cut out the paper disks. If you trim to just inside the outline, your disks should fit nicely inside the pans. Place a liner inside each pan.
 Red Velvet cake

Make the Cake Batter:
Beat together the oil, sugar, and eggs for three minutes at medium speed.
DSC_0090

Add the rest of the wet ingredients to the mixing bowl: buttermilk, vanilla, food coloring, vinegar, and coffee. Mix on medium-low speed for one minute. The batter should appear smooth. Beware, any speed higher than medium-low will cause red batter to spread all over you and your kitchen!
Red Velvet cake

In a separate bowl, mix dry ingredients with a whisk: the flour, chocolate, salt, baking soda, and baking powder. Spoon one-third of this dry mixture at a time into the mixing bowl and stir at low speed until the flour disappears. Scrape the sides of the bowl with a spatula as you mix. Mix until dry ingredients are fully incorporated into the batter.
red velvet cake  Red Velvet cake

Pour batter evenly into the two prepared pans.
Red Velvet cake

Place pans on the middle rack of the oven and bake for 25-30 minutes, rotating pans halfway through cooking. Use a knife to check cake centers for doneness. If the knife comes out clean, the cake is done. If not, set the timer for five more minutes and recheck. Be sure to test each pan. When done, remove pans from oven and cool for 5 minutes.
Red Velvet cake

Next, run a knife around the edges of the pans to release cakes from sides. Turn pans upside down on a cooling rack and peel off the parchment paper. Invert cakes and cool to room temperature. Once cool, store in plastic bags until ready to use or frost them.
Red Velvet cake Red Velvet cake

Butter and Cream Cheese Frosting

Ingredients:
DSC_0124

1  8-ounce bar cream cheese, softened
½ cup  (1 stick) butter, softened
1  teaspoon pure vanilla extract
3¾ cups (1 pound box) confectioners’ sugar
2-3 tablespoons whole milk

Instructions:
Beat butter and cream cheese together in a mixing bowl on medium-high speed until smooth.
frosting Red velvet cake

Add sugar and beat until fluffy.
frosting Red velvet cake

Add vanilla and beat 30 seconds more. Add milk, one tablespoonful at a time, to thin frosting to desired spreading consistency.

frosting Red velvet cake
How to Frost a Cake
Line the edges of a cake plate with parchment paper or plastic wrap.
Red velvet cake
Place the first cake layer down. Scoop up 25% of the frosting and spackle it across the top with a long metal icing spatula.
 Red velvet cake
Place the top cake layer, smooth side up, over the frosted layer. Place the remaining frosting on top and use it to frost the sides and top of the cake.
IMG_5417
DSC_0048
Remove liners from cake plate. Let frosted cake sit for an hour or two before serving so flavors can meld. I like to serve this cake chilled.

Recently, I needed an elegant cake that would serve twenty. I decided to make a taller version of the cake by preparing one and a half recipes. This gave me three 9-inch layers. I increased the frosting recipe by half. The cake looked beautiful and regal on the dessert buffet. Sadly, I didn’t get a photo.

Triple Decker Cake Ingredients List
(I’ve done the math for you –and for me)

3¾ cups all-purpose flour
1½ teaspoon salt
1½ teaspoon baking powder
1½ teaspoon baking soda
4½ tablespoons unsweetened cocoa powder
3 cups sugar
1½ cup canola oil
3 large eggs, room temperature
1½ cup buttermilk, room temperature (not low-fat)
3 teaspoons vanilla extract
1½ ounce red food coloring
1½ teaspoon white distilled vinegar
¾ cup freshly brewed, plain, warm coffee

IMG_5377

I LOVE when readers send photos of their creations from the blog. Here’s one from our friends-who-are-family, Markham and Cati, who made red velvet cupcakes for Valentine’s Day. I couldn’t love them more!

Other Great Cakes
Chocolate Birthday or Valentine’s Day Cake

A Cake for All Seasons

Mom’s Monkey Bread, circa 1970

Marion’s Crazy Good Pumpkin Bread with Chocolate Chips

Old-Timey Vanilla Bunny Cake

If you enjoyed this post, please share it with a friend and become a follower!

Follow Judy’s Chickens on Instagram and Pinterest @JudysChickens.

Always check my blog for the latest version of a recipe.

© 2014-2021 Judy Wright. All rights reserved. Photos, videos, and text may only be reproduced with the written consent of Judy Wright.

The Biscuit King

A few weeks ago our Mennonite friends in Kentucky invited us to watch them make sweet sorghum syrup. Sorghum is similar to molasses but has a much earthier taste with a touch of sourness. It can be used cup for cup in any recipe calling for molasses, honey, or corn syrup. Having said all that, in the South, if you give a friend some sorghum, they’re going to want a biscuit, a light, crunchy biscuit.

DSC_0369

I anointed my husband, the Southerner, the “biscuit maker”; he had watched his mother make biscuits since he was a little fella. Sadly, they were not as easy to make as he had remembered. The first batch was fraught with problems: they were dry and hard like hockey pucks. From the rolling hills and gorgeous lakes of KY, I went on Facebook and begged our friends to tell us what went wrong with the biscuits. Their suggestions poured in. Futzing around in the kitchen, with the goal of making a good biscuit, became our vacation vocation.

Ingredients:

DSC_0285

2 cups self-rising flour
¼ teaspoon salt
1⁄3 cup all-vegetable shortening, lard, or butter, chilled
1 cup buttermilk

Instructions:
1) Preheat oven to 500º
2) Lightly flour a large baking sheet. You can use the self-rising flour for this.
3) Mix together flour, salt, and shortening with a pastry cutter, whisk, or two knives.

DSC_0303

4) Add buttermilk and mix with a fork until the dough leaves the sides of the bowl. Do not overwork the dough. The airiness in a biscuit is created by the holes left when shortening flecks melt and create pockets of steam. If you overmix the dough, you’ll lose those air pockets. The dough will be sticky.

DSC_0308

5) Turn dough onto a lightly floured surface or a sheet of parchment paper.

DSC_0316

6) Using floured hands, gently shape the dough into a disc. The way this delicately soft mound of dough feels in your hands is heavenly.

DSC_0318

7) Flour the rolling pin and gently roll out the dough until it is ¾ inch thick. Alternatively, you could press the dough out with your fingertips.

DSC_0324

8) Dust the edges of either a 2-inch or 3-inch biscuit cutter with flour. Cut the biscuits and place on a floured baking sheet. A 2-inch cutter will yield 16 biscuits. A 3-inch cutter will yield 12.

DSC_0331

9) If you want the biscuits to have soft sides, arrange them so their sides are touching. If you want crunchy sides, arrange them one inch apart from one another. At this point, you could put the pan of uncooked biscuits in the freezer and once frozen, put the biscuits in a bag to store.

DSC_0342

10) Bake at 500º for 5 minutes and then turn oven off. Leave biscuits in the oven to bake for another 3-5 minutes. Biscuits are done when they have a  light golden brown color.

DSC_0361

A Southern Treat:

Mix together a pat of butter and a heaping tablespoon of sorghum syrup. Spread mixture over warm biscuits.

DSC_0280 DSC_0271

The Biscuit King:

DSC_0374

P.S. Special thanks to those who offered baking tips: Lou Ann, Robin, Anne, Libba, Stephanie, Terry, Susan, Holly M, Holly W, Mary Sue, Barbara, and Mrs. Harriman.

Toppings that go well on a biscuit:
Raising Sorghum Cane to Make Sorghum Syrup
Oven-Roasted Strawberry and Rosemary Jam
Crab Apple Jelly
Homemade Grape Jelly
Roasted Fig Preserves with Lemon and Thyme

If you enjoyed this post, please share it with a friend and become a follower. When signing up, be sure to confirm the subscription on the follow-up letter that will be sent to your email.

Follow Judy’s Chickens on Instagram and Pinterest @JudysChickens.

Always check my blog for the latest version of a recipe.

© 2014-2020 Judy Wright. All rights reserved. Photos, videos, and text may only be reproduced with the written consent of Judy Wright.